Howdy — I’m looking for some advice on setting up a reliable back alignment stop/fence on my new Shapeoko 5.1 Pro 4’×2’.
My situation:
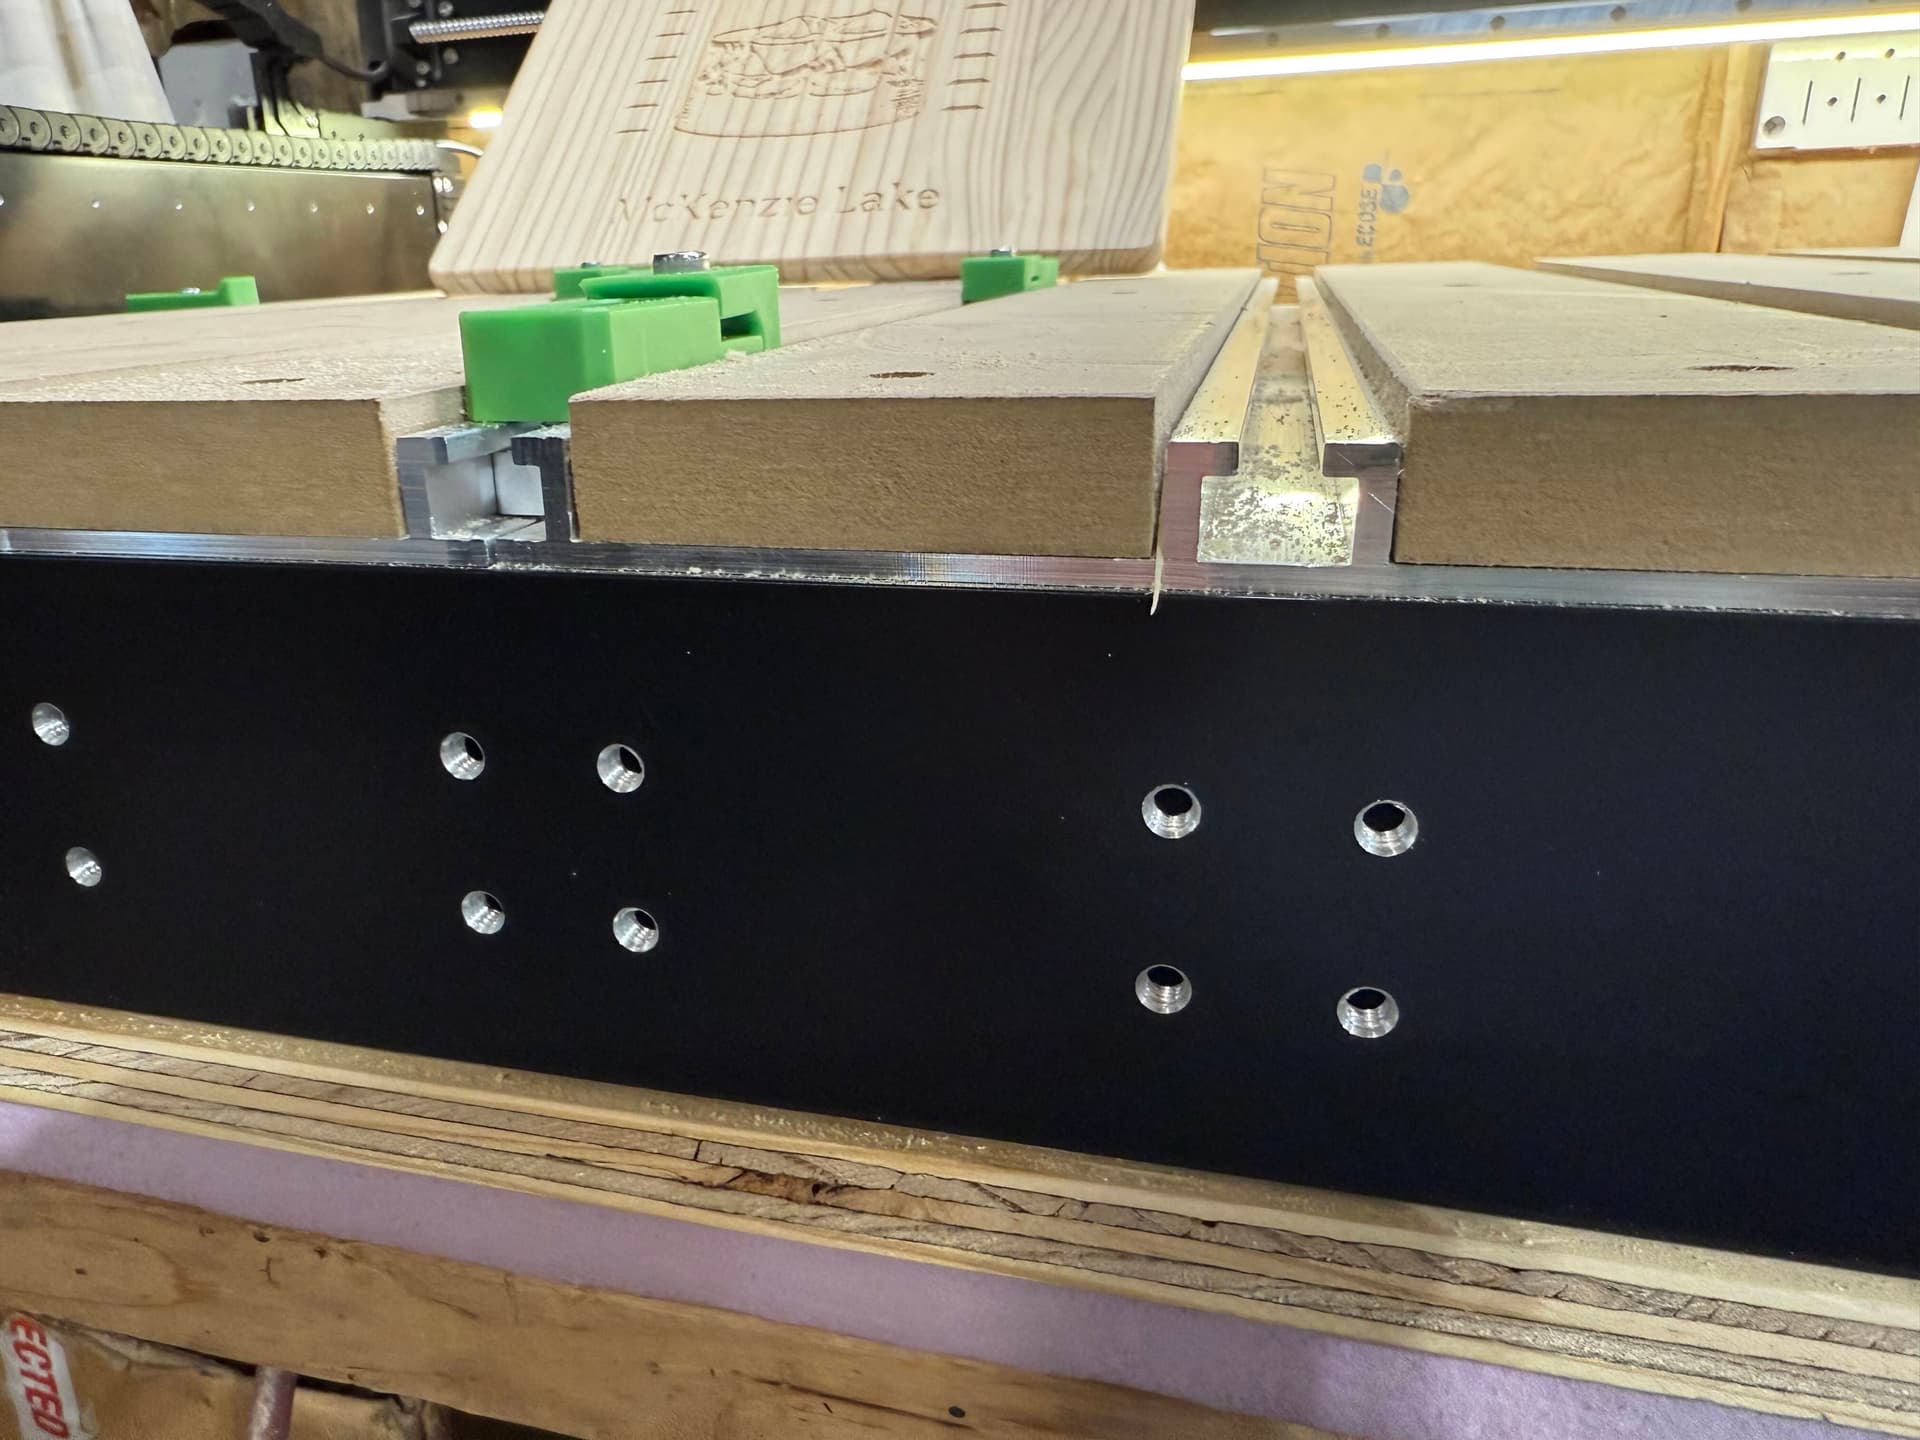
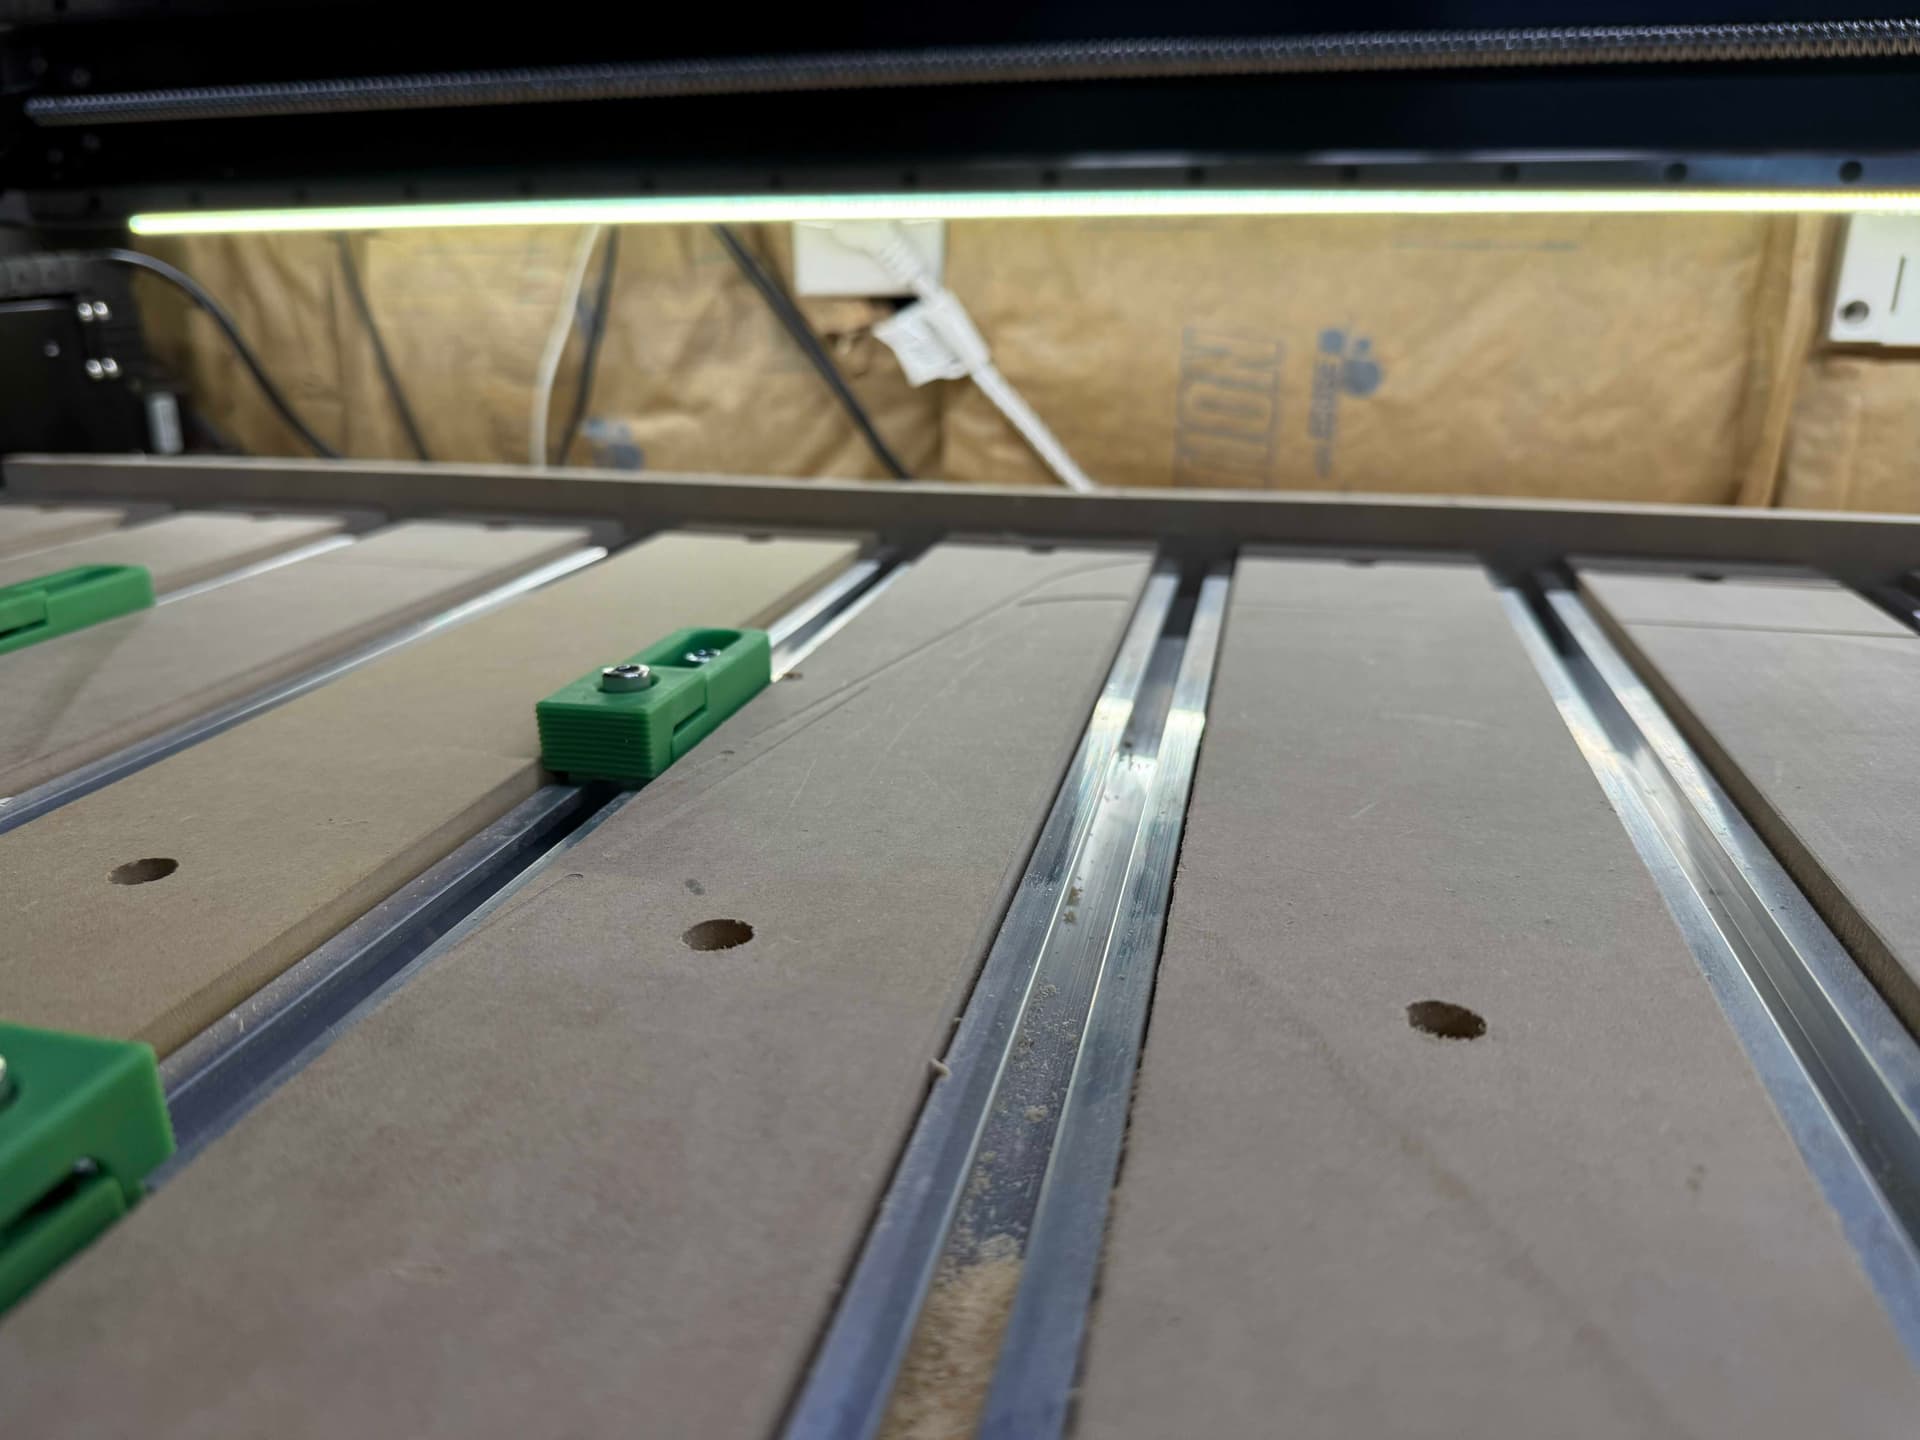
I’m cutting 2’×4’ plywood sheets, which basically max out the work area. When the material is in place:
The rear T-tracks are completely covered
The front T-track has about 1 inch exposed
I can still use standard workholding clamps in that front 1” of track
I’d prefer NOT to add a full spoilboard** on top of the hybrid table
What I’m missing is a good way to align the plywood perfectly flush/square against the back edge of the table, since the sheet hides all the rear T-tracks and leaves nowhere to attach clamps or stops back there.
What I’ve already tried / considered:
I looked at various T-track inside-corner connectors (2020/3030/4040), thinking they might act like risers or stops, but none of those extrusion sizes match Shapeoko’s custom hybrid table T-slot profile. They won’t seat correctly.
I’d like some kind of stop or fence that rises above the MDF hybrid slats, so the 2’×4’ material can slide over the T-tracks and register firmly against a straight back edge.
Has anyone else with a Shapeoko 5.1 Pro found a solution to this?
Are there any commercial risers or brackets that fit the hybrid table T-tracks?
Is there a way to create a repeatable back stop when the rear T-tracks are covered?
Any photos, models, or hardware suggestions would be super appreciated!
Thanks in advance — loving the Shapeoko so far, just dialing things in for production use.
How about using the router with a dowel pin in the collet.
Jog the spindle to where you want your material to land.
Lean your material ( straight edge side ) against the dowel pin, set it go to the other far end.
It will take a few back and forth tries.
Thanks for the suggestion — using a dowel pin in the collet as a temporary alignment reference definitely makes sense, and I appreciate the explanation. That’s a clever trick for squaring up a sheet manually.
In my case, though, I’m looking for something a bit more permanent and repeatable. I’m cutting the same 2’×4’ panels over and over, so I’d really like to have a fixed fence or stop that the material can register against every time without having to manually square it with the spindle.
Good question — and to clarify, I’m not necessarily set on aligning off the back edge specifically. My main concern is finding a repeatable way to position full 2’×4’ sheets while still being able to clamp them securely. Since the material completely covers all the rear T-tracks, it seemed easier to reference from the back and use the front edge T-tracks (the only ones accessible) for clamping.
If I push the sheet forward to align off the front edge, I start losing usable Y-travel on cuts that already run close to the machine’s limits. That’s why the back alignment felt like the cleanest workflow.
I definitely can use front stops if there’s a good workflow for it; I’m just trying to make sure I can:
Align the sheet consistently , and
Clamp it securely, given that most of the T-tracks get buried under the plywood.
So I’m exploring options for a raised fence or stop that bolts into the front or back T-track but sits high enough above the table to act as a reference line for the sheet, regardless of where on the table that stop physically mounts.
I believe I recently saw on the forum someone who had designed a 3D printable T-track extension to be able to clamp sheet material right out to the extent of the T-track. Perhaps you need something like that but maybe with just a solid lip-edge that catches & holds down the back edge of the plywood.
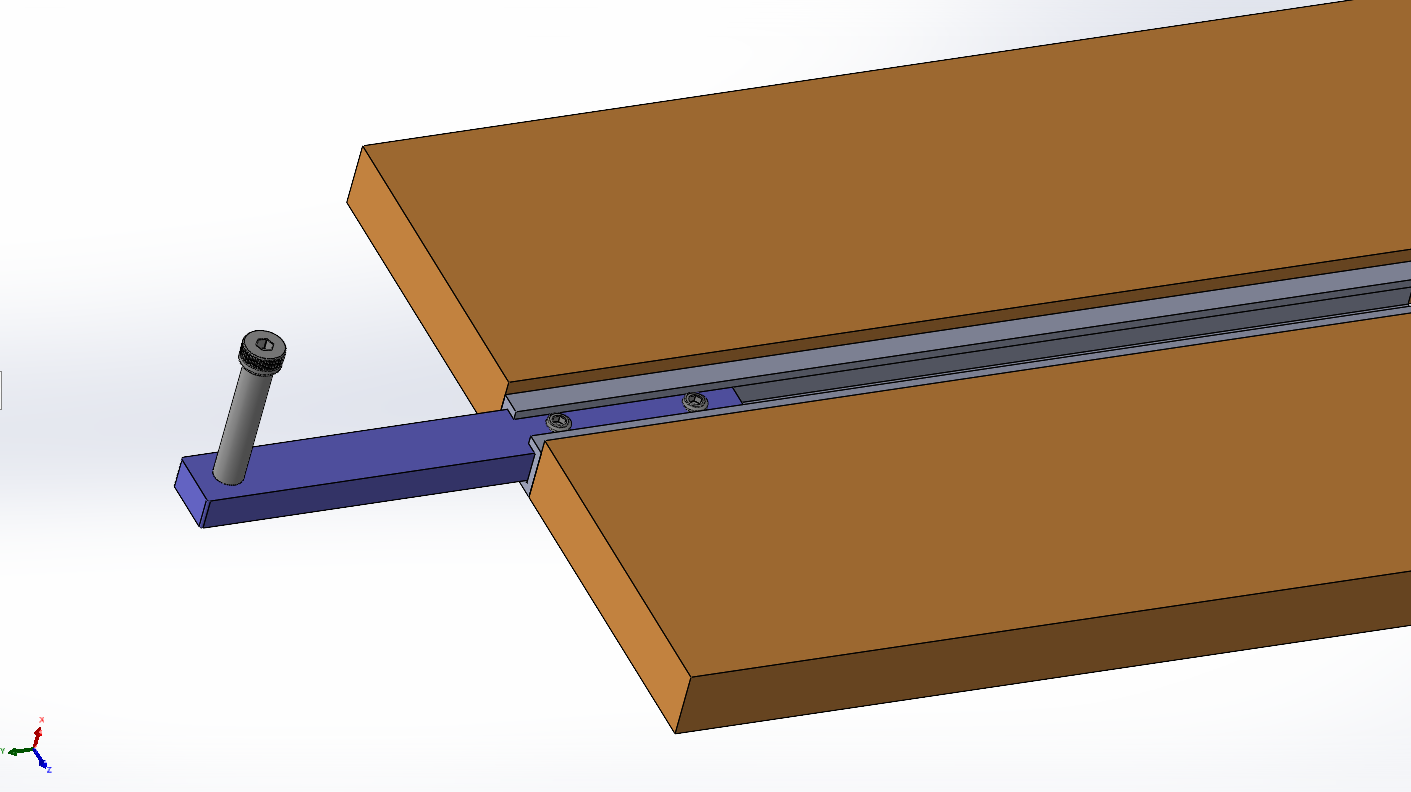
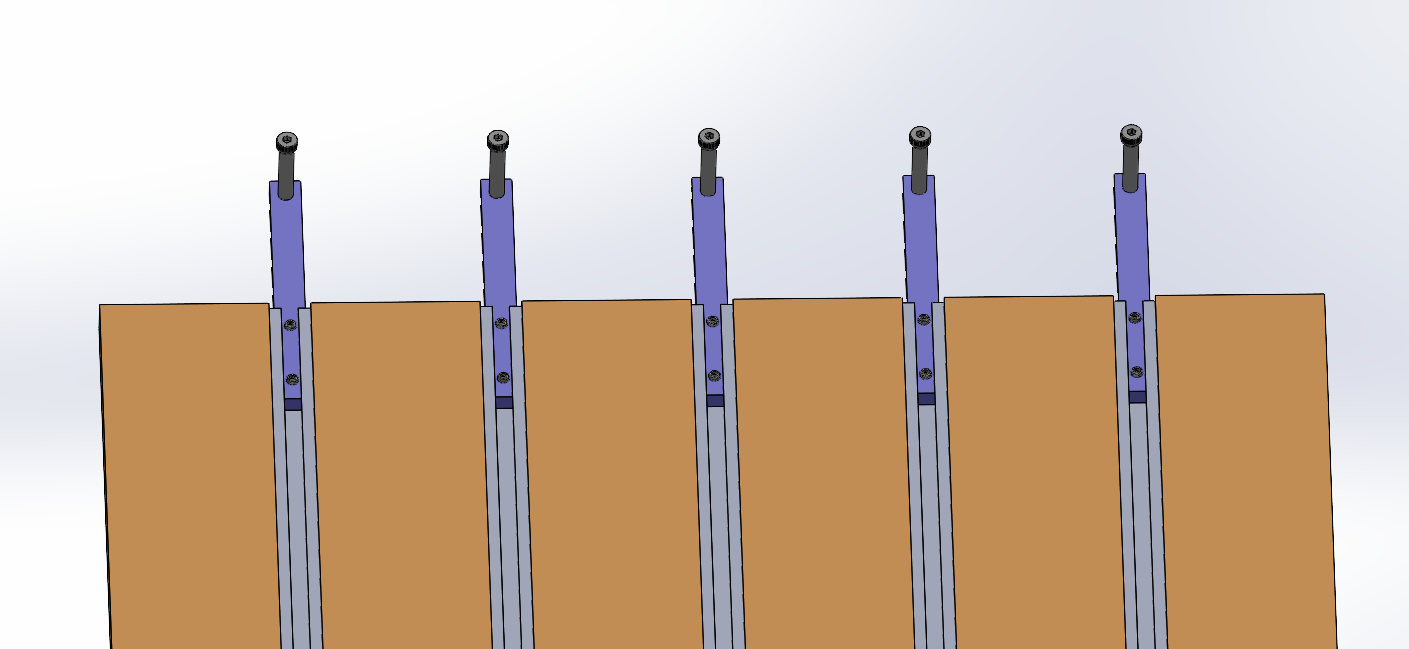
Get yourself a piece of aluminum and make an insert for the t-track, and put in a couple of either really short screws that sit below the slats, or a couple of set screws, and then either a shoulder bolt or female round threaded spacer for your material stop.
Then you get your board aligned where you want it, then put in your backstop assemblies with the screws tight enough they don’t move without a decent nudge. Get them all up against your “as close to perfect as you can get” cut plywood, then carefully remove the plywood and tighten the set screws. I recommend cup tip set screws. They will bite and hold really well, without the deeper divot a cone tip screw would make.
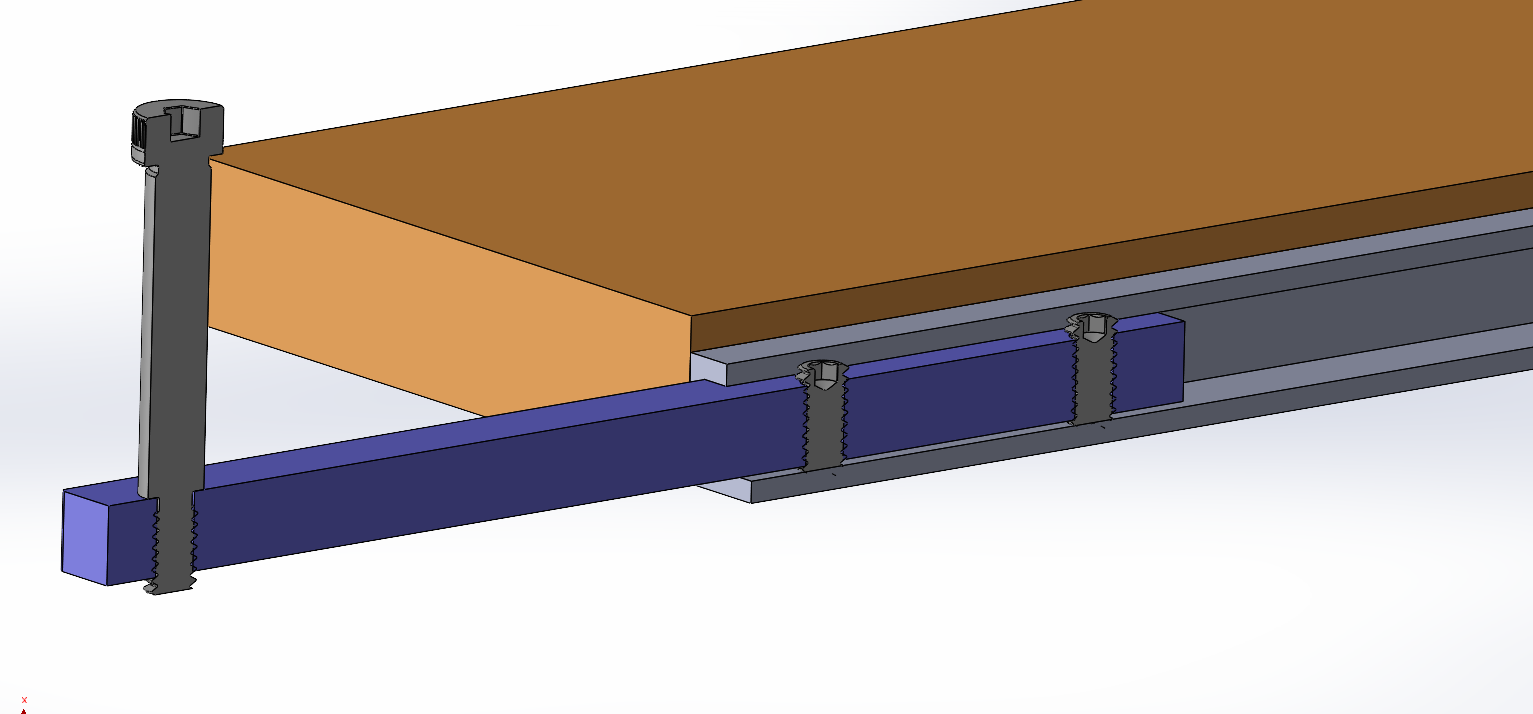
Now, if you don’t want to have the backstop for a job, you can just carefully unscrew the shoulder bolt and you can still feed the stock further back if needed. When you want it back, screw in the shoulder bolts and you’re ready to go.
I used 1/4-20 threaded screws for this demo, but you can do whatever.
Thanks everyone — these ideas are really helpful, and the diagrams and explanations make a lot of sense. The custom aluminum T-track insert with shoulder bolts/set screws looks like a perfect solution in theory.
My only hurdle is that I’m not a machinist, and I don’t have the tools to mill a custom insert. I also don’t have access to a 3D printer, so I can’t print any of the hybrid T-track extensions I’ve seen on the forum.
So I’m hoping to find something I can either:
-Cut from wood or HDPE directly on the CNC
-Buy off the shelf
-Assemble using basic hardware (T-bolts, riser blocks, etc.)
If anyone has a simpler, non-machinist-friendly version of the T-track insert idea — or photos of a basic raised fence/stop system they built — I’d love to see how you approached it.
Worst case, is it a bad idea to just nail or screw a thin strip of plywood into the MDF slats at the back of the machine and use that as a simple alignment stop? It wouldn’t need to take a lot of force—just provide a consistent reference edge. I know MDF isn’t the strongest material in the world, but for light alignment pressure it seems like it might work. Curious if anyone has tried something similar or sees any downside I’m not thinking of.
I would think that using a good hardwood like maple could be made into track extensions. Plywood doesn’t hold up well when cut into narrow strips & HDPE starts flexing a lot.
My dude, you have a ShapeOko 5 Pro. There is not much more needed to machine that insert.
If you could get a small chunk of 6061-T6 (preferred) or 7075-T6 or 7075-T651 (just slightly less machinable) in 3/8" thickness, all you’d need to do is cut out the rectangle and drill the holes for the tap.
Heck, if you got the aluminum, there’d be more than one person who would walk you through the design of the insert.
If you went this direction, I could even get you part numbers and links to McMaster-Carr for the parts I called out. Just saying, if you wanted to do this, we’d help you get there.
Haha fair point — you’re absolutely right, and the idea is growing on me. I’ve just never cut aluminum before, so I’d definitely need some hand-holding to make sure I don’t destroy anything or weld chips to the cutter on my first attempt.
If you’re willing to list out the parts and McMaster numbers, I’m totally capable of ordering everything and following instructions. It would be fun to expand my skillset a bit.
A few beginner-level questions so I start off correctly:
• What’s the best source for the 6061-T6? McMaster, Online Metals, local metal suppliers, or something else? If you have part numbers or links, that’d be amazing.
• Do I need a specific end mill for aluminum? (I don’t currently own any aluminum-rated bits.)
• What size/style of taps should I get for the threaded holes you described?
• Do I run dust collection OFF for aluminum?
• Should I be using coolant, or is dry cutting okay on the Shapeoko?
• Could you recommend some beginner-safe feeds & speeds for 6061 on the 5 Pro?
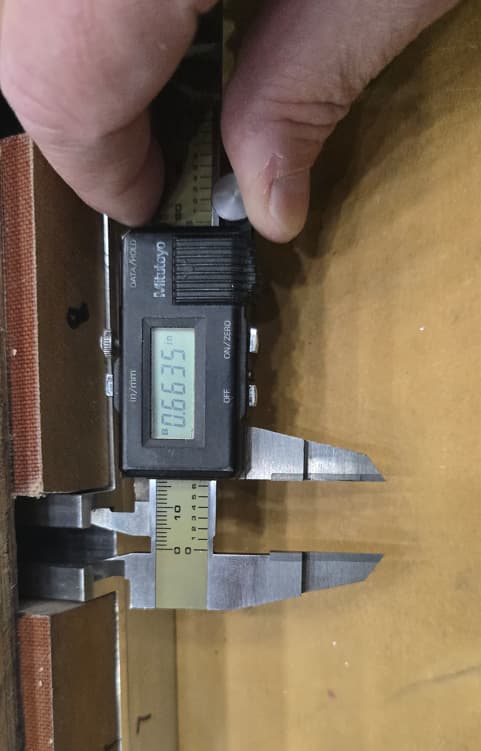
• And one clarification: you mentioned 3/8” aluminum stock, but when I measured the interior width of my T-track, I got something closer to 5/8”. Am I measuring wrong? Just want to be sure I order the right thickness.
If you can help me confirm the correct aluminum dimensions, the hardware list, and some starter cutting parameters, I’m 100% in — I’d love to try making this insert with some help.
Probably the easiest thing to do would be to replace the MDF slats with slightly longer ones, then run a pocketing operation inset by the radius of the tool and sufficiently deep to work to register against — you’d have to remove a fair bit of material, and you’d probably want to buy a 4x8 sheet to make it affordable.
Alternately, why not just make an L-shaped bracket:
Thanks for the suggestion — that actually makes a lot of sense. The L-shaped bracket idea is probably what I’ll do in the short term since it’s quick to make, and easy to glue in place.
Longer term, though, I’m still really interested in the aluminum insert approach. Being able to use the actual T-tracks (instead of glue) and having a stop strong enough to take real clamping pressure sounds like the ideal permanent solution. If I can get the machining steps figured out with the help here, that seems like the strongest and most durable setup.
I appreciate the ideas! Keep 'em coming if there are other options out there to consider!
Easy enough to make something (in reverse) in aluminum and then drill and tap for holes to secure it in the T-tracks and then machine it to match the machine motion (make the MDF version, machine that, clamp a length of stock against the machined edge, clamp the alu. versions in-between registered against the stock).
There was a front-edge clamping system posted a while back which maybe could be adapted:
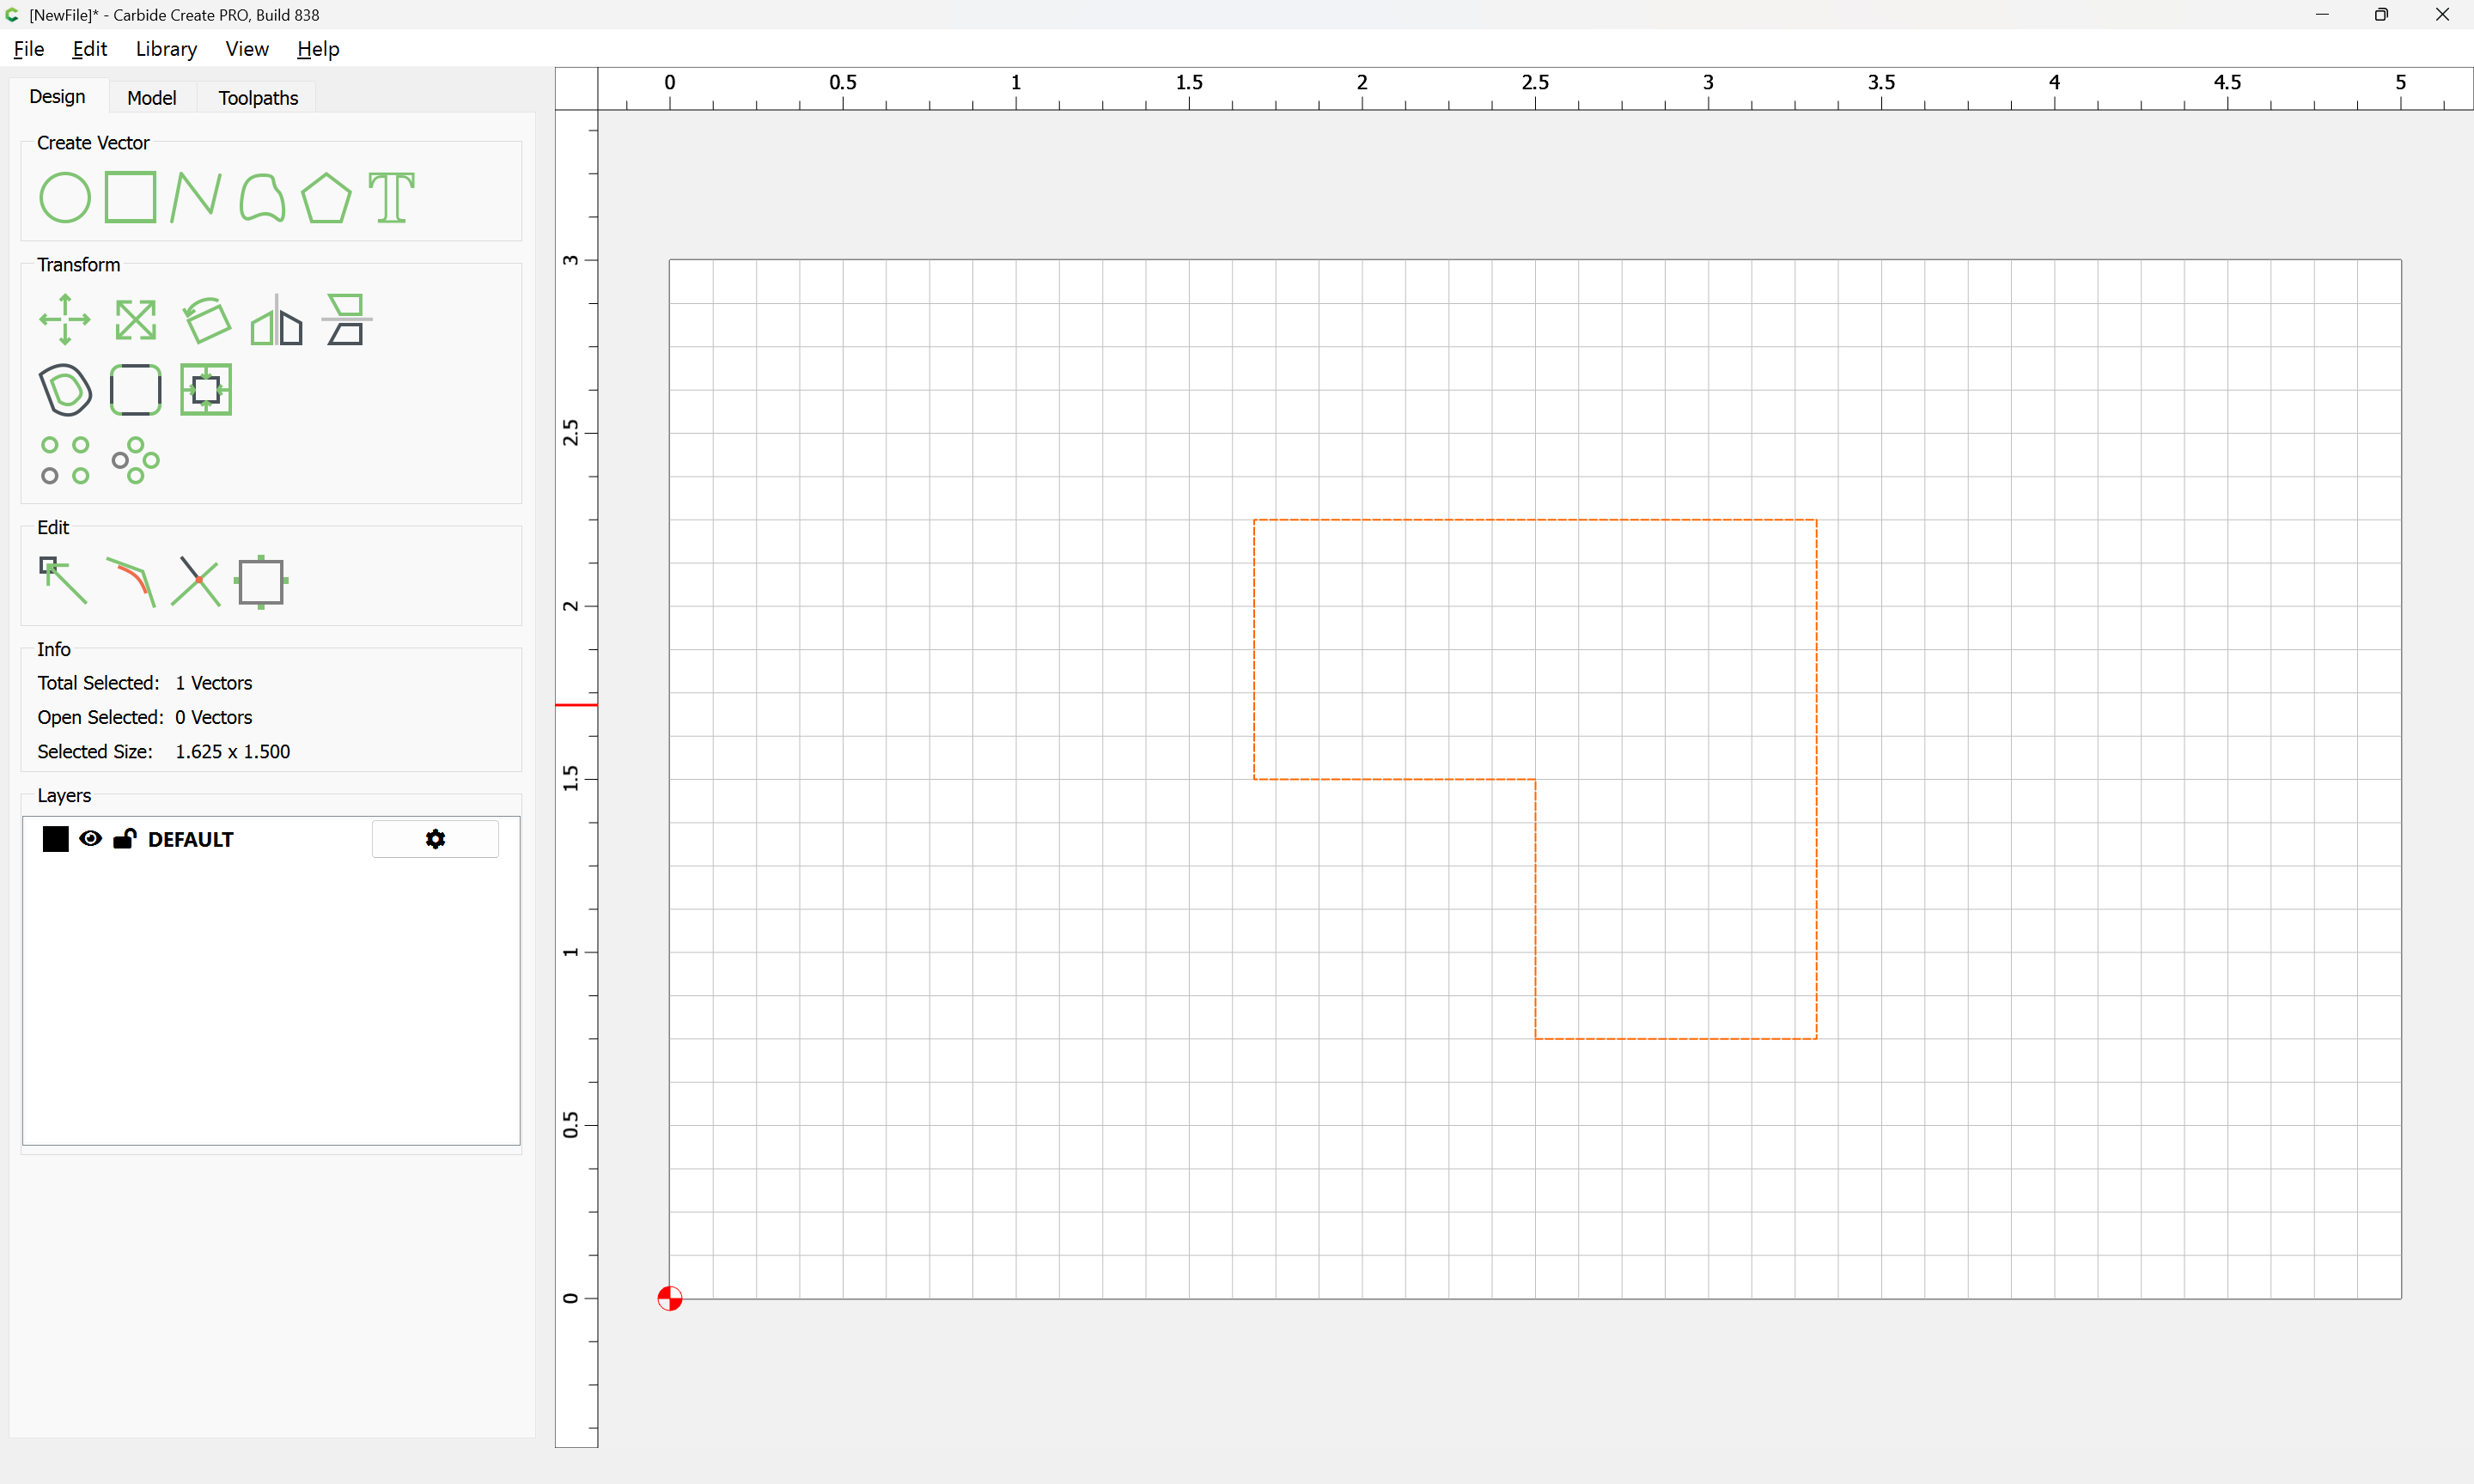
That solved it! I ended up using the threaded holes on the back beam — once I got the hole pattern set up, the fence went together really quickly. Ripped some scrap plywood I had on hand, and I had a pile of the M6 bolts from the Teez Nutz kit and they worked perfectly. The whole setup is simple, super secure, and honestly stronger than anything I expected. This is going to be ideal for the repeat cuts I’m doing.
I’m a tiny bit bummed I won’t get to try the aluminum insert idea yet — I was actually getting excited to learn that process — but this solution is rock solid and exactly what I needed right now. Huge thanks to everyone who chimed in with ideas and explanations!