Placeholder for existing topic.
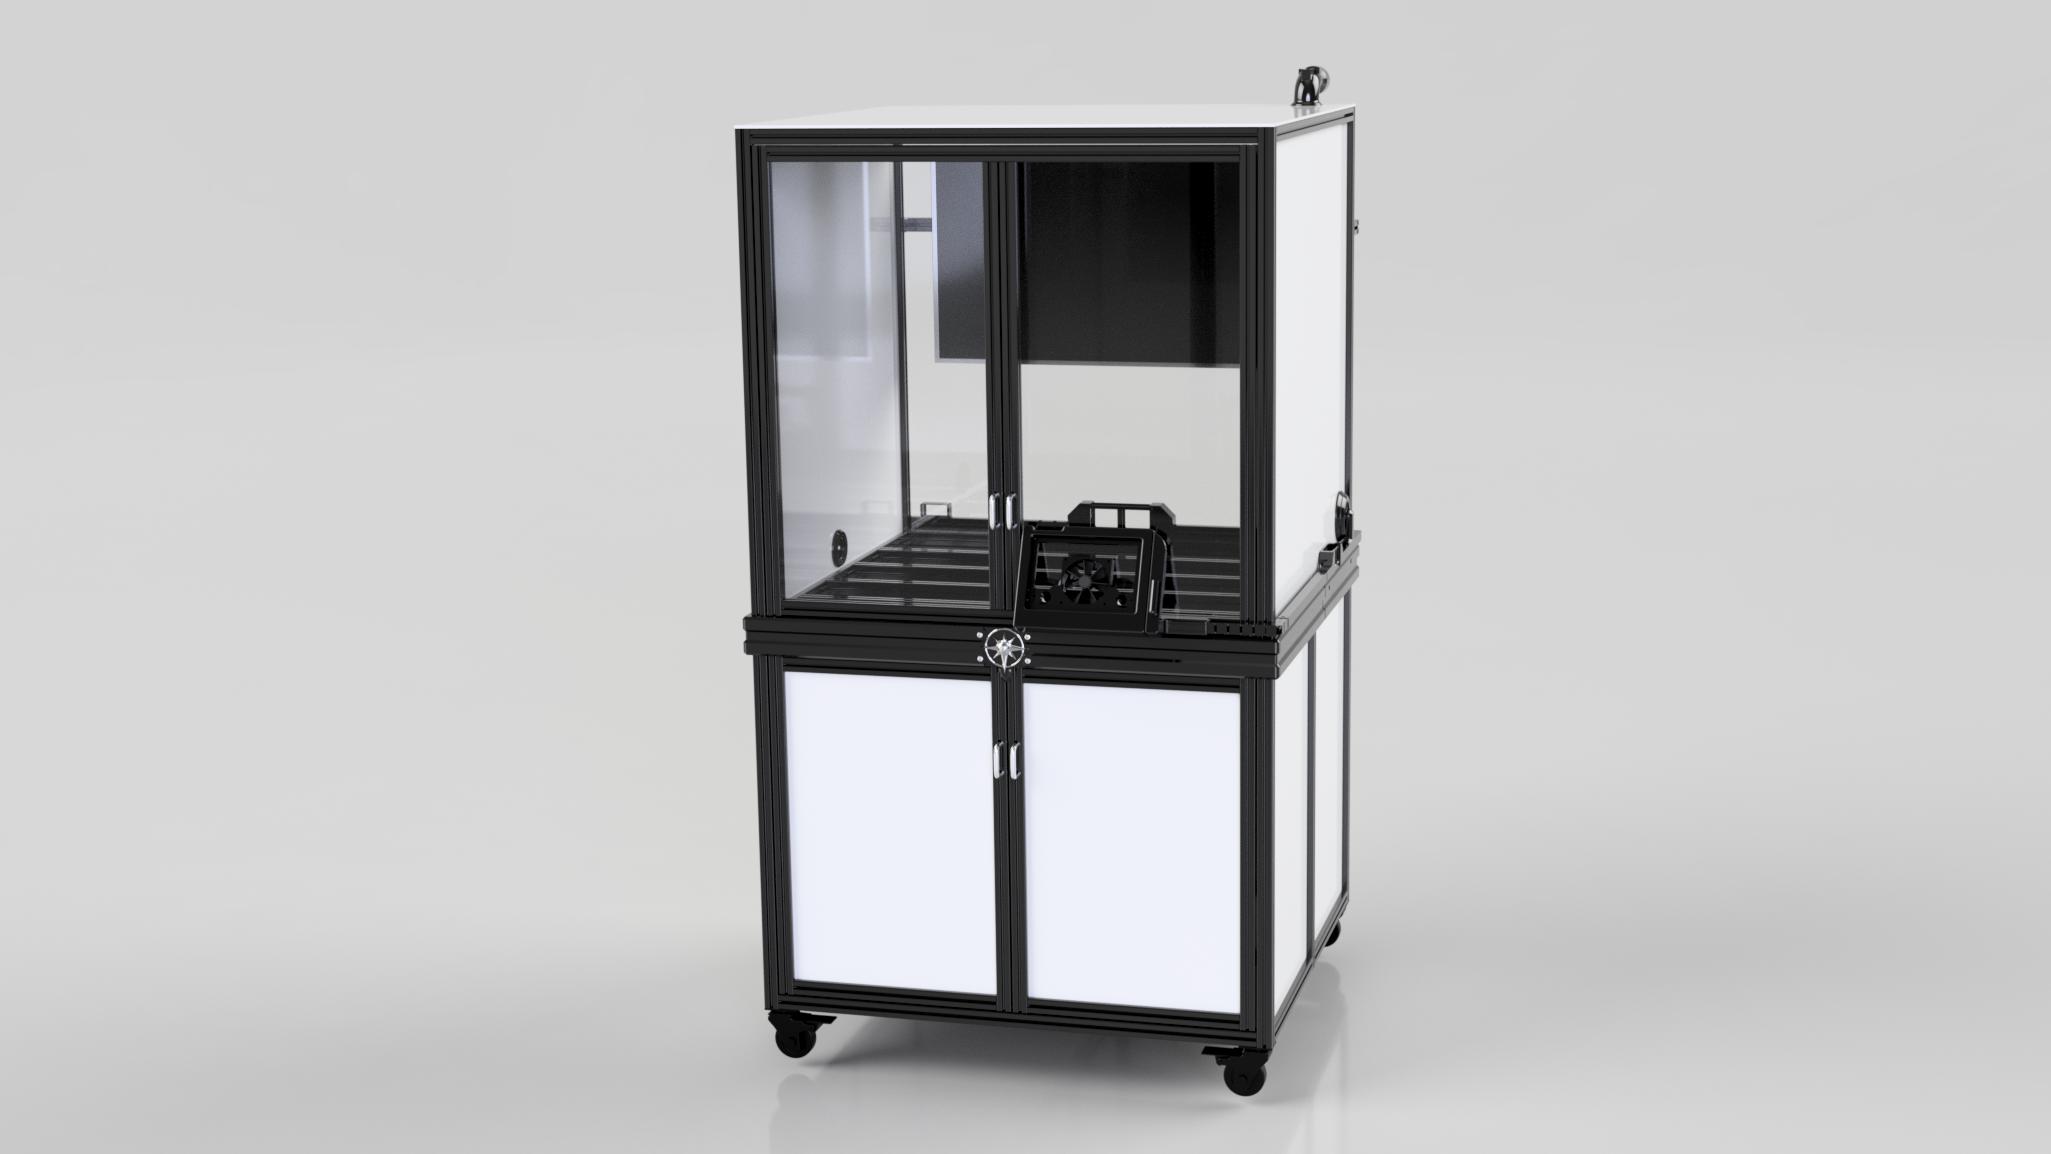
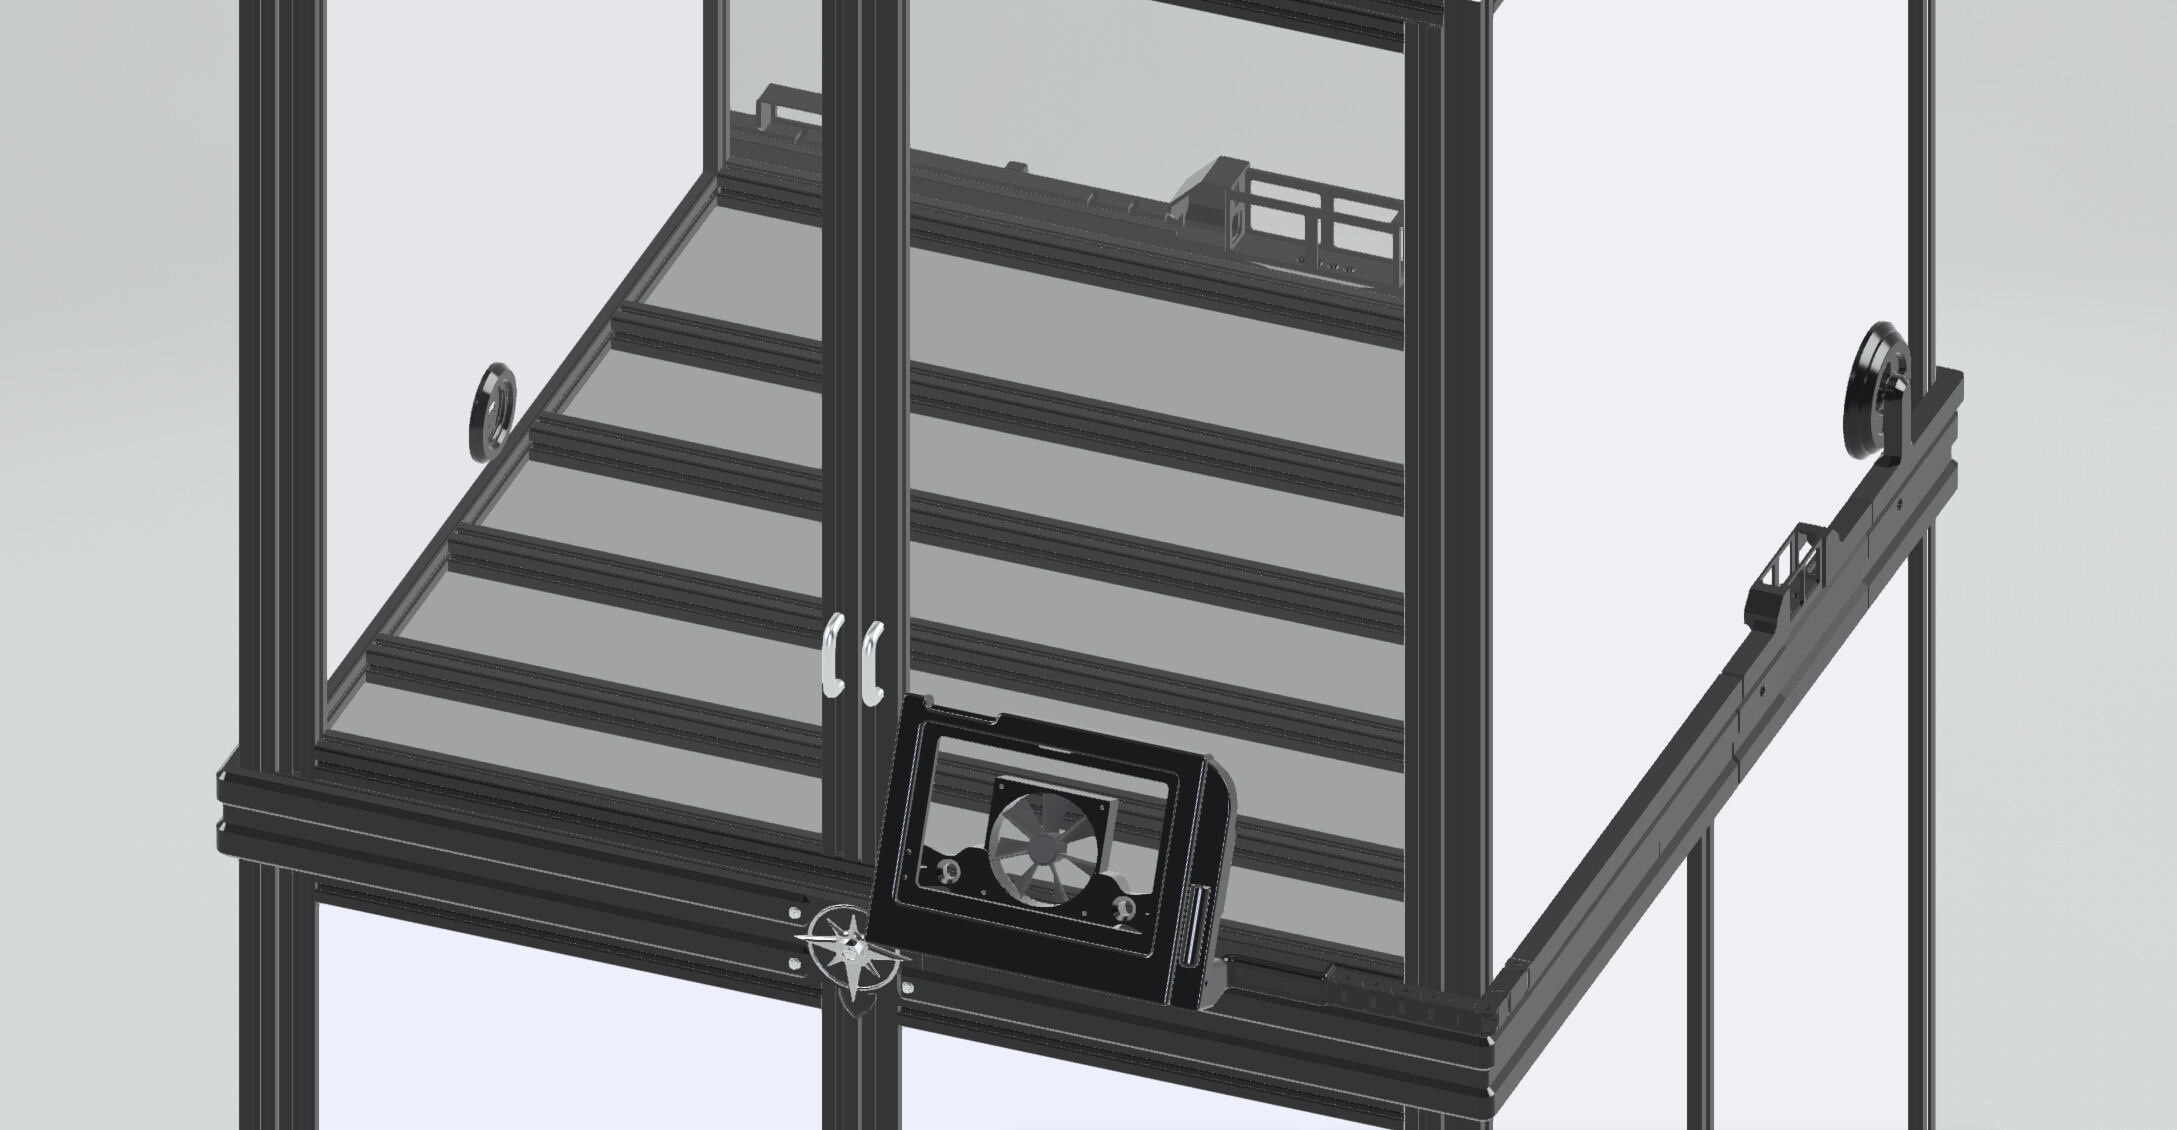
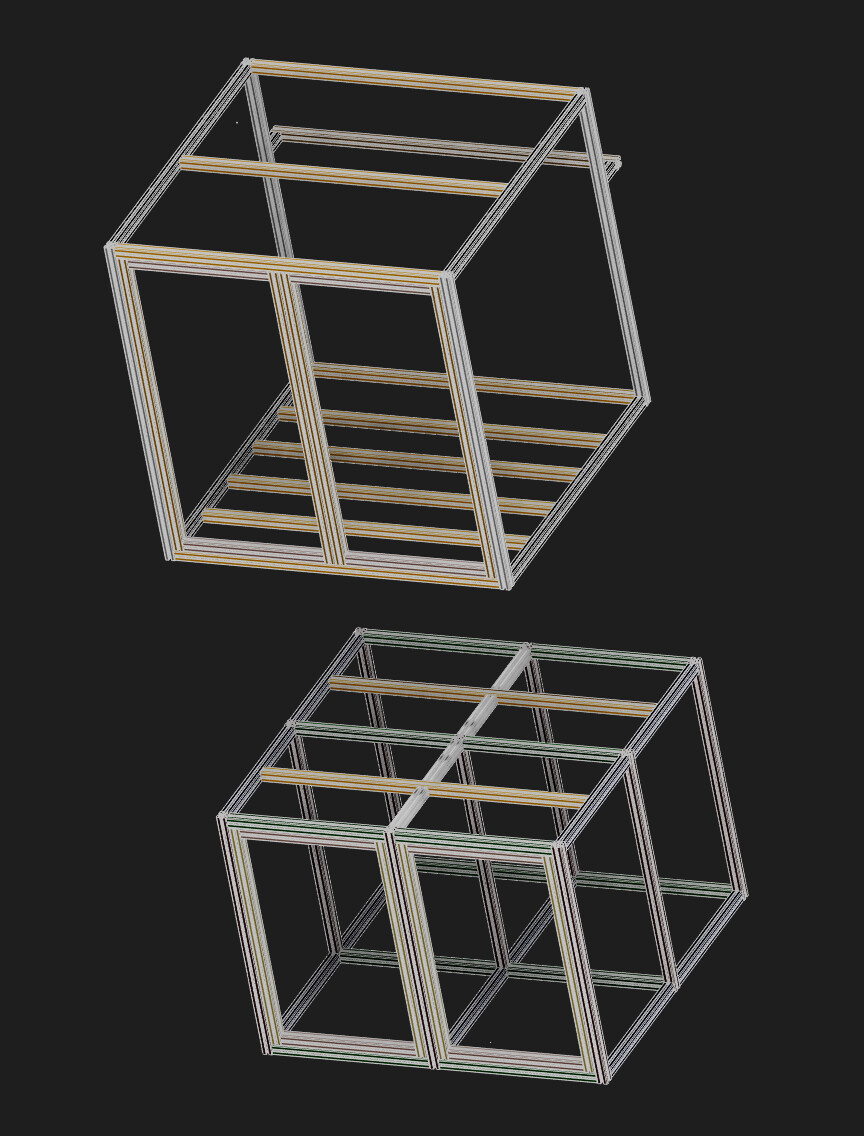
Here is what I came up with for the HDM, a 48" wide by 44.5" deep inside dimension. Trim is based on the locations and components for the Pro, will need to redesign when I get my hands on the HDM.
Fusion Viewer: Fusion Link for Model Viewer
-For cell phones click “Continue in Browser”. You can stretch to zoom in, and rotate it etc…
15 Likes
What’s the total cost of an enclosure like this?
1 Like
I will let you know in a few days. Working on the order now. The white 1/4" Alupoly sheets are $120 for a 4x8. Think the Acrylic is $180 a sheet. I can make 5 of those trim sections with a 1kg spool, so about 25+ spools of PLA.
As someone who has built several enclosures with 8020 extrusion, you will want to use a torsion box sandwiched between two sheets of 1/8 aluminum plate for the base under the HDM, or it will flex under the weight of the HDM. It might also want to consider building the base out of square steel tube.
1 Like
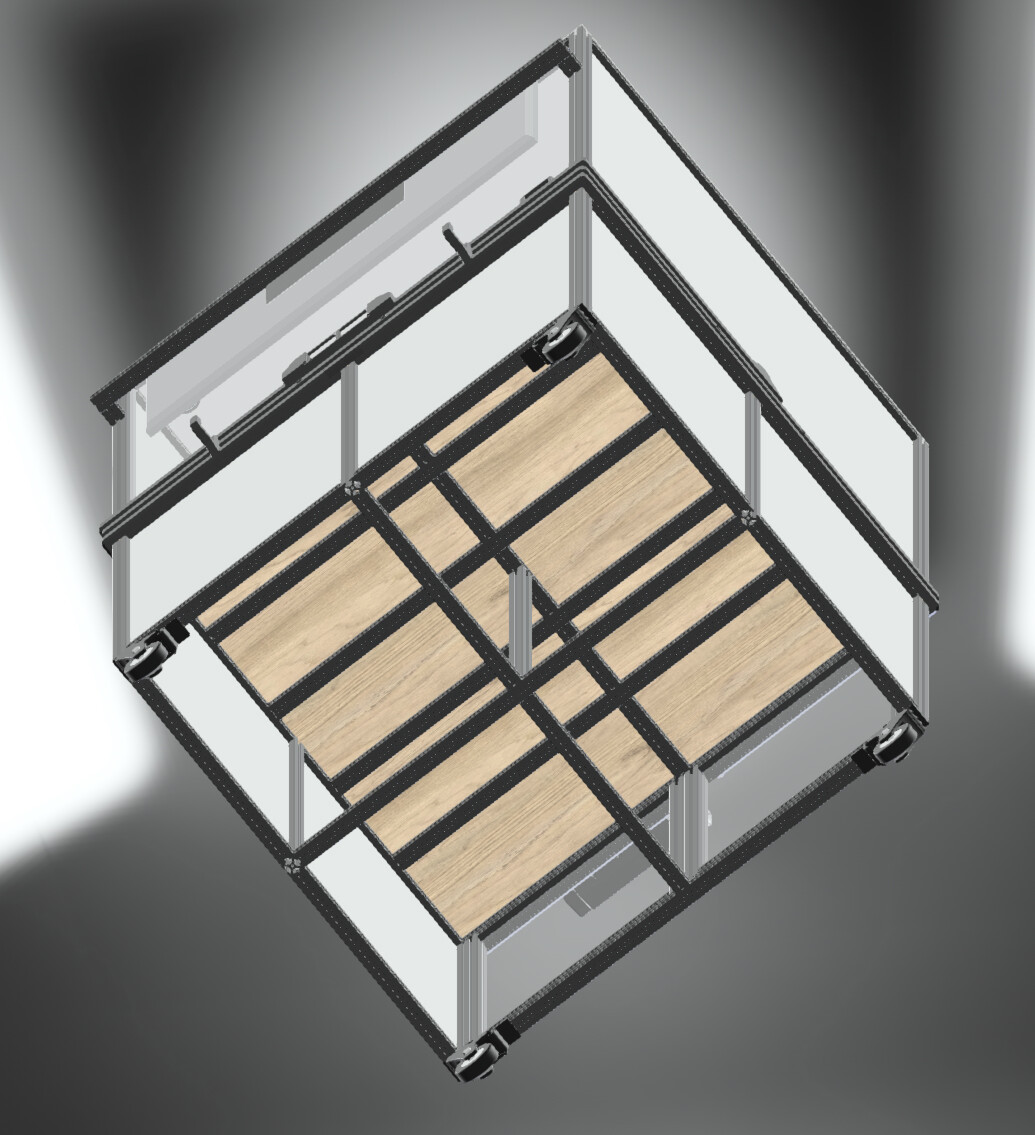
I sandwich 3/4 finished plywood with a sheet of 18 gauge brushed stainless on top. The machine is supported by 4 horizontal beams bolted to the top enclosure and 4 bolted to the bottom section, with all 8 beams running directly under the machine frame slats, connected to a center post, and 8 perimeter support posts. This will be my 5th enclosure with this design, no sag, very strong and sturdy and level. I also design 3/4 aluminum spoilboards for my machines, adding a lot to the total weight, and have had no issues so far.
I could easily add in more cross beams, I just do not see any reason to as I believe this will hold 1500 lbs or more and the HDM is only 110KG/240 lbs?
8 Likes
I did forget to add the front lower center post between the doors, will update asap.
Weak link are the casters rated at 300 lbs each. I considered installing retractable leveling feet but they really do not need them, the casters lock the wheel and the spindles, so they are very sturdy. I push the enclosure up to the wall and lock the front wheels, it has no movement during carving.
I thought you were planning to put one machine in the bottom compartment, and one machine up top. This was a reason for the torsion box recommendation. 3/4 plywood sandwich between 18 gauge stainless steel, center post, and 8 supports perimeter post will do the trick. Where do you buy your 8020?
2 Likes
Thank you for the help I appreciate it very much.
I always go through 8020.net. I did see a few other places that are cheaper and possibly much faster, but I have had at least a few hundred pieces of extrusion cut by these guys and I always stack them up next to each other to check lengths etc. Never once have I ever seen any variance in the cuts. Always perfect. They are very slow though, at least since the pandemic started.
I recently bought attachment hardware from Tnutz.com and got a way better deal and very fast shipping. They sell extrusion for a lot less then 8020 but I decided to stick with what I know on the expensive orders, and not lose sleep over some possible second rate cuts compared to what I am used to at 8020.
1 Like
I have an 8020 addiction. My father-in-law and I have built three shop tables, a large cabinet, a router table, a drill press stand, a custom table saw outfeed table, and a miter saw table out of 8020. If only all this were for my shop  . The next project is a 4 season greenhouse.
2 Likes
Wow that is a lot of 8020 ha ha, a greenhouse? That will be awesome but holy crap will it be expensive!
So what does your father in law do for work and are they hiring? Lol Make sure you use quality hardware on the joints with blue loctite on a large structure. Thermal expansion will work fasteners loose fairly fast on an aluminum structure as it expands and contracts each day.
1 Like
@Able
8020 order came out to 2500 for the extrusion including the 12 hinges (30 each), 4 door handles($21 each), and 8 spring latches($25 each).
Add in almost 400 for shipping, and 200 for tax, total came out to 3100.
8020 wanted $500 for 100 stainless anchor fasteners, I am getting them for $200 from Tnutz.com and replacing the cheaper 100 black carbon bolts that they come with, with stainless for $40 from bolt depot.
Panel gaskets are $80 for a 100 yard roll, I already have enough from a previous build.
Casters are 40 dollars off Amazon.
1 sheet of finished hardwood plywood, $80
I piece of 18 gauge stainless $180
PLA spools for trim and accessories, $500
Bolts and t-nuts for trim and upper panels $150.00
I will update with the Alupoly and Acrylic bill when I place the order…
1 Like
Really cool! Do you put your shop vac underneath?
1 Like
It will fit but I run it outside with a dust collector and no filter for better cfm.
Are your PLA parts shared between all of the machines you design? At that much filament cost and printing time it seems ripe for molding or casting.
I have no experience with those methods. Is it hard to have models made into molds? I do not think I could cut a lot of these parts out on a CNC machine, lot of hard to reach stuff, 6 sided carves etc.
I have 20 printers now, with plans for more lol, so it goes fairly quickly. A lot of custom sizing involved for different size enclosures.
Hard part is the modeling, once they are created, printing them is so easy…
Been working on building enclosures and associated parts for a year now, have been going at the pace of modeling one or two parts a week, just finishing up the rear area of trim, now working on some final wire hiding trim parts for the TV and camera etc.
I purchased EnclosureParts.com was going to open a store online at some point, and list the models for sale once I get all my equipment finished and ready to build with.
Can design a custom enclosure for customer and ship all the parts ready to go!
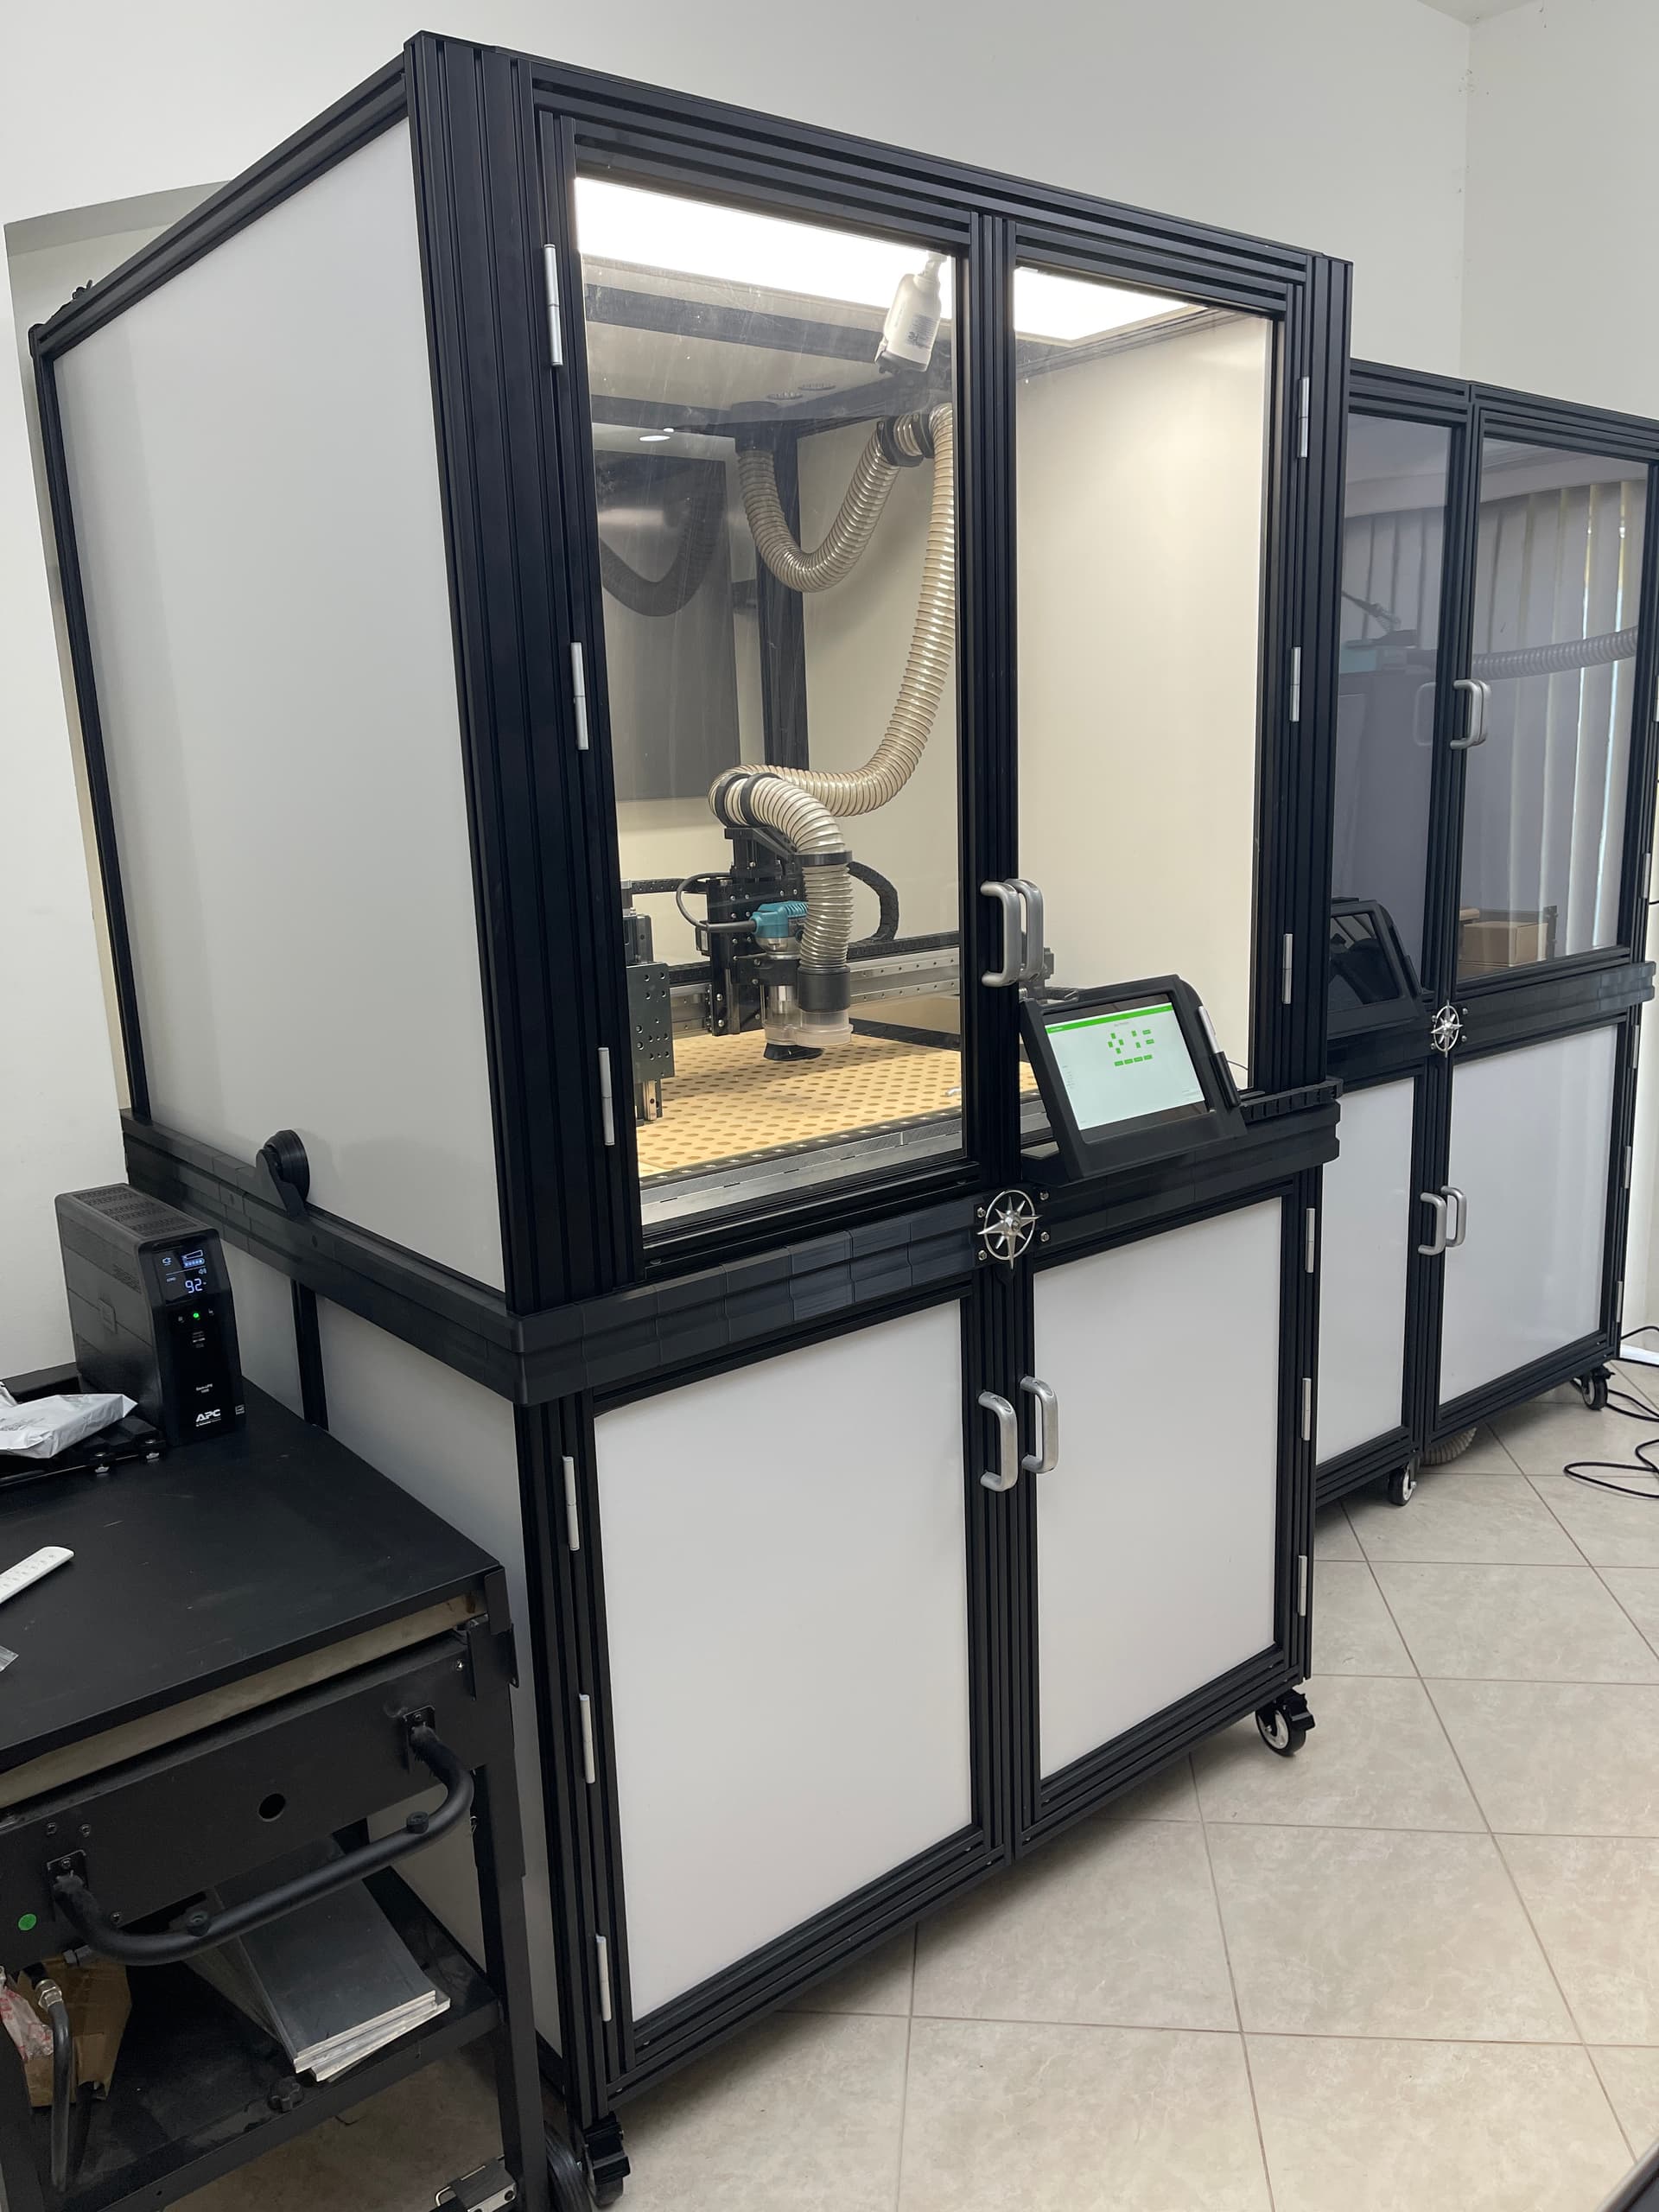
Photos below are work in progress, a lot of rough prints for testing still on this machine. Also will be revising the exposed center bolt hole attachments on some of the pieces, the screw in cap was too visible. The tablet holder has a slide in cover that hides the socket caps, was not installed for photo.
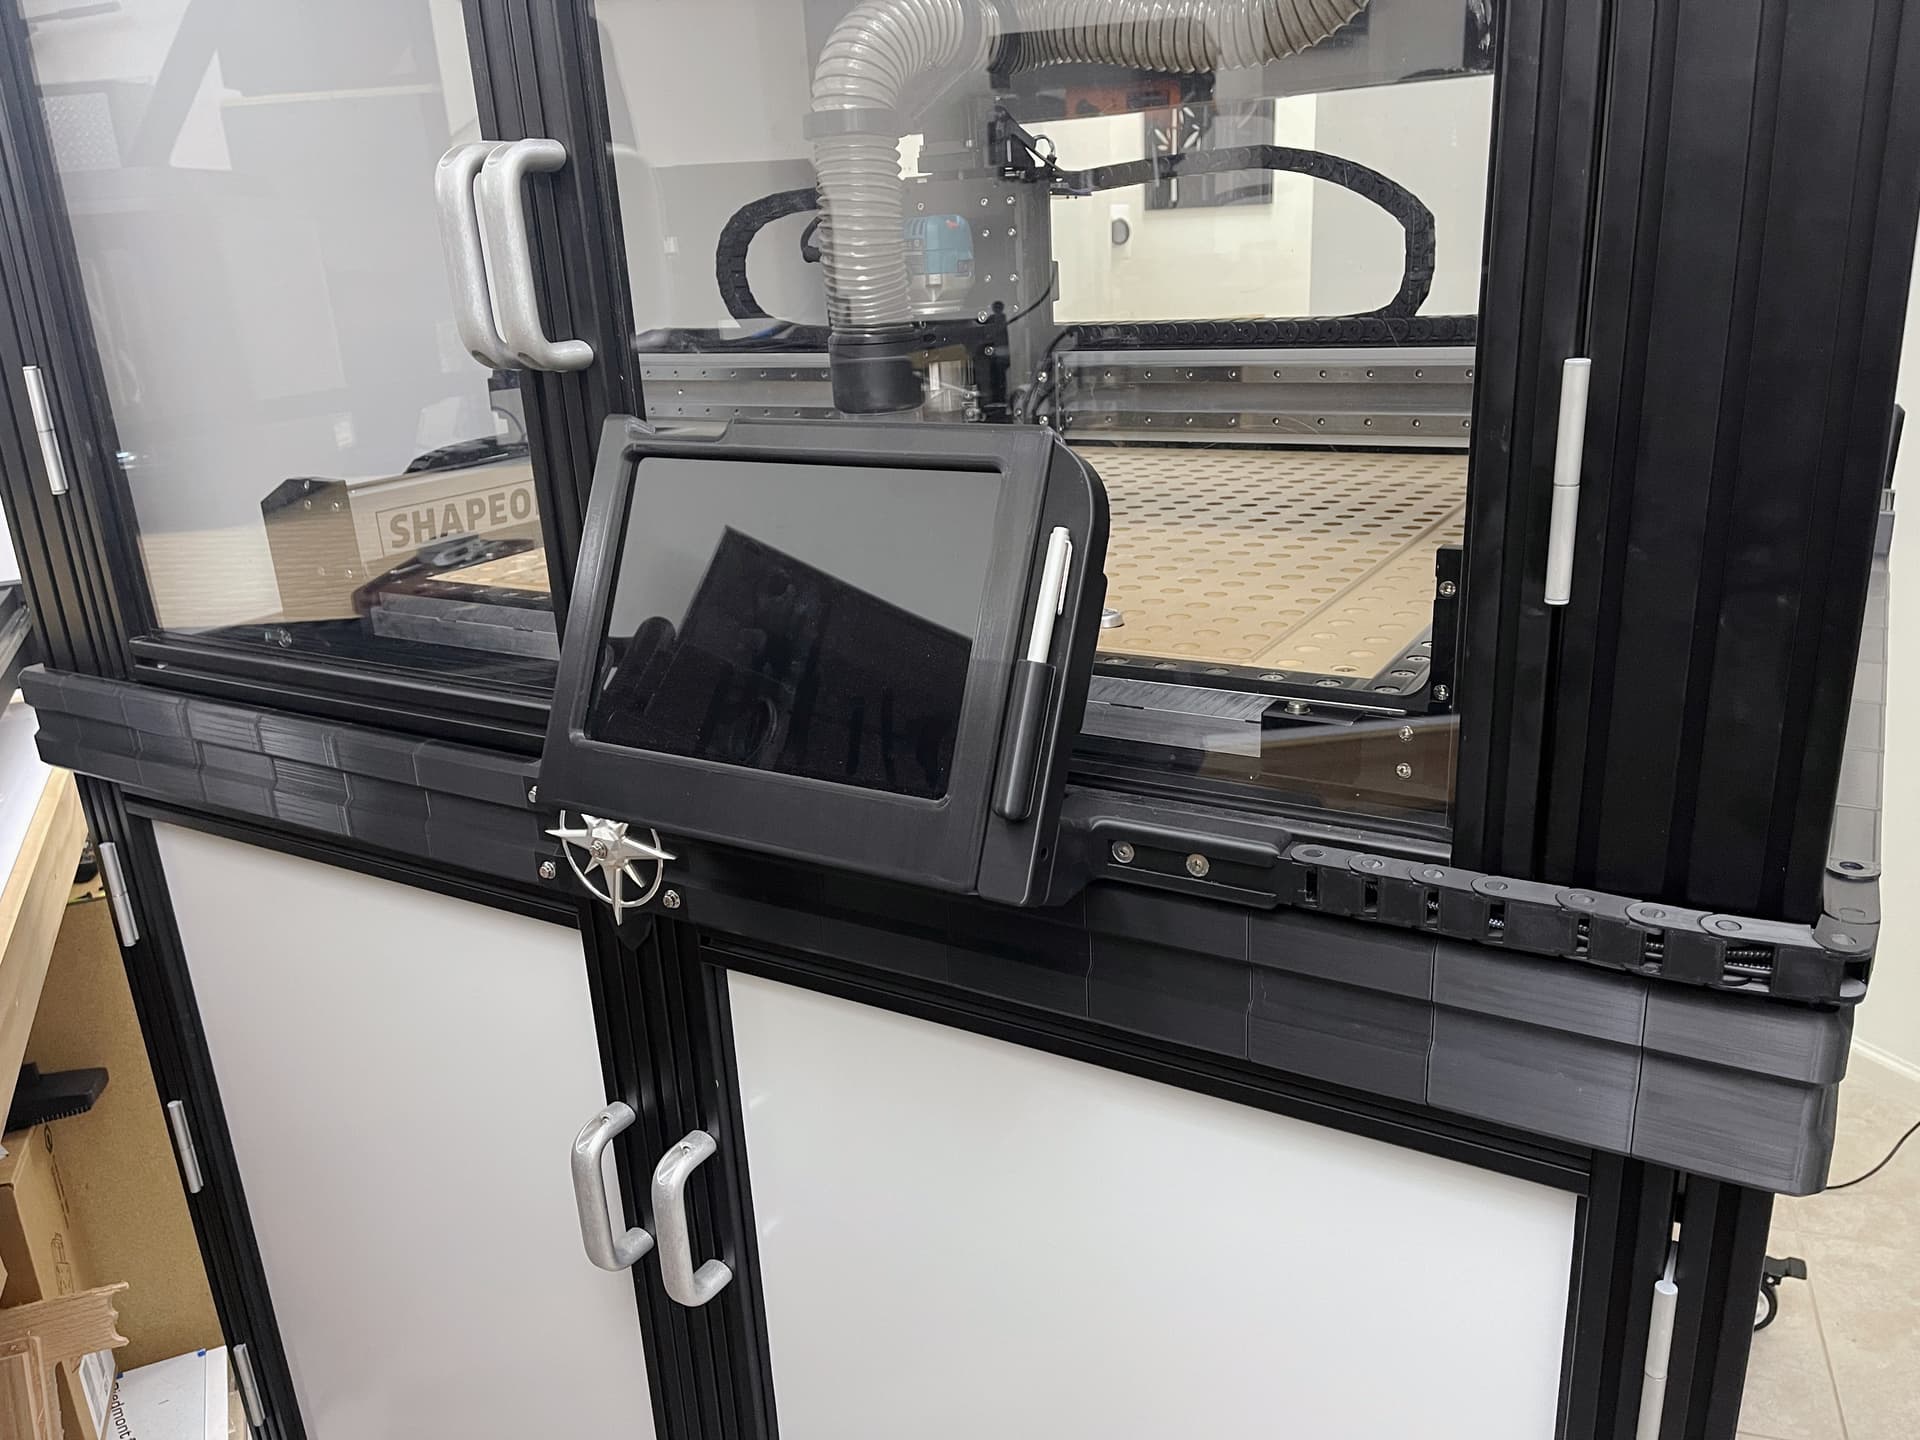
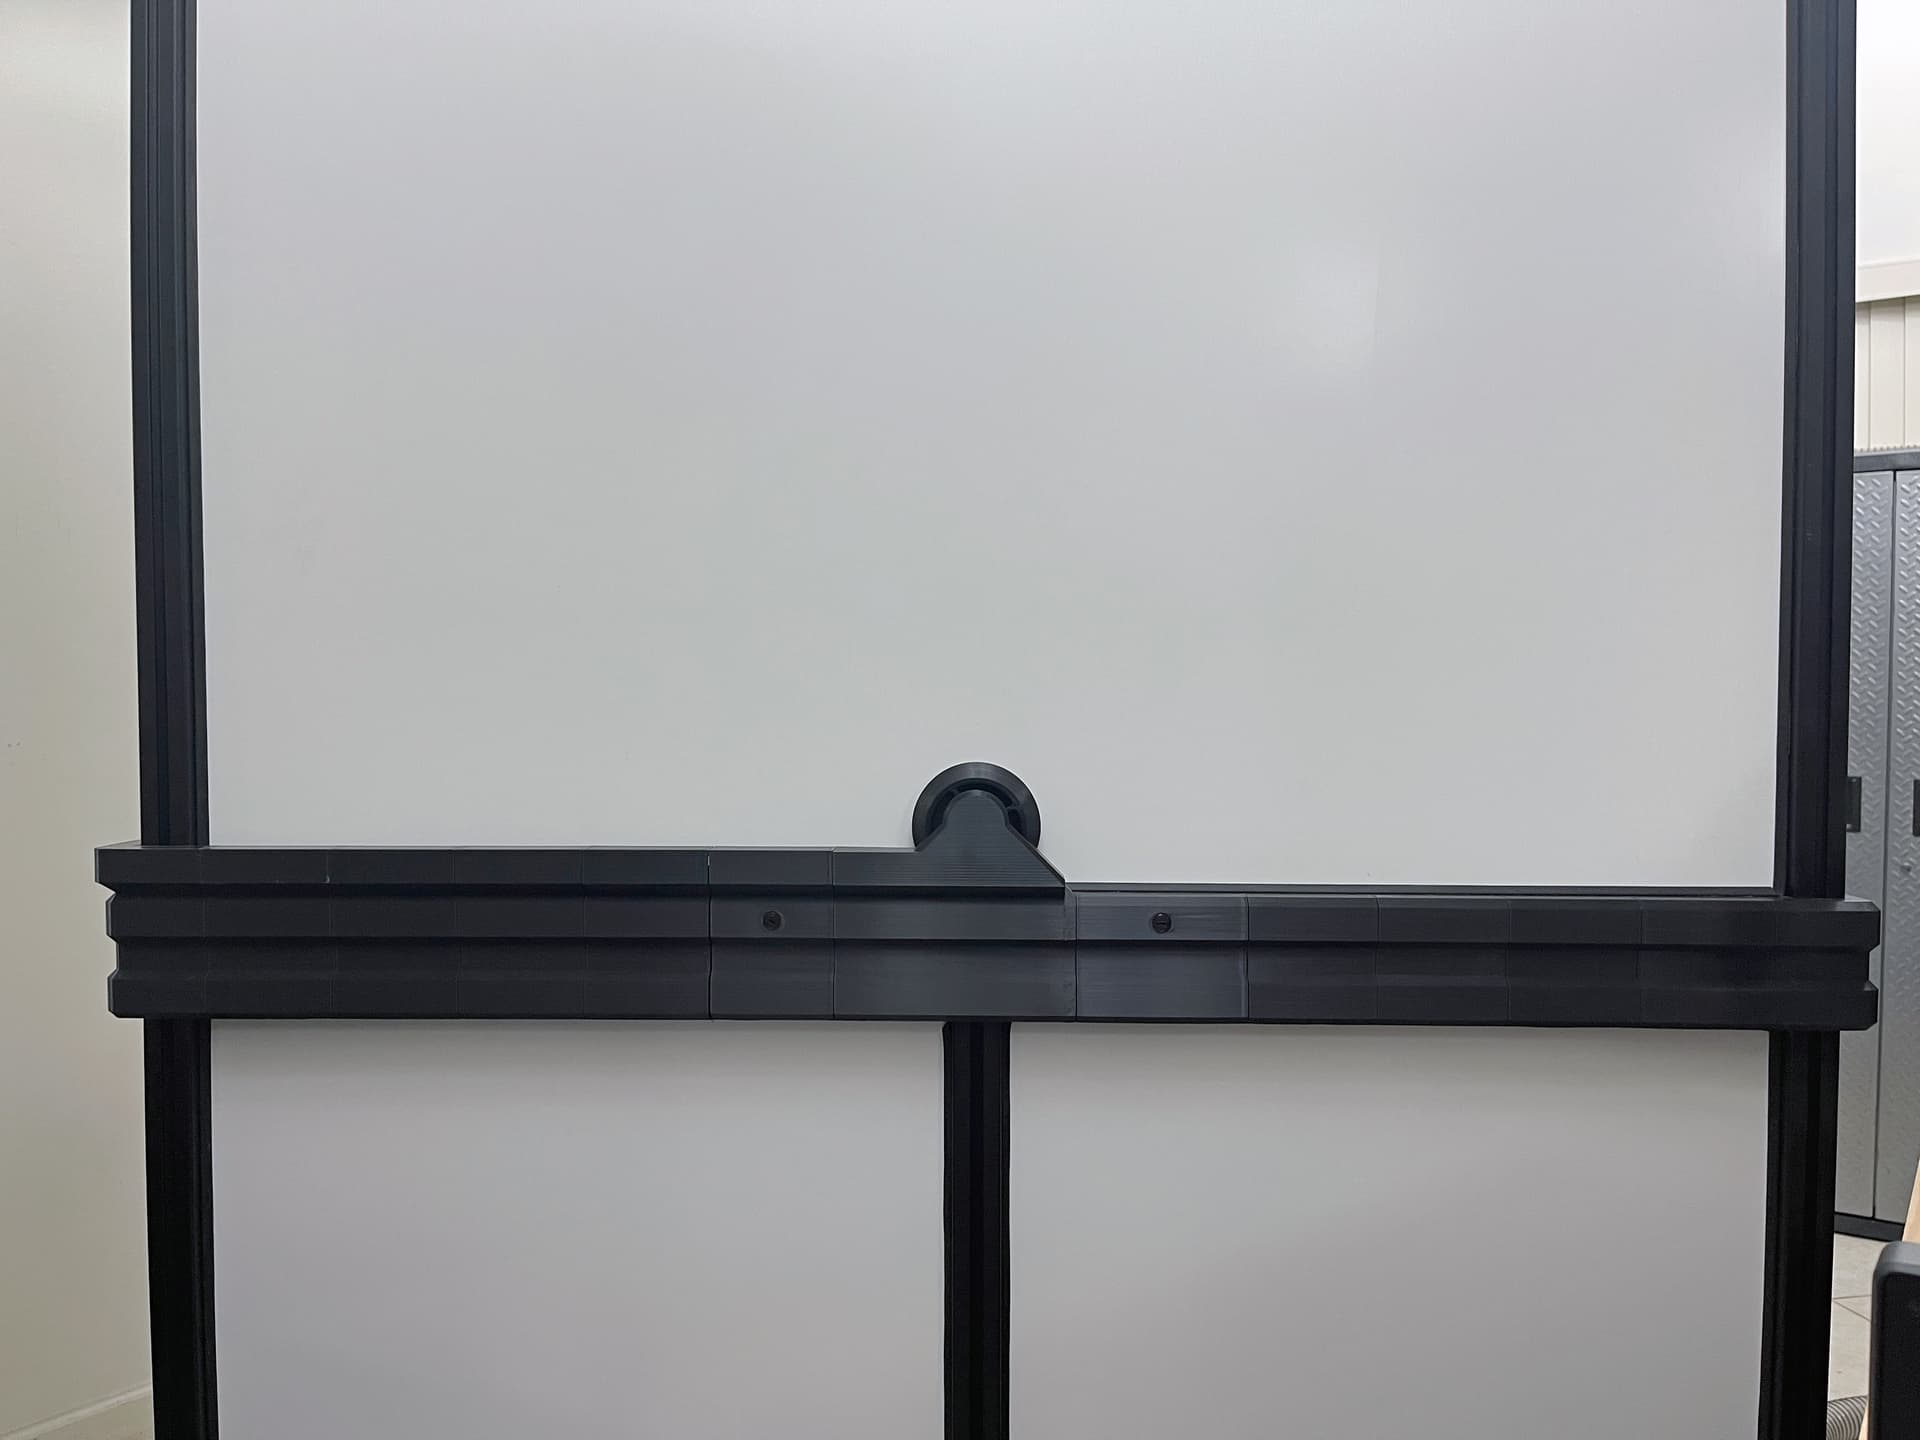
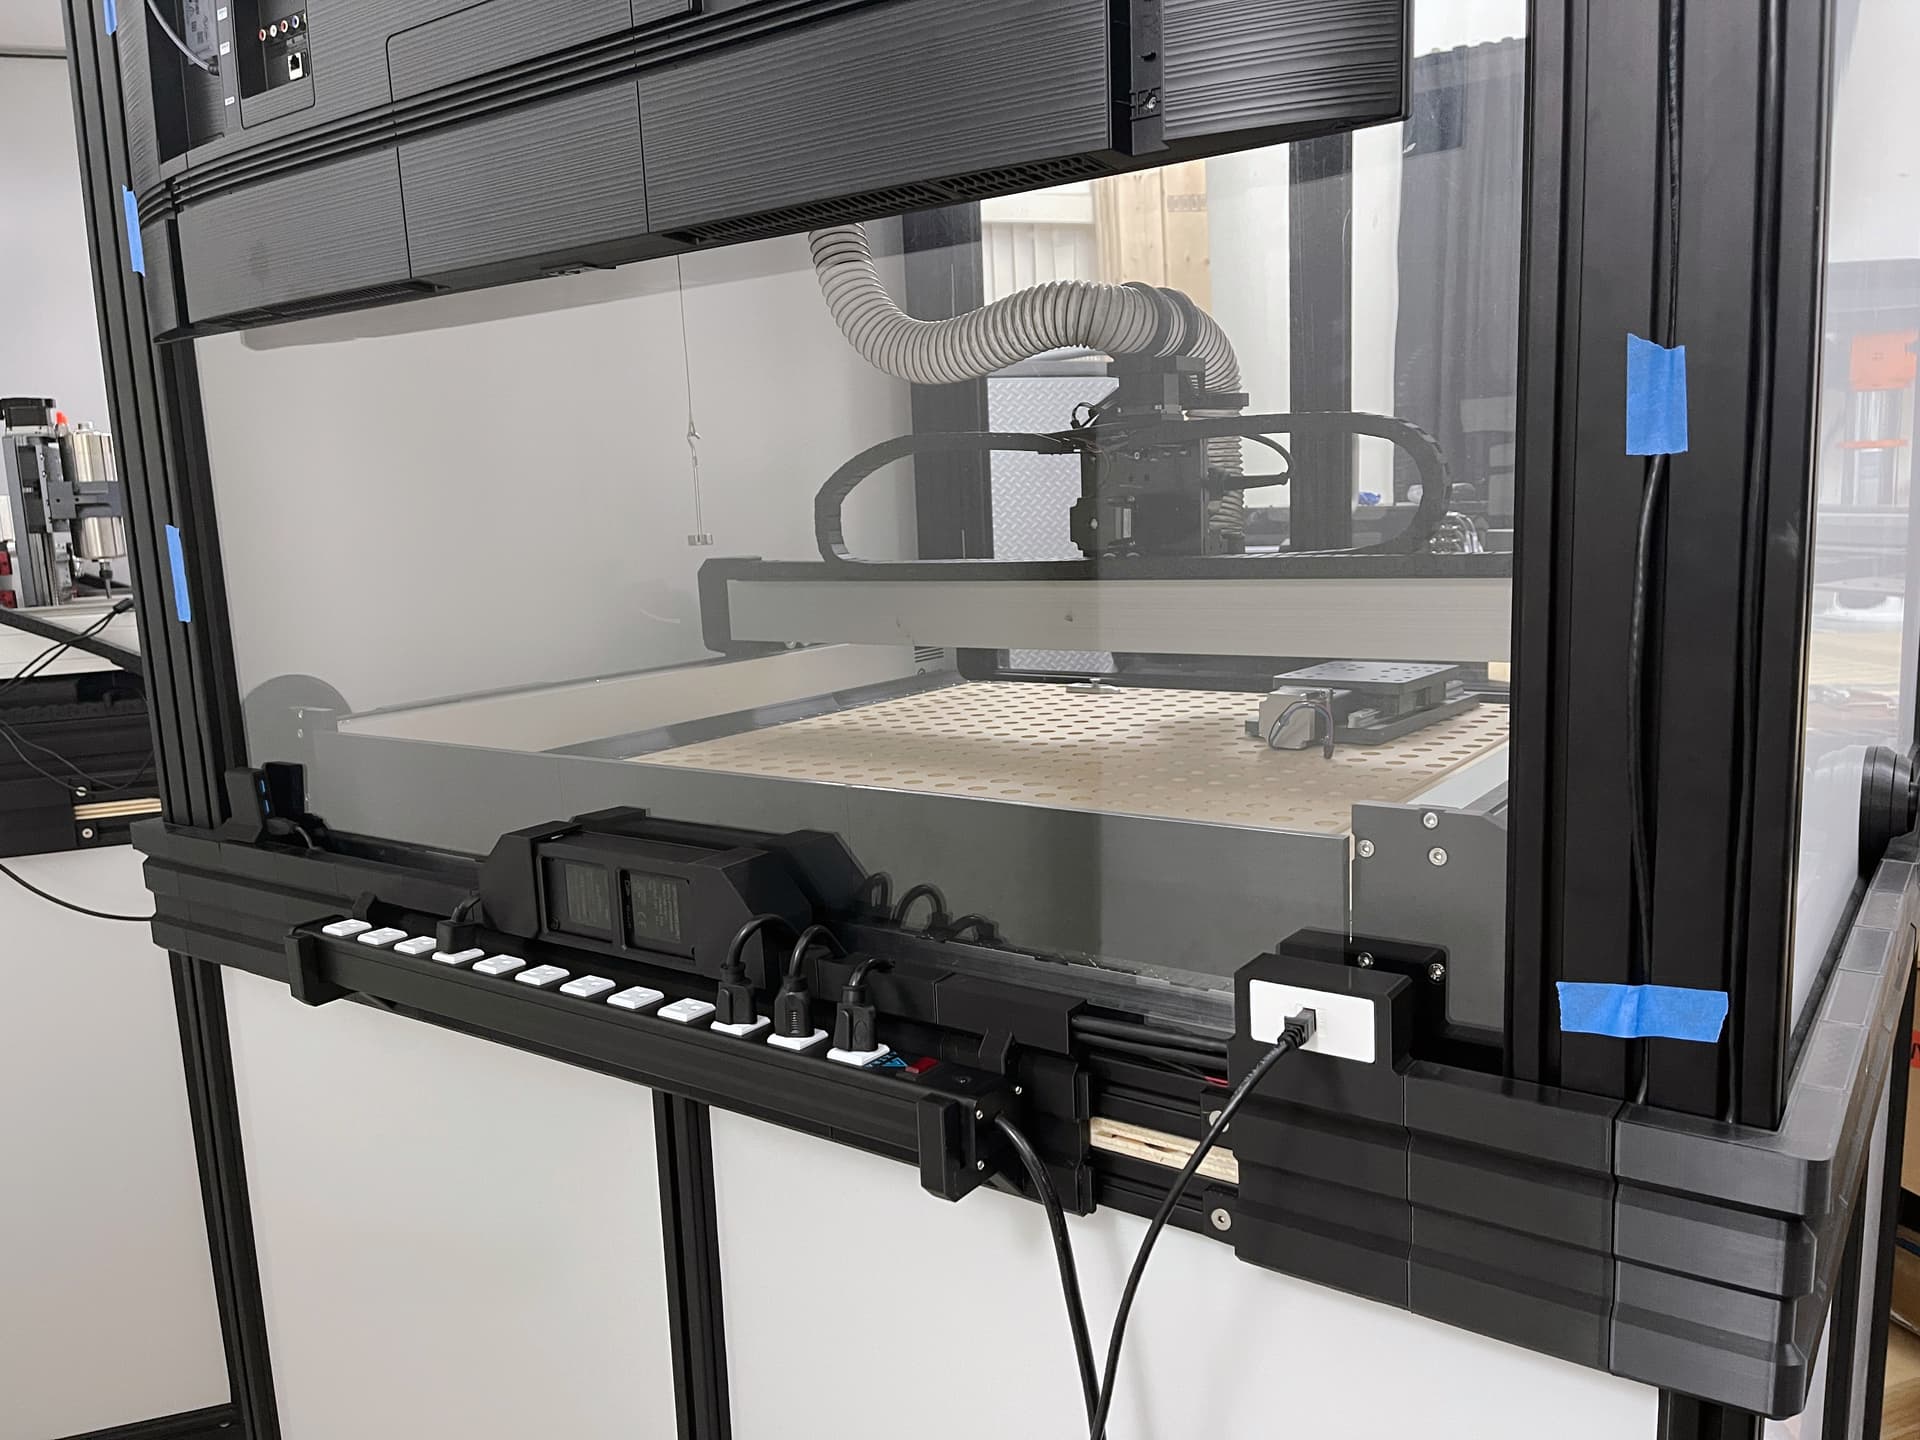
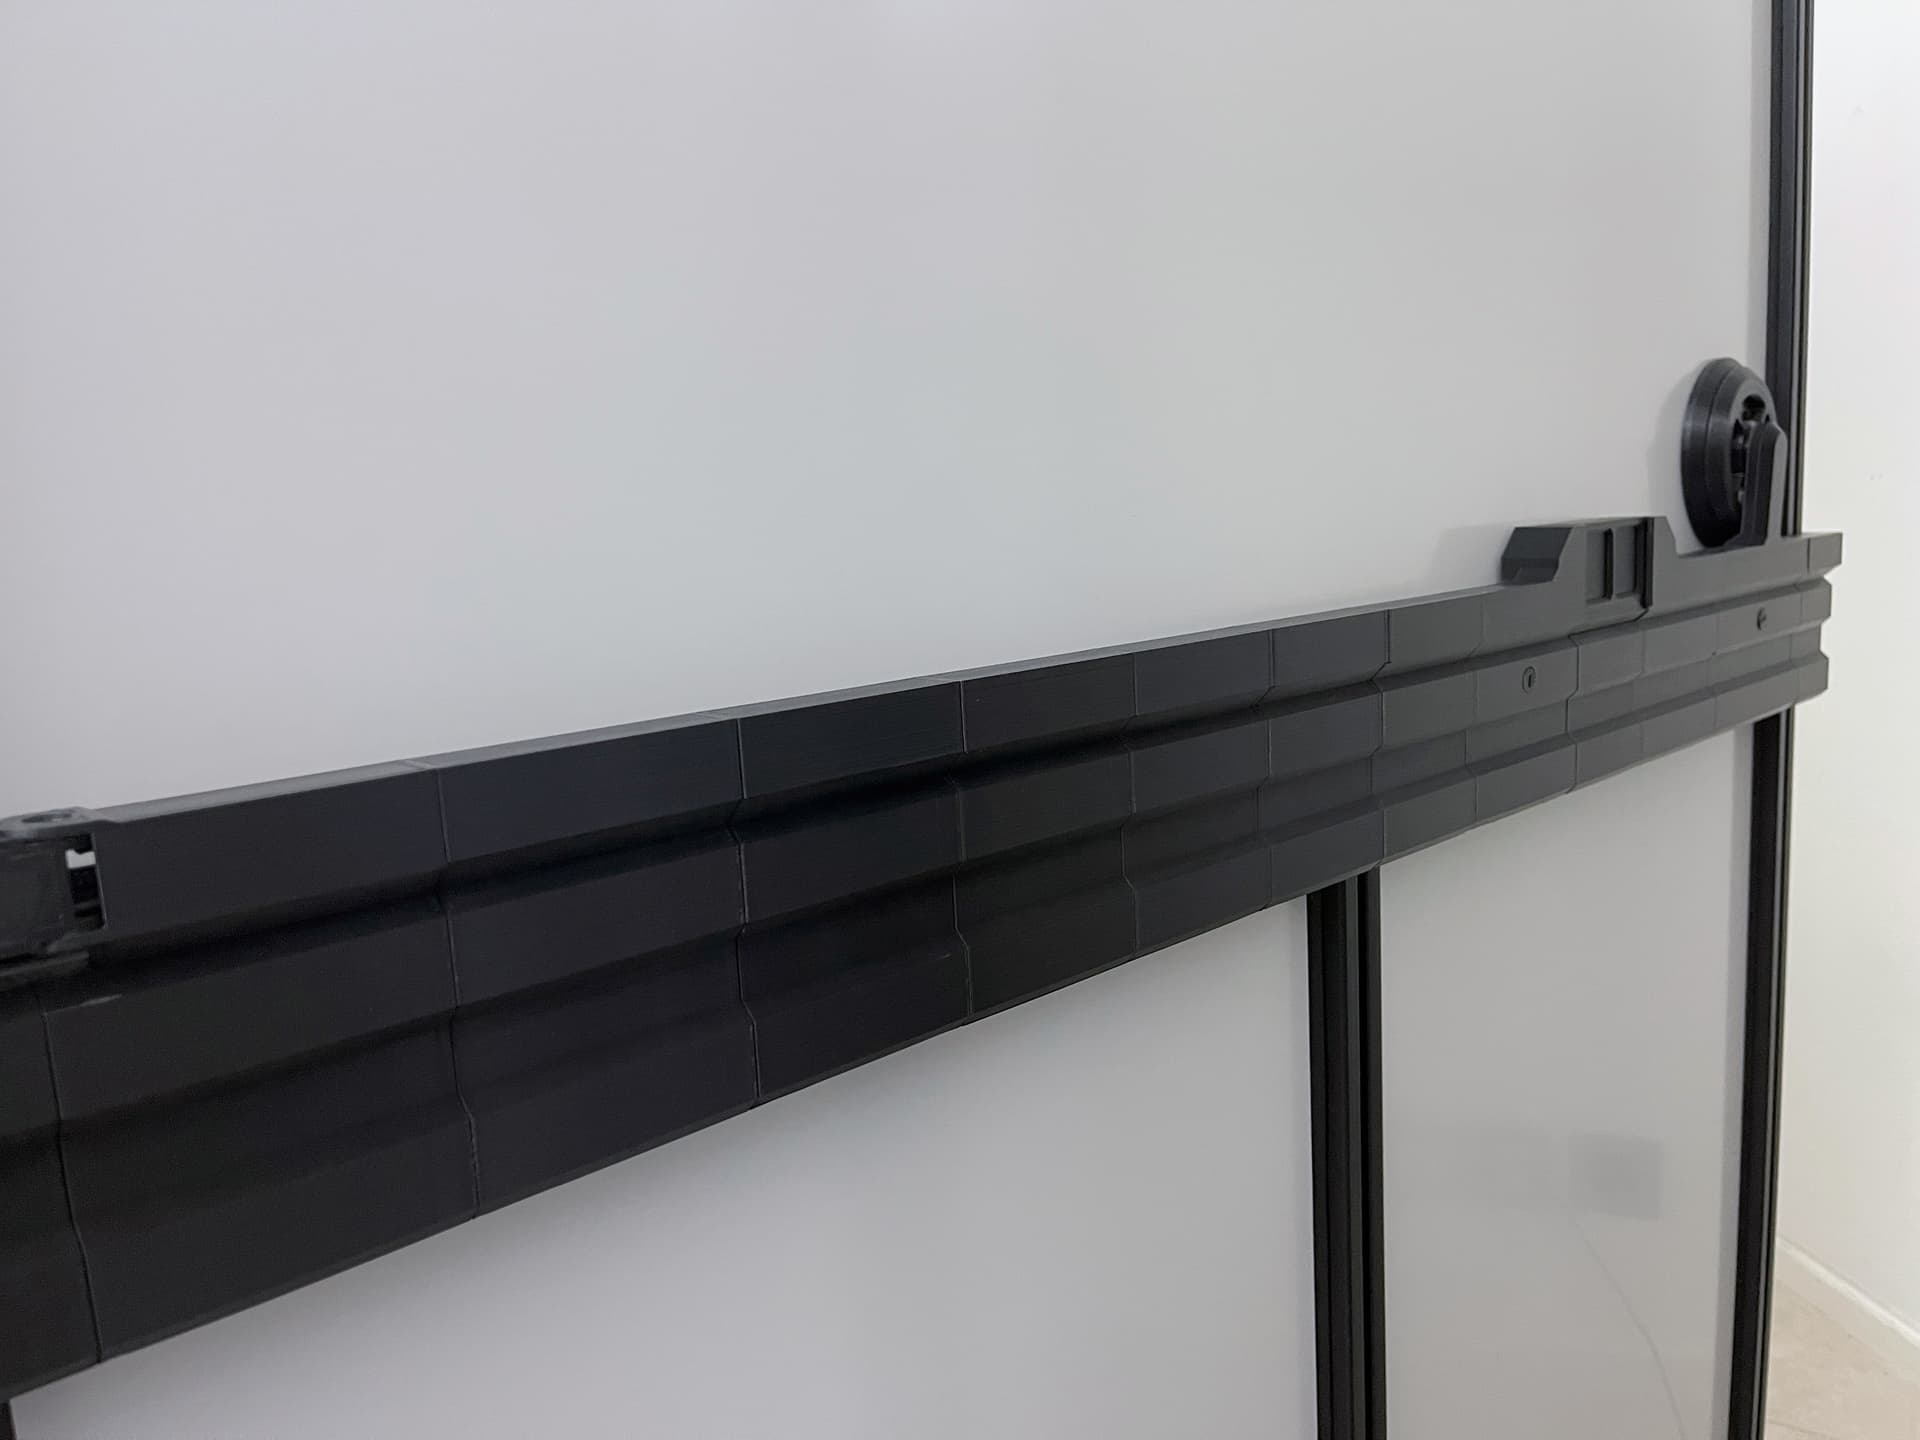
8 Likes
Looks good and something to think about possibly adding is a brushed aluminum plate in the middle of your border covers to greatly reduce the amount of print time and filament needed. It would also look fantastic with the shiny aluminum having black edges and you could use 1 long strip per side which would make all the seams of the printed parts not stand out so much.
I’m not trying to be rude or critical just give possible creative input but I do have a thing for brushed metal finishes so maybe i’m biased.
I did home made brushed aluminum corner guards in my home and they came out great and catch the light from every angle. I had my friend use a 80 grit flap disk in an angle grinder and it took no time at all to do all 10 8ft guards.
At Orange aluminum you can get 1/16" thick bar stock all the way up to 3" wide for great prices with free shipping on orders over $100. So I bet there are other vendors to easily source bar stock if you went that route.
1 Like
Sounds like a great idea, unfortunately I am very invested in the current models, too late to make changes and have all my enclosures match.