GIban671
November 12, 2019, 11:41pm
21
Found the culprit … that explains my entire issues on this thread.
I readjusted the eccentric nuts having found them to have loosen during the break in period a while back.
I checked the friction on the right rail and found one of the v-wheels a bit too tight. Re-adjusted and the left side rail NW to SW is tracking.
Back to my calibration verification … Whew … so much moving parts … reminds me of my RC Helicopter … a hundred parts all working together to make the heli fly. In this case, make the Shapeoko put out accurate projects.
Glad I found this …
3 Likes
GIban671
November 13, 2019, 1:17am
23
After extensive efforts and time; I come to the conclusionn how accurate does the belt tension adjusment need to be?
The 125mm known distance using a Chinese HF digi caliper did NOT provide stable results.
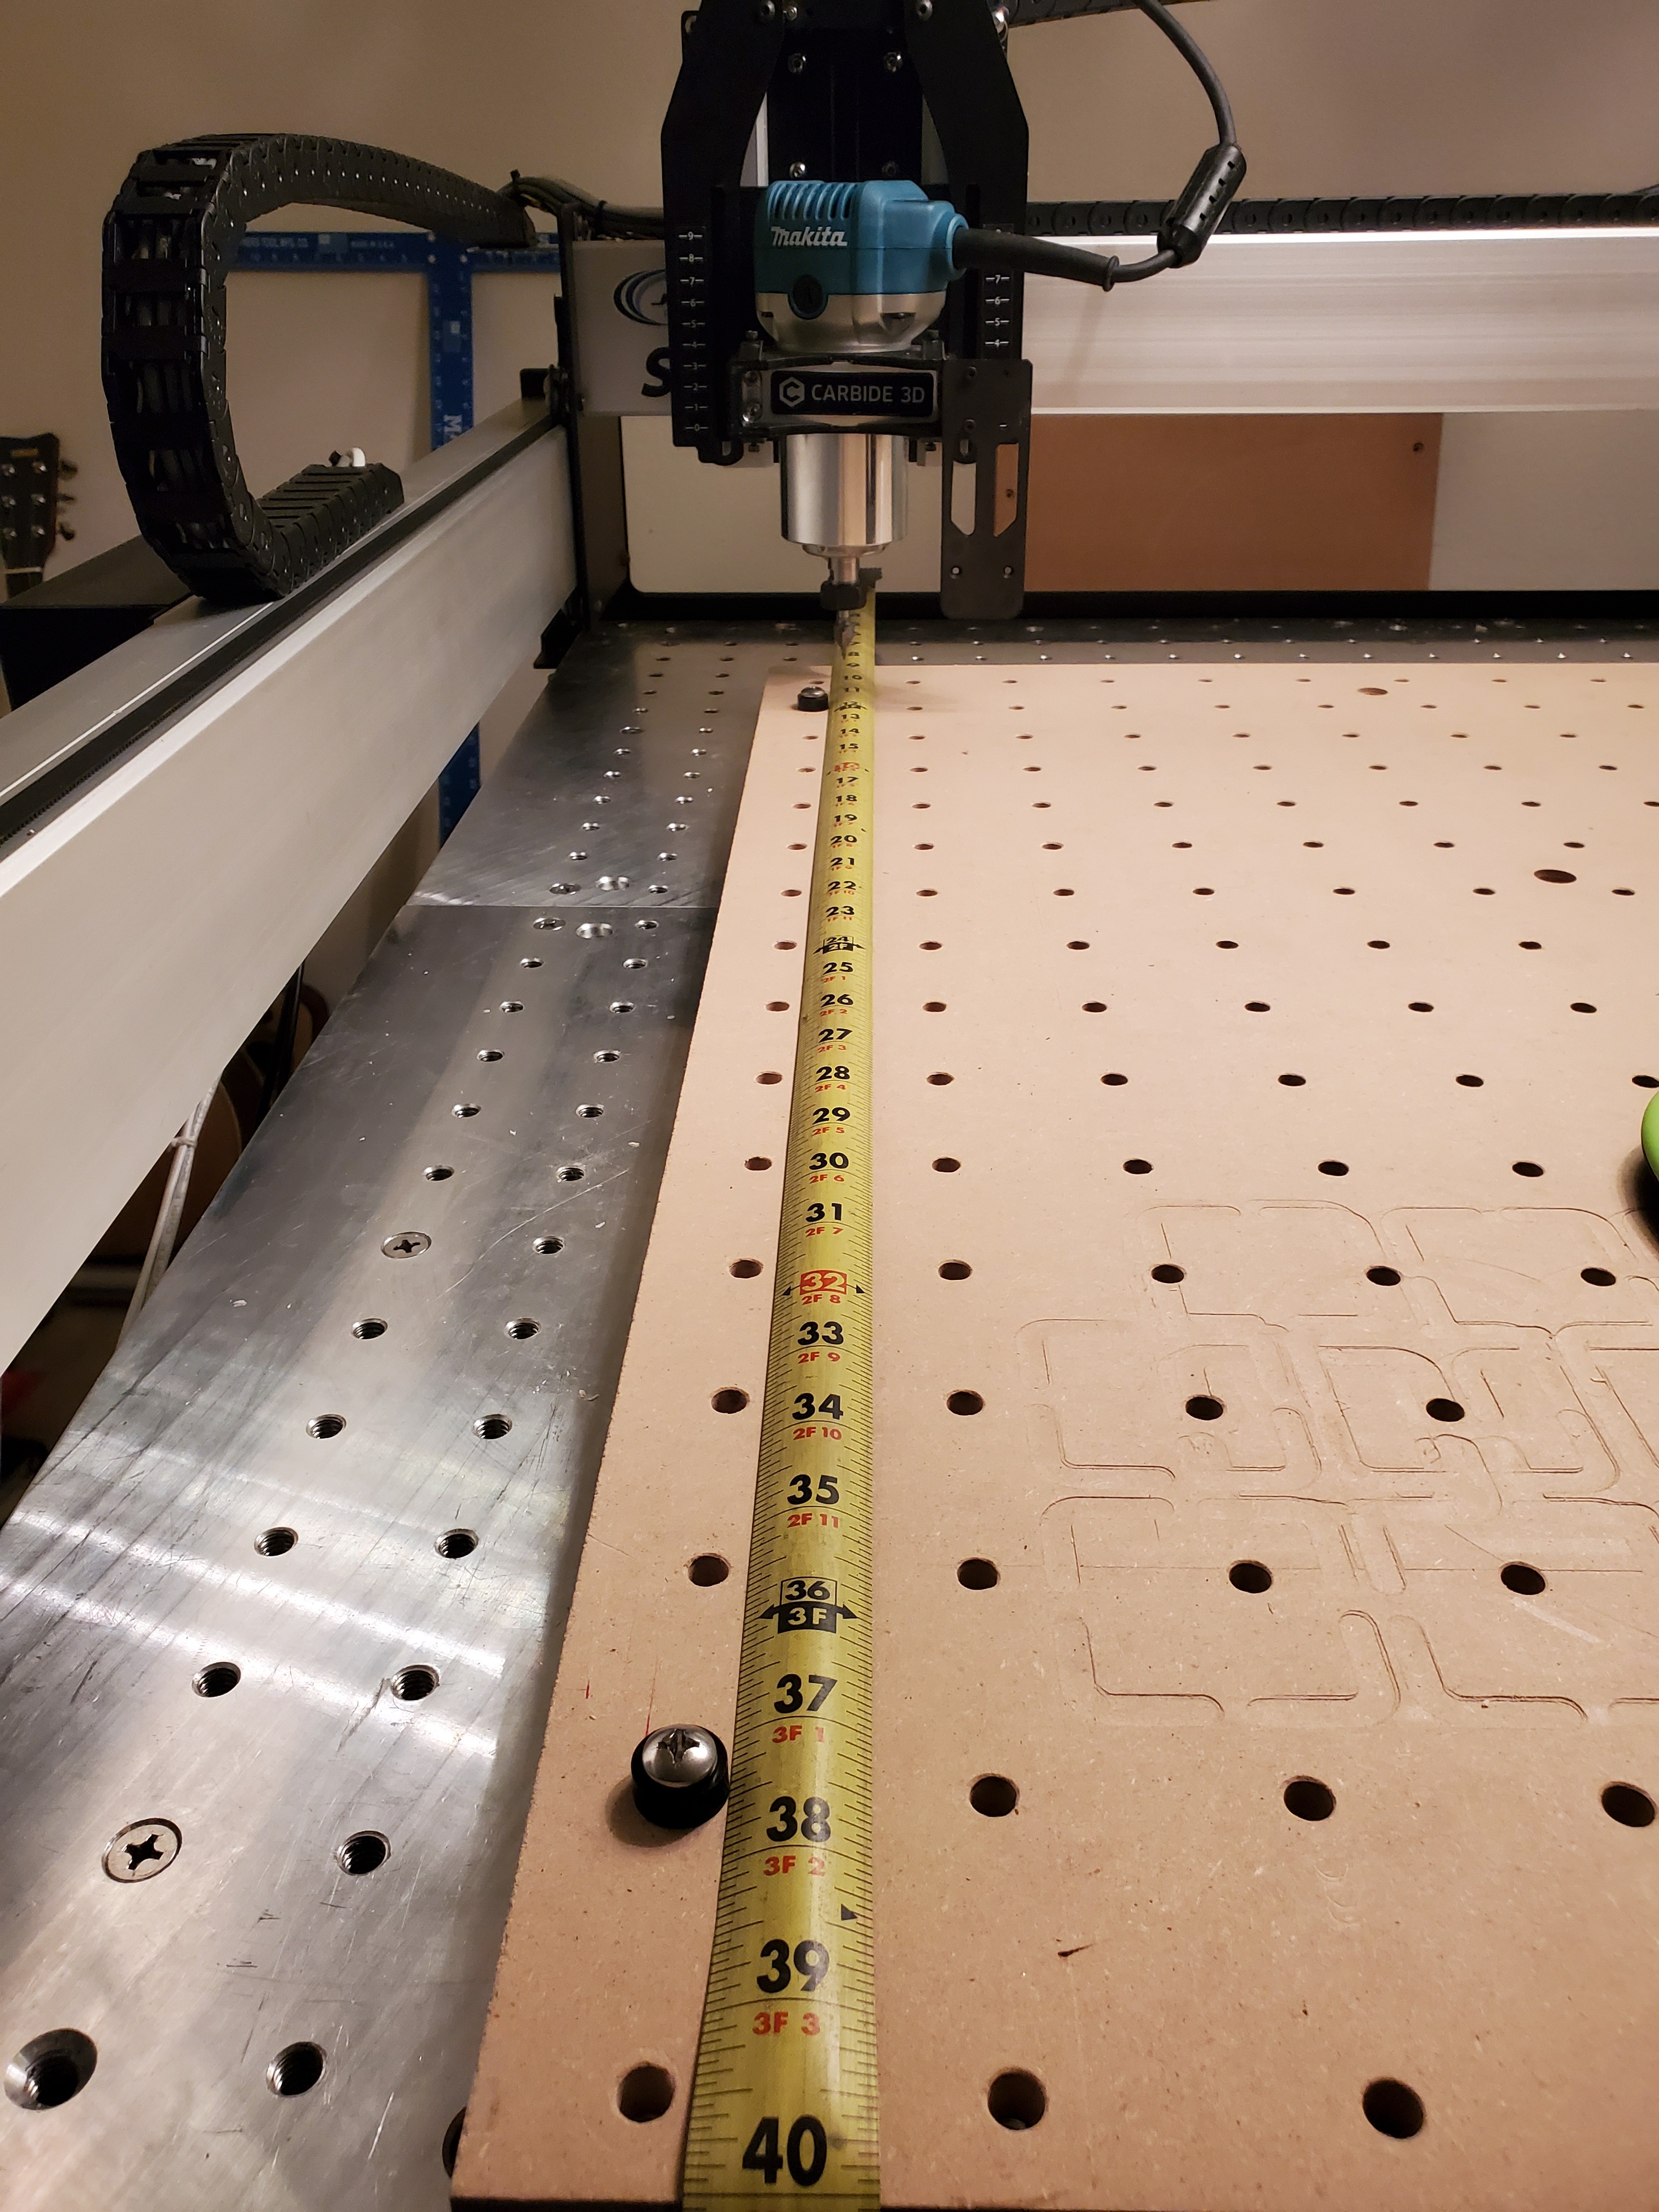
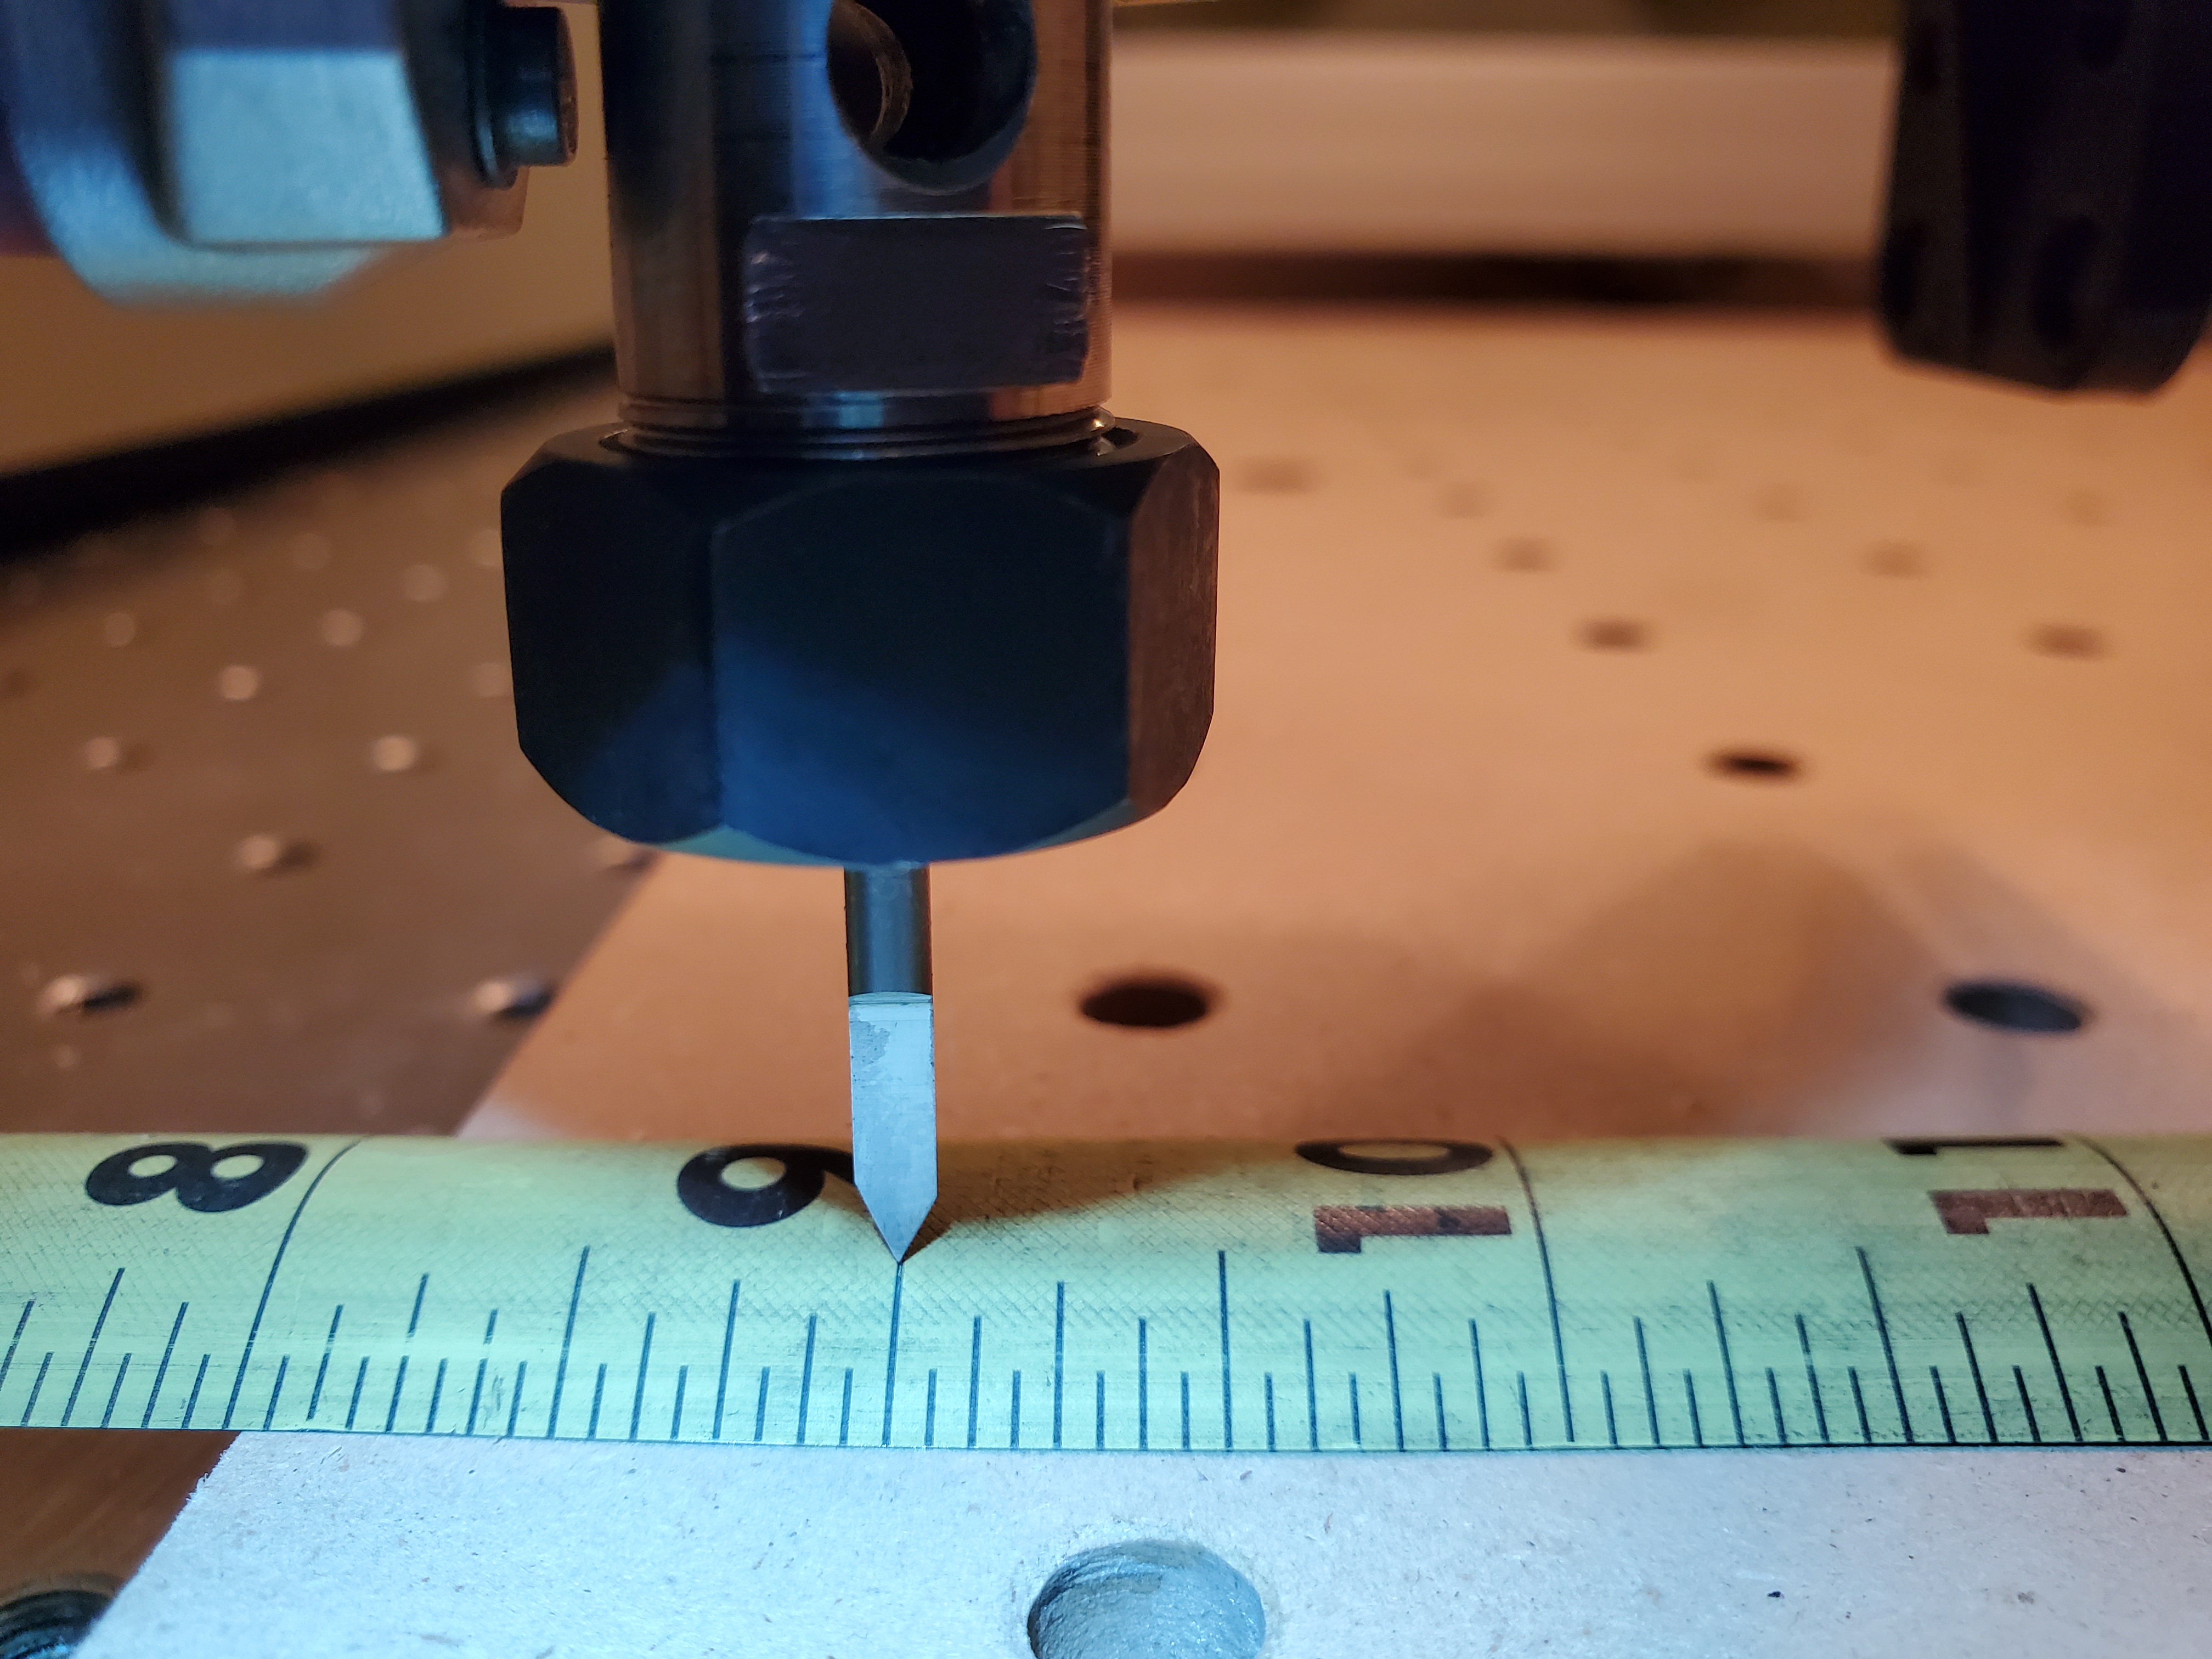
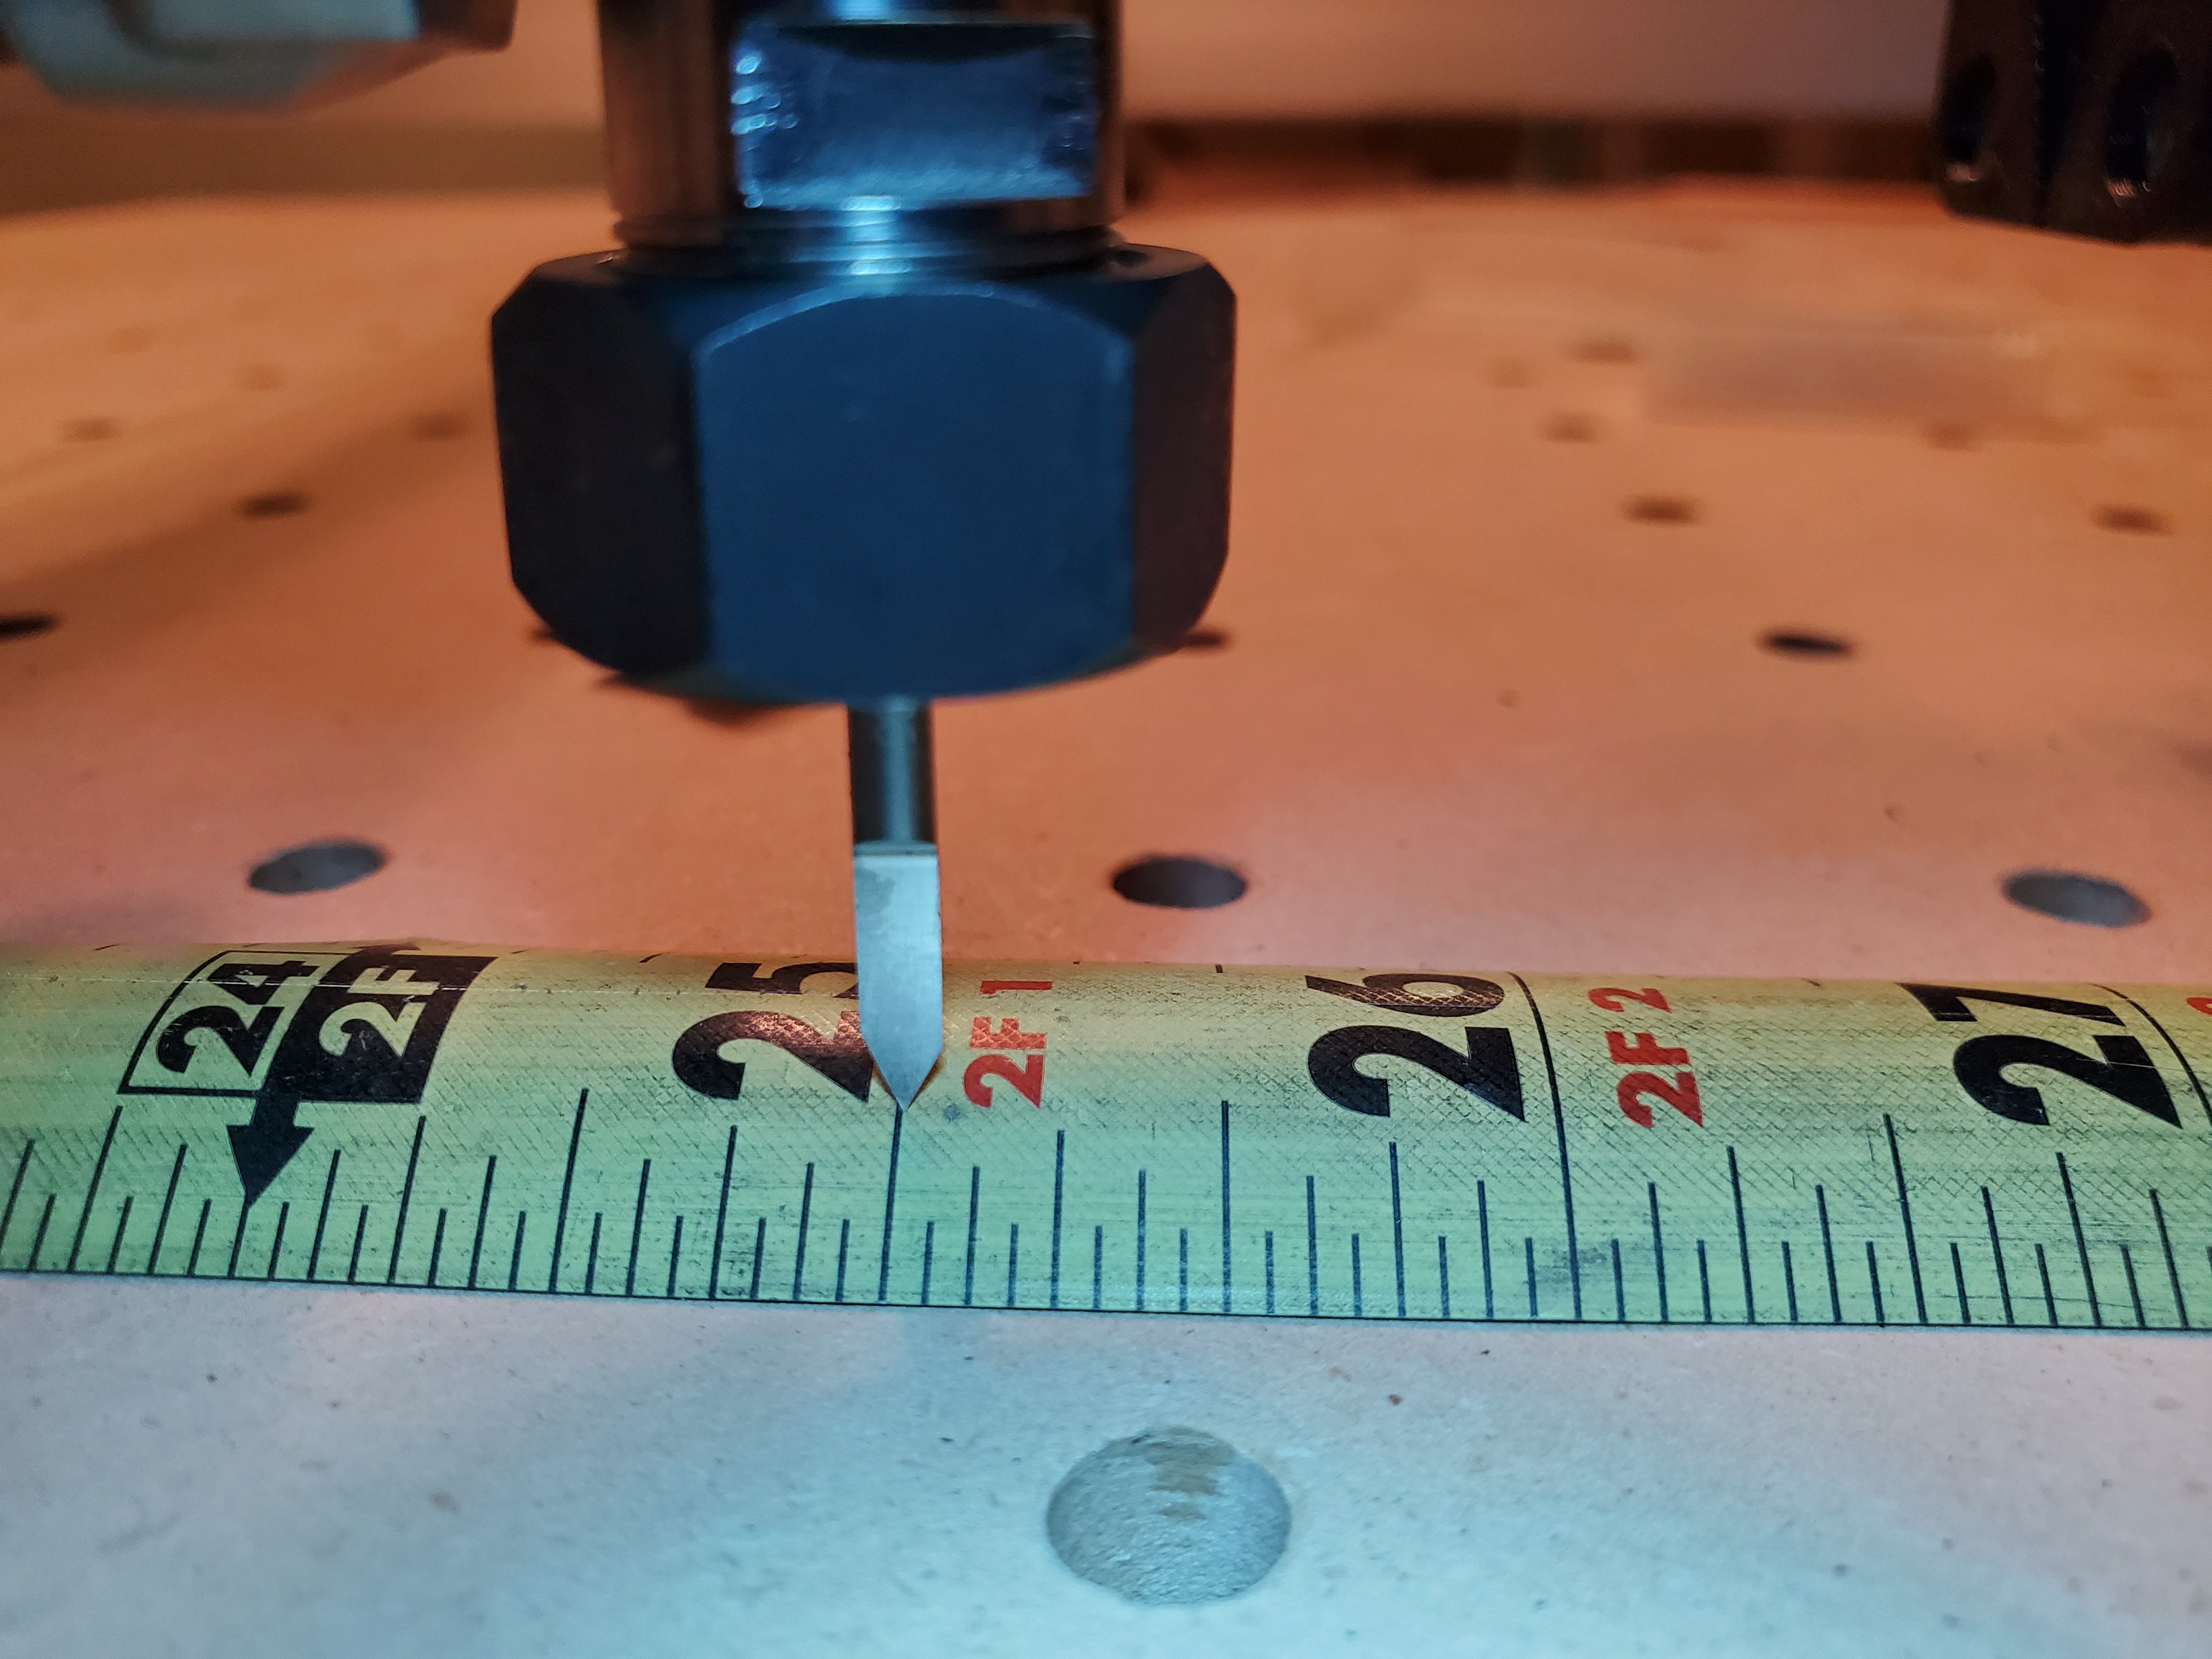
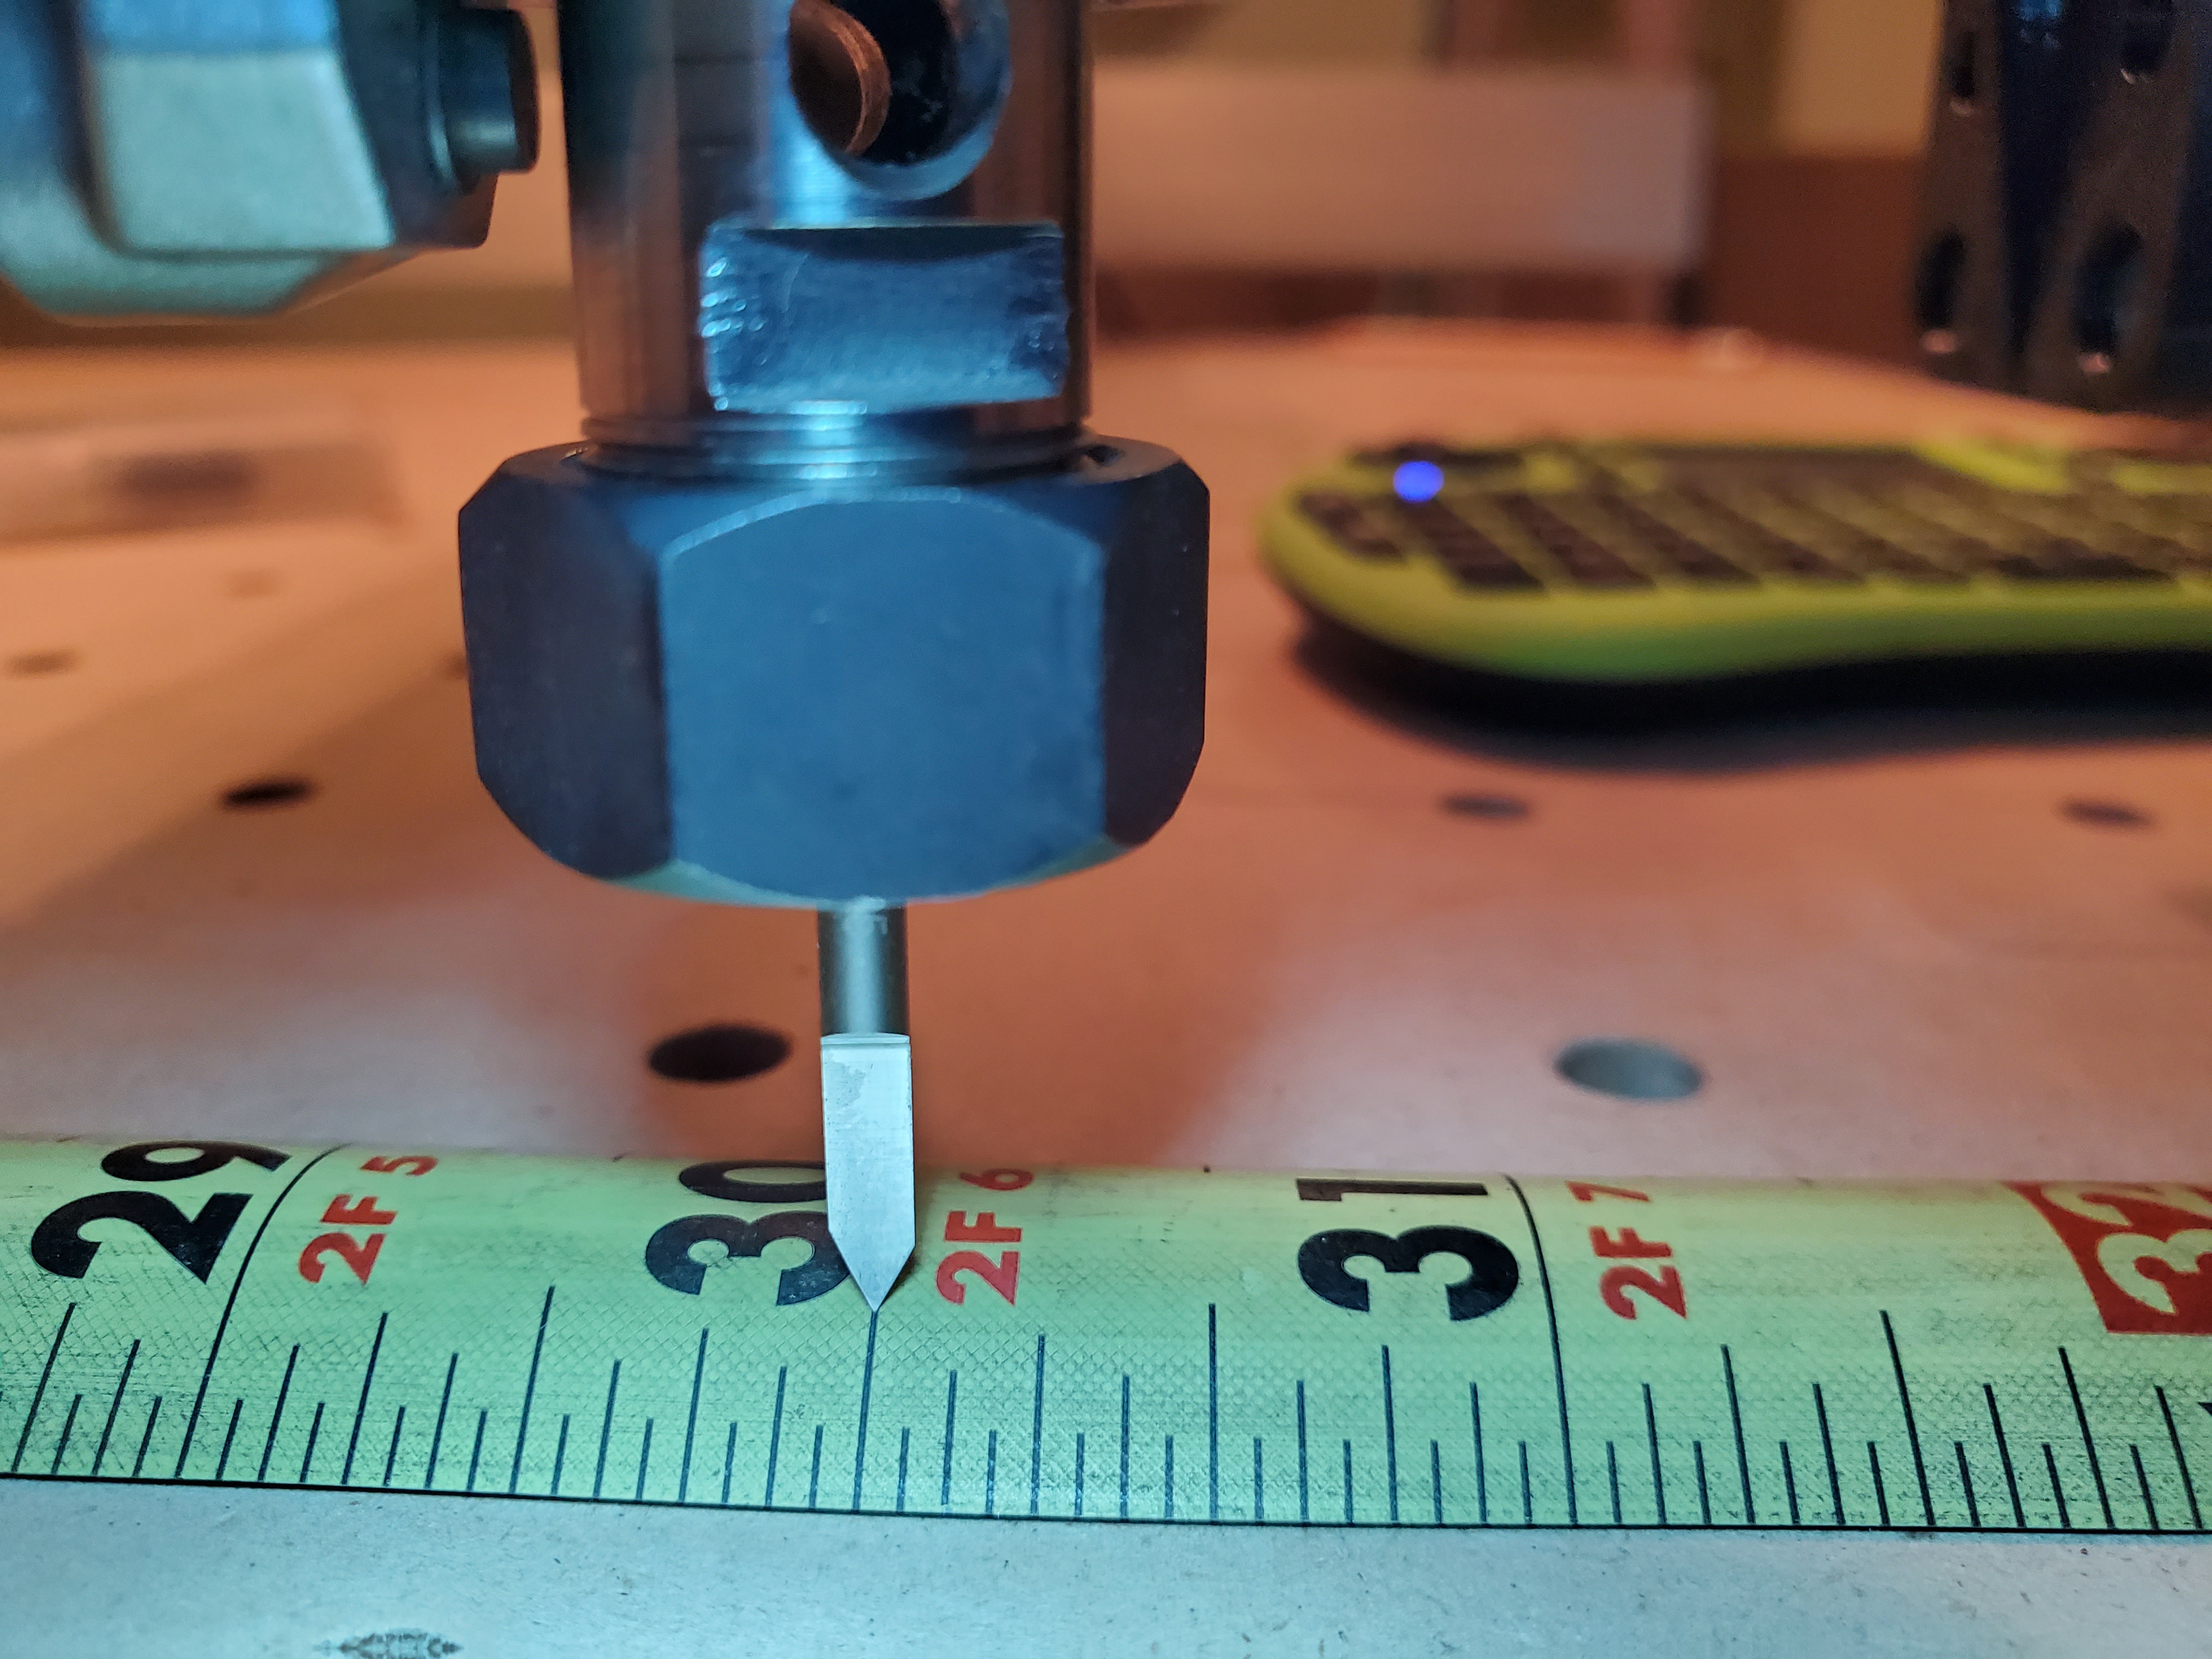
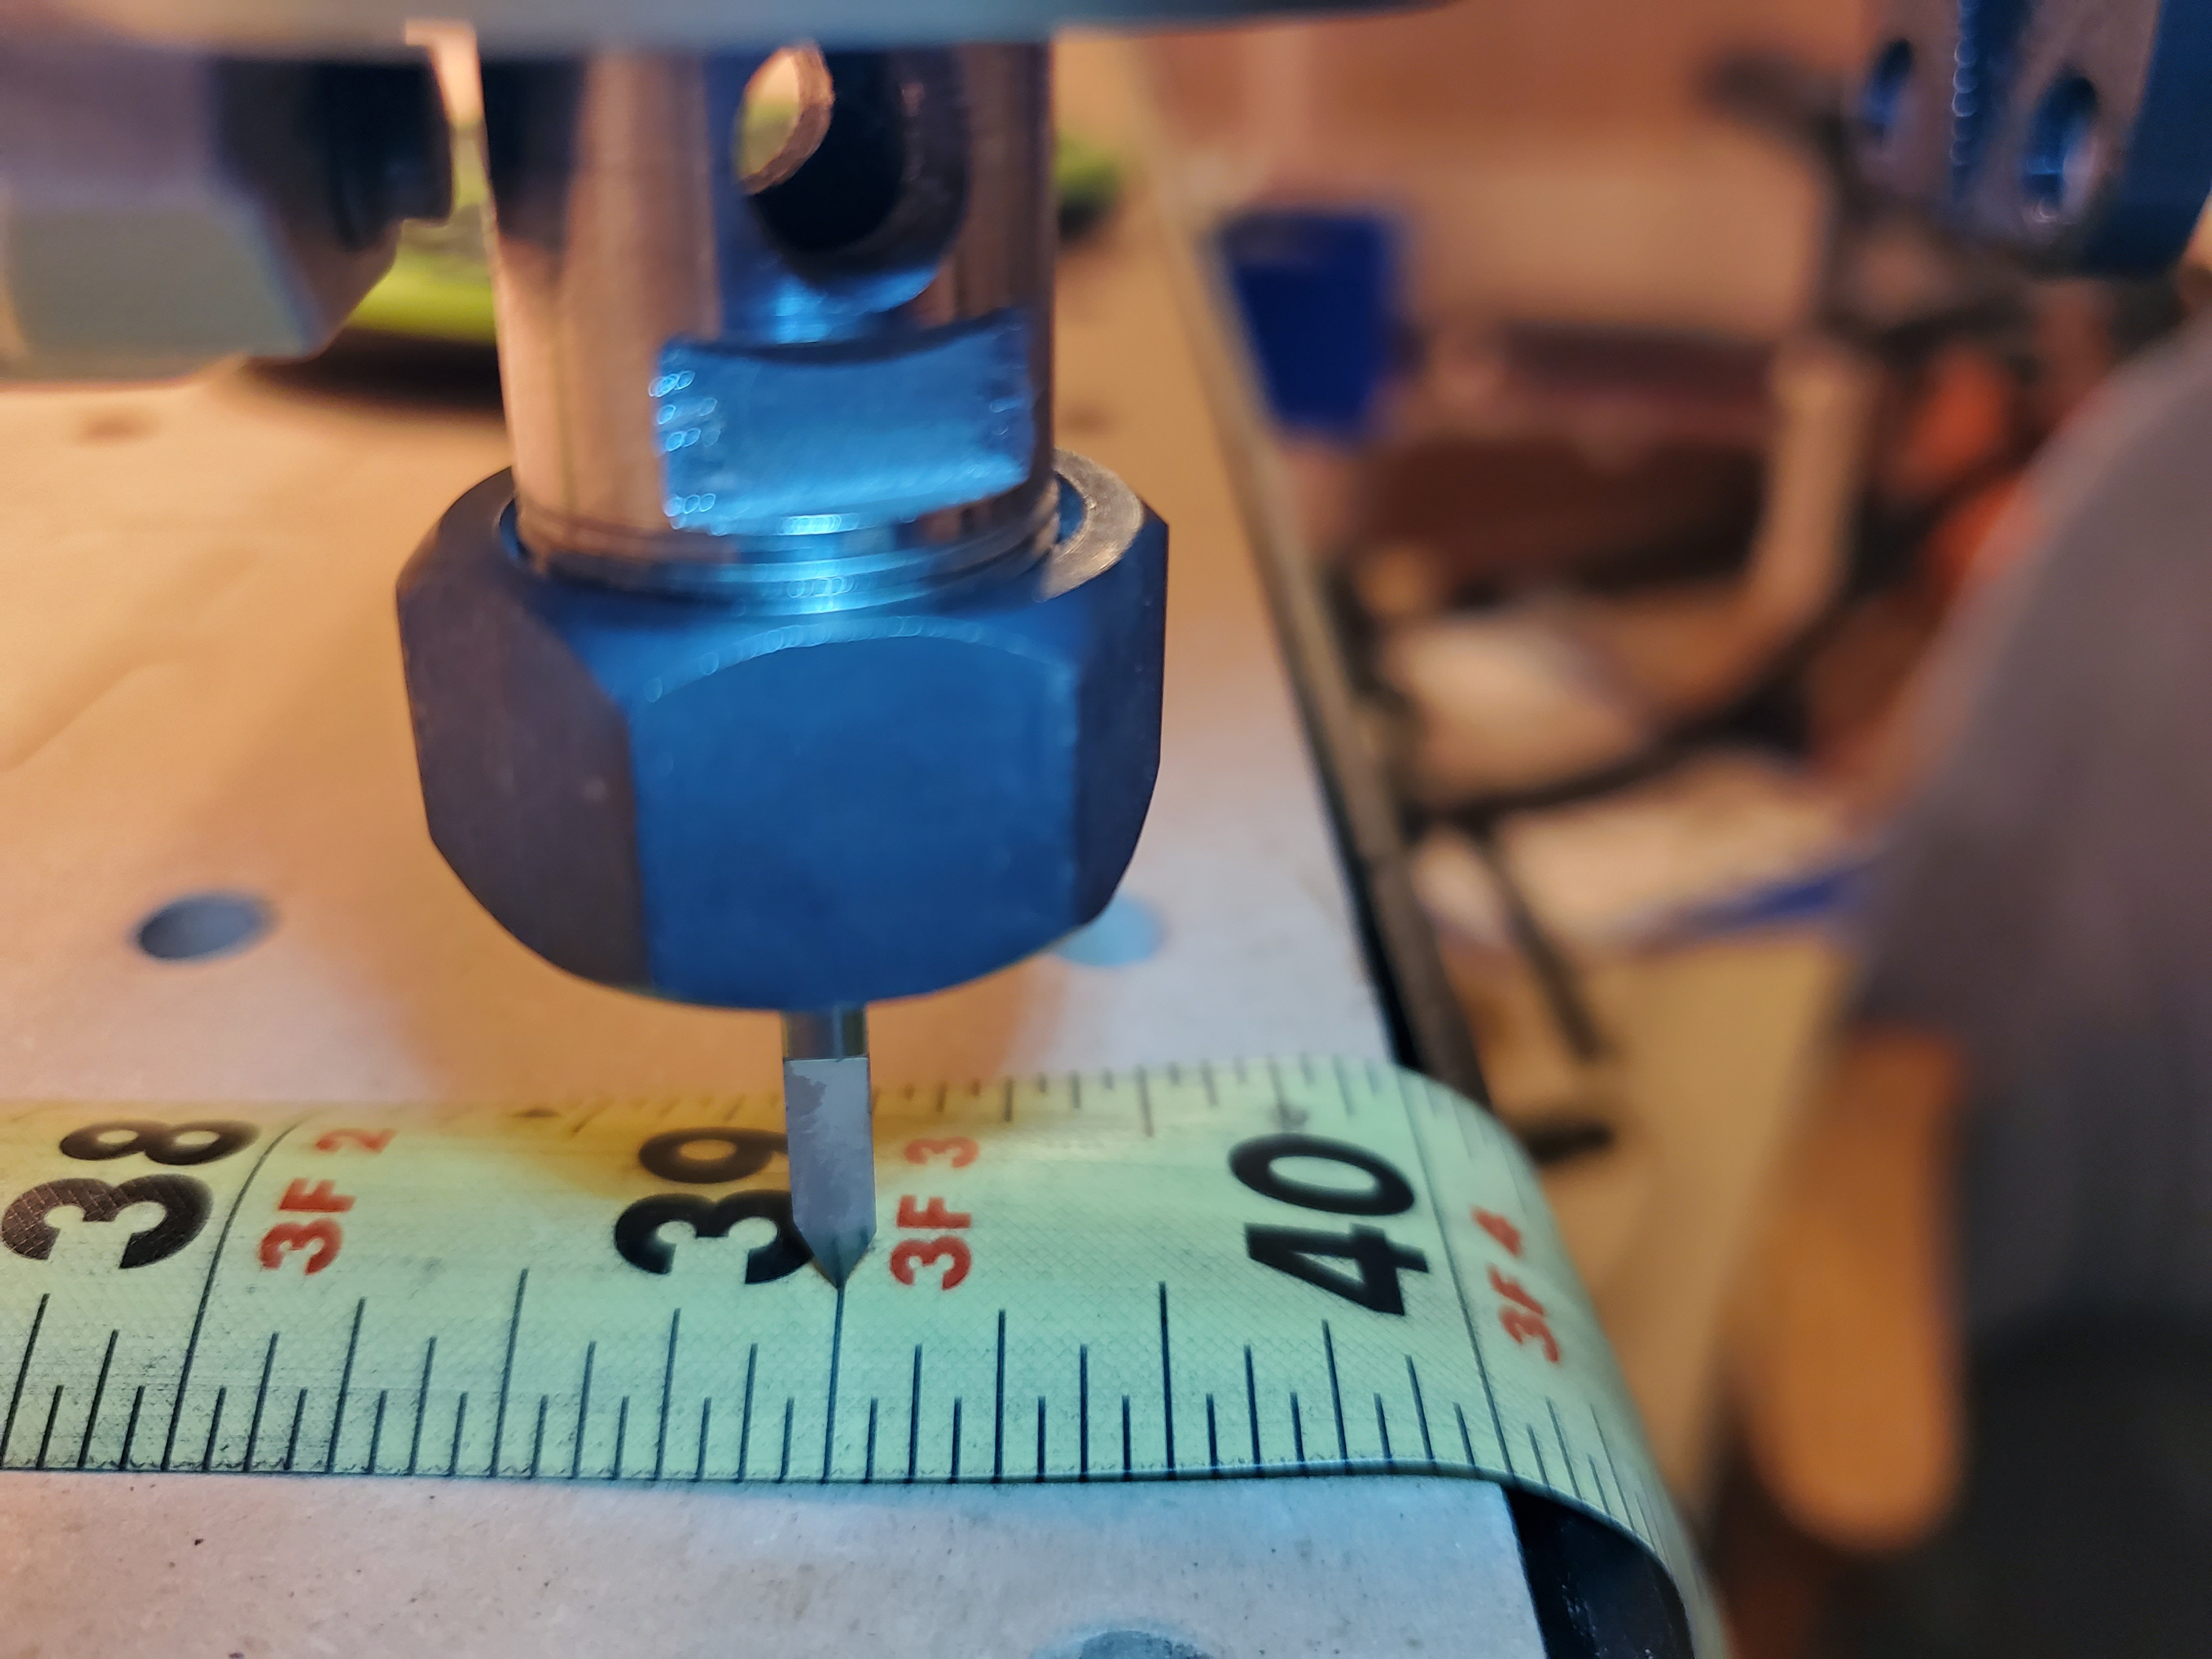
So I tried another method as seen in the pix. Converted inches to mm, recalibrated, and checked the results along the full travel of the Y axis.
Then I randomly pick distances within the Y axis and had good results.
What is a good result? Well the naked eye can discern just how far the point of the Vbit is in relation to a cardinal point on the tape measure.
Your thoughts …
GIban671
November 13, 2019, 1:22am
24
Julien:
You could also try to measure the calibration factor using a different method, and see if you get the same values? For example, cut three pockets far apart but aligned along X and Y, and measure (with a ruler) the actual distance edge to edge:
Doing the method describe by Julien provides actual results under load. I have been avoiding this method thus looking for other alternatives.
How can I validate using the tape measure method? I heard of circle square diamond.
At this stage, I have not accumulated enough scrap woods as test pieces, hence my hesitation.
GIban671
November 13, 2019, 2:01am
25
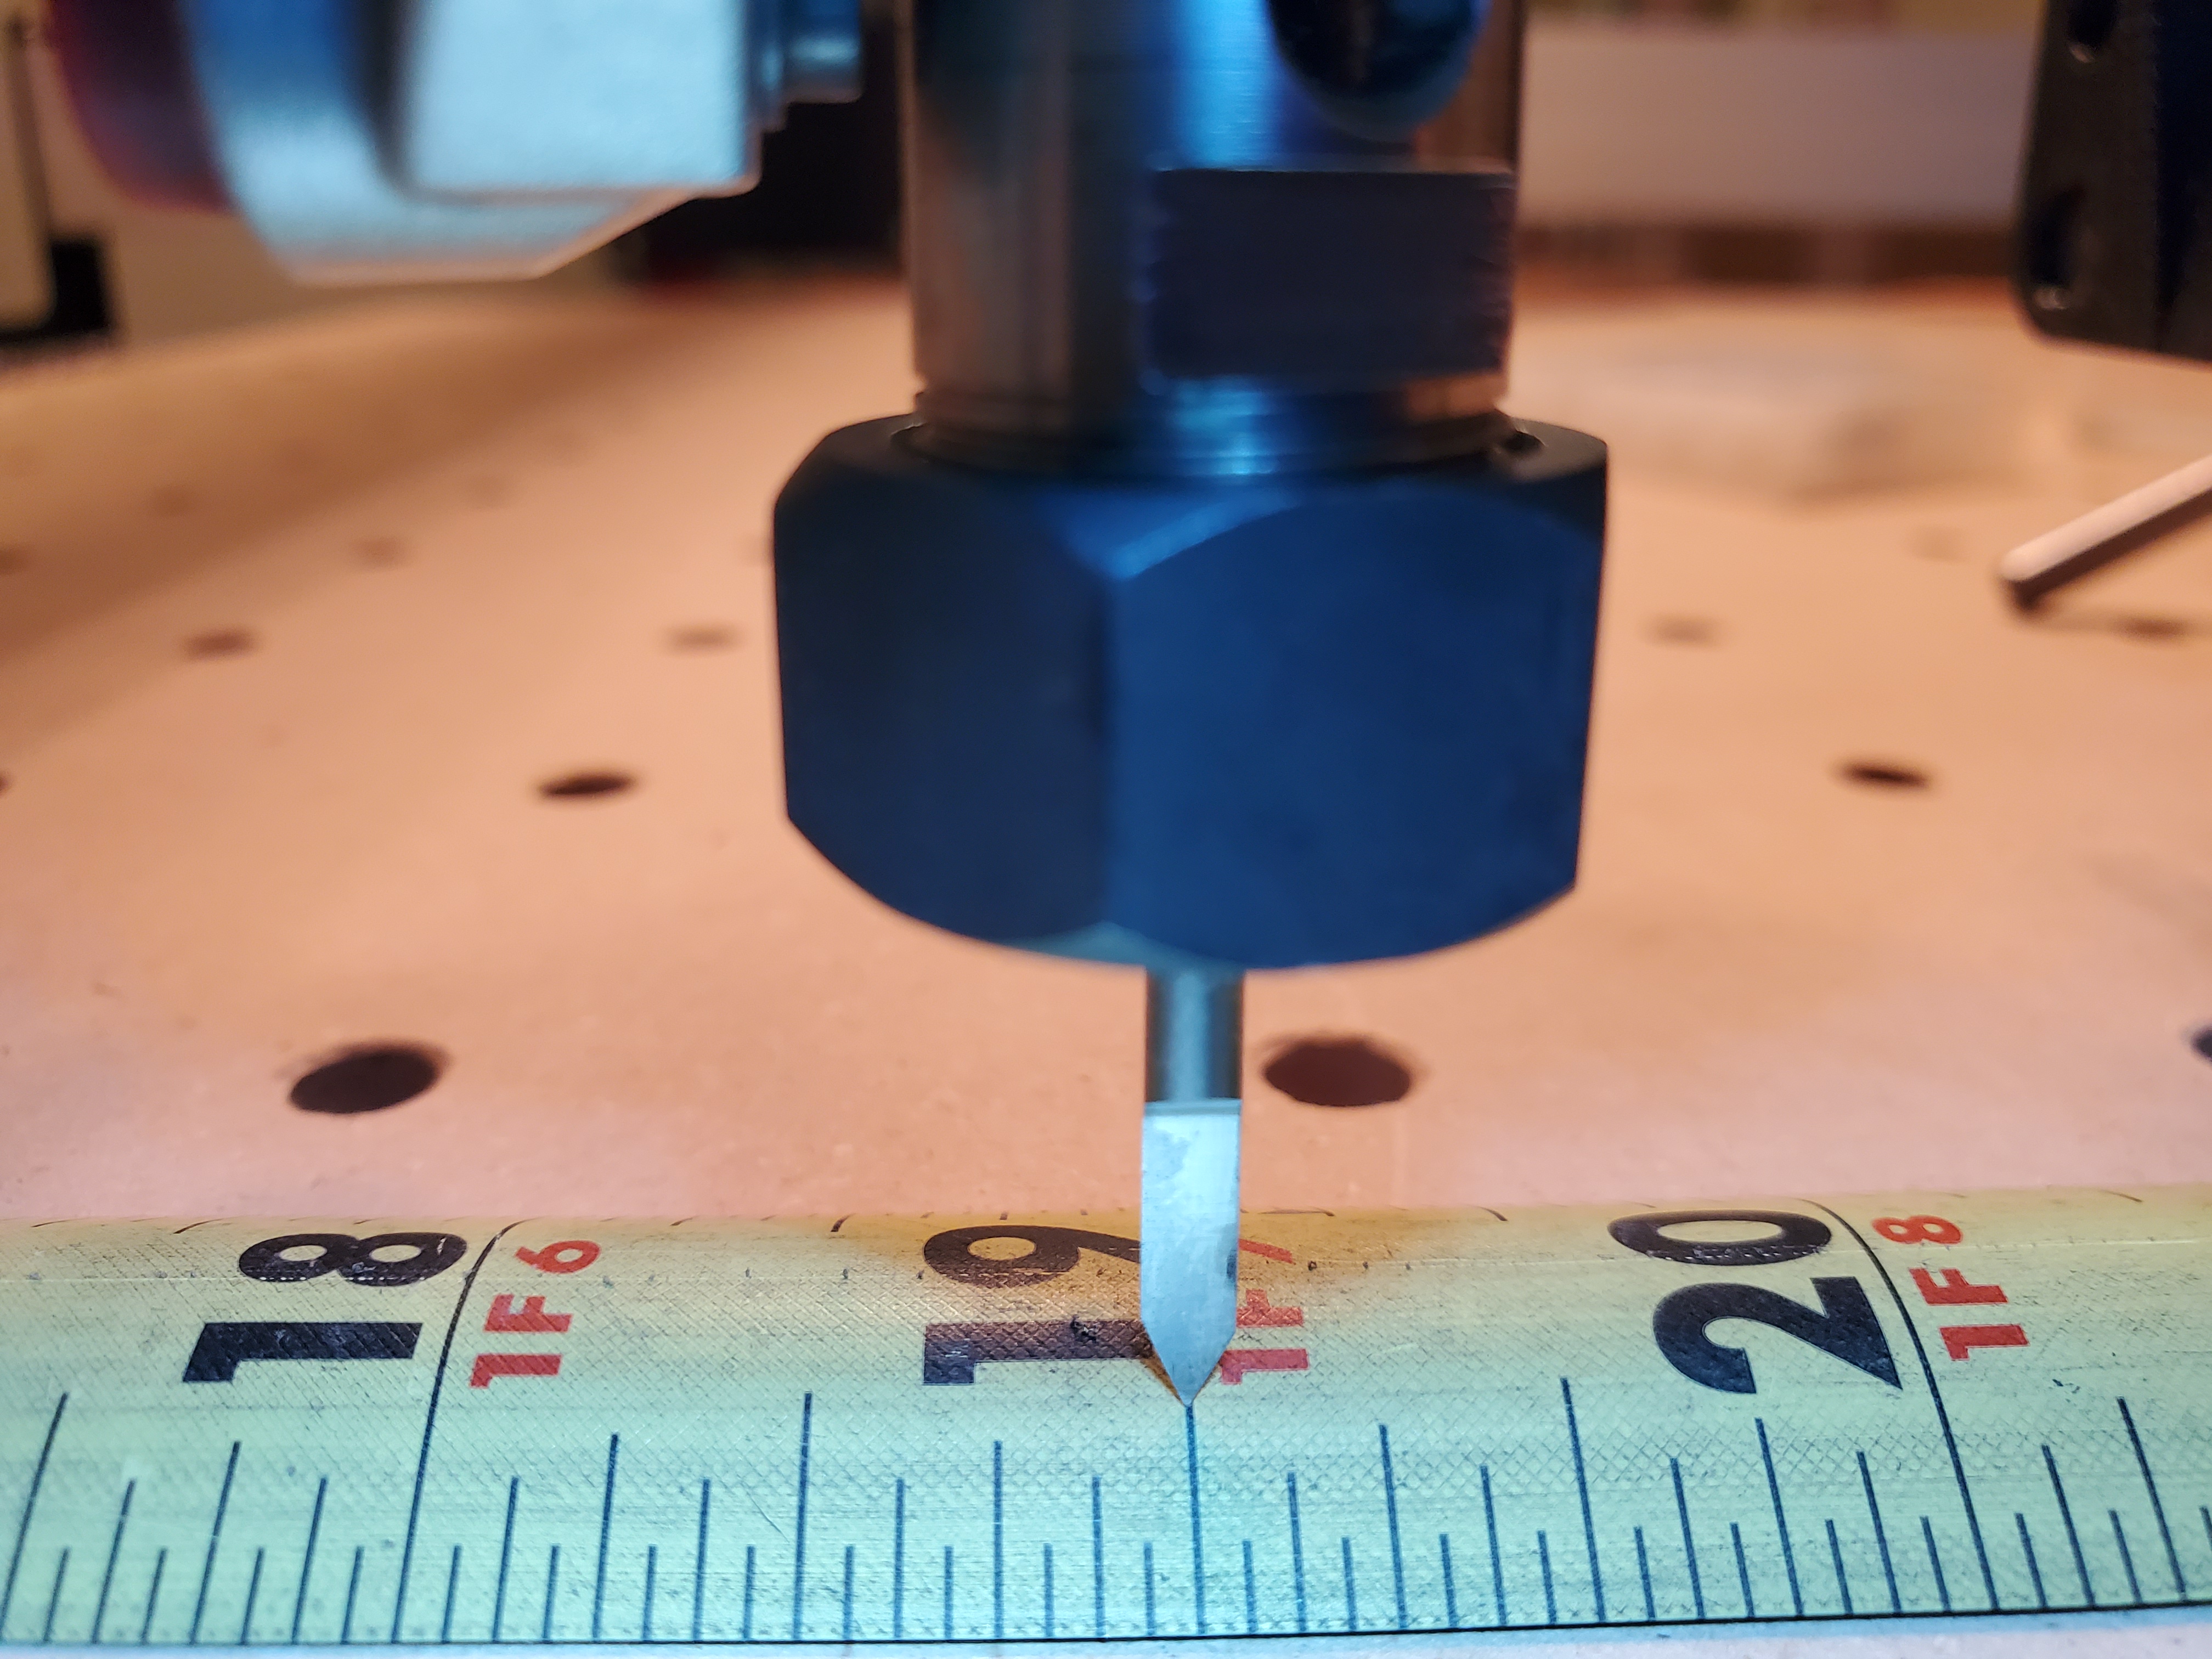
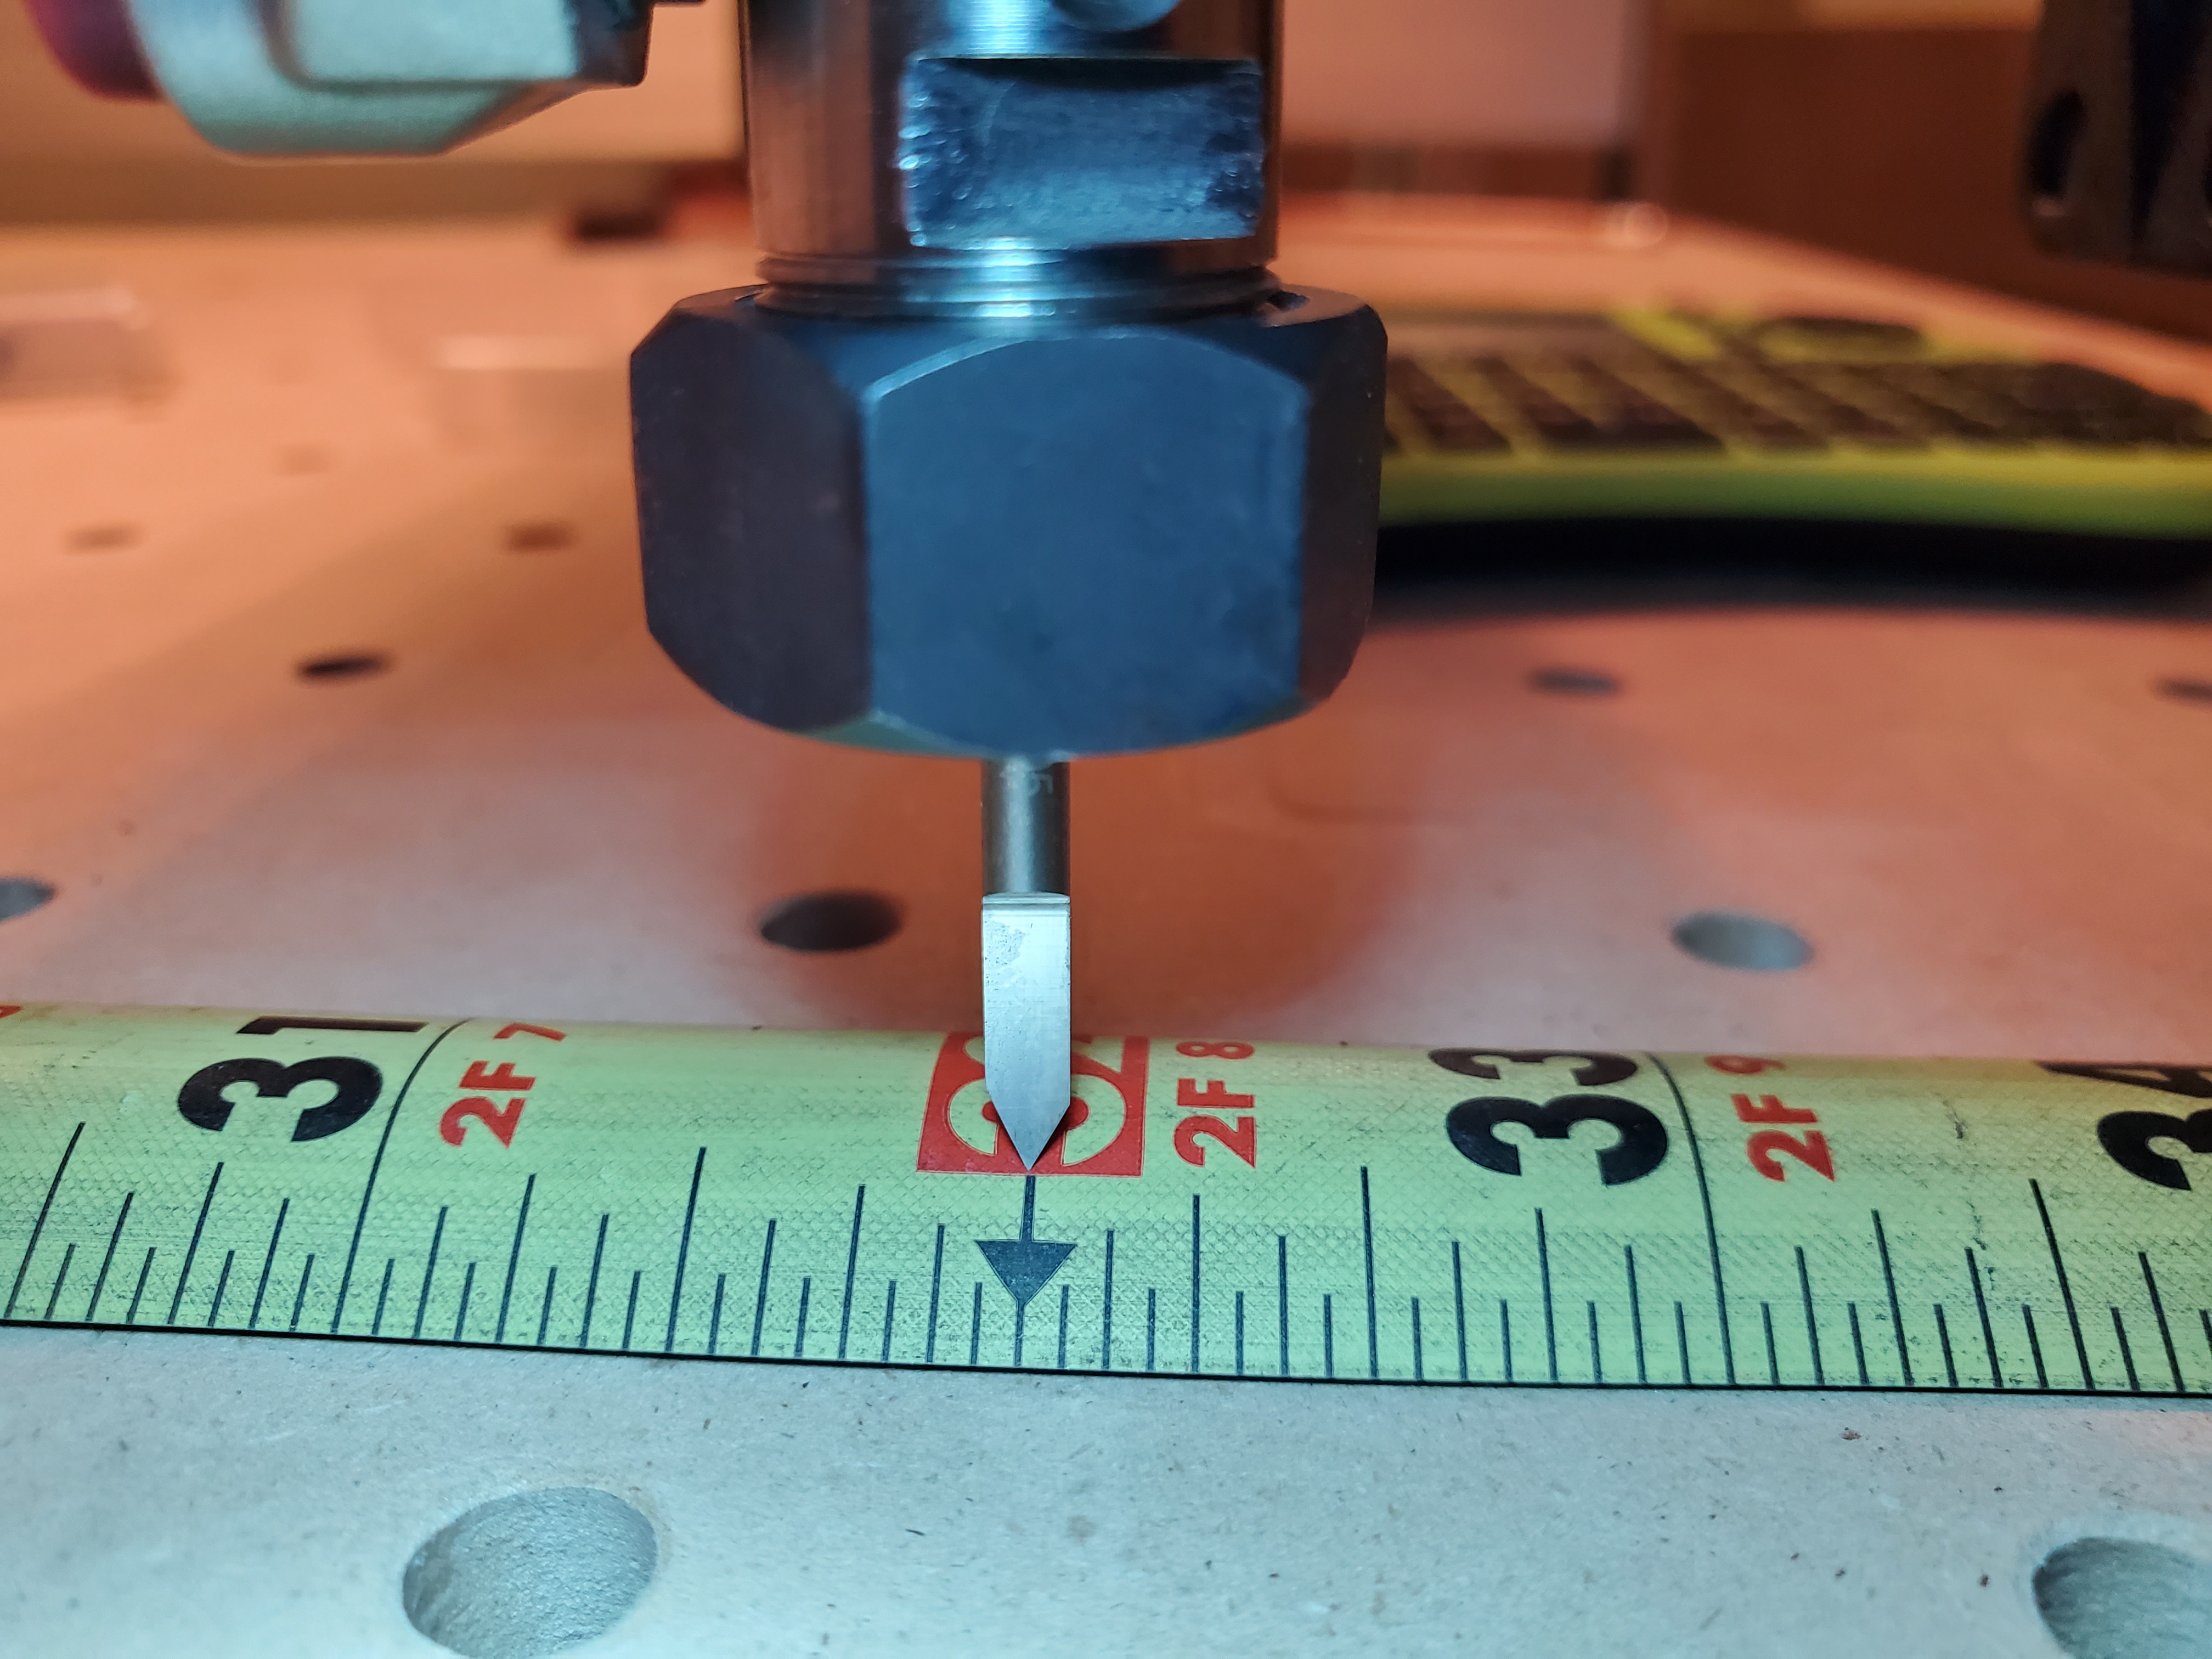
After inputing the new values using the Tape Measure method here are the results.
Where 9" = 0 (reference starting at the NW corner.
Moved 10 “, then 1”, then 5", then 5", then 2", then 3", then 4" concluding the full travel along the Y axis.
GIban671
November 13, 2019, 2:09am
26
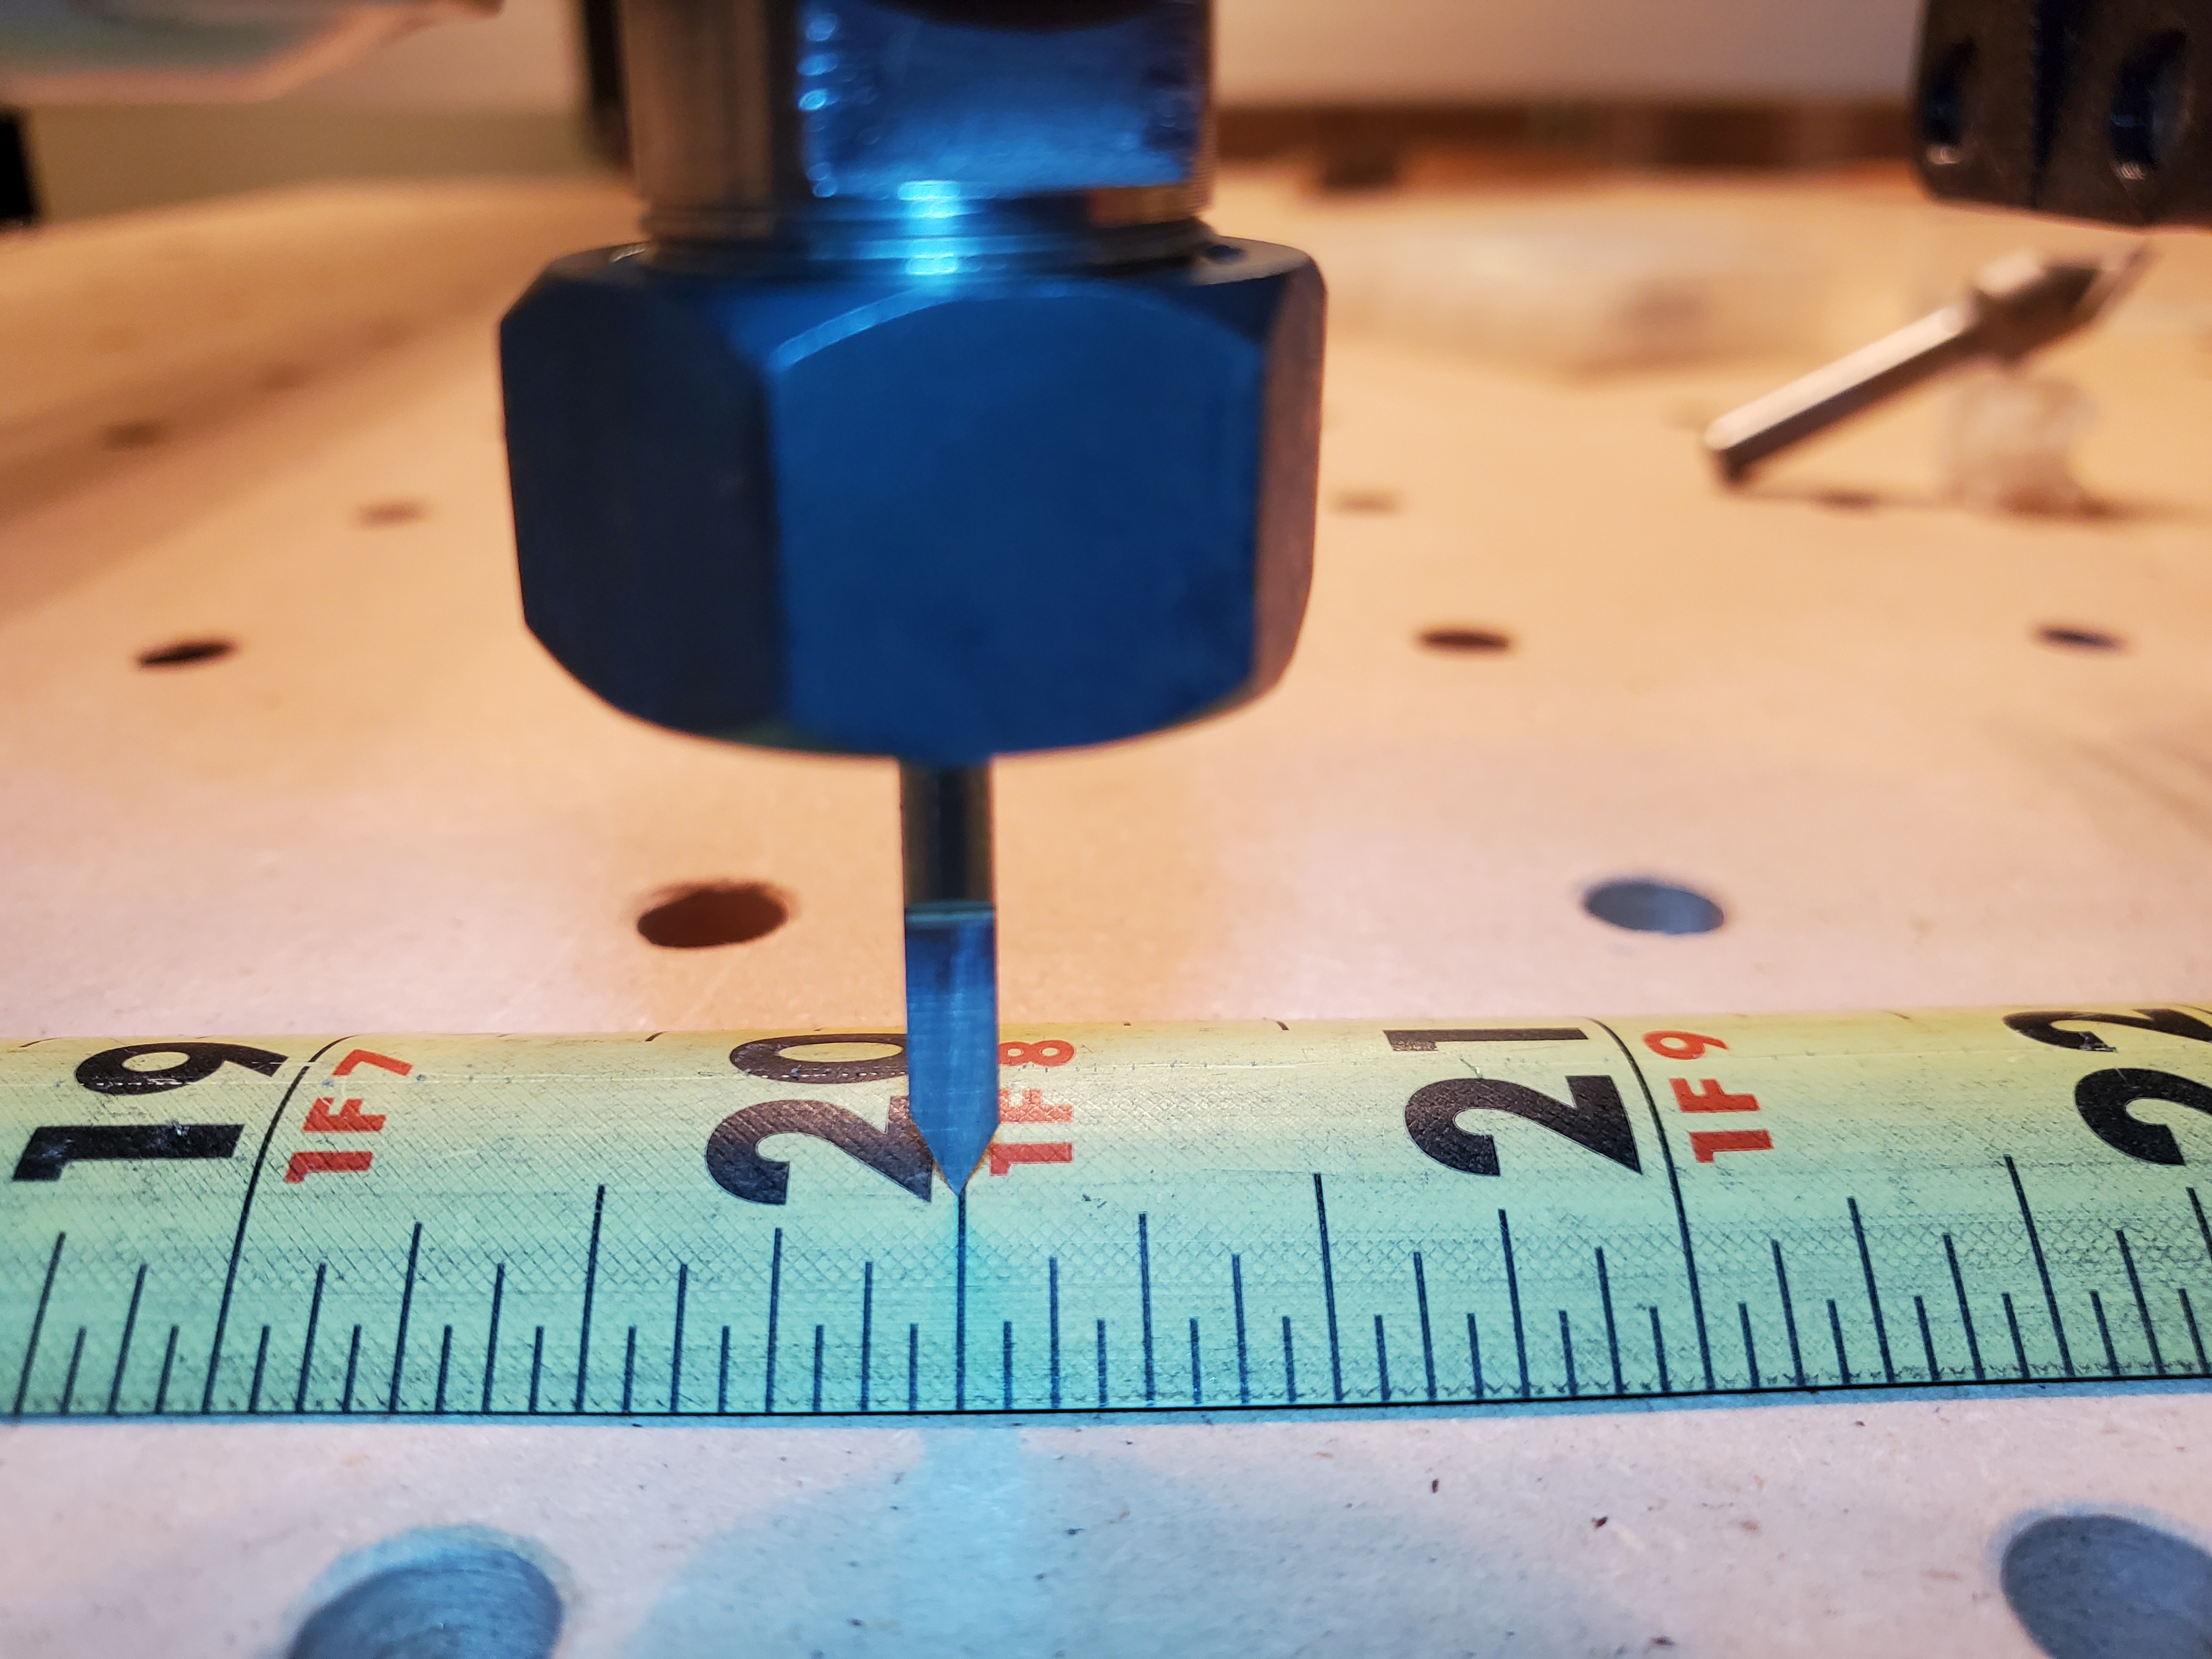
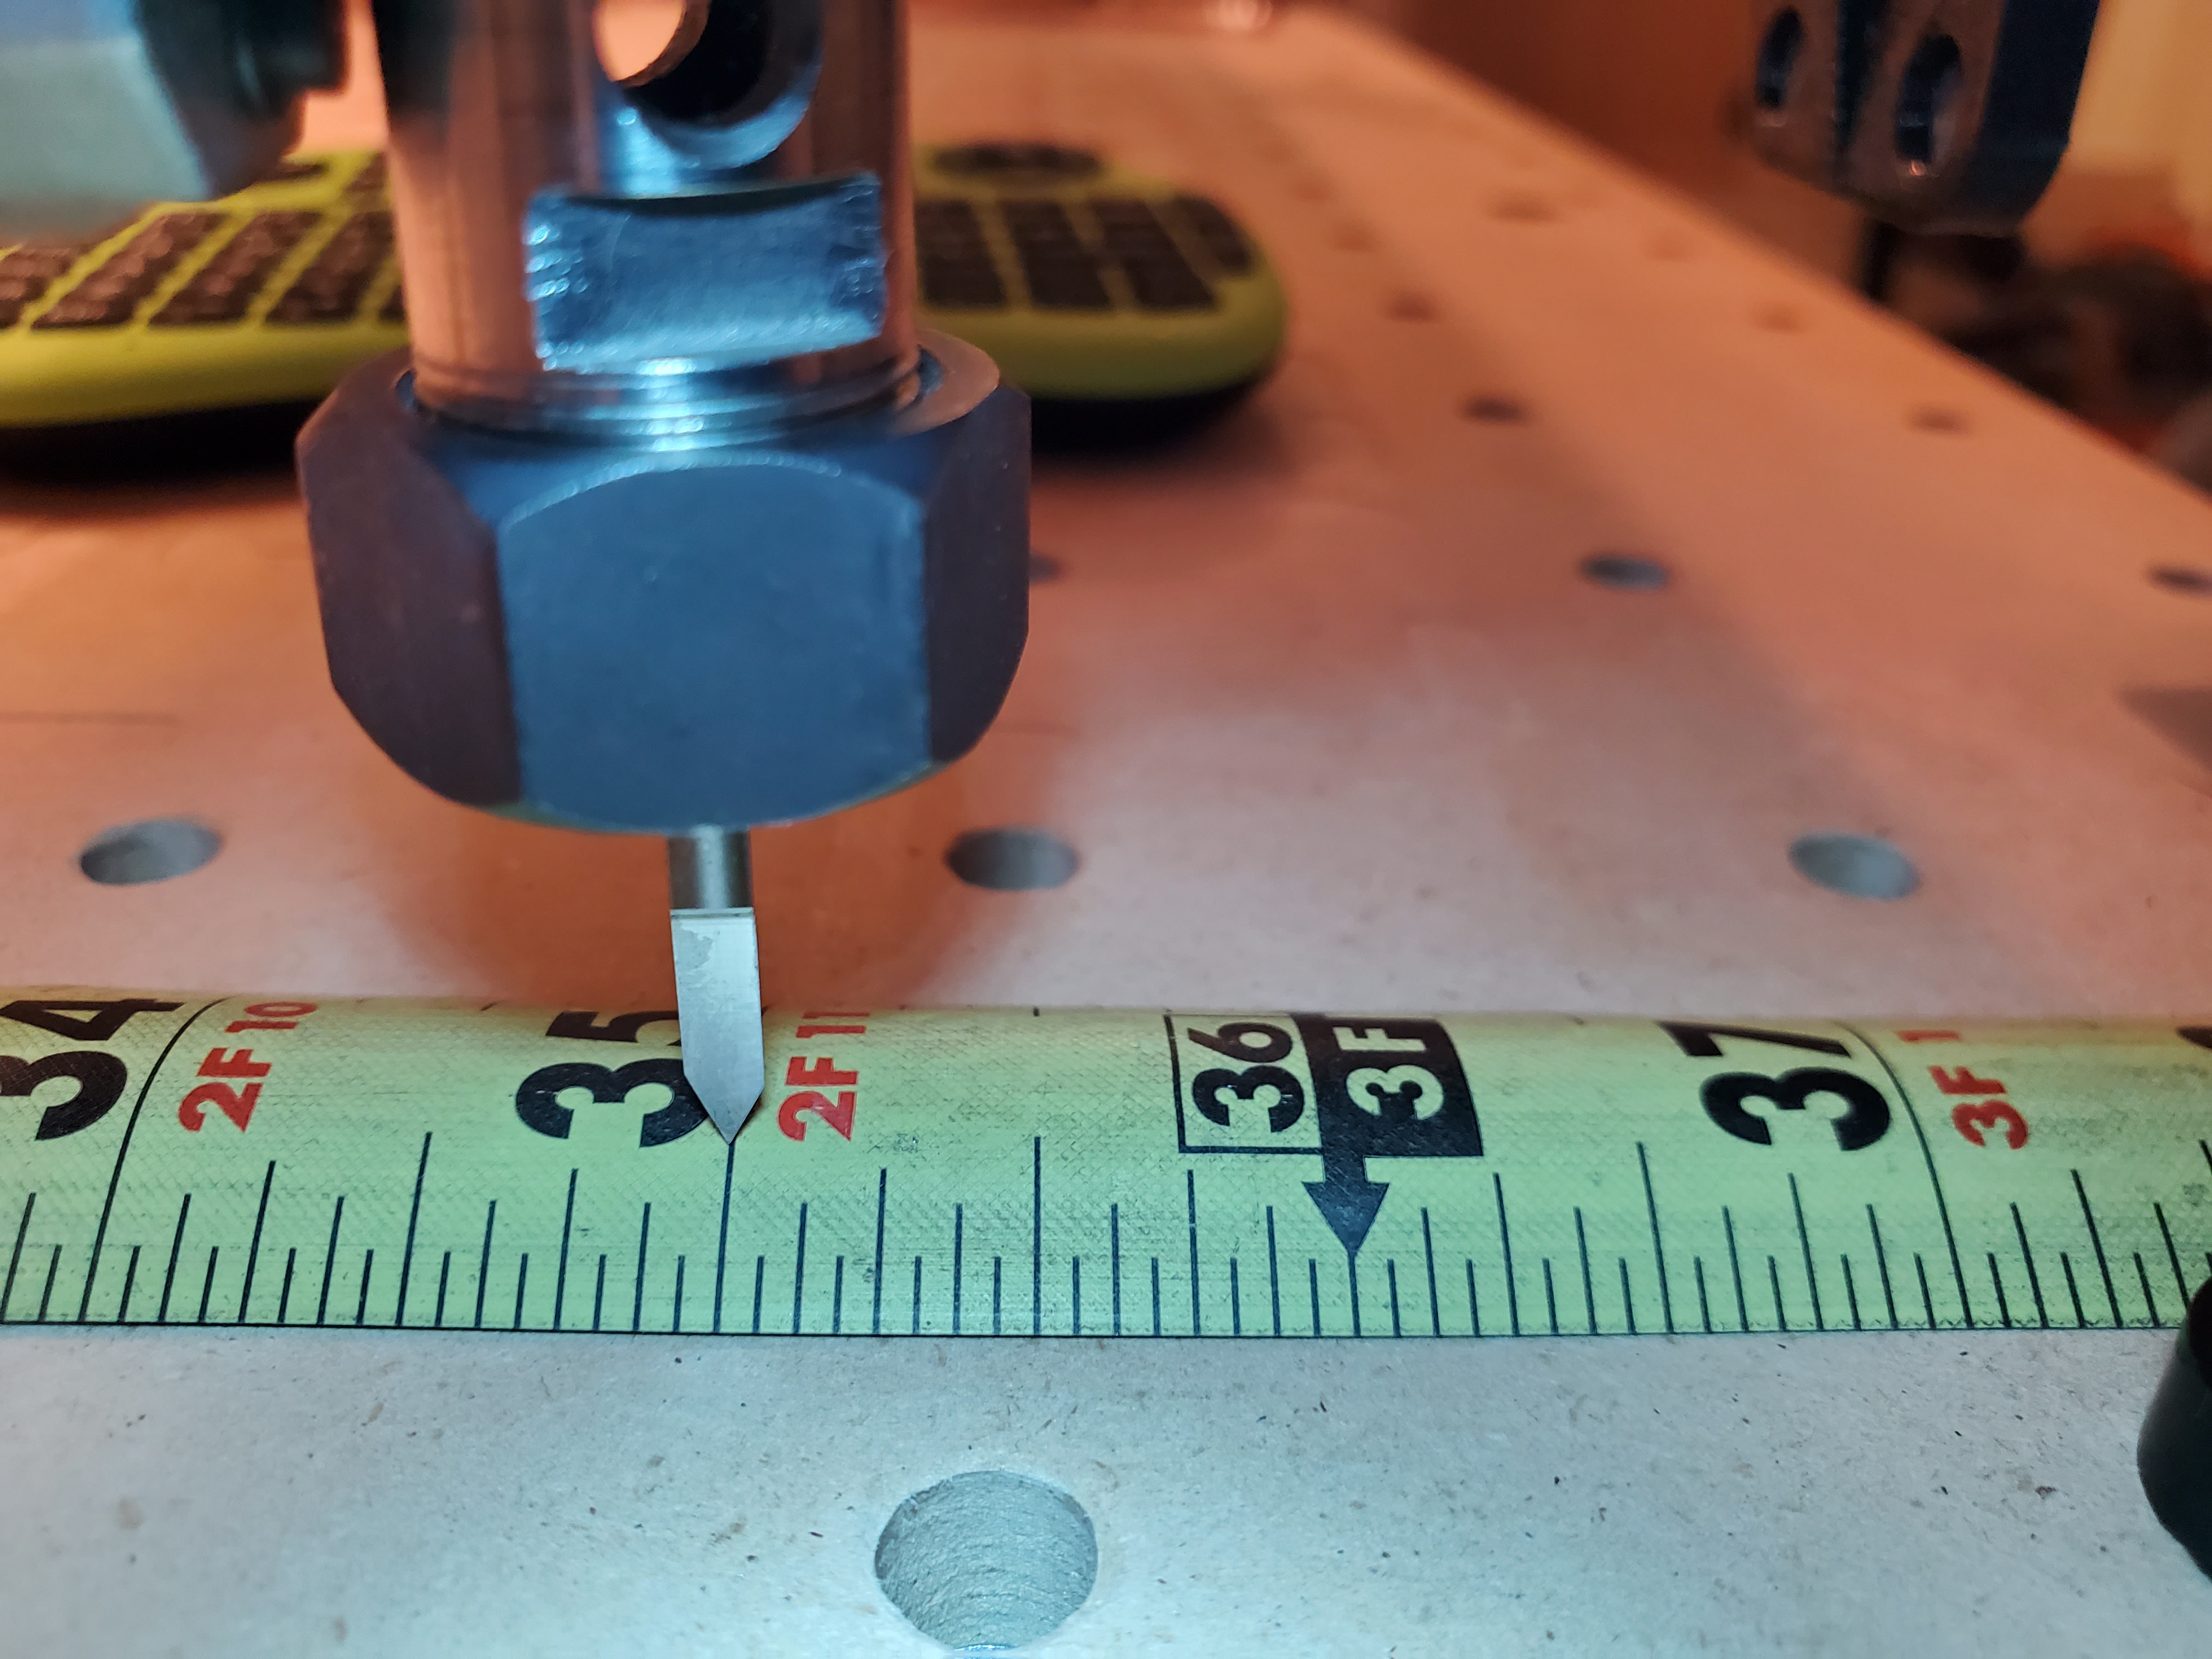
After inputing the new values using the Tape Measure method here are the results.
Where 9" = 0 (reference starting at the NW corner.
Moved 10 “, then 1”, then 5", then 5", then 2", then 3", then 4" concluding the full travel along the Y axis.
1 Like
GIban671
November 13, 2019, 2:45am
27
Julien:
I did not quite follow the full story, but just wanted to share that I have never seen myself a calibrated belt value that is so different from the default 40 steps/mm value: when I calibrate my belts, I usually end up with a value that is typically between 39.9 and 40.1 (and often much closer to 40, like “39.92” or “40.07”).
Which makes me think that your calibrated value of 37.9mm may not be correct, for some reason. That’s a 5% correction factor (that you end up seeing as 5% error on your move, e.g. 81.53mm versus 85.80mm), as far as I am aware belt stretch cannot amount to such a large error by itself.
When you calibrate, do you start the process with $100=40 or a previously calibrated value maybe ? Is that result of 37.9 steps/mm repeatable ?
After doing the tape measure method here are my X & Y new values.
X = 39.9109 mm
Not sure if performing the calibration on 125 mm distance as compared to a longer length. But the greater the length the better the accuracy.
3 Likes
Julien
November 13, 2019, 7:00am
28
Now these look like typical calibration values. A tip of my hat for your perseverance to get to the bottom of this.
2 Likes
GIban671
November 13, 2019, 9:02am
29
A huge Thanks to ALL for their valuable input. Yes perseverance and Thinking Outside the Box.
1 Like
DAH
November 21, 2019, 7:49pm
30
These numbers sound like you may be measuring to opposite sides of the bit; a 6 mm bit included in a 125 mm measurement would be about a 5% error which would agree with your initial 37.9 steps/mm factor.
GIban671
November 21, 2019, 10:00pm
31
DAH, it was a tight v-groove wheel on the right Y rail and also using a dial caliper at 5 inches to perform the belt tension calibration created an error over the overall length.
1 Like
system
December 21, 2019, 10:00pm
32
This topic was automatically closed 30 days after the last reply. New replies are no longer allowed.