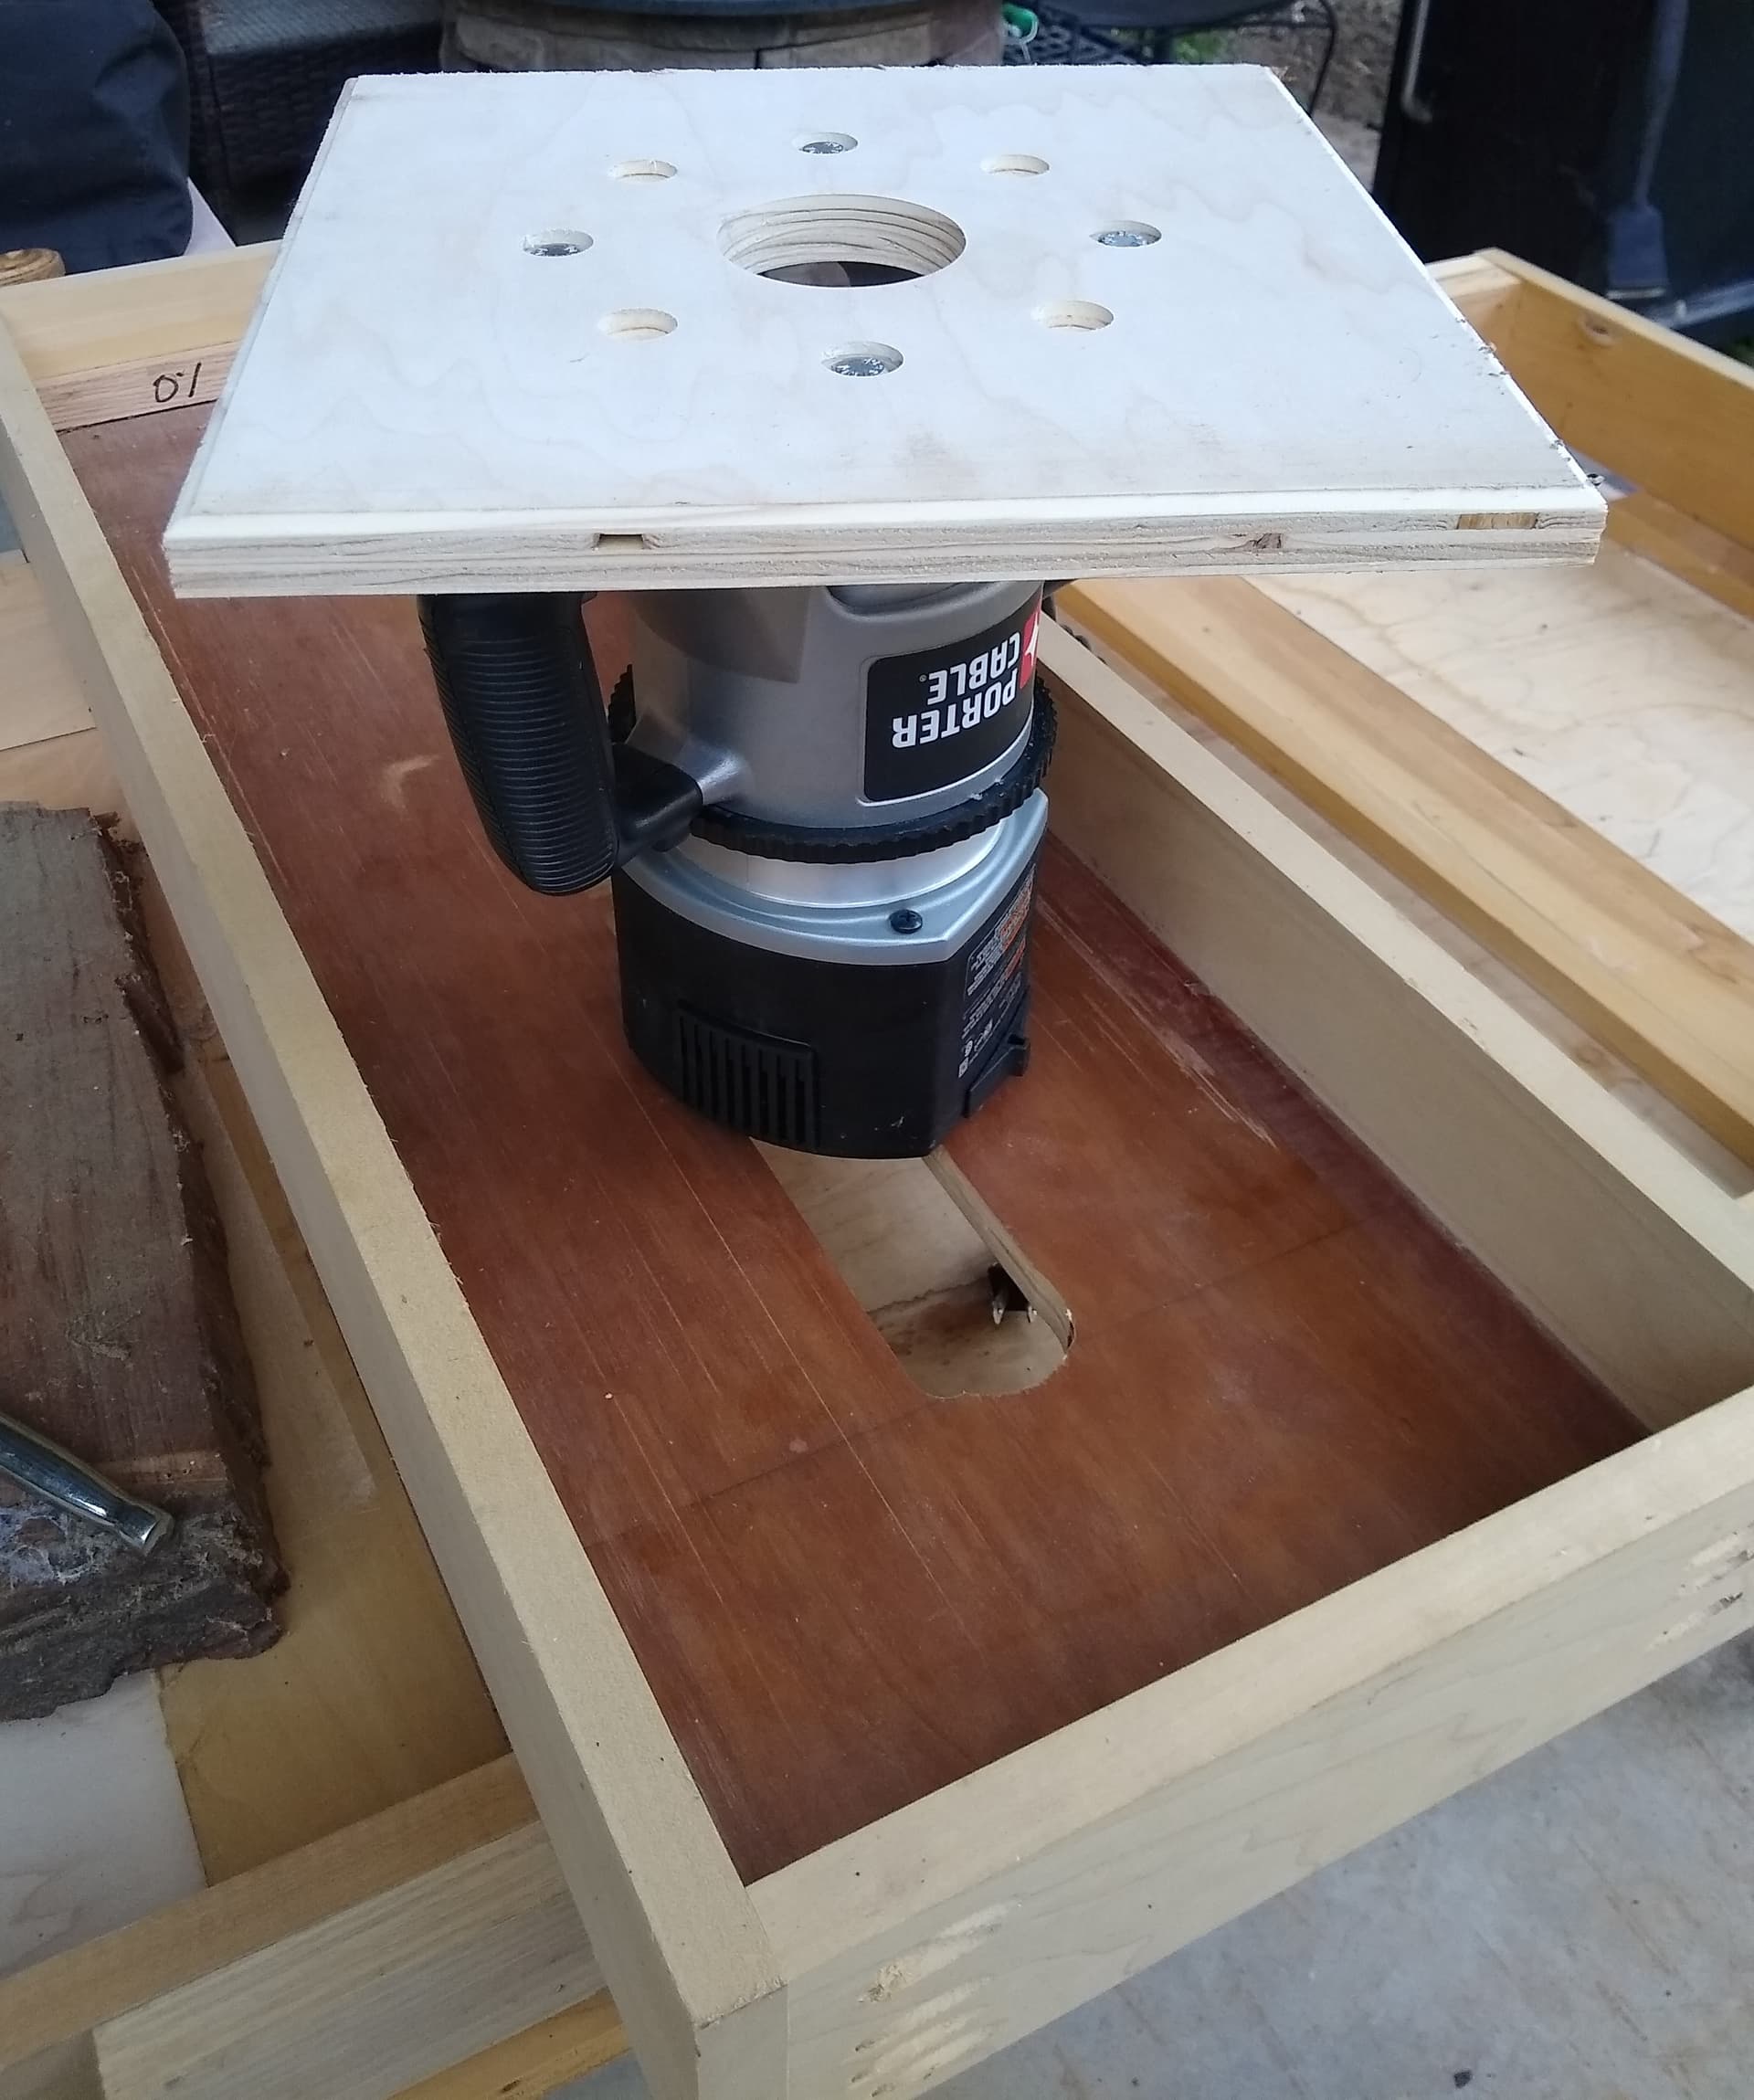
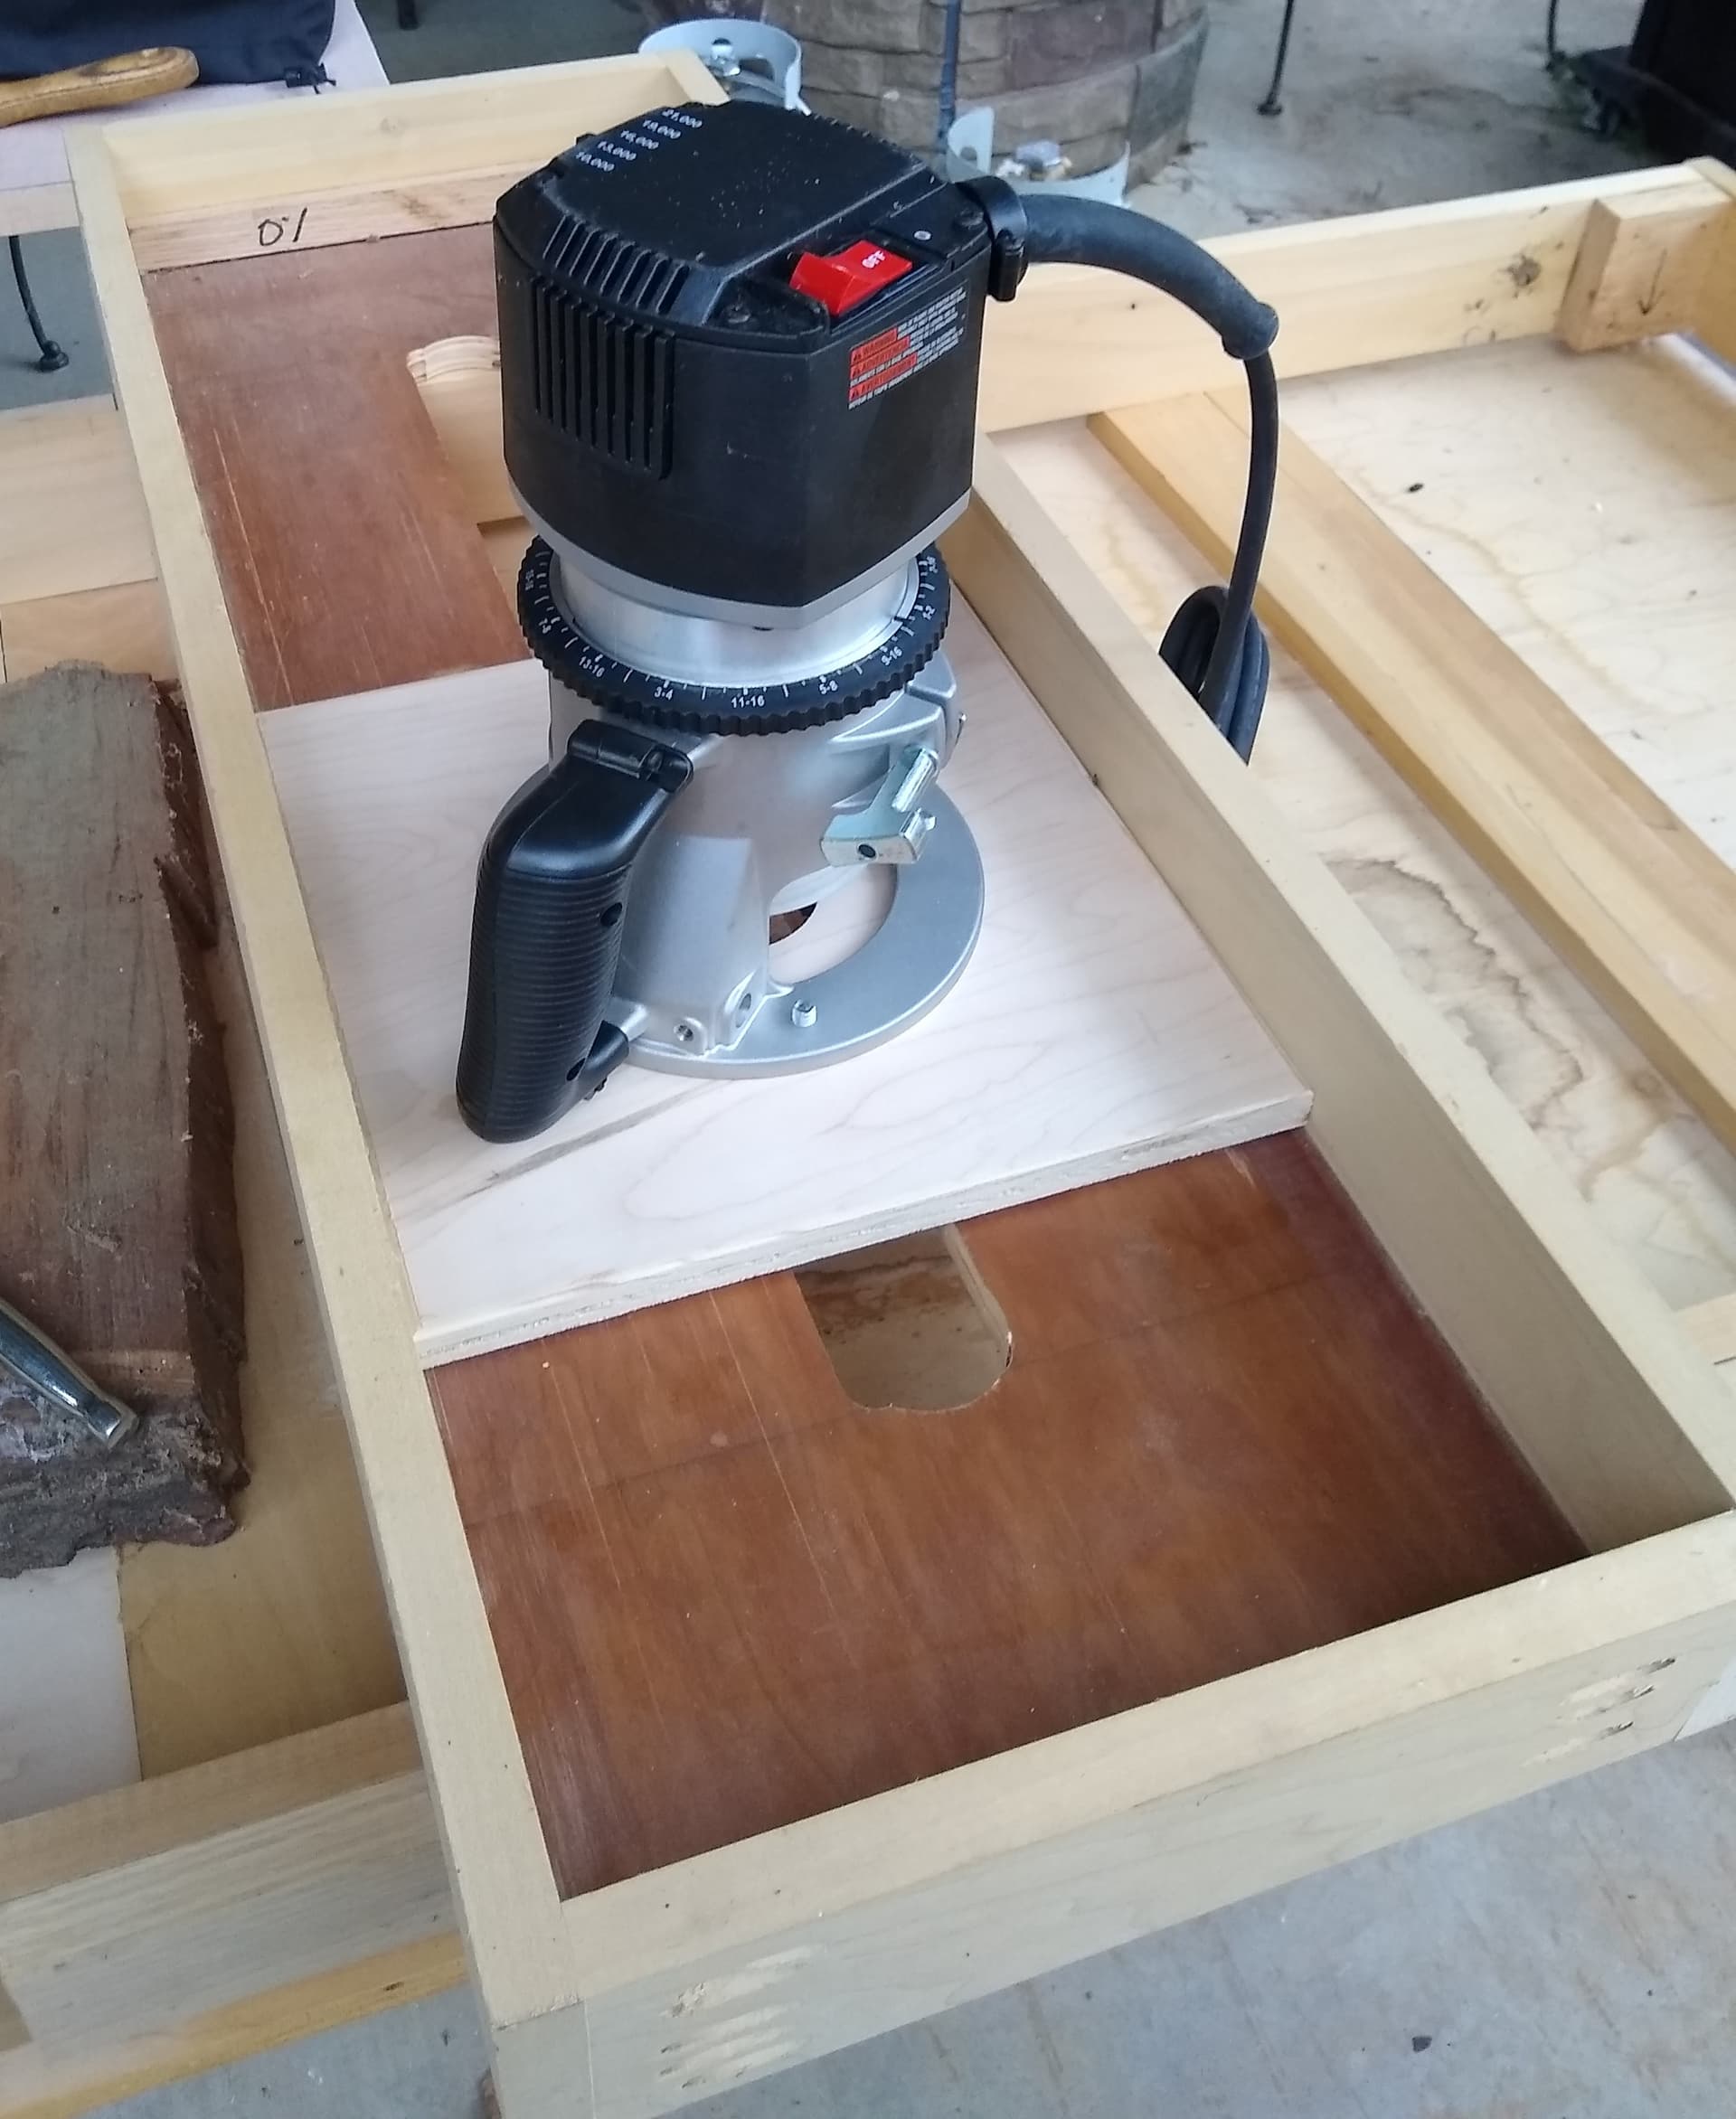
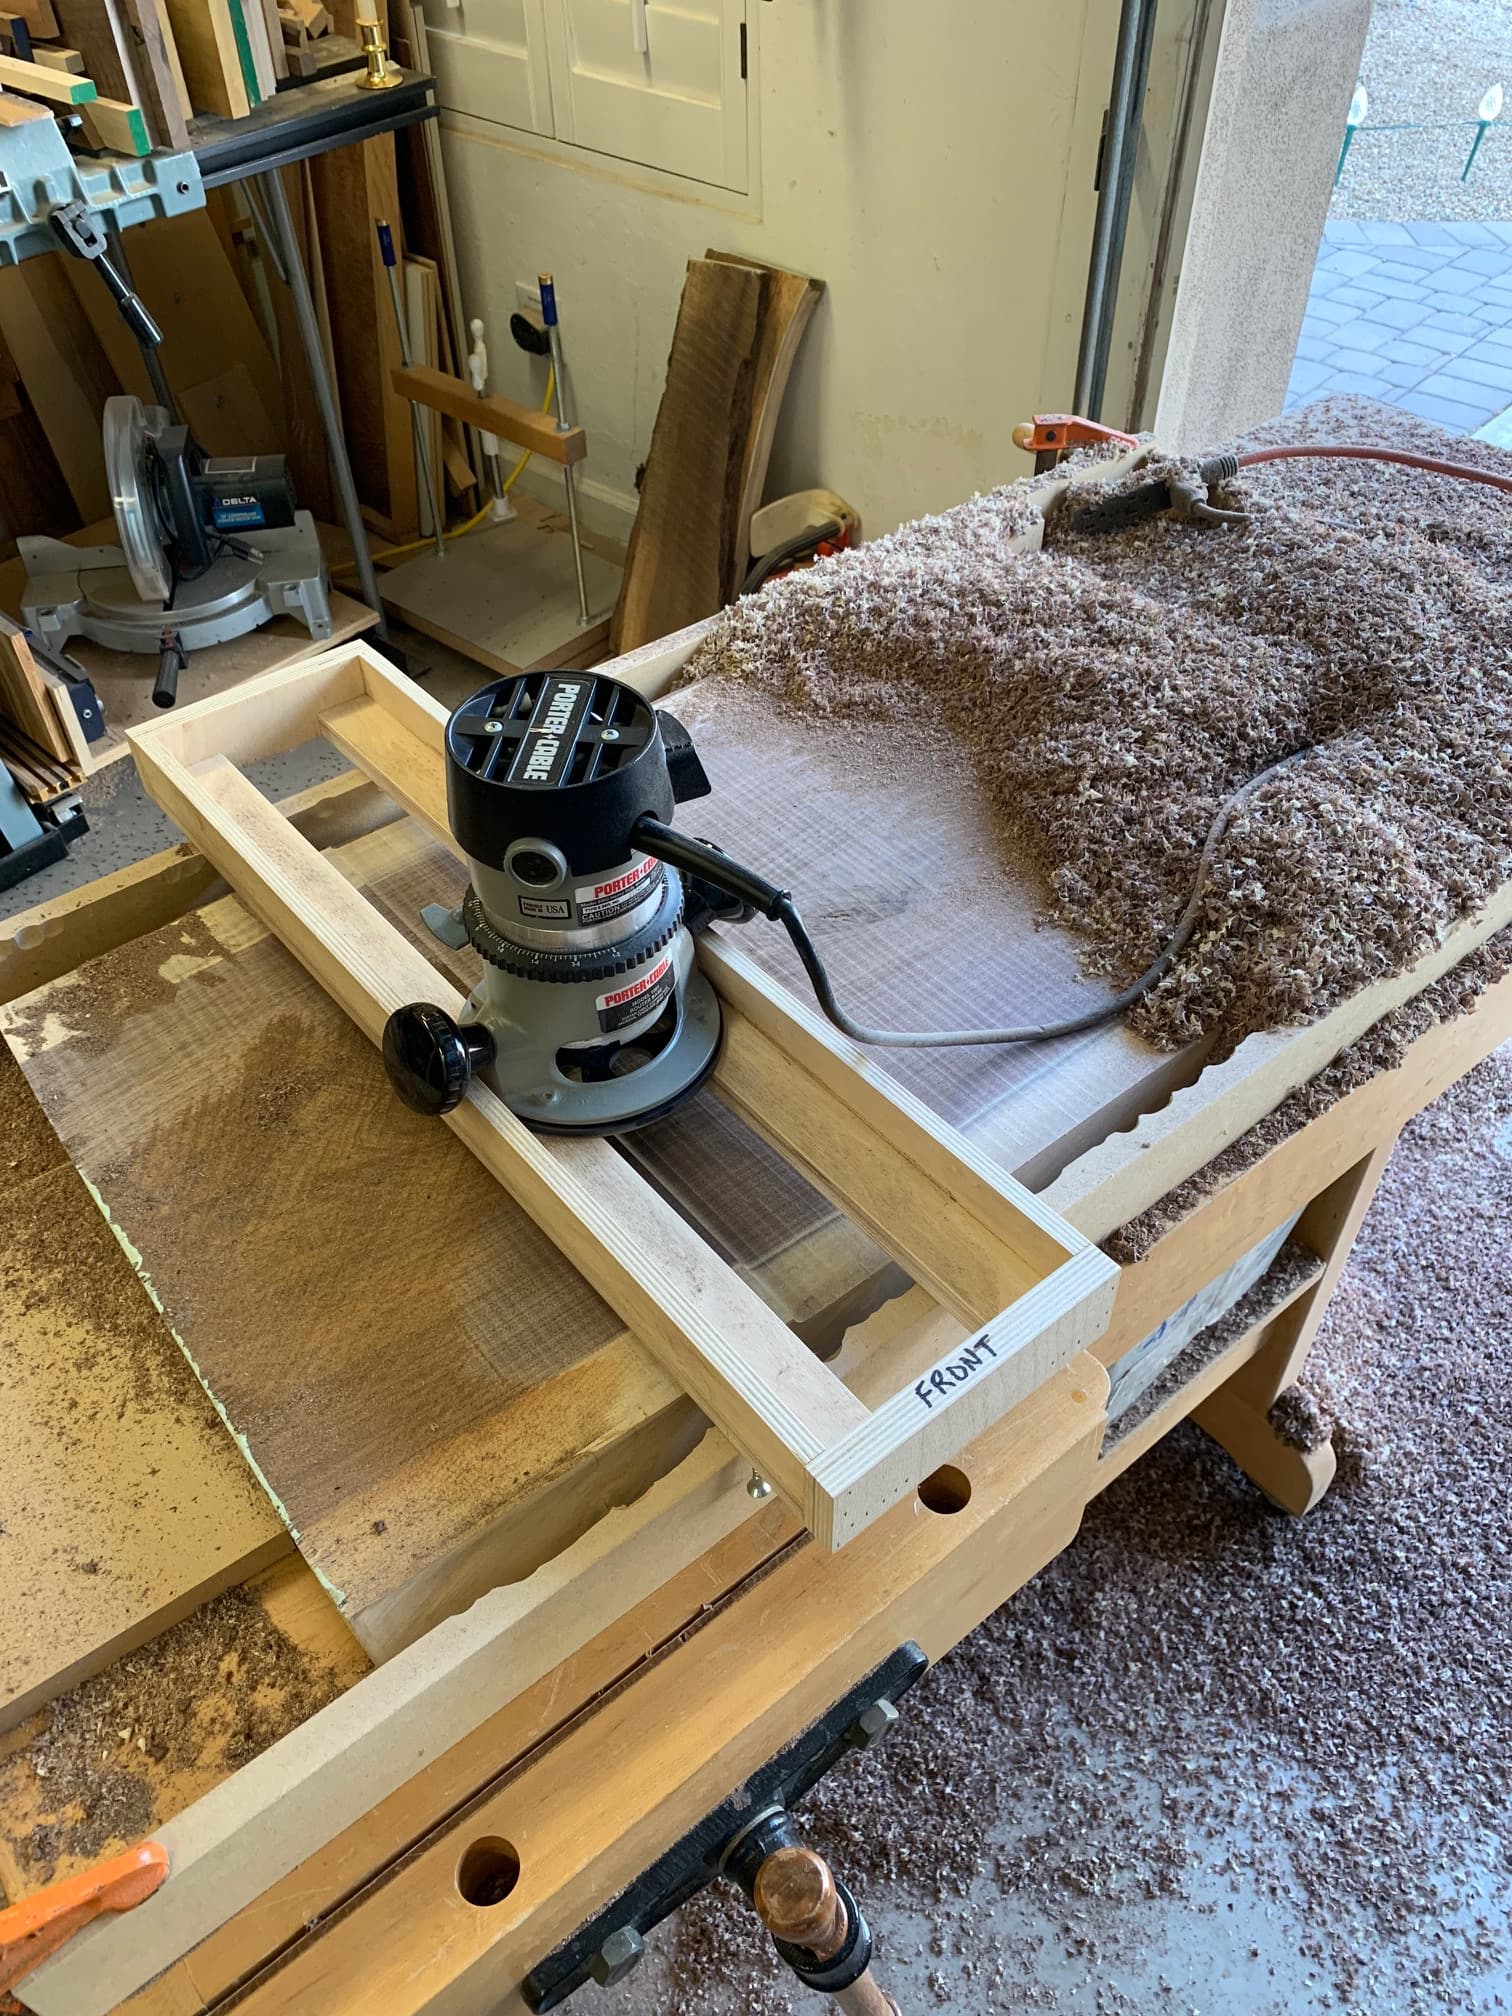
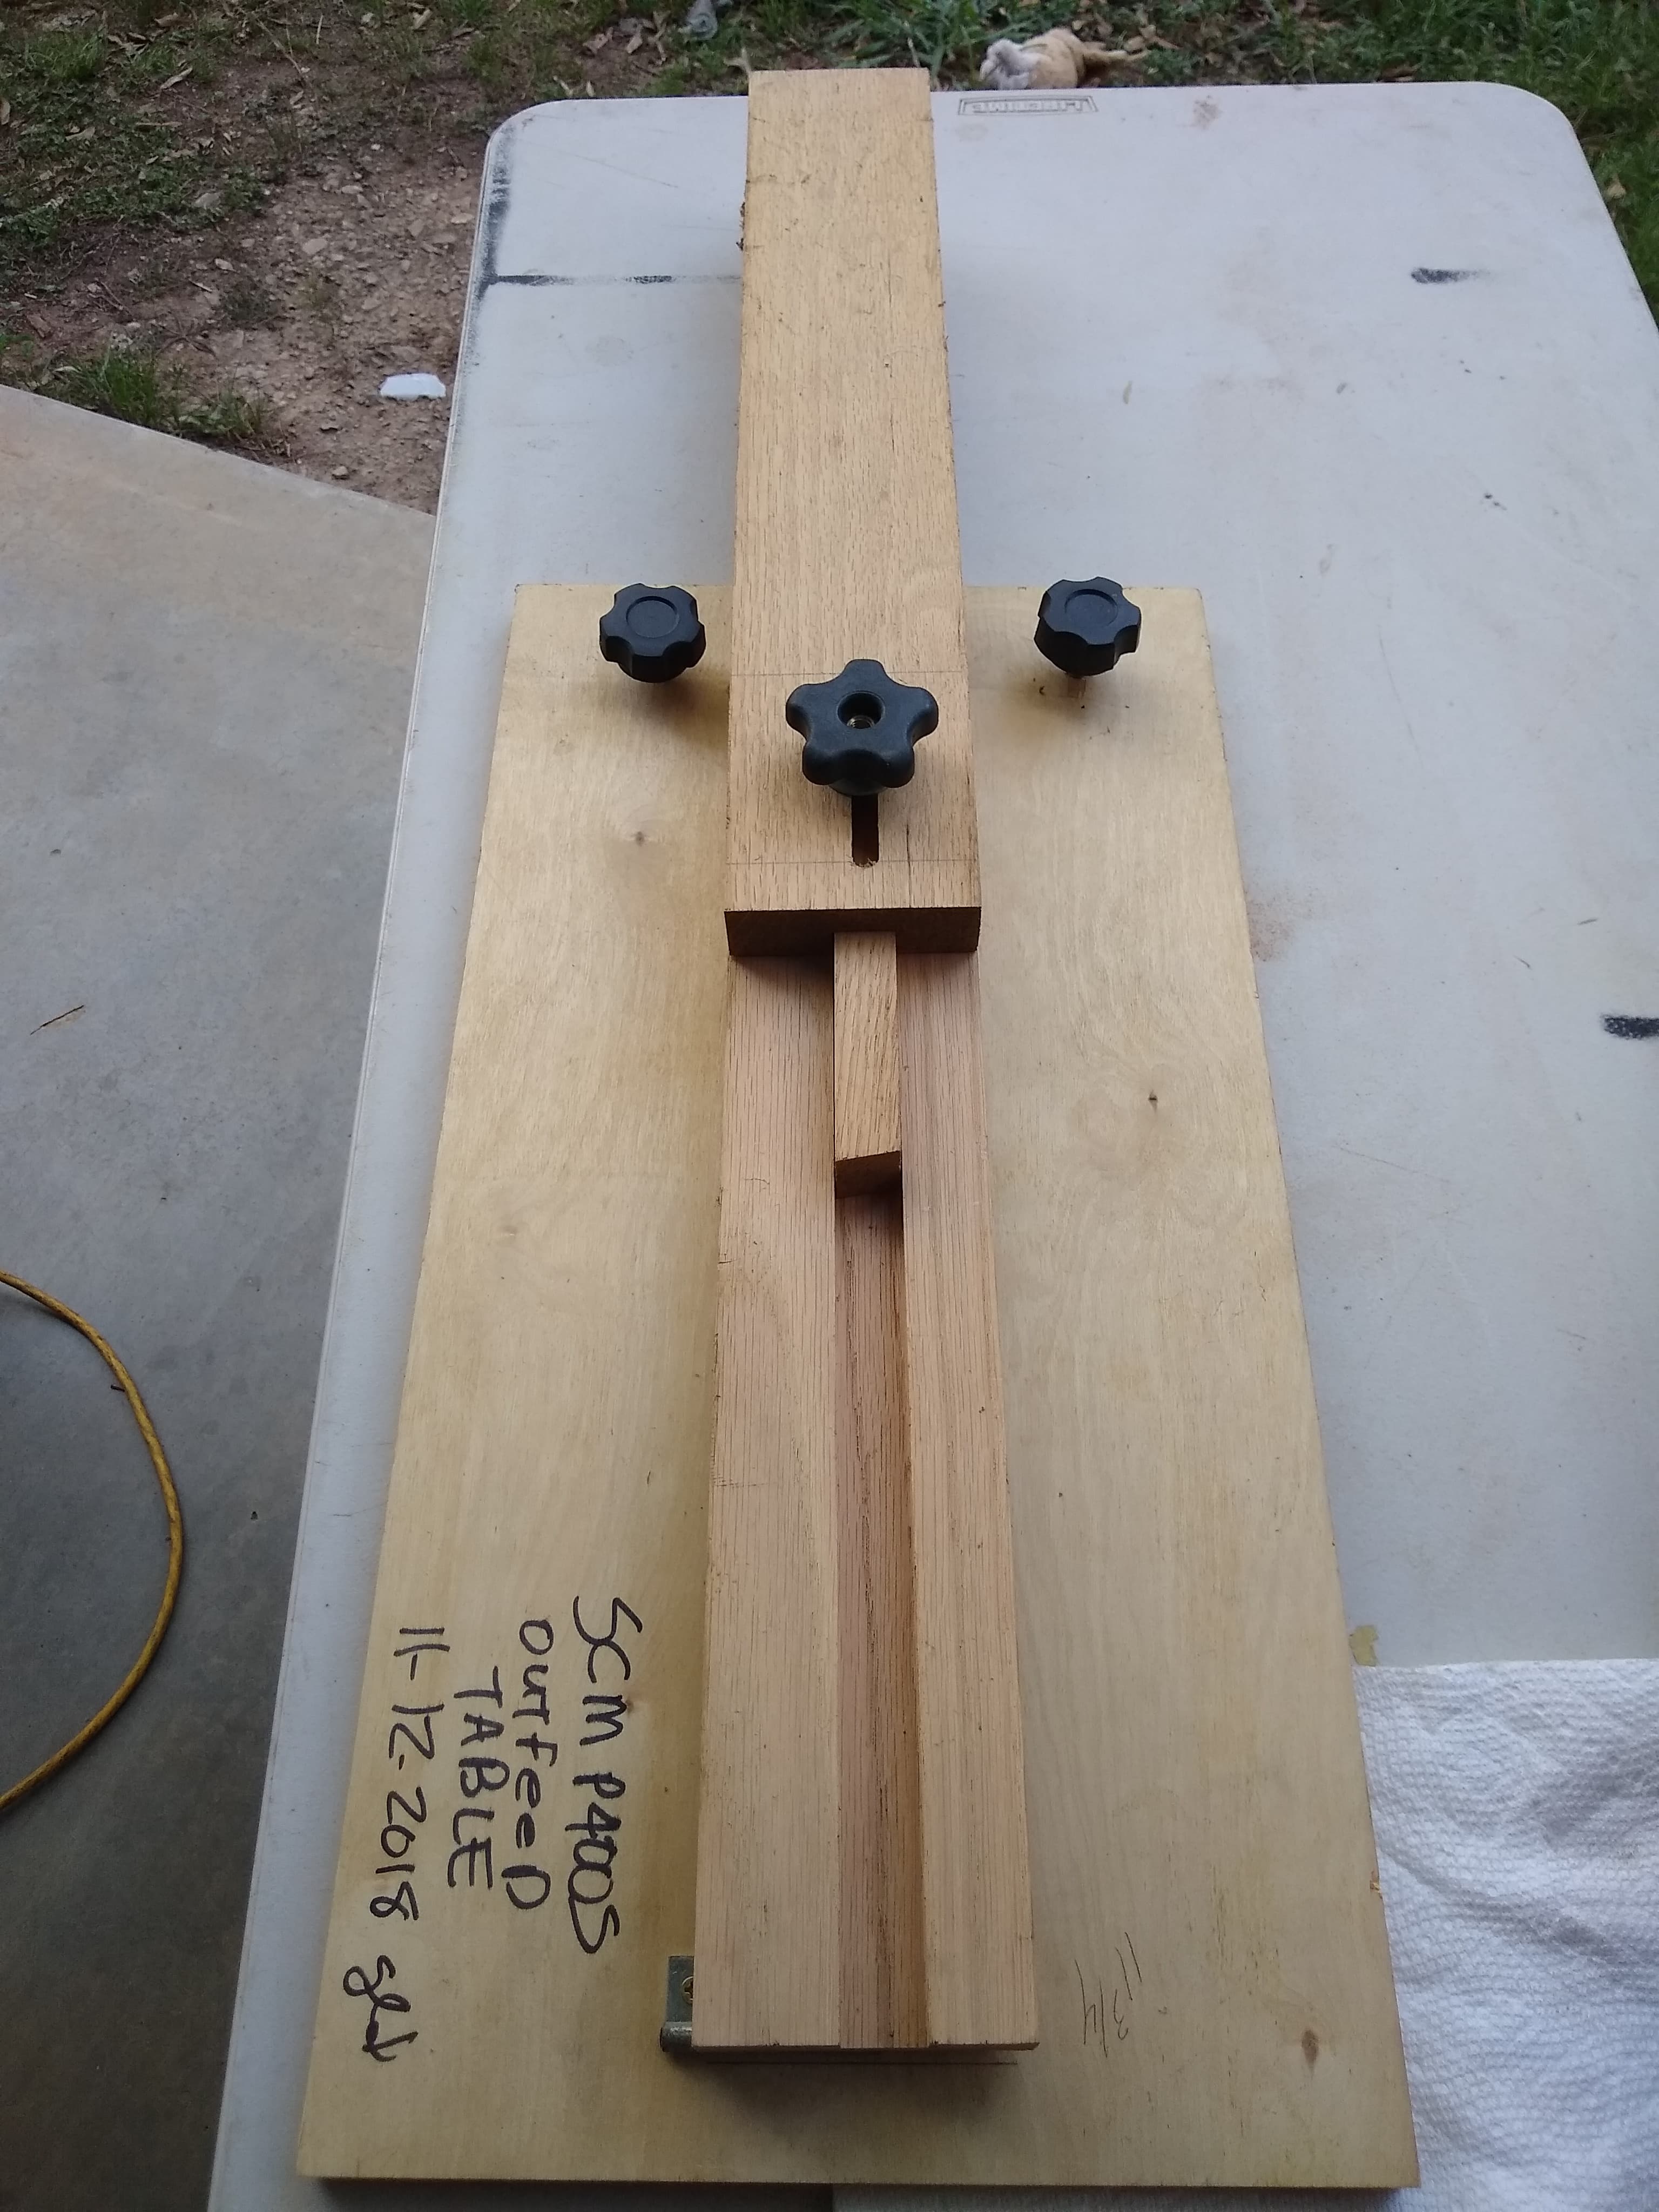
I am starting a furniture project with some Mesquite that I cut on a saw mill about 3 years ago. I have a Frued FT2000E and an Infinity Mega Planner Kit that has the bit, extension, and a 1/4" thick acrylic base. The base fits a lot of routers and fits the Frued FT2000E. However I hate that Frued router. I have a Porter Cable 7519 3.25HP router. The acrylic base does not fit the PC router. So I found the specifications for the base screws and made myself a base for the PC router. I already made the flattening jig and just had to make the PC fit in the existing jig.
Here is the base. I originally drew up the base in CC and just used a square to place my mounting holes. Then I took another look at the router and the big handles would have been perpendicular to the sled and they are wider then the base. So I went back into CC and copied the mounting holes and rotated them 45 degrees. I went ahead and machines all 8 holes in case I want to use the base for another purpose later and the handles will be square to the base if I want them.
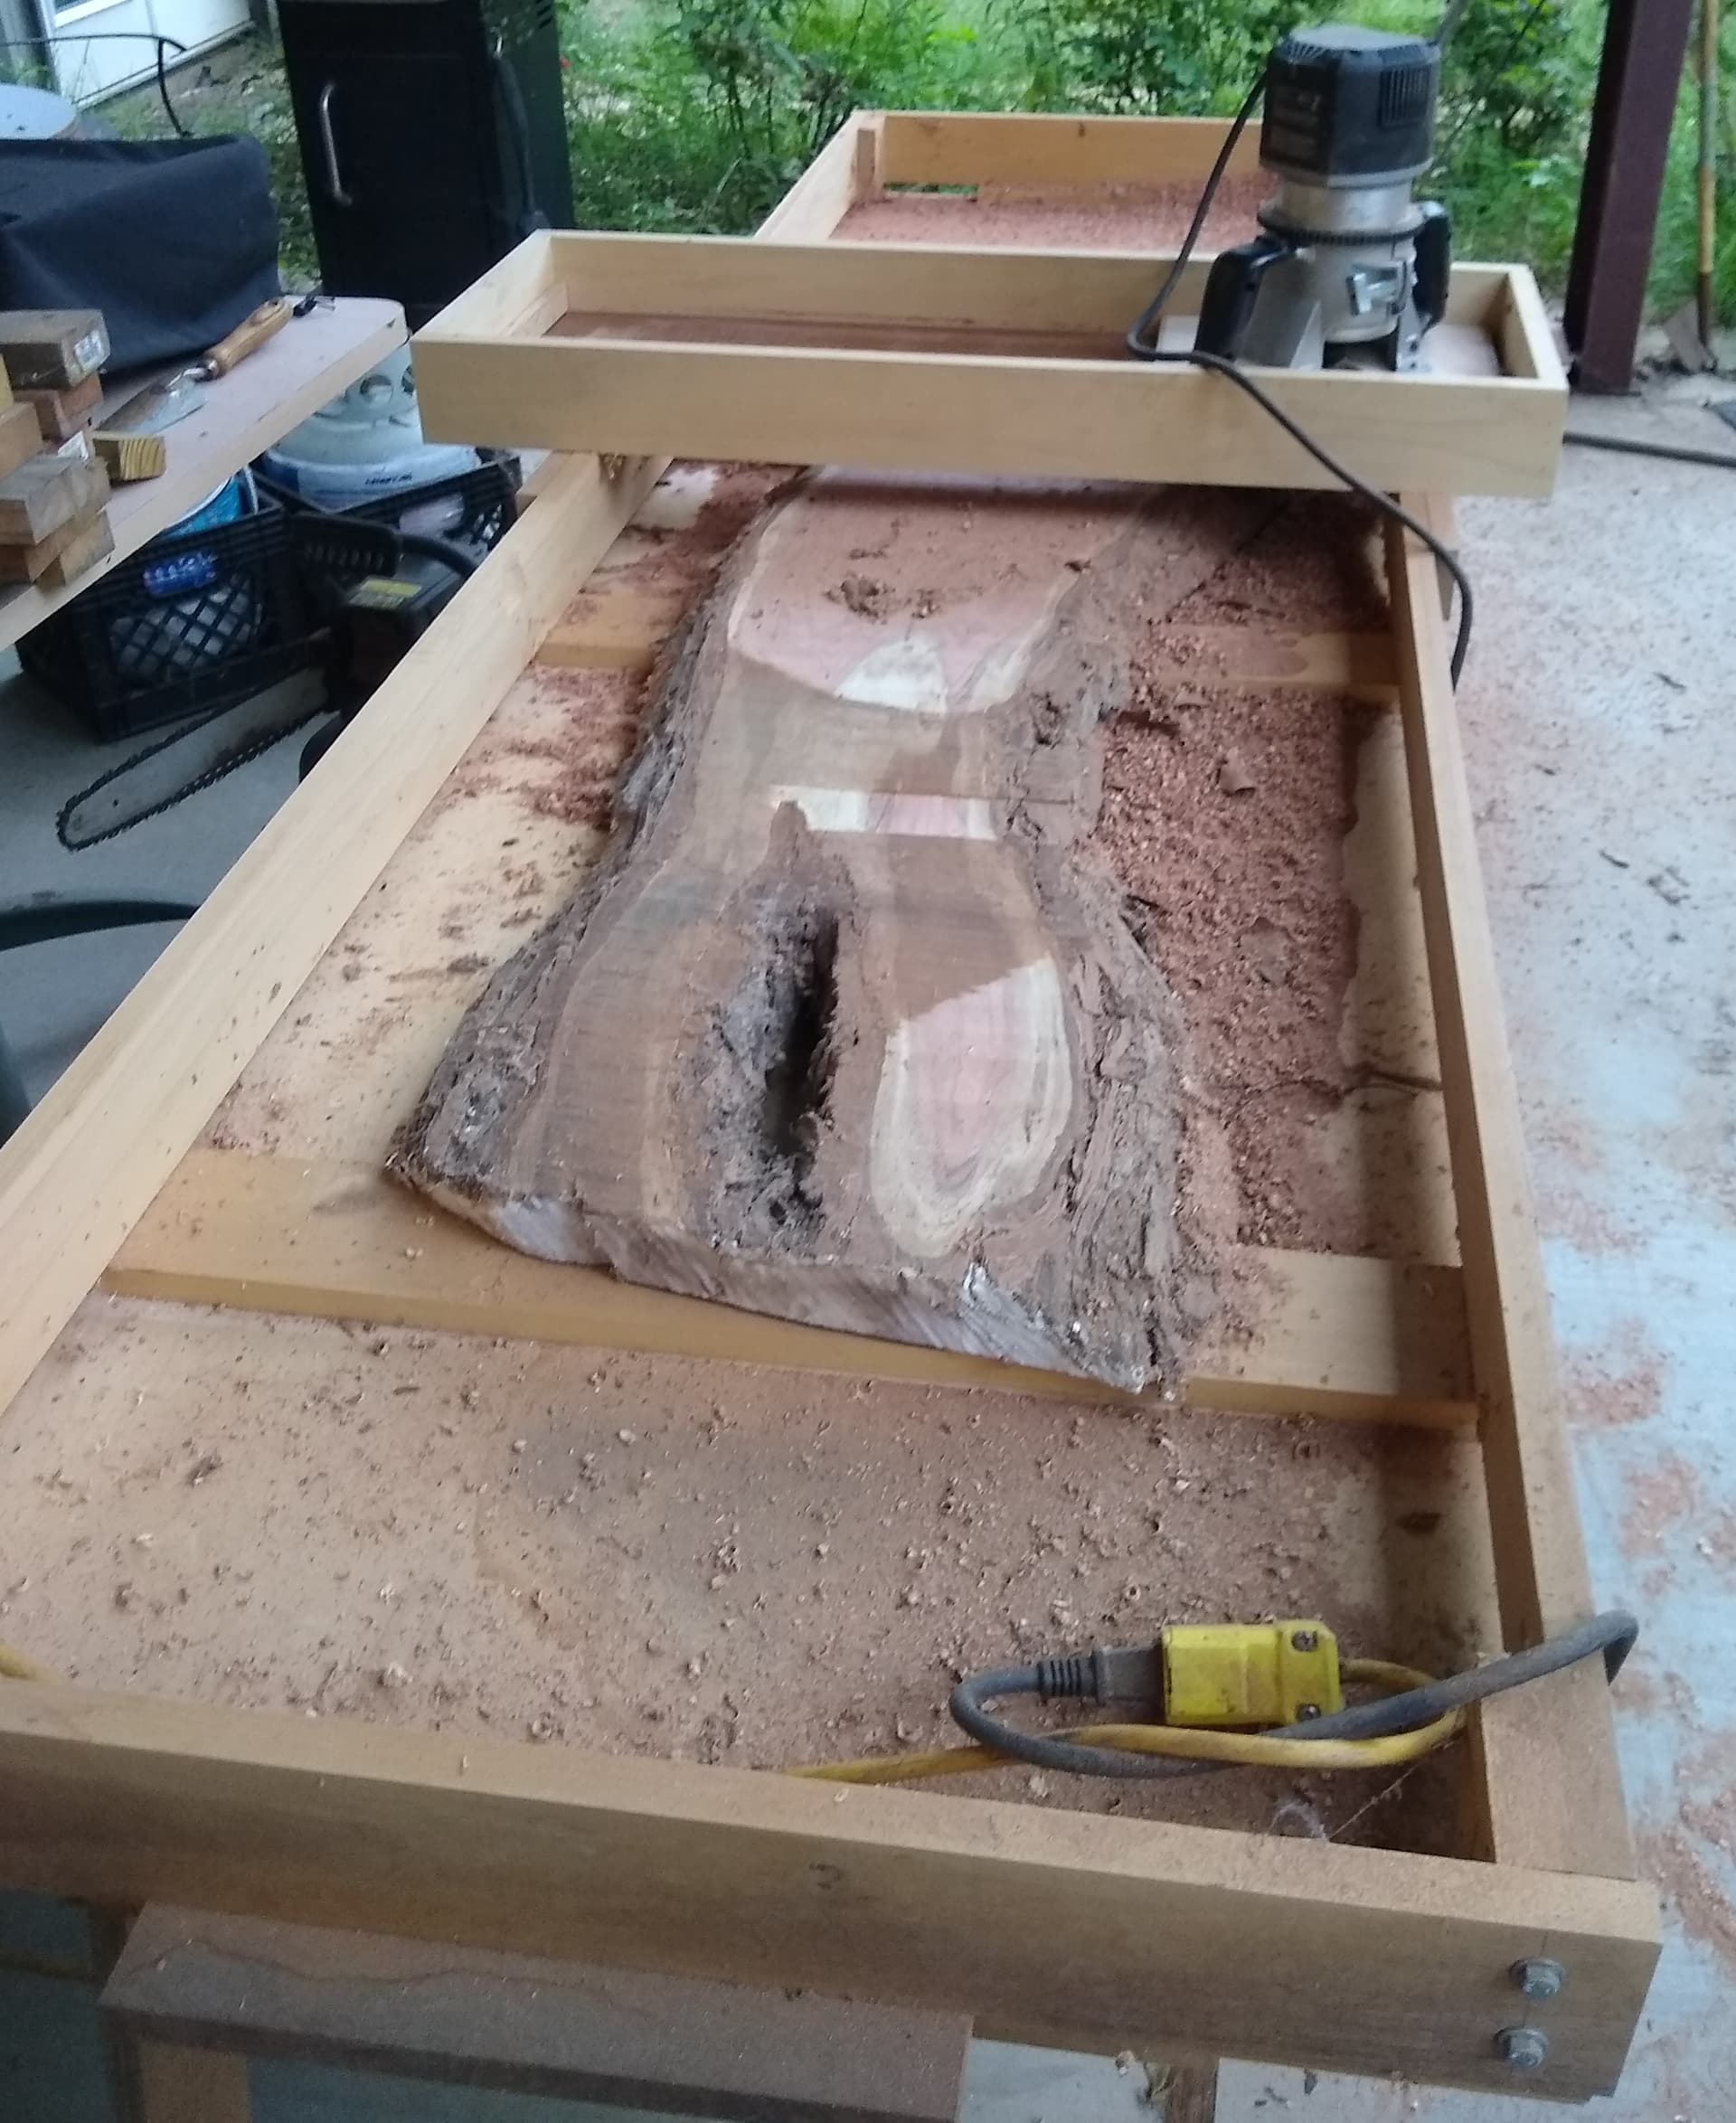
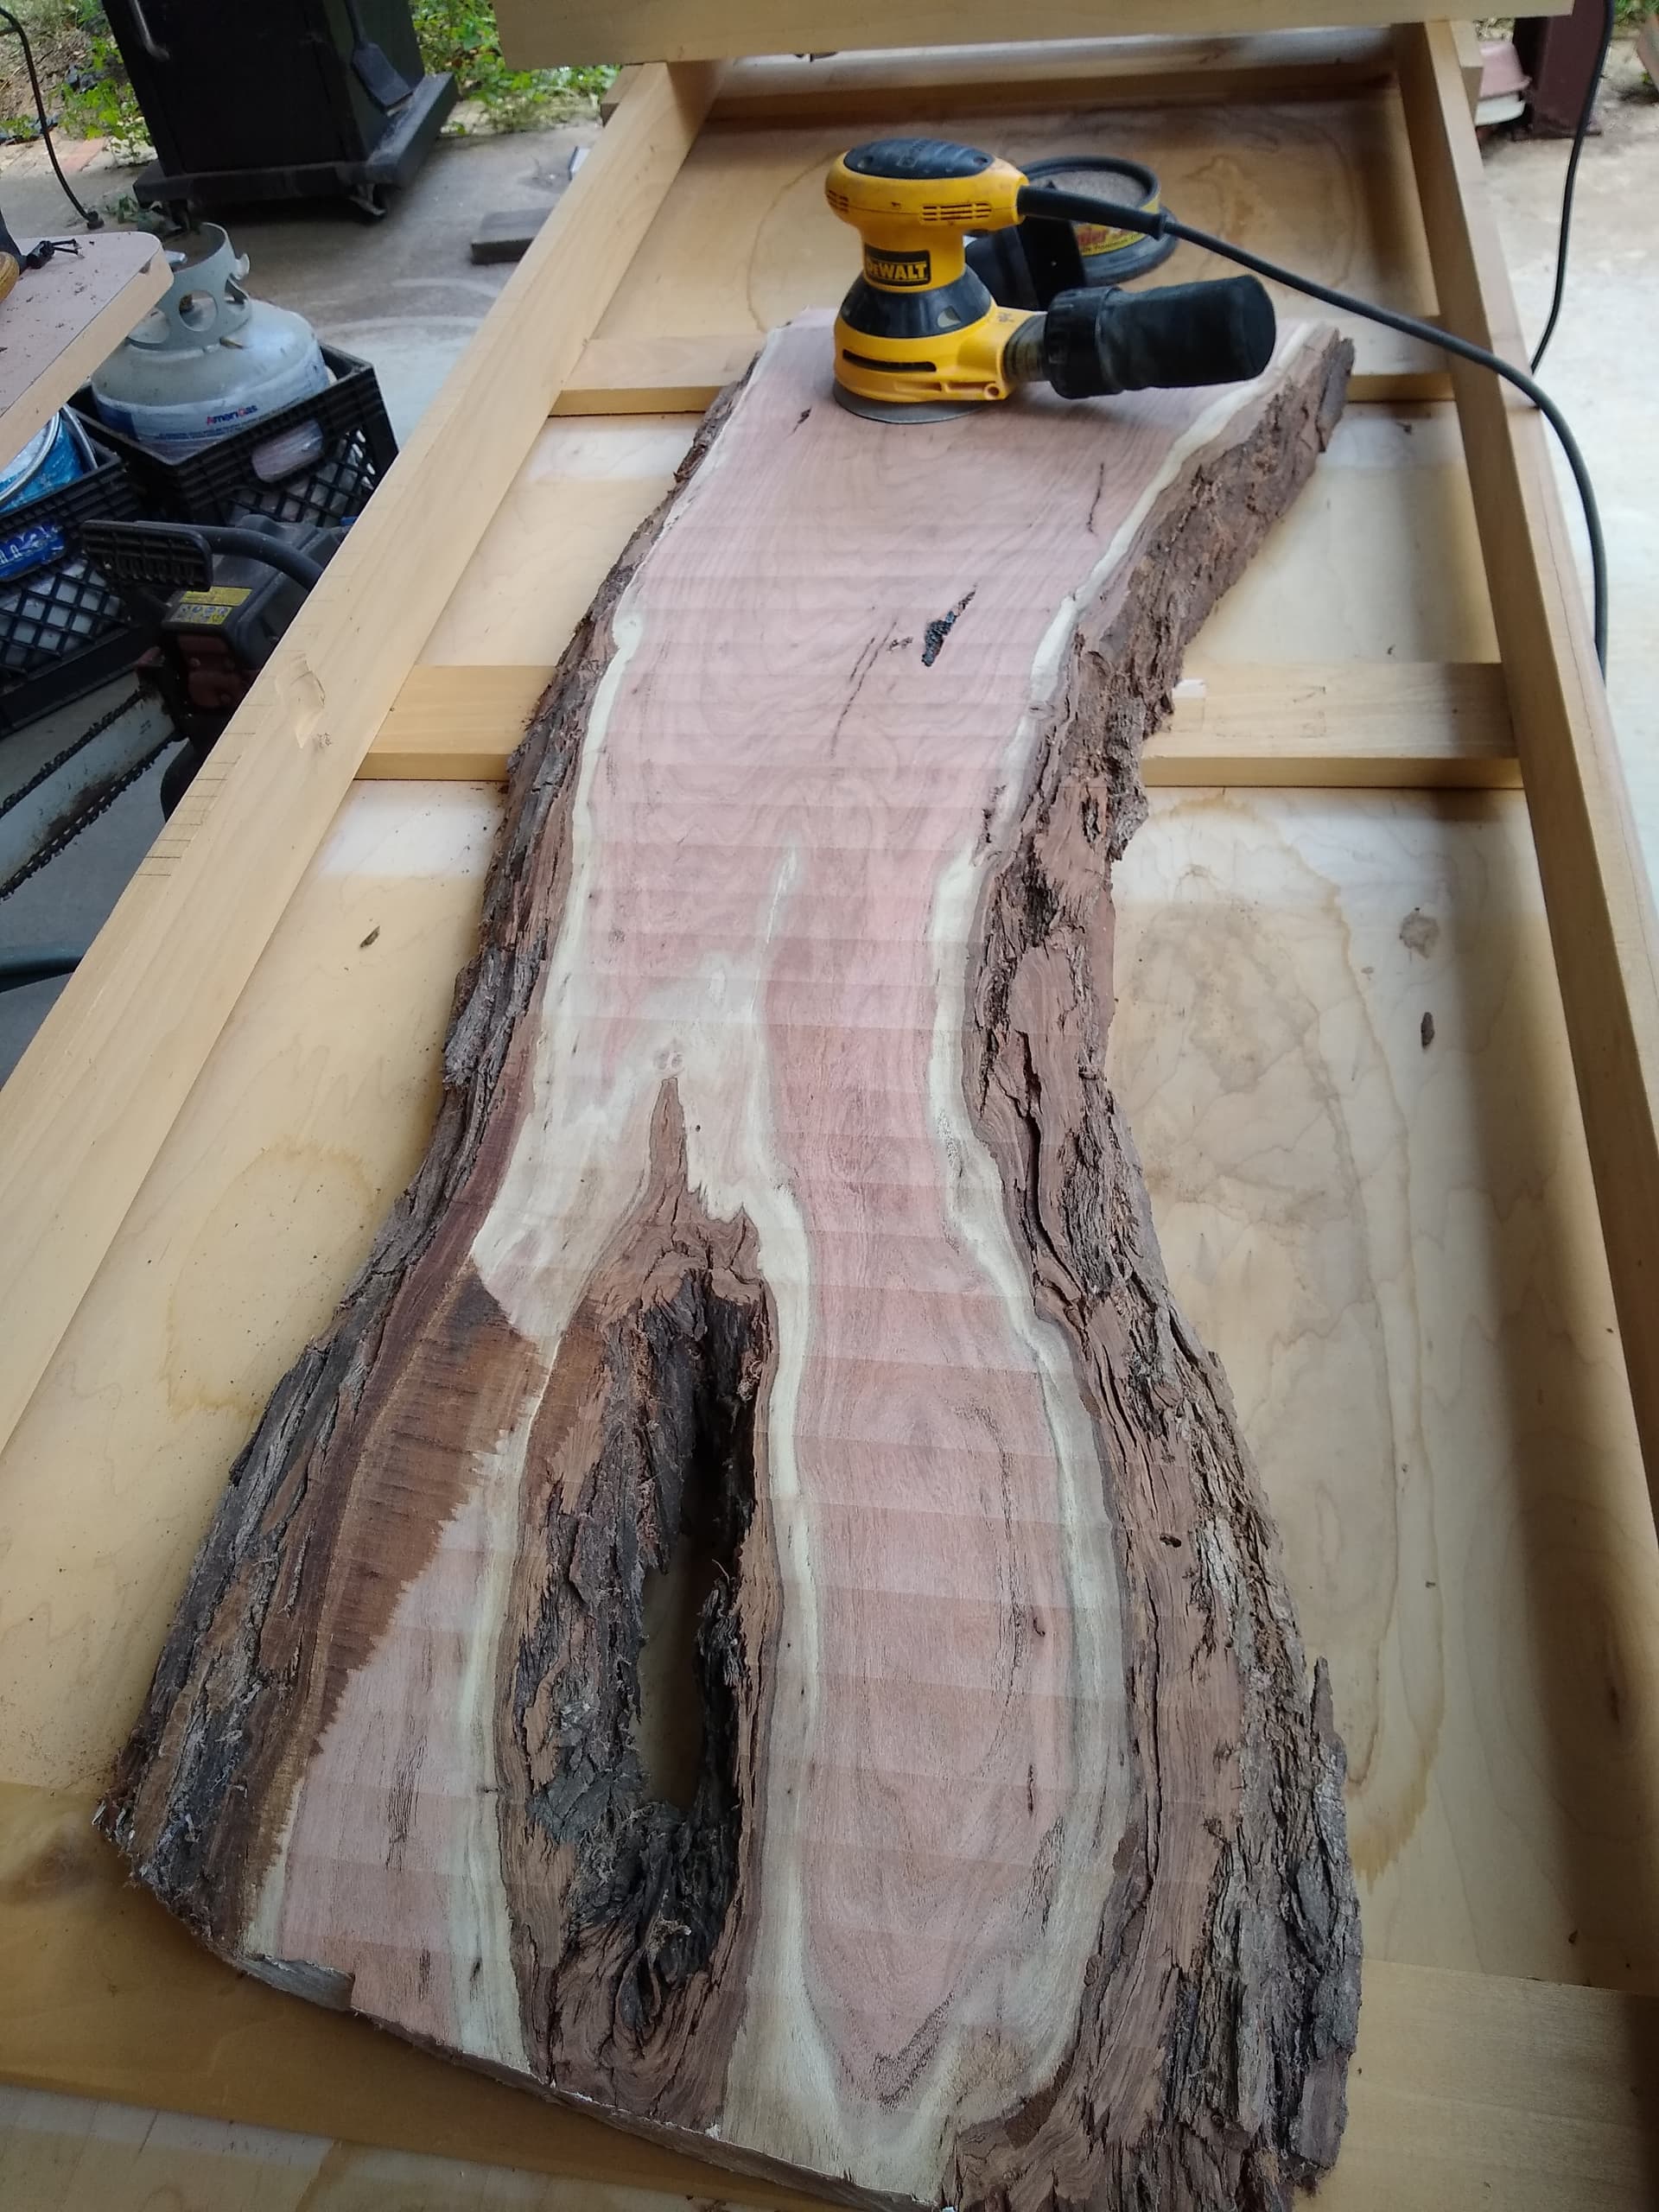
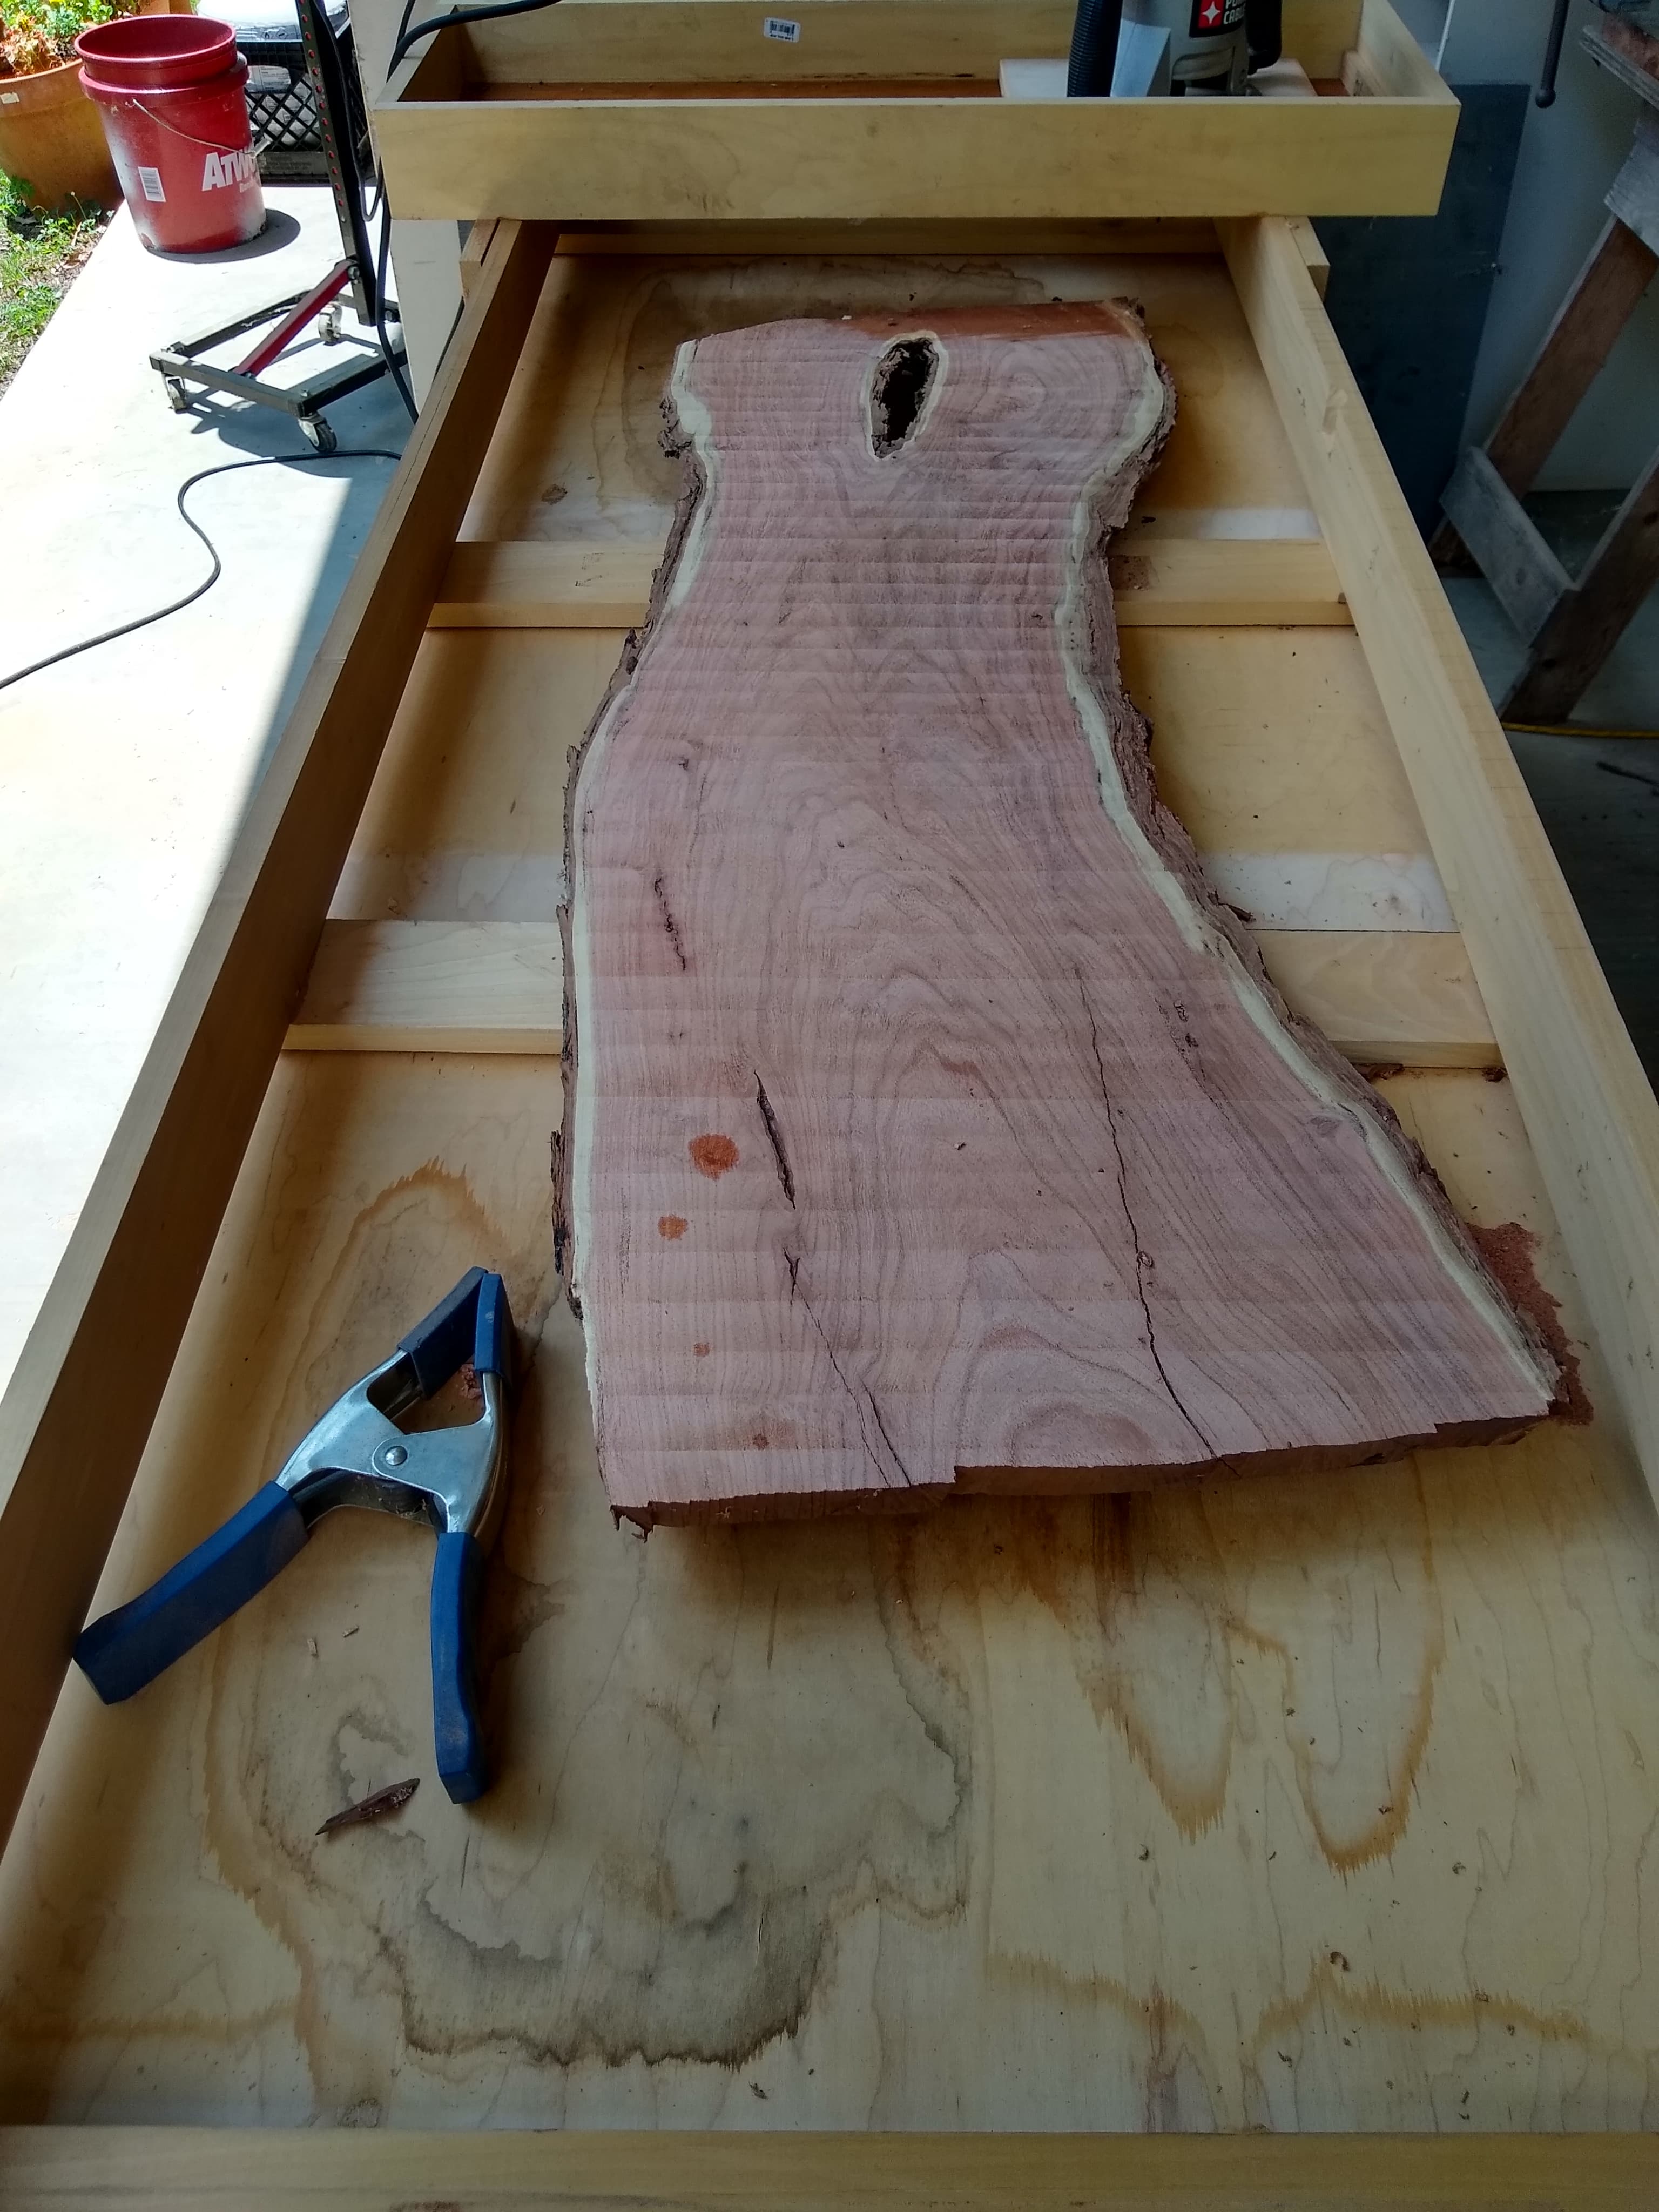
I wanted to remove the least amount of material possible so I ran the slab again. There is a small part that is still not flat. I will let it sit overnight and decide in the morning if I want to make another run at it or just leave it.
All the slab flattening is done outside because of the volume of saw dust created. I wore a breathing mask and wore a face visor just in case some part was thrown back at me. I was very hot but I just took breaks and drank several bottles of water and cooled off. More to do tomorrow.
This slab was screwed down with 1.25" screws angled in through the bark. I have used double sided tape in the past and sometimes that comes loose. I have been using the painters tape and super glue on the Shapeoko lately and will try that tomorrow on the next slab.
Very cool. I’ve seen kits to do similar, but a 4x8 foot kit seems to run about $1200. Rather high, IMO, for what you’re getting. Did you find it difficult to make yours at all? I was thinking some 3060/4080 aluminum or a melamine base could do it for well under half their cost.
It isn’t fancy, but I made a temporary one for (almost) free using scraps for the router sled, and clamping two “rails” of cheap MDF molding to the workbench.
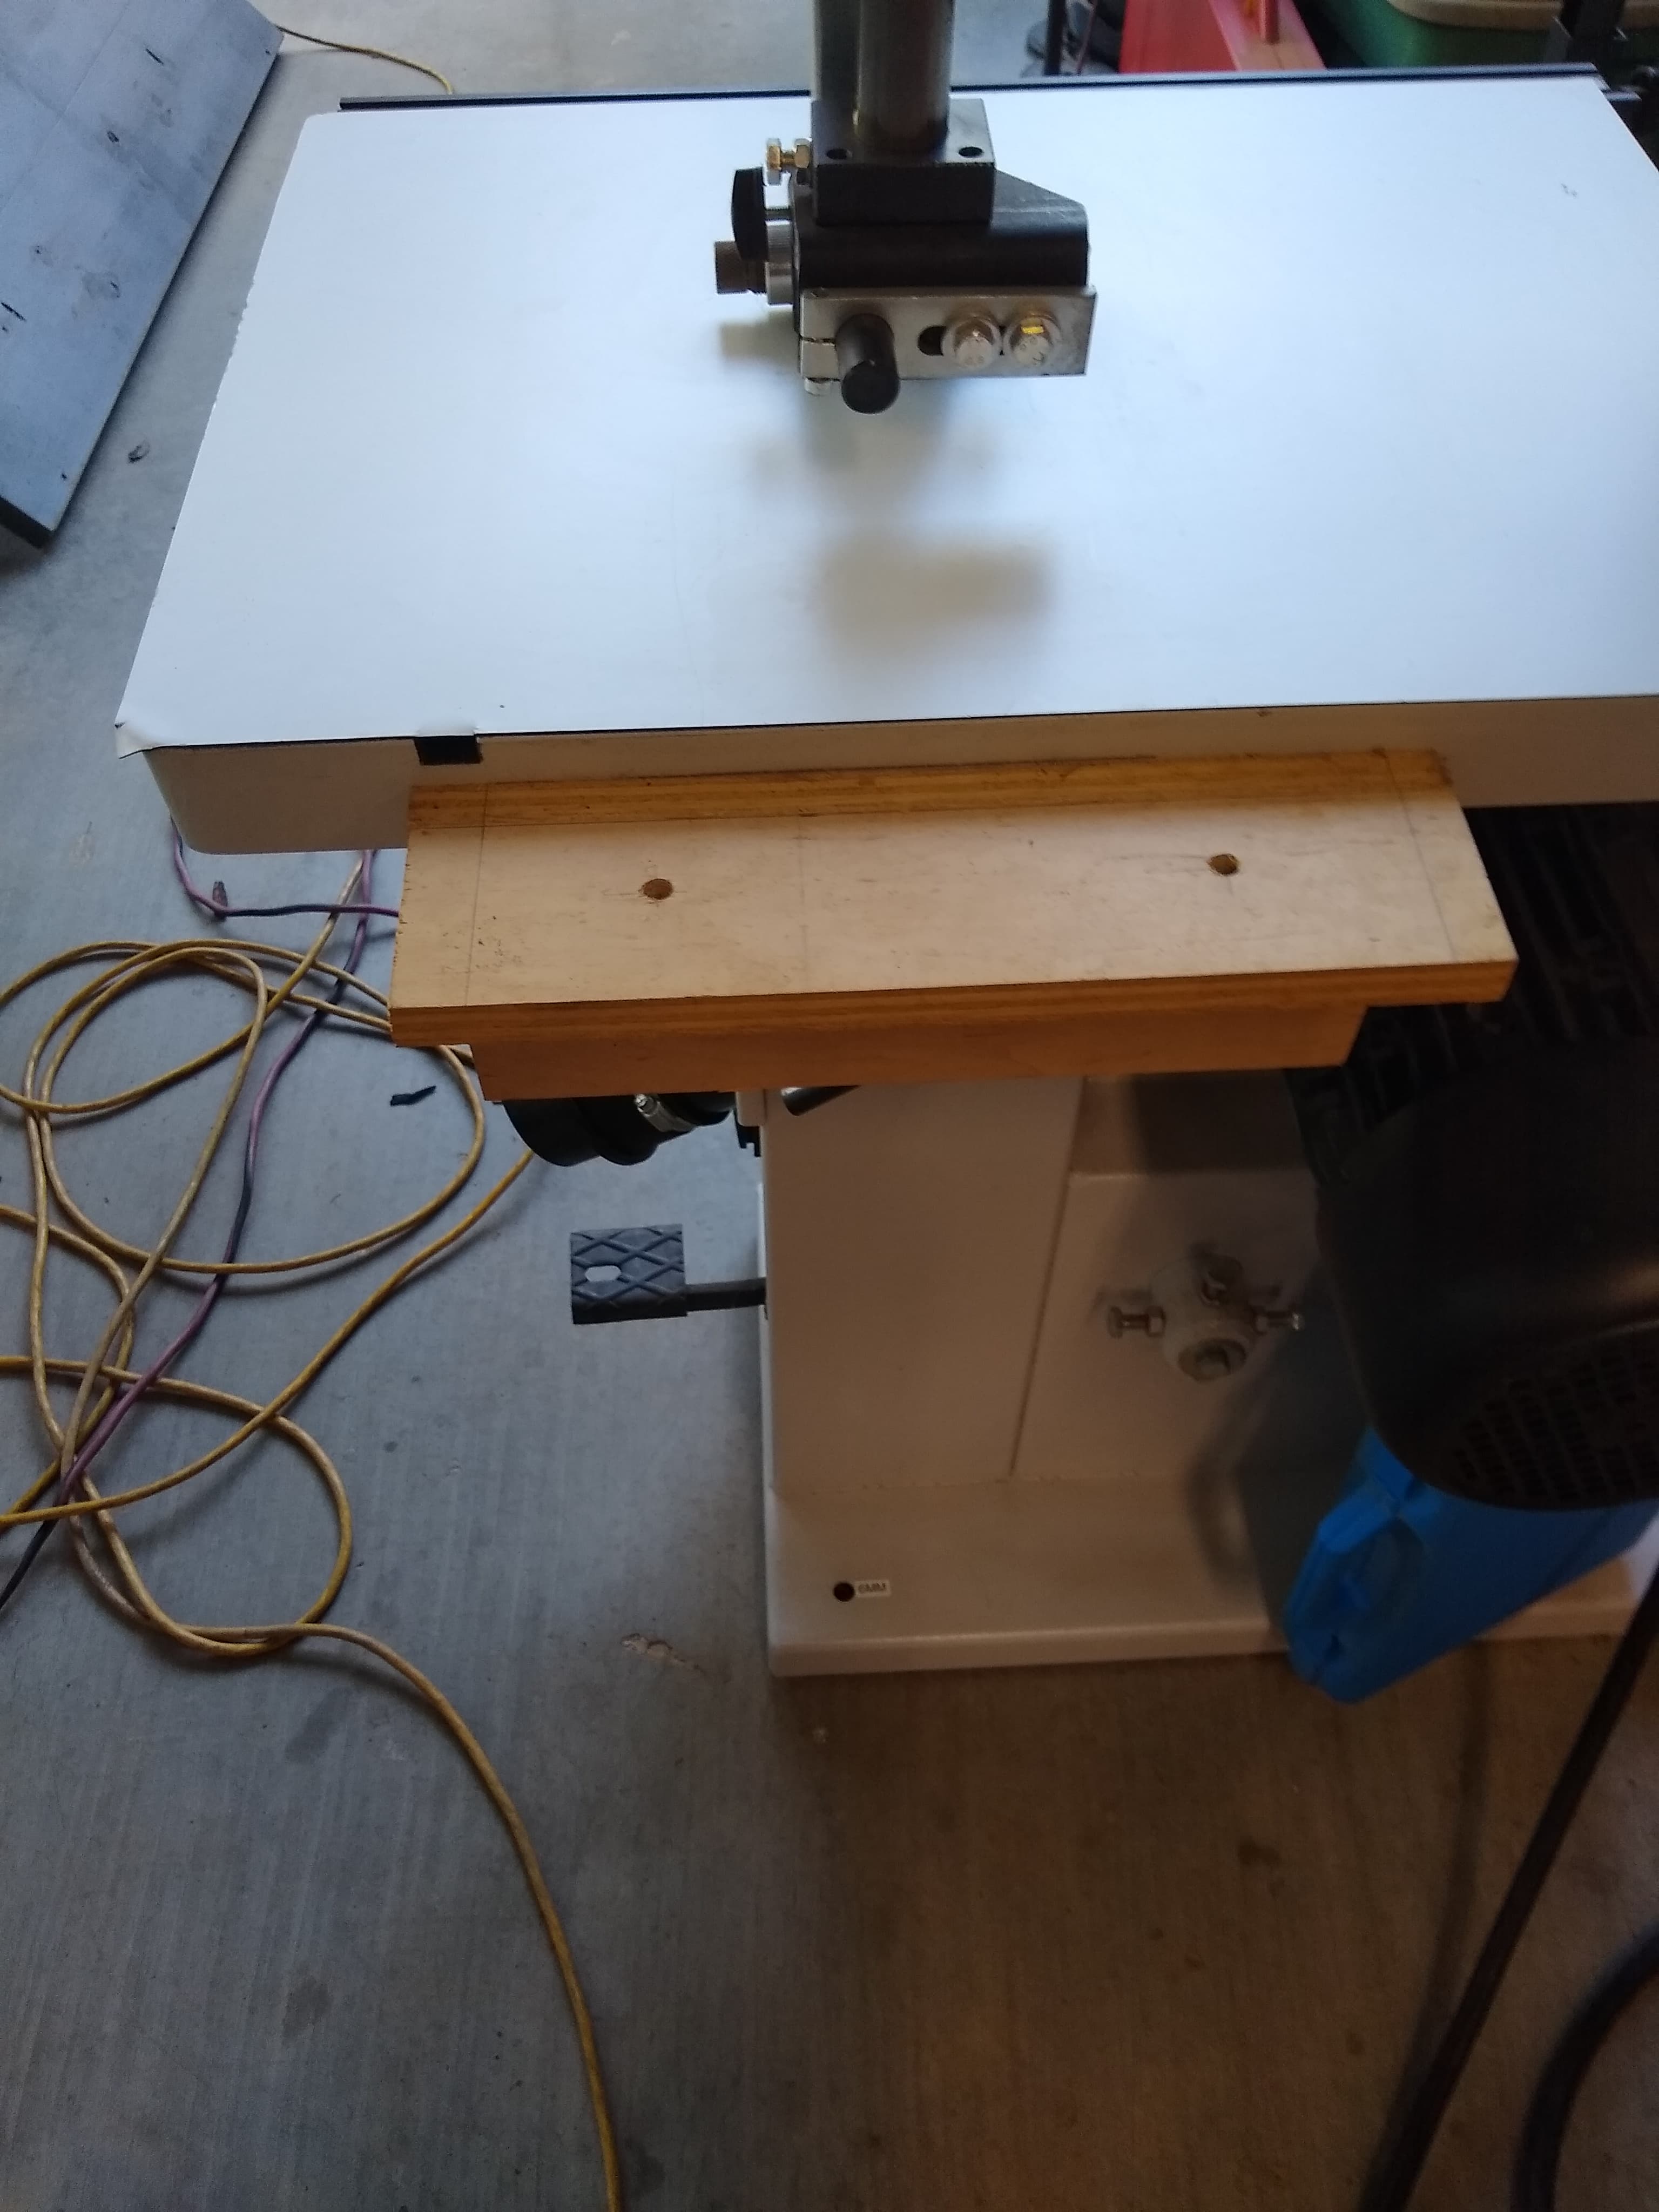
My setup is basically a maple plywood table with a poplar fence around it. The sled is some recycled cherry plywood and poplar sides. The runners are oak. Not sure what I spent but not likely over $100.00. Today likely $150-200.
The router is Porter Cable 7519 which is discontinued but was $400.00. My bit is a 2" Infinity Megaplanner and extension with a 1/4" acrylic plate. That is another $125.00 or so.
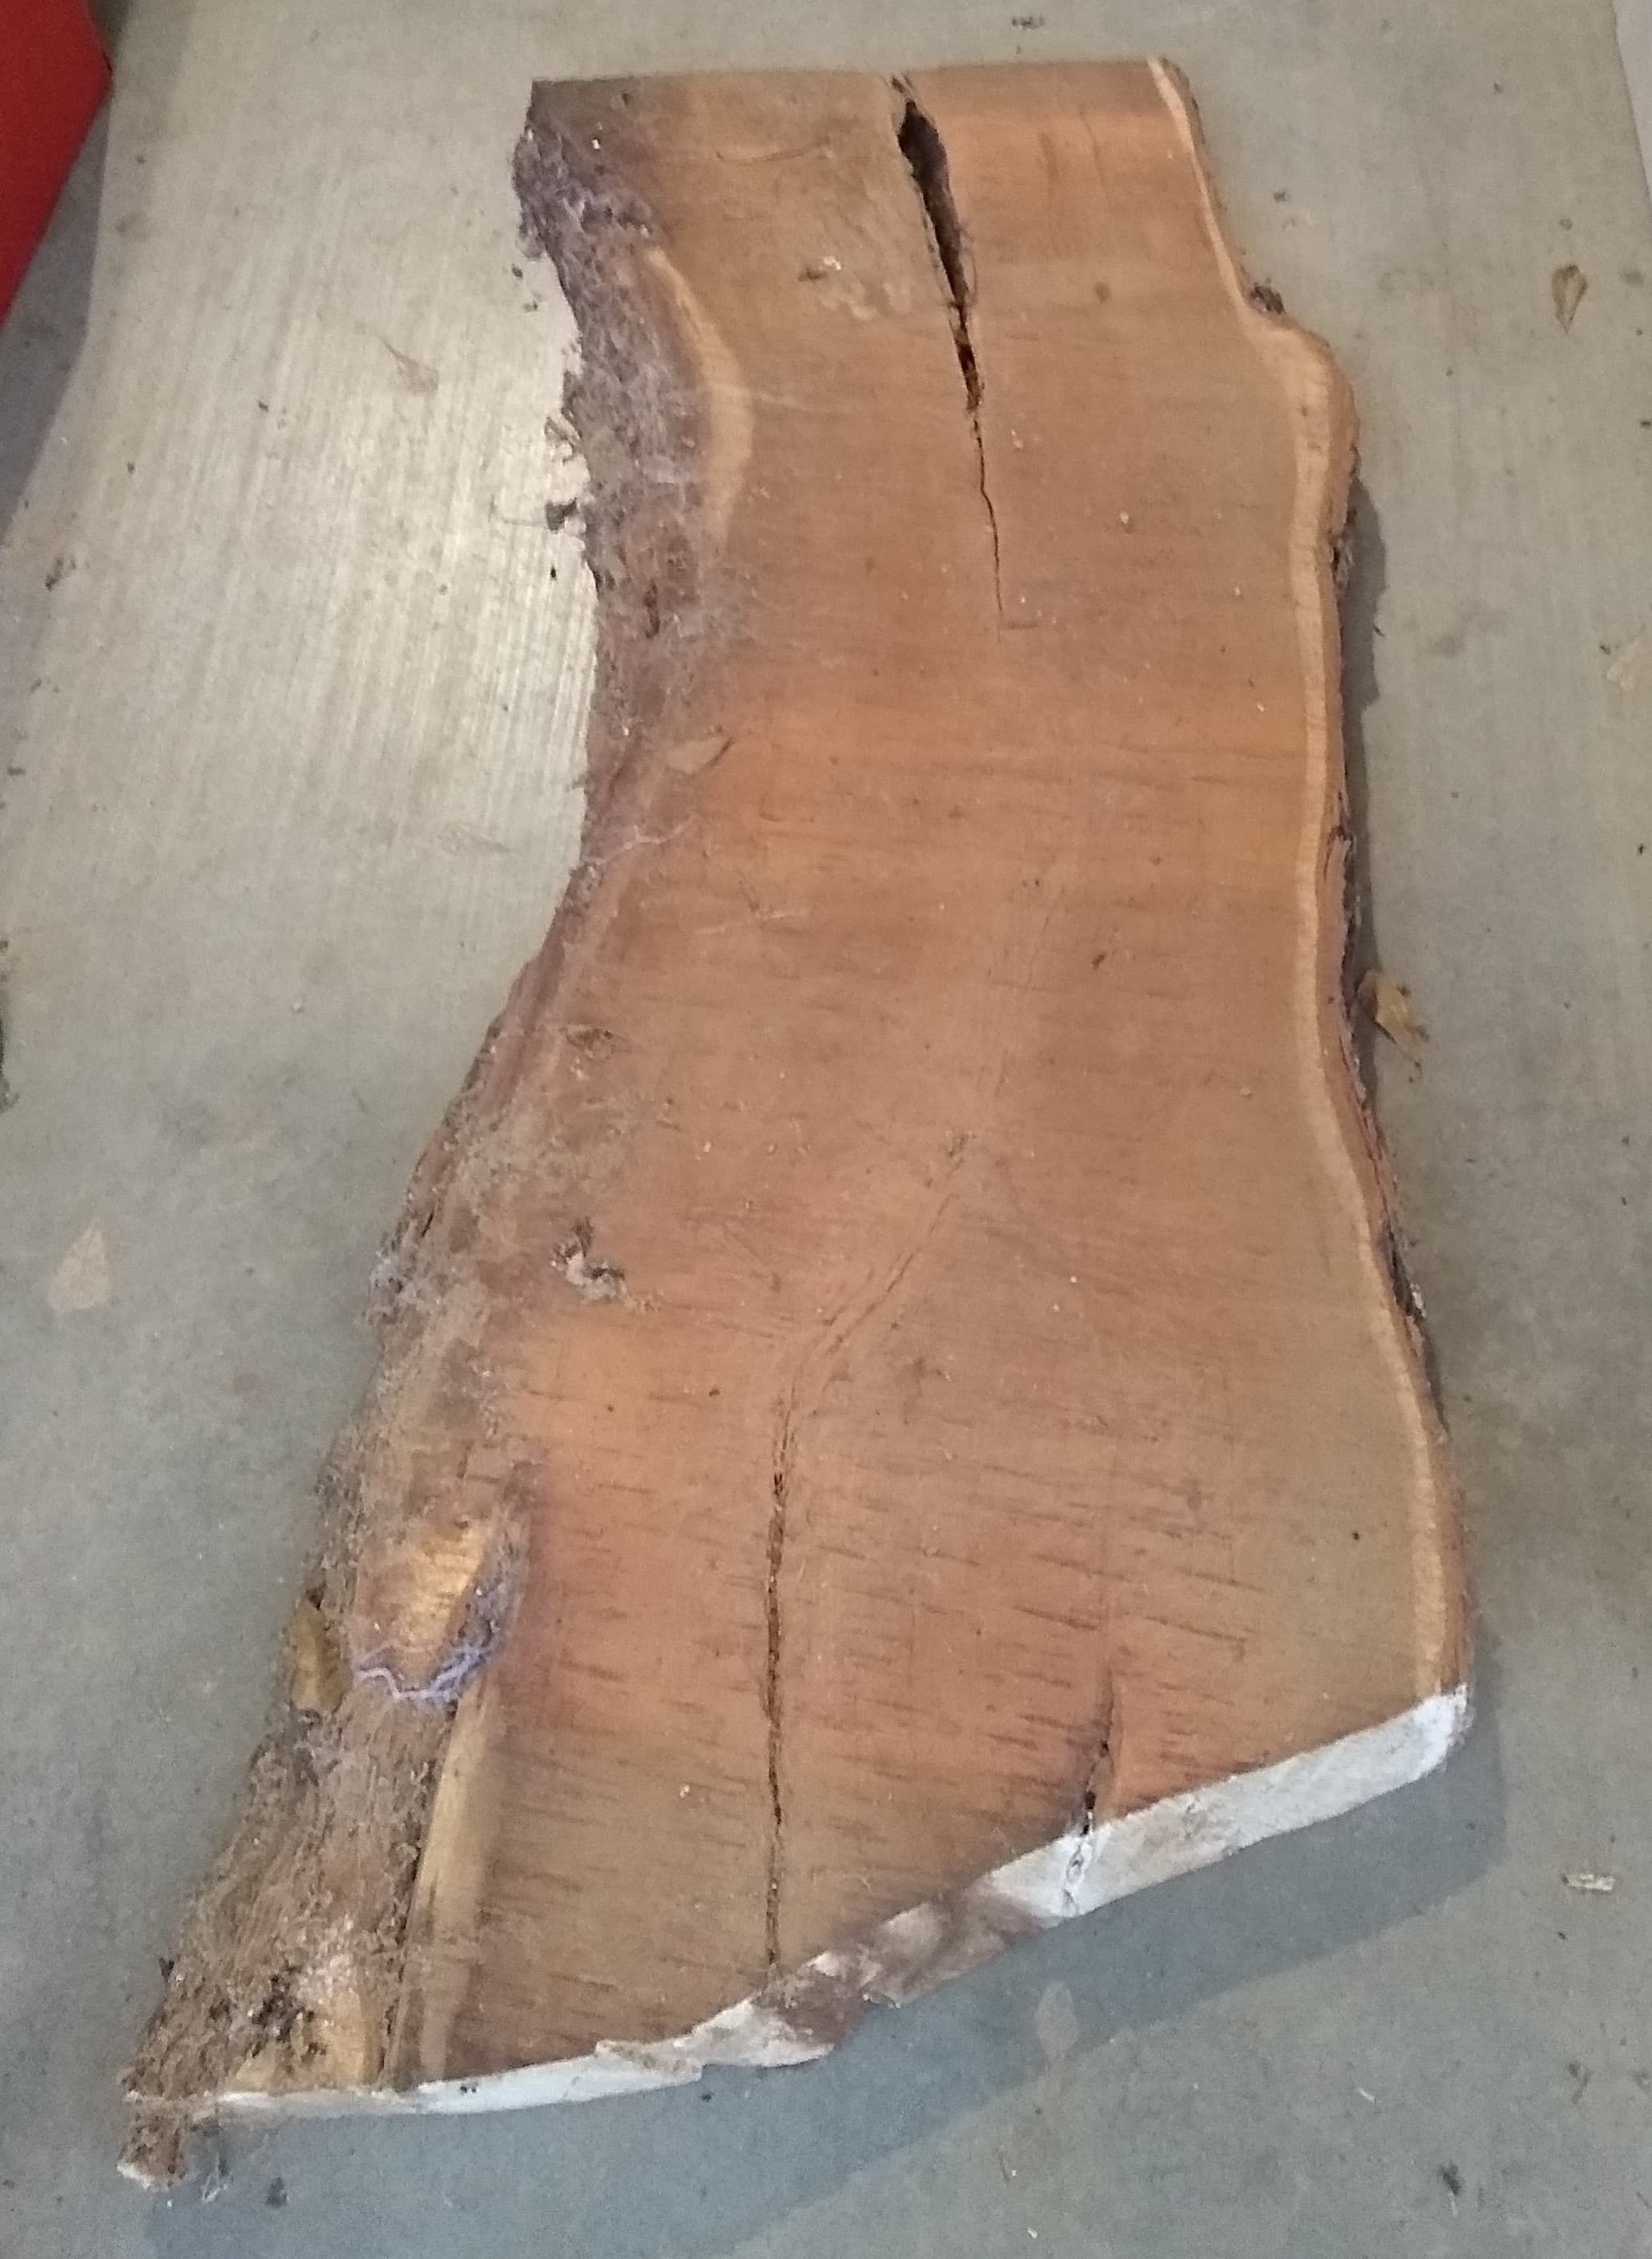
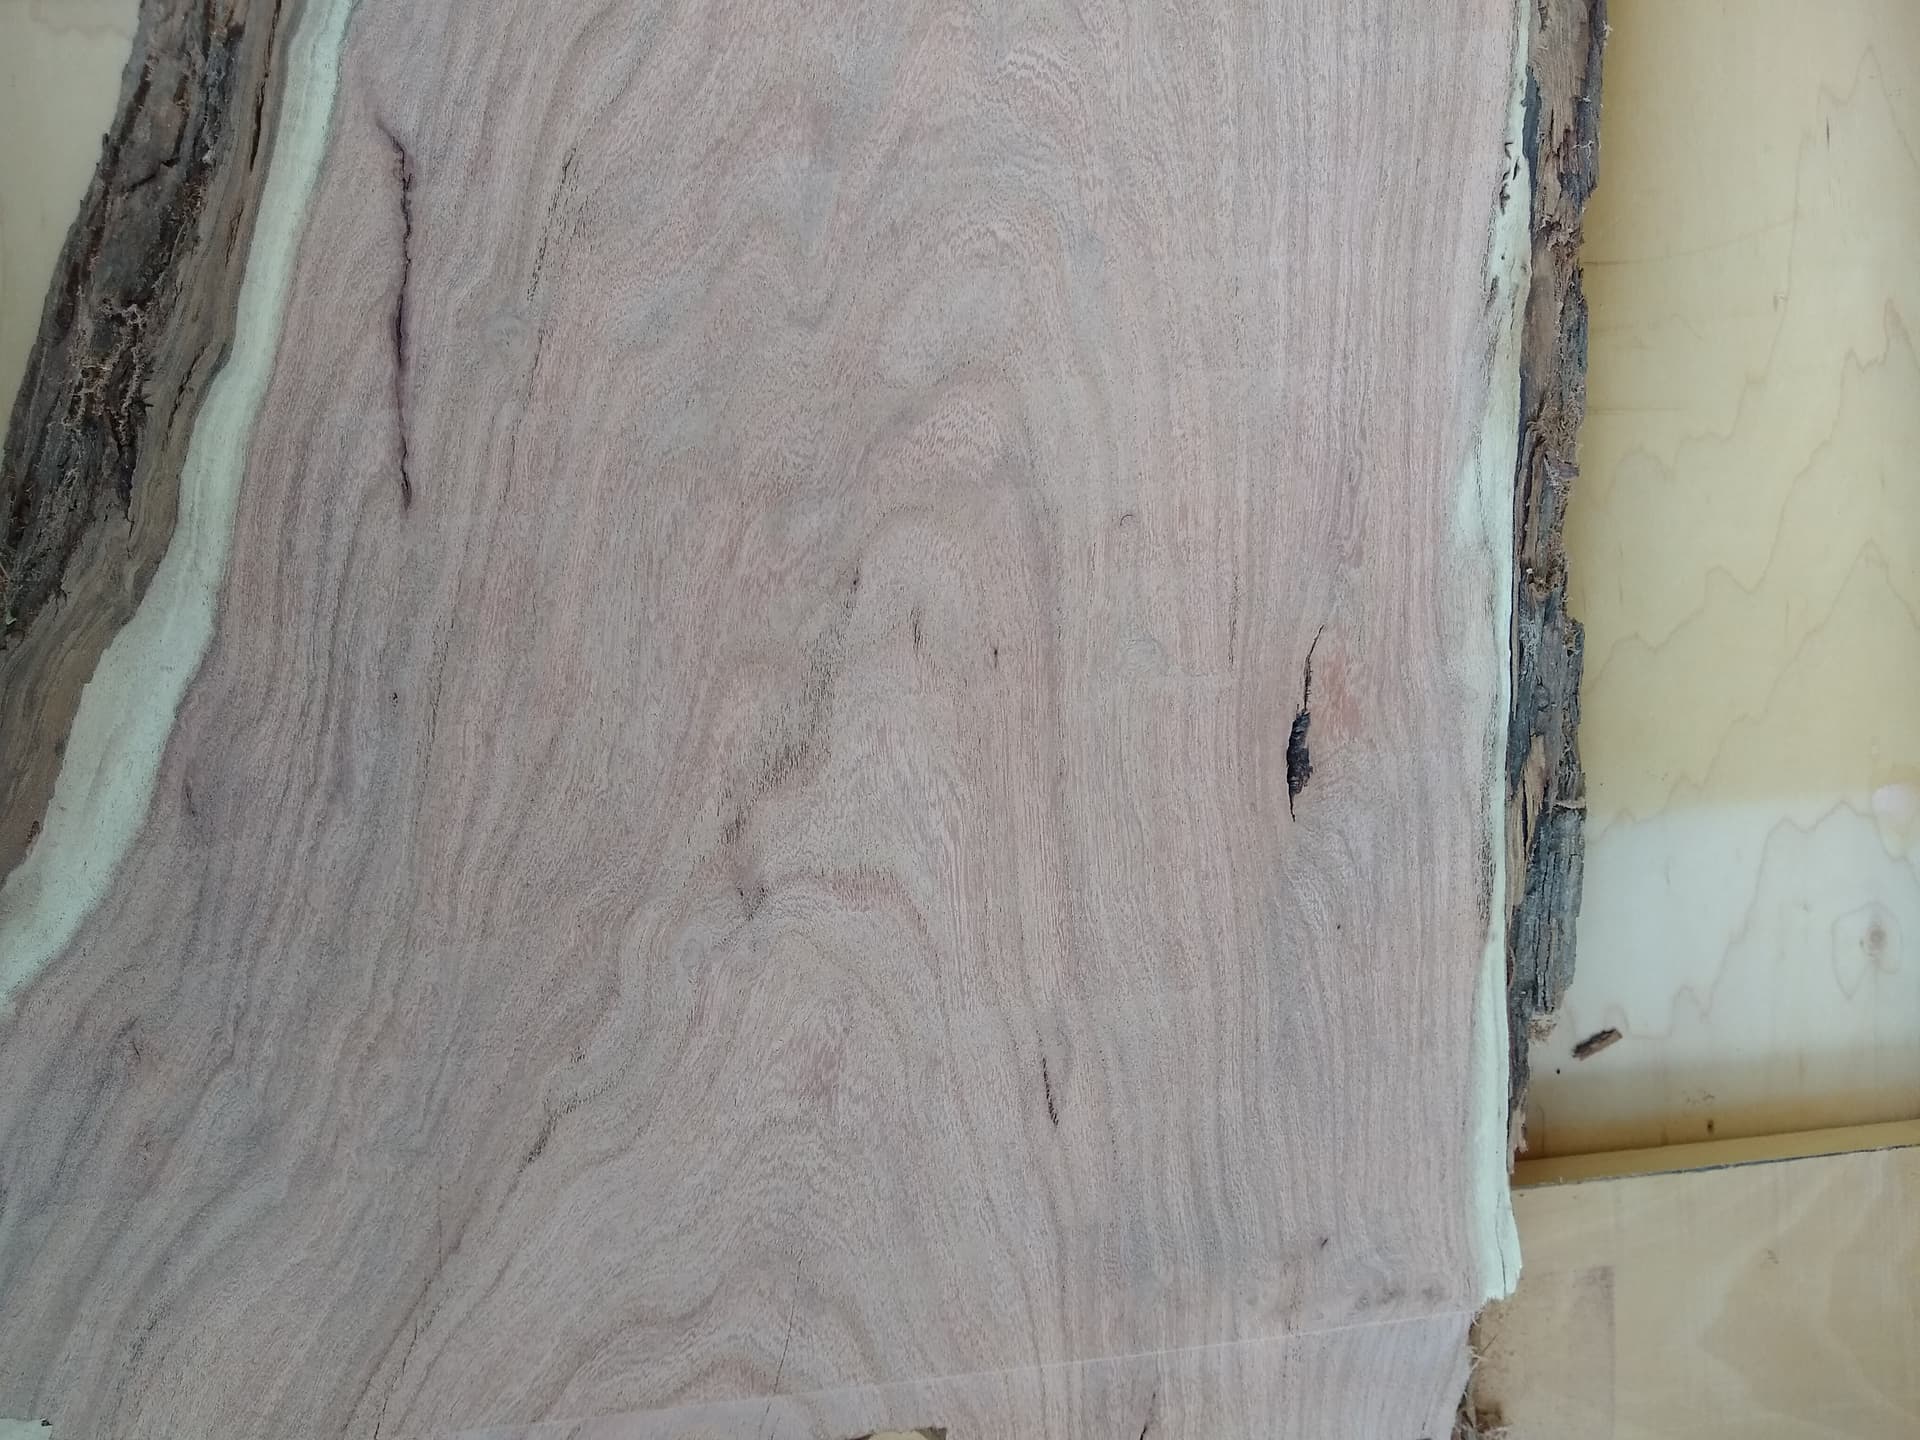
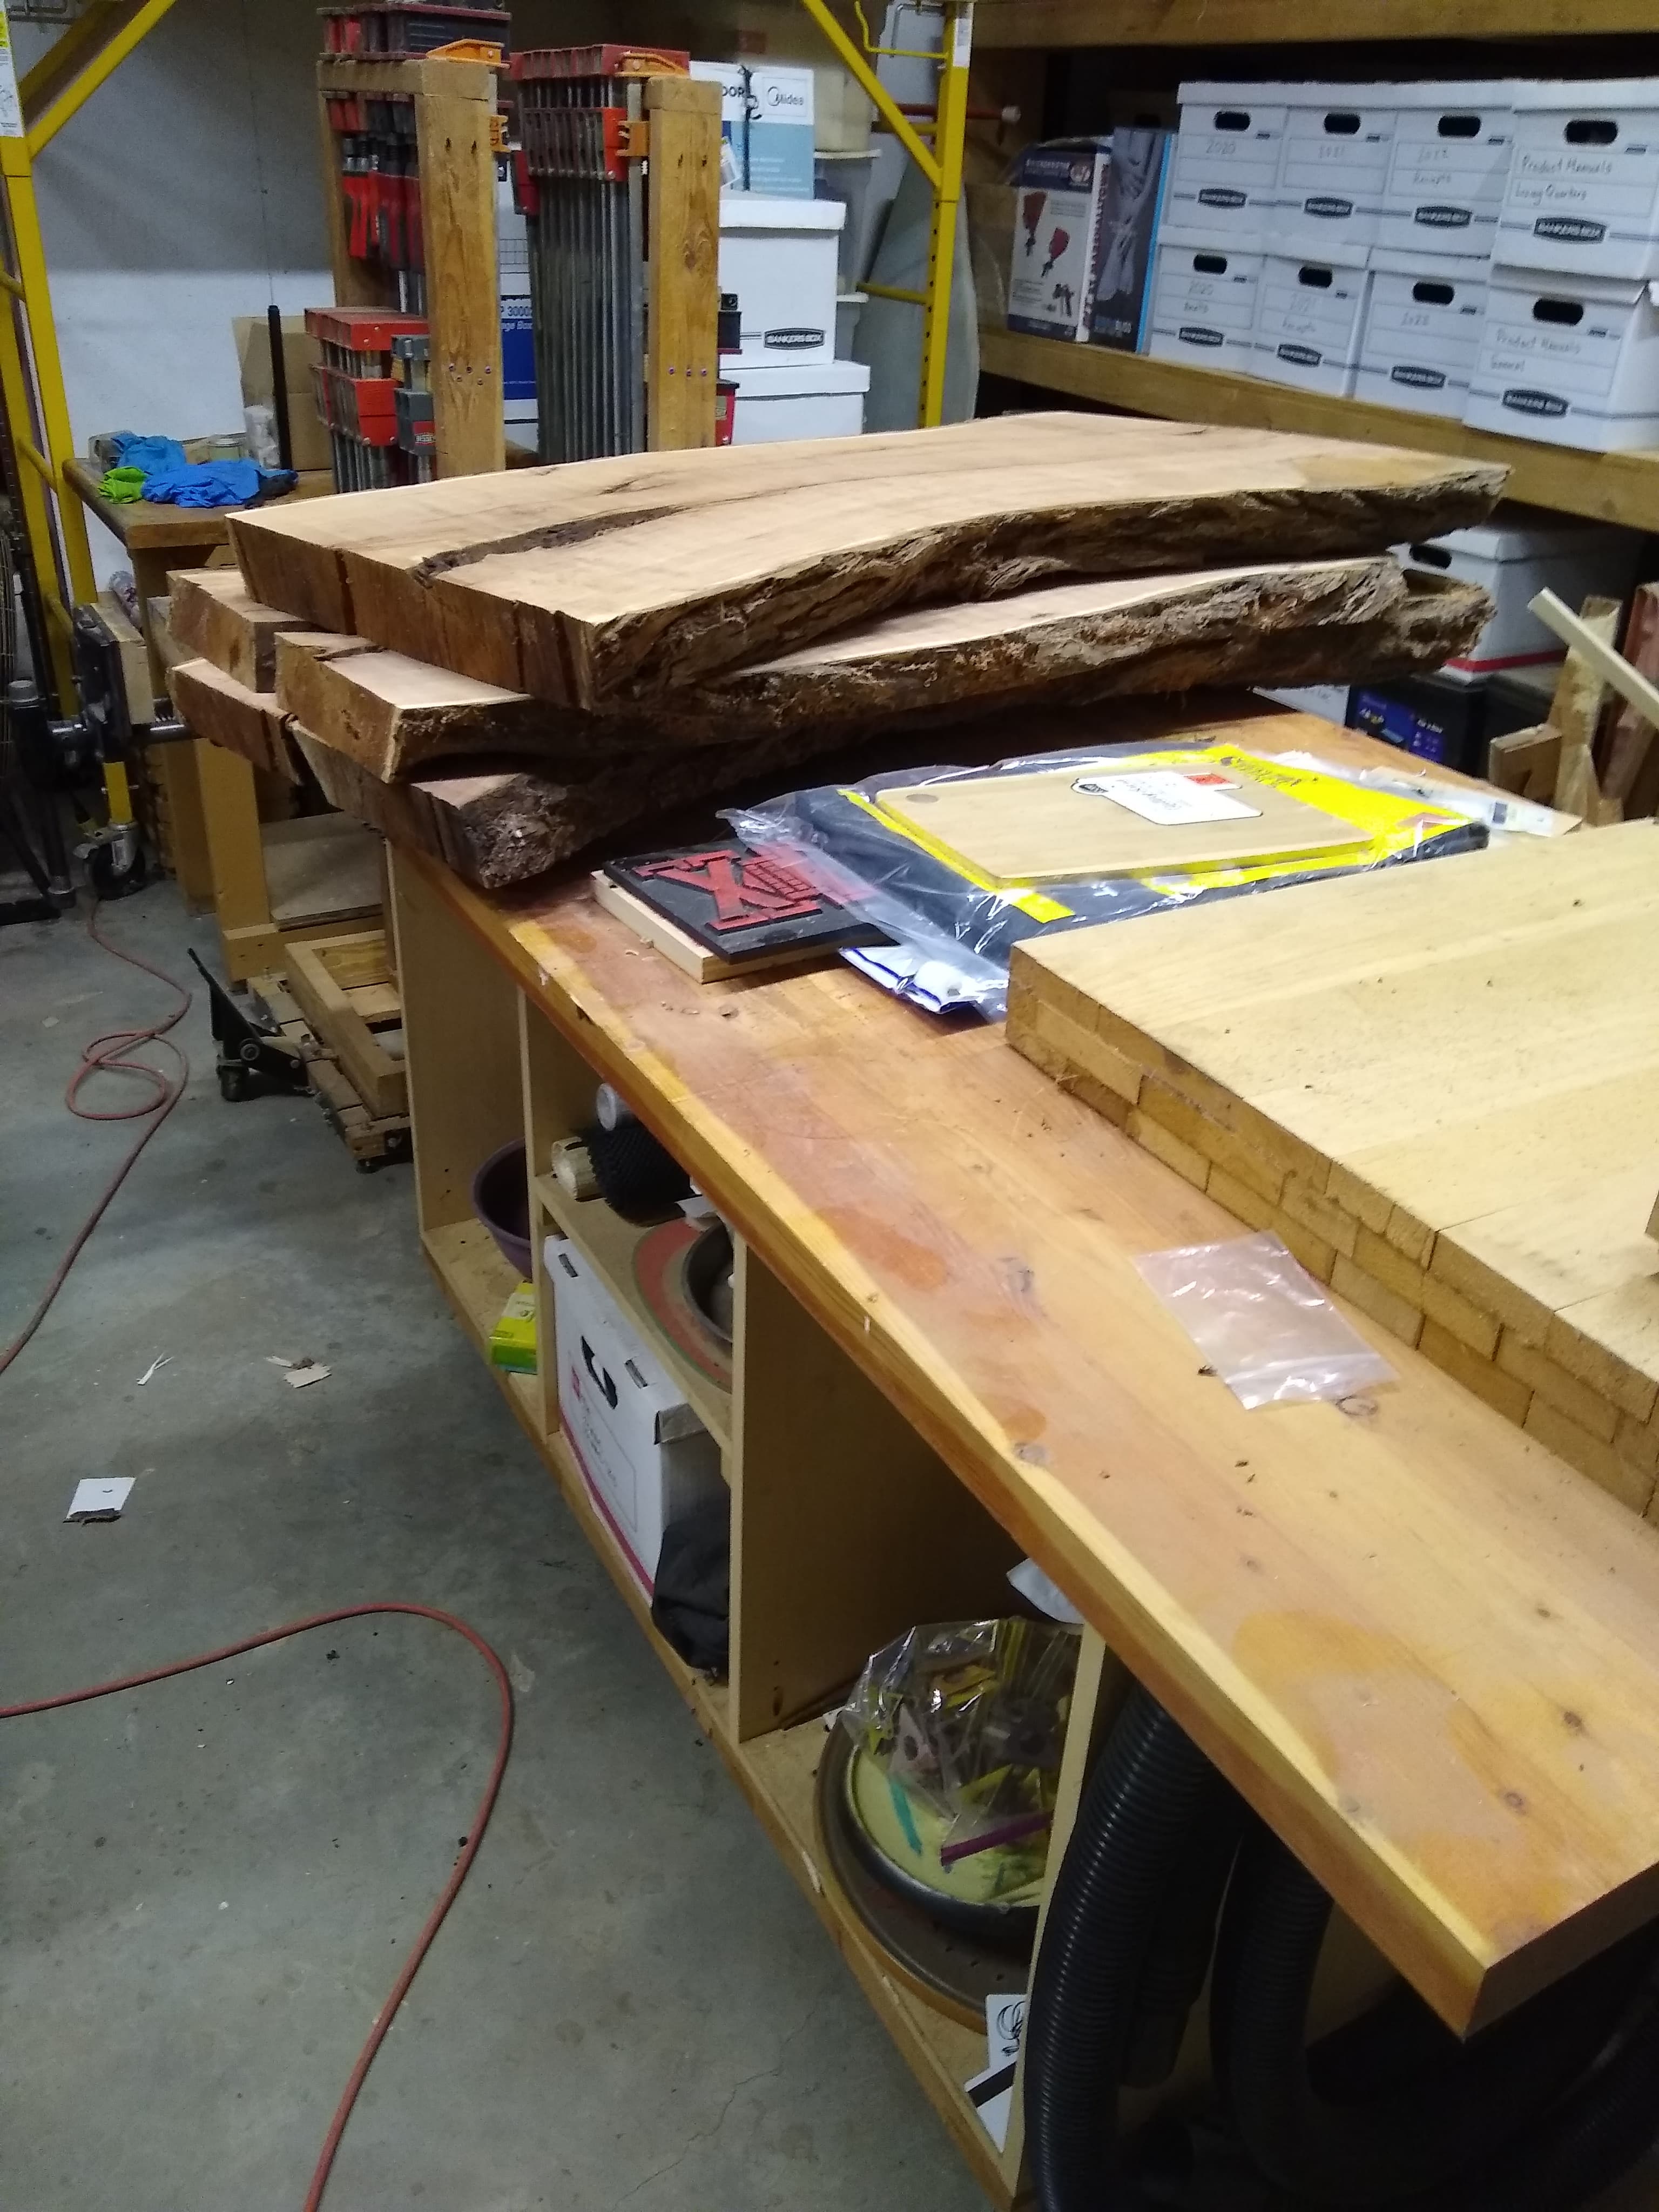
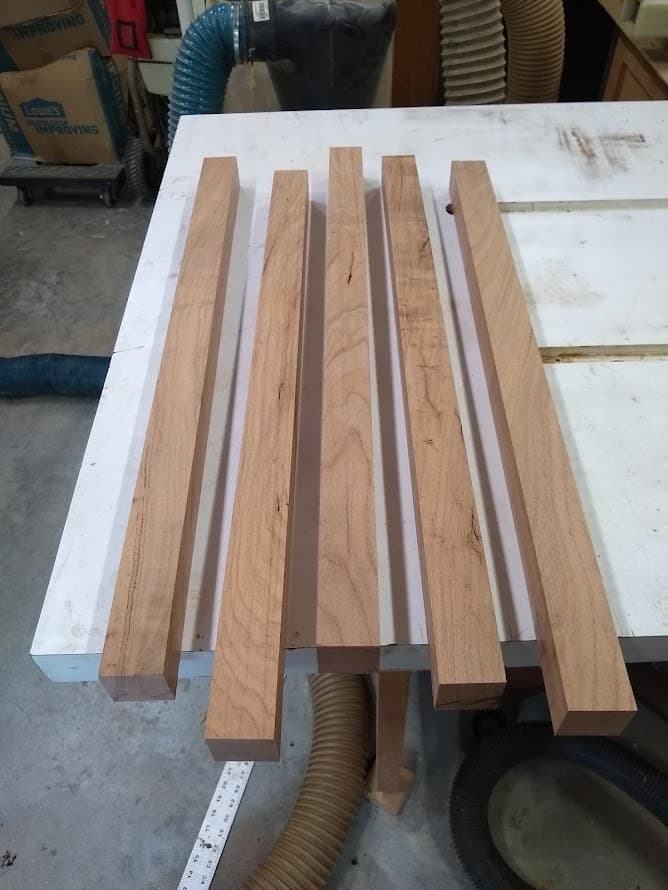
So now I have 4 slabs leveled on both sides. This represents my short stock and if I need any more mesquite for my project I will have to start on my longer pieces. I have a bunch of small chunks of mesquite that were left over from trimming some of t he milled wood. I will flatten them tomorrow and save them for bottle stoppers, pen blanks and any other little item I need a small piece of wood for.
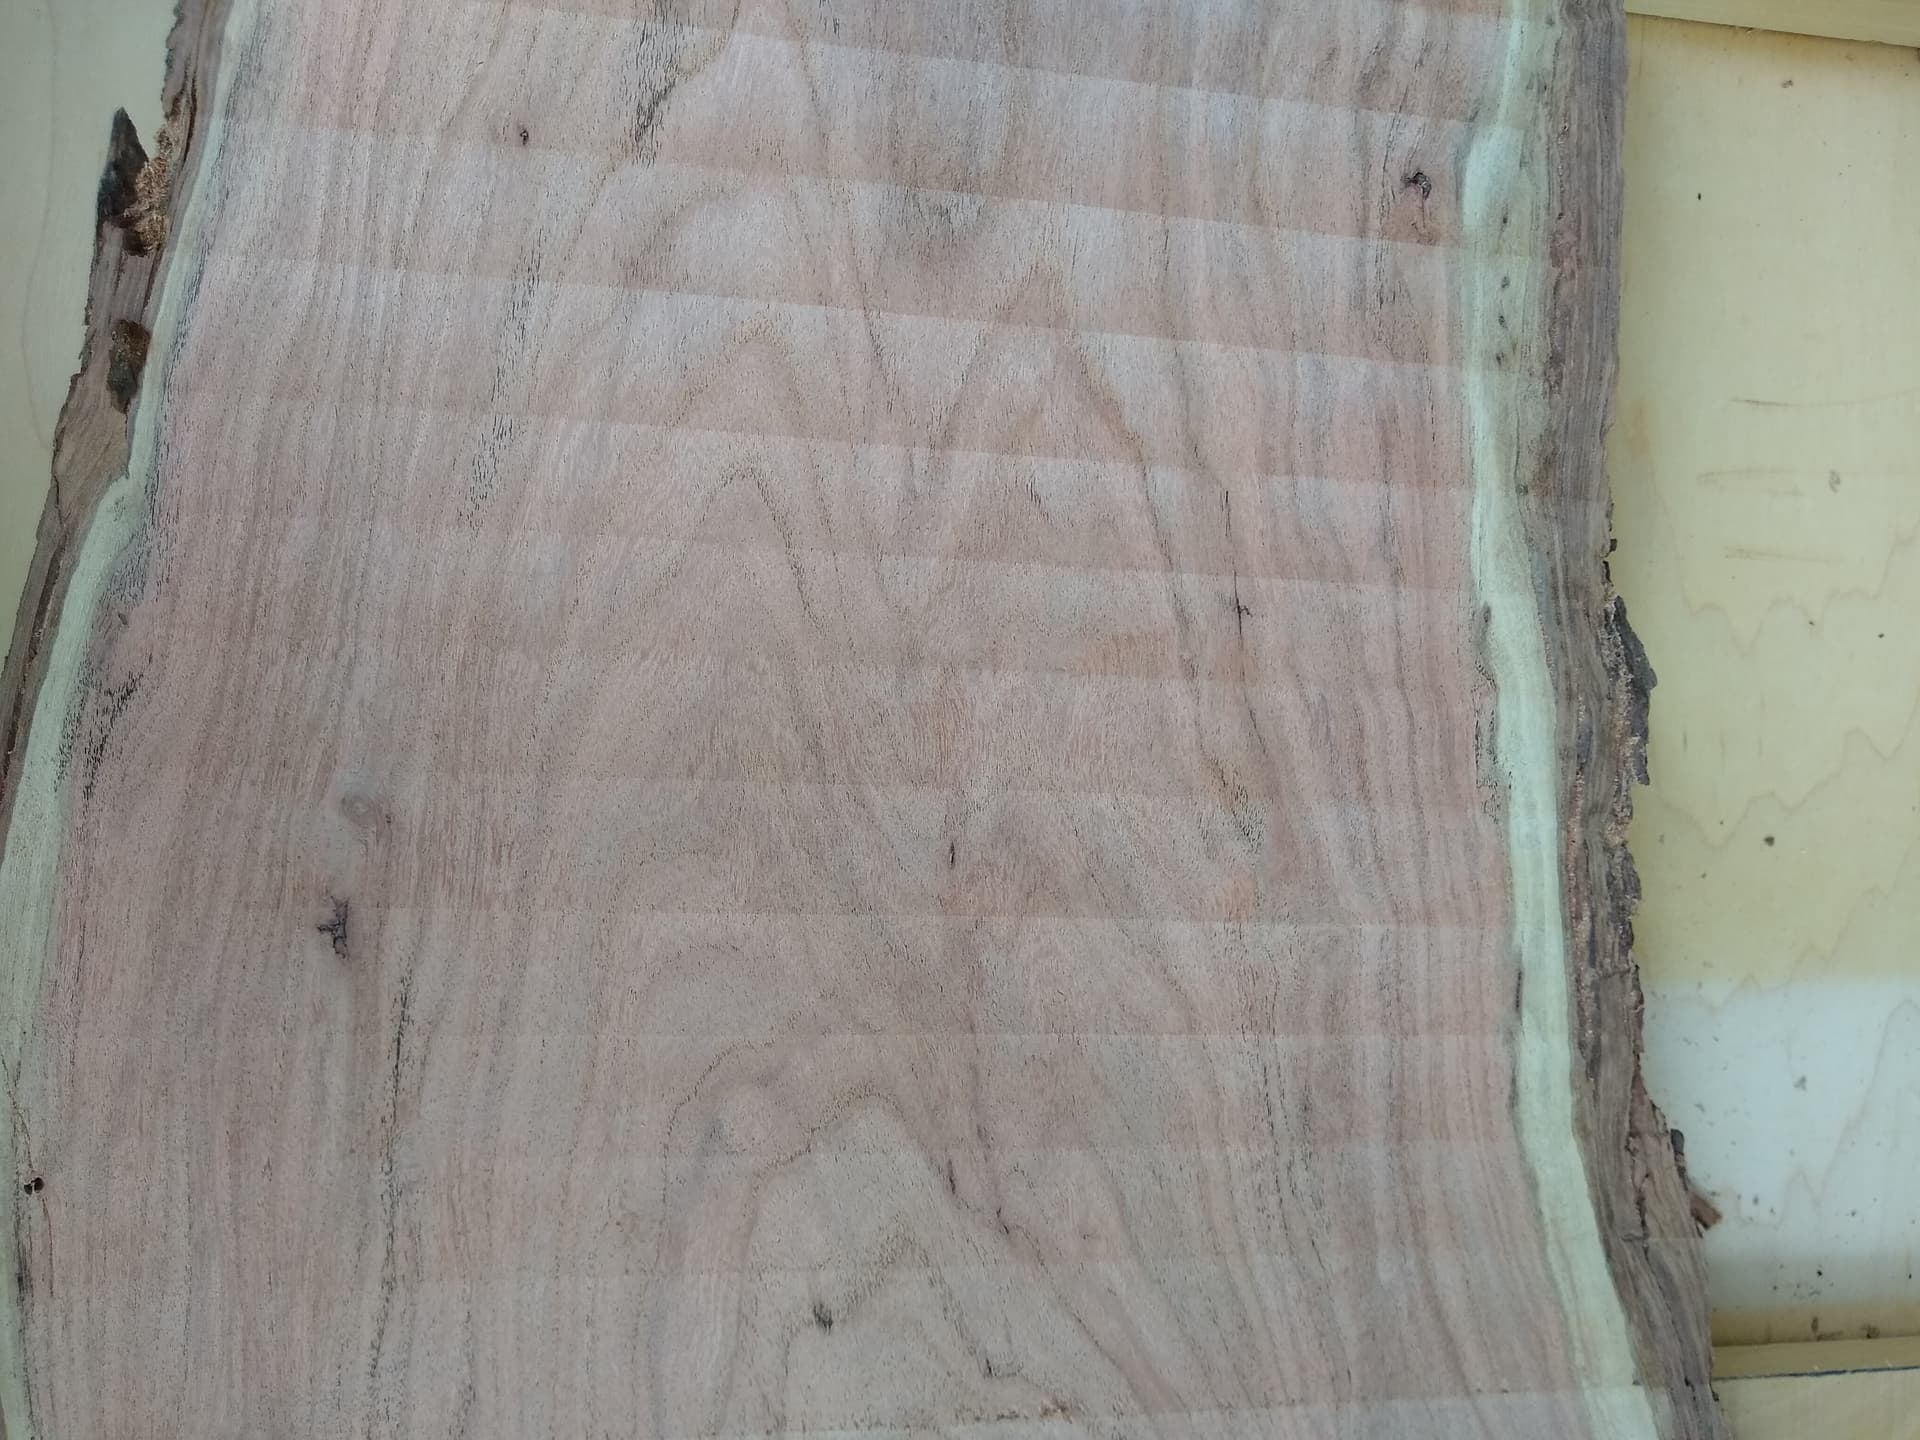
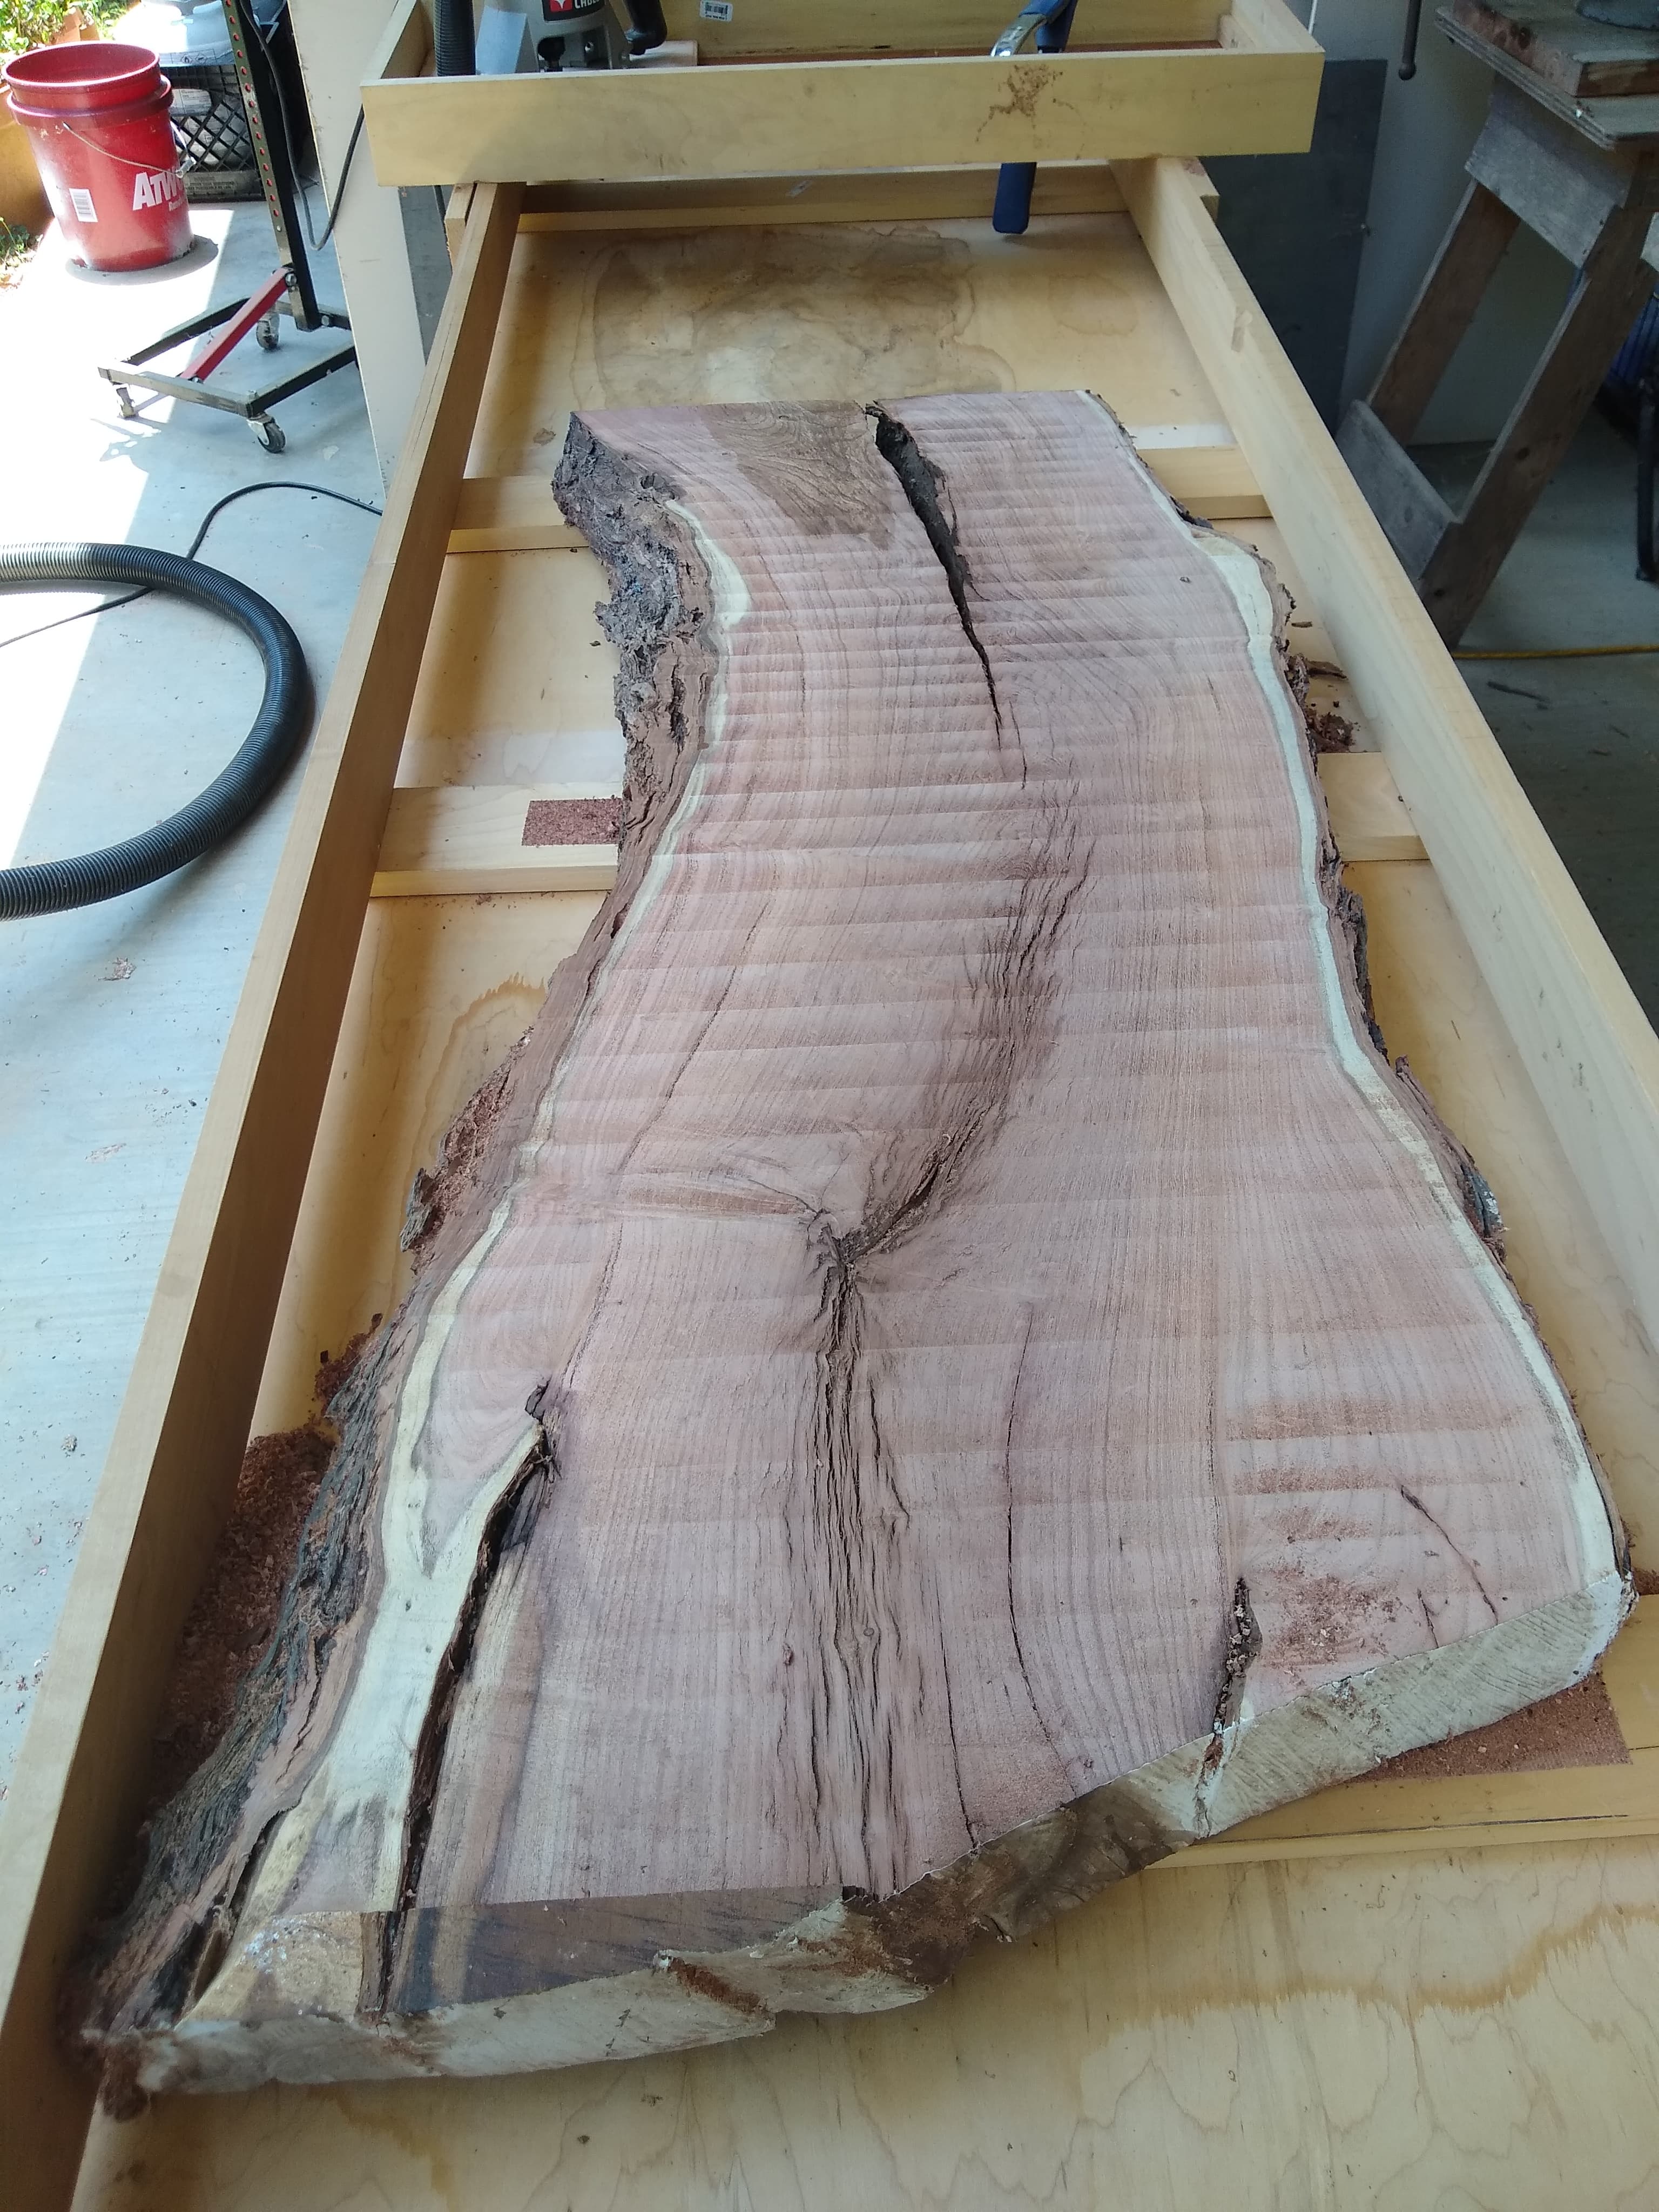
There are many lessons learned from using my Shapeoko that apply to my slab flattening. Here you can see that my sled needs tramming. There is no adjustment for my setup and this wood will be processed many more times with the band saw, joiner and planner. Then cut into the pieces for my table and sanded and so on. Here is a picture of a piece of the mesquite that was flatted. You can plainly see that there are ripples that indicate that my router is not square with my base jig.
Another lesson learned from the CNC is work holding. There is tremendous force applied to the board while I am flattening it. The Shapeoko has tremendous pressure on your project and work holding is important both the CNC and for my flattening process.
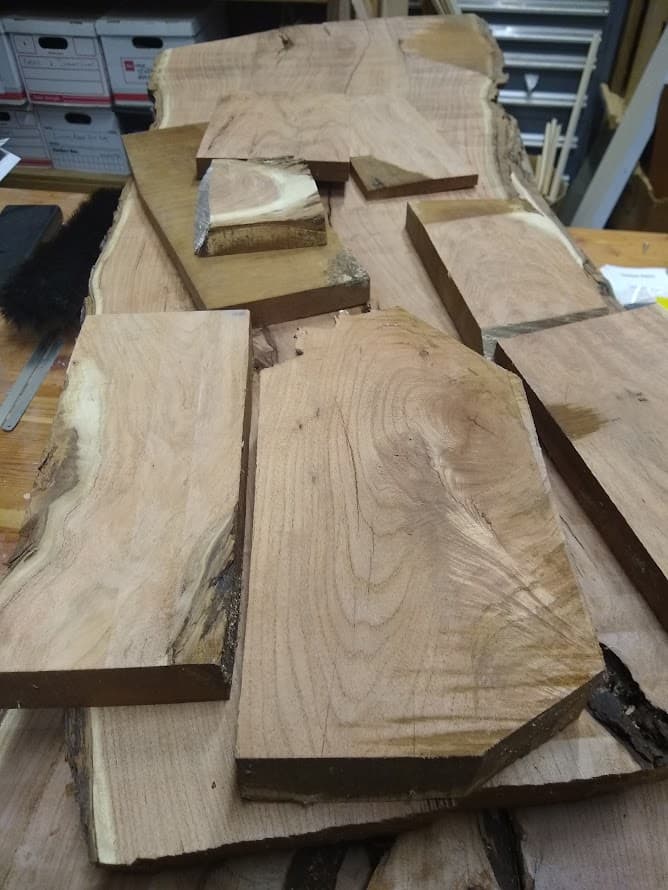
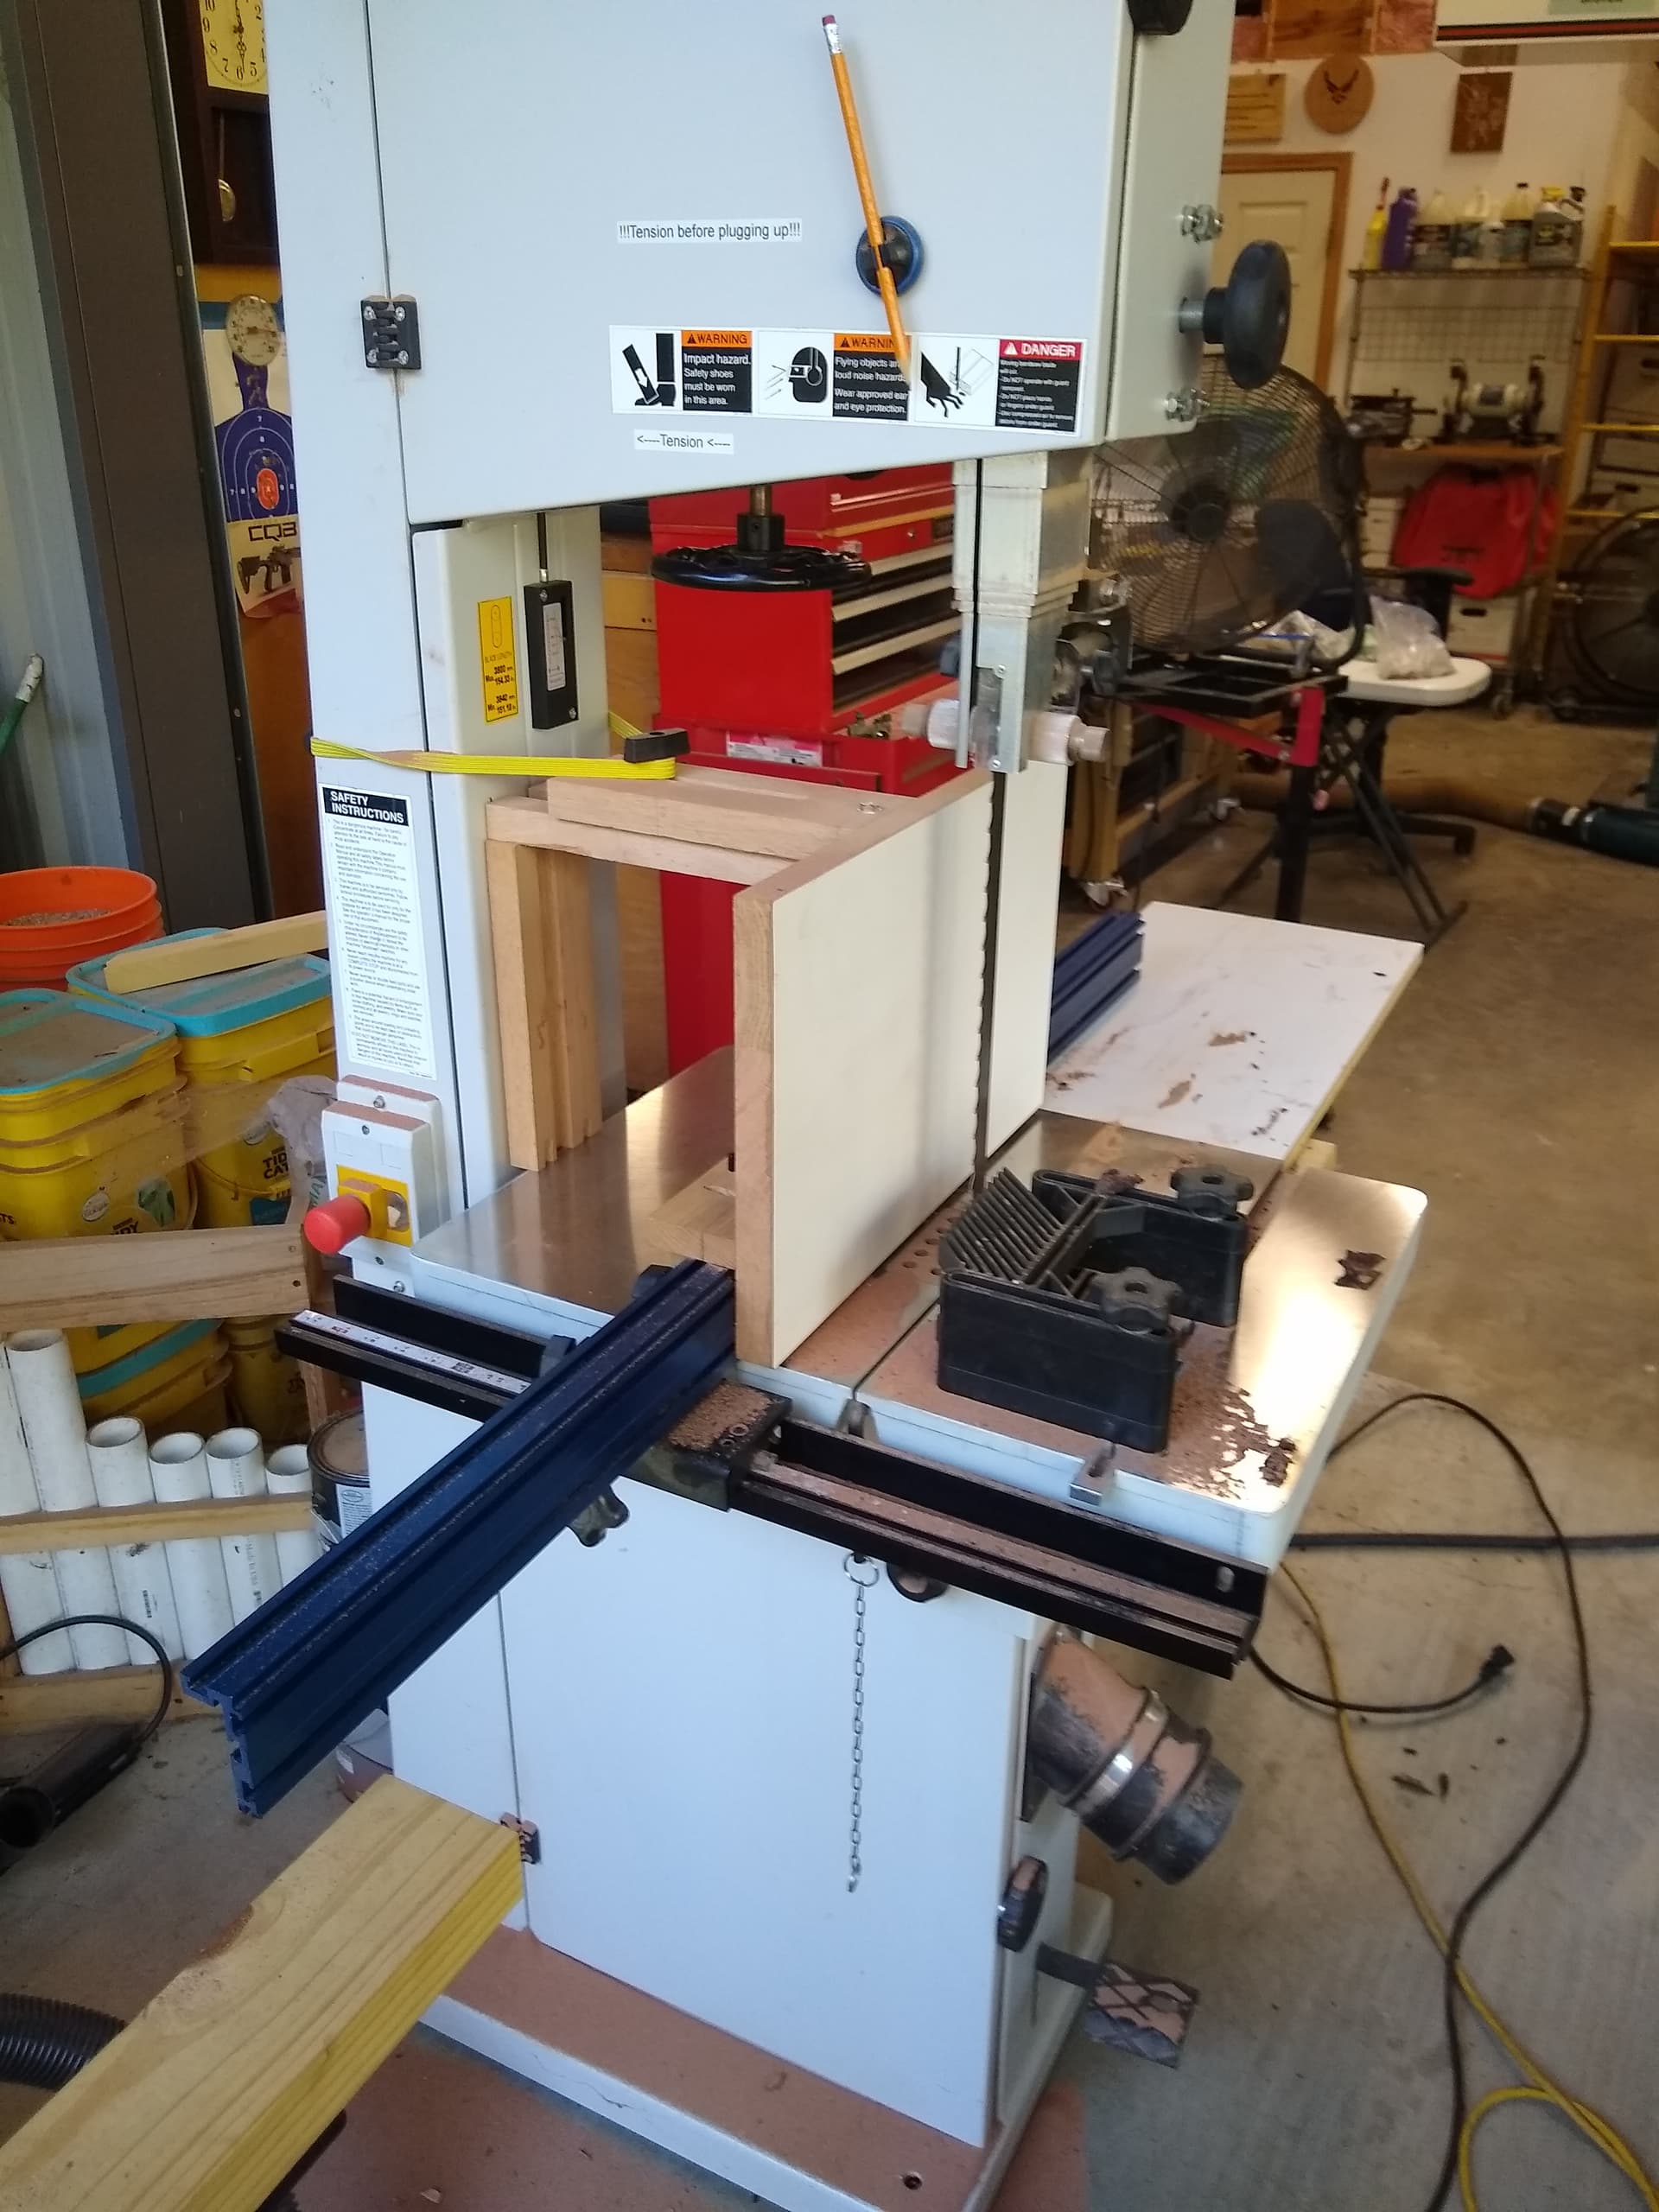
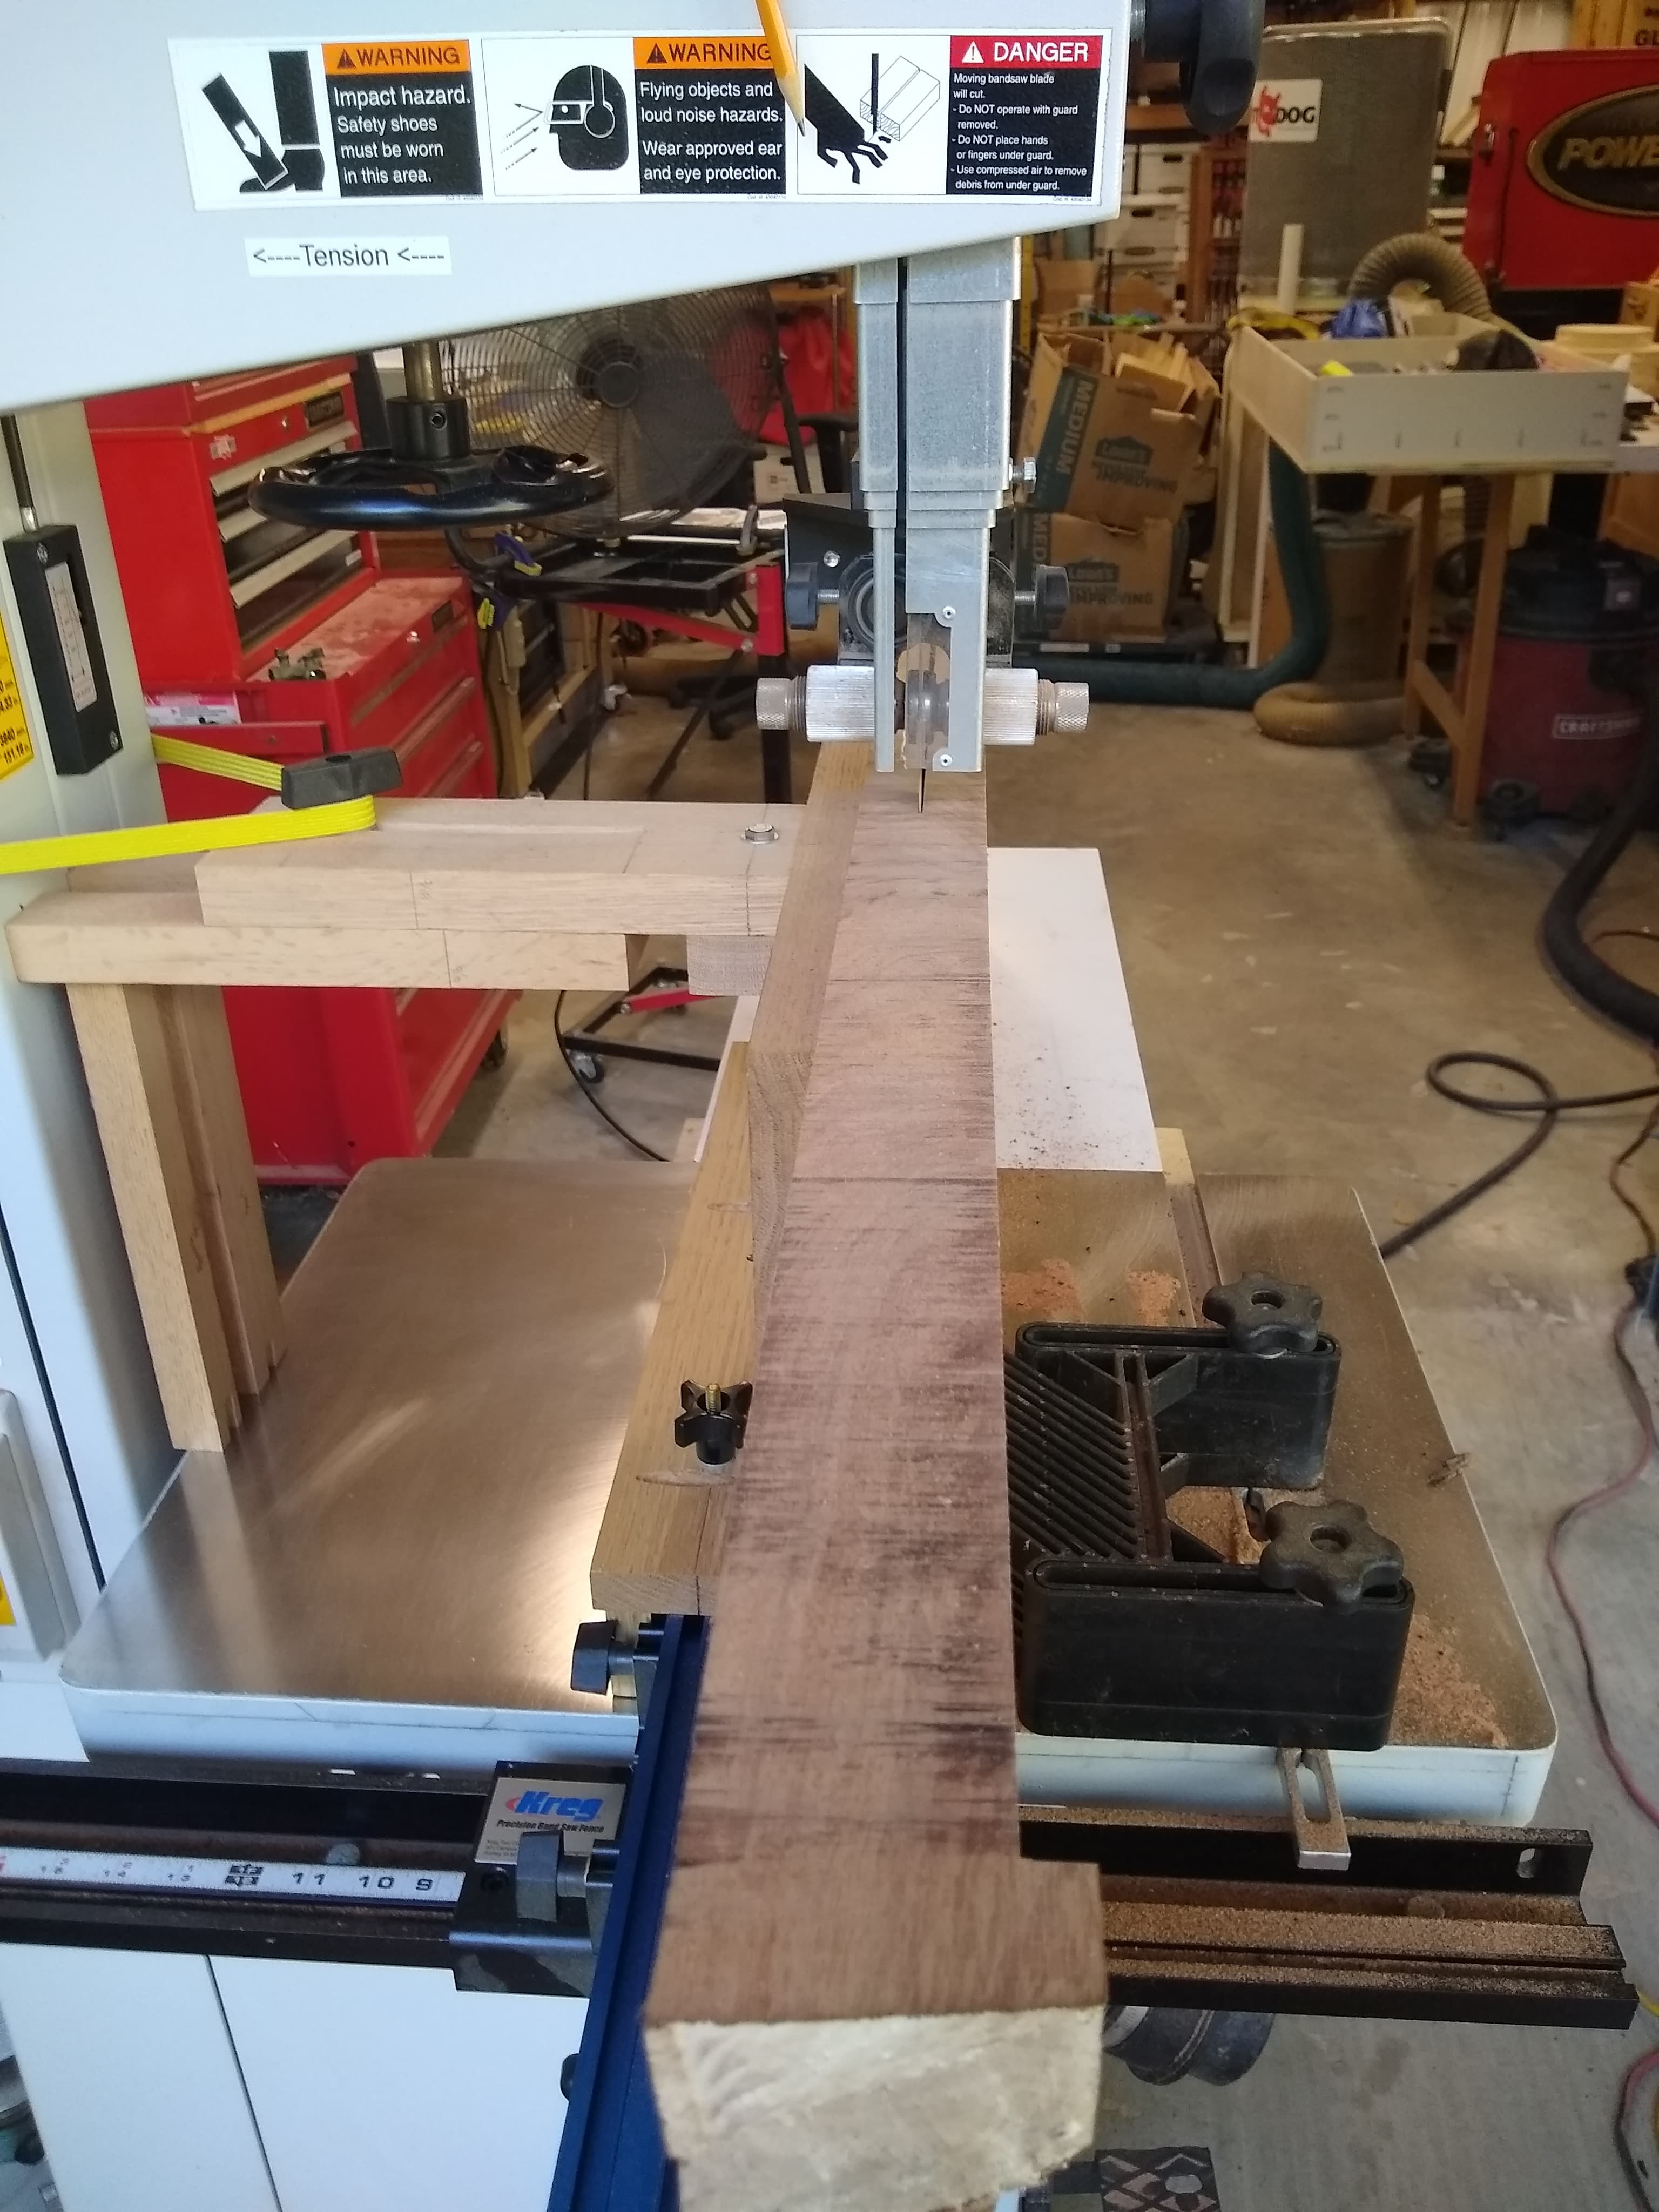
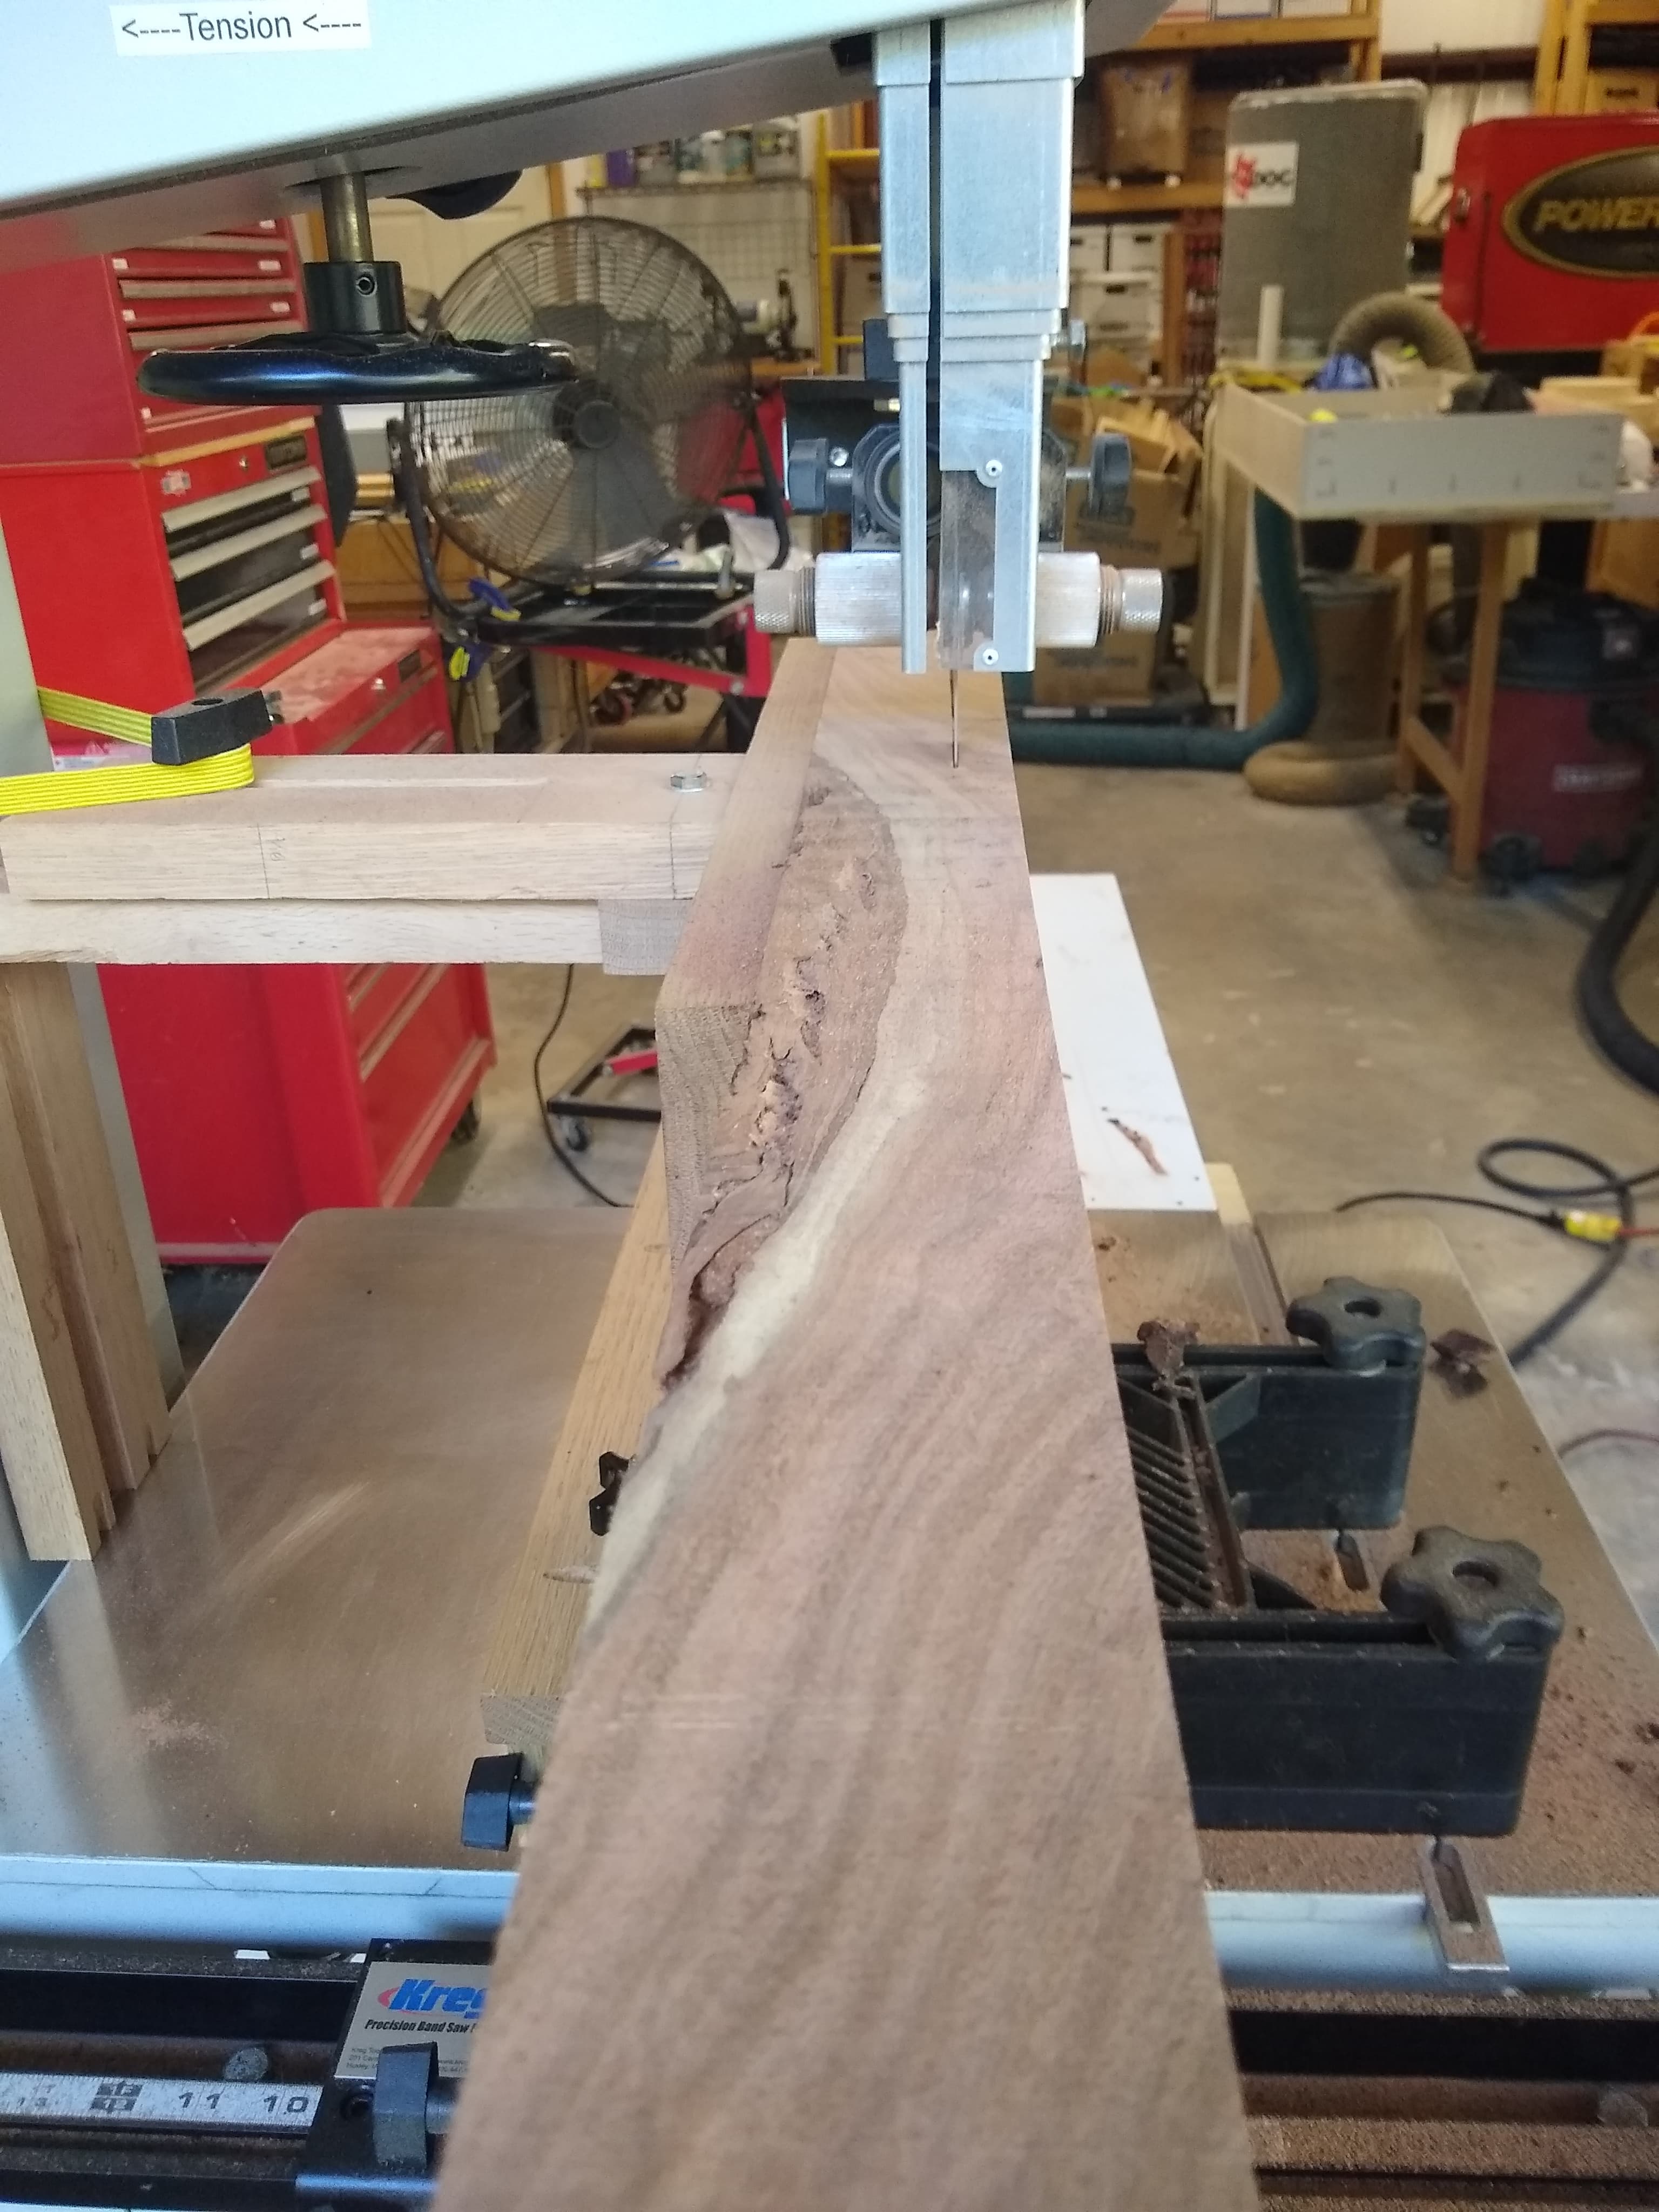
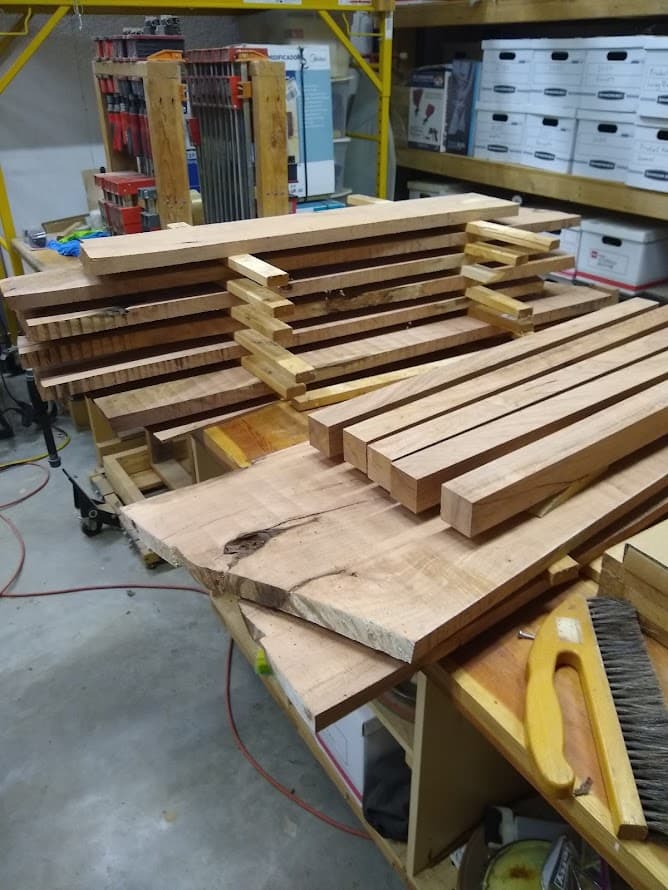
Here are the pictures of my milled pieces ready to make lumber by resawing. I have a 3 HP SCM 16" bandsaw with a 1" carbide blade. That saw will eat through this mesquite like a hot knife through butter. I need to cut off the bark and start resawing.
Here are the rest of my slabs processed and ready to proceed.
You can see above in Steve’s post the large pile of saw dust. After I flattened each side of the slab I vacuumed the table and floor. I made about 20 gallons of saw dust. My grandson said he can compress the saw dust to make bricks for smoking meat on his smoker. When I get the slabs trimmed up he says he can also use the bark to smoke meat. So I will save all the left overs and take it to him and get a good smoked brisket for my trouble.
It has been a scorcher the last few days. The temperature was hovering around 100 F and I had fans blowing on me. I took many breaks and drank a lot of water.
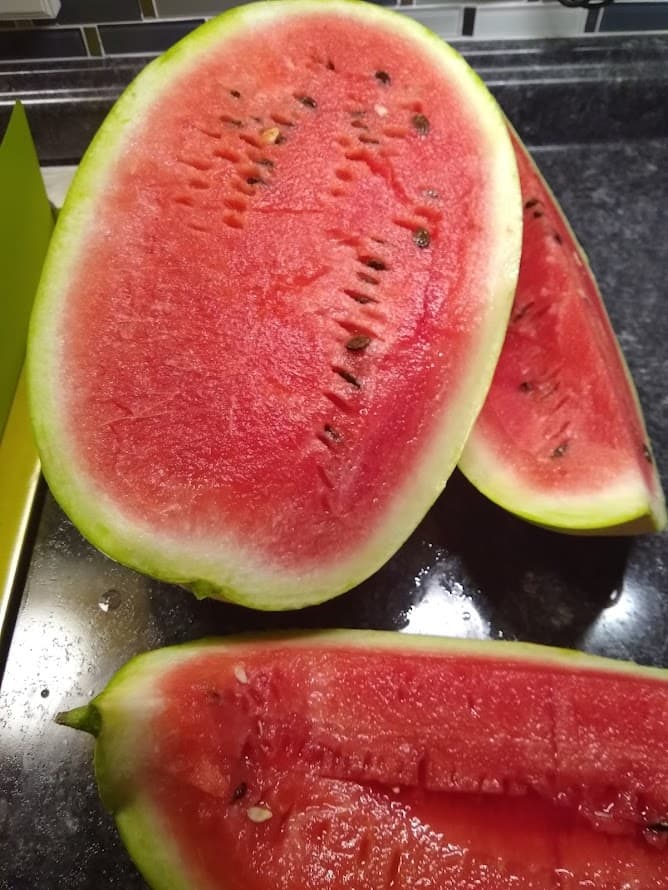
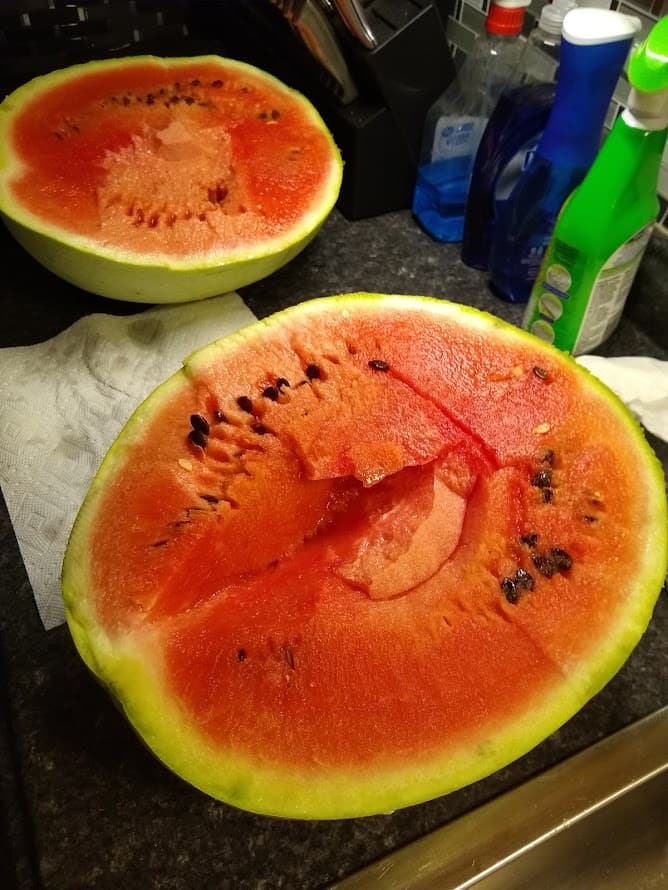
However the best reward for all my work is from one of my neighbors. They raise a pretty big garden. Last week I had a Black Diamond watermelon and this week it is a Charleston.
So if you are working in your hot shop take a break and have some cold water and some watermelon.
@aseelye I will ask him how he is going to brick up the saw dust. I will be trimming all the slabs and will save that for him as well. He says you can cook with the bark and wood of mesquite. I have used pecan before but you must remove the bark on pecan or you will get a bitter taste in the meat.
So I got quite a few small pieces flattened today. Some of them will become boxes on the Shapeoko. Others who knows what but they are flattened and can be used.
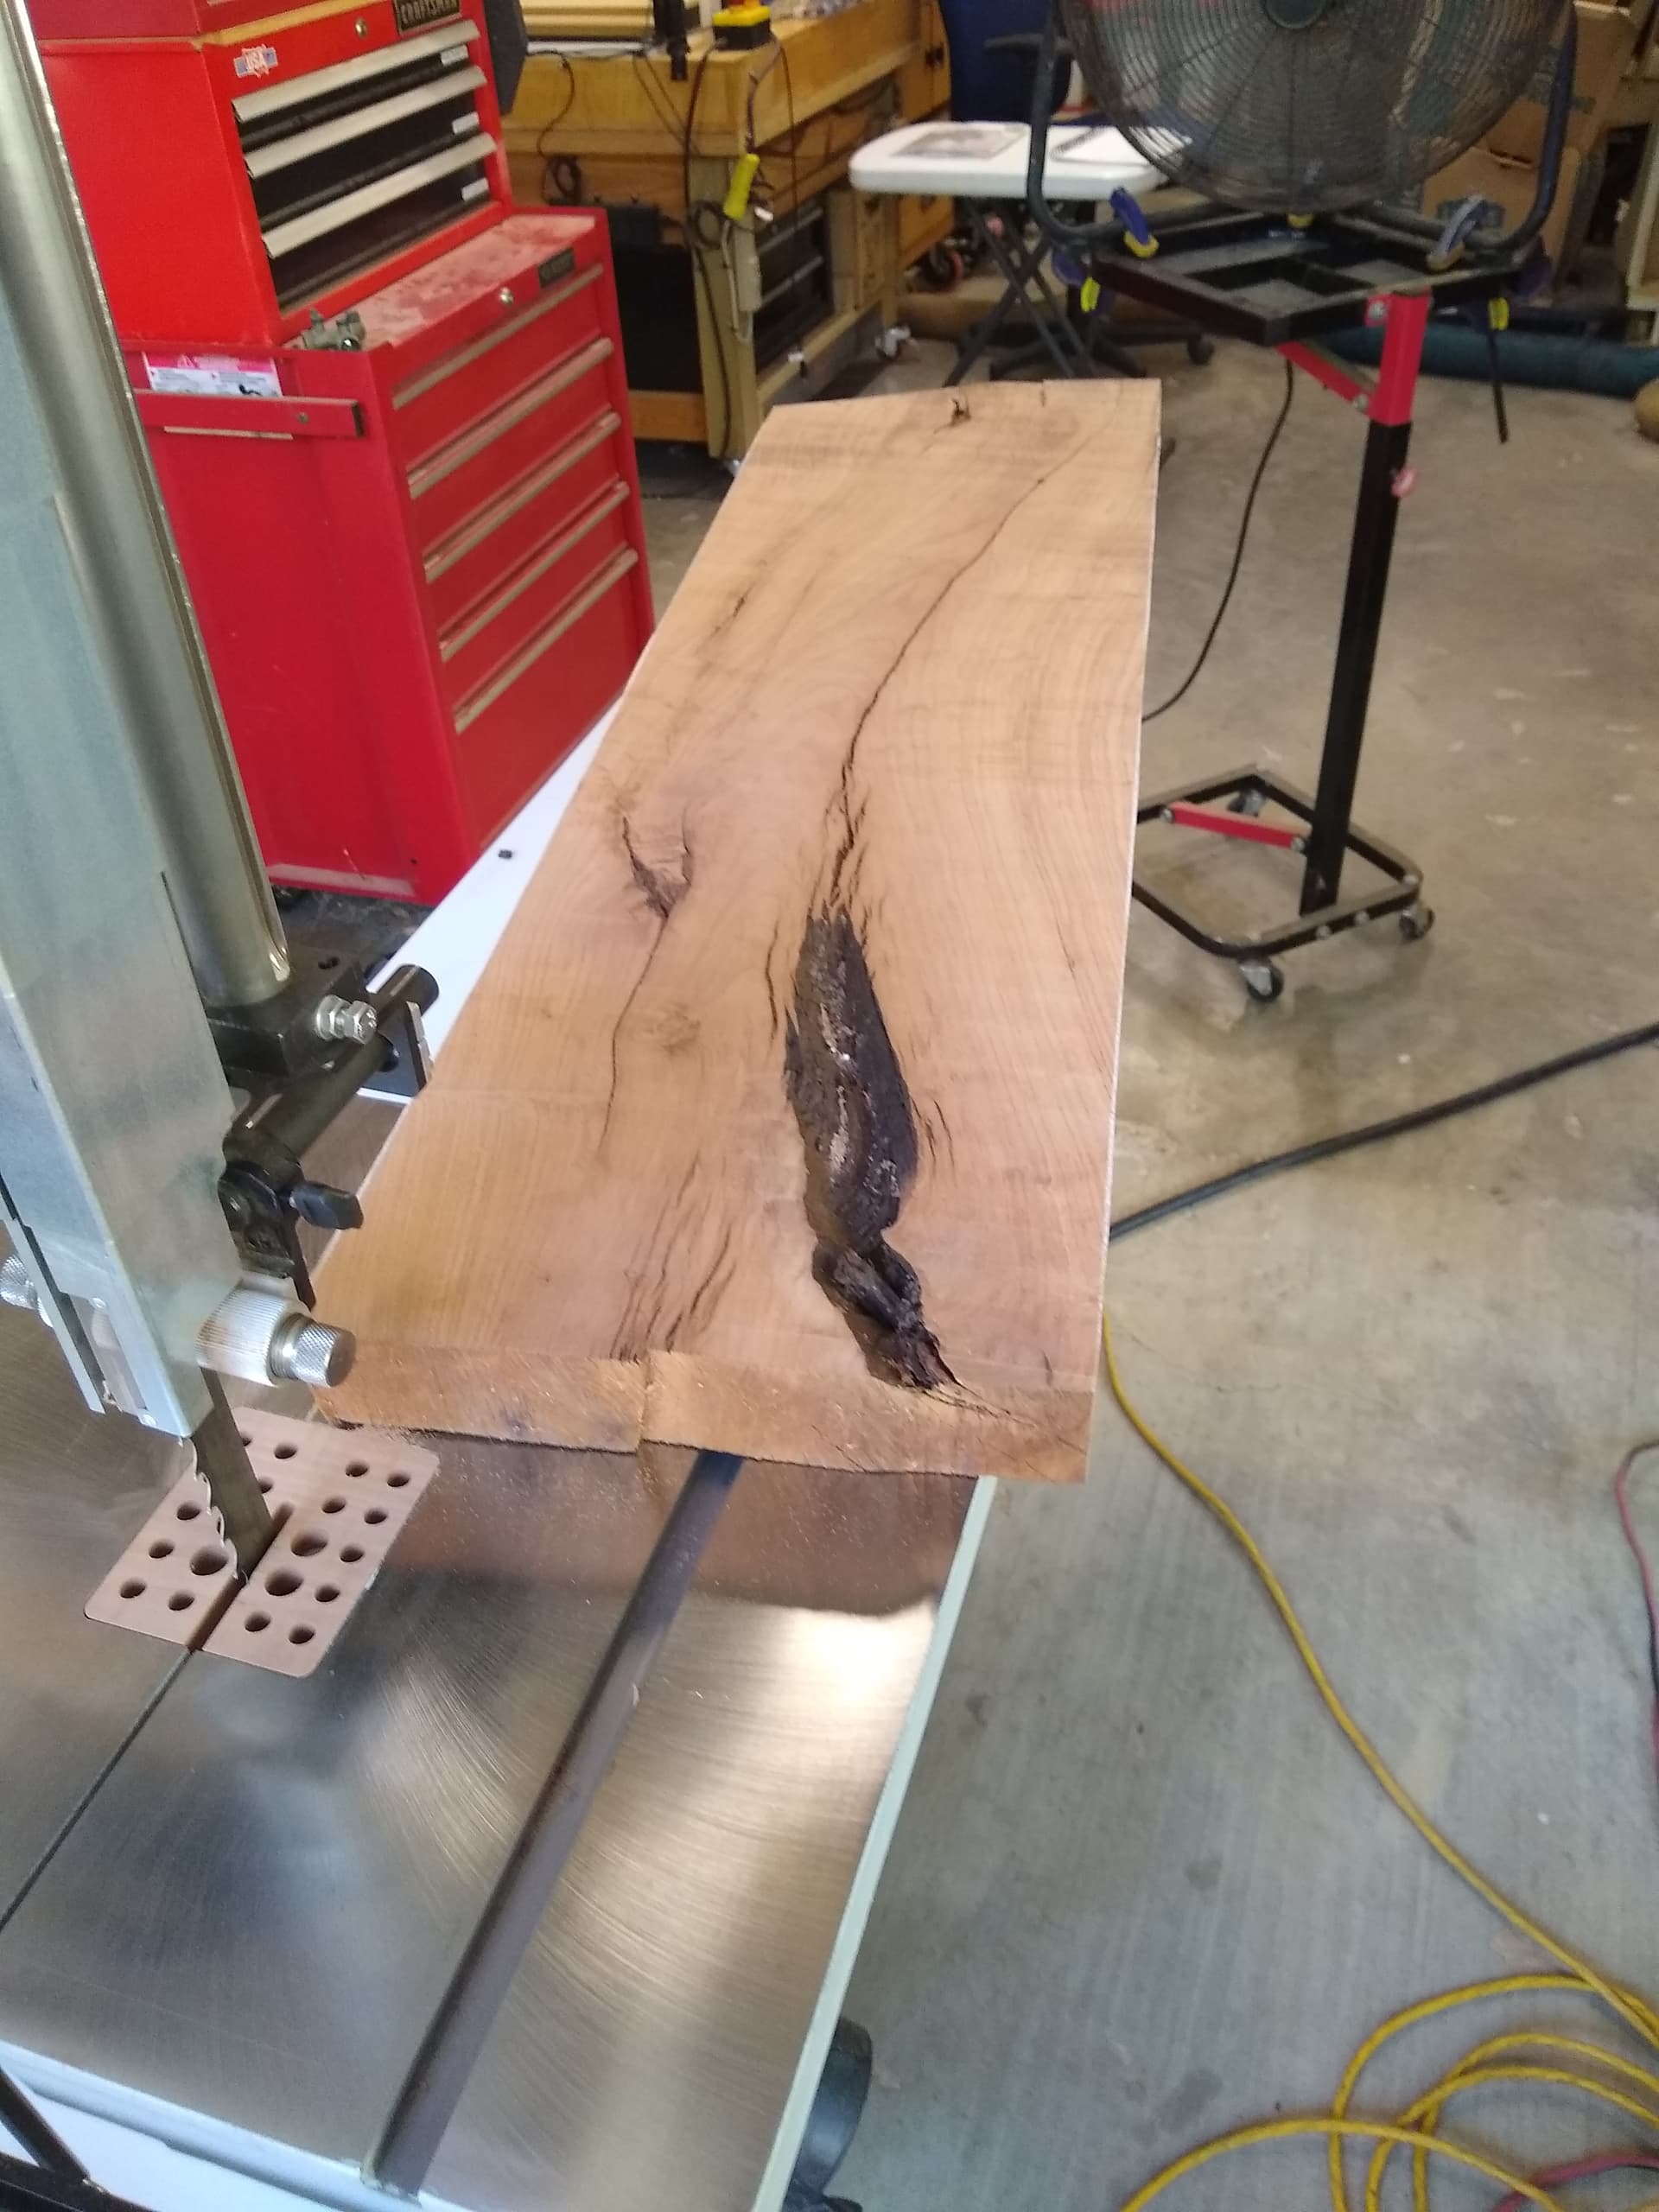
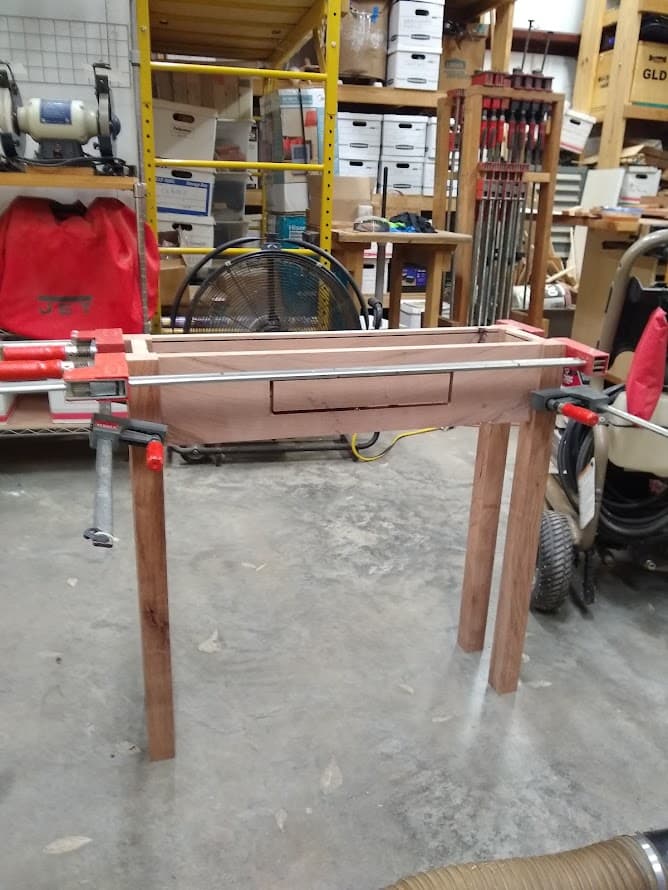
Just wanted to update my progress. I straightened the slabs and resawed them today. I made 3 of the slabs into 1" boards and one into 2" board. The 1" boards will be made into the parts of the table except the legs. The 2" resaw will become the legs. I still have plenty of mesquite if I need more lumber made.
After this project getting stalled I got back to work on it today. I got the legs cut out and the table aprons cut out rough. I will still need to make the boards for the table top. Ordered some Z clips to hold the table top on. I will use the CNC to cut a design on the top of the table.
The legs are the foundation of the table. I needed to get them planned and jointed to get the dimensions to make the aprons the correct size. The apron and top pieces need to be planned and jointed. I might get to that tonight but tomorrow definitely. Part of this build is to use as a demonstration at my woodworking club for a presentation I will be giving on August 6, 2020 about using the Golden Ratio in woodworking design.
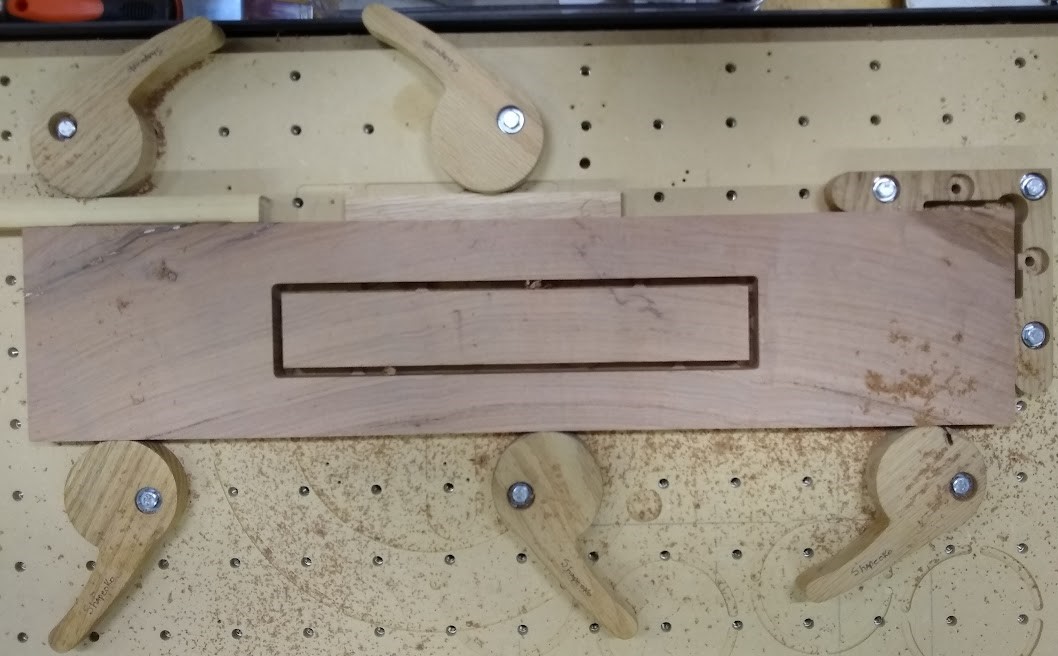
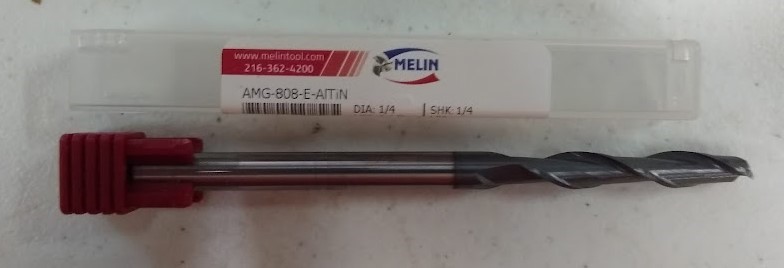
The ash tray was .9" deep. I use the #201 bit because the Melin is an upcut. The Melin is a two flute but the #201 works. I need to make a custom tool and someday I will.
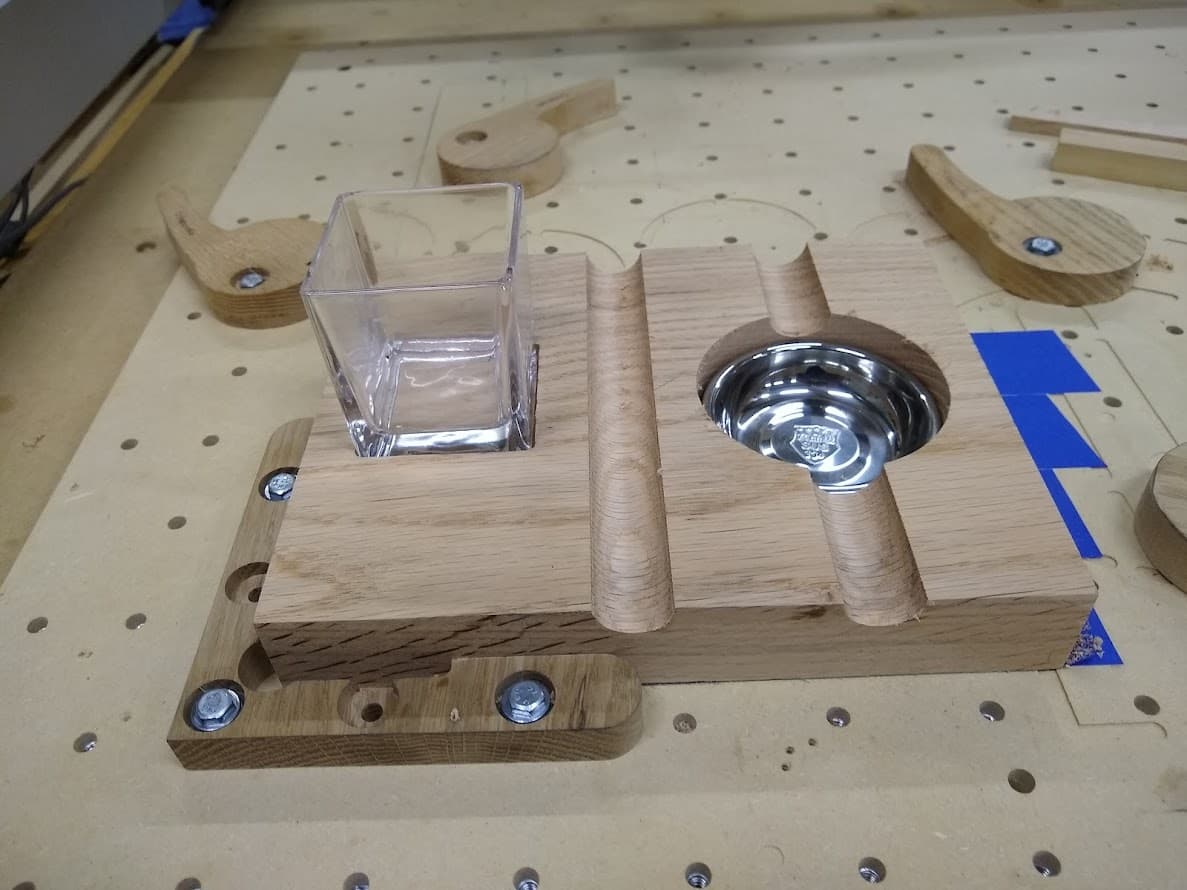
I wanted to tell about my alignment and clamping strategy. I had to move my L bracket and I could have used the jog to line up the L bracket but this piece is 26.5" long. So I attached the L bracket loosely and joged the machine with a 1/4" bit up to the left hand edge. I jogged over so the bit just quit turning. I put the lower right clamp on loosely and jogged the bit over to the right and just pushed the clamp to the bit just kissed the board. I tightened the lower right clamp. I jogged back over to check if I was still just touching the board. I tightened up the L bracket. I then put a clamp directly across from the lower right clamp on the top of the material and tightened. I put the 3rd clamp opposite the L bracket and tightened that clamp. Then I put the 4th and 5th clamp on opposite each other. The cut went perfectly and the material did not move. The picture is upside down and taken from the spoil board point of view.
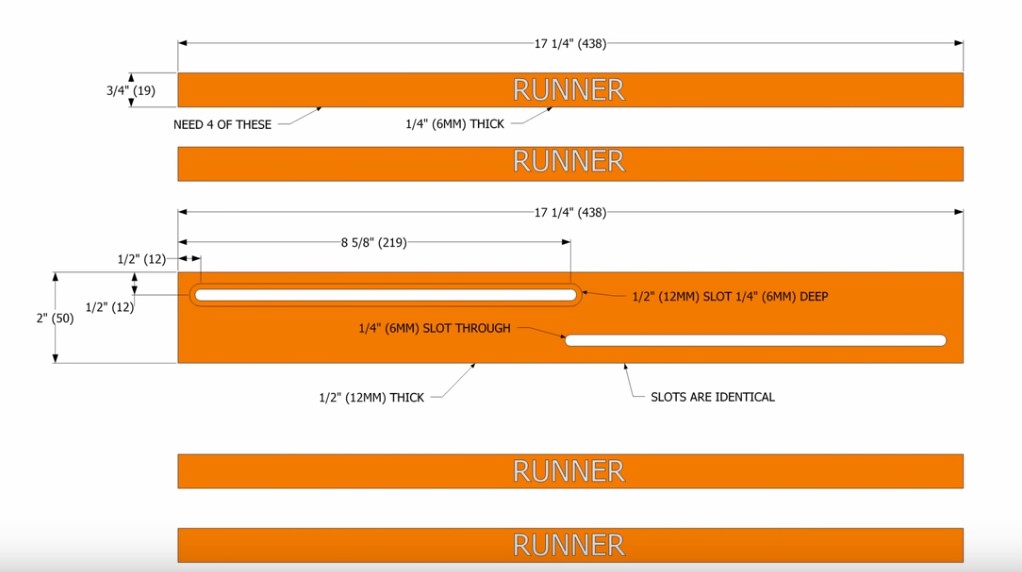
Now that I have the table base I need to make some drawer slides. I watched a video on youtube from a Canadian that makes drawer slides out of wood that are full extension. I am going to try to make a set on the Shapeoko and see how they work. The drawer is 12 X 6.75 x 3.0” so it is important that I get full extension. This is only an experiment and after machining I will see if they are going to work. If the full extension drawer slides fail I will just make wooden runners and a drawer stop as an alternative.
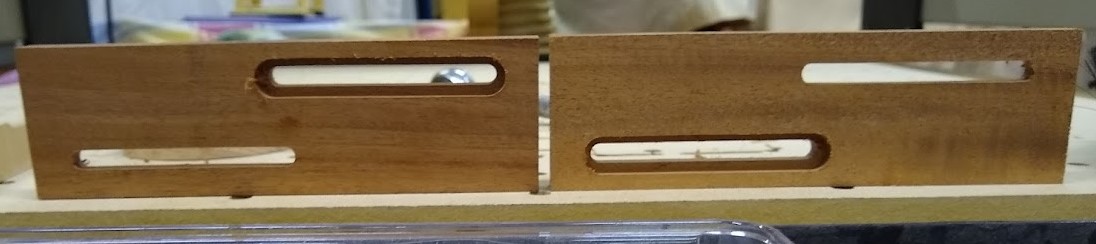
I got busy and machined a pair of the drawer slides. I made a mistake on the length because I was working when I was tired Originally I planed the mahagoney down to 1/2". It was a longer piece. I then cut it to 2" wide and was going to use the miter gauge and a stop block on the table saw fence. The pieces were too short and the miter gauge was hitting the table saw fence. So I moved the table saw fence down and forgot to reset the stop block on the miter gauge and cut the pieces a little too short. The experiment worked and tomorrow I will mock up a drawer to see if it works. I think the overlap in the center is too much so I will likely rework the c2d file to shorted the slots.
I got a little more work done today on my table. I made the dovetail drawer. I did not use the Shapeoko but used my Incra Positioner. I made the drawer out of mahogany because I have a lot of it and need to use it up. The drawer front will be mesquite. Mahogany machines so nice.
So my table is getting close to assembly. I need to make the top. I am going to put an inlay in the top with the Shapeoko. Have not decided on the art work but think about a sun burst out of maple.