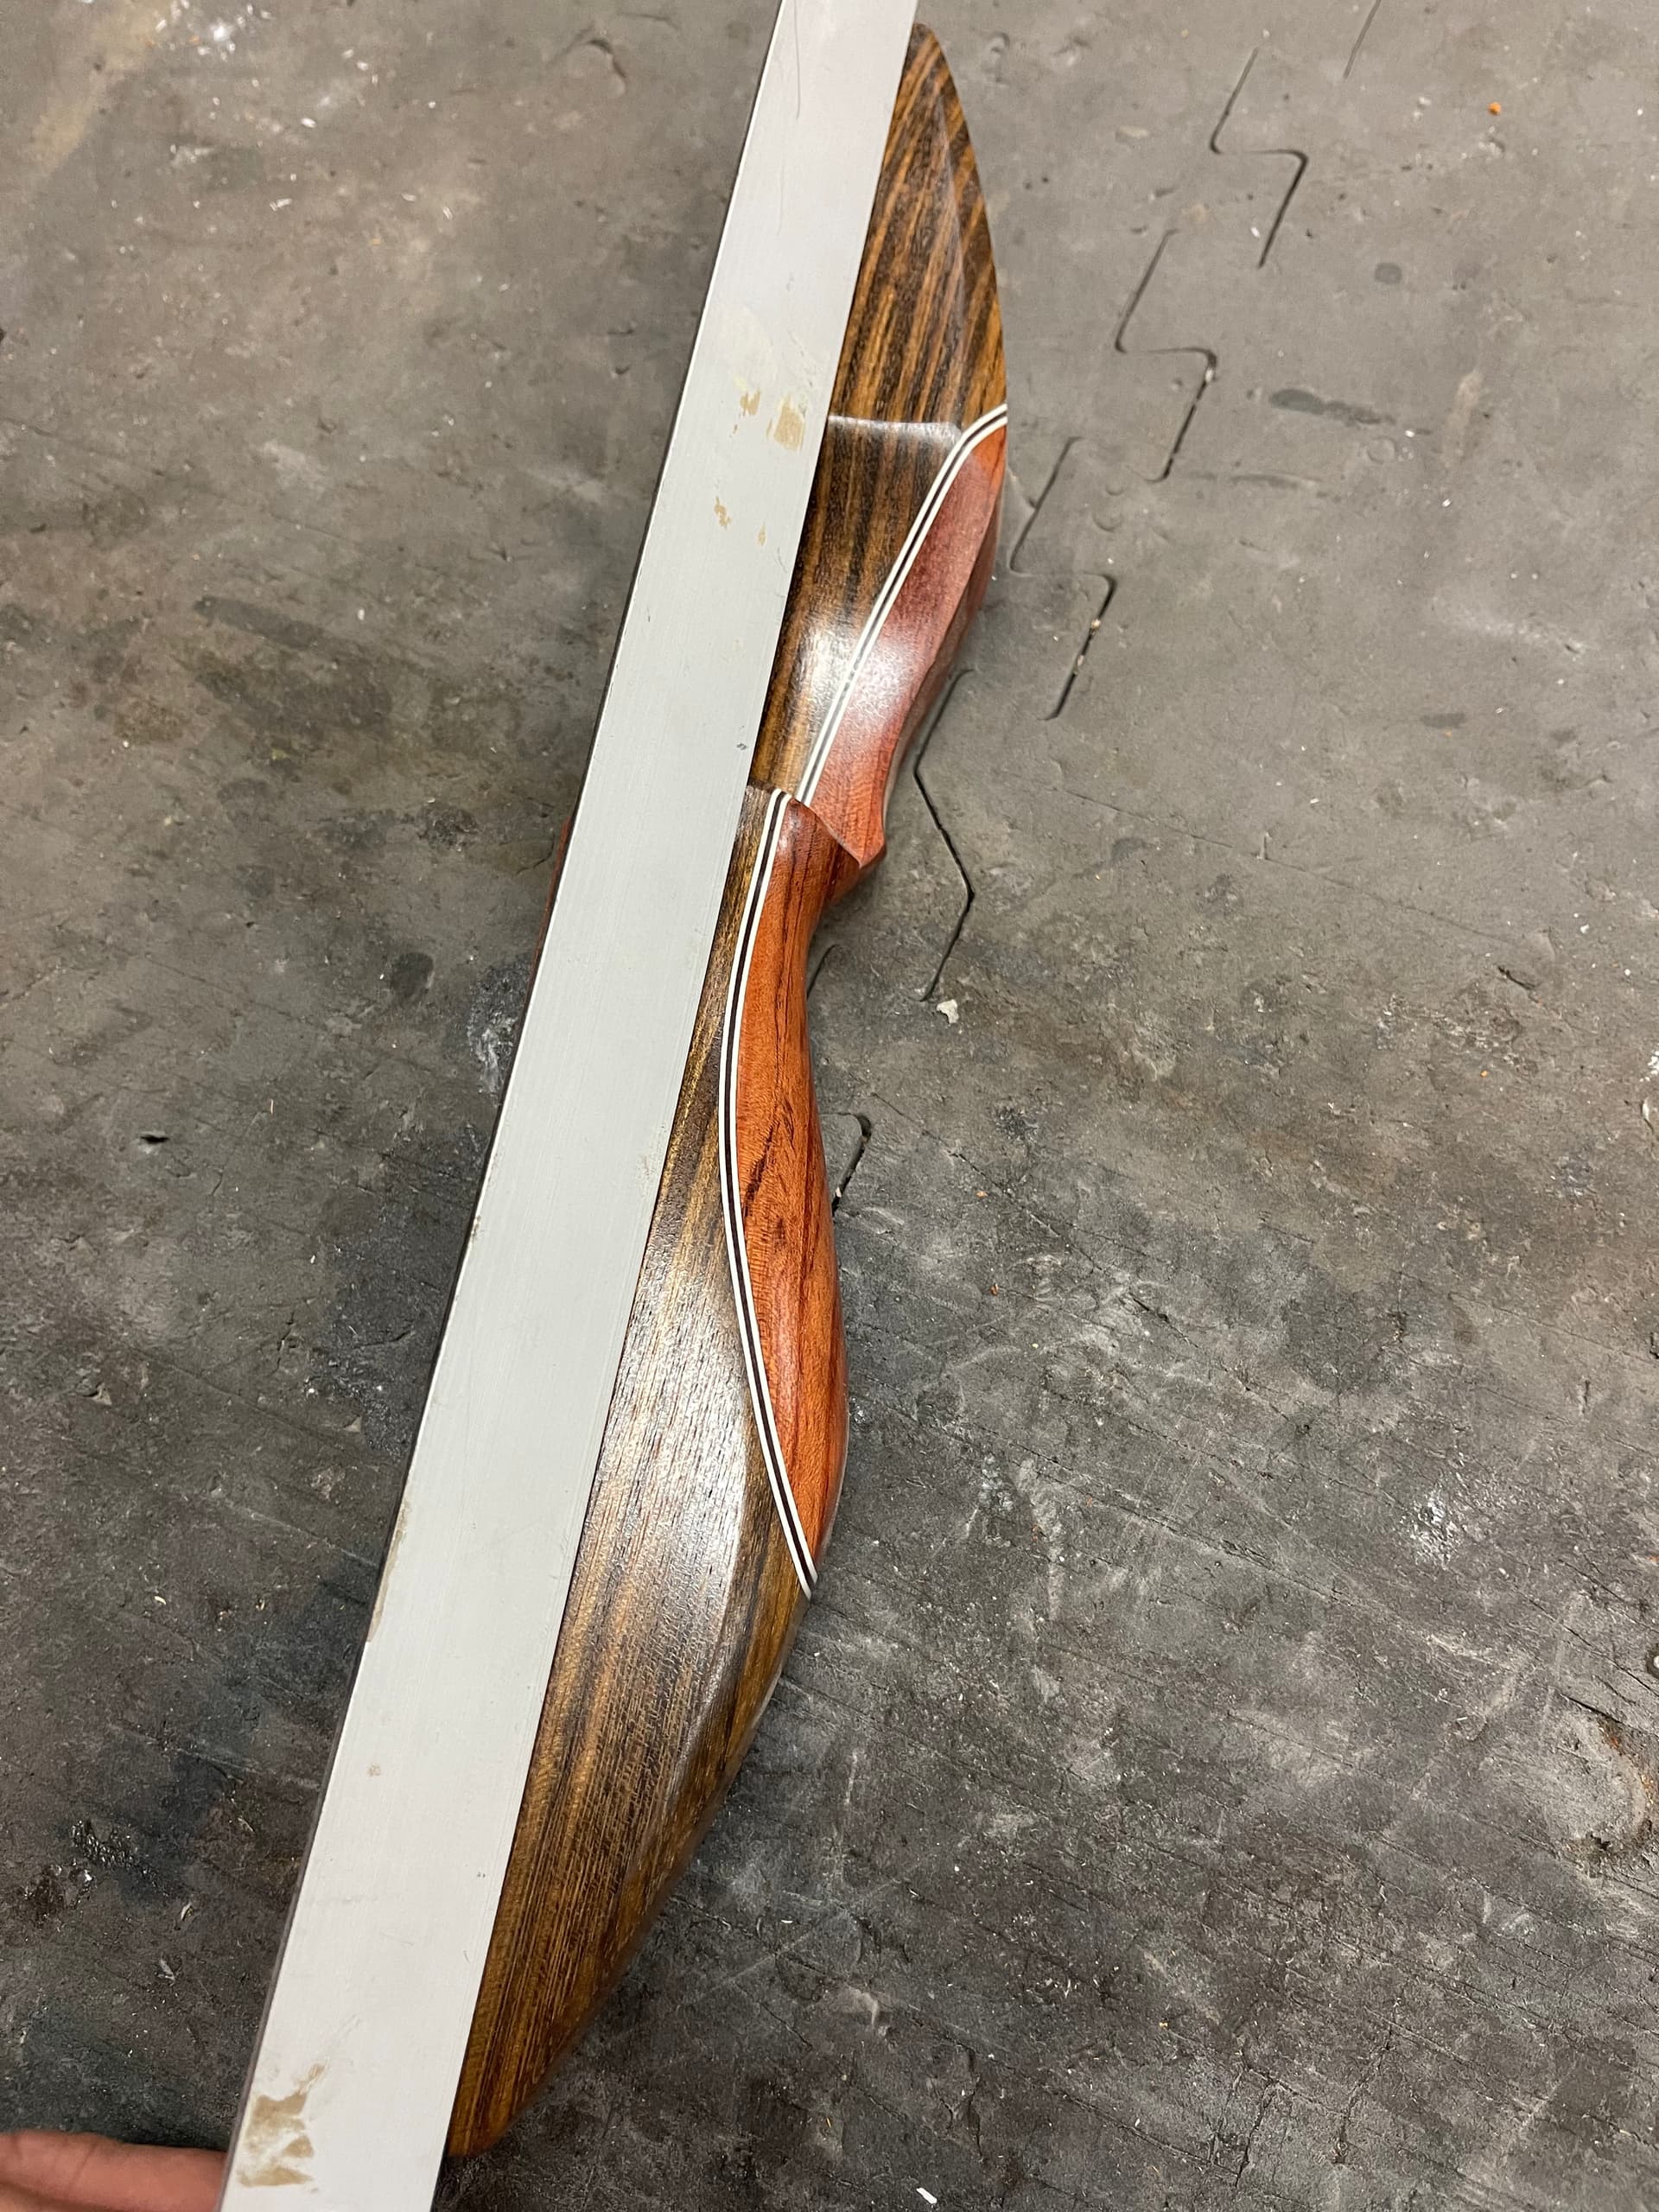
Have you tried using a profile gauge to get an idea of what the perimeter looks like at various points?
Probably the best thing to do would be to model this in 3D somehow, using a tool which affords more control than Carbide Create.
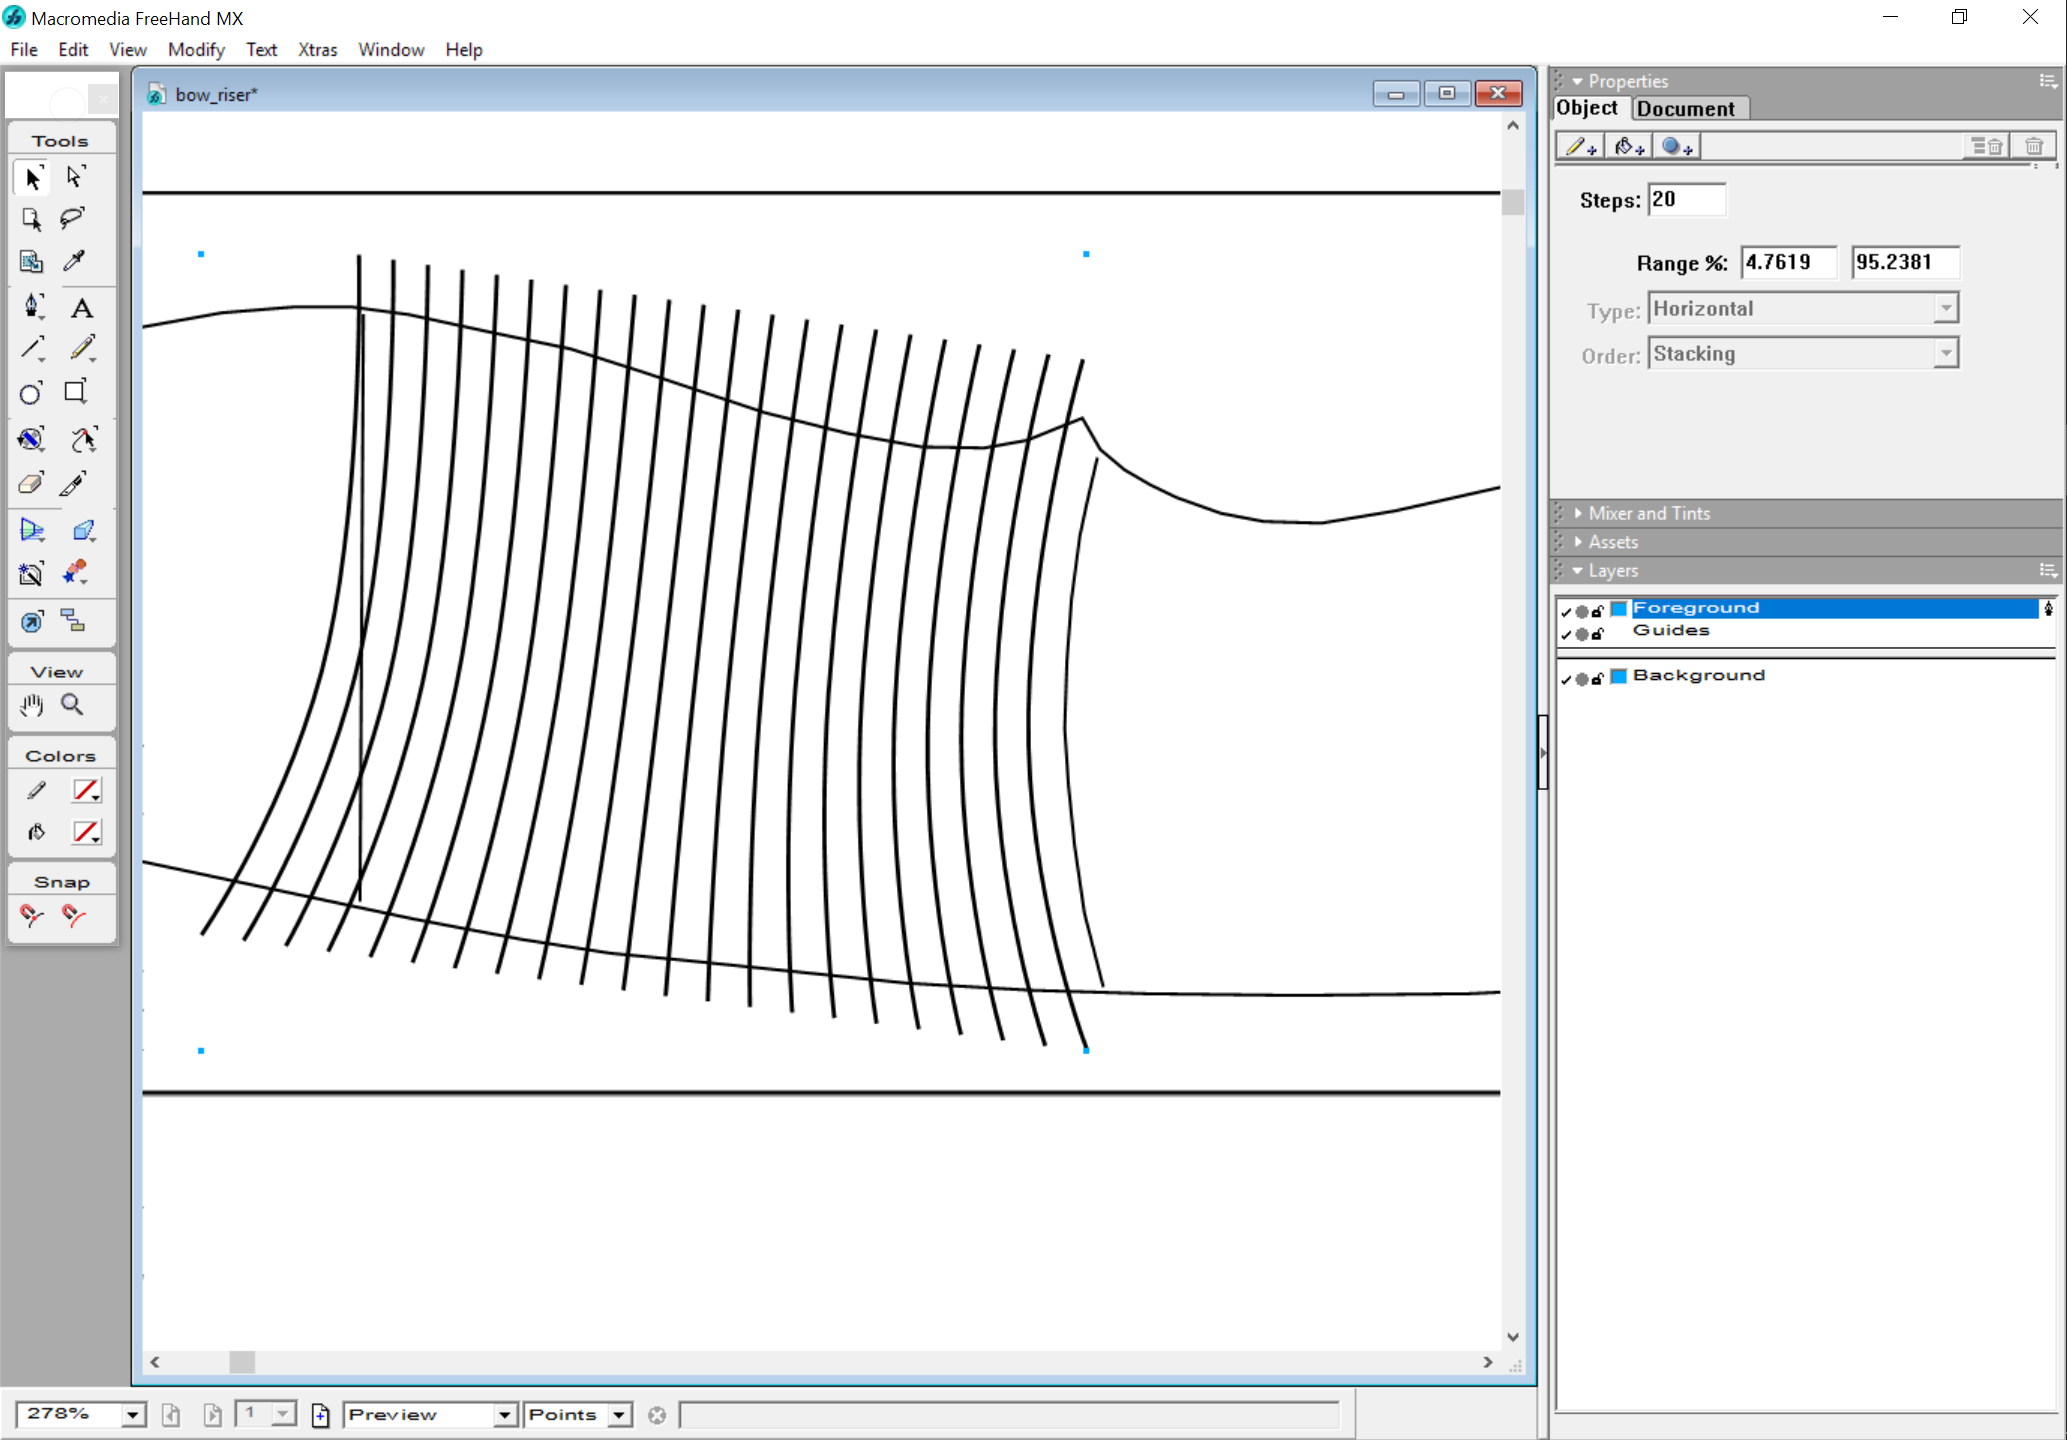
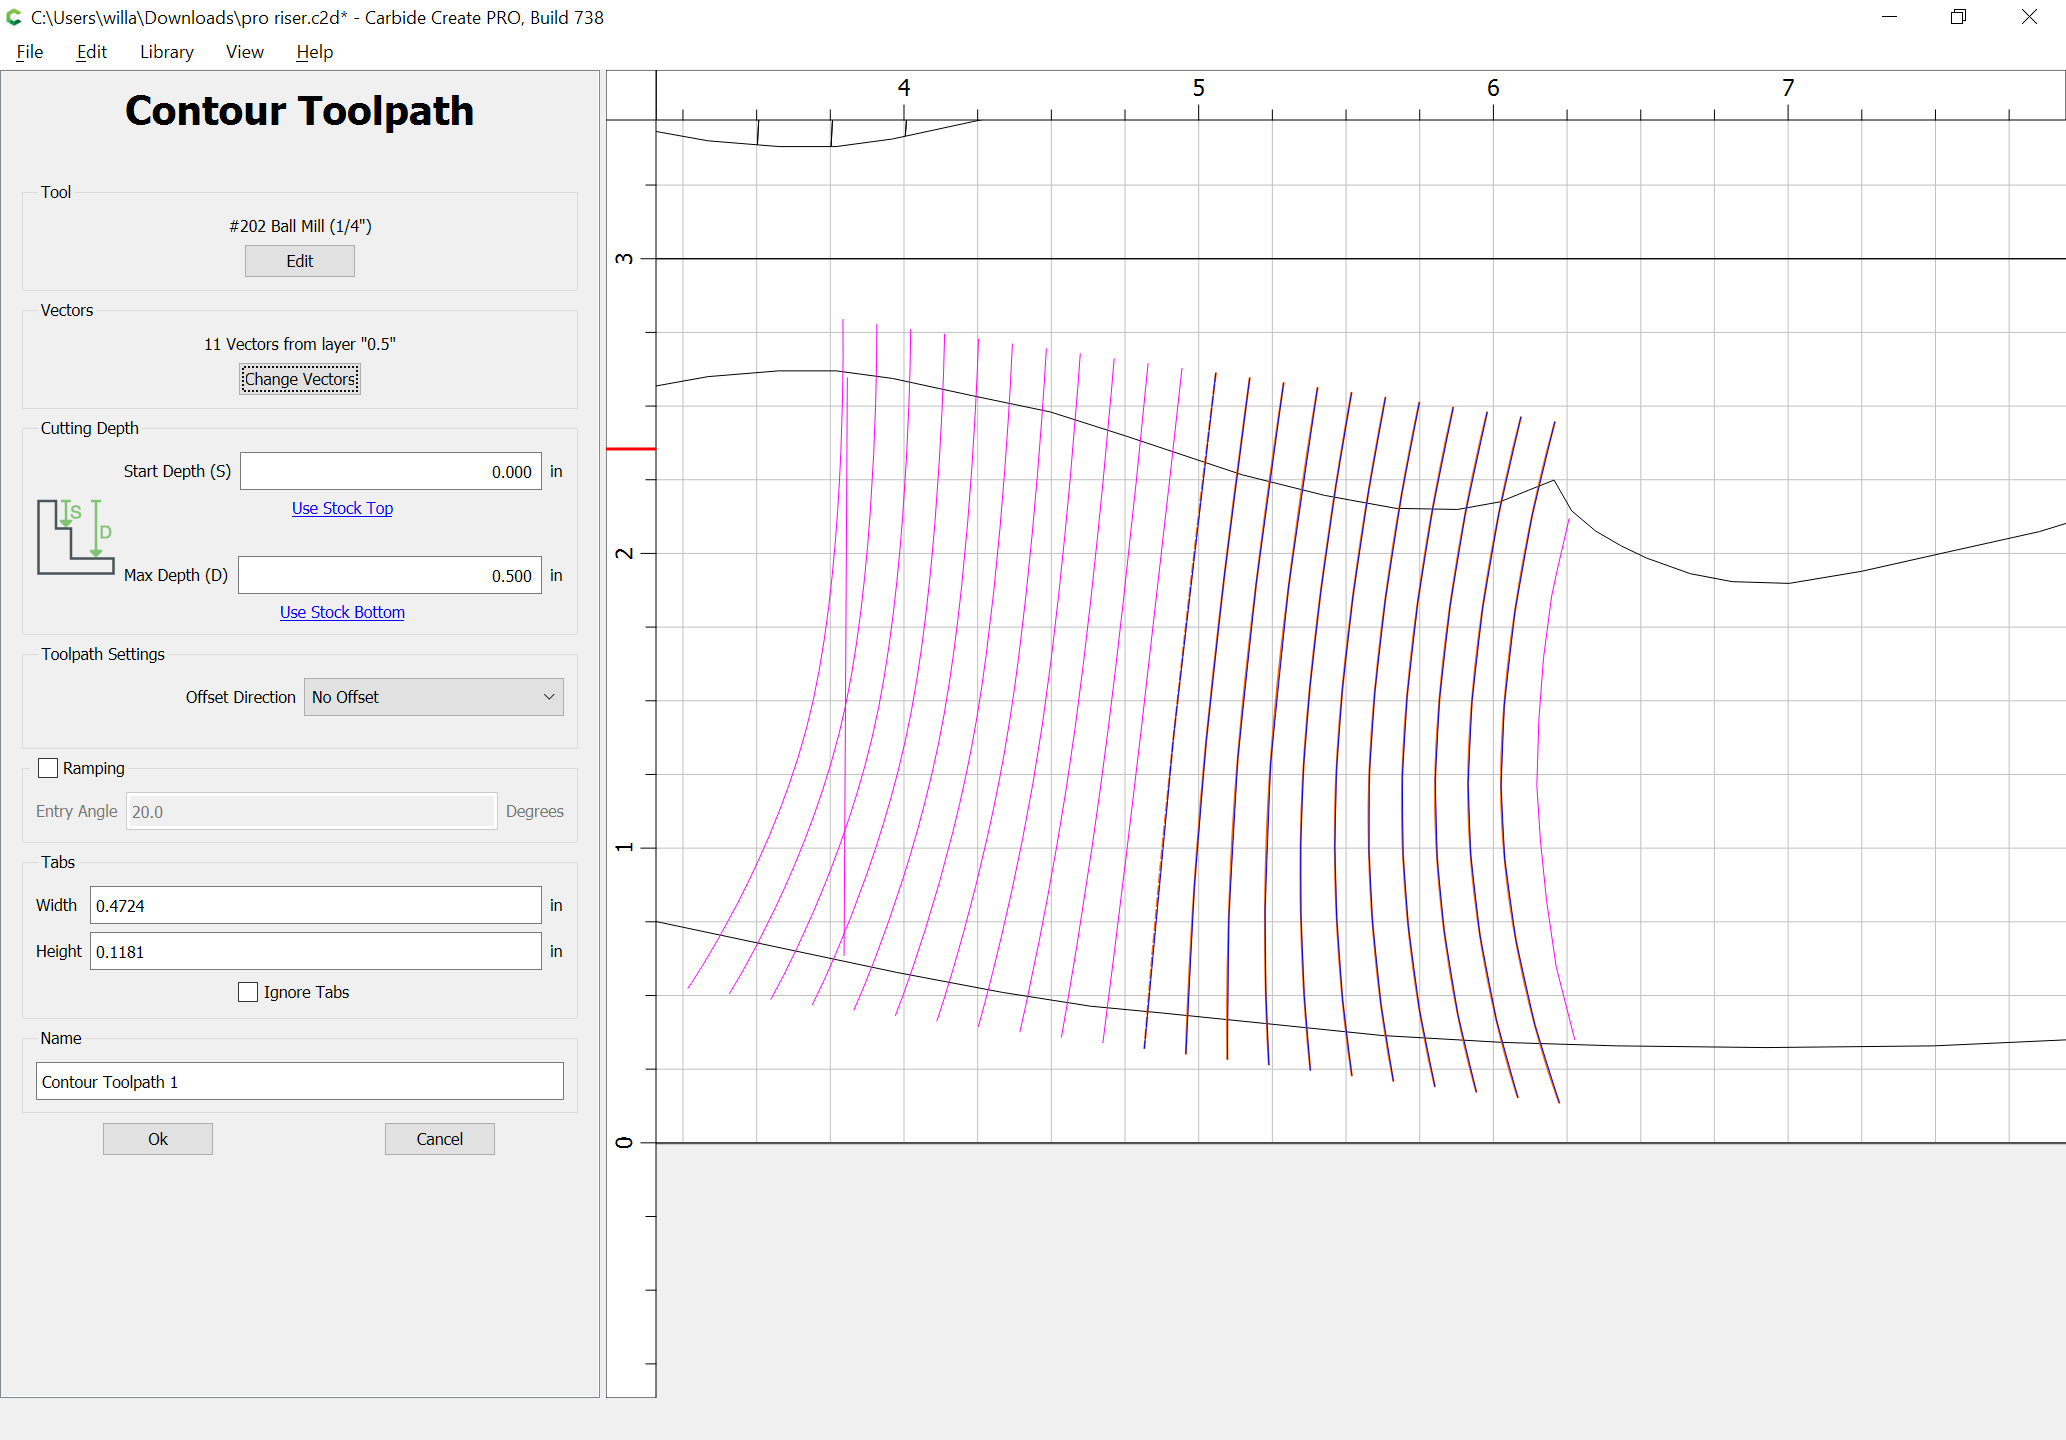
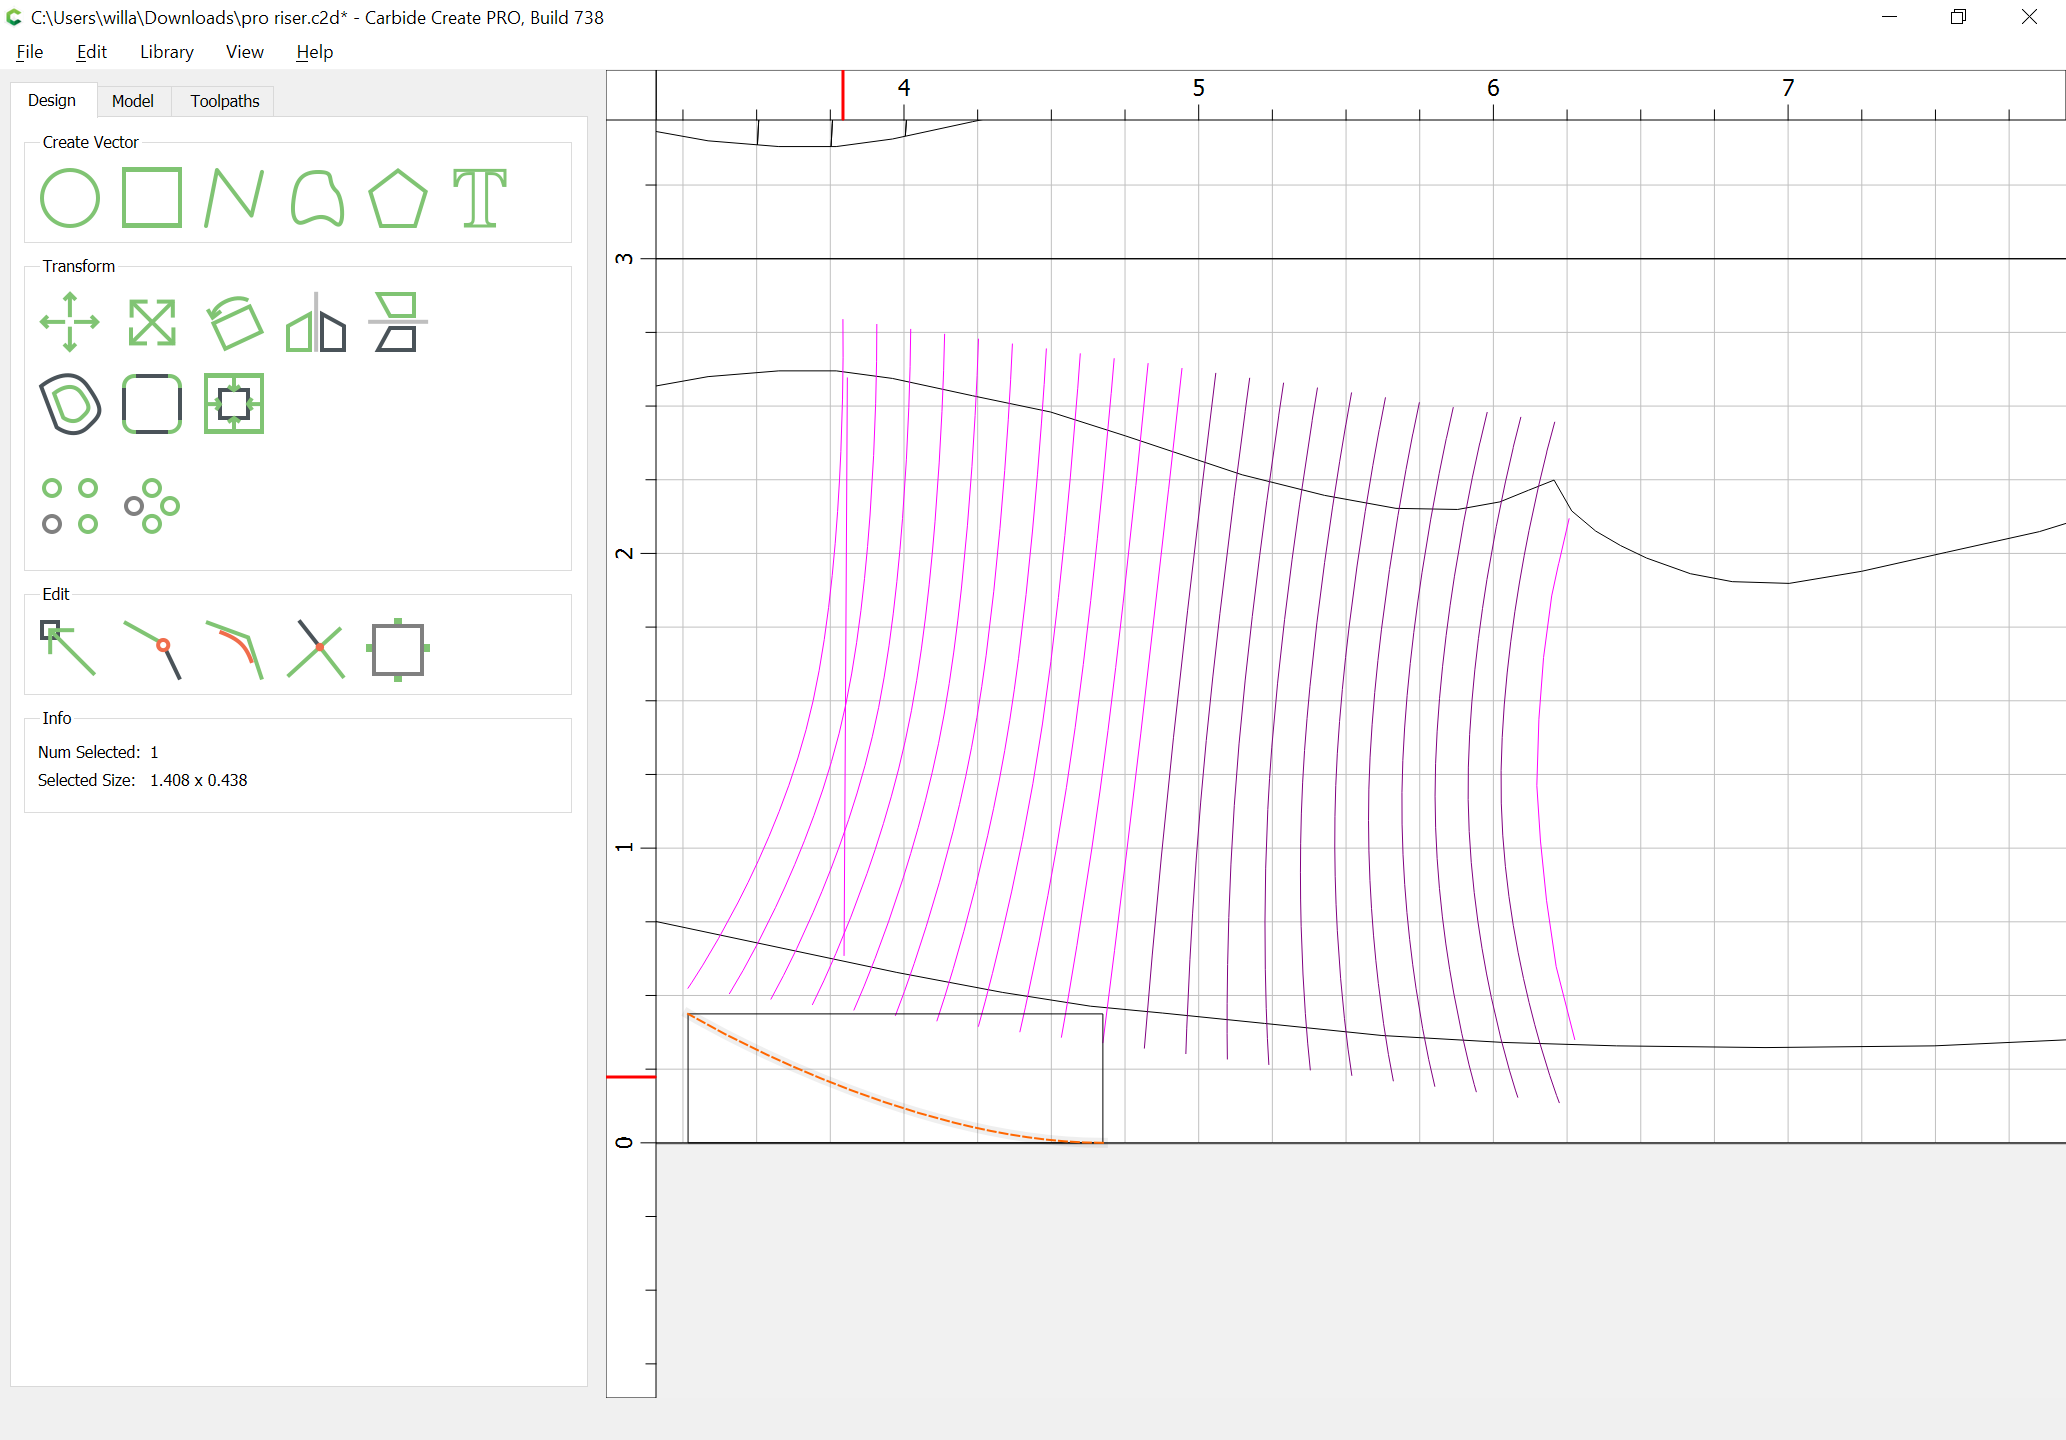
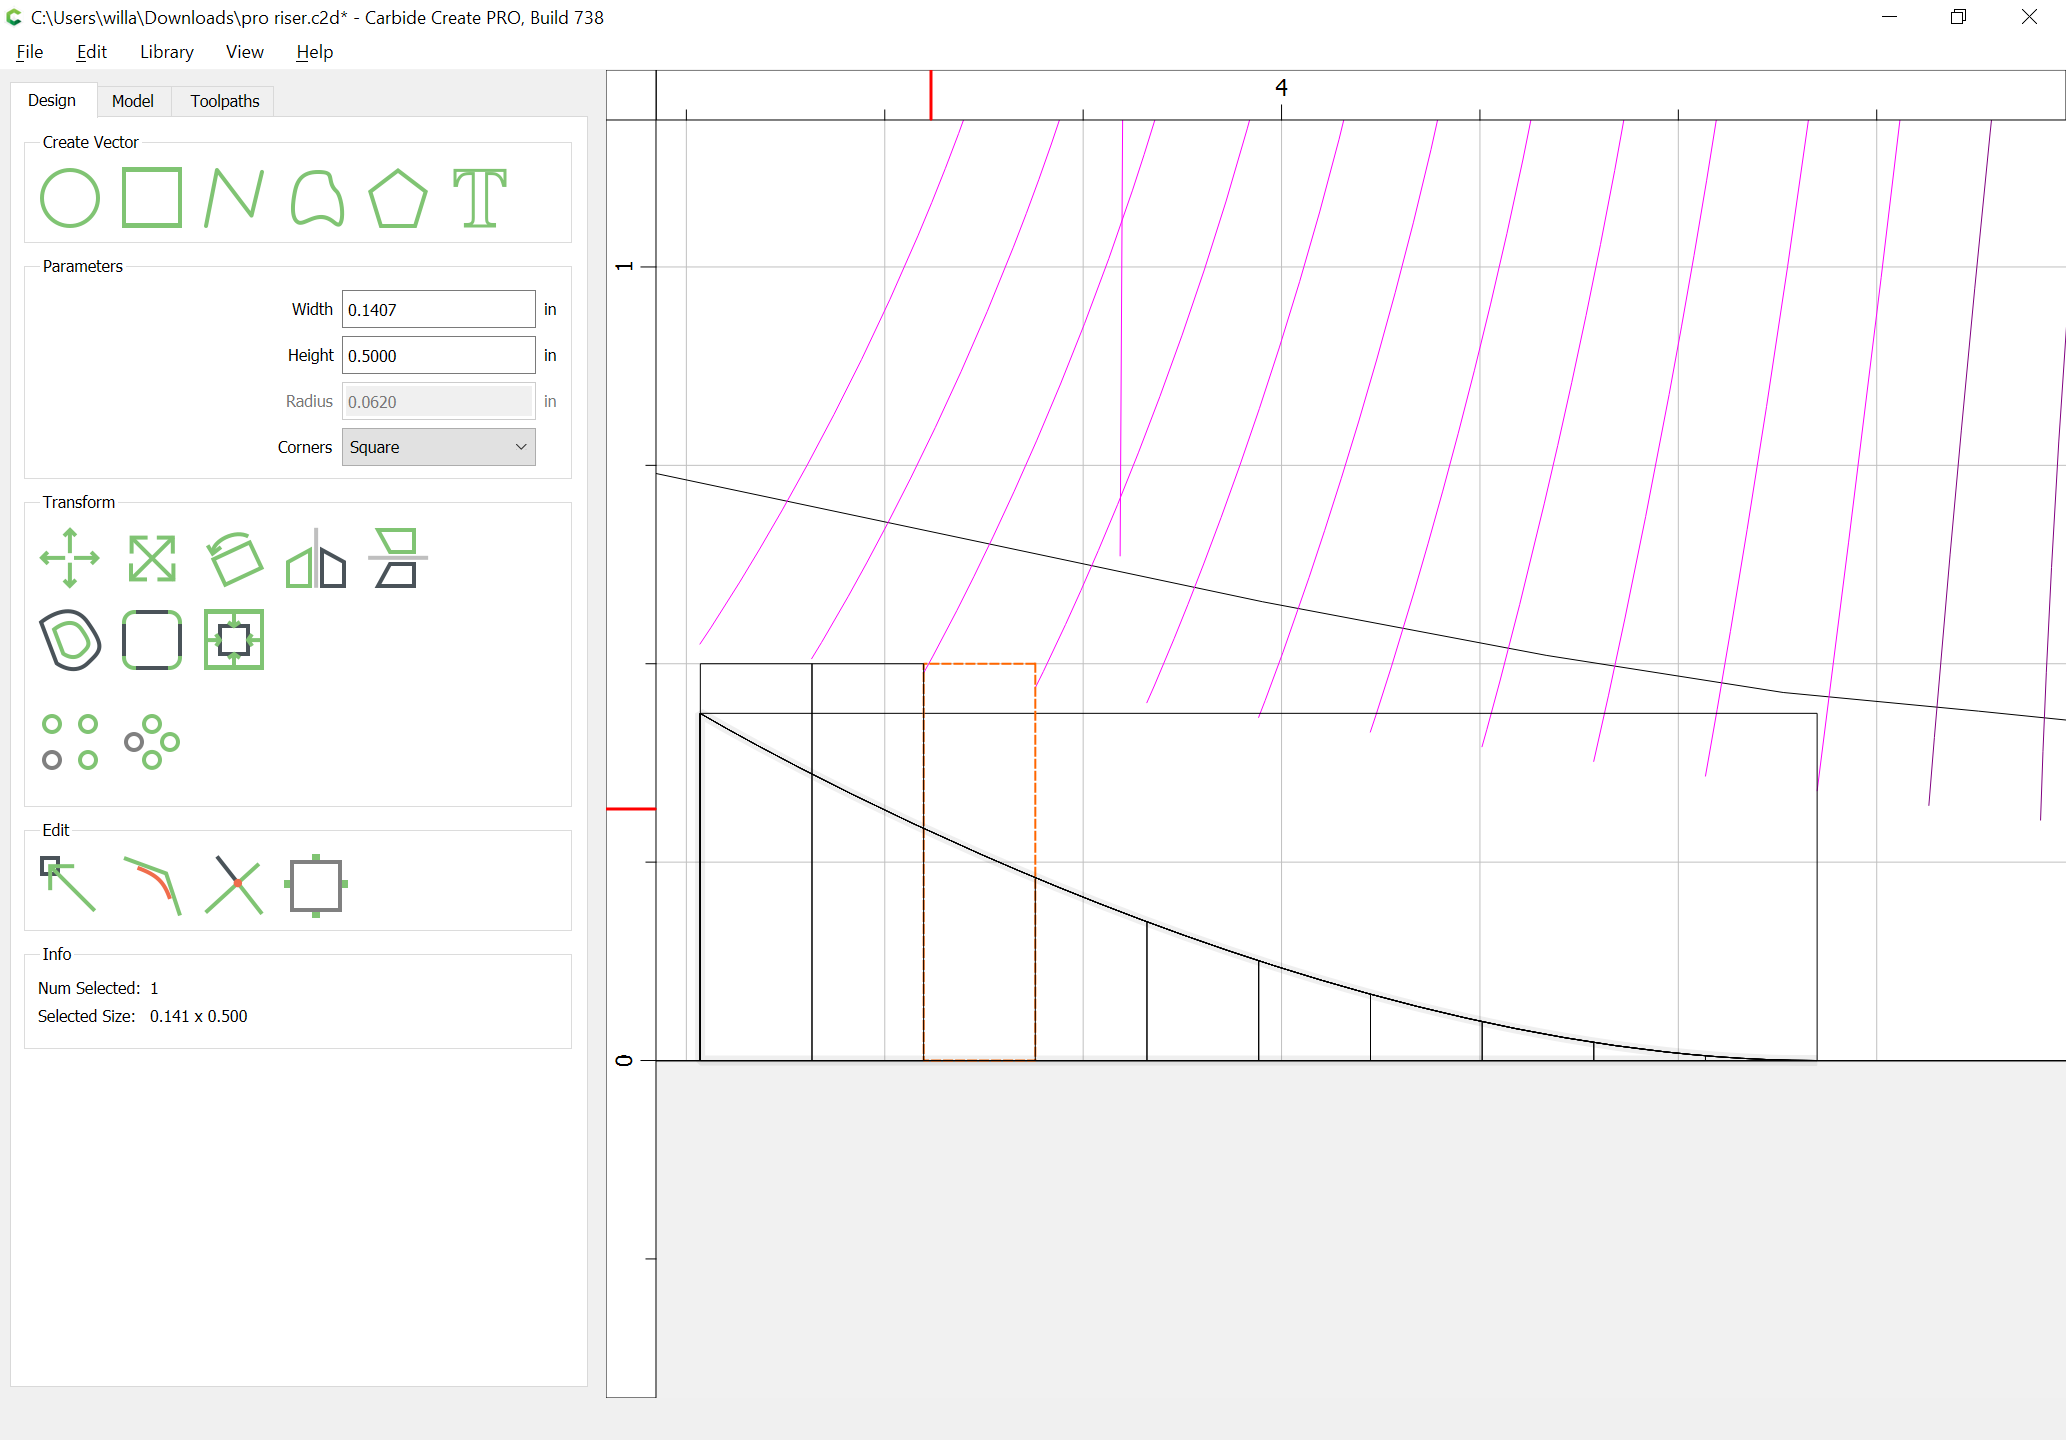
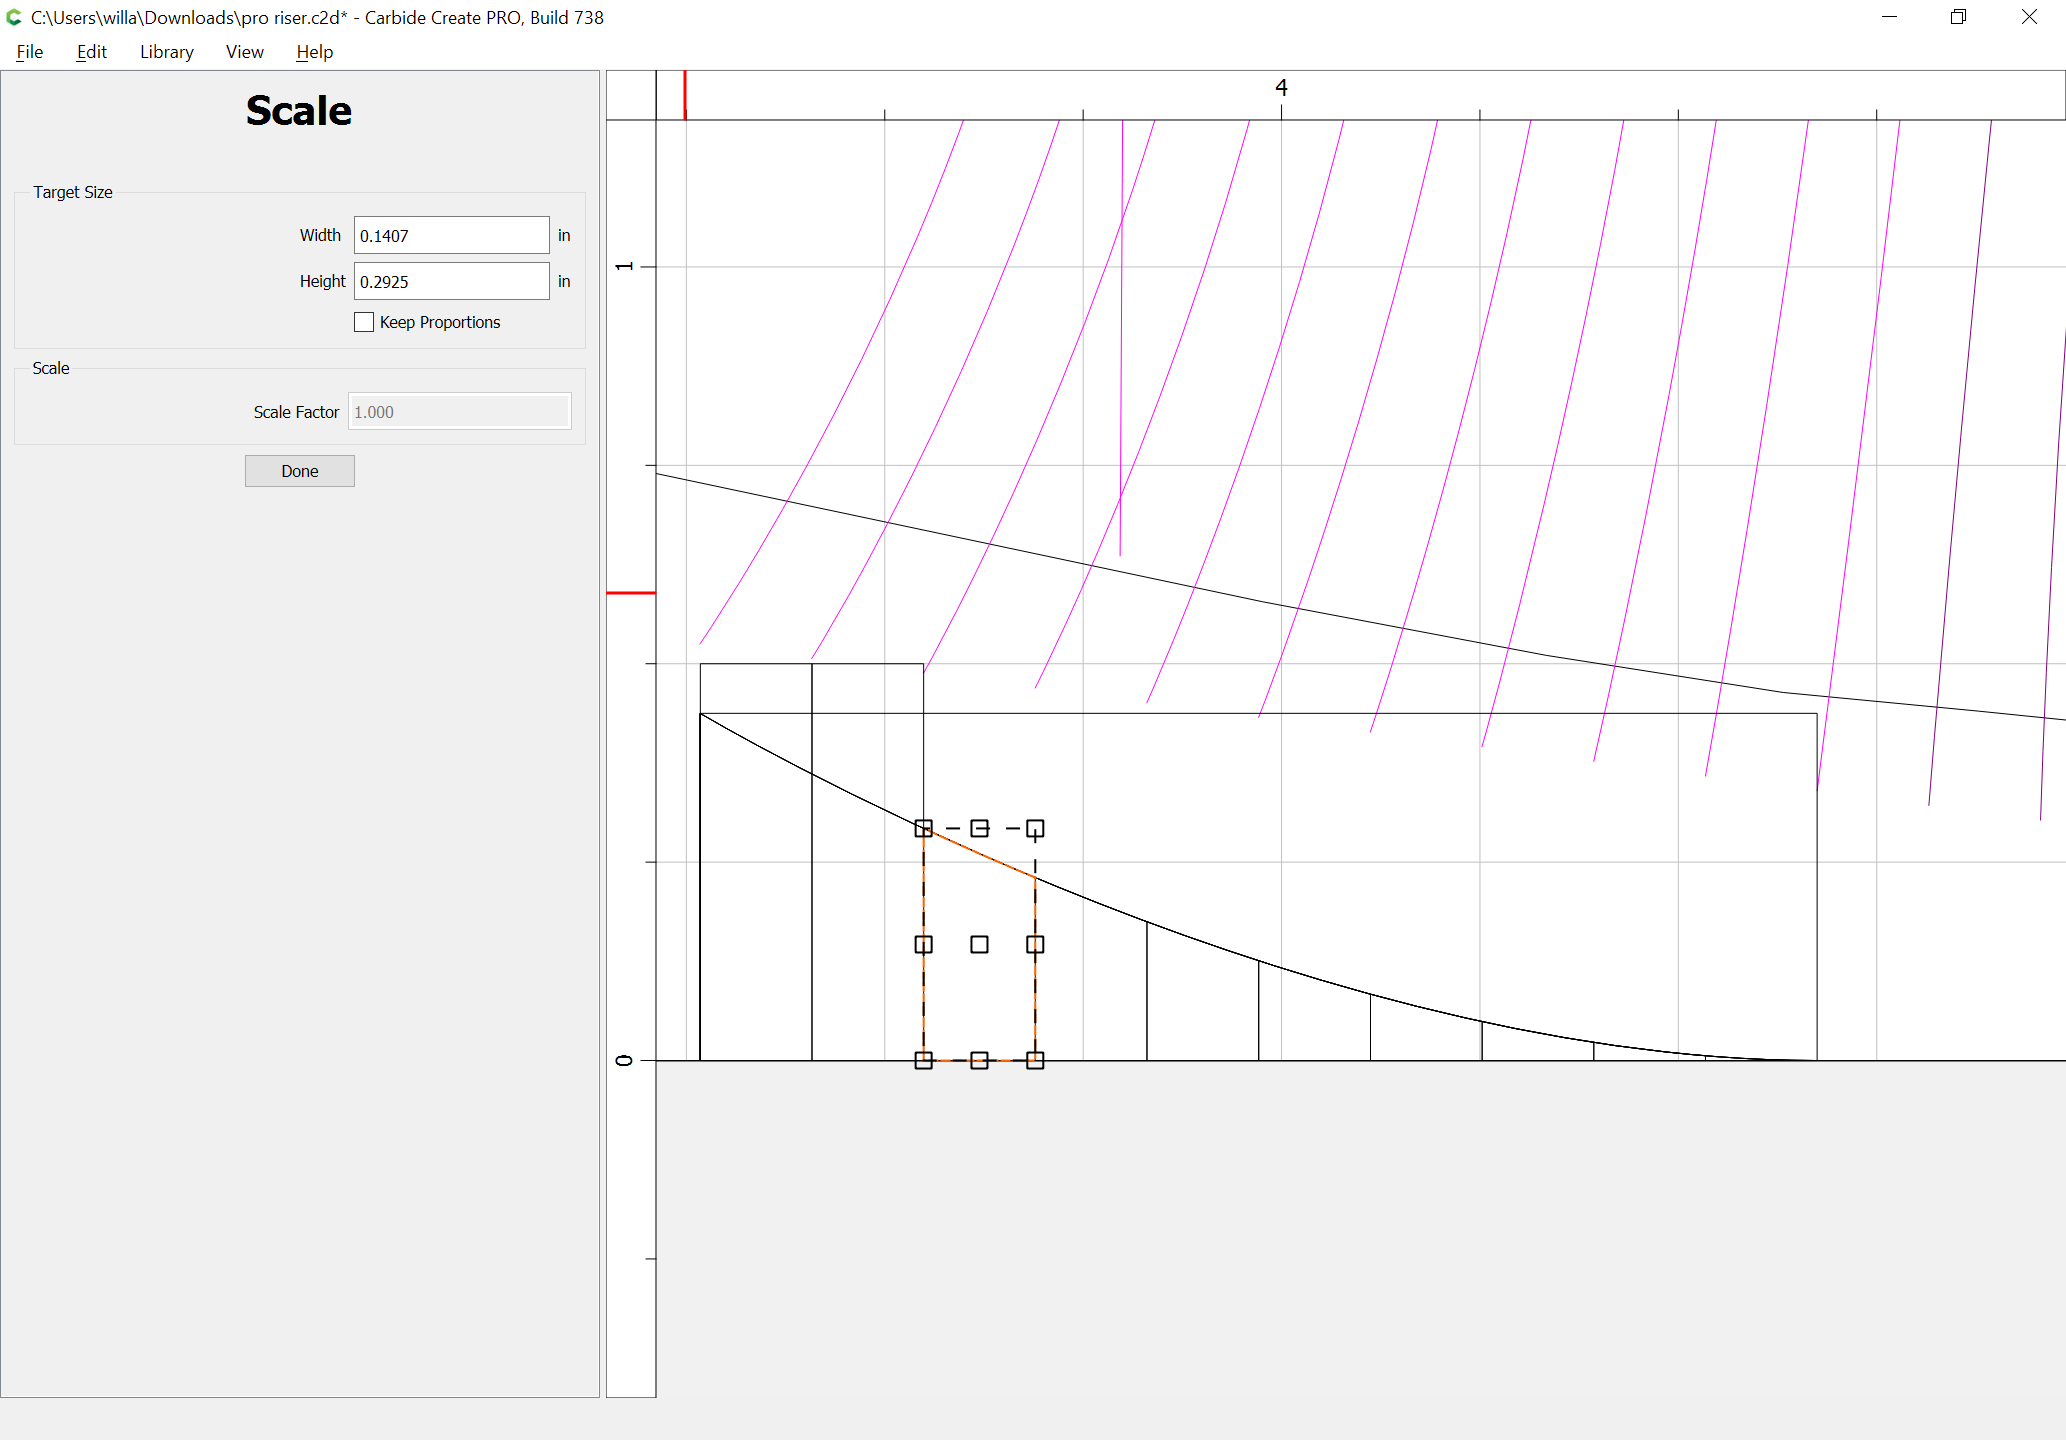
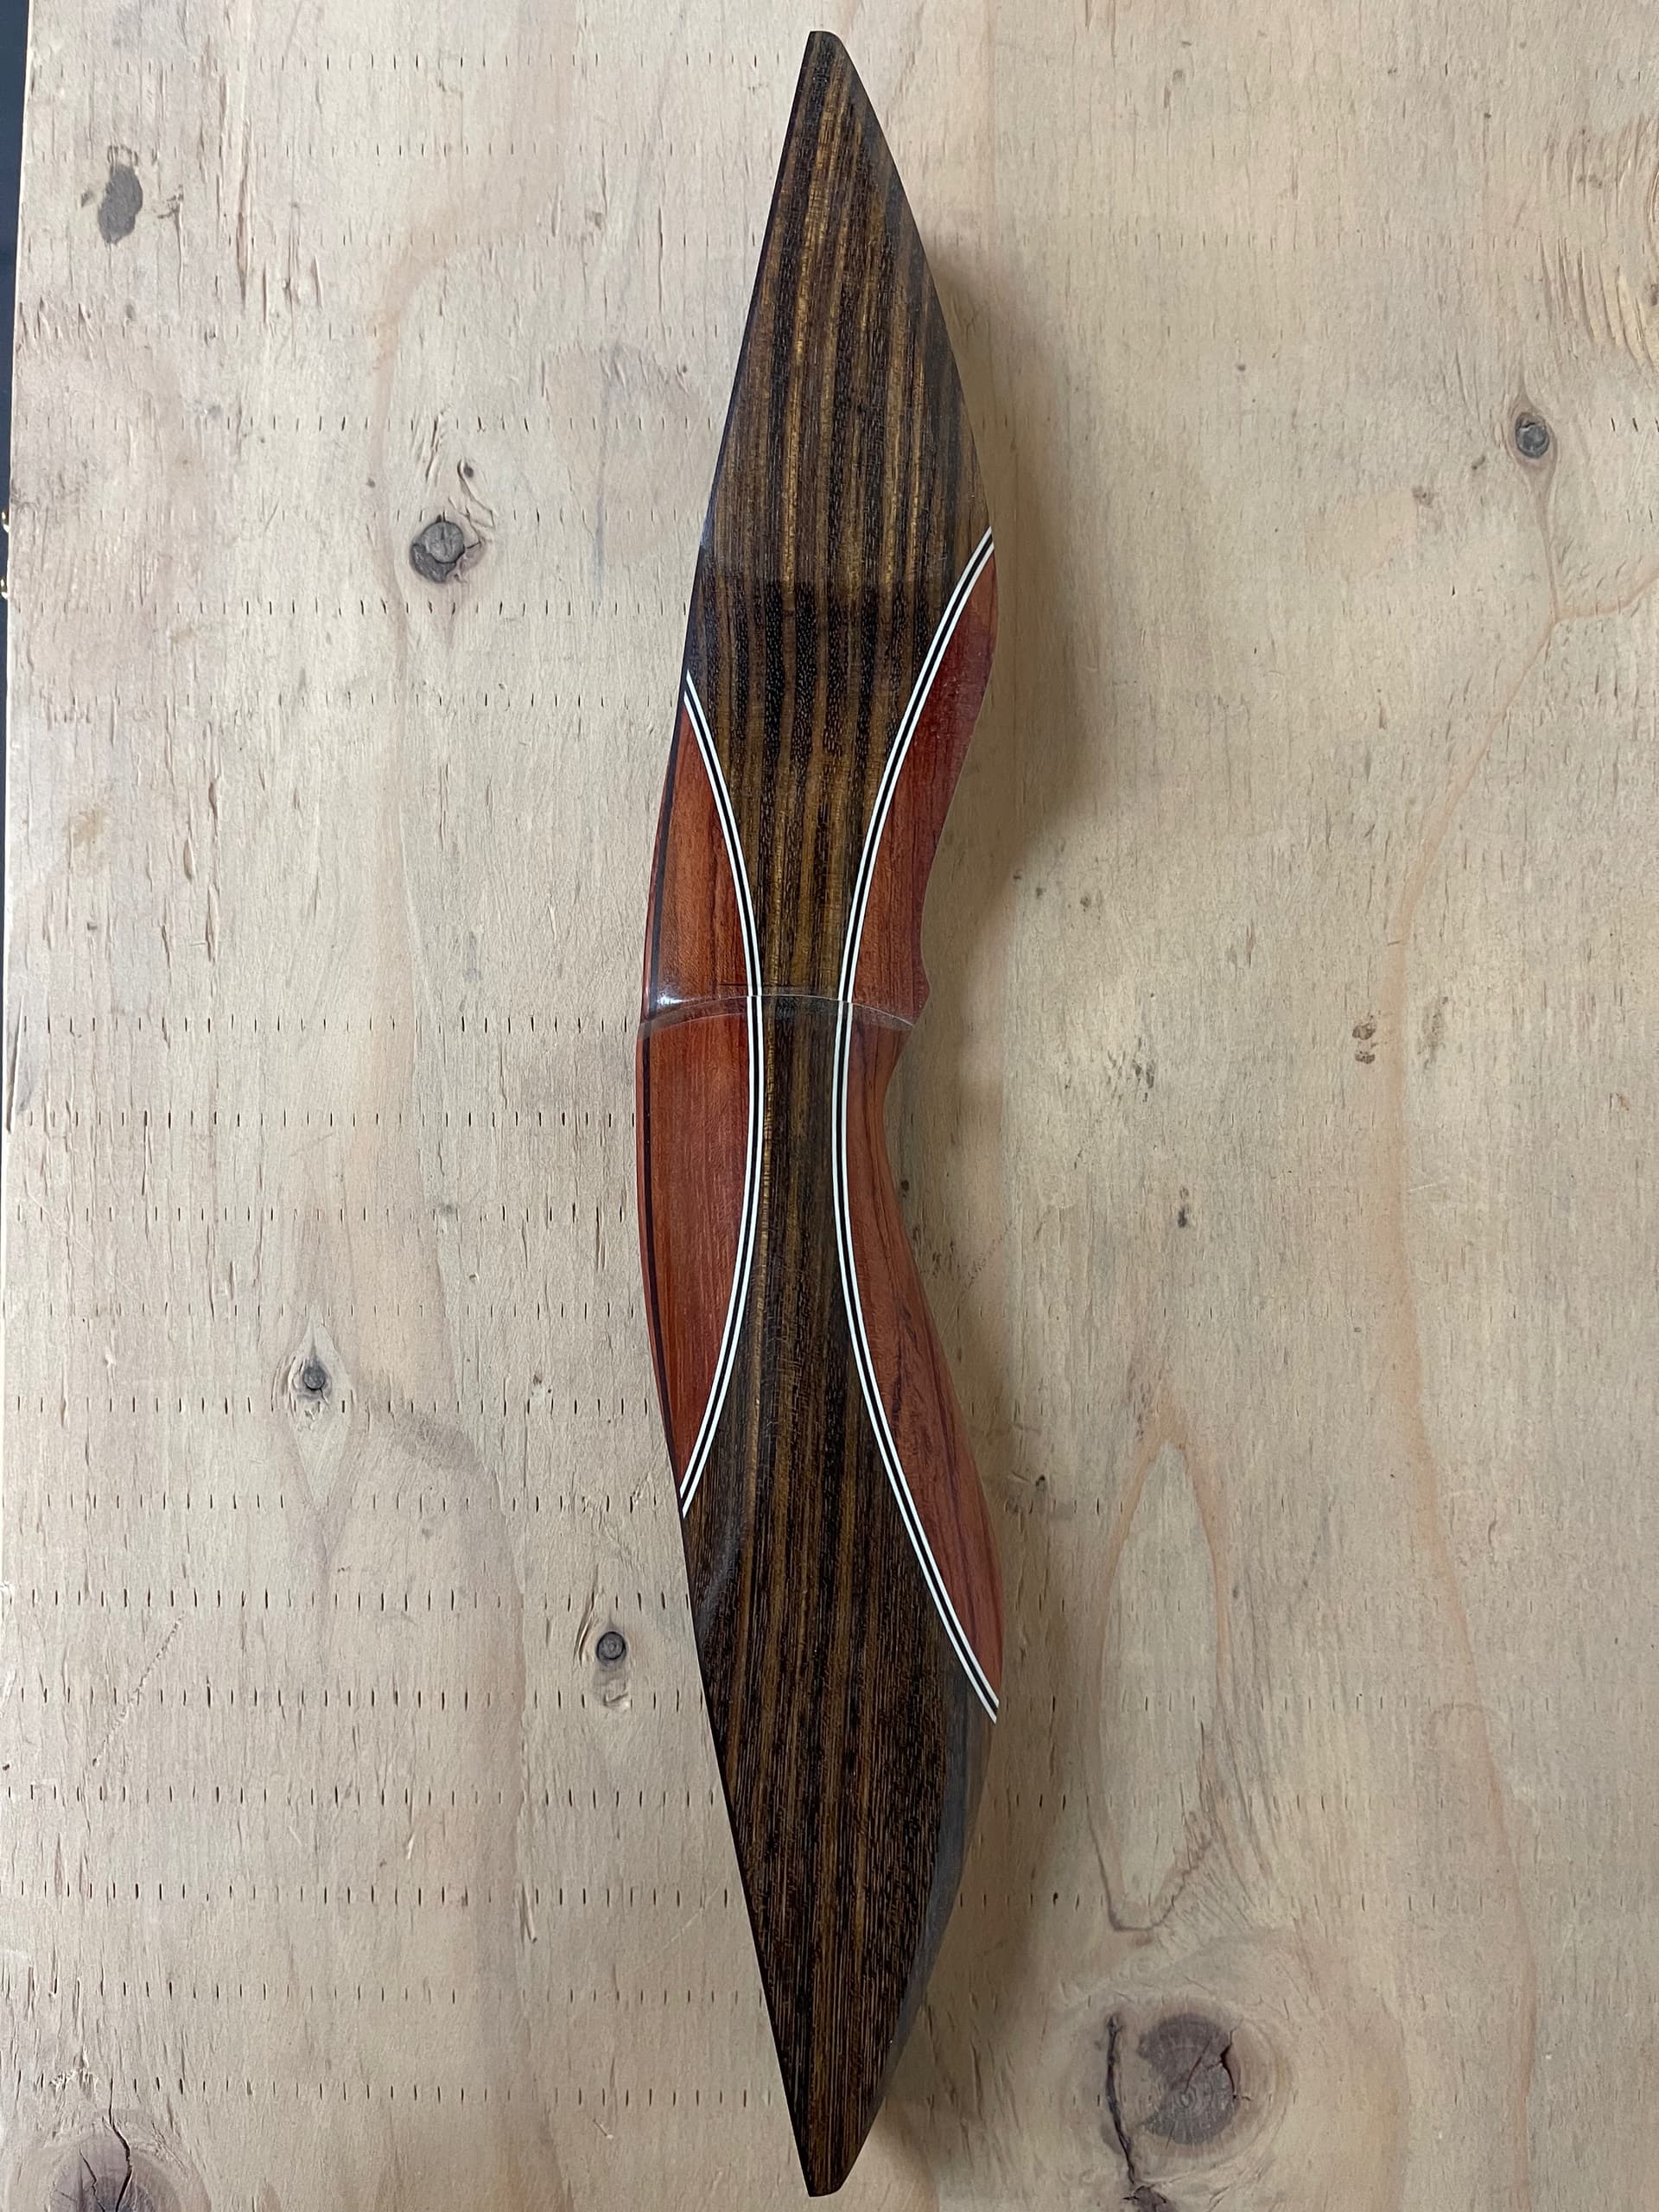
That said, I’m stubborn, and my inclination would be to just draw a series of lines, which when cut to a specific depth will result in a shape close enough that a quick pass w/ some coarse sandpaper will finish things — if you could post some more photos and measurements I’d be glad to work up something (making a riser to replace one my son broke is one of my to-do list entries).
That’s what I’m currently doing, but I had carpal tunnel surgery on both hands and am trying to figure out a way to not have to use them as much. I’ll post some more pics when I get home tonight.
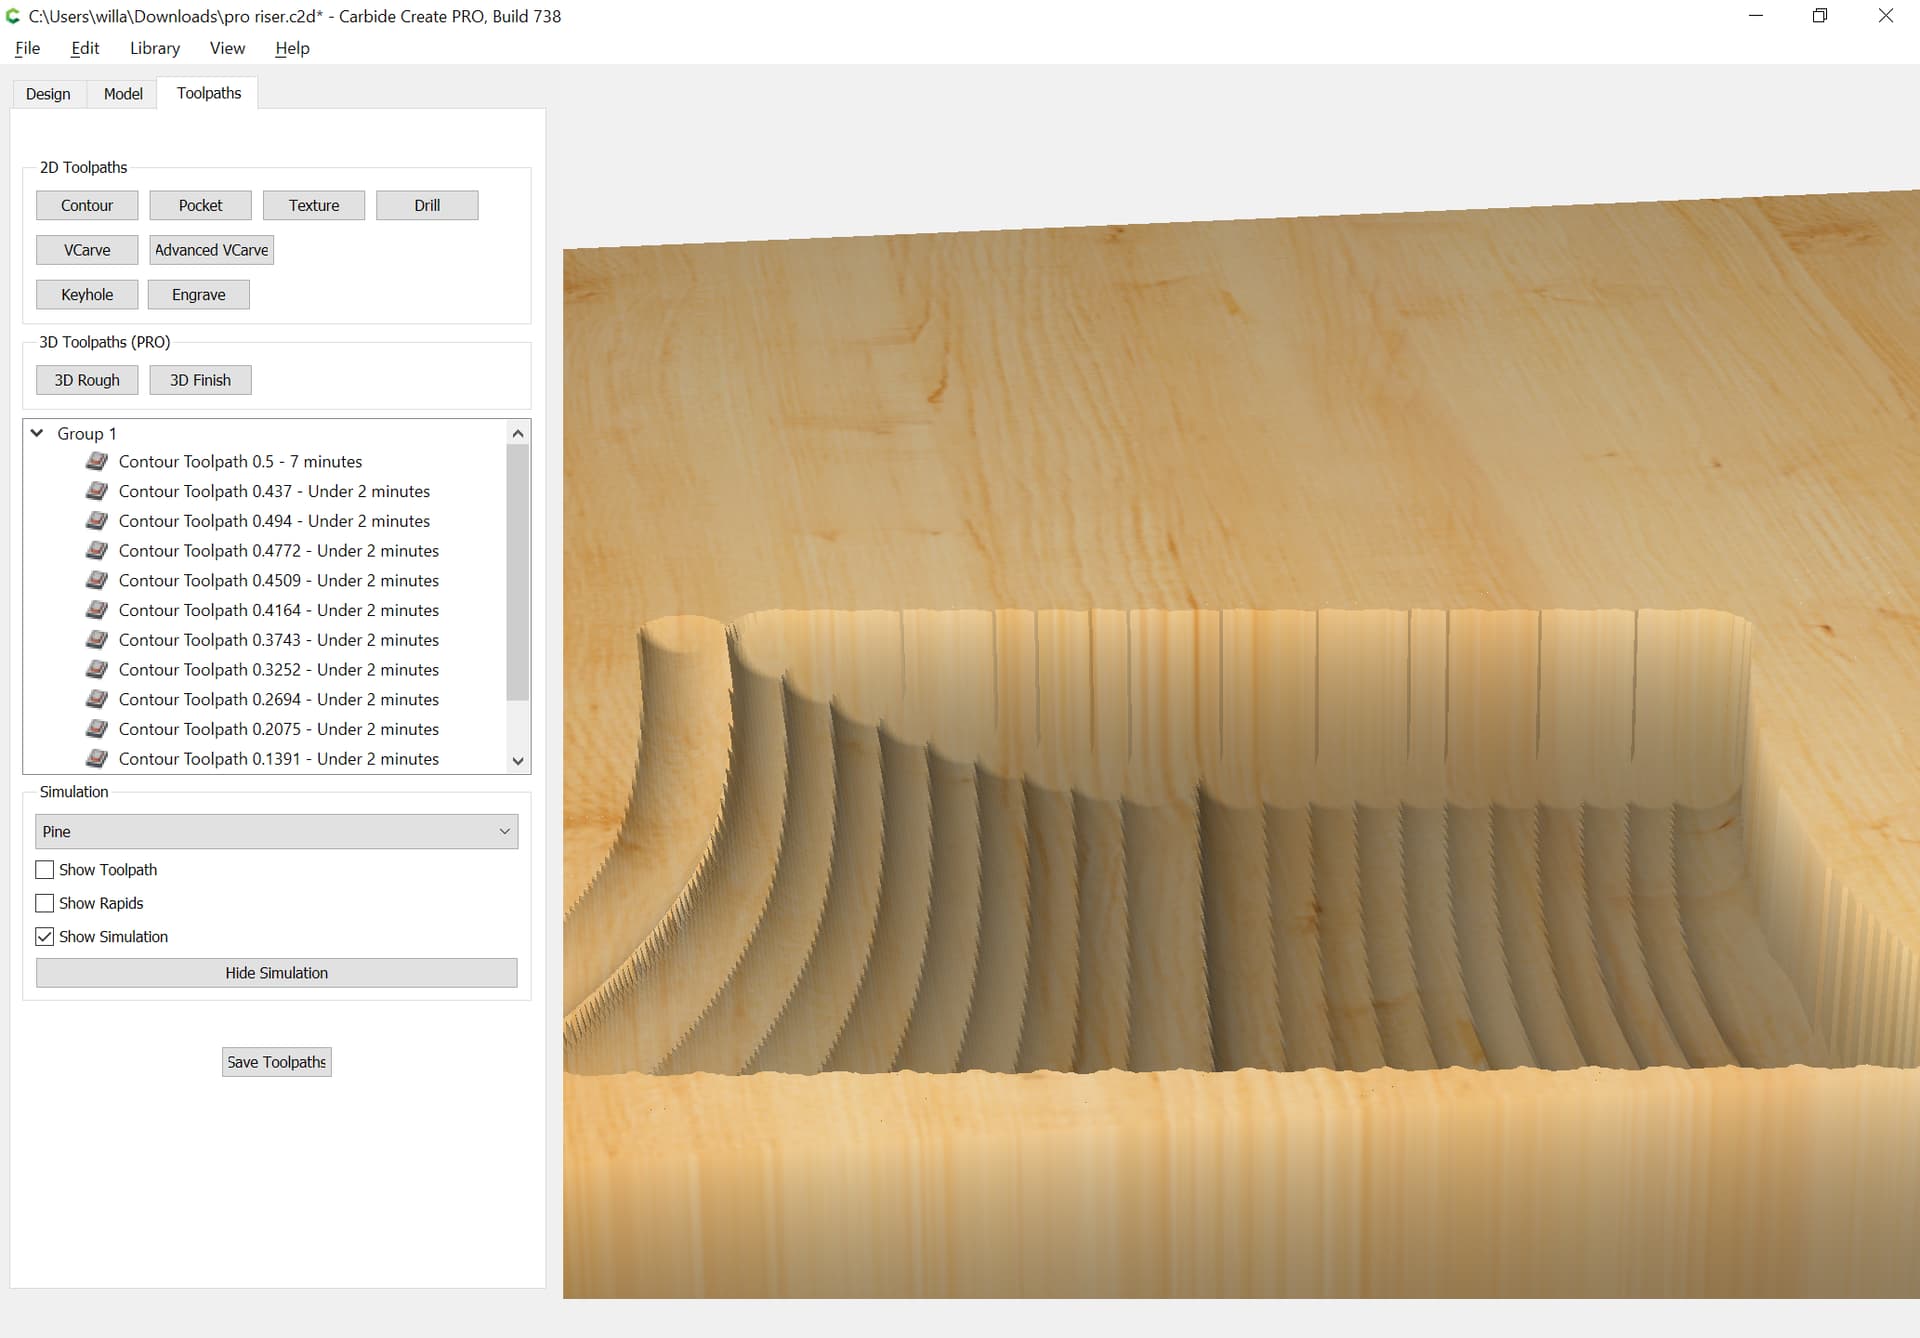
That said, I think one could do a decent job of it in Carbide Create, and could probably get an essentially ready-to-go w/ a light sanding piece if one used 3D modeling and a 3D CAM tool such as meshCAM.
How do you feel about the idea of learning 3D CAD? Is there a budget for it? Moment of Inspiration is an excellent value and quite affordable. If you’re on Mac OS, Cheetah3D is supposed to b e very good.
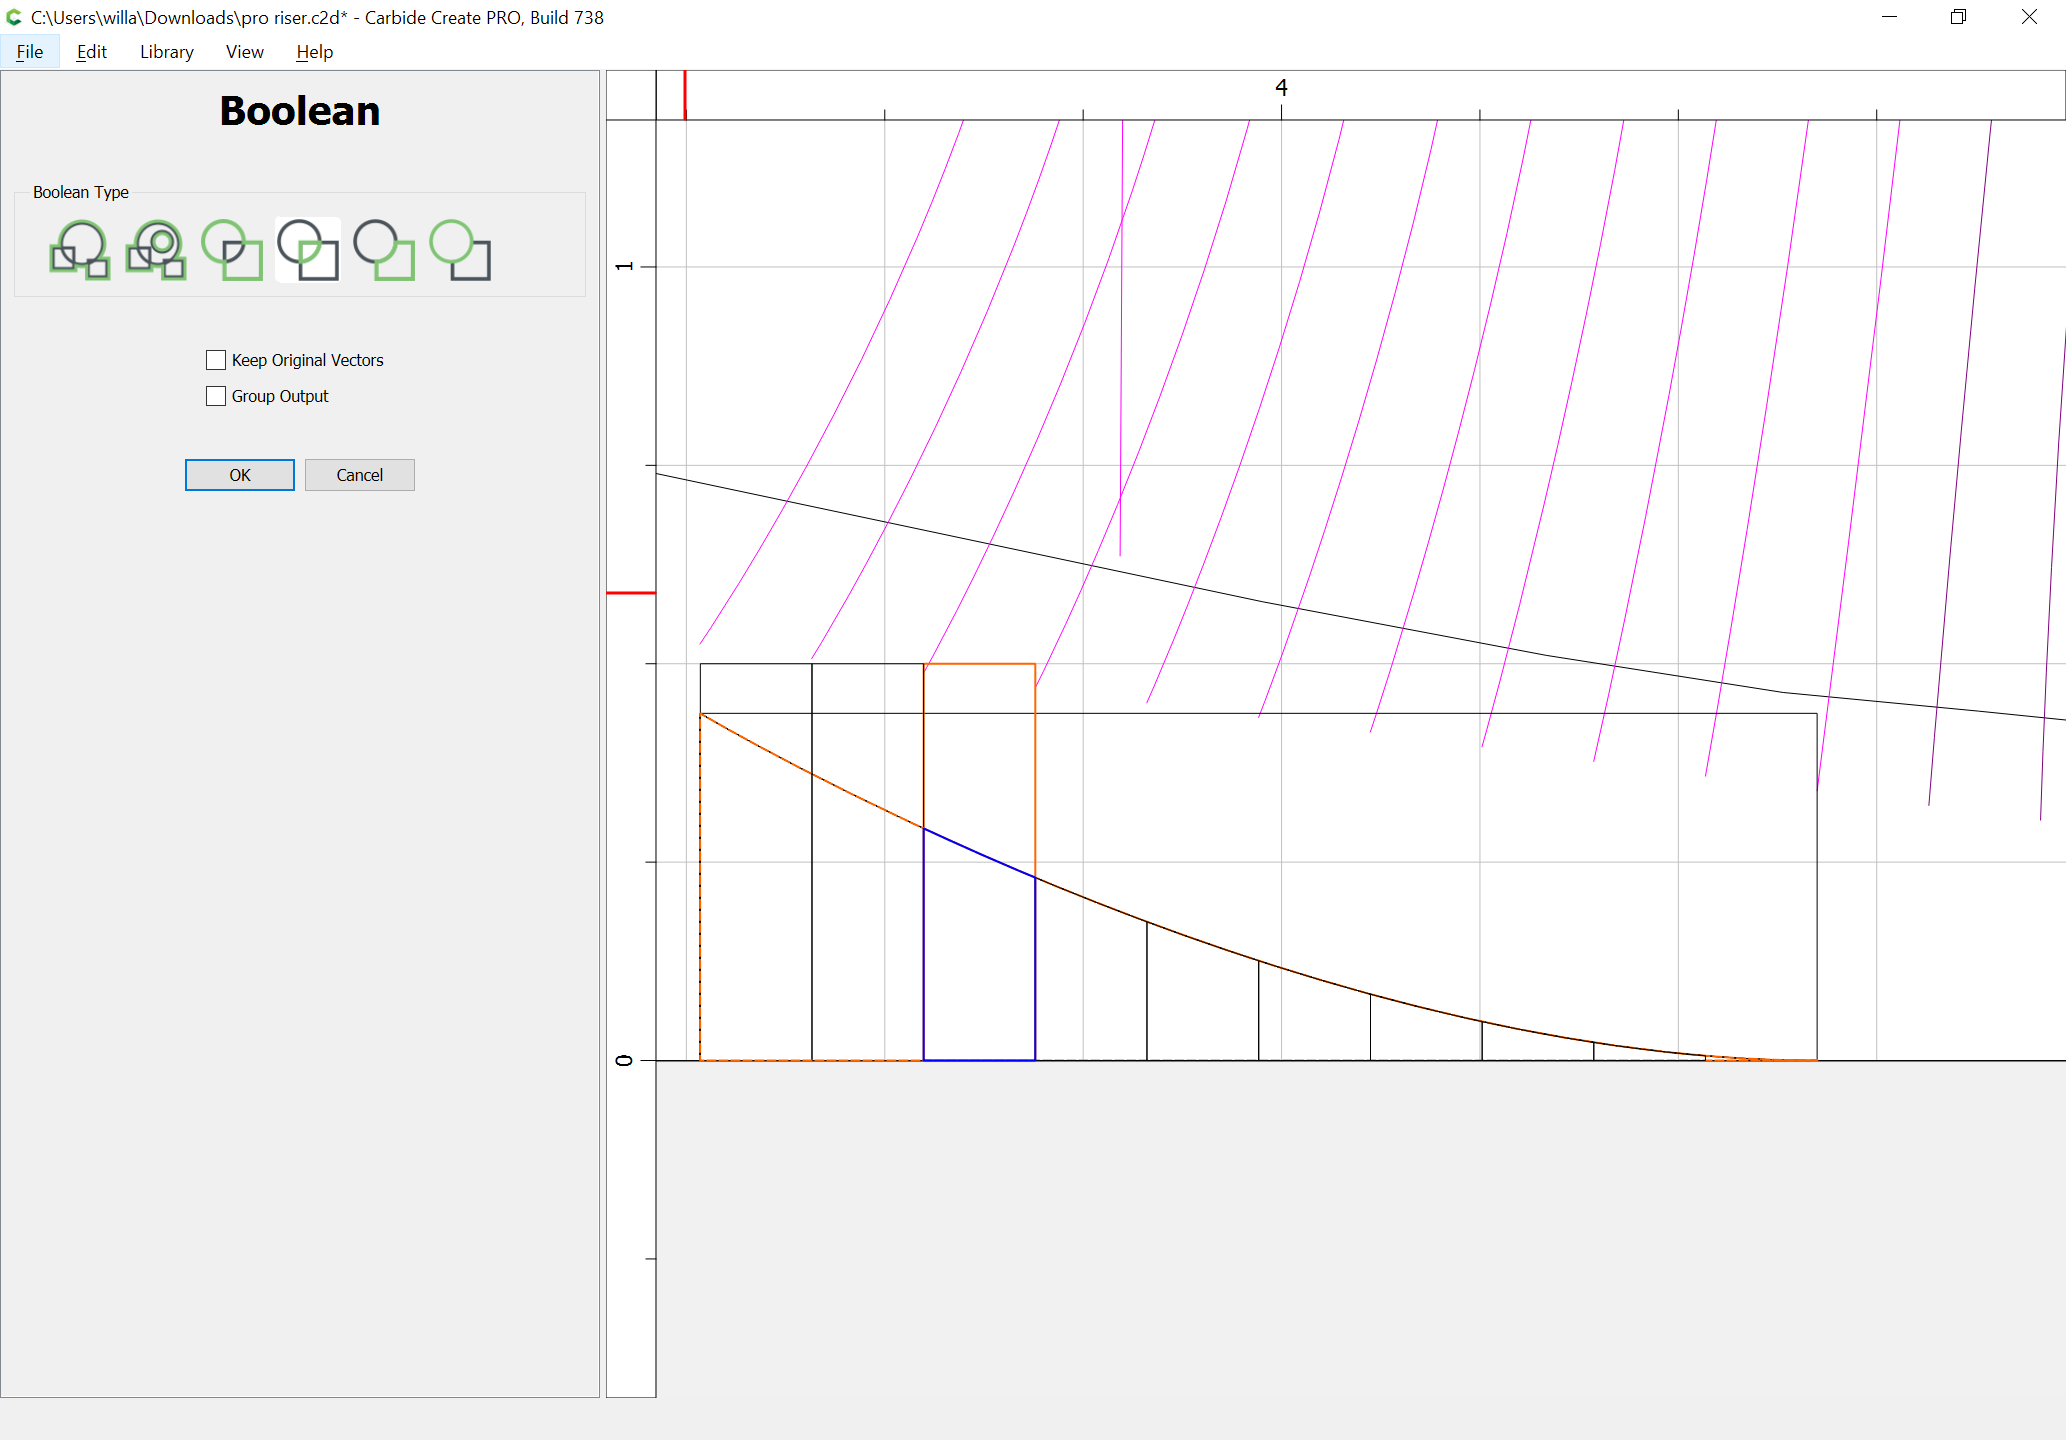
But w/ a bit of patience, one could increase the number of lines, and reduce the number of tools until one arrived at something usable — but arguably, this is something which should be done using a suitable 3D modeling tool.
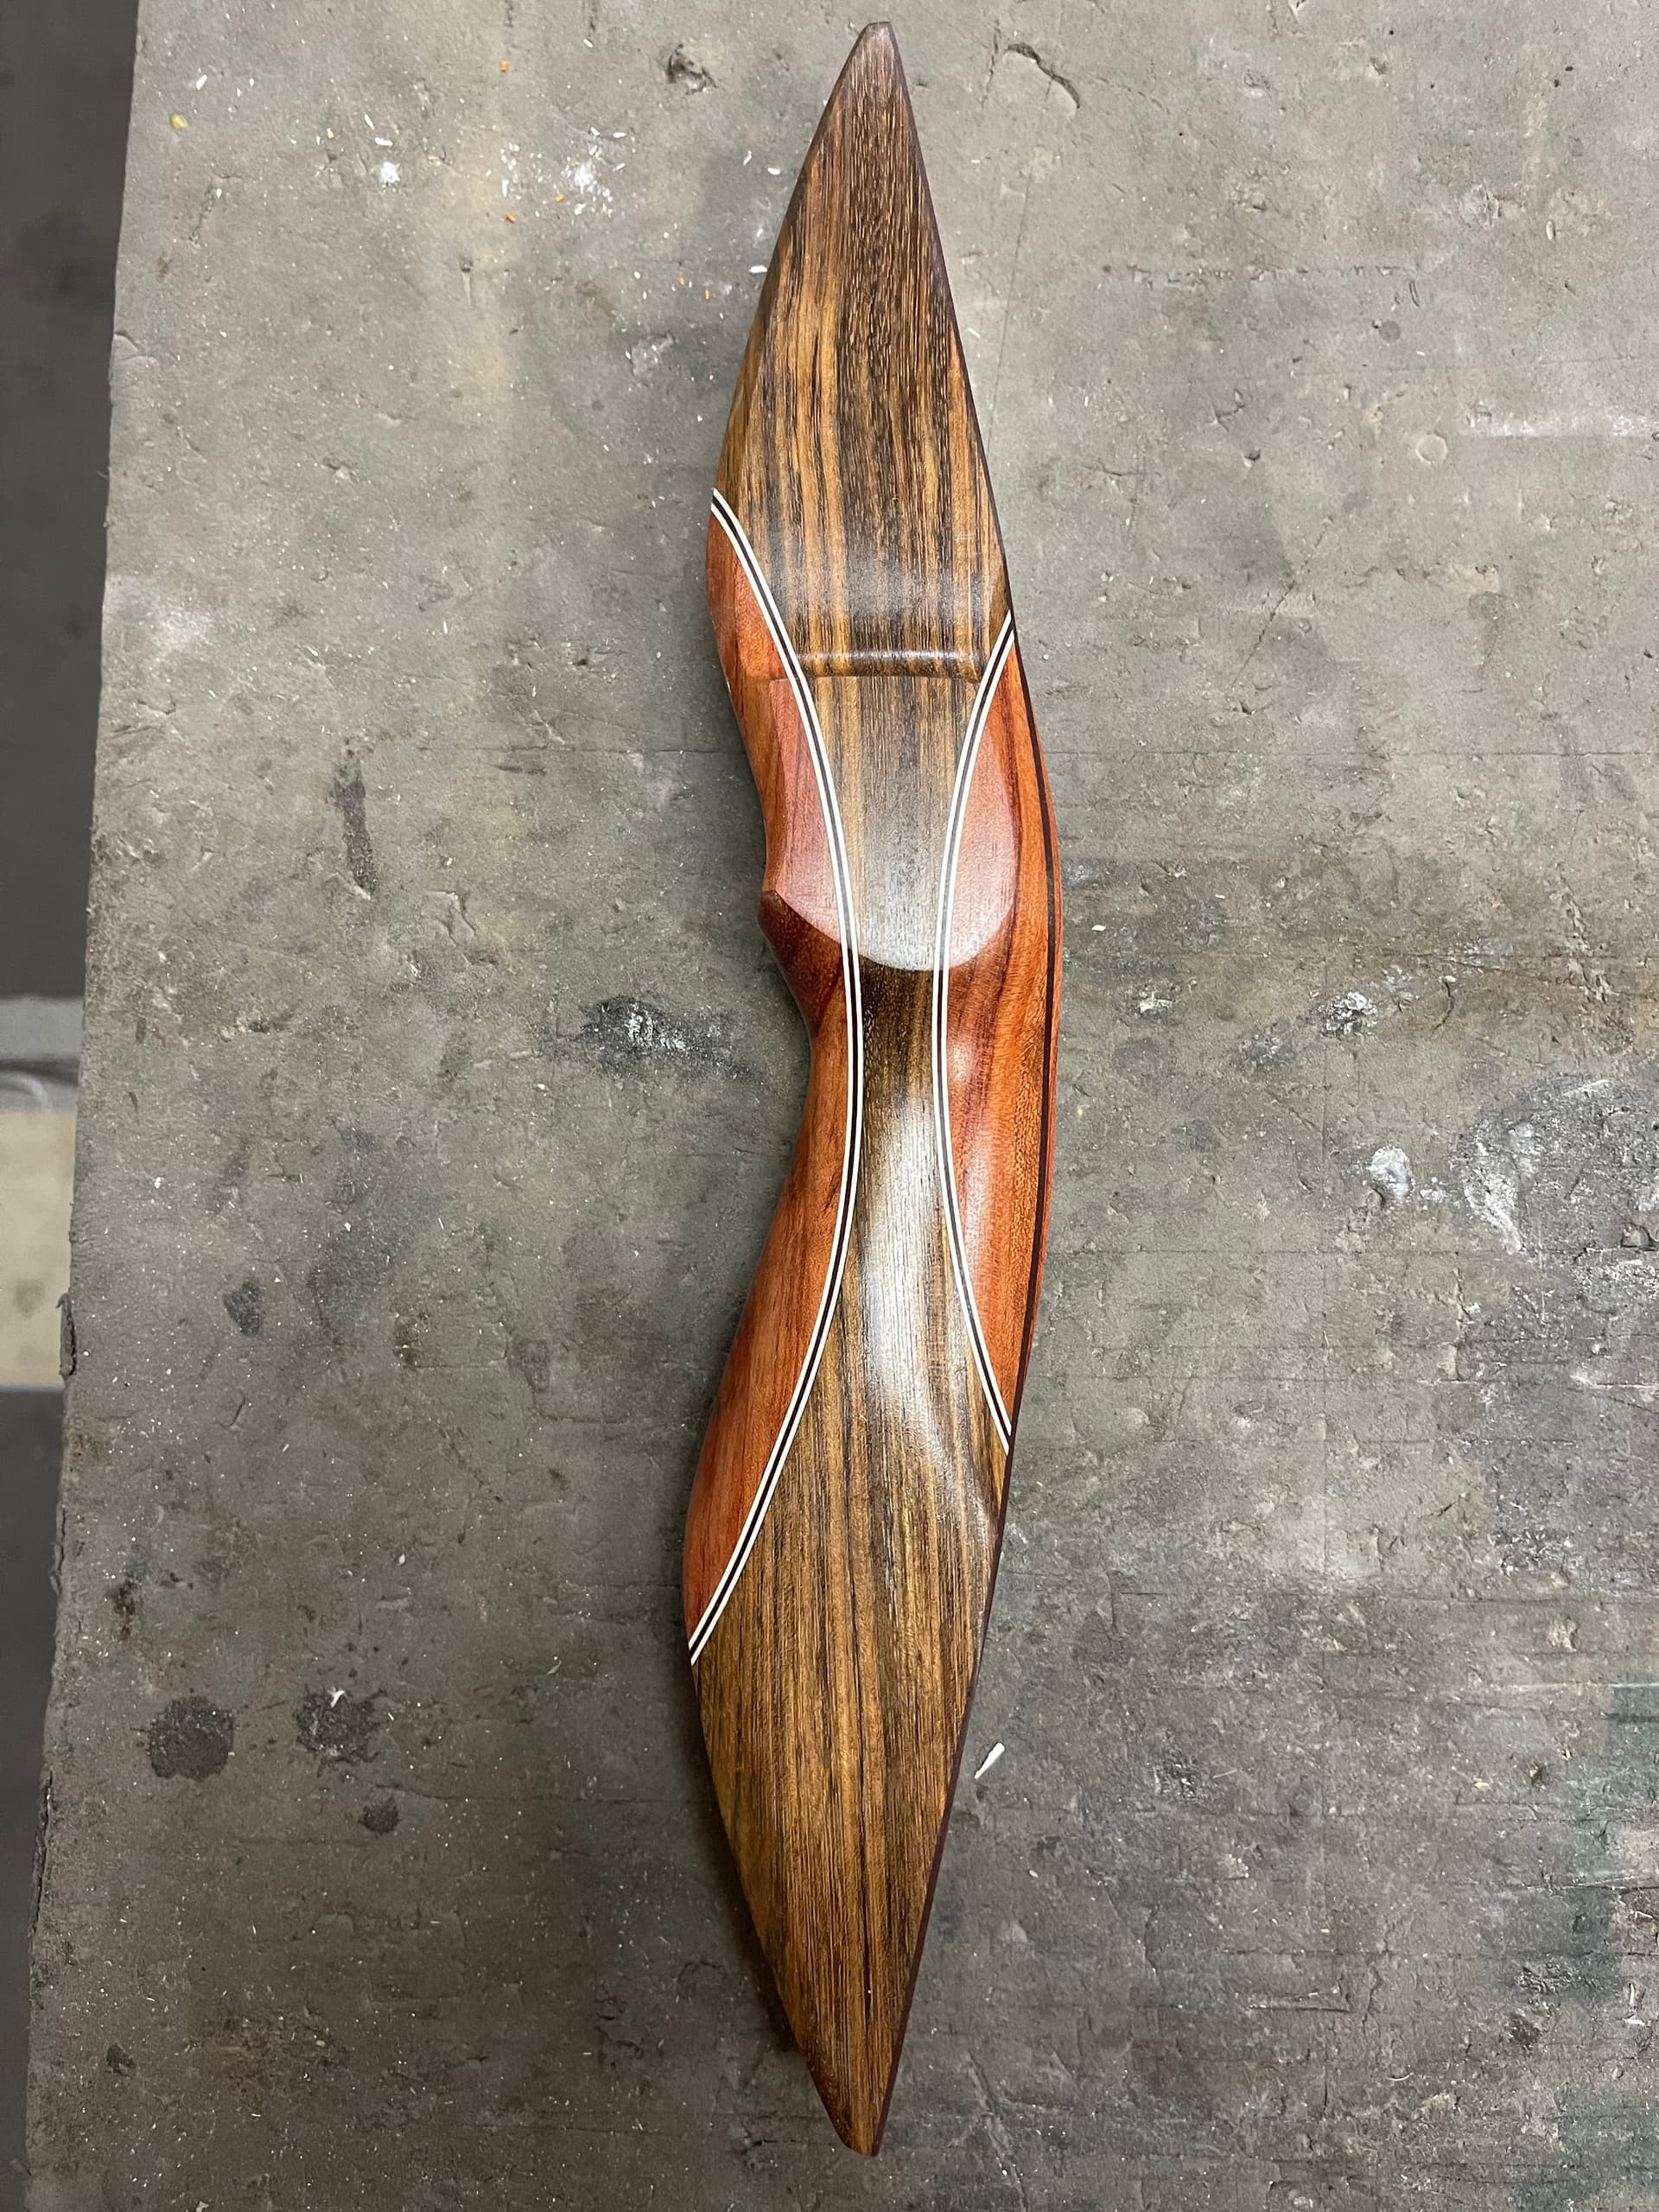
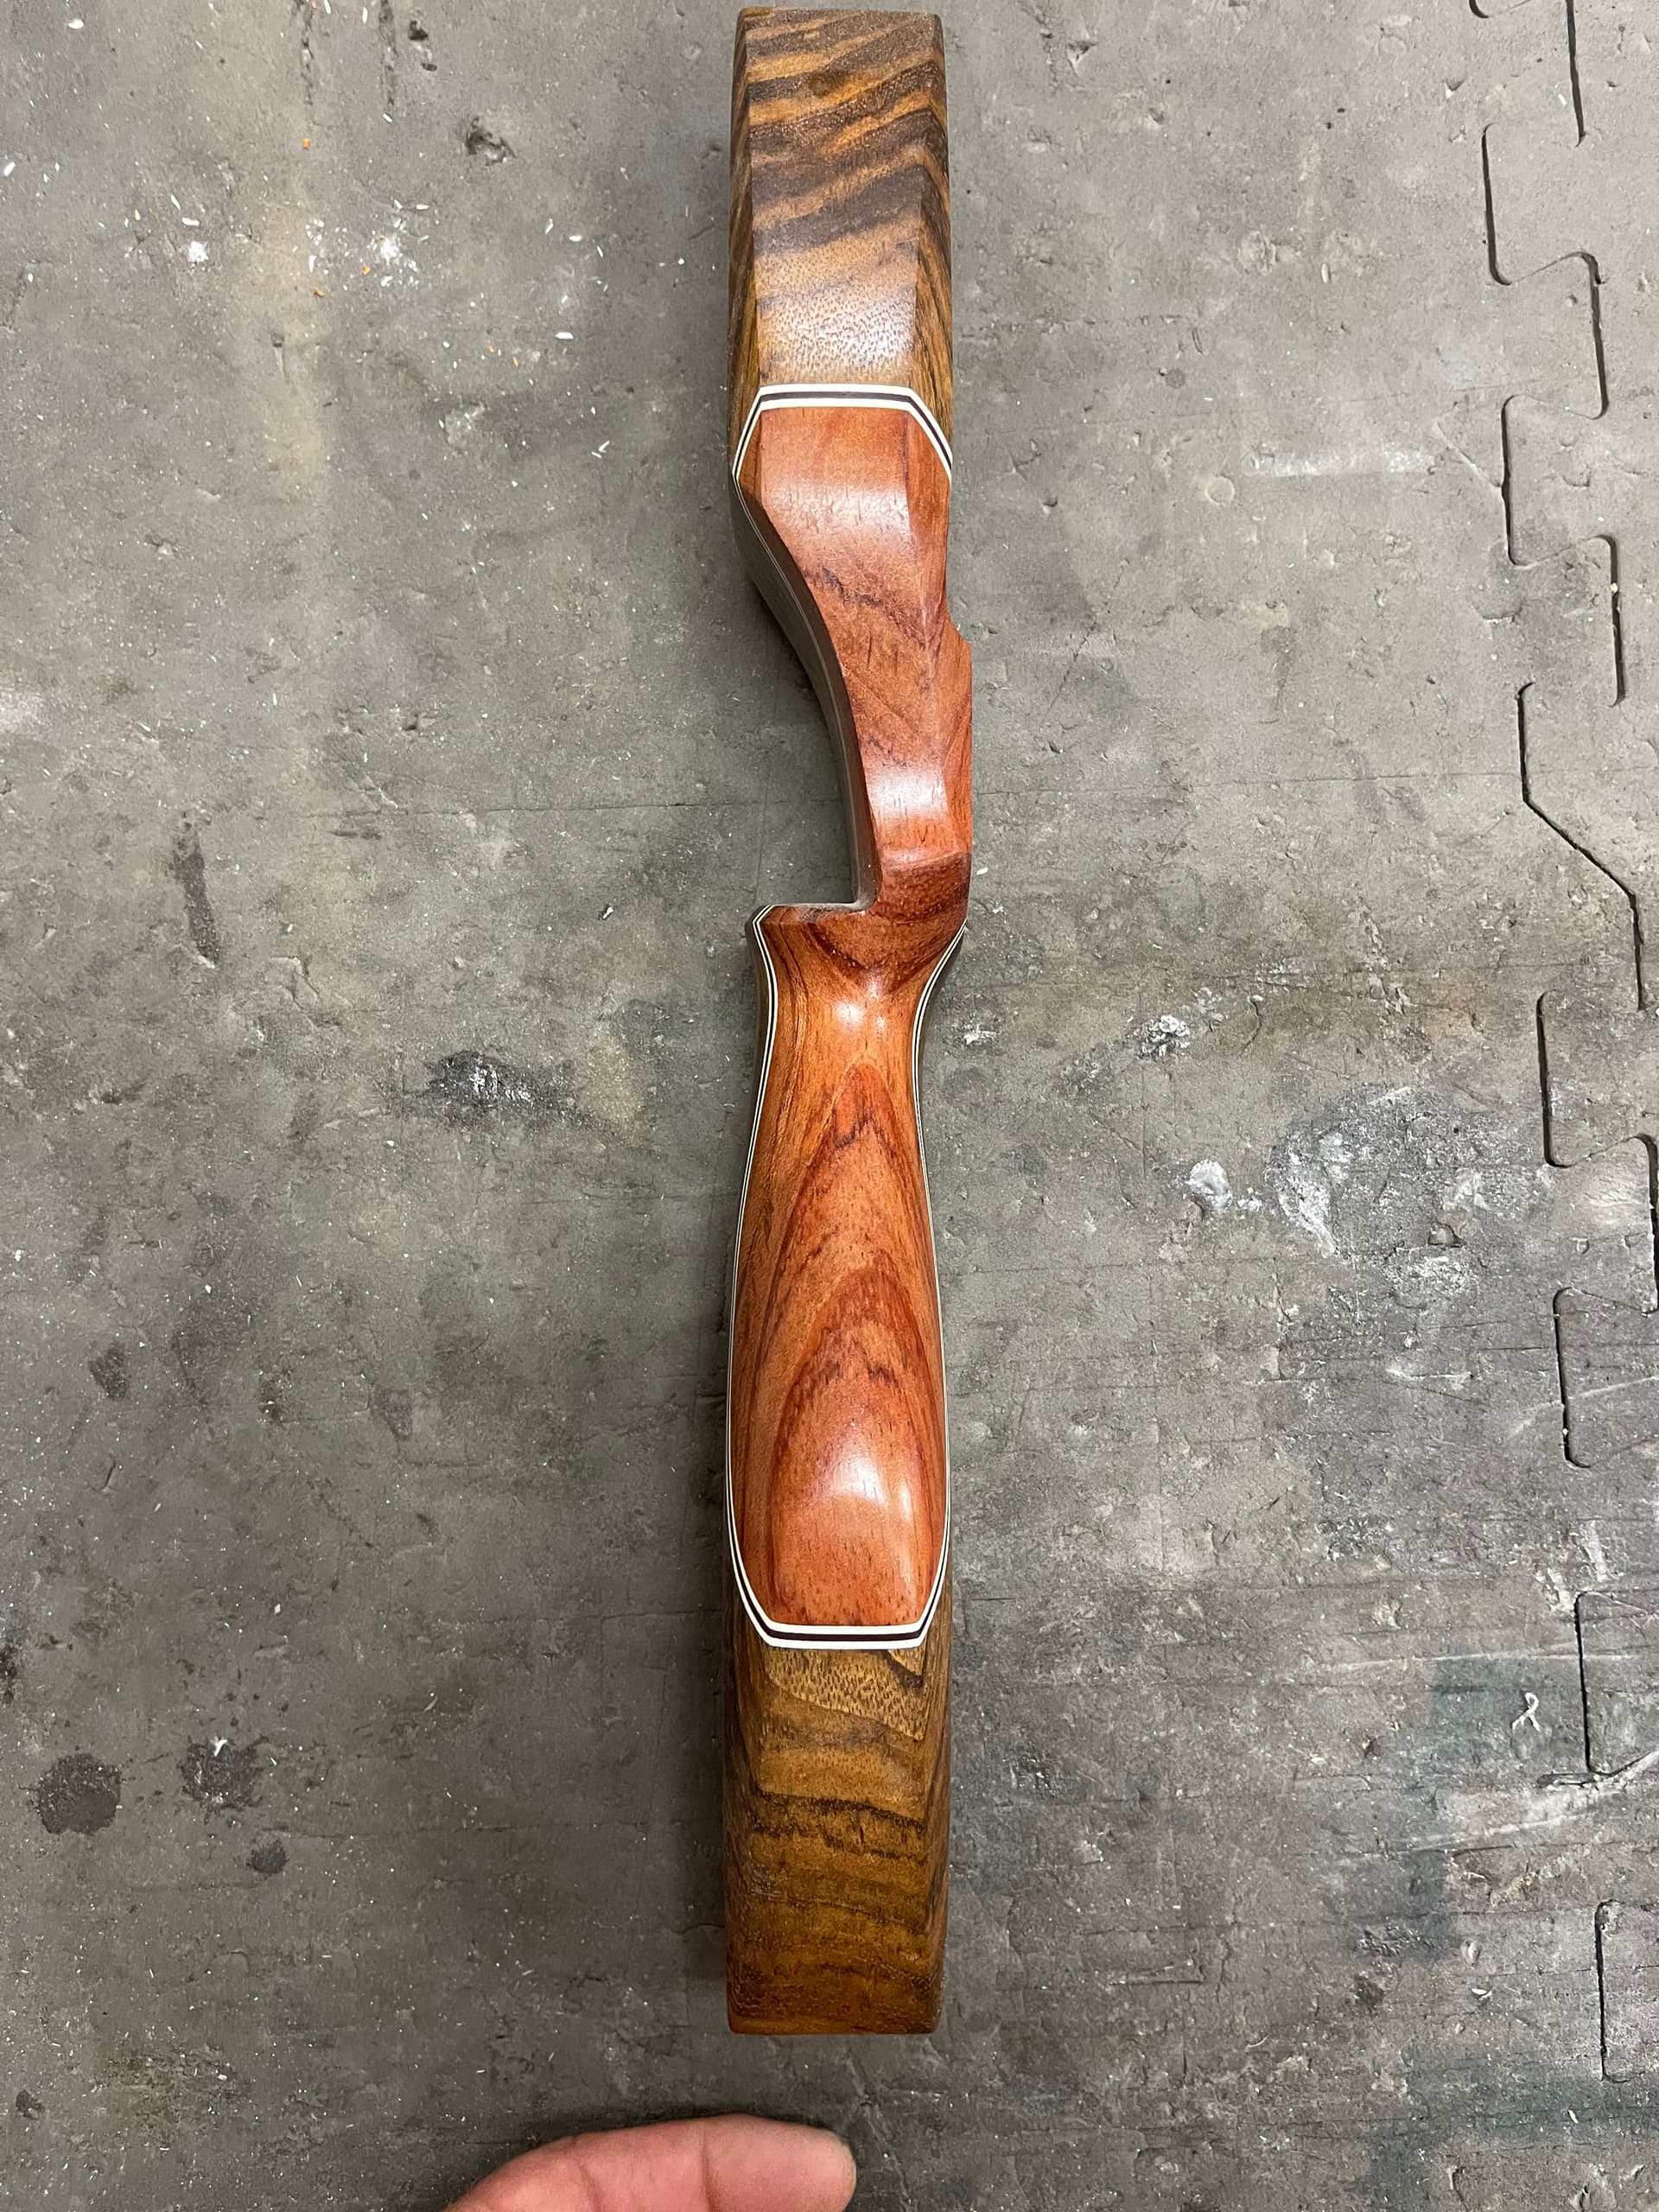
If you can take this picture, and without moving the camera take 3 more of each side, I will try to model it up for you in NX & send you the STL files (top & bottom)
That’s how I’m currently doing it with carbide create, I was hoping the pro would give me the ability to do the curve and not leave any tool lines. As far as learning a different program I really don’t have the time to give something else a try. I’ve lost almost a week screwing around with CC pro and have nothing to show for it. I really don’t have any understanding with pro yet and really can’t afford to give anymore building time away. I can build 3 by hand faster than the cnc cuts out 1, but the cnc is the same every time and that’s what I’m wanting.
Hopefully the 3D modeling steps in Pro which I show above will help get you started on working something up — if not, the best thing is likely @Tod1d 's offer of making an STL.
Apparently I’m going to have to get my item (riser) 3D modeled,Is there someone here that I can pay to do 3D modeling of my riser? I can send one out as an example. What would that look like cost wise? This is so I can then add it to carbide create pro to run it on.
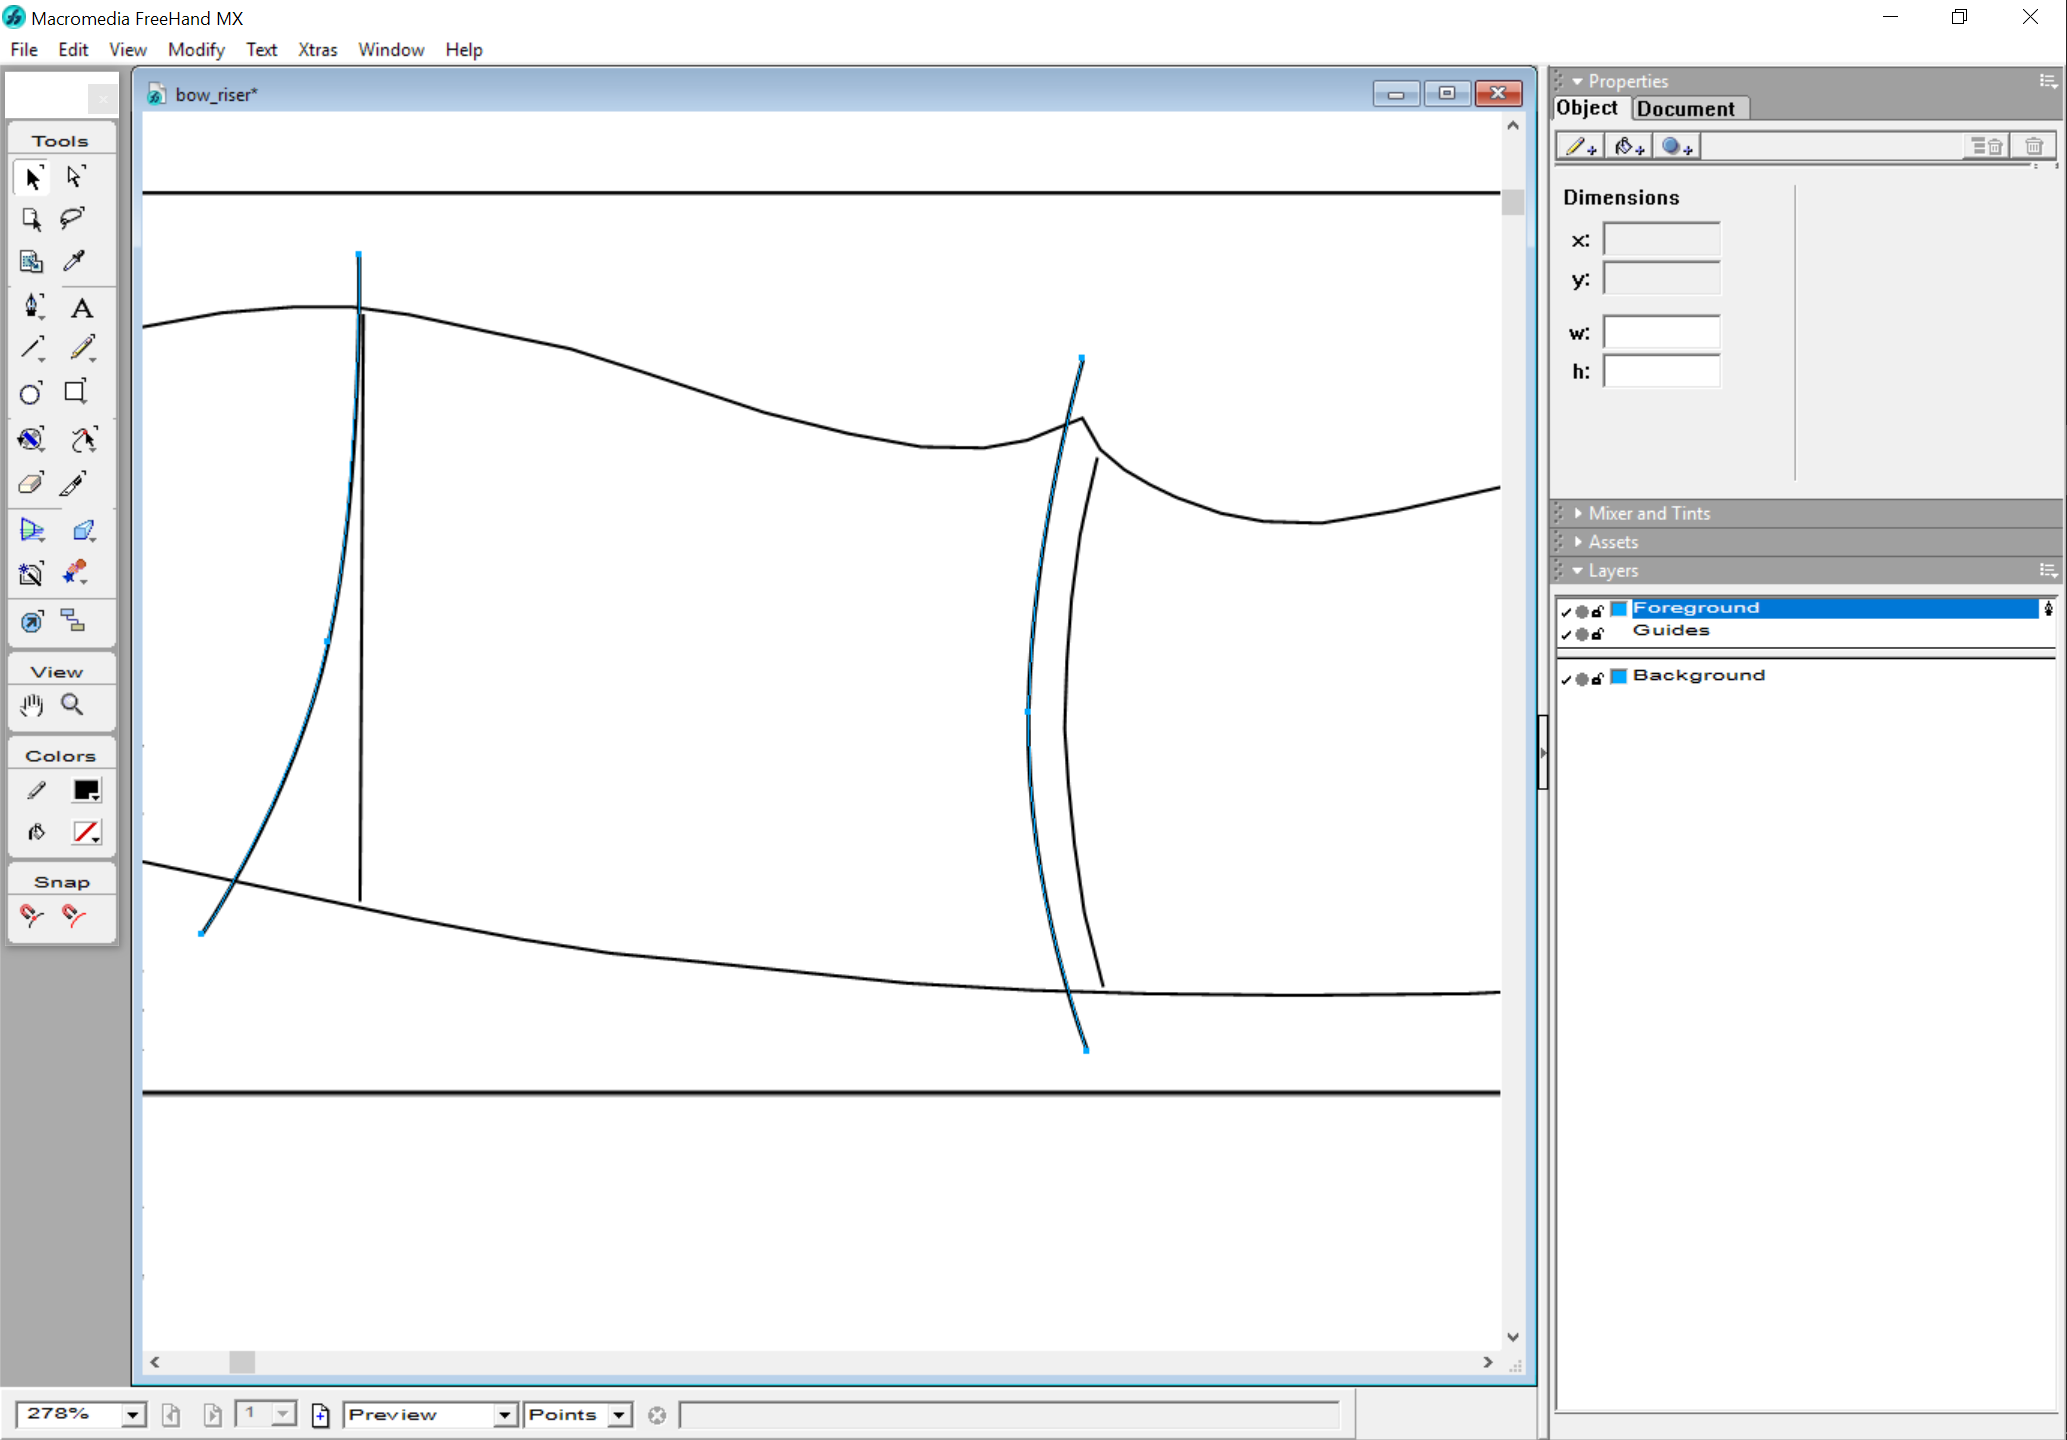
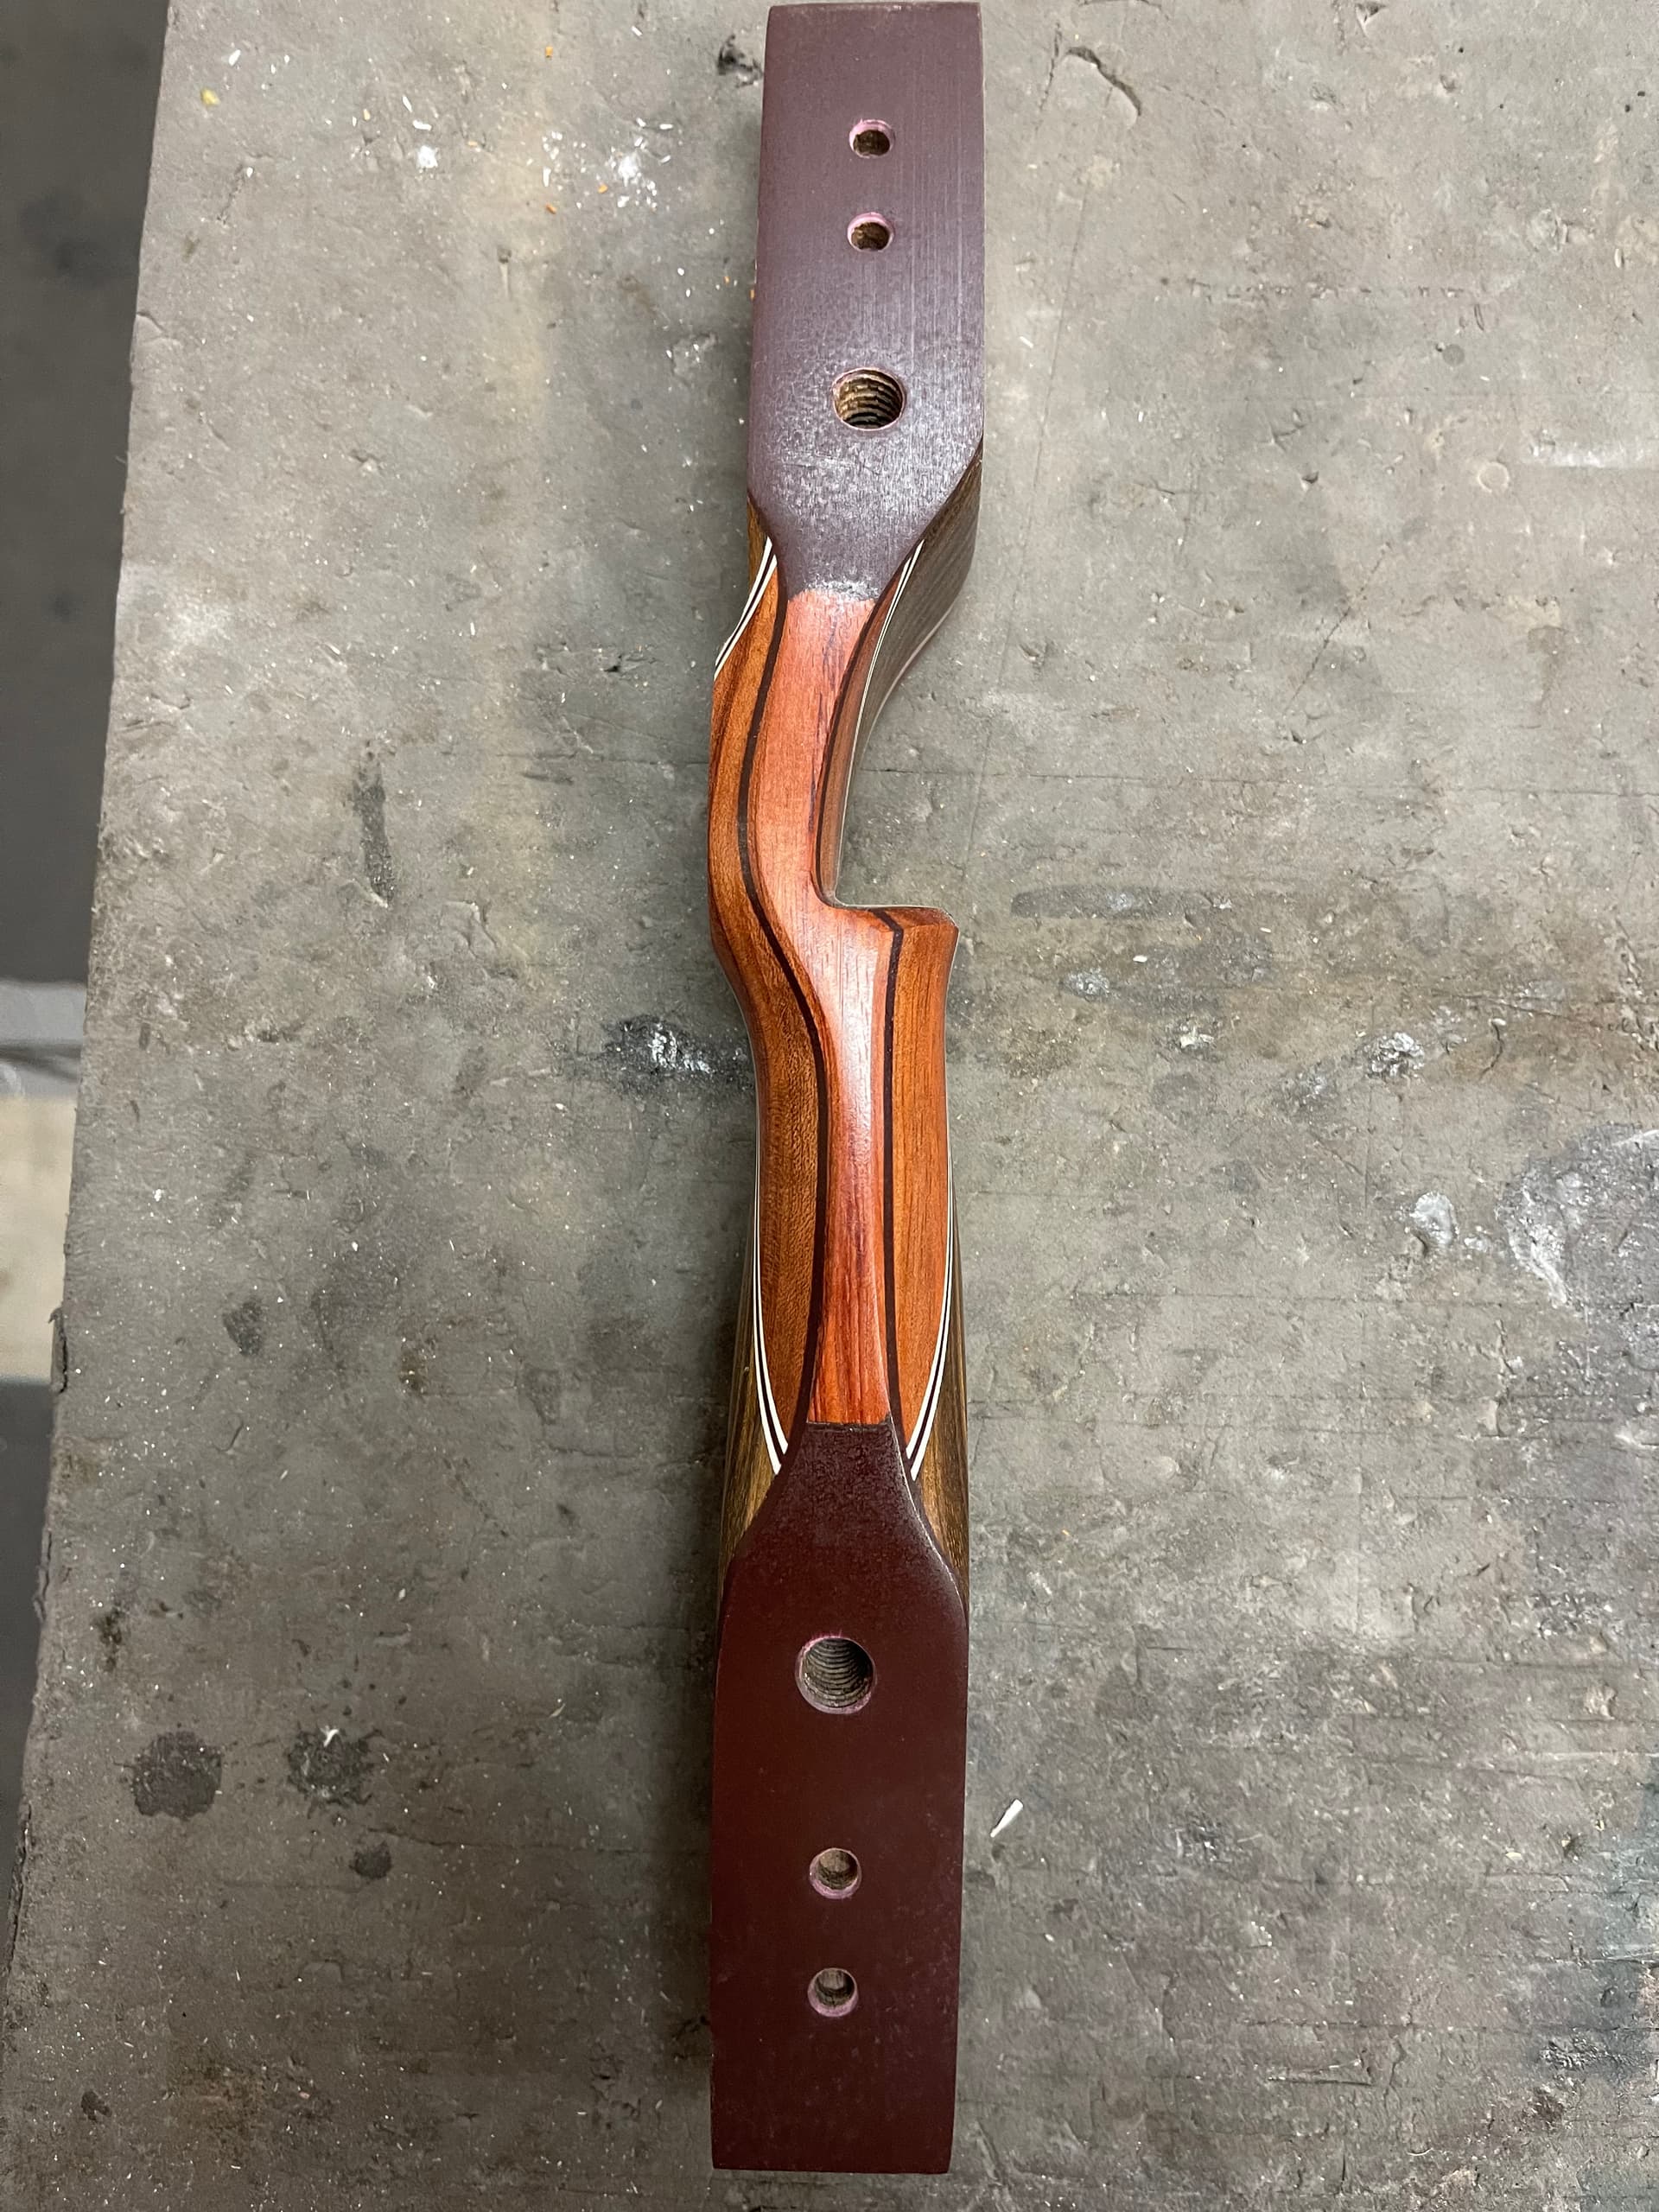
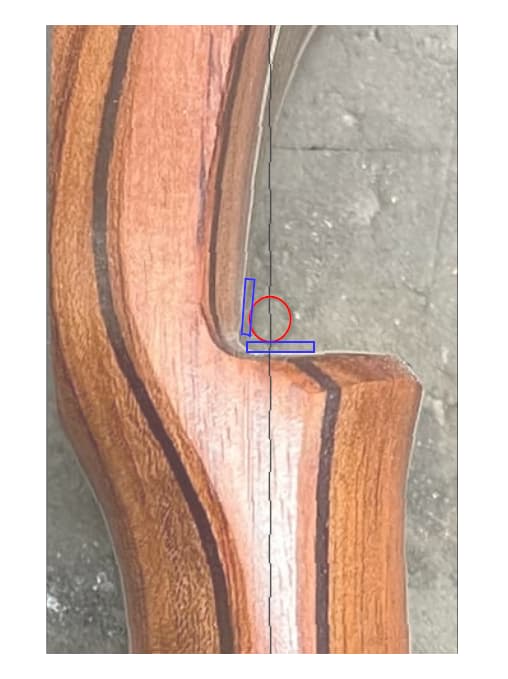
I drew in a centerline on the front/back based on the centers of the holes.
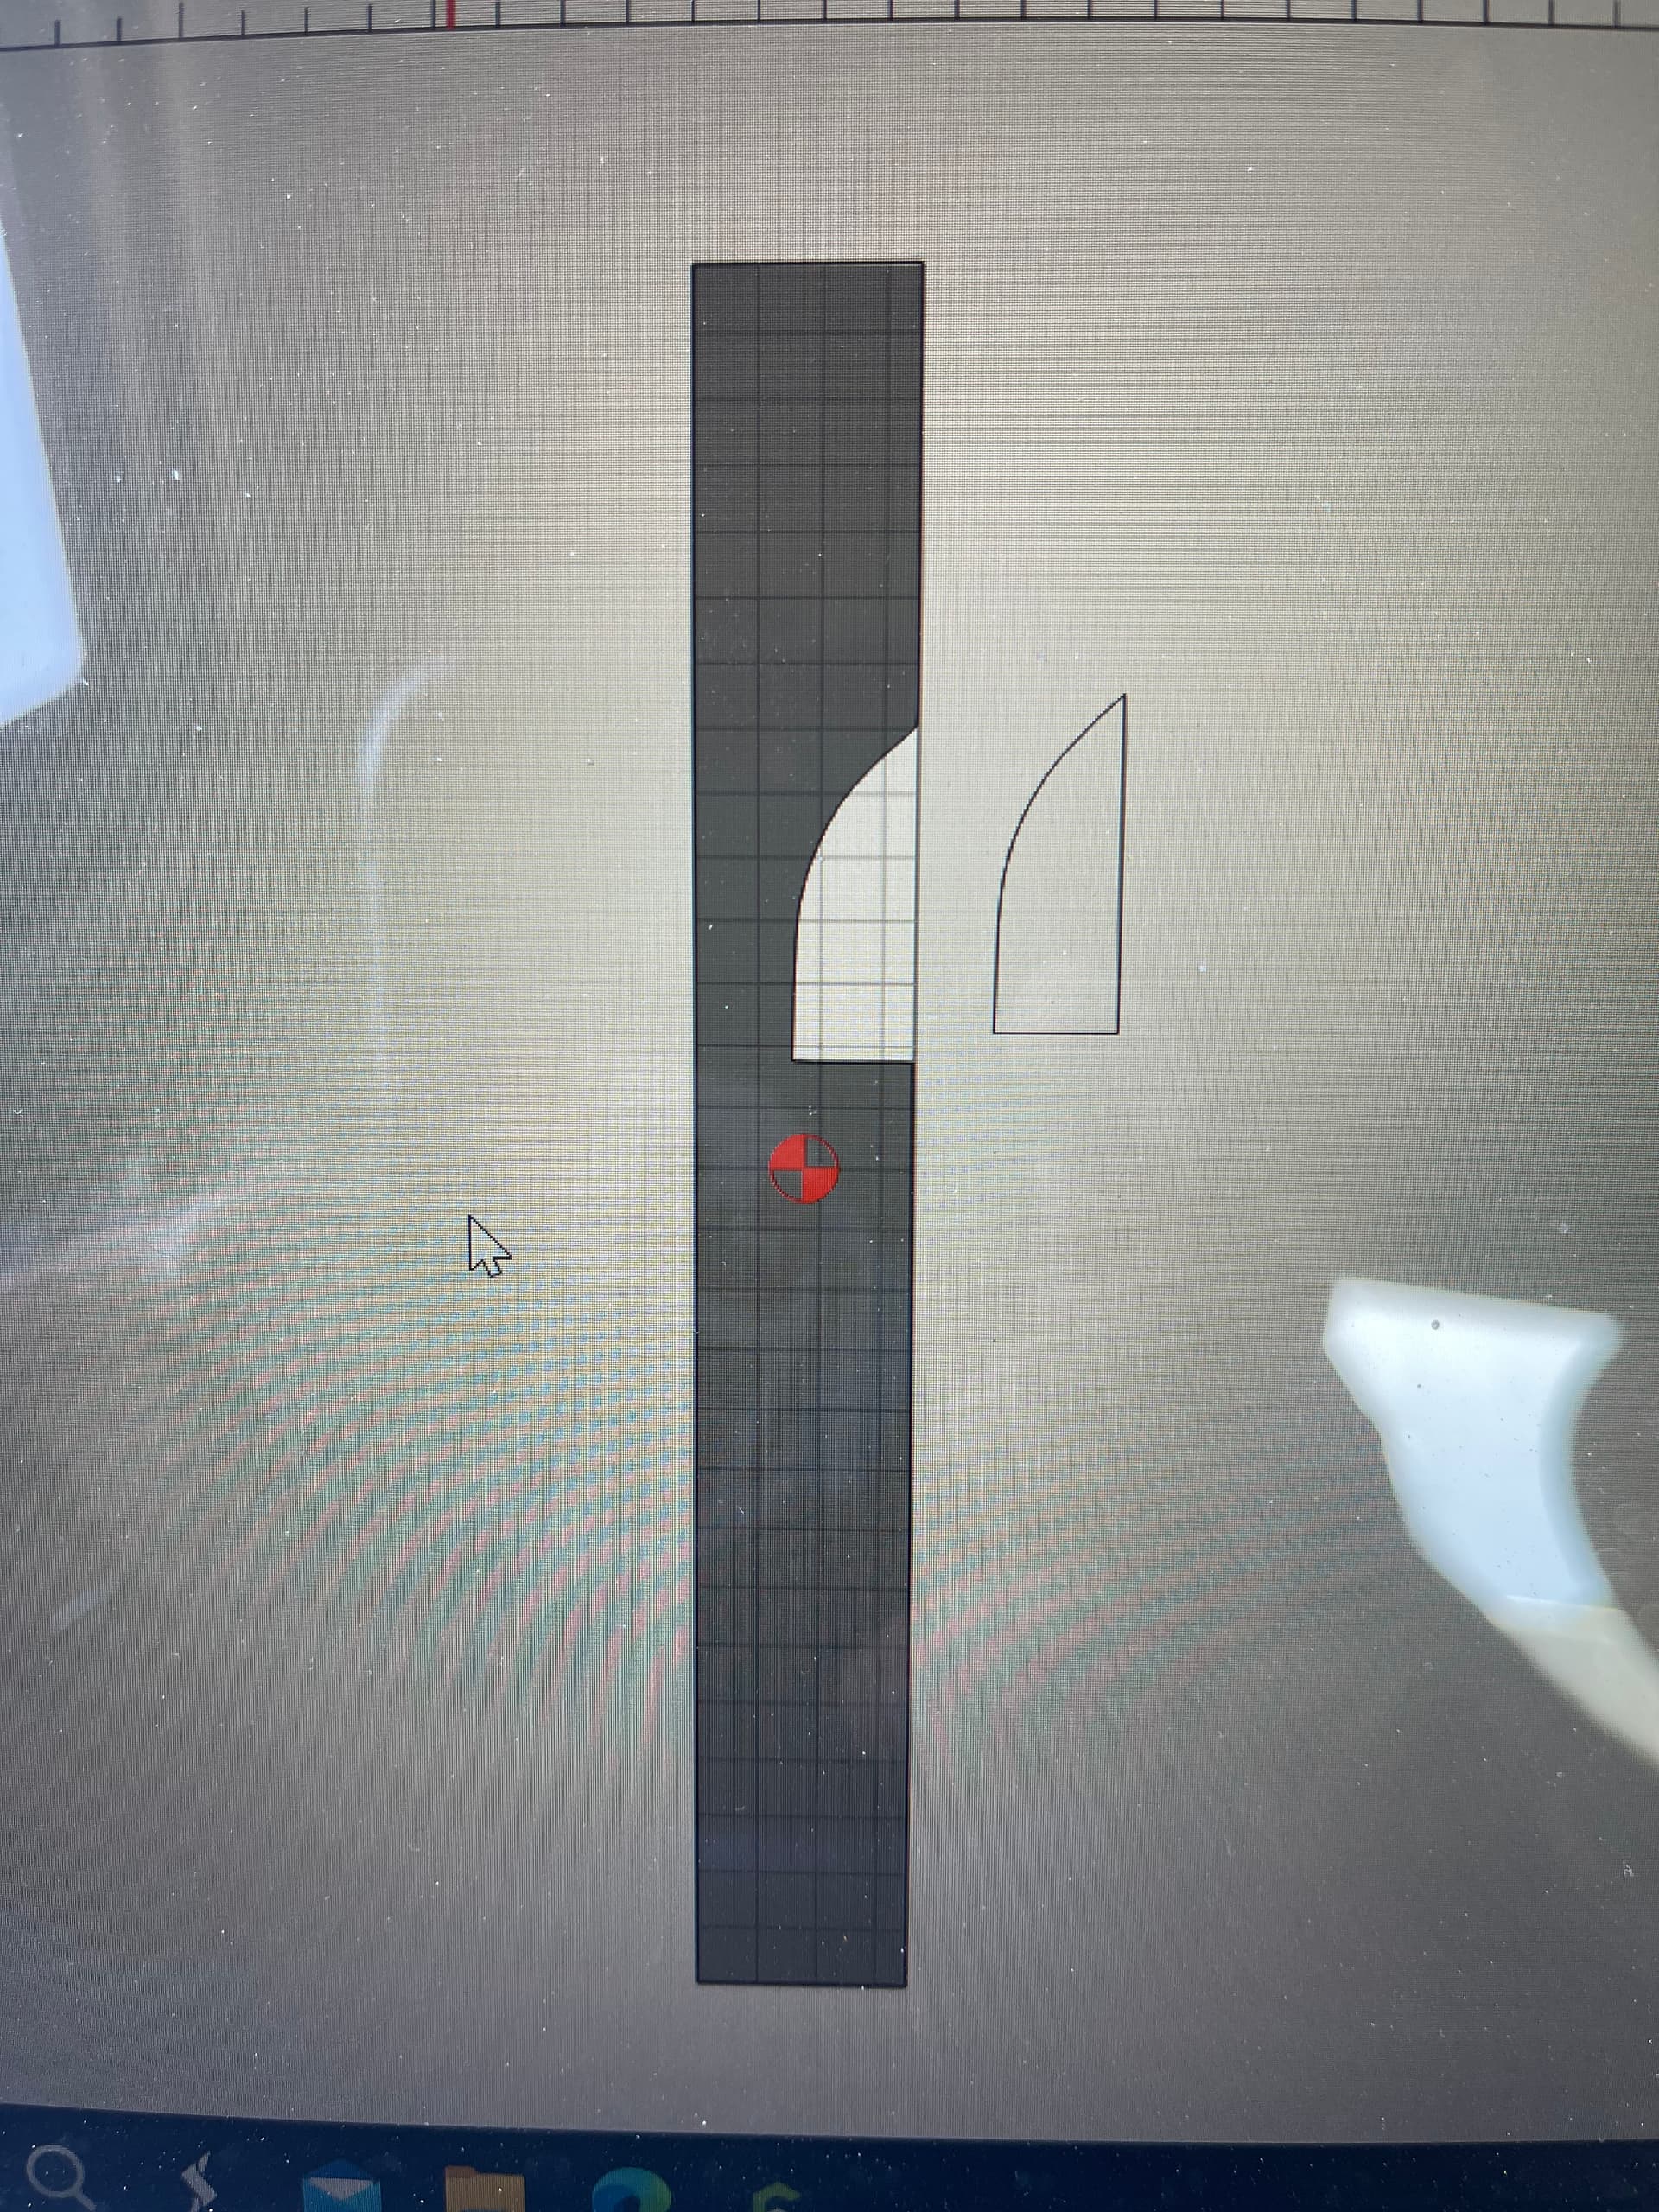
Looks like it passes through the window at right about the correct spot, the center of the arrow (red)
I assume the center of the arrow should line up with the center of the limb mount holes???
If so, what is the diameter of the arrow, and thickness of any rest/padding (blue) you will use?
And should the center of the arrow be exactly centered top to bottom? 7" from top or bottom?
(Nevermind, I see the shelf is 0.75 above the centerline)
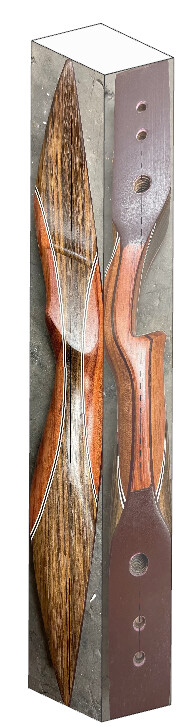
The blocks that hold the limbs, should they be a constant width? parallel to the centerline?
The centerline of the bow is actually the deepest part of the grip(throat of grip). The shelf the arrow rests on is 3/4” above the throat of the grip. So the shelf is 3/4” above center. The depth of the shelf ( or cutout)is .985” that leaves.765 left on the riser. I really appreciate your help! I can’t thank you enough.