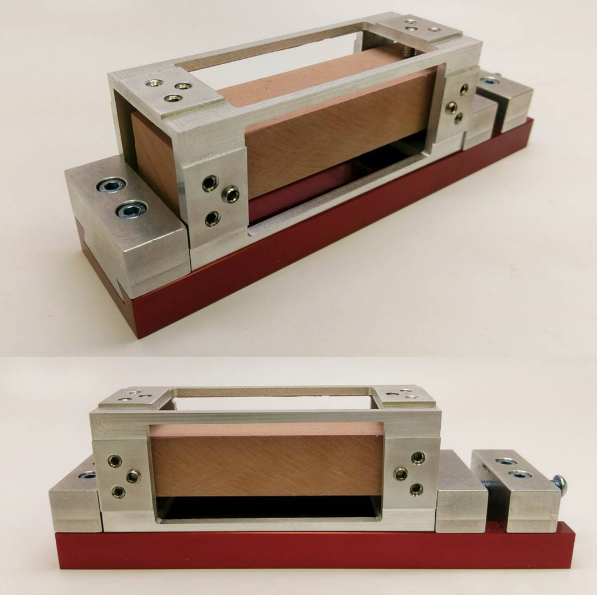
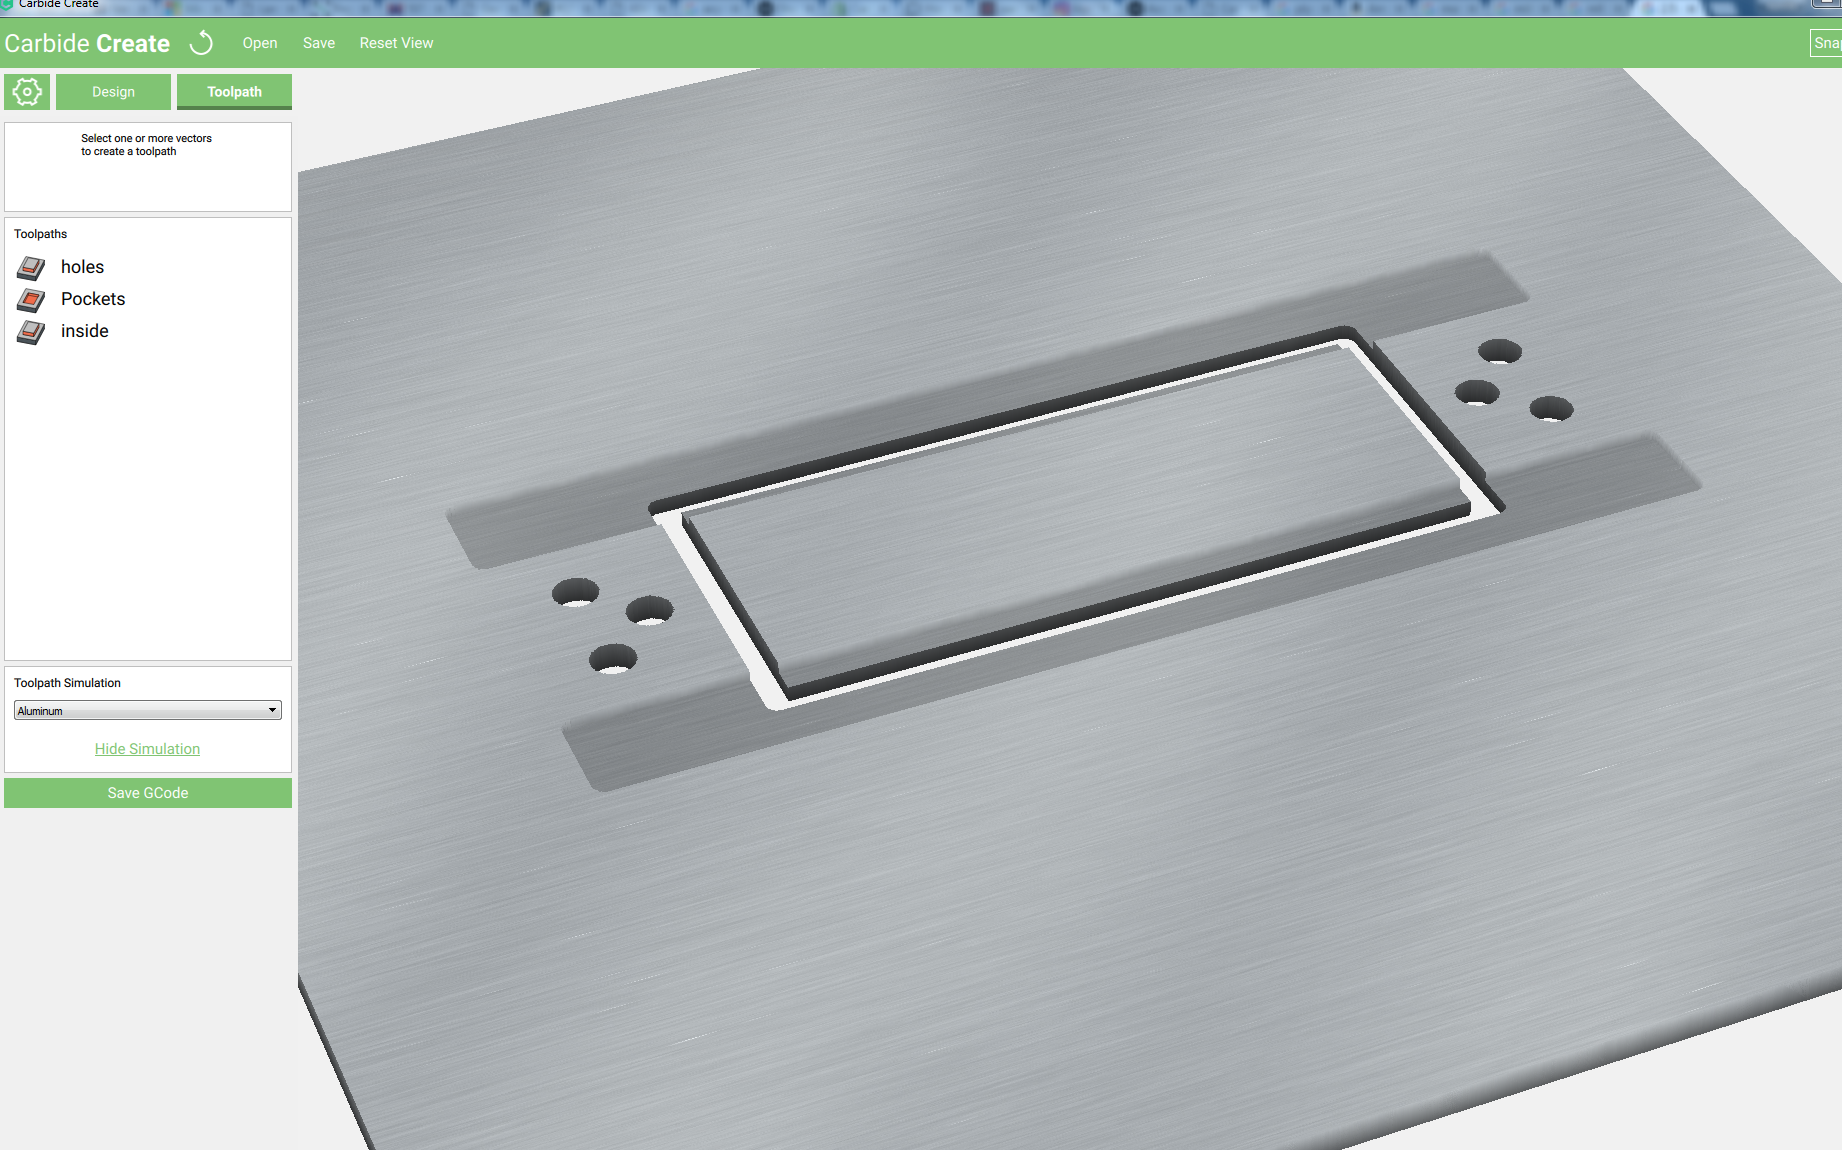
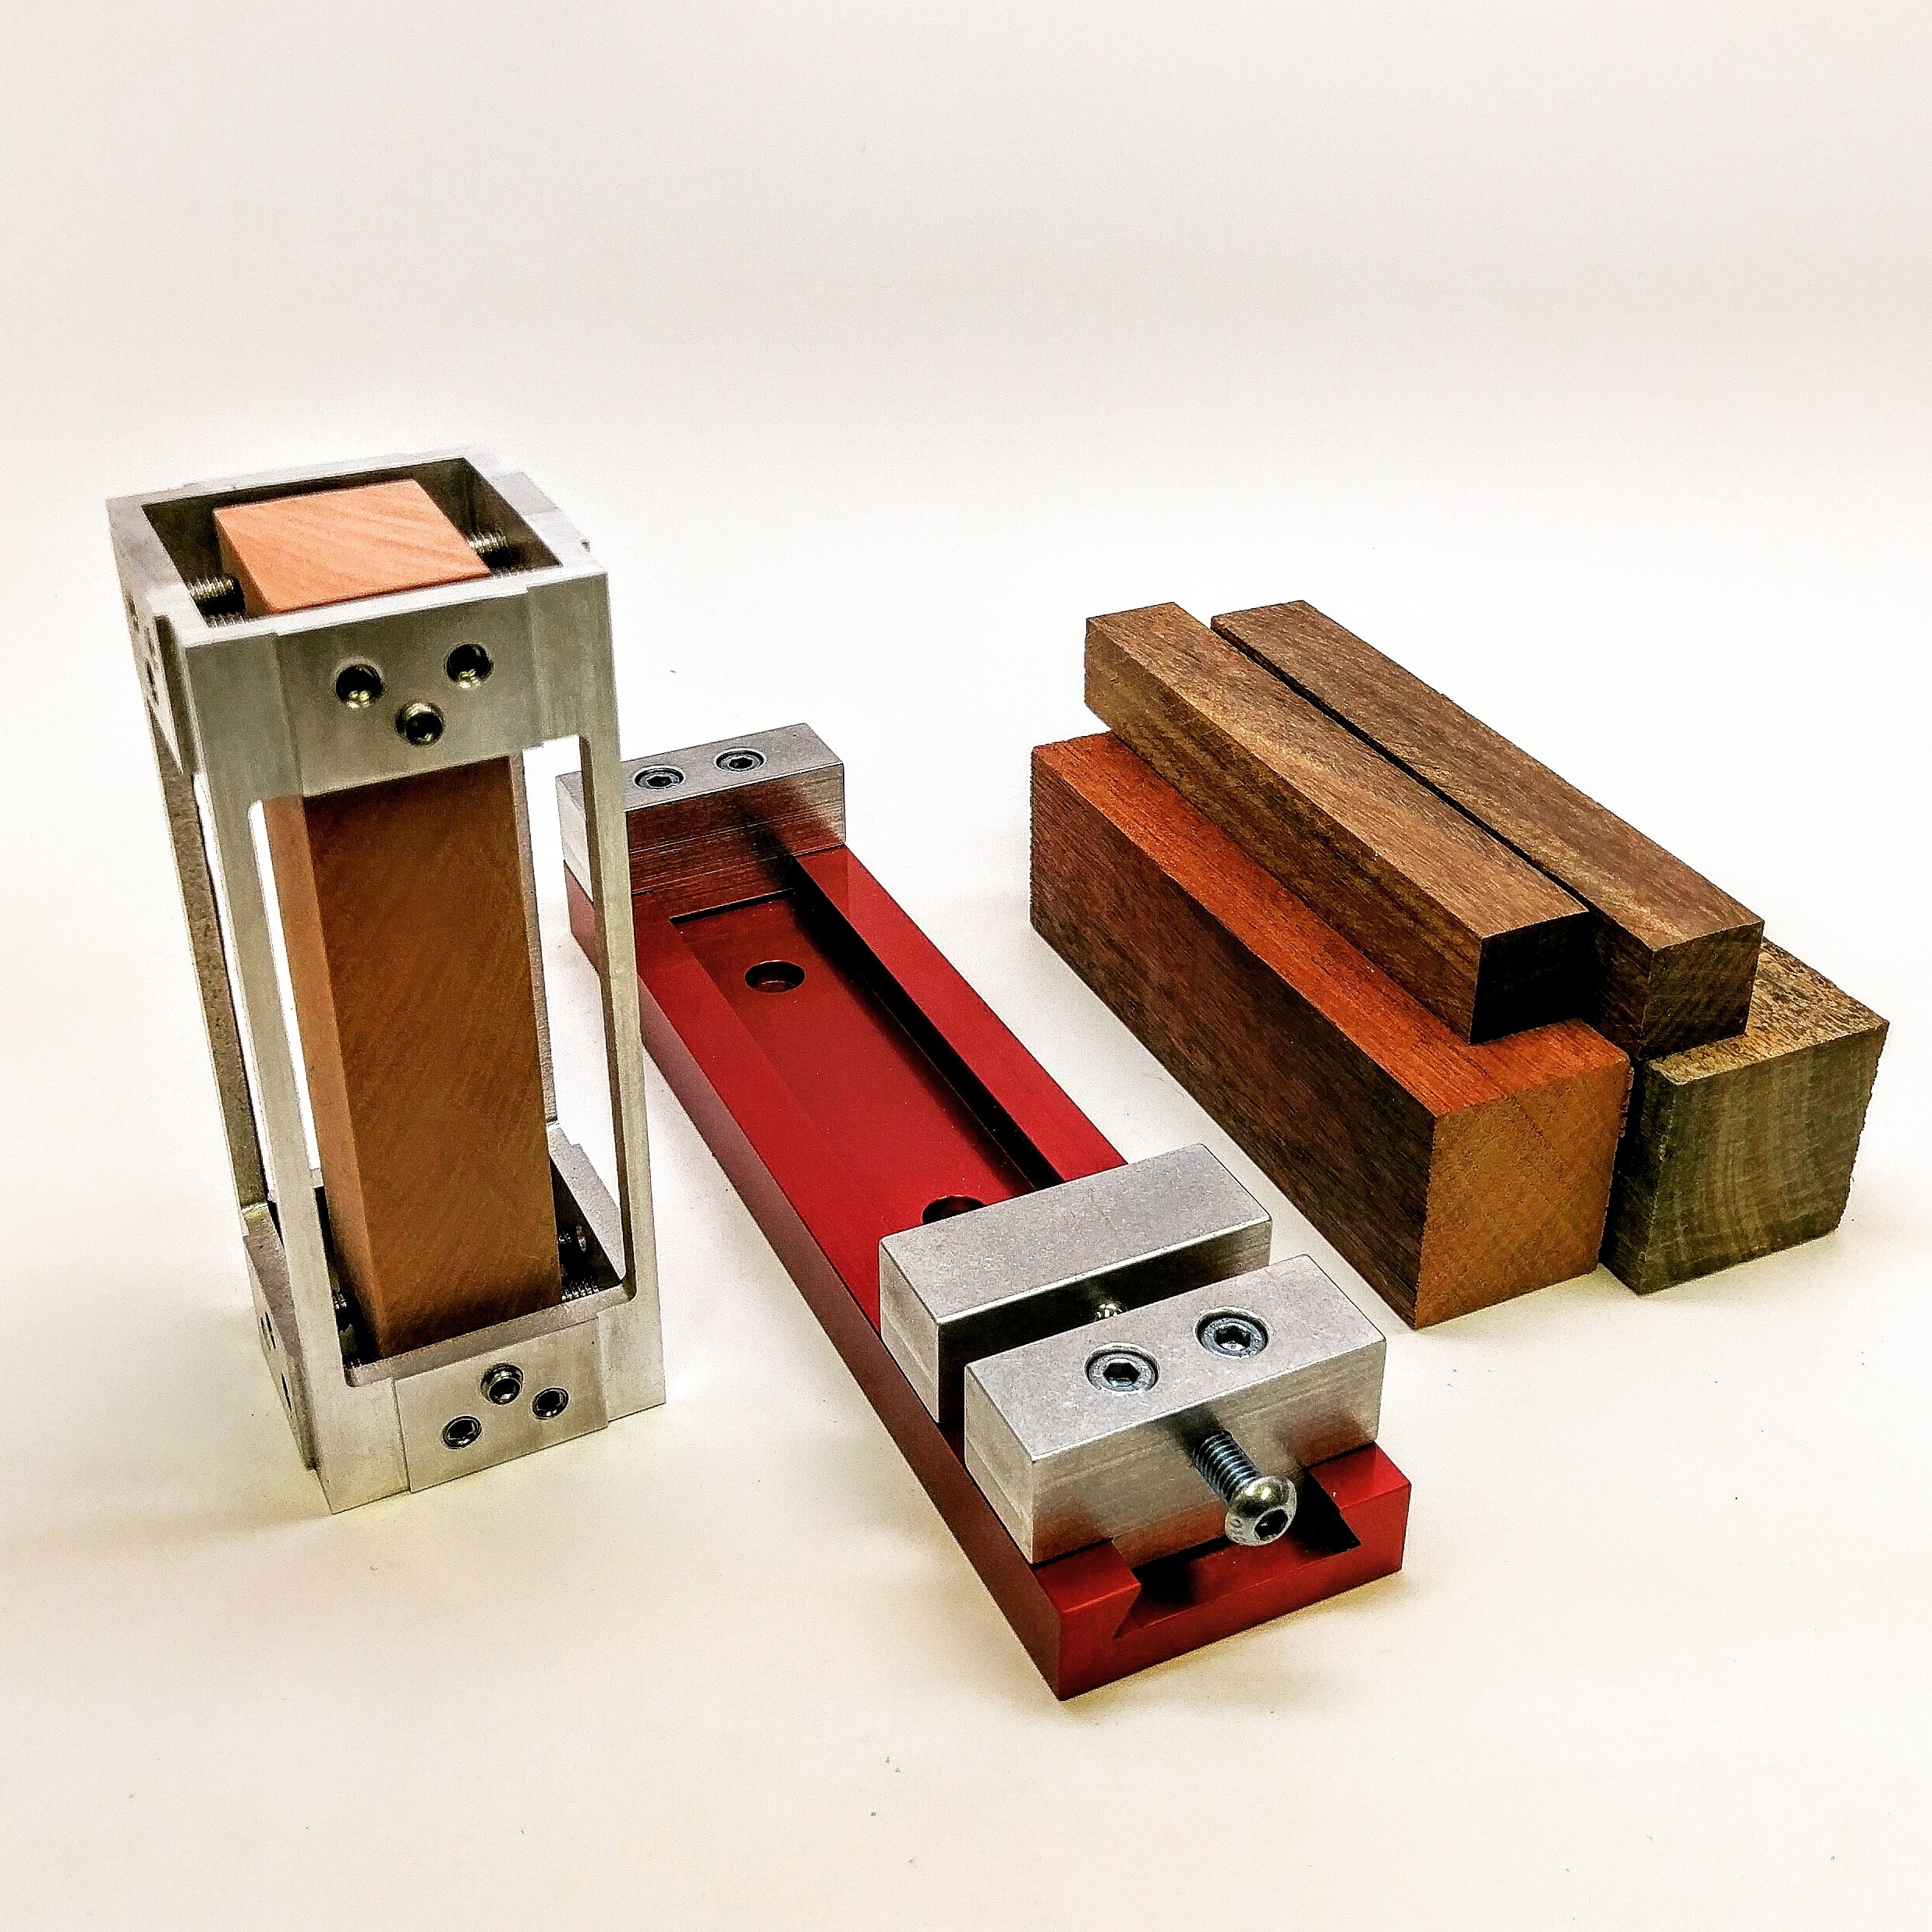
This is a design I made using Carbide Create for a 4 sided Jig that fits in the Carbide 3D Low profile vise channel, and allows 4 sided rotation.
This design allows for a 3.25" long and 1.6" round part to be machined on 4 sides.
The Set screws that hold the stock conveniently sit inside the middle channel so if they stick out there is clearance.
I have include the Carbide Create file below.
Materials used:
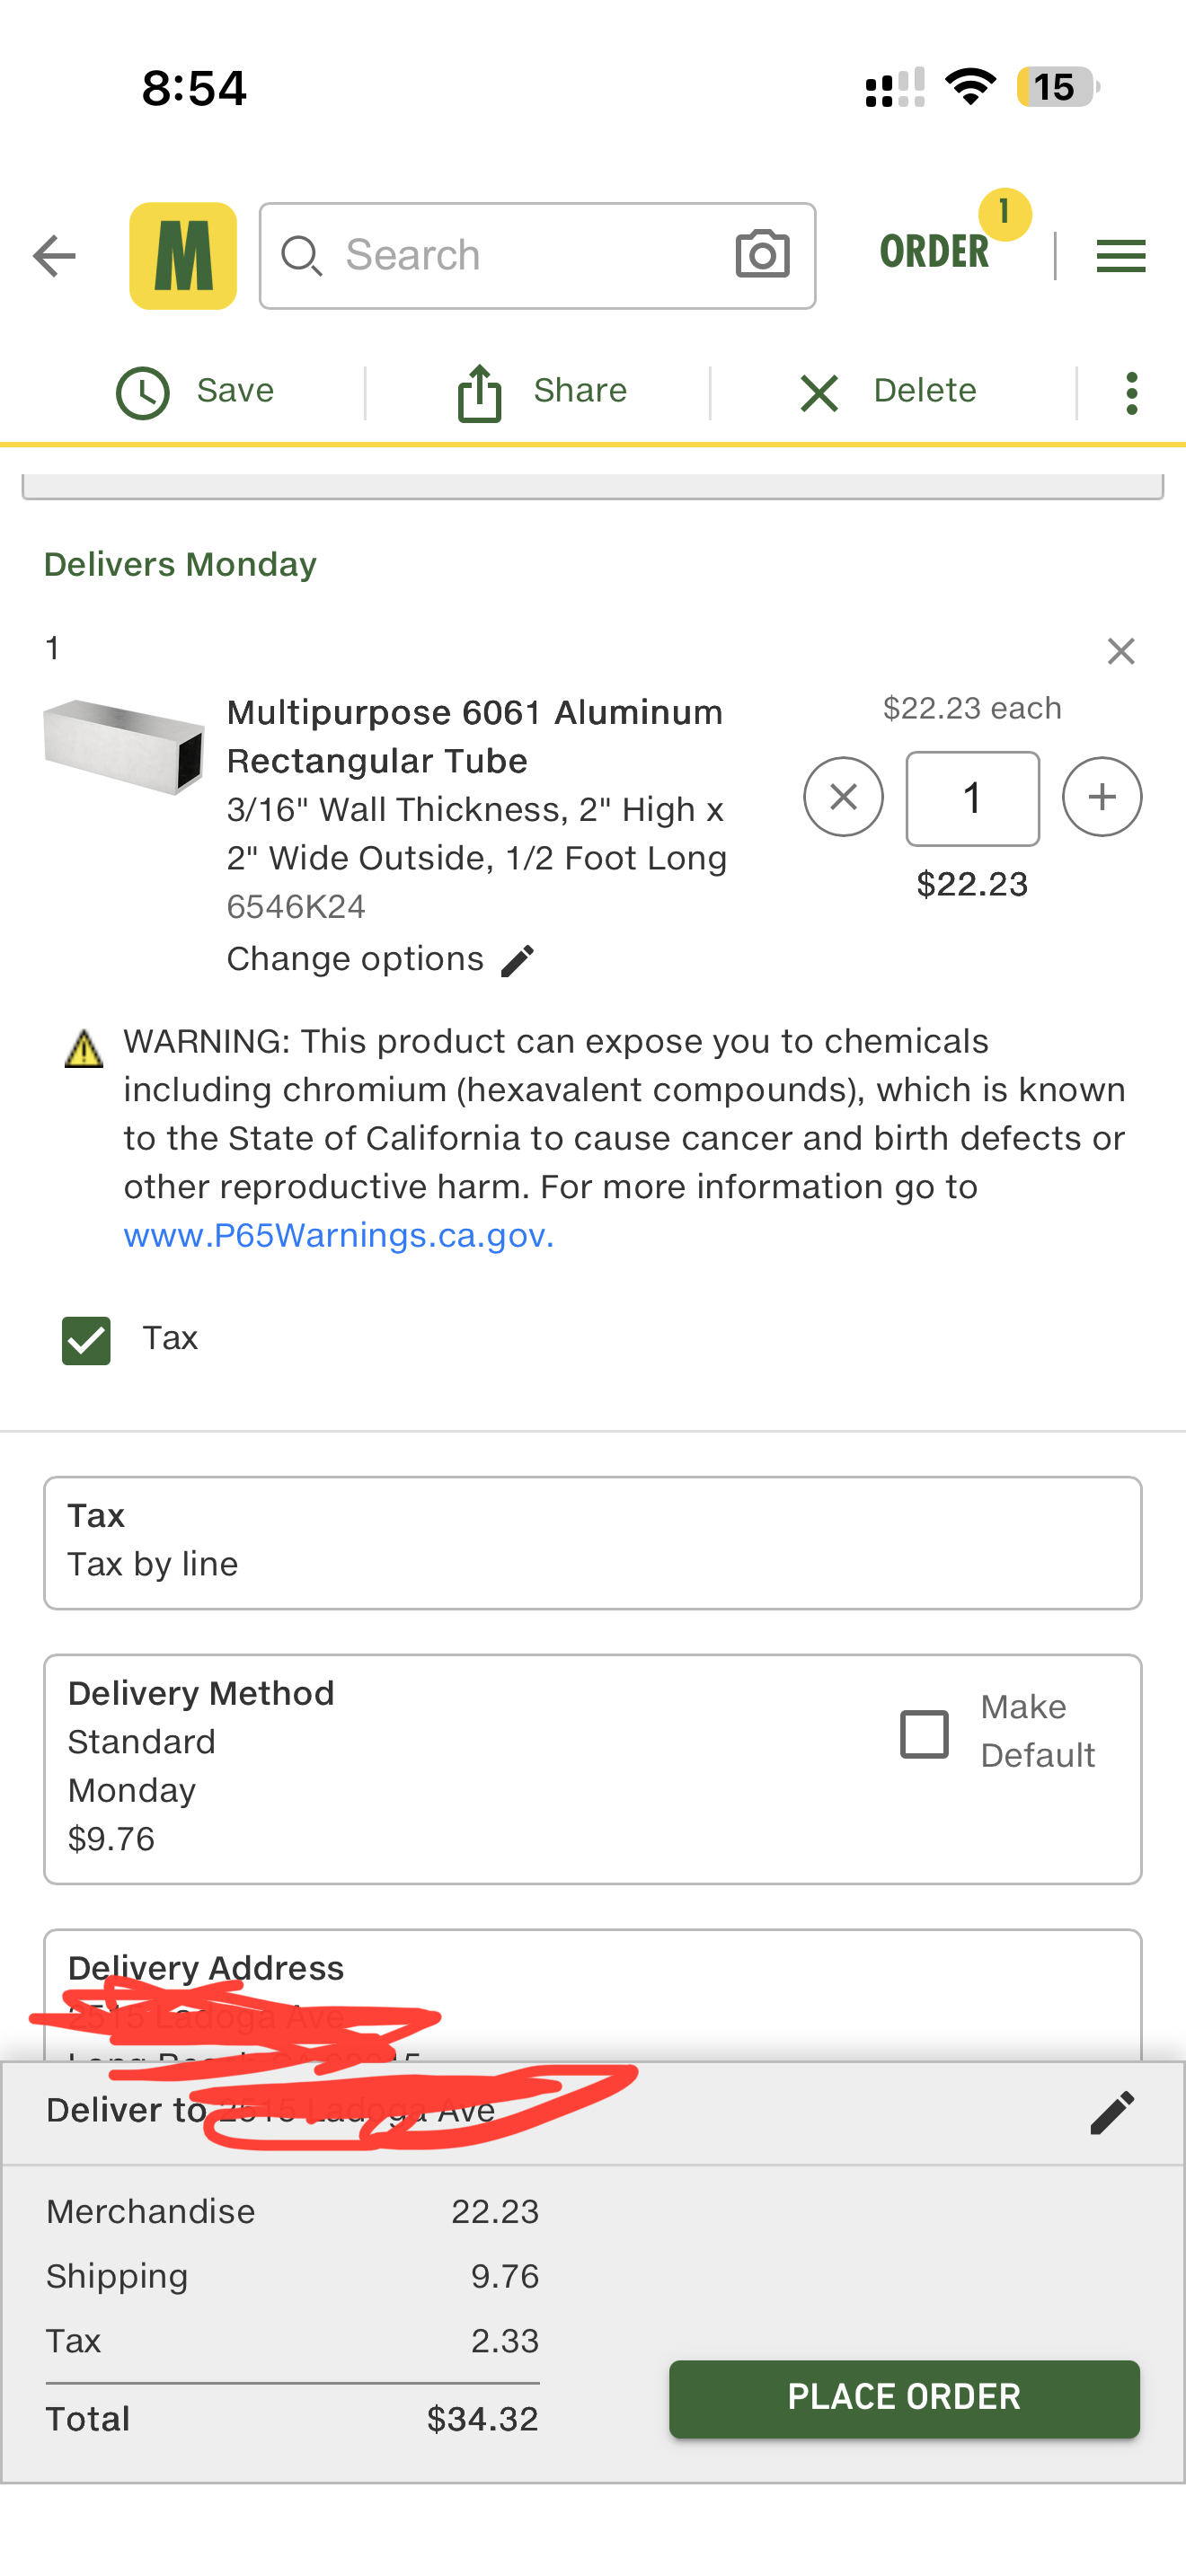
2" x 2"x 5" aluminum tube with 3/16th walls.
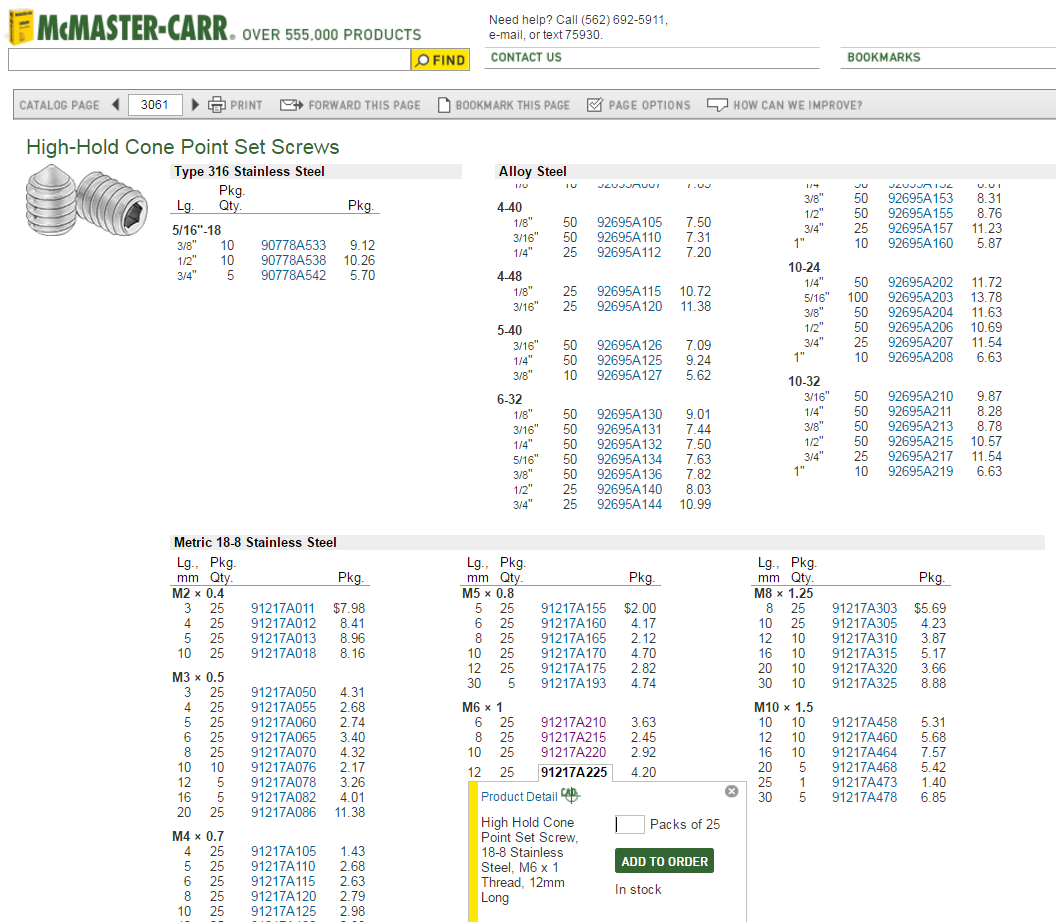
M6 Set screws 10mm- 16mm
1/8th end mill
M6 tap
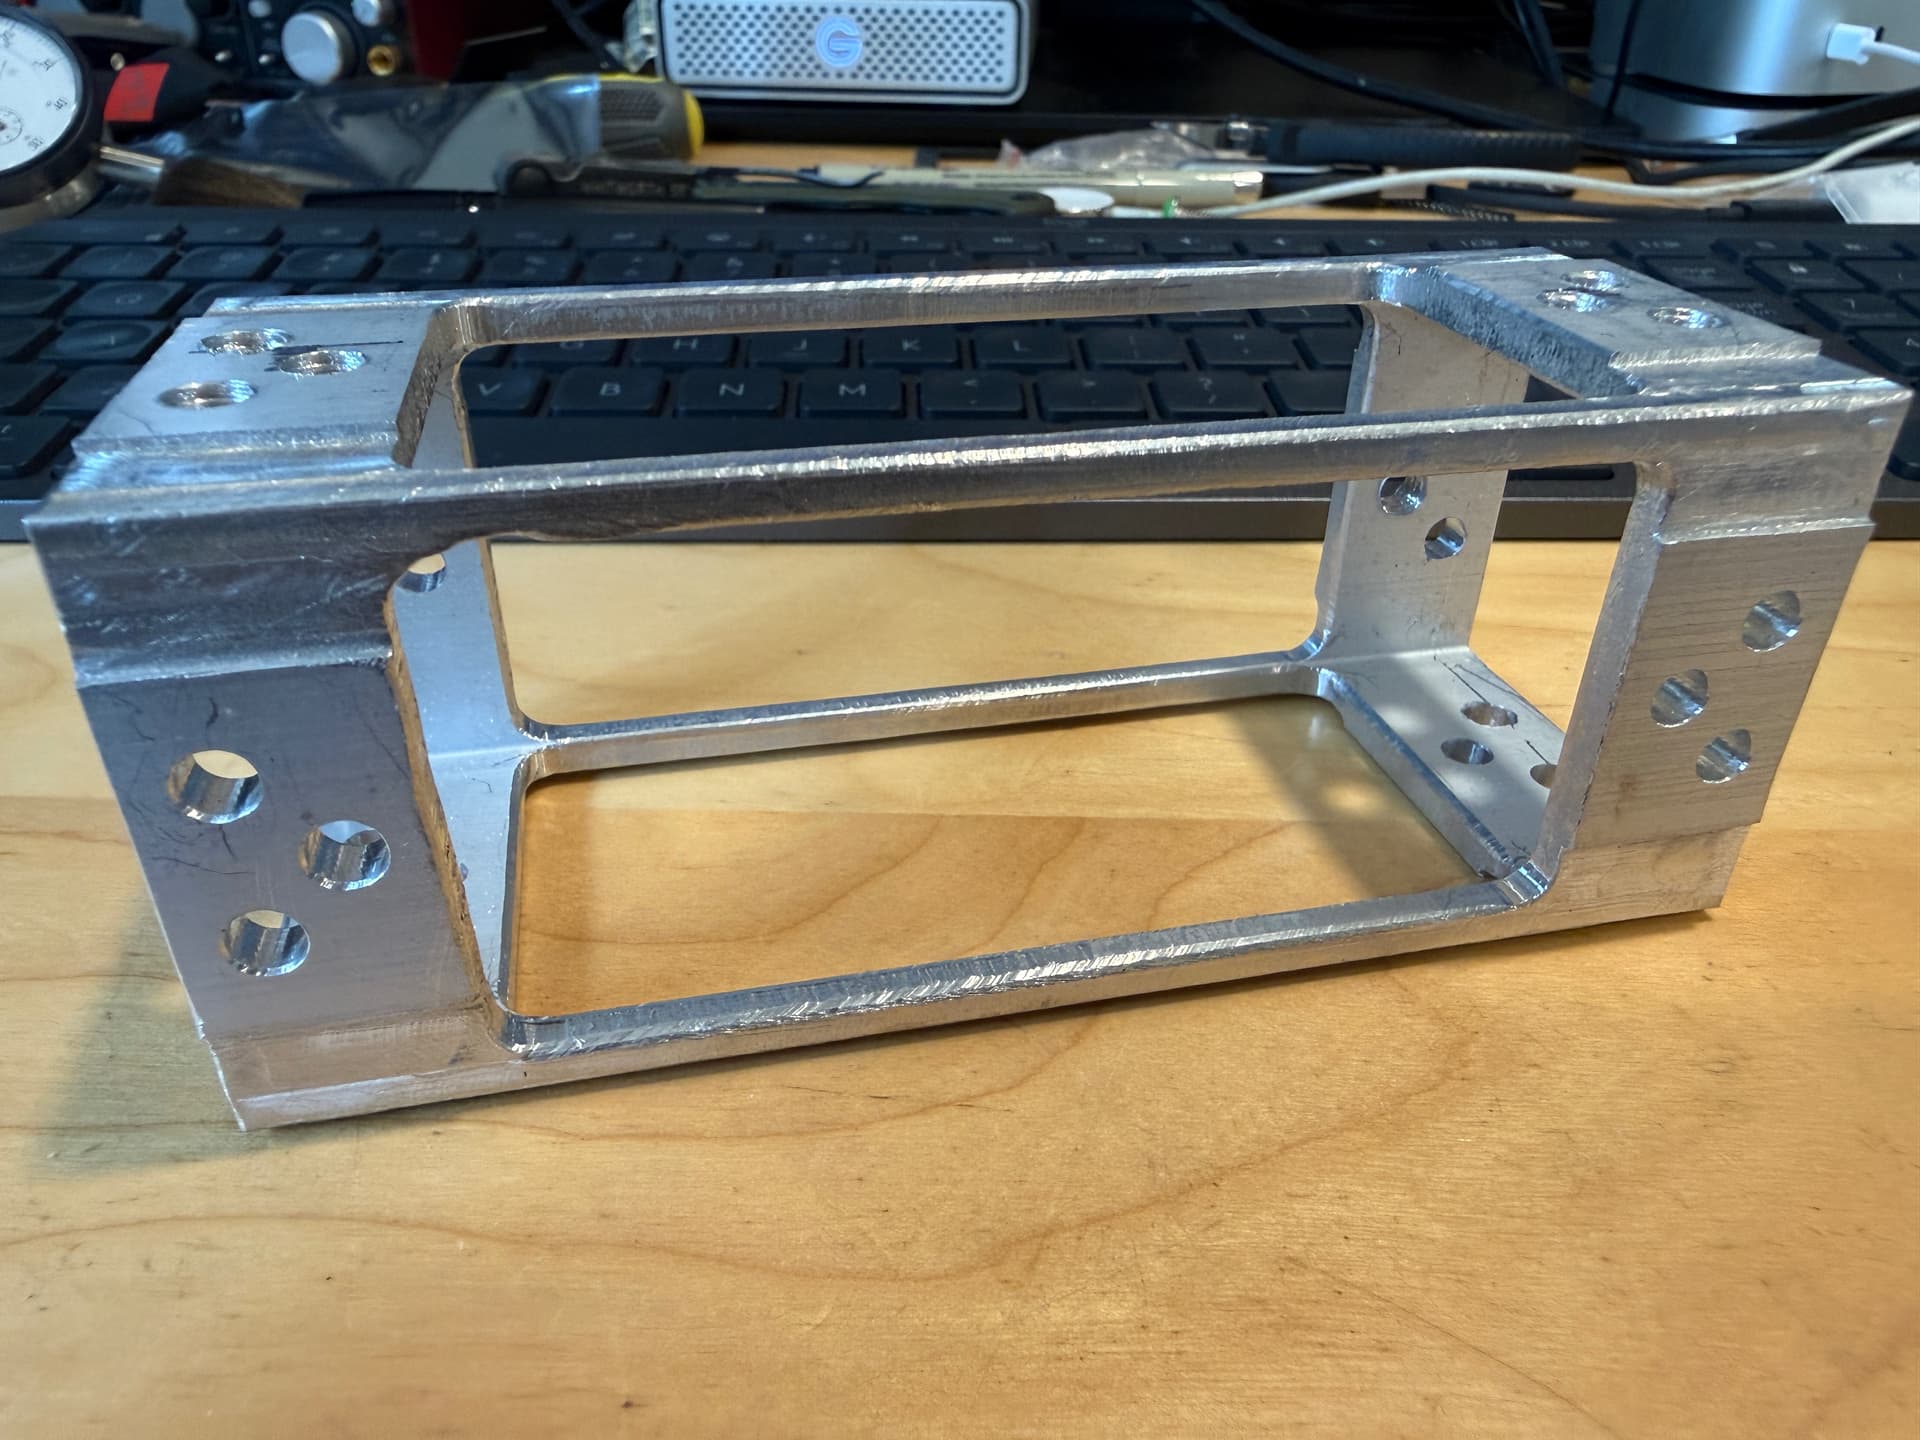
Ideally I would have machined the ends of the Tube perfectly flat as the first step.
For this very first prototype however, I used a file and square to accomplish it by hand, we will see if it was accurate enough when I get to test it.
Great idea Apollo. I own the flip jig and haven’t used it much because I find it hard to figure out how to center things accurately when using pieces of stock I have laying around. This new flip jig doubles that problem for me. Any chance you can give us a tutorial on how to center materials that are not precisely cut to fit the flip jigs?. You guys rock.
Regarding stock that fits inside the 3" x 5" window, spacers can be used - its going to depend on the dimensions of the stock you are working with and the model you are machining.
Its hard to account for all the variables when doing a 2 sided milling operation, thats why we carry stock that fits the flip jig.
A great material to test with would be the 1" thick HDPE blocks (3"x5") in our store:
@vegasracer
Exactly, correct.
The concept relies on the fact that each Nomad is calibrated to the table centerline, therefore the vise location is known and repeatable.
Starting with the Low profile vise being 2 inches wide, and the square tube is 2" wide, so the first operation is done with the tube ends squared and clamped with the tube flush to the Vise body.
The second operation is done on the 180 rotation around the x axis of the tube, using the first operation to locate the Jig in the vise.
Third operation requires flushing the Jig on either side of the vise just like the initial setup.
Fourth operation is another 180 barrel role around the X axis.
The Vise is the key to this 4 sided Jig, and used to hold the tube stock during machining to maintain alignment.
@ApolloCrowe thanks again for another interesting project. I may just get brave enough to attempt something like this on my Nomad. Still learning the ropes and I really appreciate the inspiration. Keep it coming!
Would it be possible to run a small dovetail bit along the edges of that ridge on each side of the jig, to add further registration into the vise? Can CC be made to do that correctly?
Hey, necro thread time. I’m wondering if anyone actually made one of these? And if so, what their experience was. Before I order tubing from McMaster-Carr… Thanks.
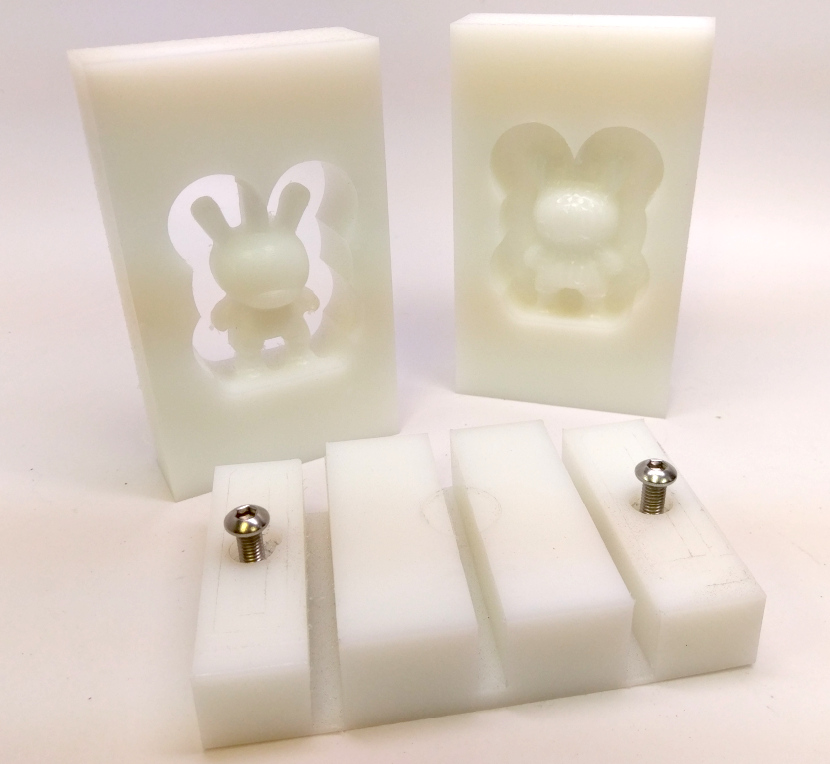
I did! But I didn’t finish tapping the screw holes (got sidetracked waiting for set screws). Looking back, this was one of my first aluminum projects on the Nomad. Maybe I should finish it up…
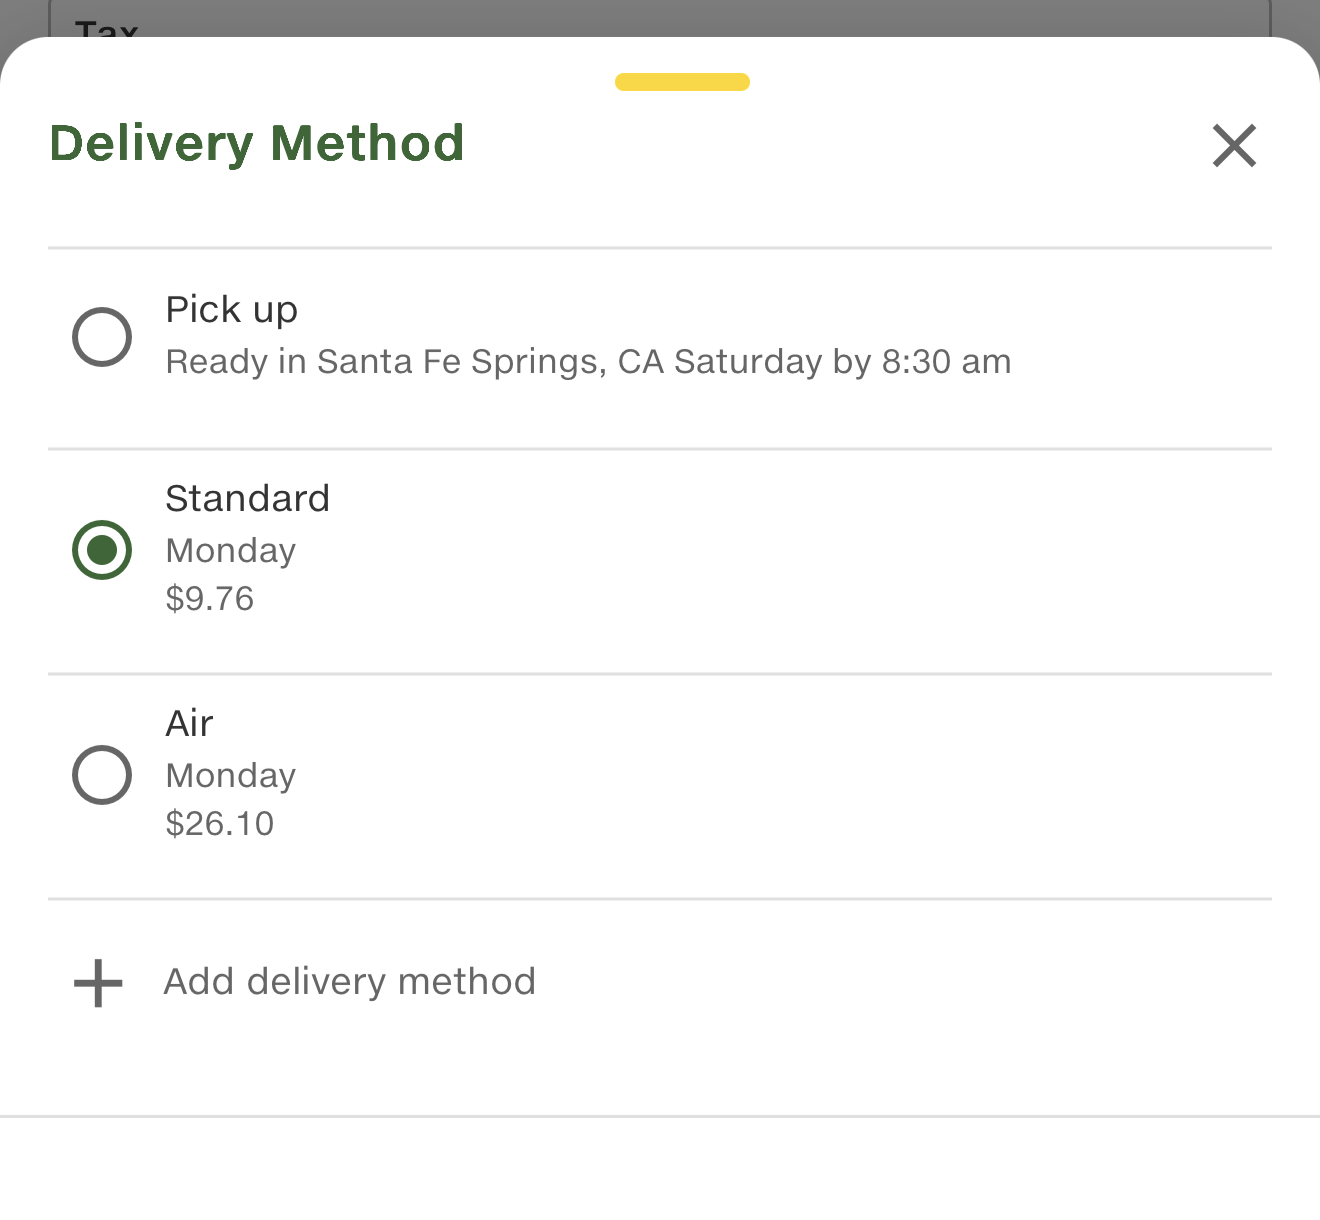
Wow, that looks good, @peteseyeview . So far, you seem to be the only one. I see that the tubing is less than $25 from McMaster (they will apparently not tell me their shipping charge until after I’ve already ordered, even though I’ve already entered my mailing address) so I’ll likely look elsewhere…
Thanks! McMaster is very close to me, so I typically visit their warehouse when I need something. I will say that they have an exceptional supply chain system in place, and my pickup orders are ready within 30 minutes. Also, i believe they have a dedicated truck that takes packages from the warehouse directly to the UPS hub to get it shipped out faster. That said, it’s also a quirk of how they operate, and it doesn’t always show up, but I have never found their shipping to be wildly expensive.
For kicks, try selecting it again outside the UPS cut-off time, and see if the shipping price comes up.