@Bnturnbo Also thanks for the vid I don’t have the program he used but still helped
1 Like
Do you know what the size of that male piece should be if I had my settings at .2 depth and .15 gap? @Tod1d
I’m so frustrated ![]()
I’m nearly positive that things were the right thickness and that is not the issue.
Of course, I’m willing to check those things over!
But I put calipers to each piece of wood right before I put it on the tool after it comes out of my thickness planer, so I’d be surprised if continuously I keep getting that wrong.
The other possible things that I can think of R I may need to replace the router because it’s making funny sounds and I have a new one so I’ll do that today and also I have a cheap 20° Bit from Amazon.
Yeah, I was going to try to figure it out by using similar features. Good luck!
Both pieces should be the height of the Max Depth you set. So 0.200. It looks like both the female & male are the same height. Both the “Glue Gap” & “Saw Gap” appear to be 0 on the finished part. i.e. the male is bottoming out at the bottom of the pocket, and the top of the male is contacting the top of the female part. If your pocket is deeper than 0.200, then the top of the pocket will be too wide. And if the inlay is taller than 0.200, the bottom of the male piece will be too narrow.
There are gaps on the sides of the pocket/inlay instead of the bottom & top. So either the pieces are deeper/taller than designed, or the pocket is too wide, or the inlay is too narrow.
Setting the “Glue Gap” to a larger number on the male operation should make the male part wider to get a tighter fit.
So, reasons the fit may be too sloppy…
Top of stock is actually higher than planned/programmed.
Slop/runout/deflection in the tool is making the pocket too wide, and/or the male too narrow.
The tip of the vee bit is not a perfectly sharp point, causing too much material to be removed from both the pocket & the inlay.
2 Likes
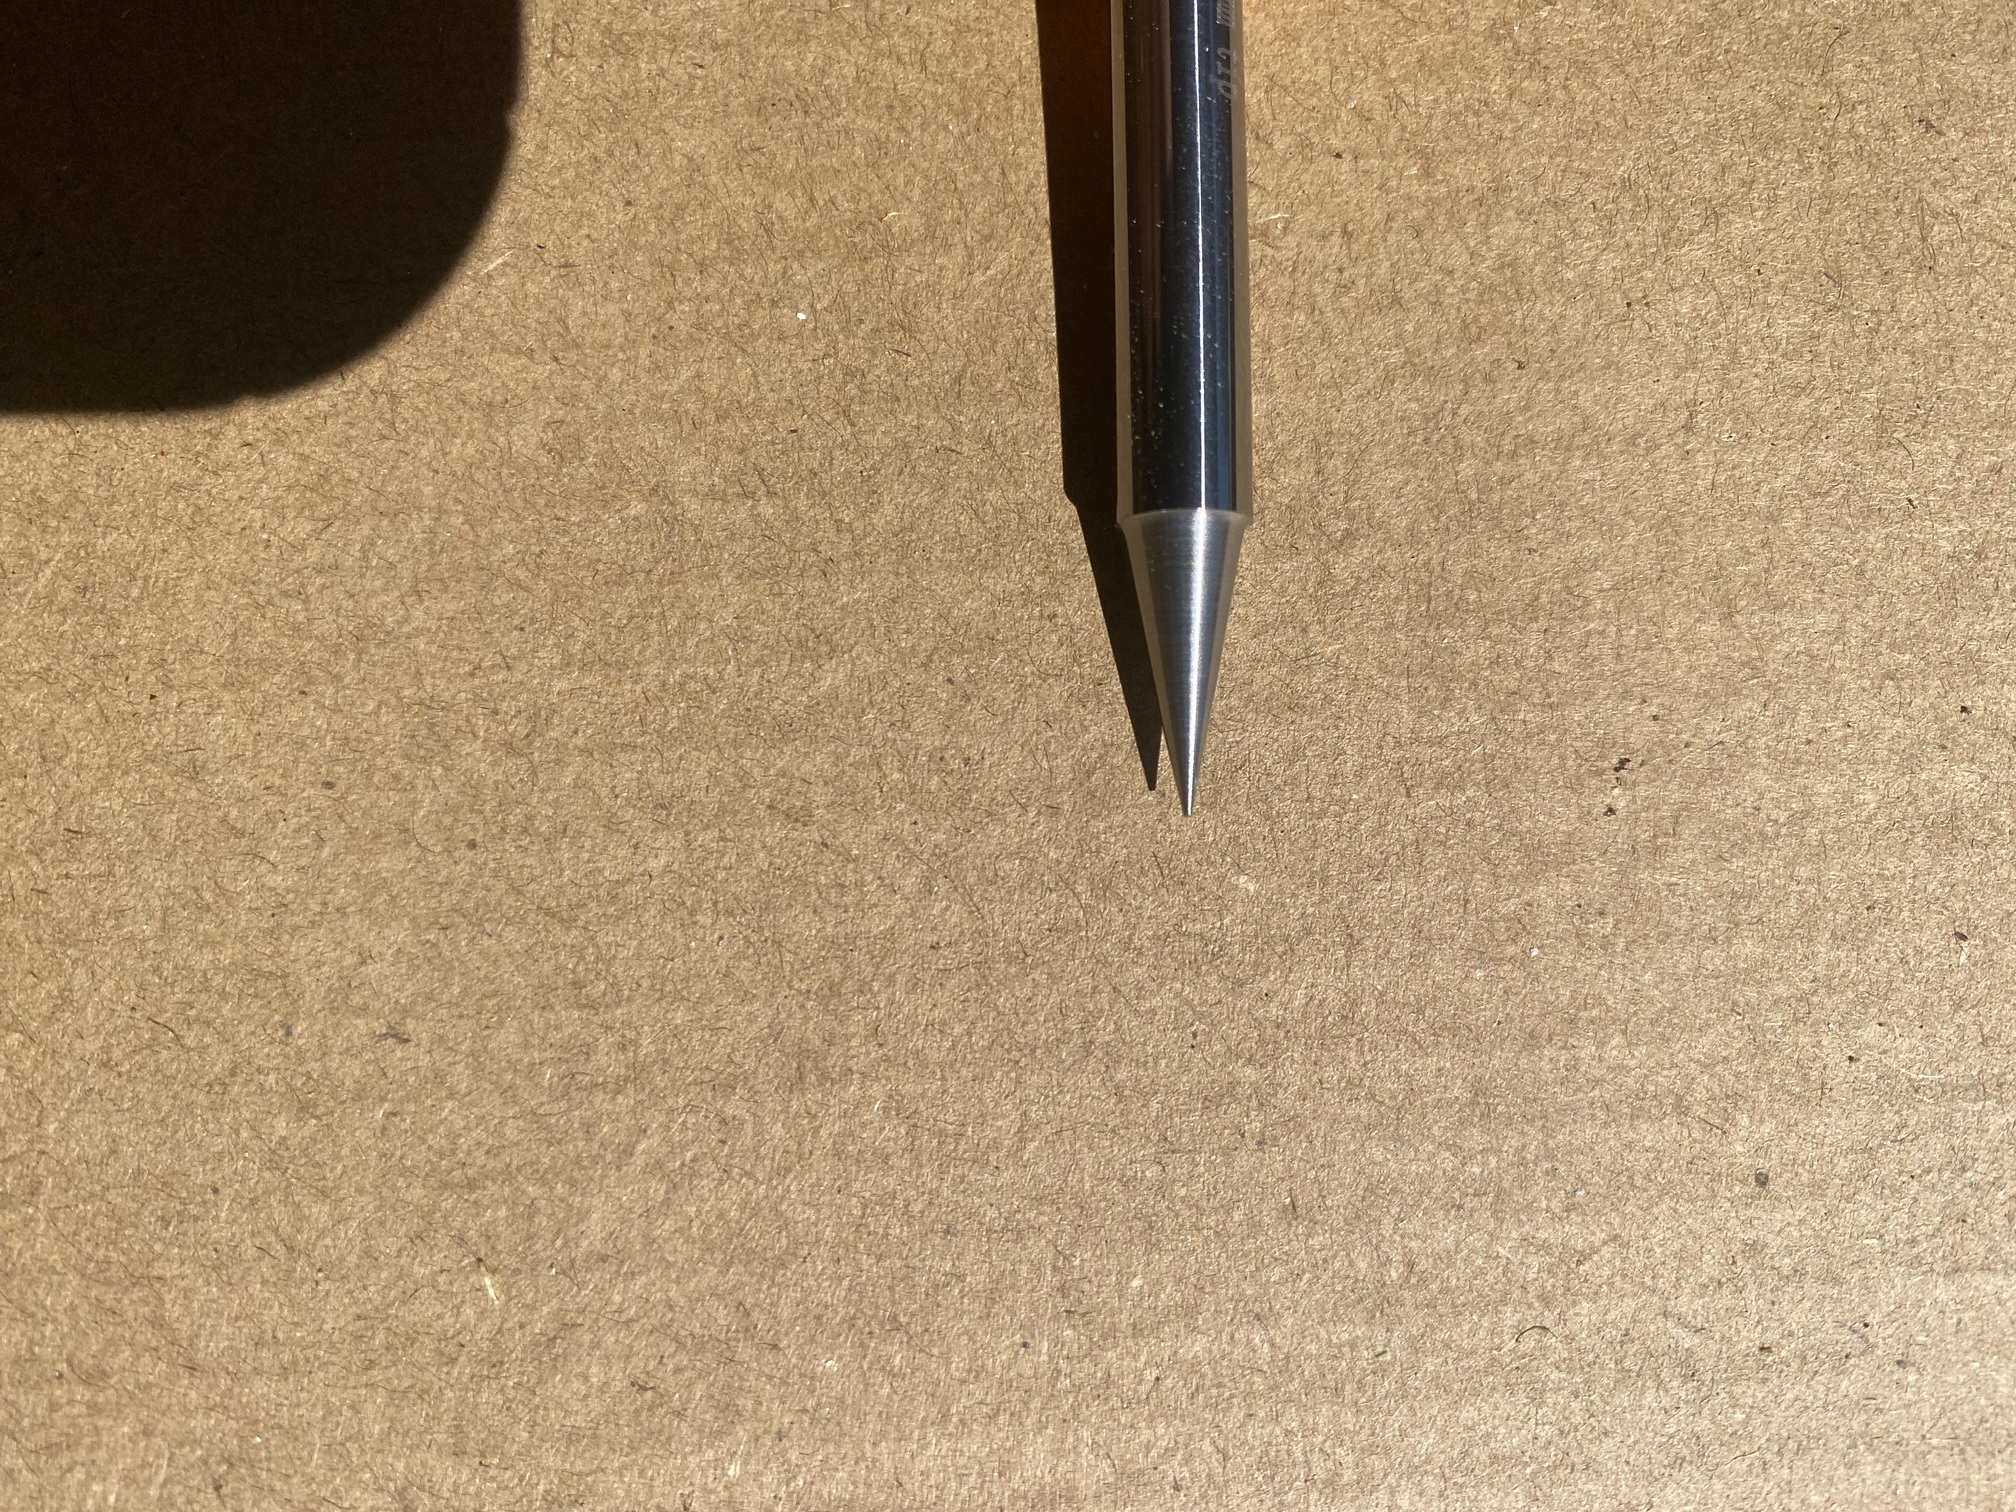
I just wanted to post this 20° bed I am using I’m not sure if you can see the picture but is the tip plenty enough or is this actually a flat tip 20° and that could be my problem?
It does not say flat tip when I look at what I bought it from but the tip doesn’t look super pointy. I’ve never seen an expensive version of it. I’m not sure.
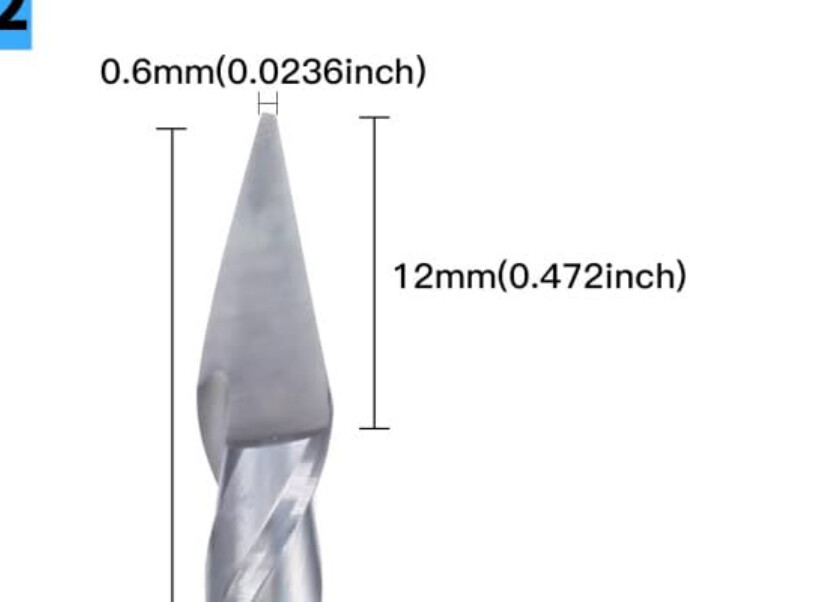
This is definitely an issue. Carbide create does not support this tool geometry. Using it as a standard V bit you will have pockets that are too large and males that are too small by the tip radius.
1 Like
Does that tip look to be a flat tip to you because I’ve never seen a proper bit?
Yes, that looks like a flat tip.
The Amana 45634-K 30 degree looks like this.

A 30 degree amazon V-bit with a flat tip
2 Likes
Interesting, I use this one: https://www.amanatool.com/45771-k-solid-carbide-30-degree-engraving-0-005-tip-width-x-1-4-inch-shank-signmaking-spektratm-extreme-tool-life-coated-router-bit.html
It has a very pointy tip but Amana describes tip width of .005” and the one you referenced they don’t indicate a tip width.
I have the Groovee 60 degree but need to get their 30 degree as well to try for this activity.
If the tool tip width is small enough and you have ample glue gap/band saw gap you probably won’t have an issue. The tighter you make the mating pieces the more critical compensating for tooling geometry becomes. Carbide create does not have the ability to deal with special tool geometries so you will get the most predictable results using supported tooling, in this case pointy V-bits.
WOW thanks! I will order some new bits now! @LWSIV
Just wanted to update I used a 40° bit that I have and even though it seems to cut a little rough by listening to it it created the proper spacing for the inlay. I’ll switch over to 30° with shot points. I think the 20 seems like the tip would be super brittle and have that problem often?
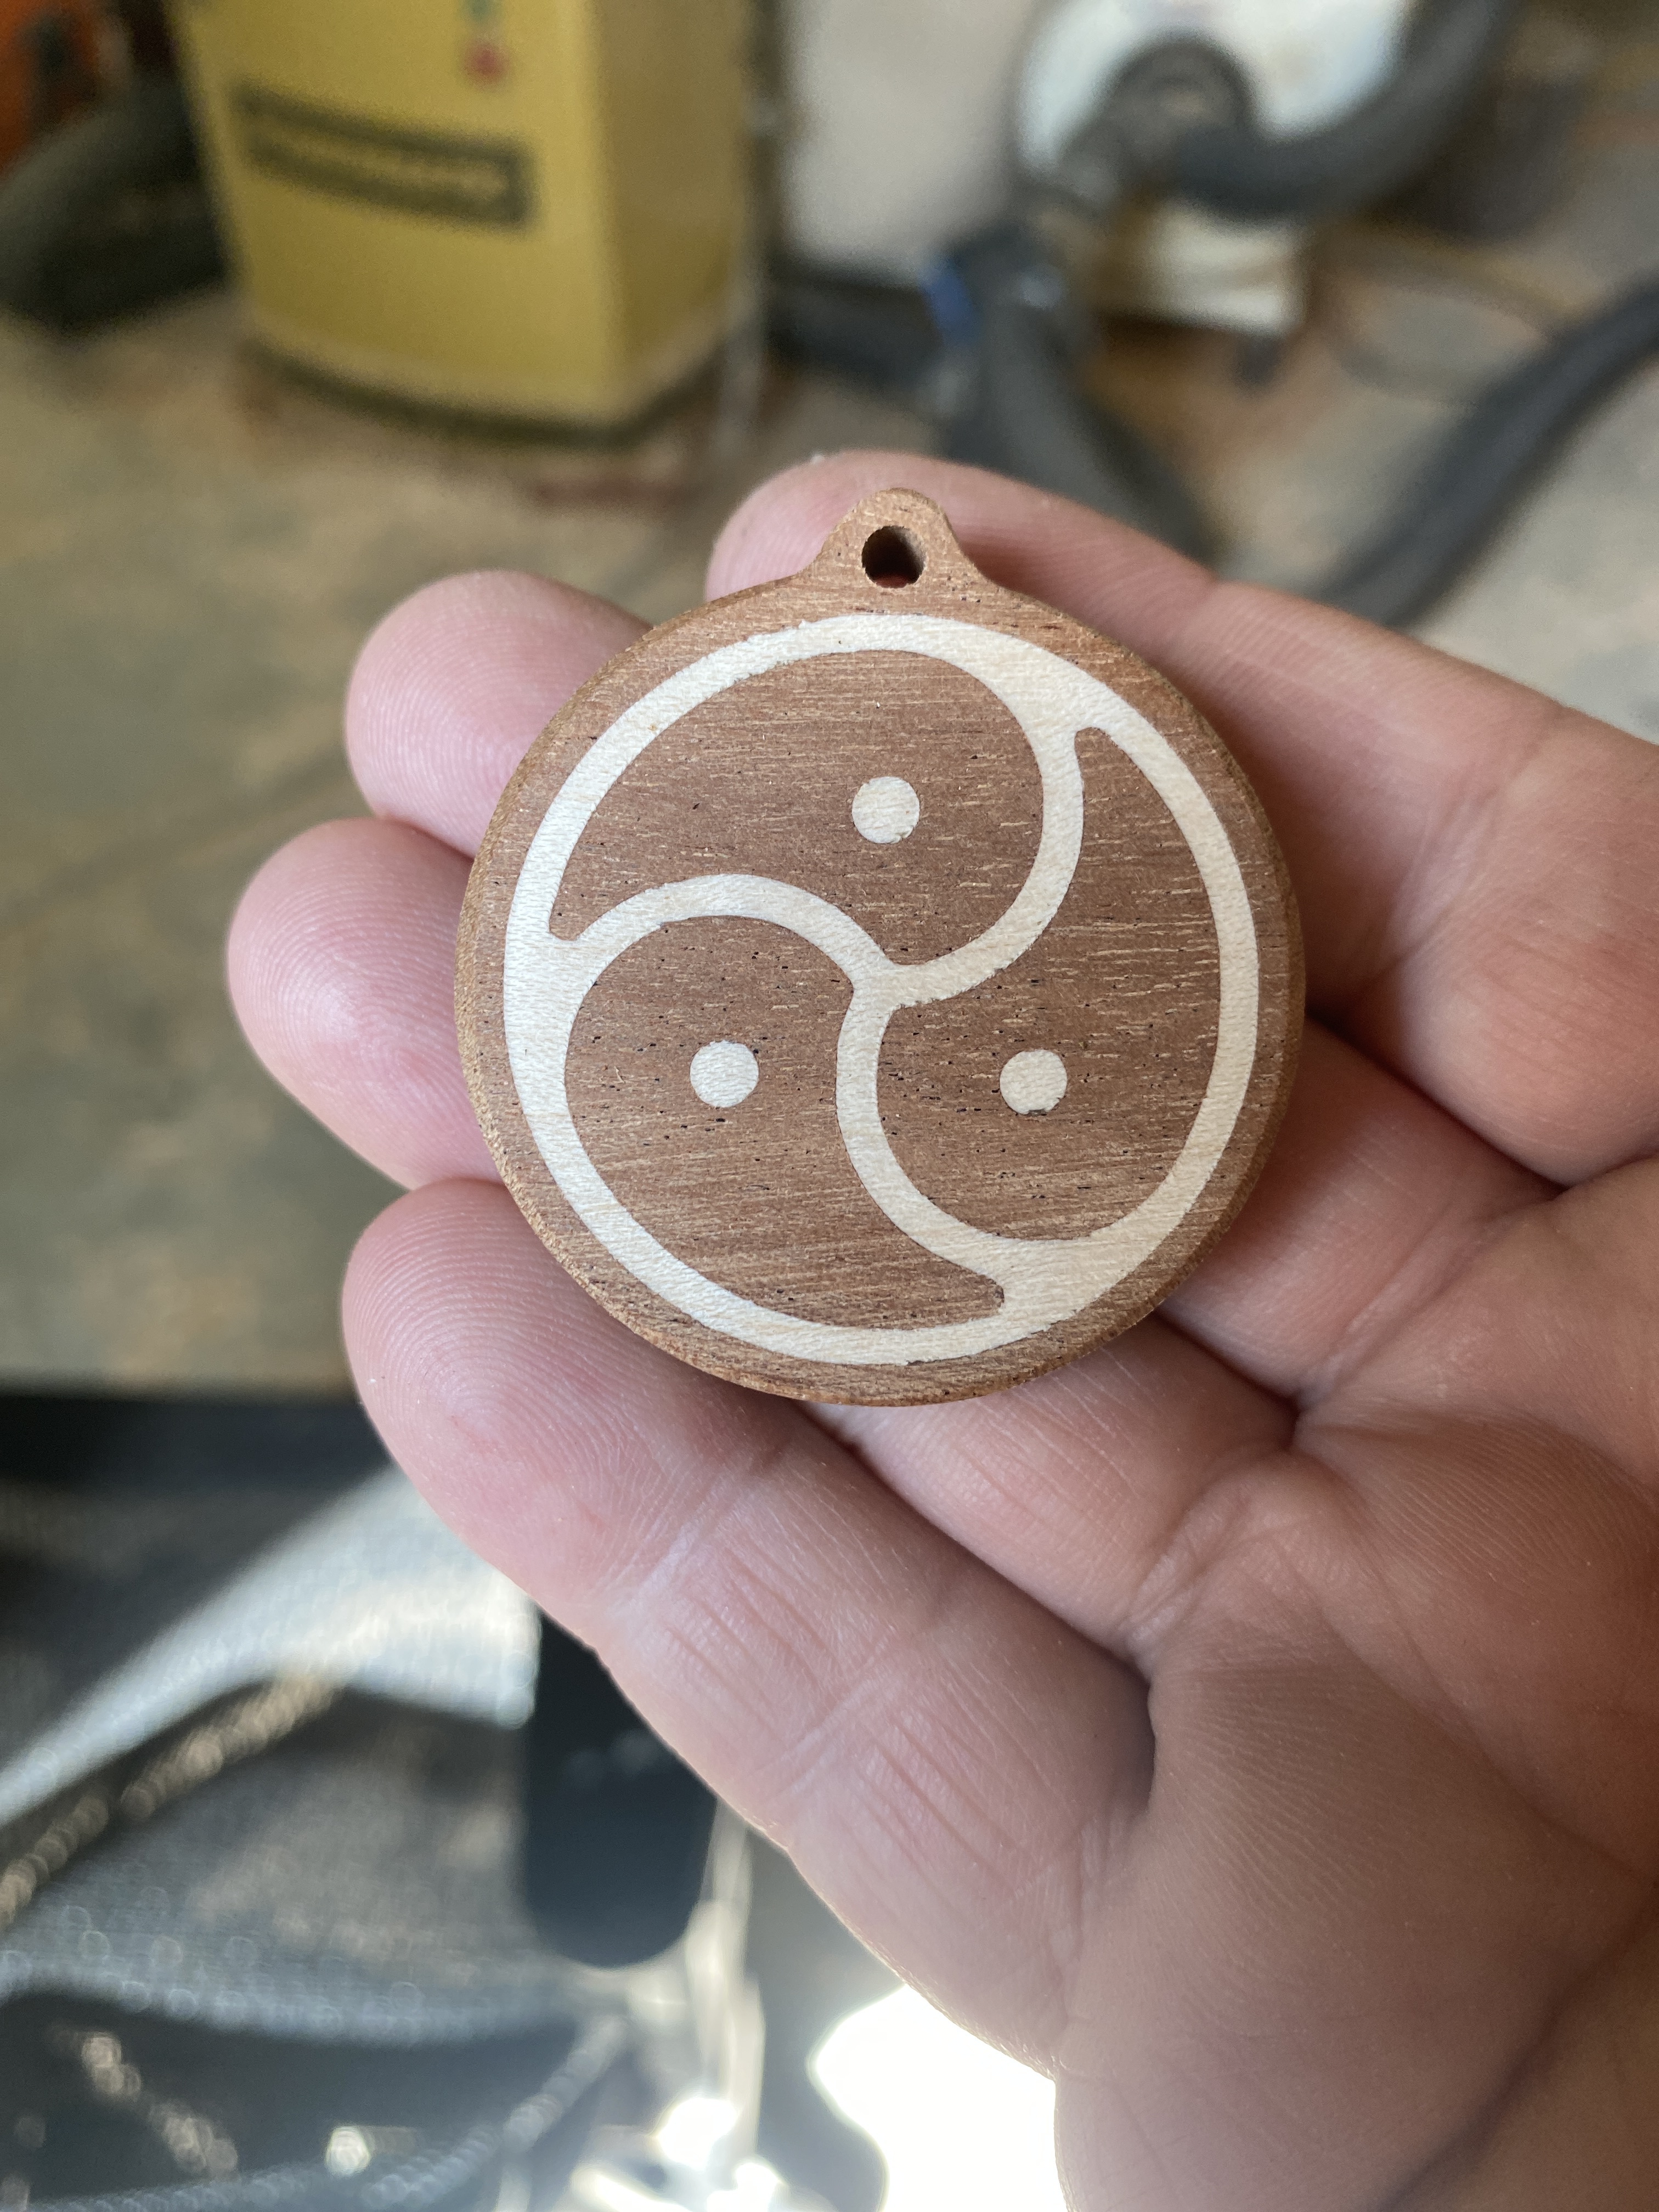
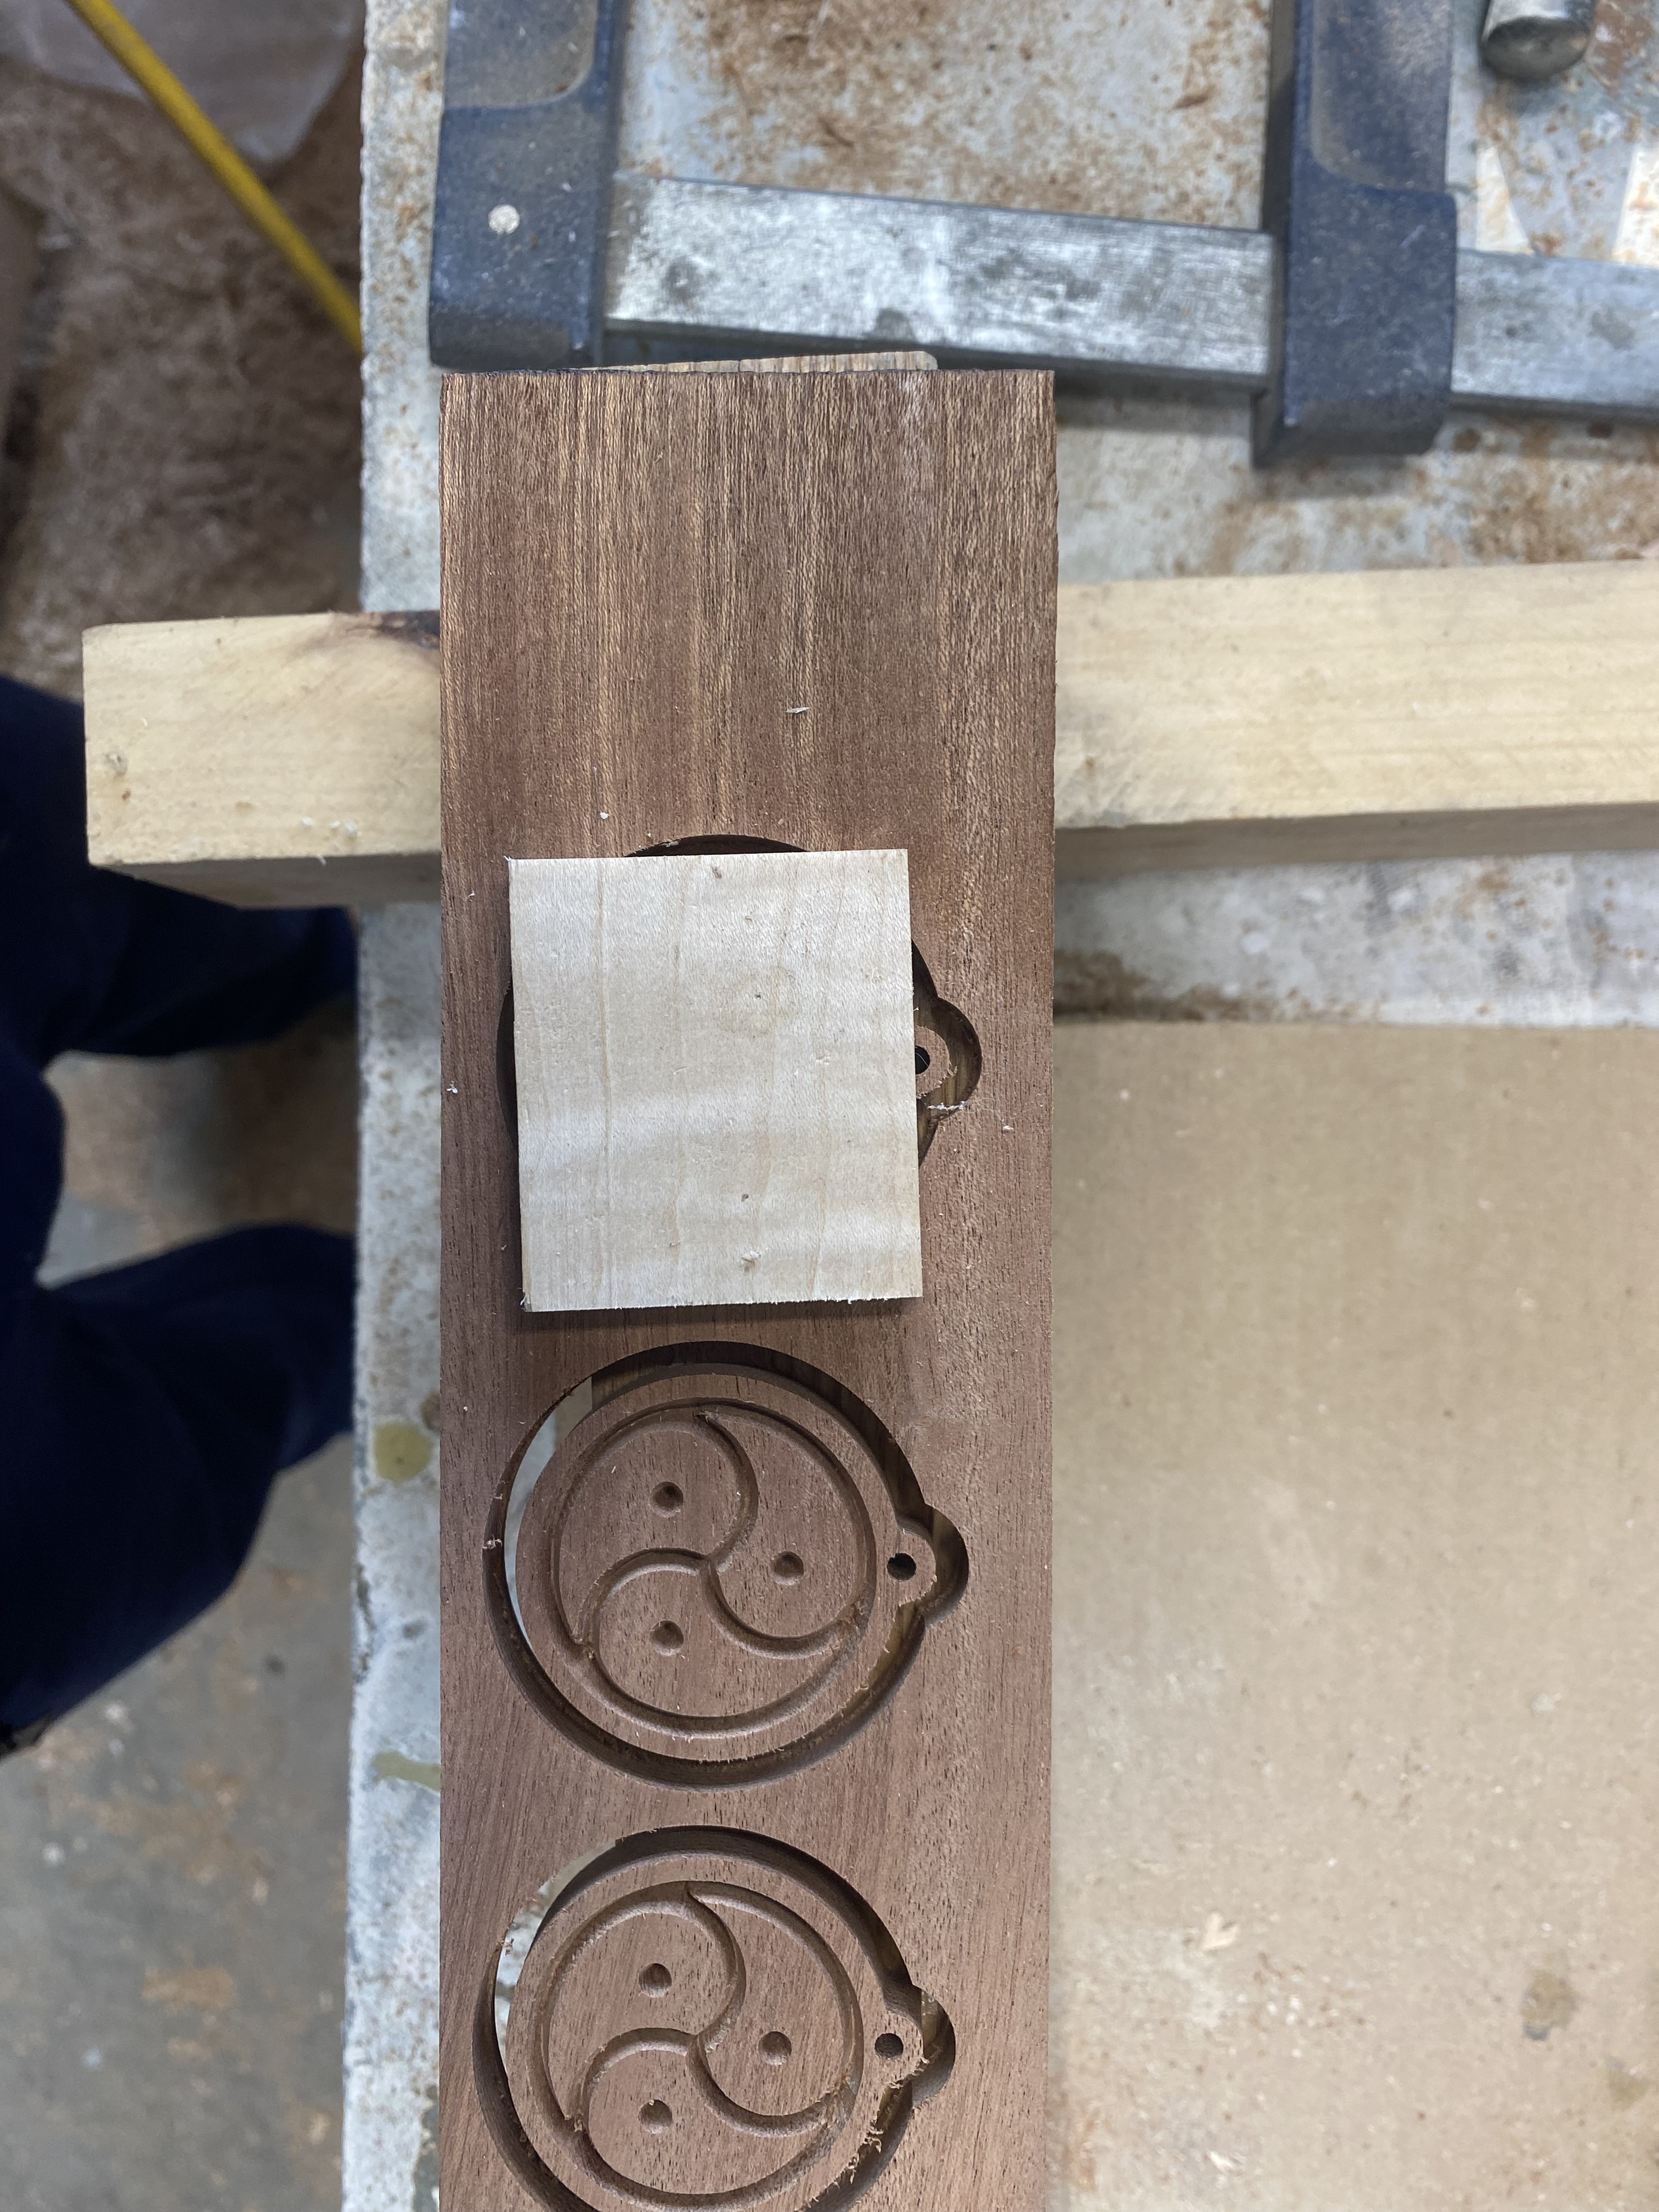
Also, here is a picture of the final product with the 45° bet on both sides are
6 Likes
I’m back to the same issue but now I have a huge glue gap on top and none on bottom causing a bag inlay .
Here pics of the end result cross cut
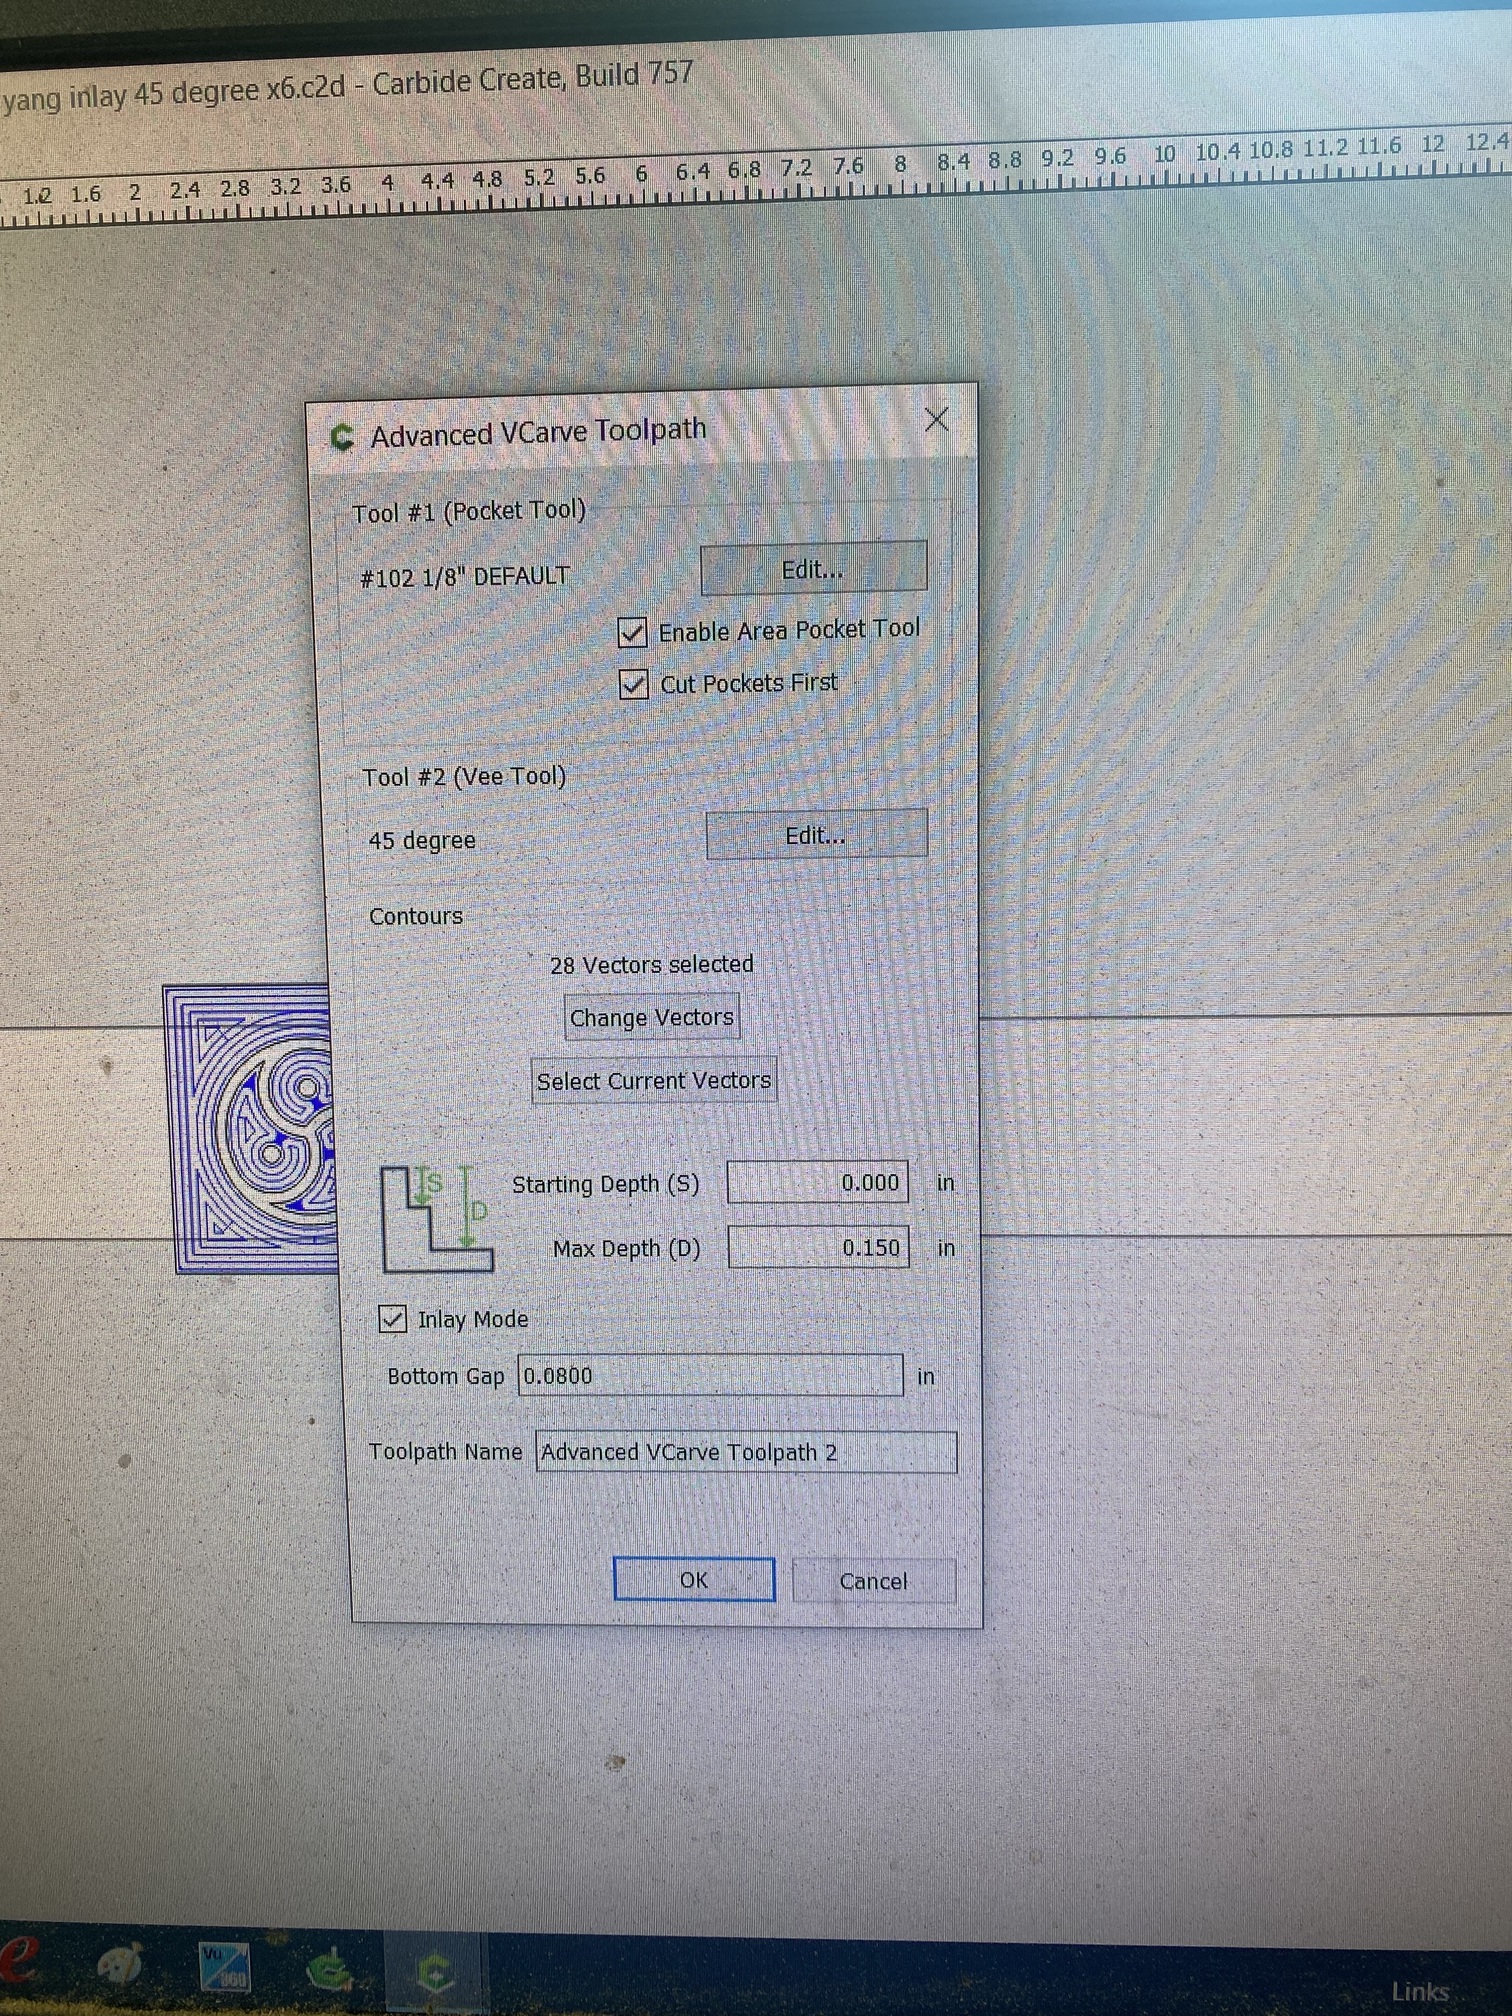
The pocket side has the same .15 depth for pocket as the inlay file in the pic!
I’m starting to wonder if this is too hard for the machine to make consistently?
I’m going on 2 weeks of not making anything but failed inlay.
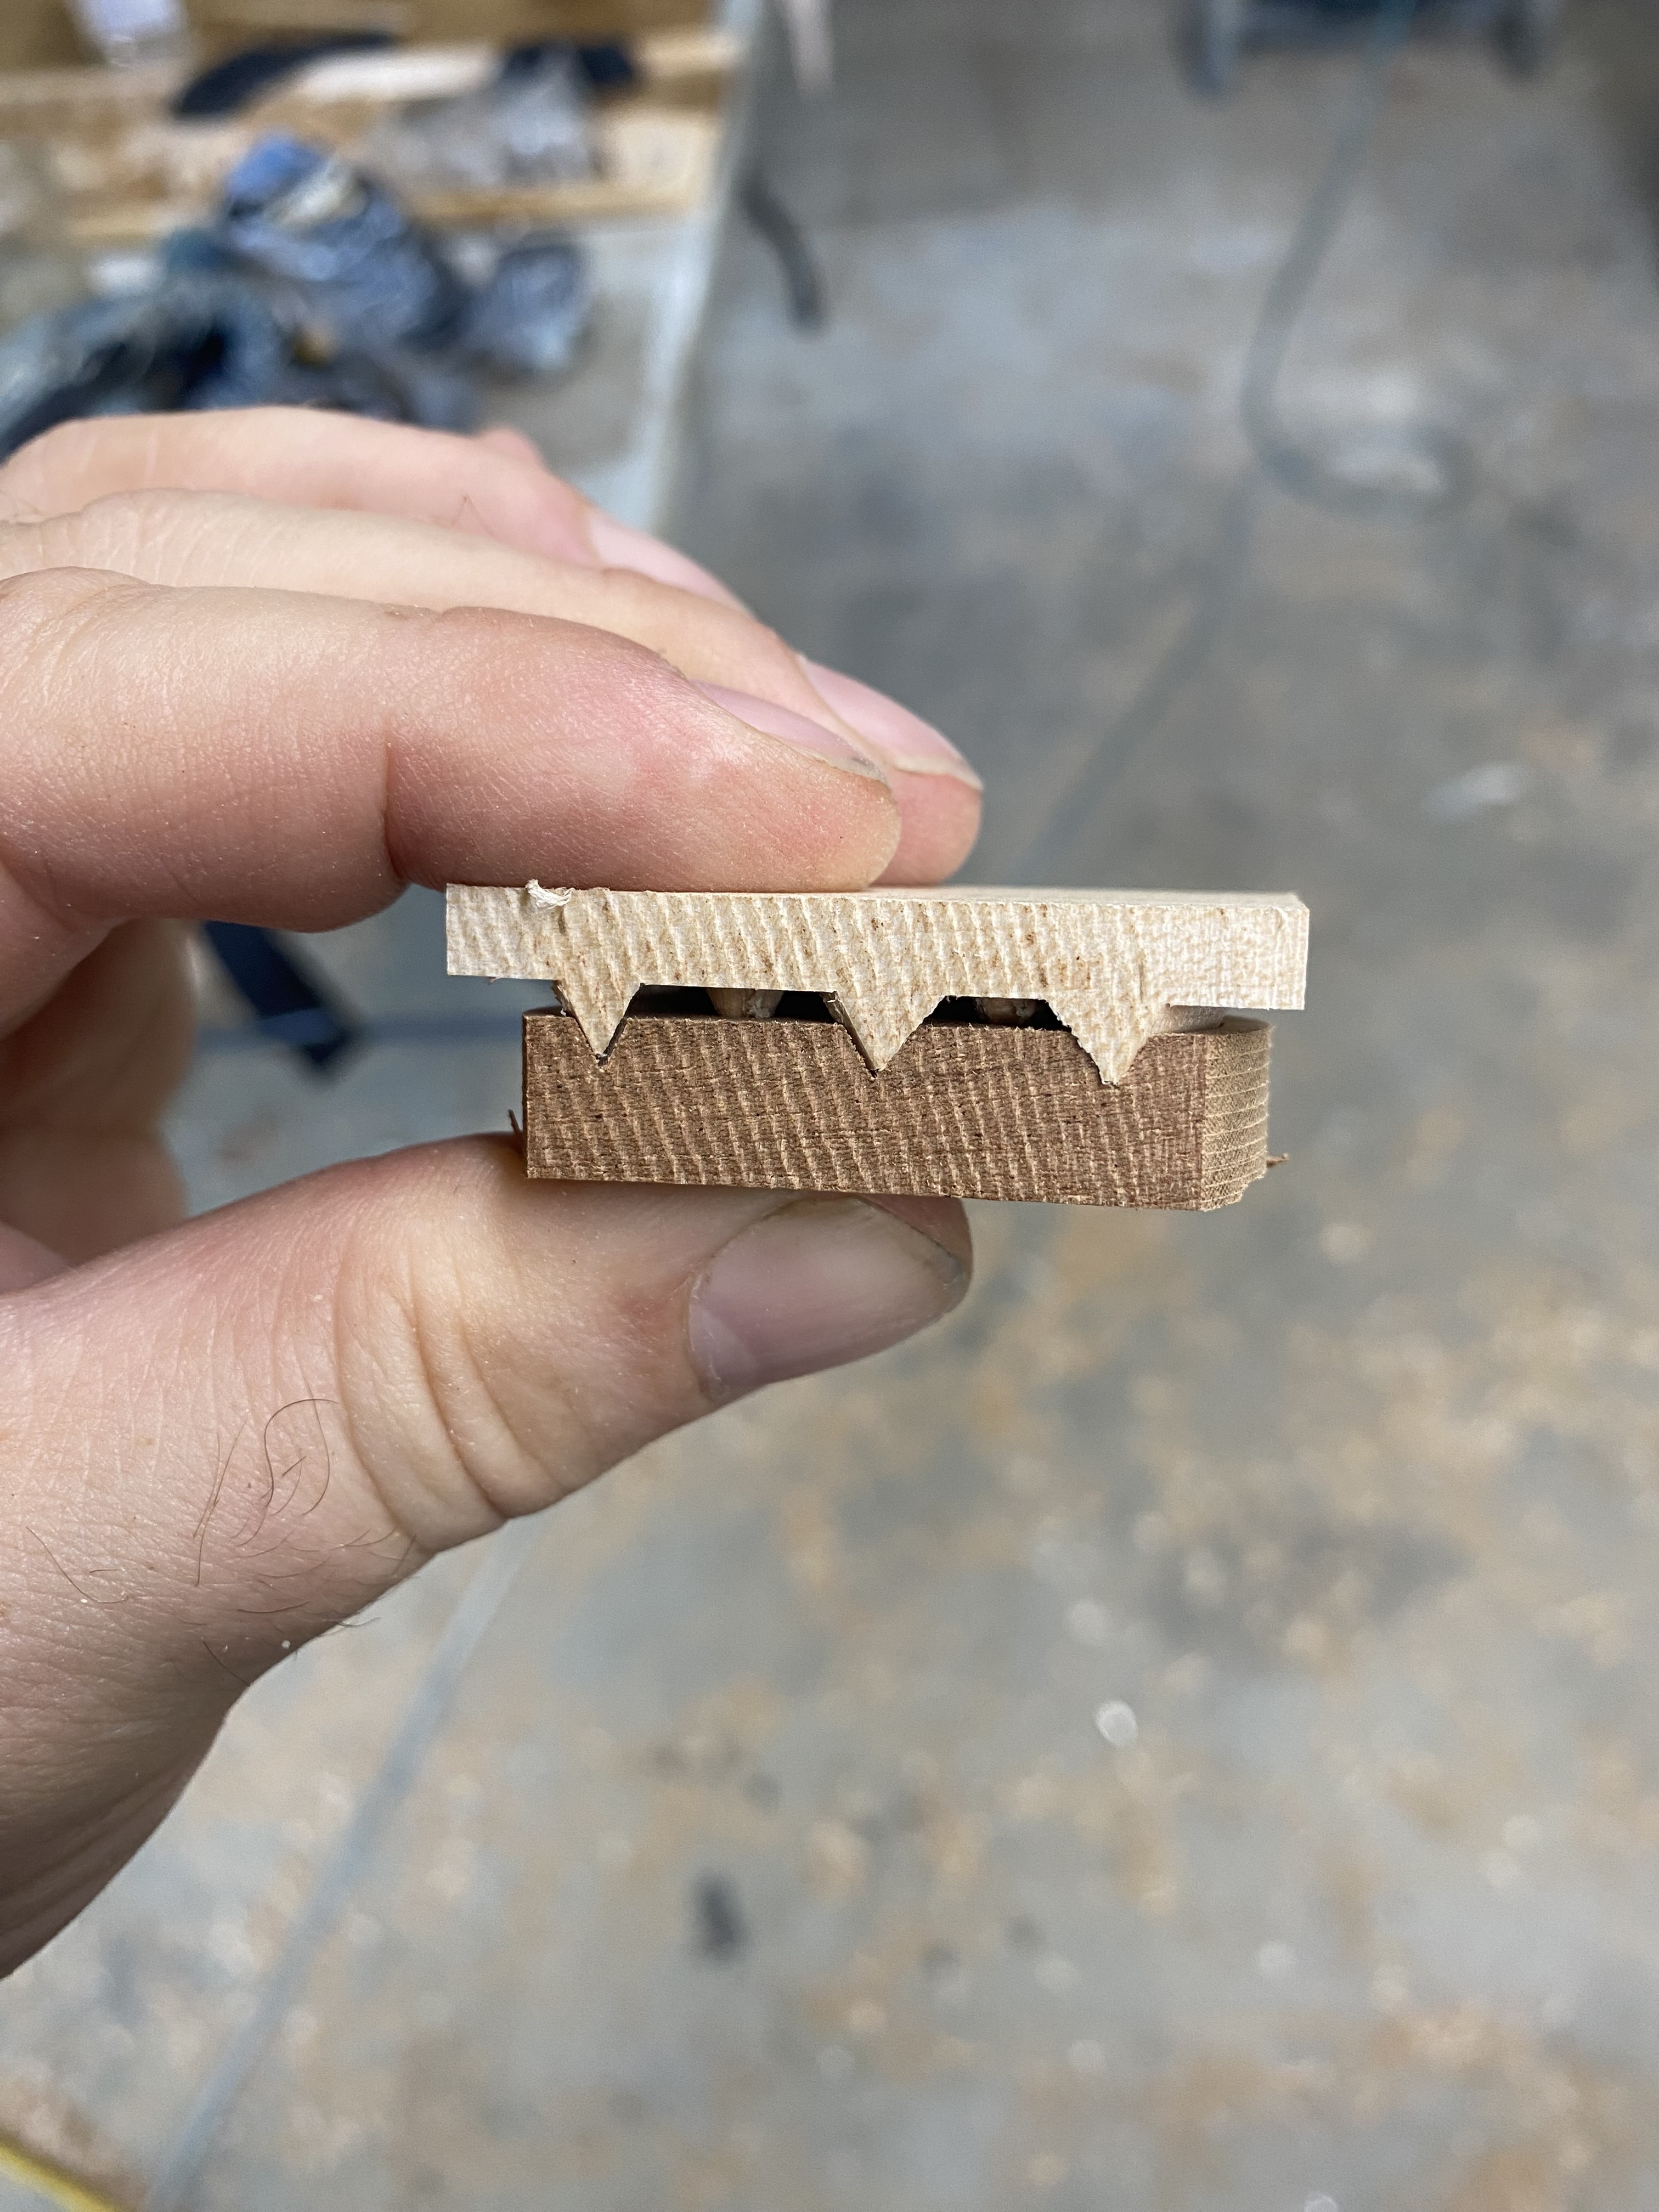
Sorry to spam so much information but here’s one more picture of what happens if I just sand about a little less than .1 of an inch off of the Emily and then try to fit it.

Did you measure the height of the male side, and the depth of the female side? They should both be 0.150"
Could you suggest a way I can get that measurement? I’m guessing the old tape measure is not gona cut it?
I do have digital calipers, but not sure how to use them to get an accurate measurement?
And I did double check in the settings in both files and both are .15 depth.
Is there a way to check that the images in both files are the same size?
I made the inlay file by save as the pocket file as inlay and then delete all but the image to be inlayed. Then I mirror the image and put a box around it. Then advanced v carve.