So many scraps what to do

I use Titebond 3 - I think its the best glue for cutting boards since it is waterproof.

Those boards were done in so many smaller glue-ups that it took most of the stress out of it. I think the biggest glueup I had was the last one and that was about 20 some strips, so I split it in two…glued the first 10 strips together and then once that set up added the next 10 to it.

5 Likes

I agree on Titebond 3. That’s what I use since cutting boards get wet…

5 Likes

Now those are inspirational! Much better use of scraps then my suggestion.

On my list, near the top, thanks!

1 Like

Hey @i3oilermaker…I like this logo on your cutting board. What is it and how did you make it?

I got a branding iron made from https://www.gearheartindustry.com/ although I have seen a lot of people make their own out of a chunk of brass. I do like the temperature controlled iron as opposed to just hitting it with a blow torch.

As for the logo, it is my initials BA as I have referred to my woodworking endeavors as BA Shopworks (https://www.instagram.com/bashopworks/) My wife who is a talented architect and artist sketched it out and I scanned it and vectorized it.

2 Likes

I have been thinking about using the Shapeoko for a juice groove but I am paranoid I won’t get it centered properly…can you walk me through your set up? Do you do the groove last or do you also cut the profile of the board so you know it is centered properly?

I do the groove last. Get the board done and make sure it has perfectly square corners. If the corners aren’t square then the board is effectively a parallelogram and the juice groove is a rectangle, and when you cut the groove it won’t be parallel to the edges of the board. I dimension cutting boards on my table saw because they are almost 2" thick. But you’re on the right track - if you can dimension it on the CNC and then cut the juice groove without removing the board, you’ll be assured that the board and juice groove line up perfectly.

As far as centering, I put a piece of tape in the middle of the board, then draw diagonals to mark dead center. Then I temporarily chuck a Vee bit and use it to zero X and Y. Then I chuck a 3/4" bowl bit and zero Z.

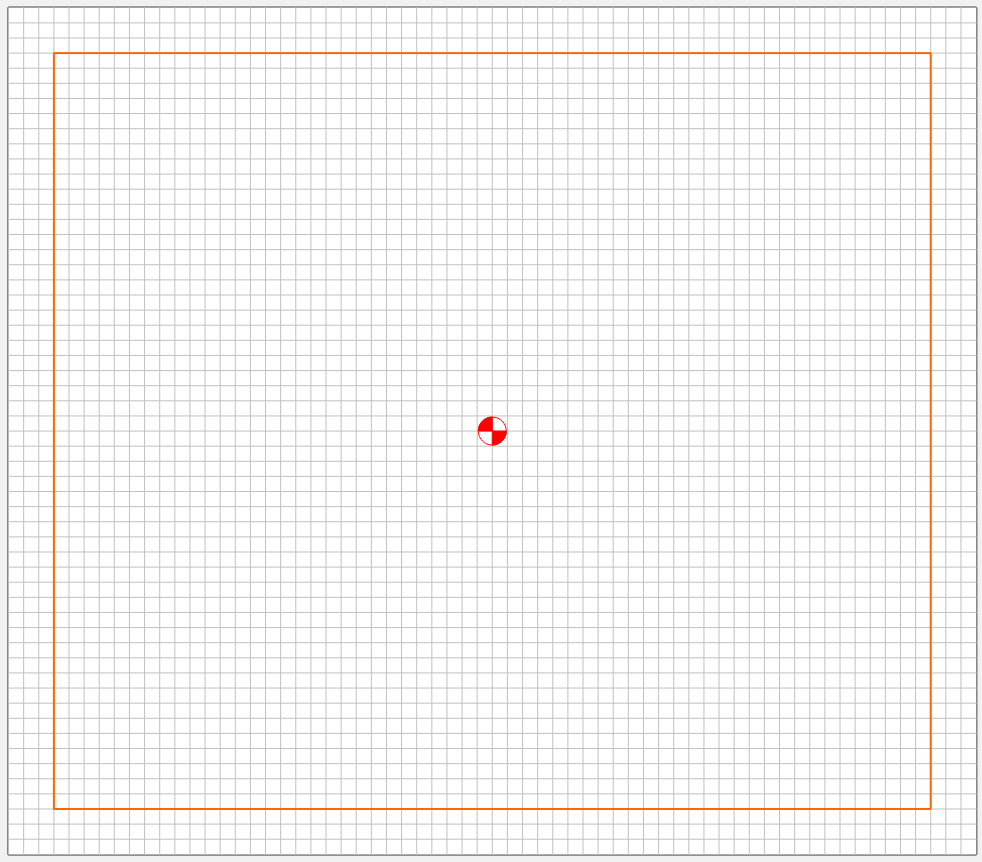
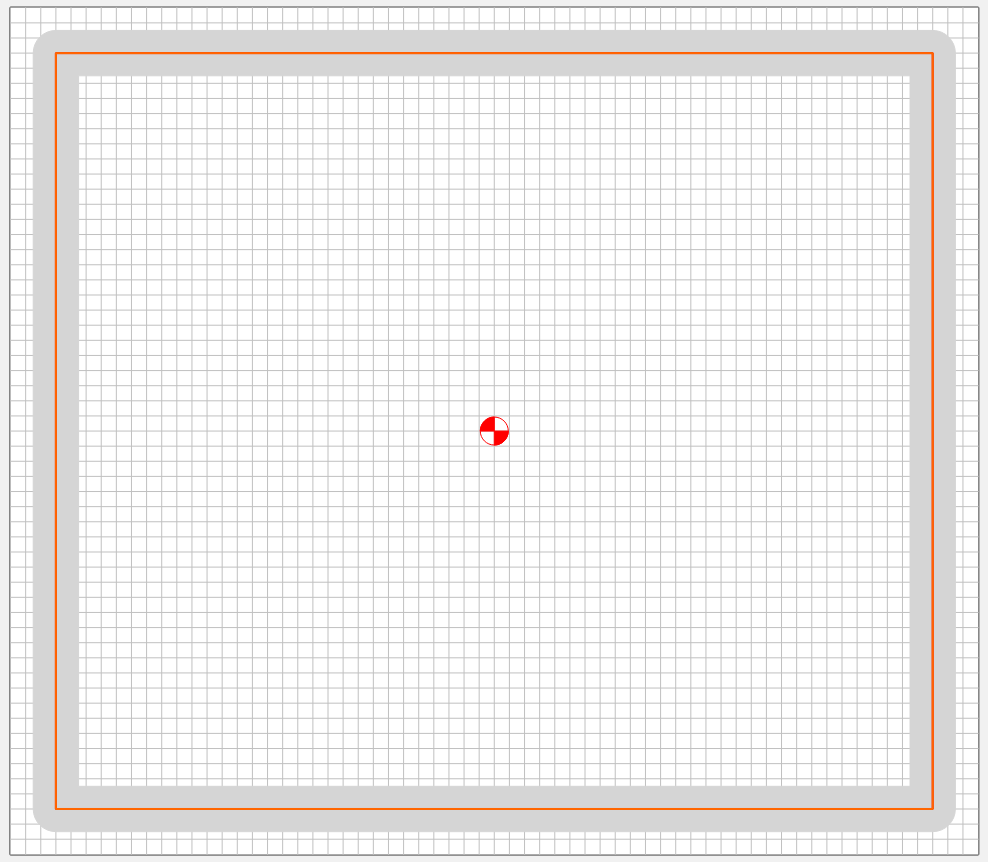
Draw a rectangle as a toolpath, centered on the board and 1.5" smaller than the board, leaving a toolpath 3/4" inside each edge:


Then cut a contour (no offset) to follow the line:

The groove is 1/4" deep. End grain on hardwood is really “hard” so I used .02 DOC. Which means it makes 12 laps @.02 and a final lap/finishing pass at .01.

You need to make sure your board is held down in perfect alignment with X/Y of the machine (unless you do both the dimensioning and grooving on the CNC, in which case “close” alignment is good enough.)

I practiced the groove on some test/scrap endgrain that I made from cutoffs before I cranked up the nerve to do the real thing. Good thing too, because in my first test on the thick “test” board, my retract height was too high, the stock Z hit the top, lost steps and came down on a rampage, drilling for China. So for thick boards, make sure you don’t run afoul of this…

4 Likes

Wow thanks for the detailed description. I have seen a few youtubers do a first pass with an engraving Vee bit making the works tiniest juice groove but also ensuring alignment while the stakes are low.

Your approach is what I had in mind - sorry if I thread-jacked here – feel free to resume with awesome scrap creations!

1 Like

Great idea - I think I’ll add that step to my process…

1 Like

Those look great–any concern that the V-carved “Karen’t Kitchen” will catch bits of food and promote bacteria growth?

Nah, not really. This side is only used for veggies, nothing icky that could get stuck, and everything rinses right off. And besides, everybody I give them to thinks they’re too pretty to chop on so I think they wind up being decorations.

3 Likes

Someone asked about glue. The Titebond III is a great glue, it has a little bit longer wet time over Titebond I&II. You can use epoxy but that is a mess to clean up. I do use Titebond II on segmented bowl projects. The Titebond III sets up very hard and can be brittle so dont use on projects that would be subject to constant stress. The Titebond II sets more playable. During the turning process a lot of stress and shock is transmitted through a segmented bowl or vase so that is why I use Titebond II. But everything else I make I use Titebond III. For making pens I use CA glue to hold the wood to the brass. I tried using epoxy but had too many failures when turning. The wood would split off the brass pen blank so I went back to CA.

I buy Starbond CA glue and when opened I put it in a plastic bag and store it in the icebox. I have gotten some strange looks when guests get in the refrigerator to get a drink and see the CA Glue.

6 Likes

WOW! Nice looking boards. So now what do you do for scraps? :slight_smile:

2 Likes

@ScottsdaleSteve Hey Steve. I also do the kinds of boards you’re doing (we love our scaps and can’t throw ANYTHING away!)…Here are a couple of mine:

And a link to more

Question for you: When you’re putting that drain in your boards, are you putting it on an angle or just an edge groove? I’ve been developing a technique to drain to a juice pocket in the lower corner of the board…so the groove gets deeper diagonally towards the pocket and the liquids flow there. It’s easier to clean up, move the board, etc.

I’ve had a hard time modeling a descending diagonal - and ended up building a greyscale gradient in Photoshop and then used it to Model the slant in CC-Pro.


However, I was hoping there was a better way. Any ideas?

3 Likes

First of all, I’m really liking your first board with the long pieces running in the long direction of the board. Kind of like a hardwood floor - I’m going to try that.

Regarding the juice groove, mine is the same depth all the way around. Hadn’t thought to slope it, but that’s an interesting idea. Have you tried cutting your model in a piece of scrap MDF or plywood to see if you like it? Then slop on some poly or other finish for water resistance, then test it with fake “juice” (water). I’m wondering if you had a piece of meat with a lot of juice, if it would overwhelm and breach the moat in the corner?

I did do that - into a piece of plywood and it worked. I want to redo it - with a round well, better scaling, and a smaller grade - but I wanted to get the technique down first.

It was really tricky, playing with shades of grey, to get the well to slope properly and not to any extreme. It’s supposed to be a subtle grade, otherwise, it ends up sloshing over the ends of the well.

My understanding (which is limited) is that, in a more powerful 3D modeling tool, you could create a plane, tip it the way you want it, and then create a cutting tool to cut down into your board along that plane - and voila! But for my level of experience, I’m well-skilled in Photoshop and it can work. But it’s a shame we need to go outside of the product (CC-Pro) to do things like this.

1 Like

since it needs only a pretty minor slope… wonder if its simpler to just to put a little wedge or something under the stock in one corner to make it slightly uneven,

(I am about to go design my first cutting board so am considering options… would likely want to use a bowl-bit or a round bit for the groove for sure… 3D modeling with that is not impossible obviously.
Worst case I make a small gcode post-processor that lets me put in a gradient slope I suppose… that’ll take me maybe 30 minutes or less to code, versus complicated design time so I’m torn)

2 Likes

@GJM and @ScottsdaleSteve, more beautiful work, thanks for sharing.

Any tips on glue-up?

Also, on the juice groove, another approach, I’m guessing you could, in F360, do 4 offset/angled planes, one on each side? I’ll have to try it.

An ANALOG solution??? Booo! :slight_smile:

2 Likes

Joint everything. Really important to get smooth seams, or you will be filling forever…and it won’t look nice. You need to make sure water doesn’t get in the seams - that’s about the only thing that will destroy your board. They’re amazingly durable.

Do one row at a time. It’s a couple of glue ups…one for each row, then joint that row and do a glue up (or more) to make up the rest of the board. Then flatten the whole thing on a flattening sled, as you would a slab. (I suppose you could use your CNC for that too)

4 Likes