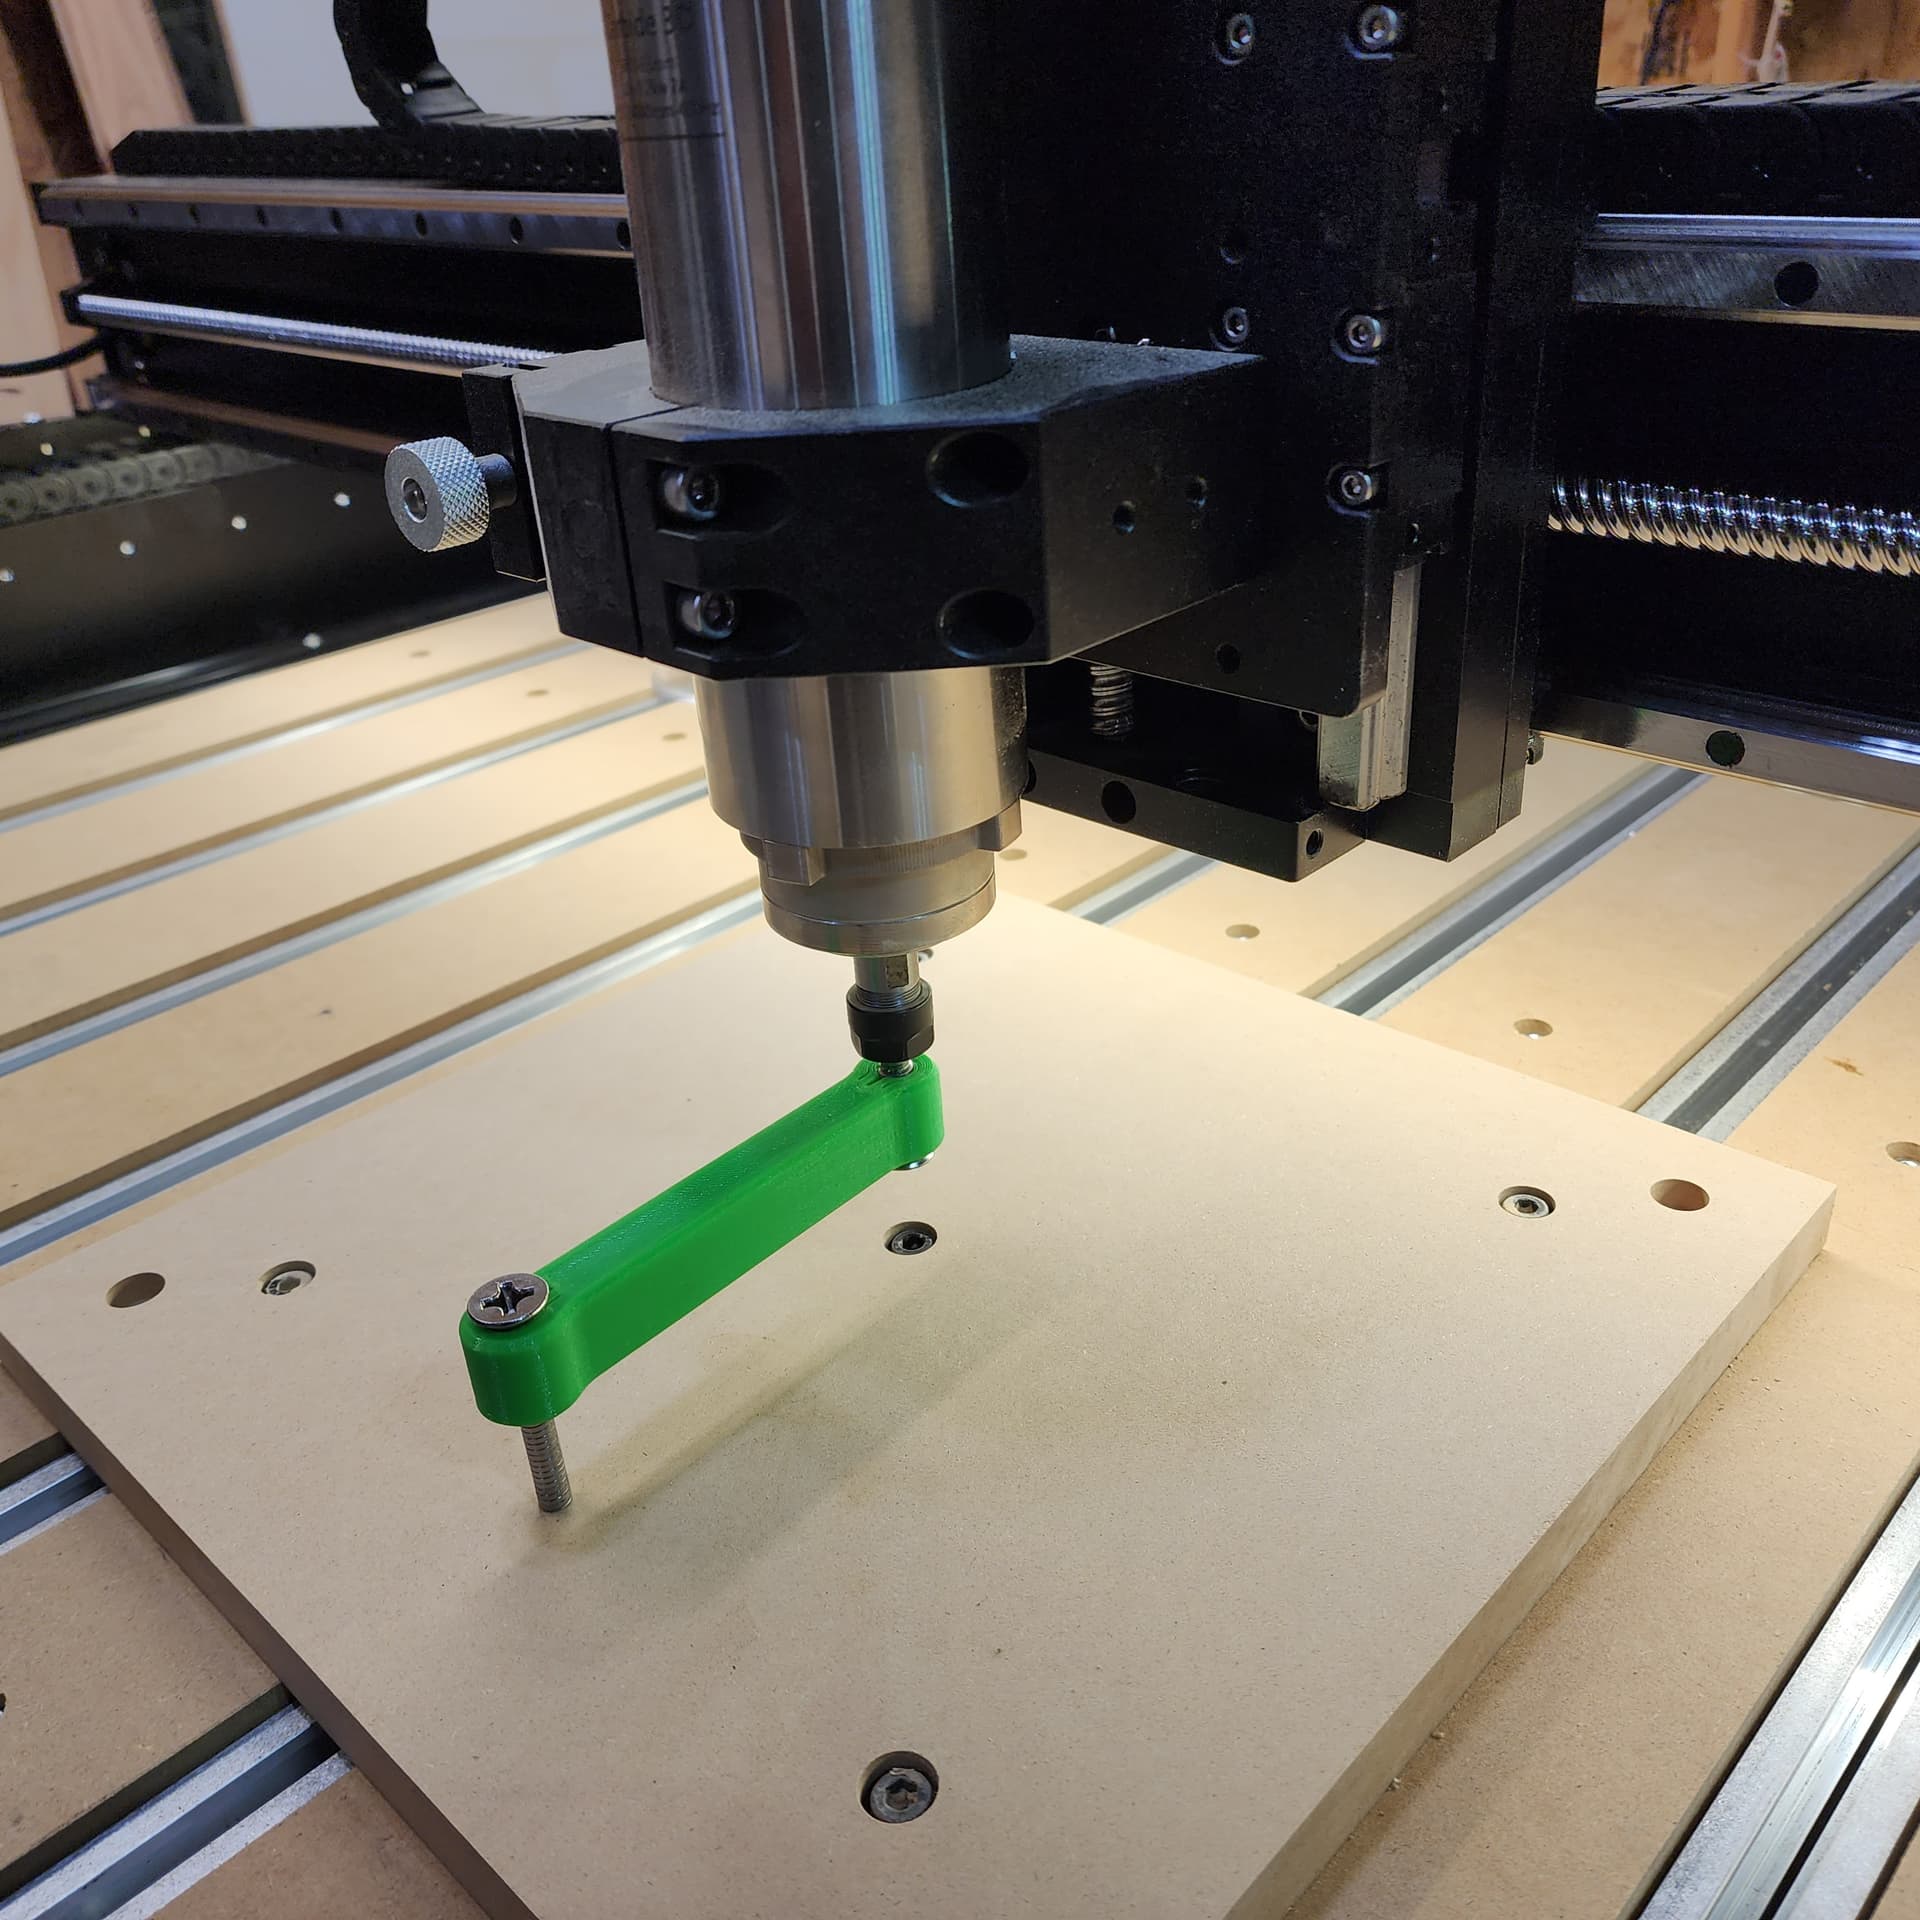
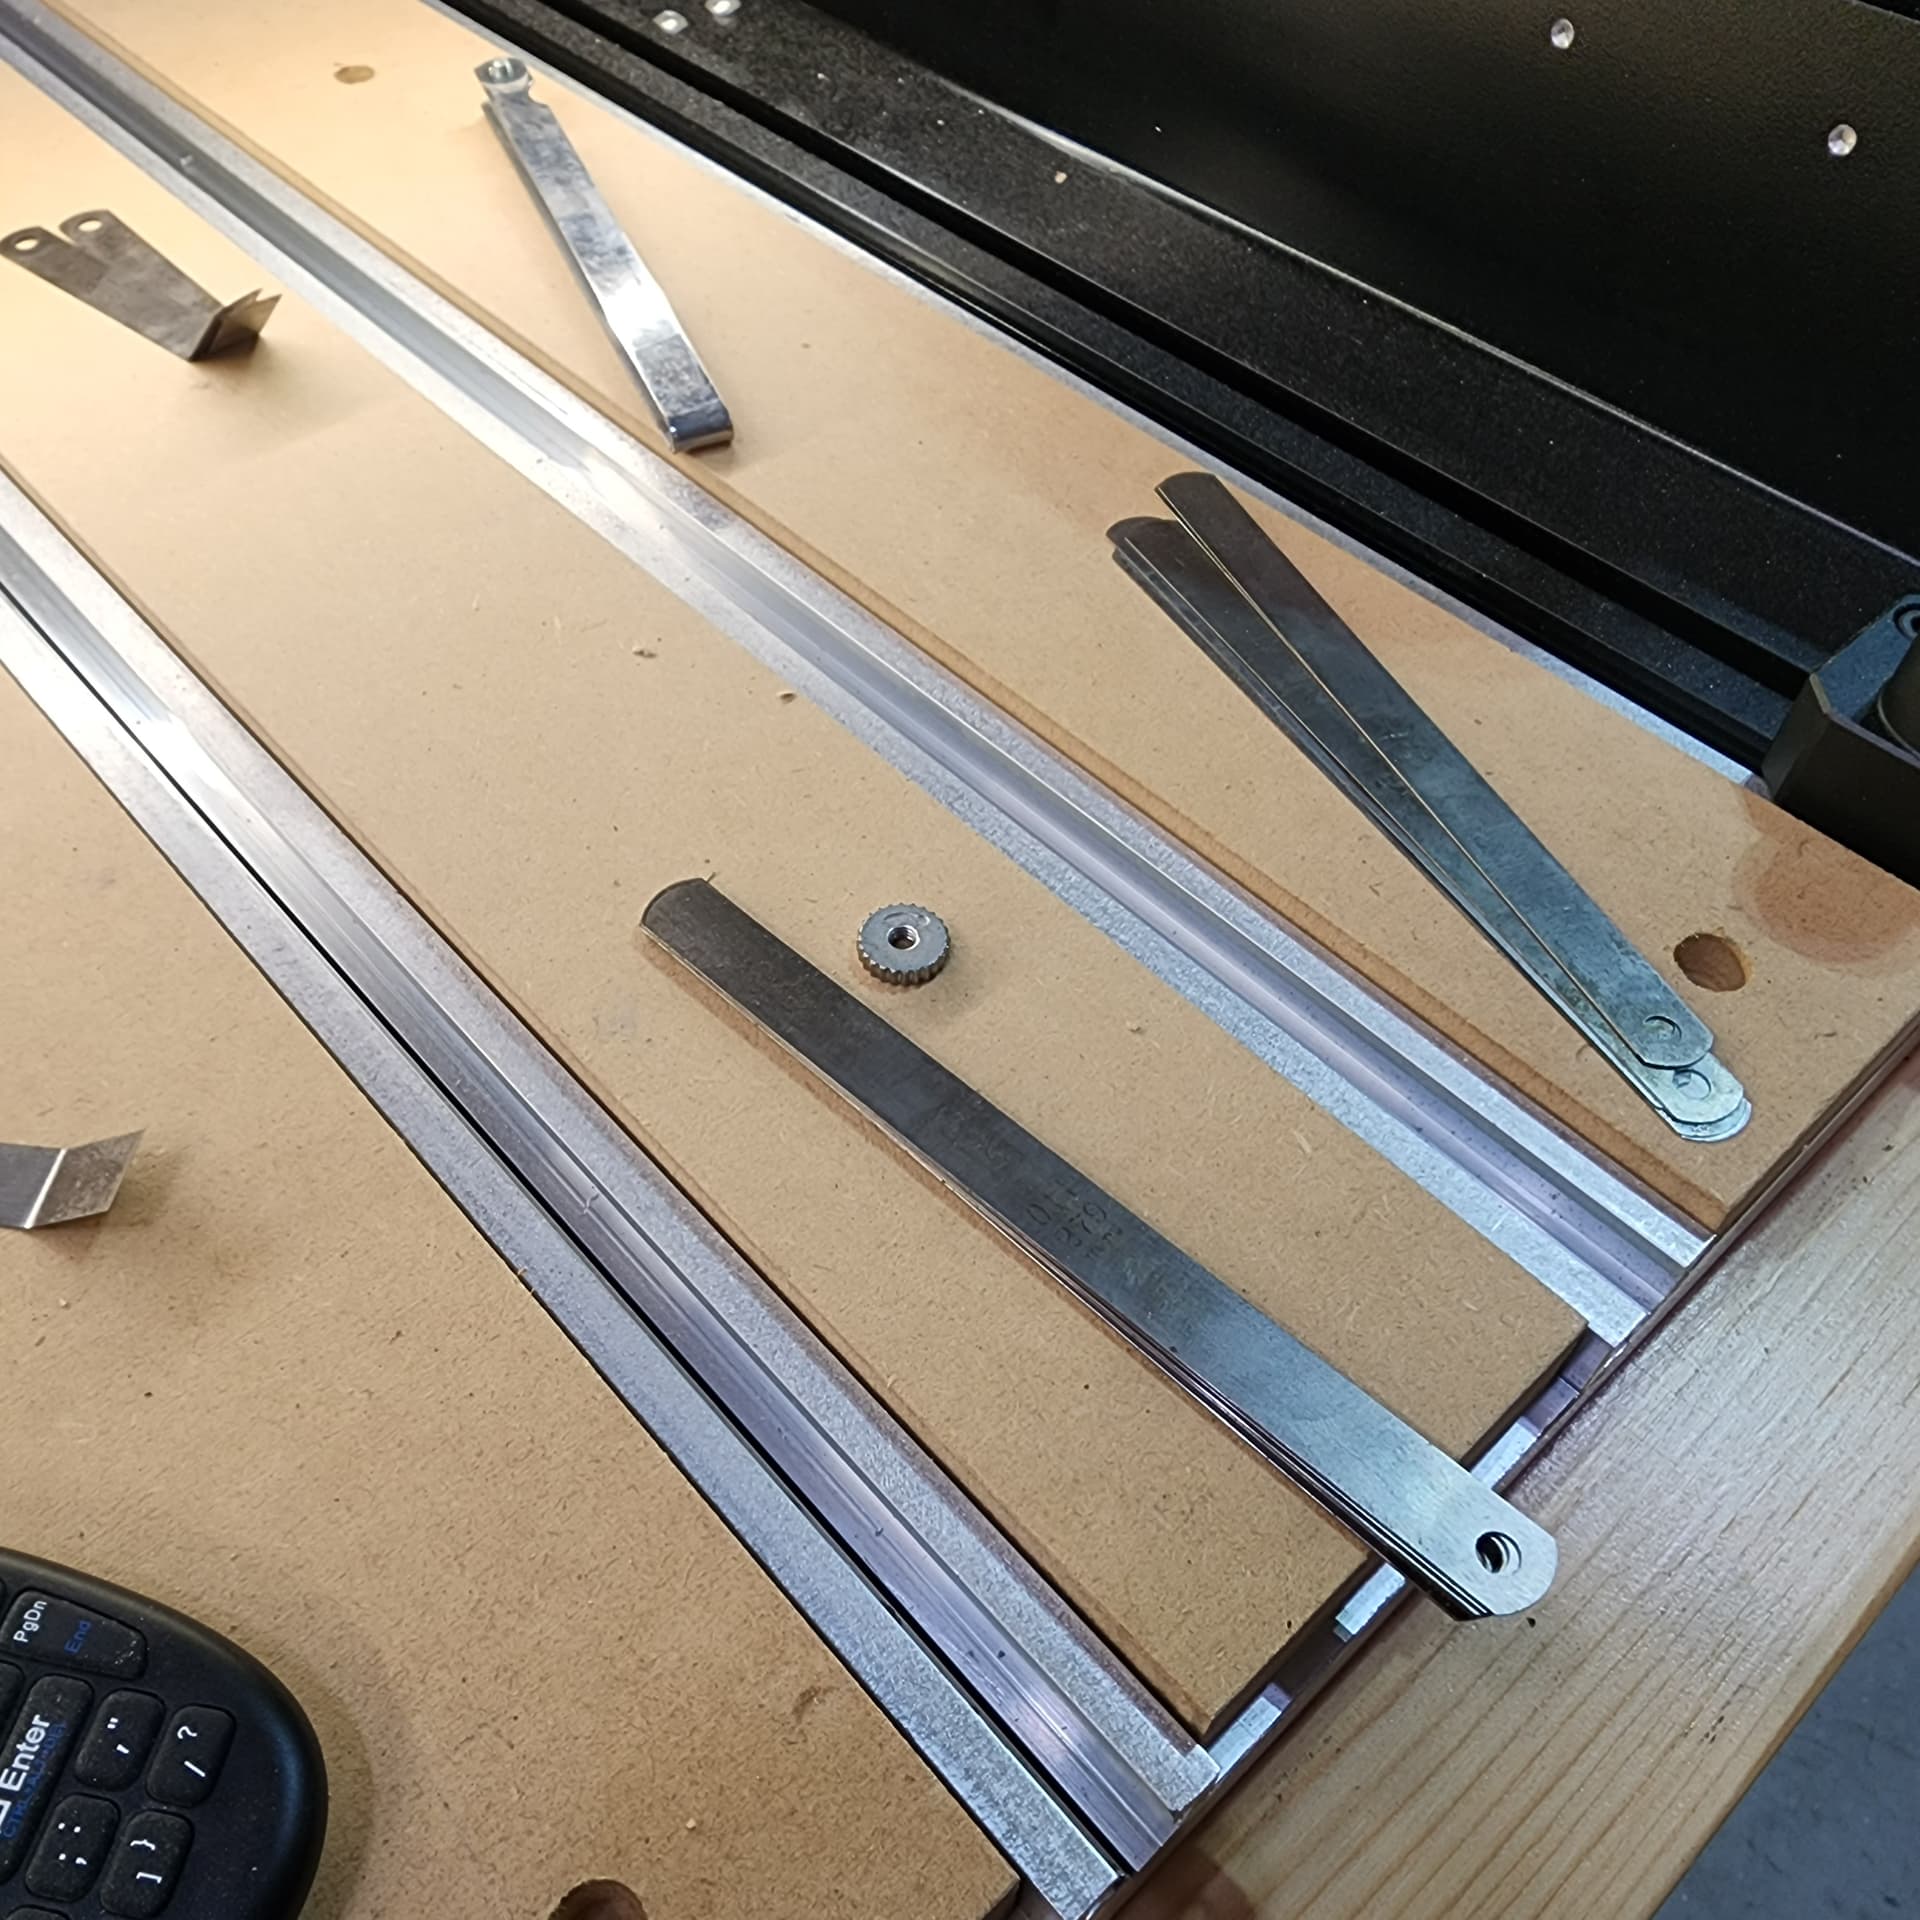
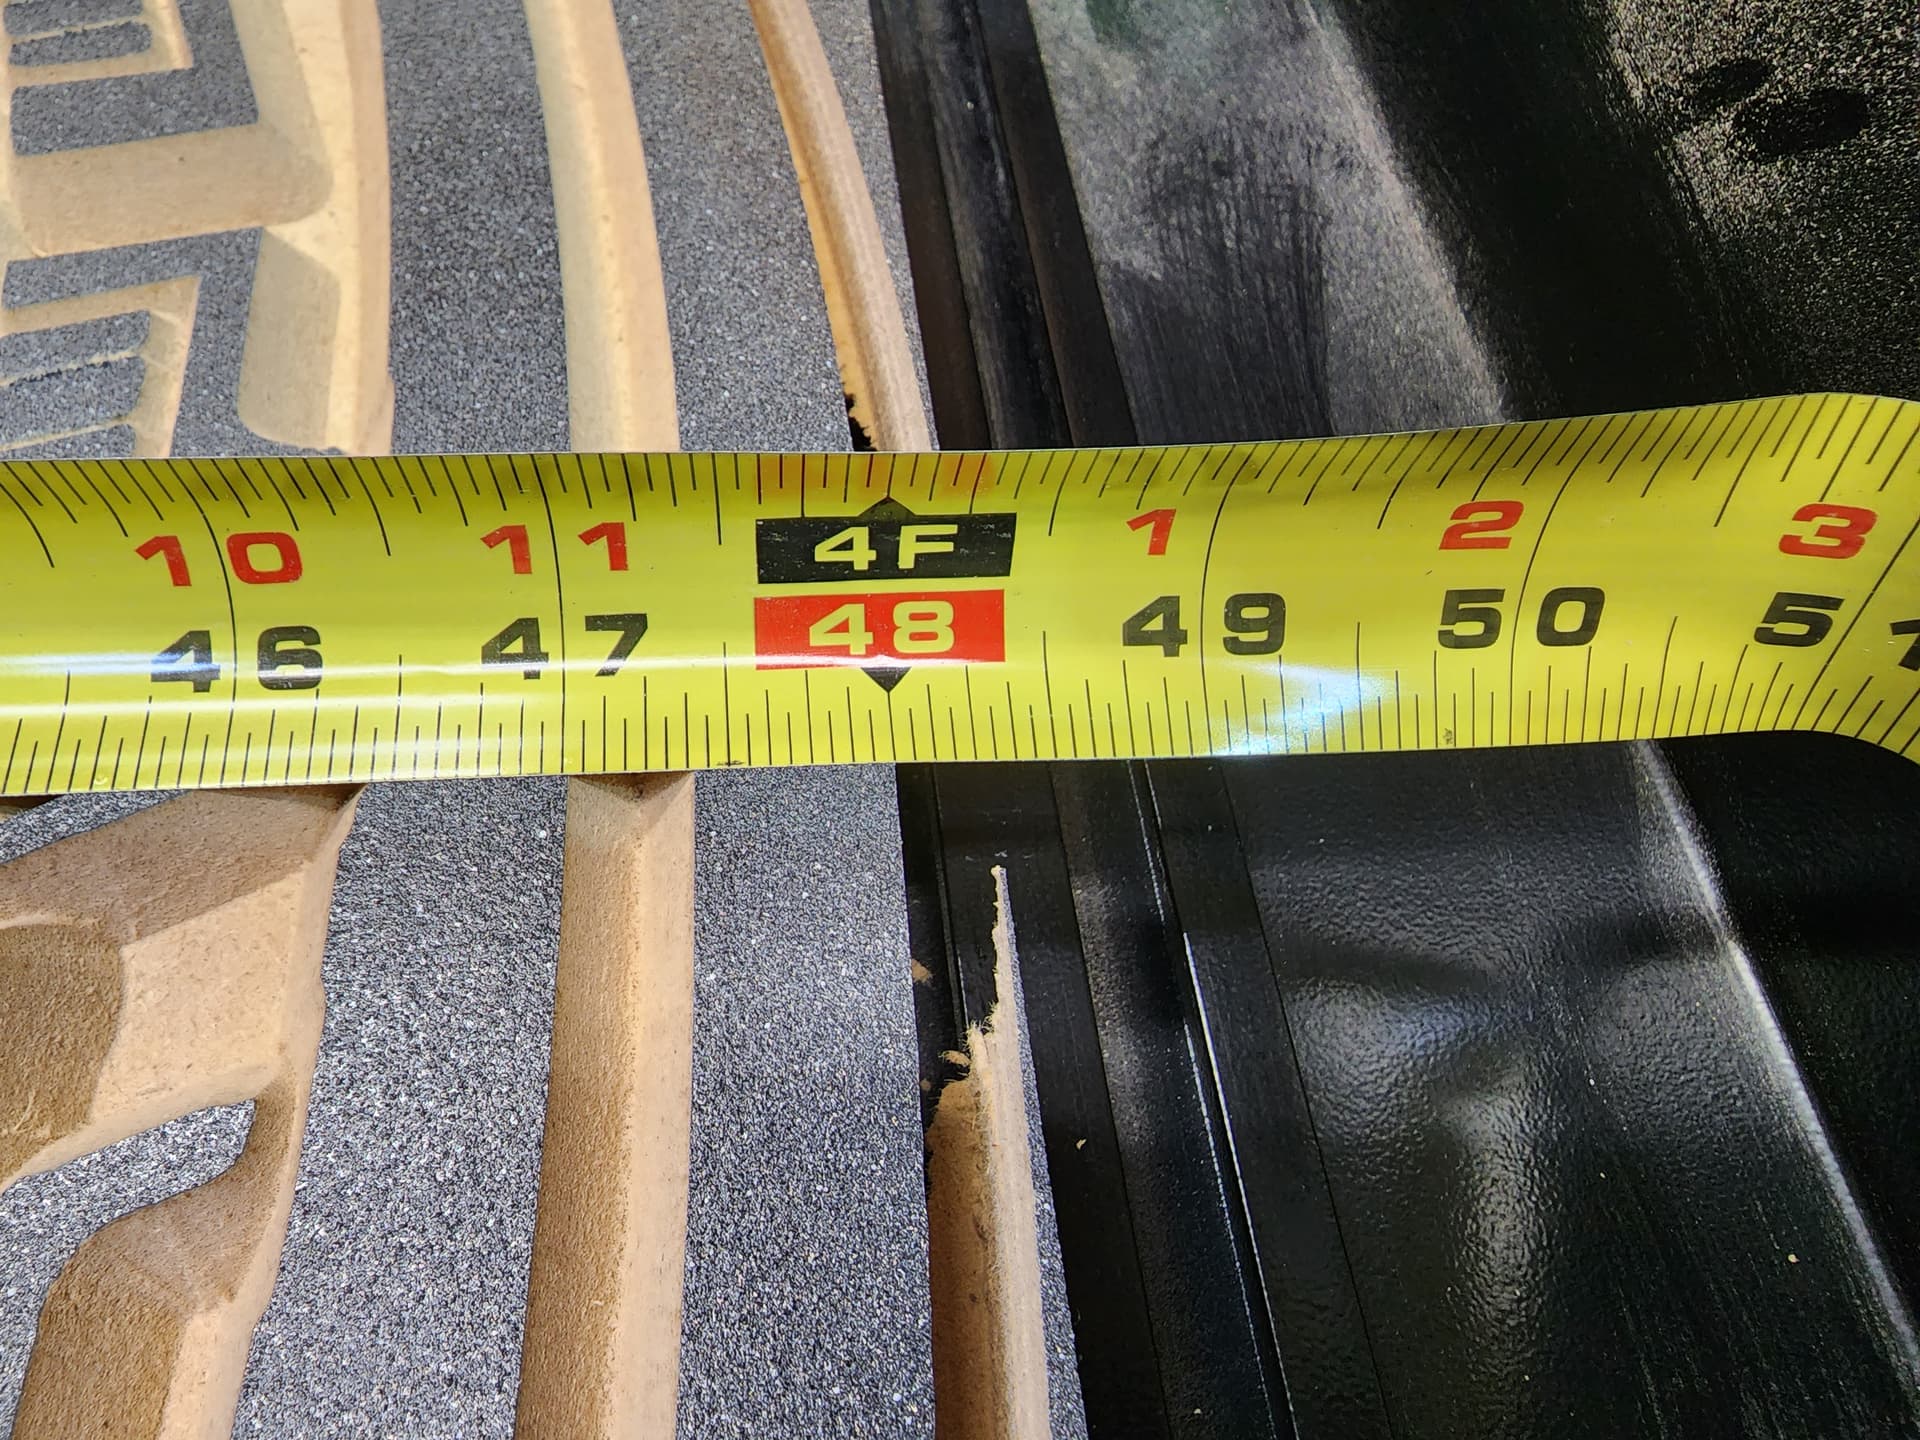
Can you elaborate on your tramming procedure? Looks like a 3D printed piece there - are you just looking for the screw to touch the MDF evenly as you rotate it? What are you using for shims?
I bolt down that piece of MDF and surface it using a 1/4" endmill with a small stepover. That way even if tram is way out it is still fairly smooth and is leveled to the bed.
You’re right, you just want the bolt to enenlt/barely scrape the board all the way around when you’re done. There are fancy tools to do this as well, but I’ve found keeping this simple works great. This arm is one I 3D printed that was put on Thingiverse by a Shapeoko owner.
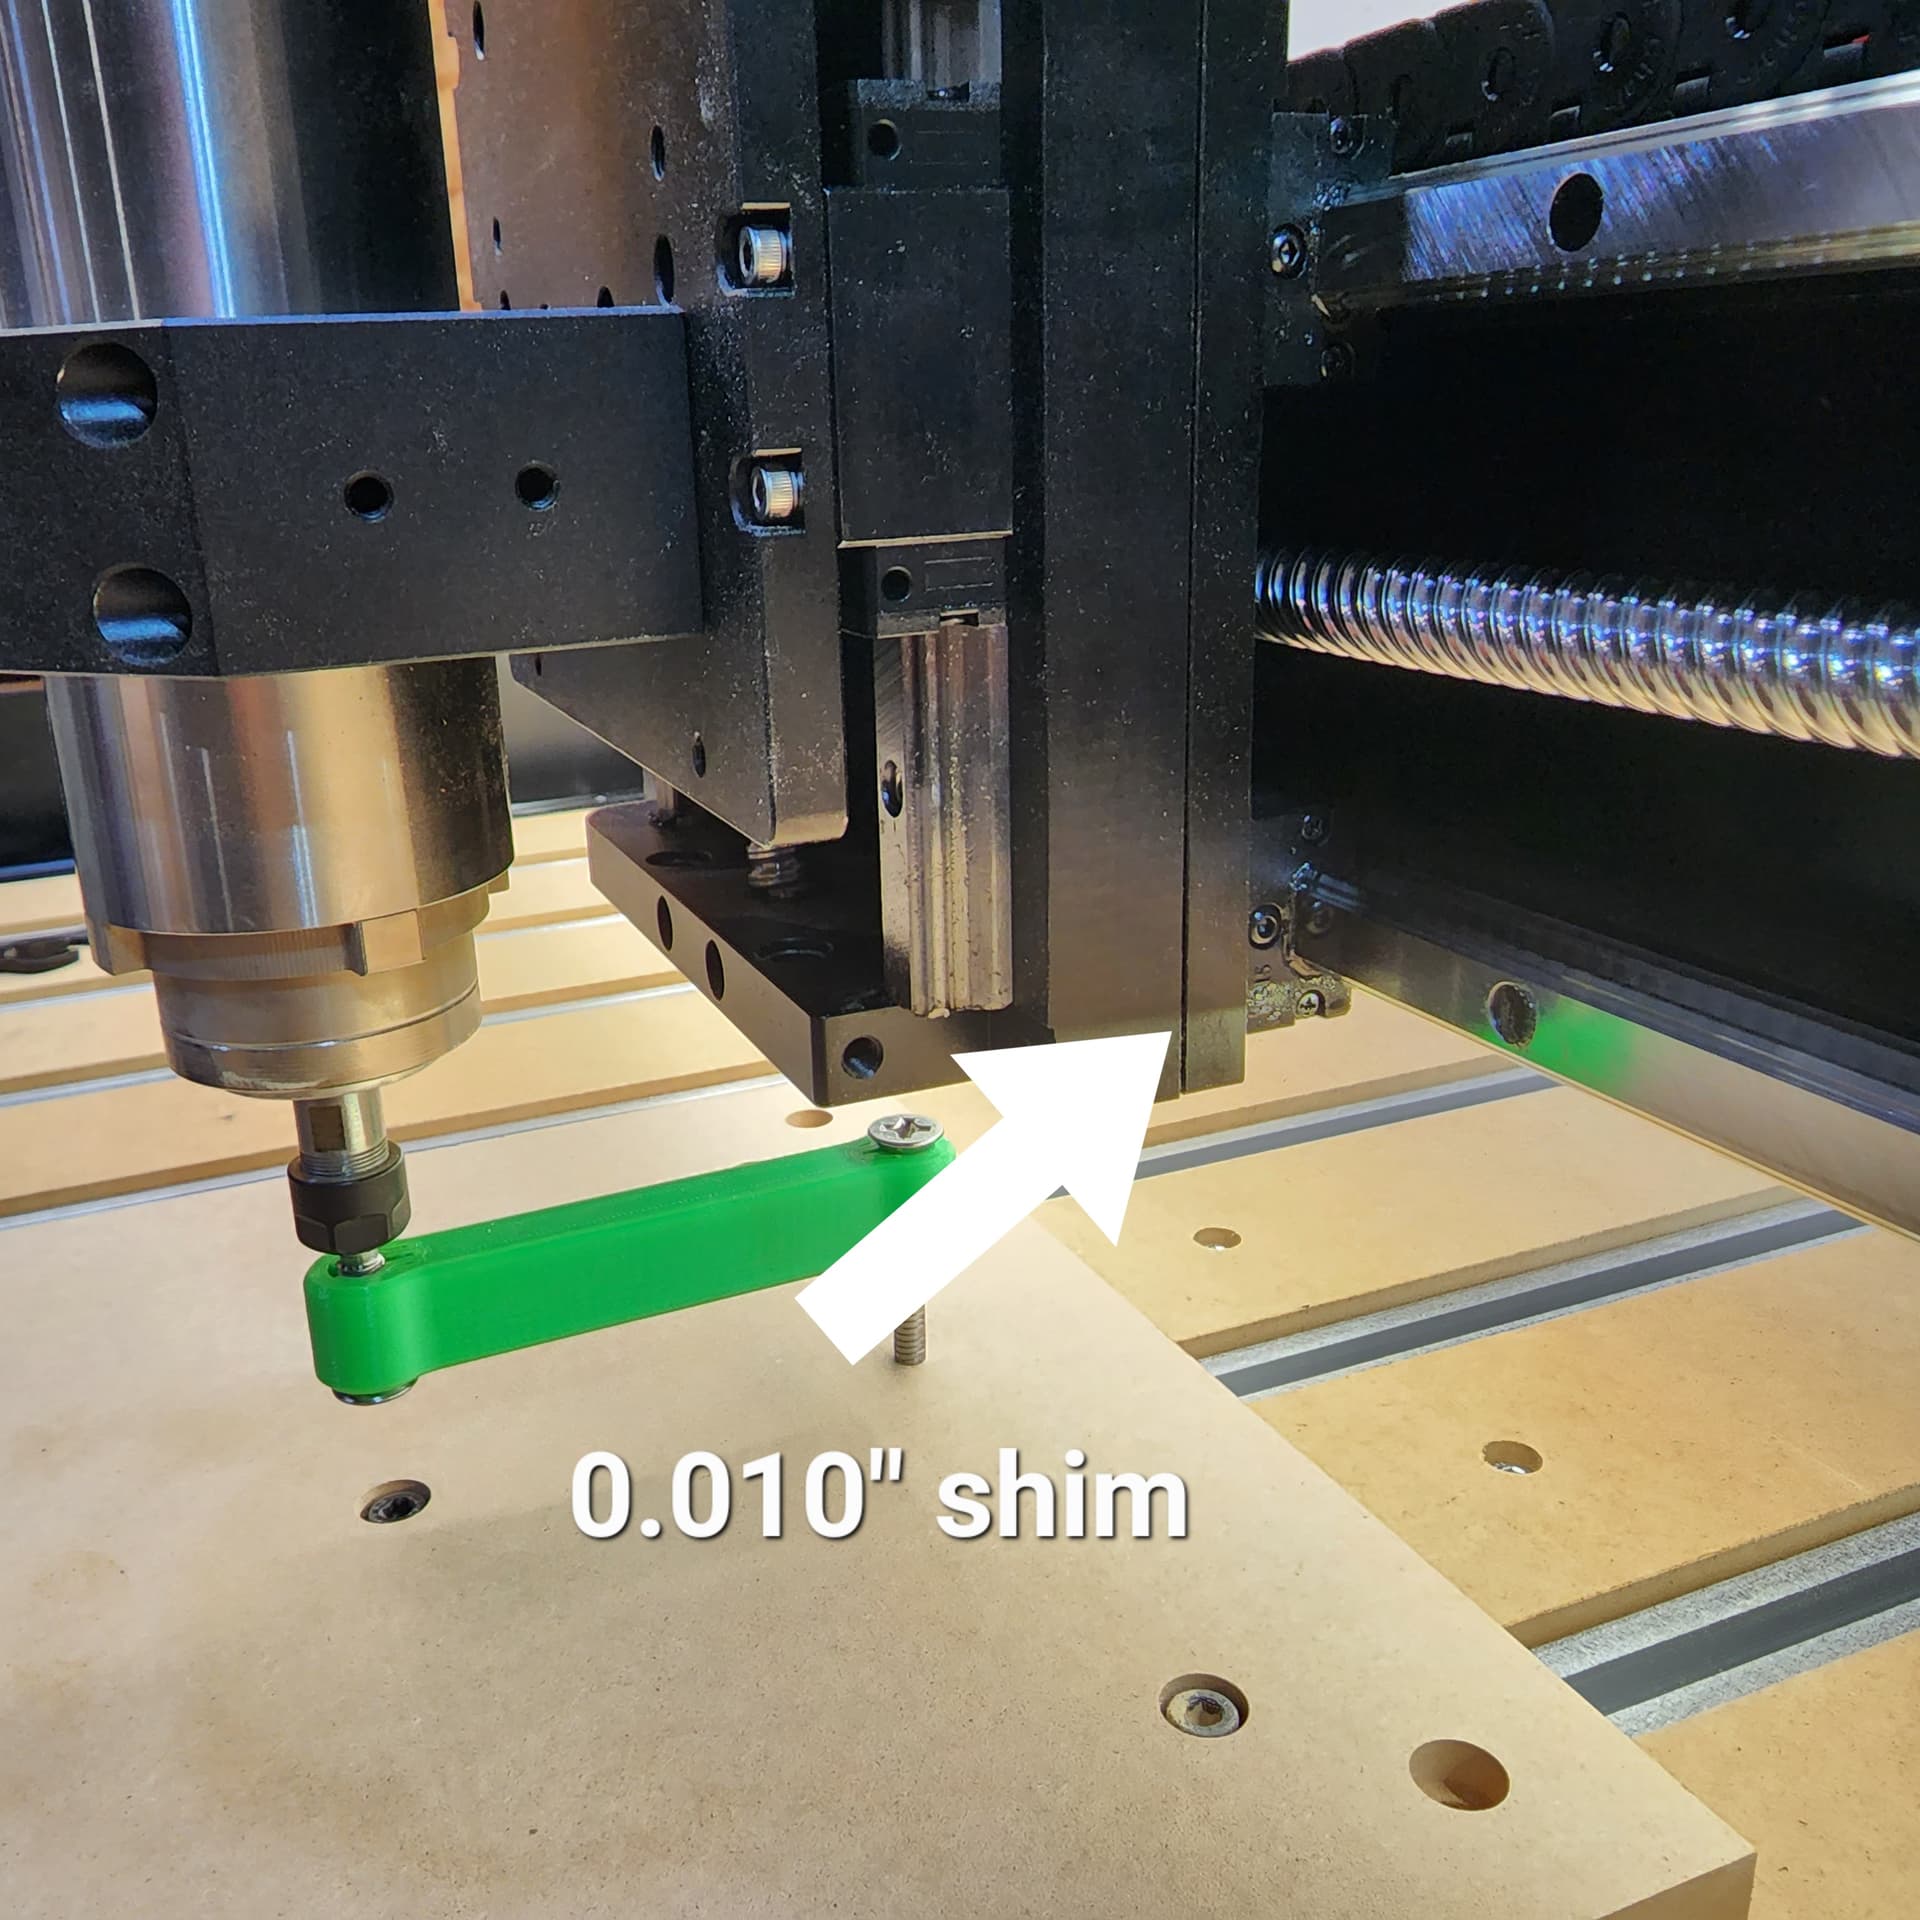
I adjust the fore/aft “nod” first and install a shim here:
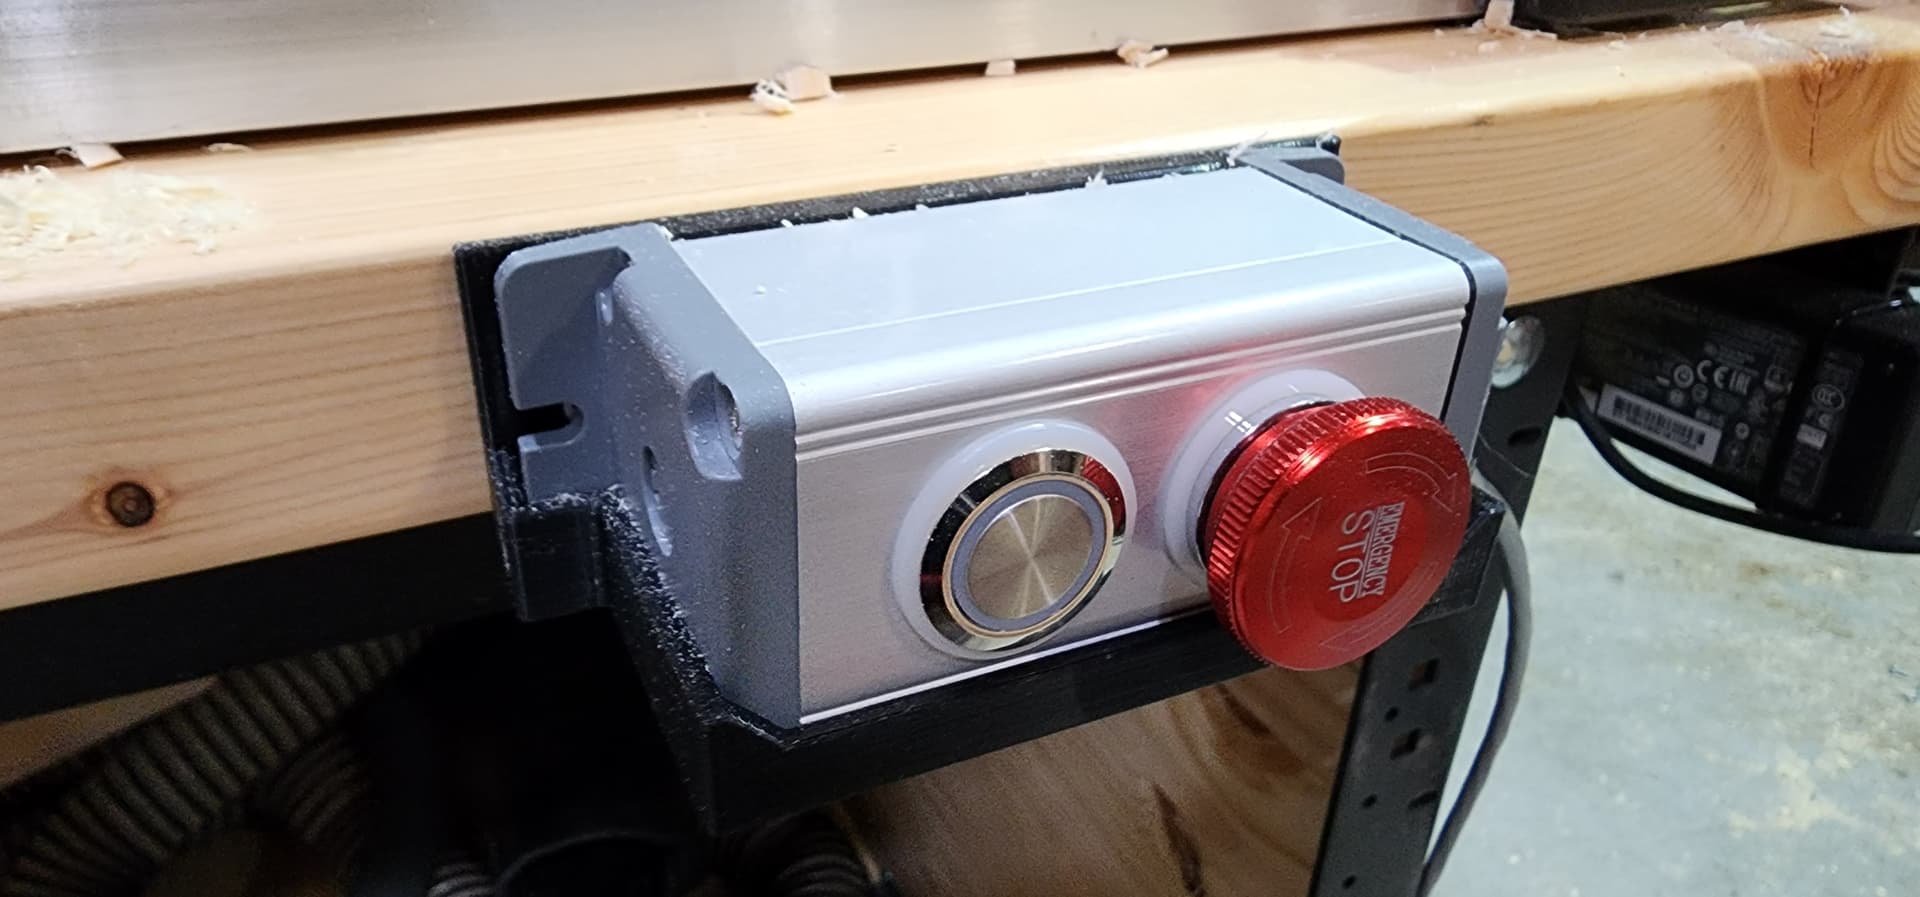
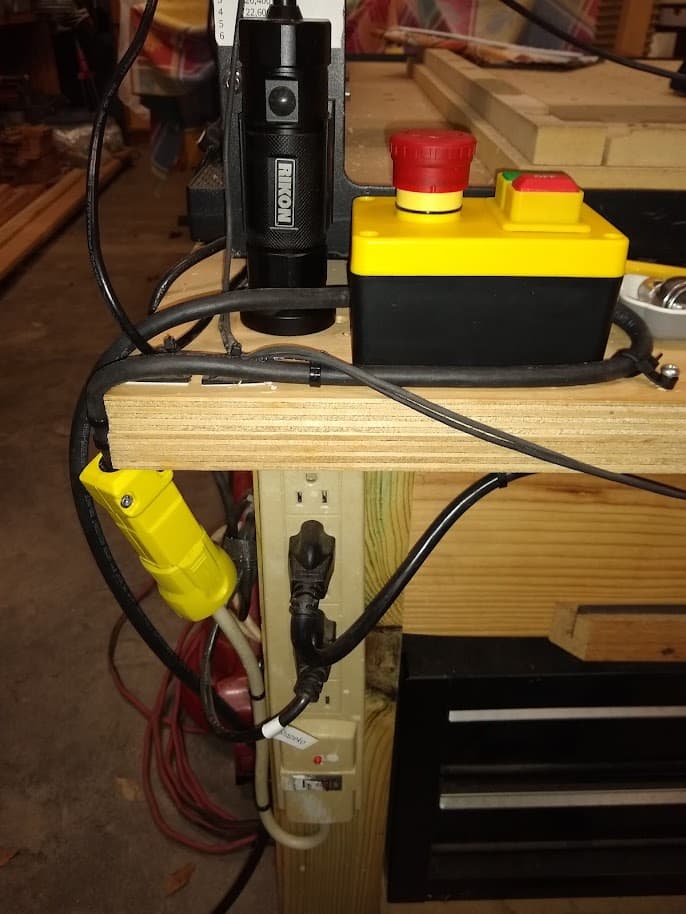
I put this on my Shapeoko 3 a long time ago. I guess you could call it a control pendant. It is a magnetic on/off switch with an emergency stop button. The switch is wired up to a long cord plugged into the wall. Then it has a female plug on the output side and that plugs up to an electrical strip. The strip has my router and Shapeoko on it. You could add more stuff but the switch is rated to 15 AMPS so your total draw should be somewhat less than the full 15. So just add up what ever you want to add to be controlled by the on/off switch and/or emergency switch.
The switch is magnetic meaning that once engaged it stays engaged unless the power goes off. If the power were to go off it disengages and once the power is back on the switch stays off. This is a safety feature for power outages. If you are running your Shapeoko and the power goes off when it comes back on the router will not start spinning. During a power outage you may leave where your Shapeoko is and not be aware that it is running in your absence.
I like the emergency stop and have used it a couple of times.
My solution is not as elegant as Josh’s solution but it works.
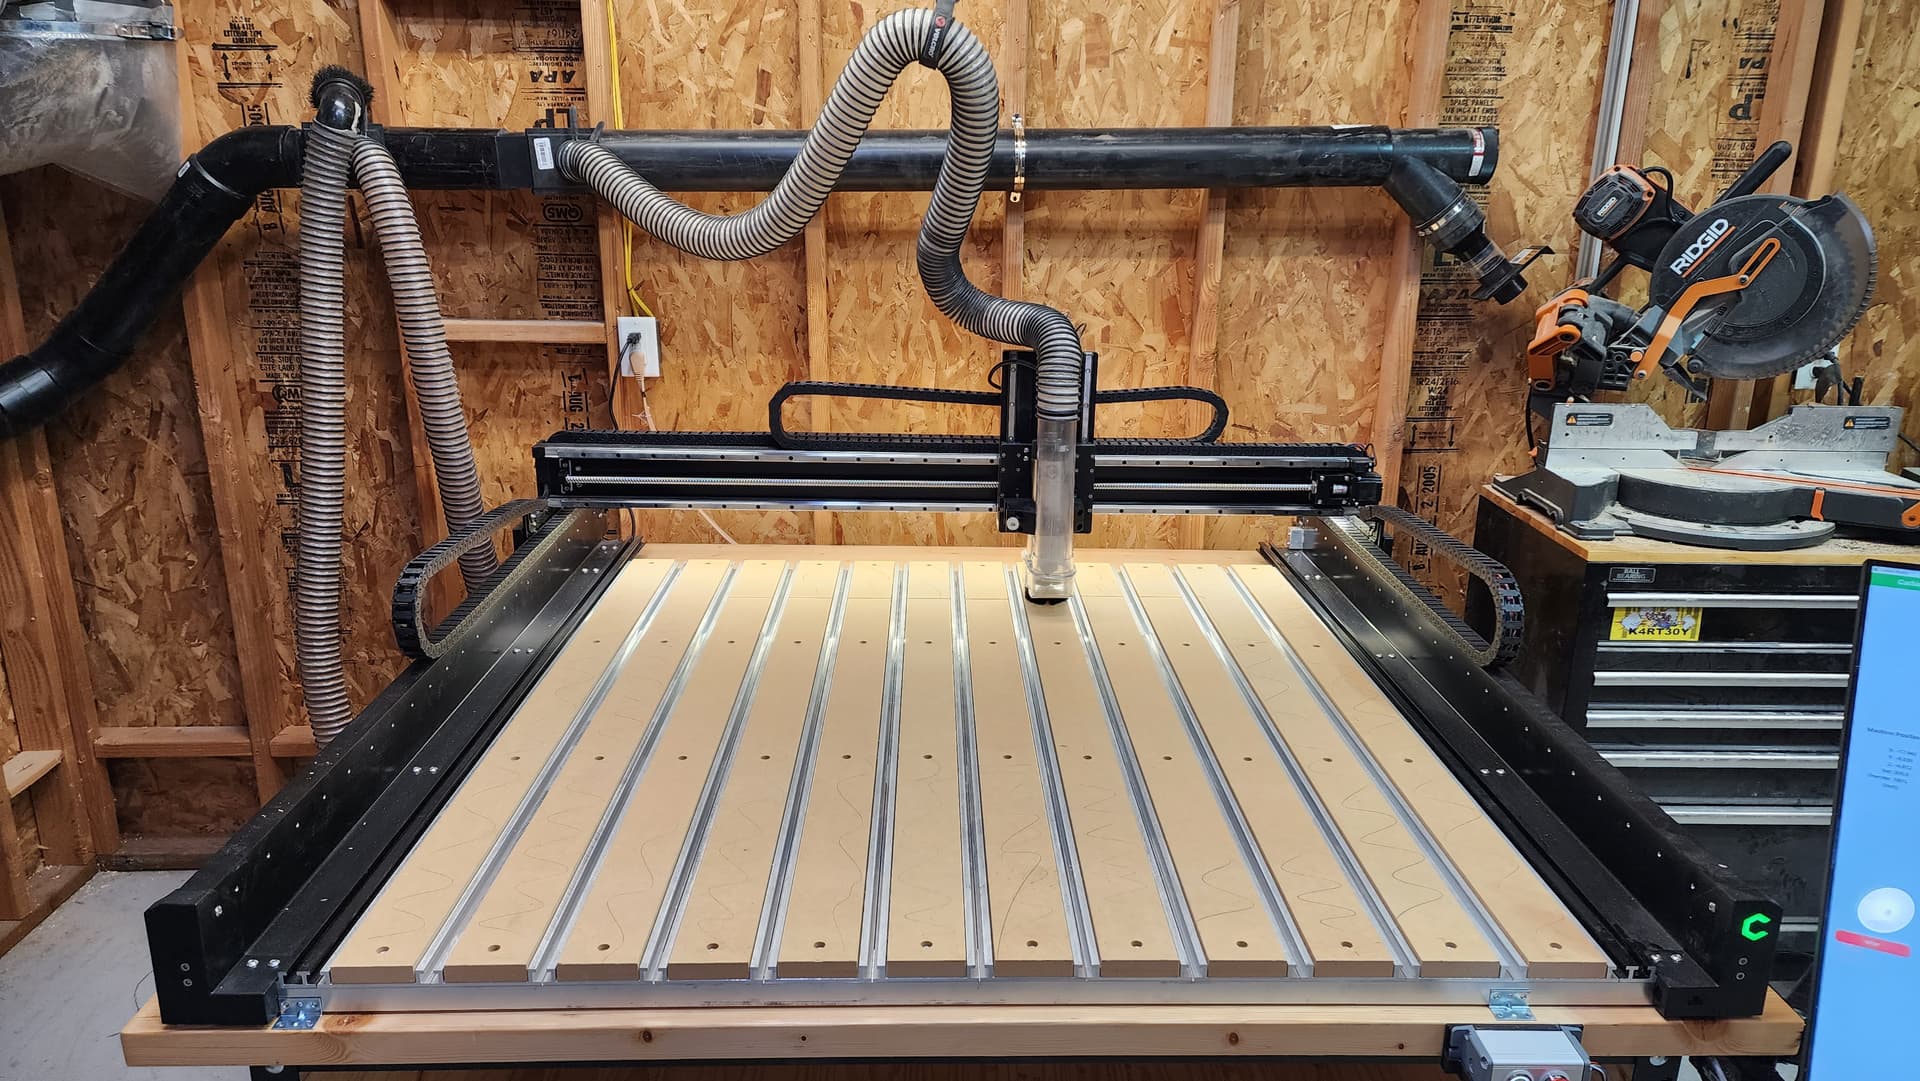
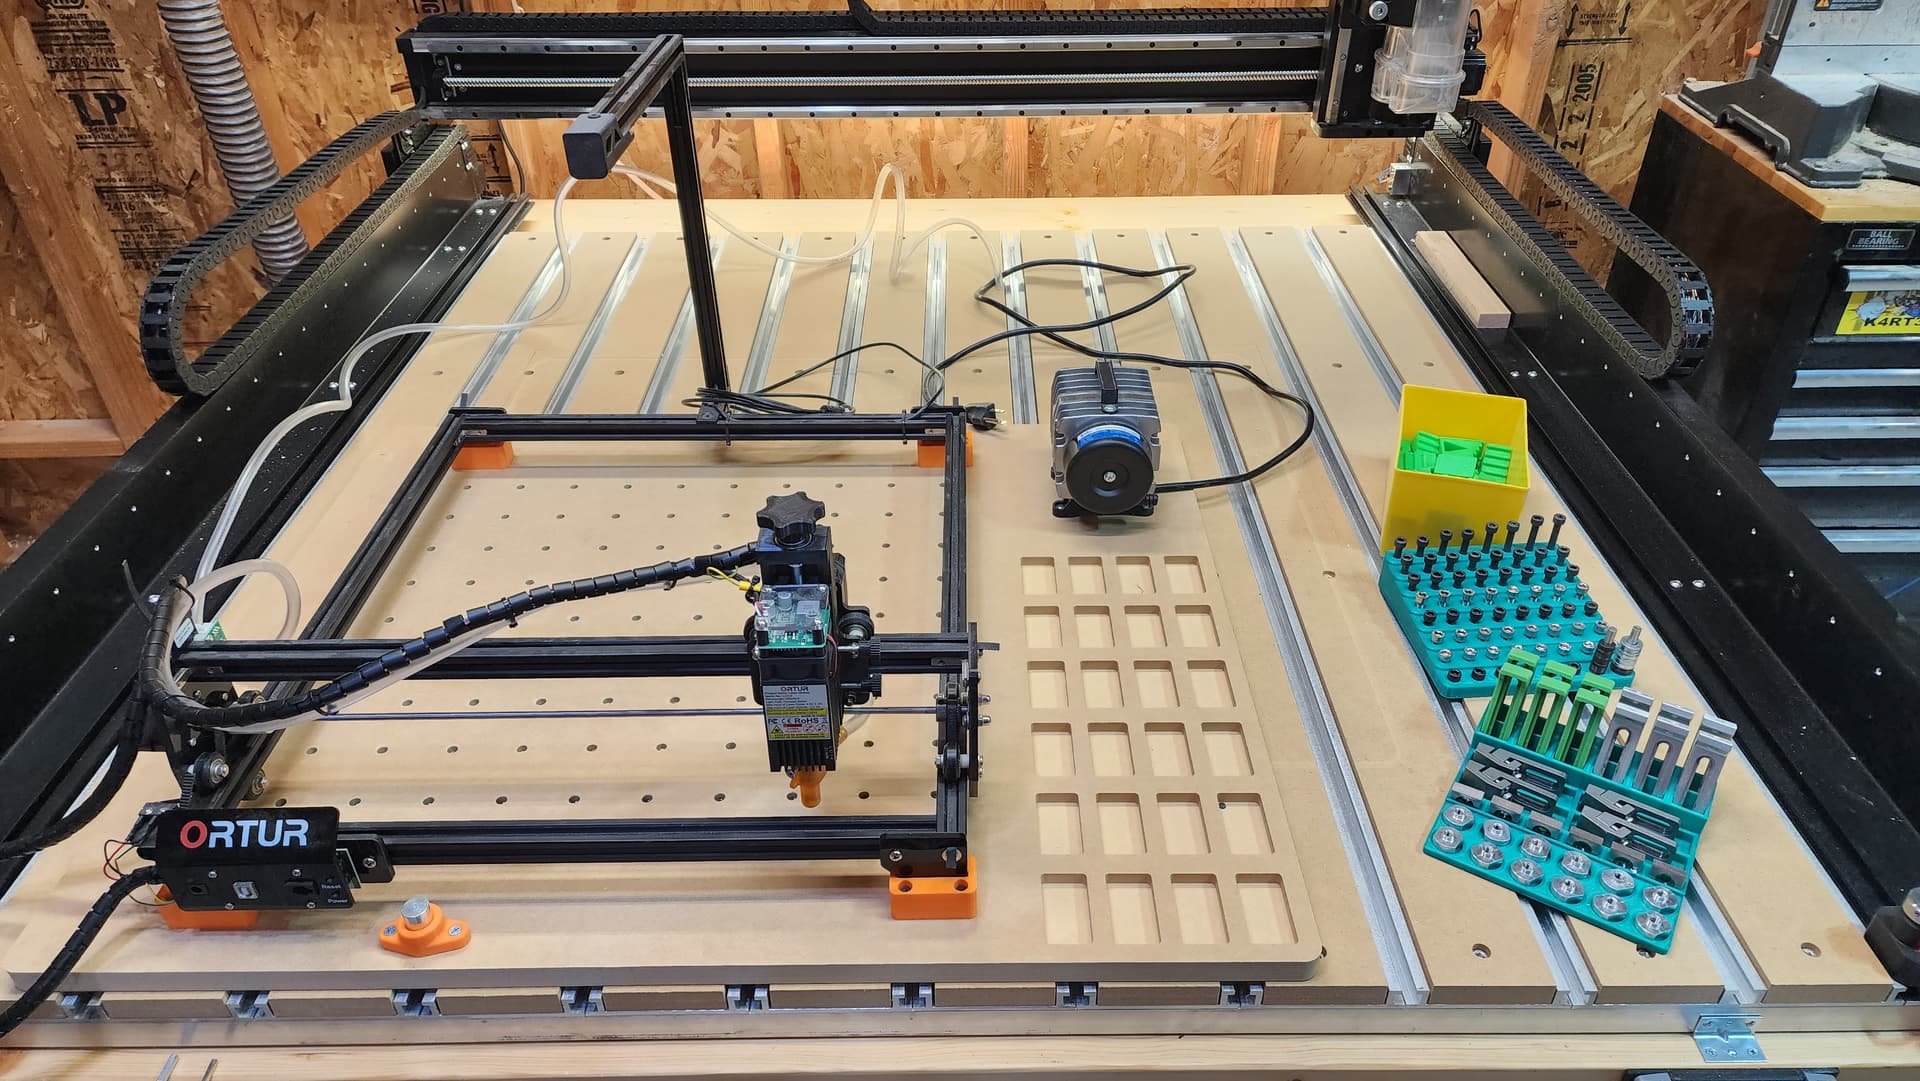
Got done with my first project on the SO5…an MDF base for my Ortur laser engraver. Pretty easy 2 sided project. I have to get used to how hard you can run the SO5 Pro with the spindle. I ran it at 200% from feed I programed it at and I thought it was kinda aggressive.
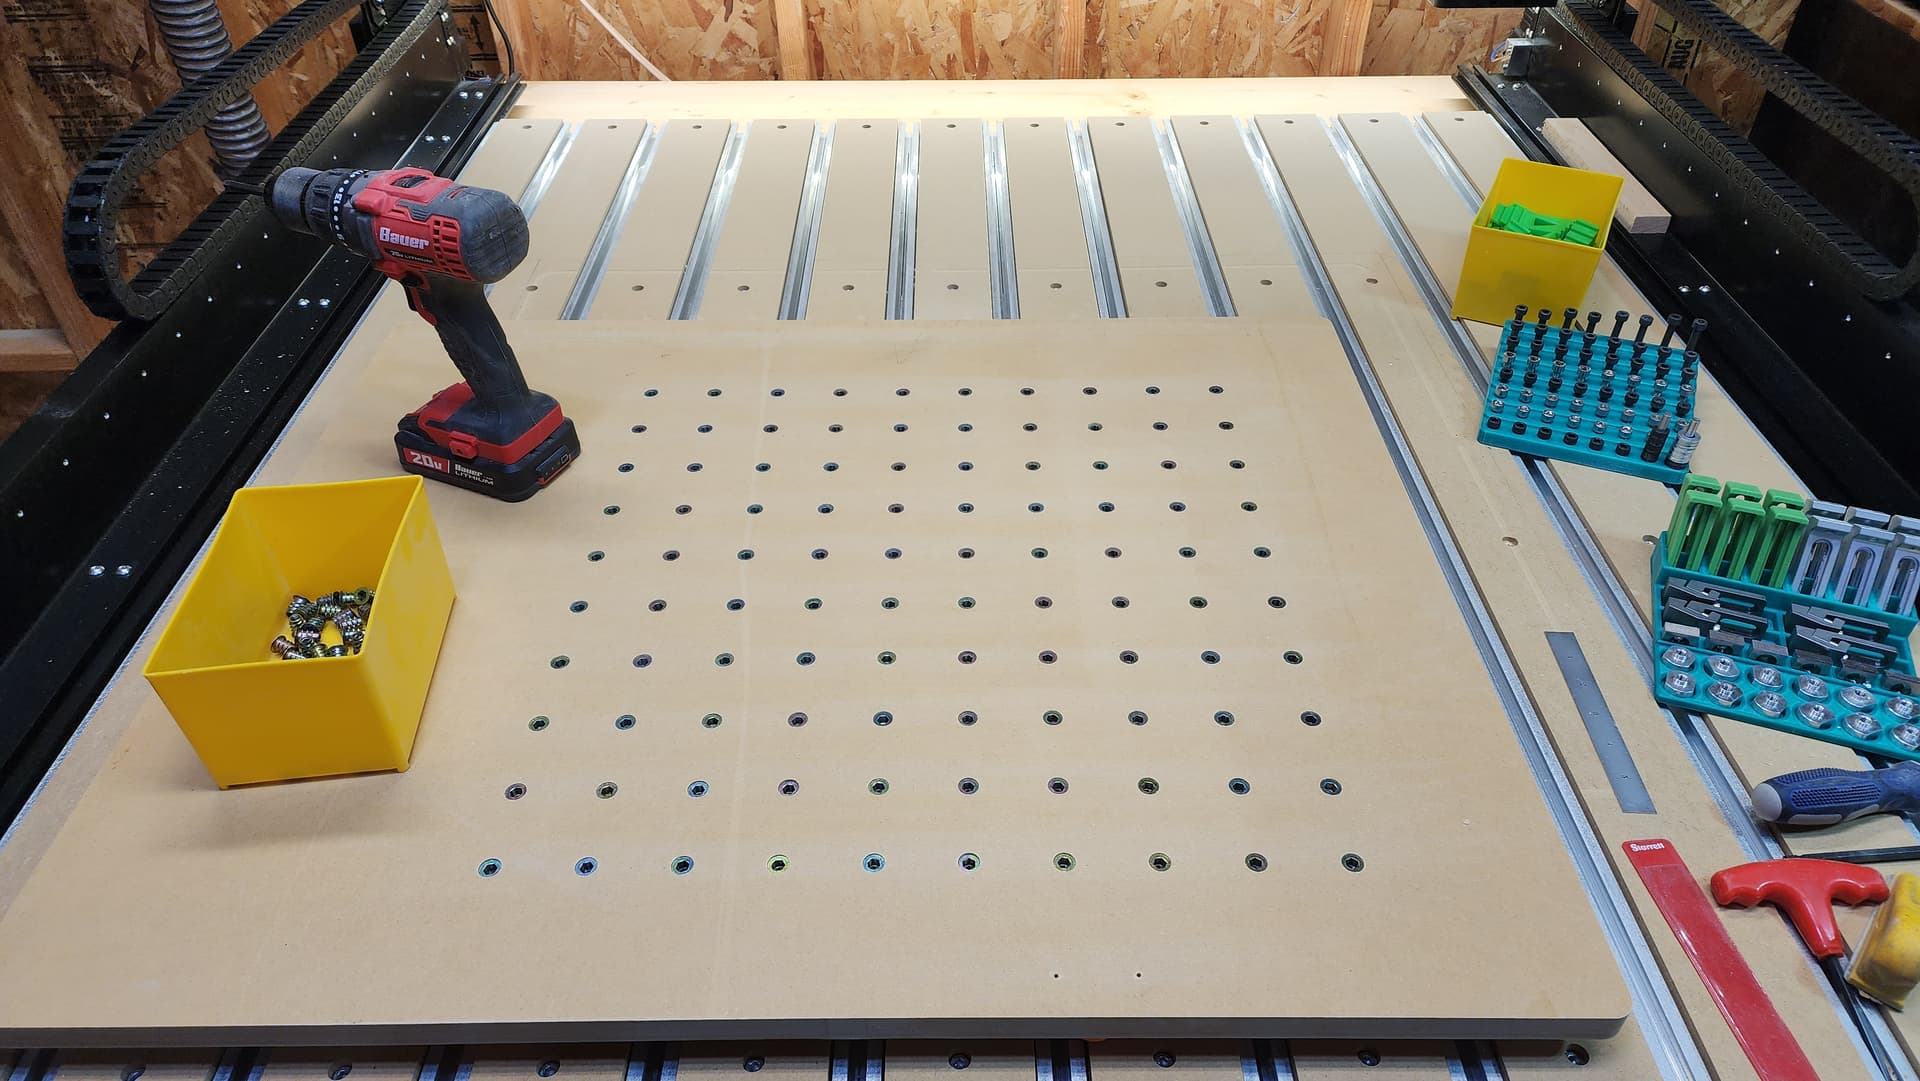
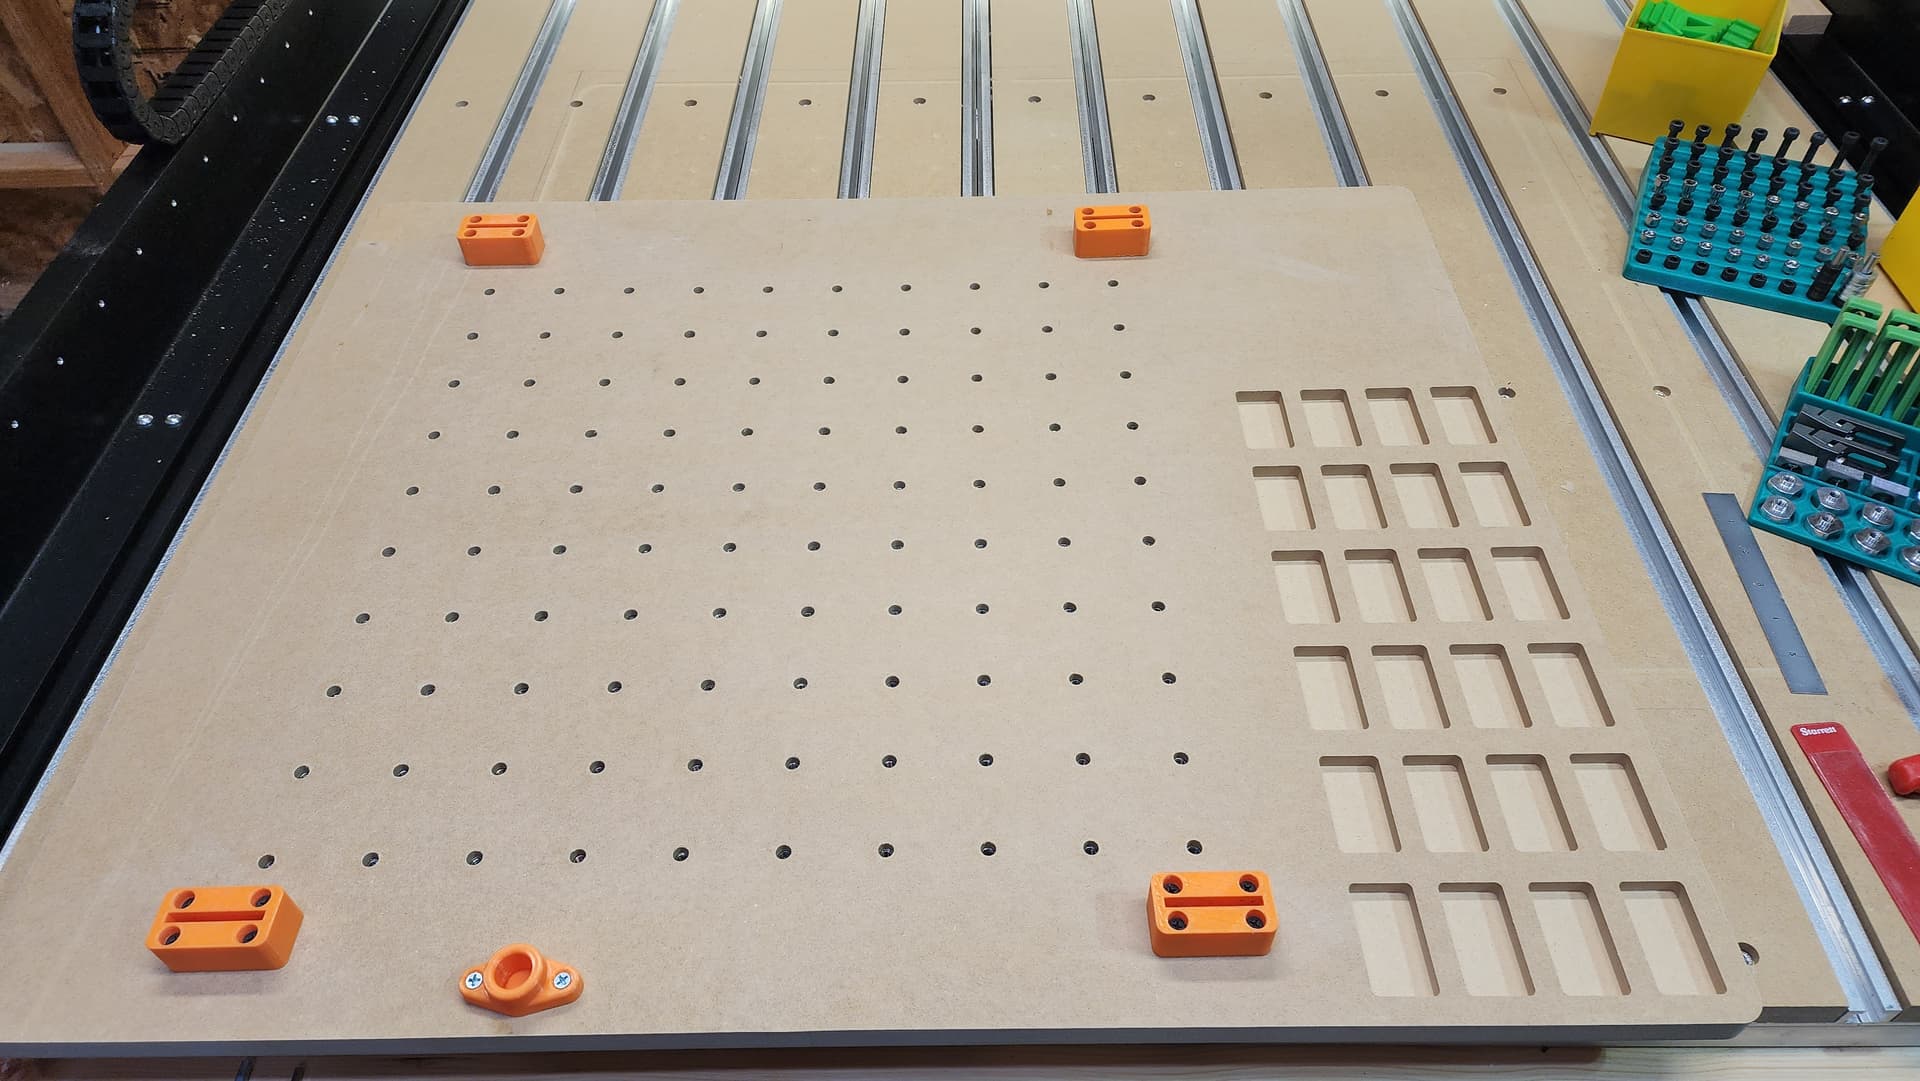
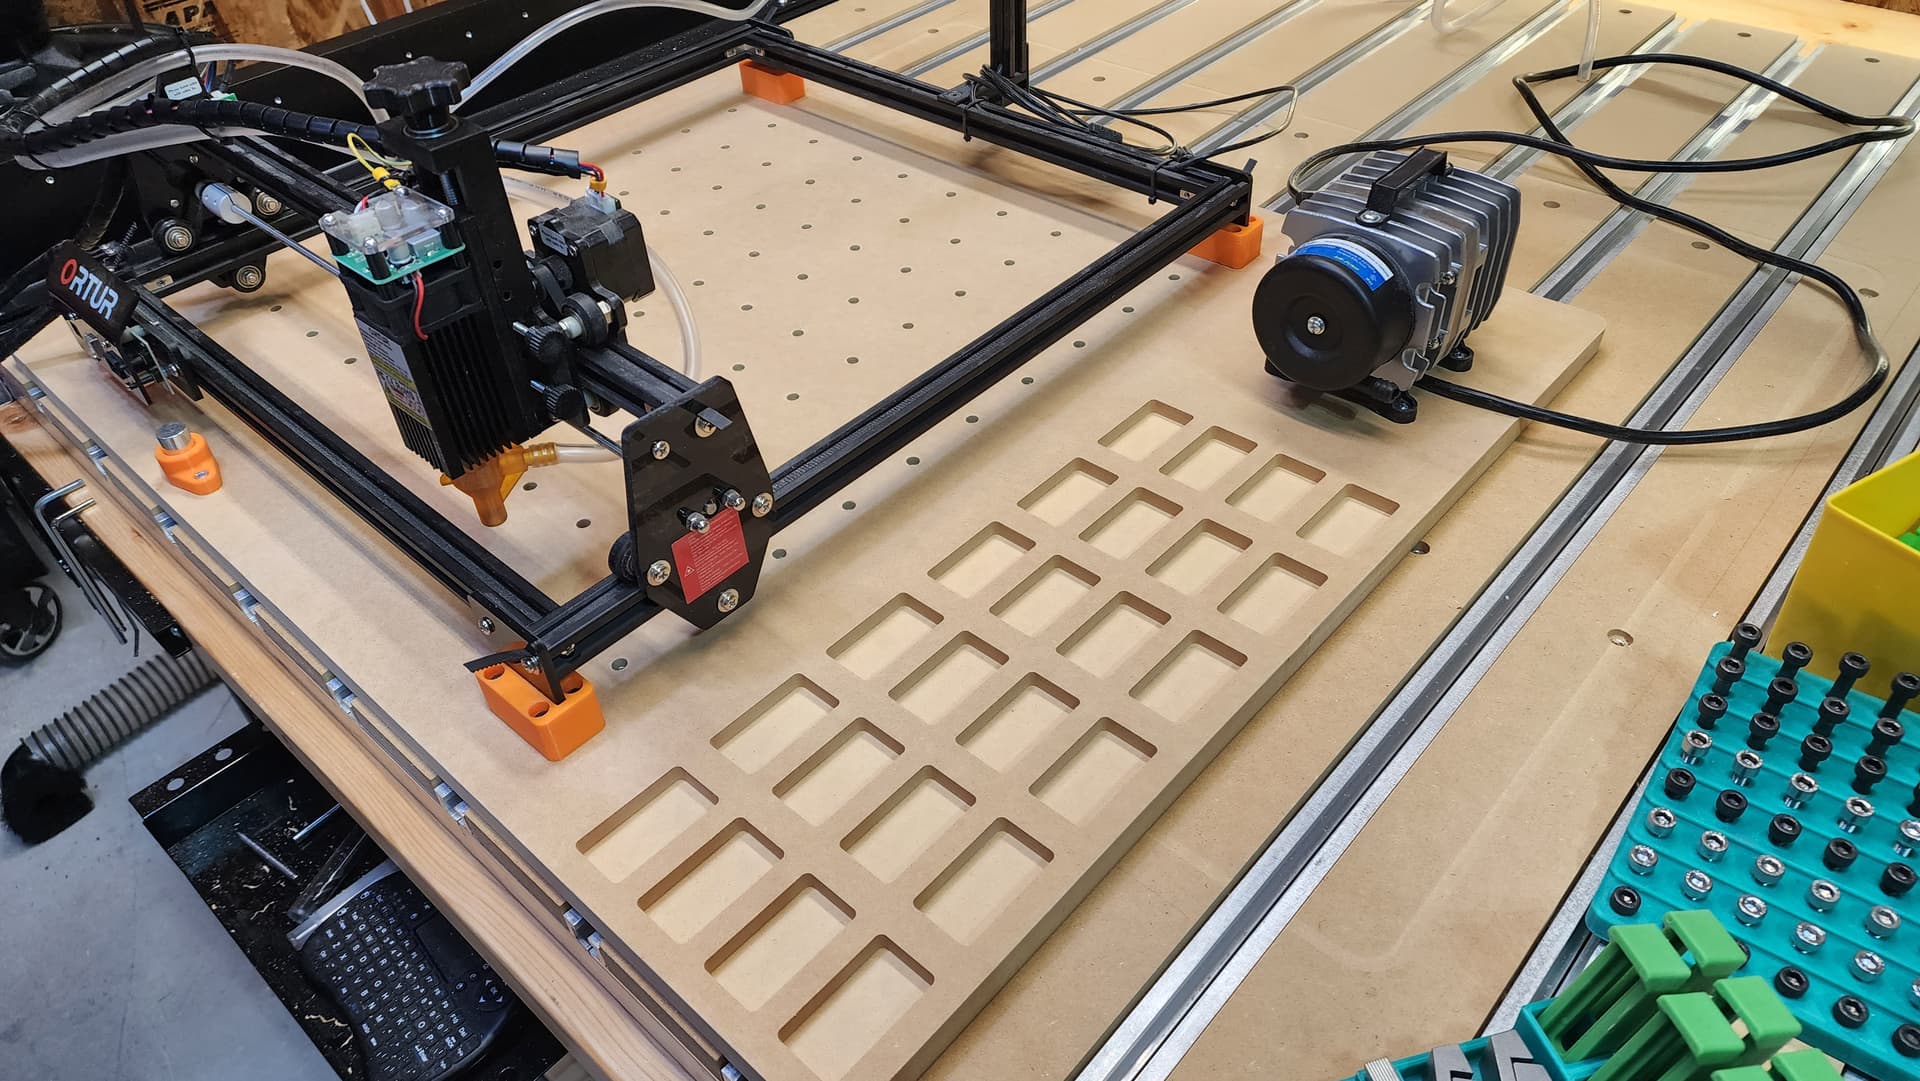
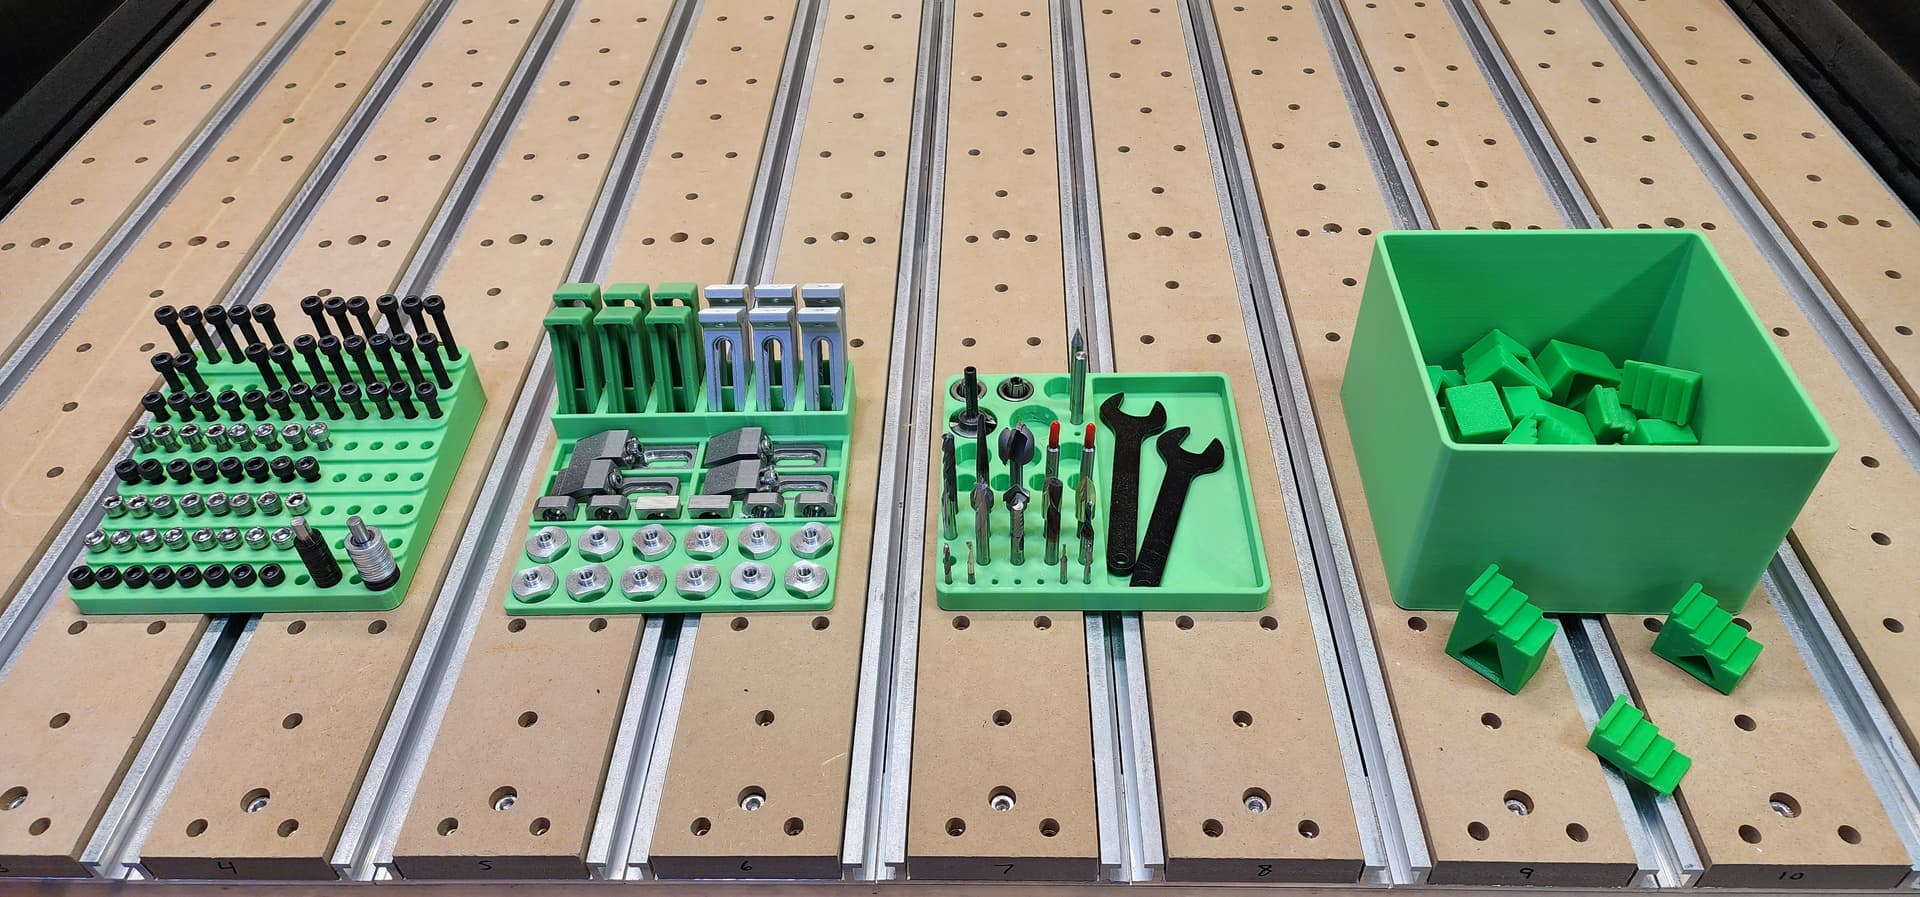
The 3D printed feet are screwed down to the board and the grid of holes has 1/4-20 threaded inserts to aid in aligning things or holding the rotary axis. The rectangle recesses in the side hold spacers that raise the frame up for ticker materials or the rotary. I’ll laser a grid on the base so I can just align material by the grid. The pump was screwed on for air assist.
They are for risers that let you lift the frame for ticker material, or to put on the rotary. There’s 25mm, 30mm, 40mm, 50mm, 75mm, and 100mm. Those are just a place to put them in an organized fashion.
Very nice and neat sitting on top of your machine. Now the trick is to keep it clean and neat in the heat of battle. Obviously you spend a lot of time and energy making this system. I am very good at organizing but lousy at putting everything back where it belongs. I try to put everything back at the end of the day in shop with the exception of what I will need next. Unless I am so tired I cannot I try to clean up the machines and tables and vacuum the floor. But sometimes my butt is dragging so I skip it until tomorrow. The only problem with that is tomorrow never comes because tomorrow will become today tomorrow.
I am fortunate in that we (mostly I) choose this house because of the 24’x24’ detached garage with a 100A panel. I have the space and I like the large bed, but I agree that I don’t see myself using the whole 4x4 on a regular basis either. But having it available makes me happy.
I think if most people were honest with themselves, the 4x2 is the right size for 80% of the customer base.
Better to have it and not need it than to need it and not have it. My XXL has only been used a handful of times to its full capacity but I was glad to have the capacity.
It’s got a textured finish that has multiple colors to look more rock-like. I’ll go in with acrylics to fill in the carved areas and make to look like old, weathered stone. Then I’ll clear coat. This one and another are sold for $500 each.
Yeah I honestly have no idea what I’ll do with mine, but my sp3 was the smallest one and I was always jealous of the XXL crowd so this time around I figured, “why not”? My truck won’t fit in the garage so I might as well fill it with something!