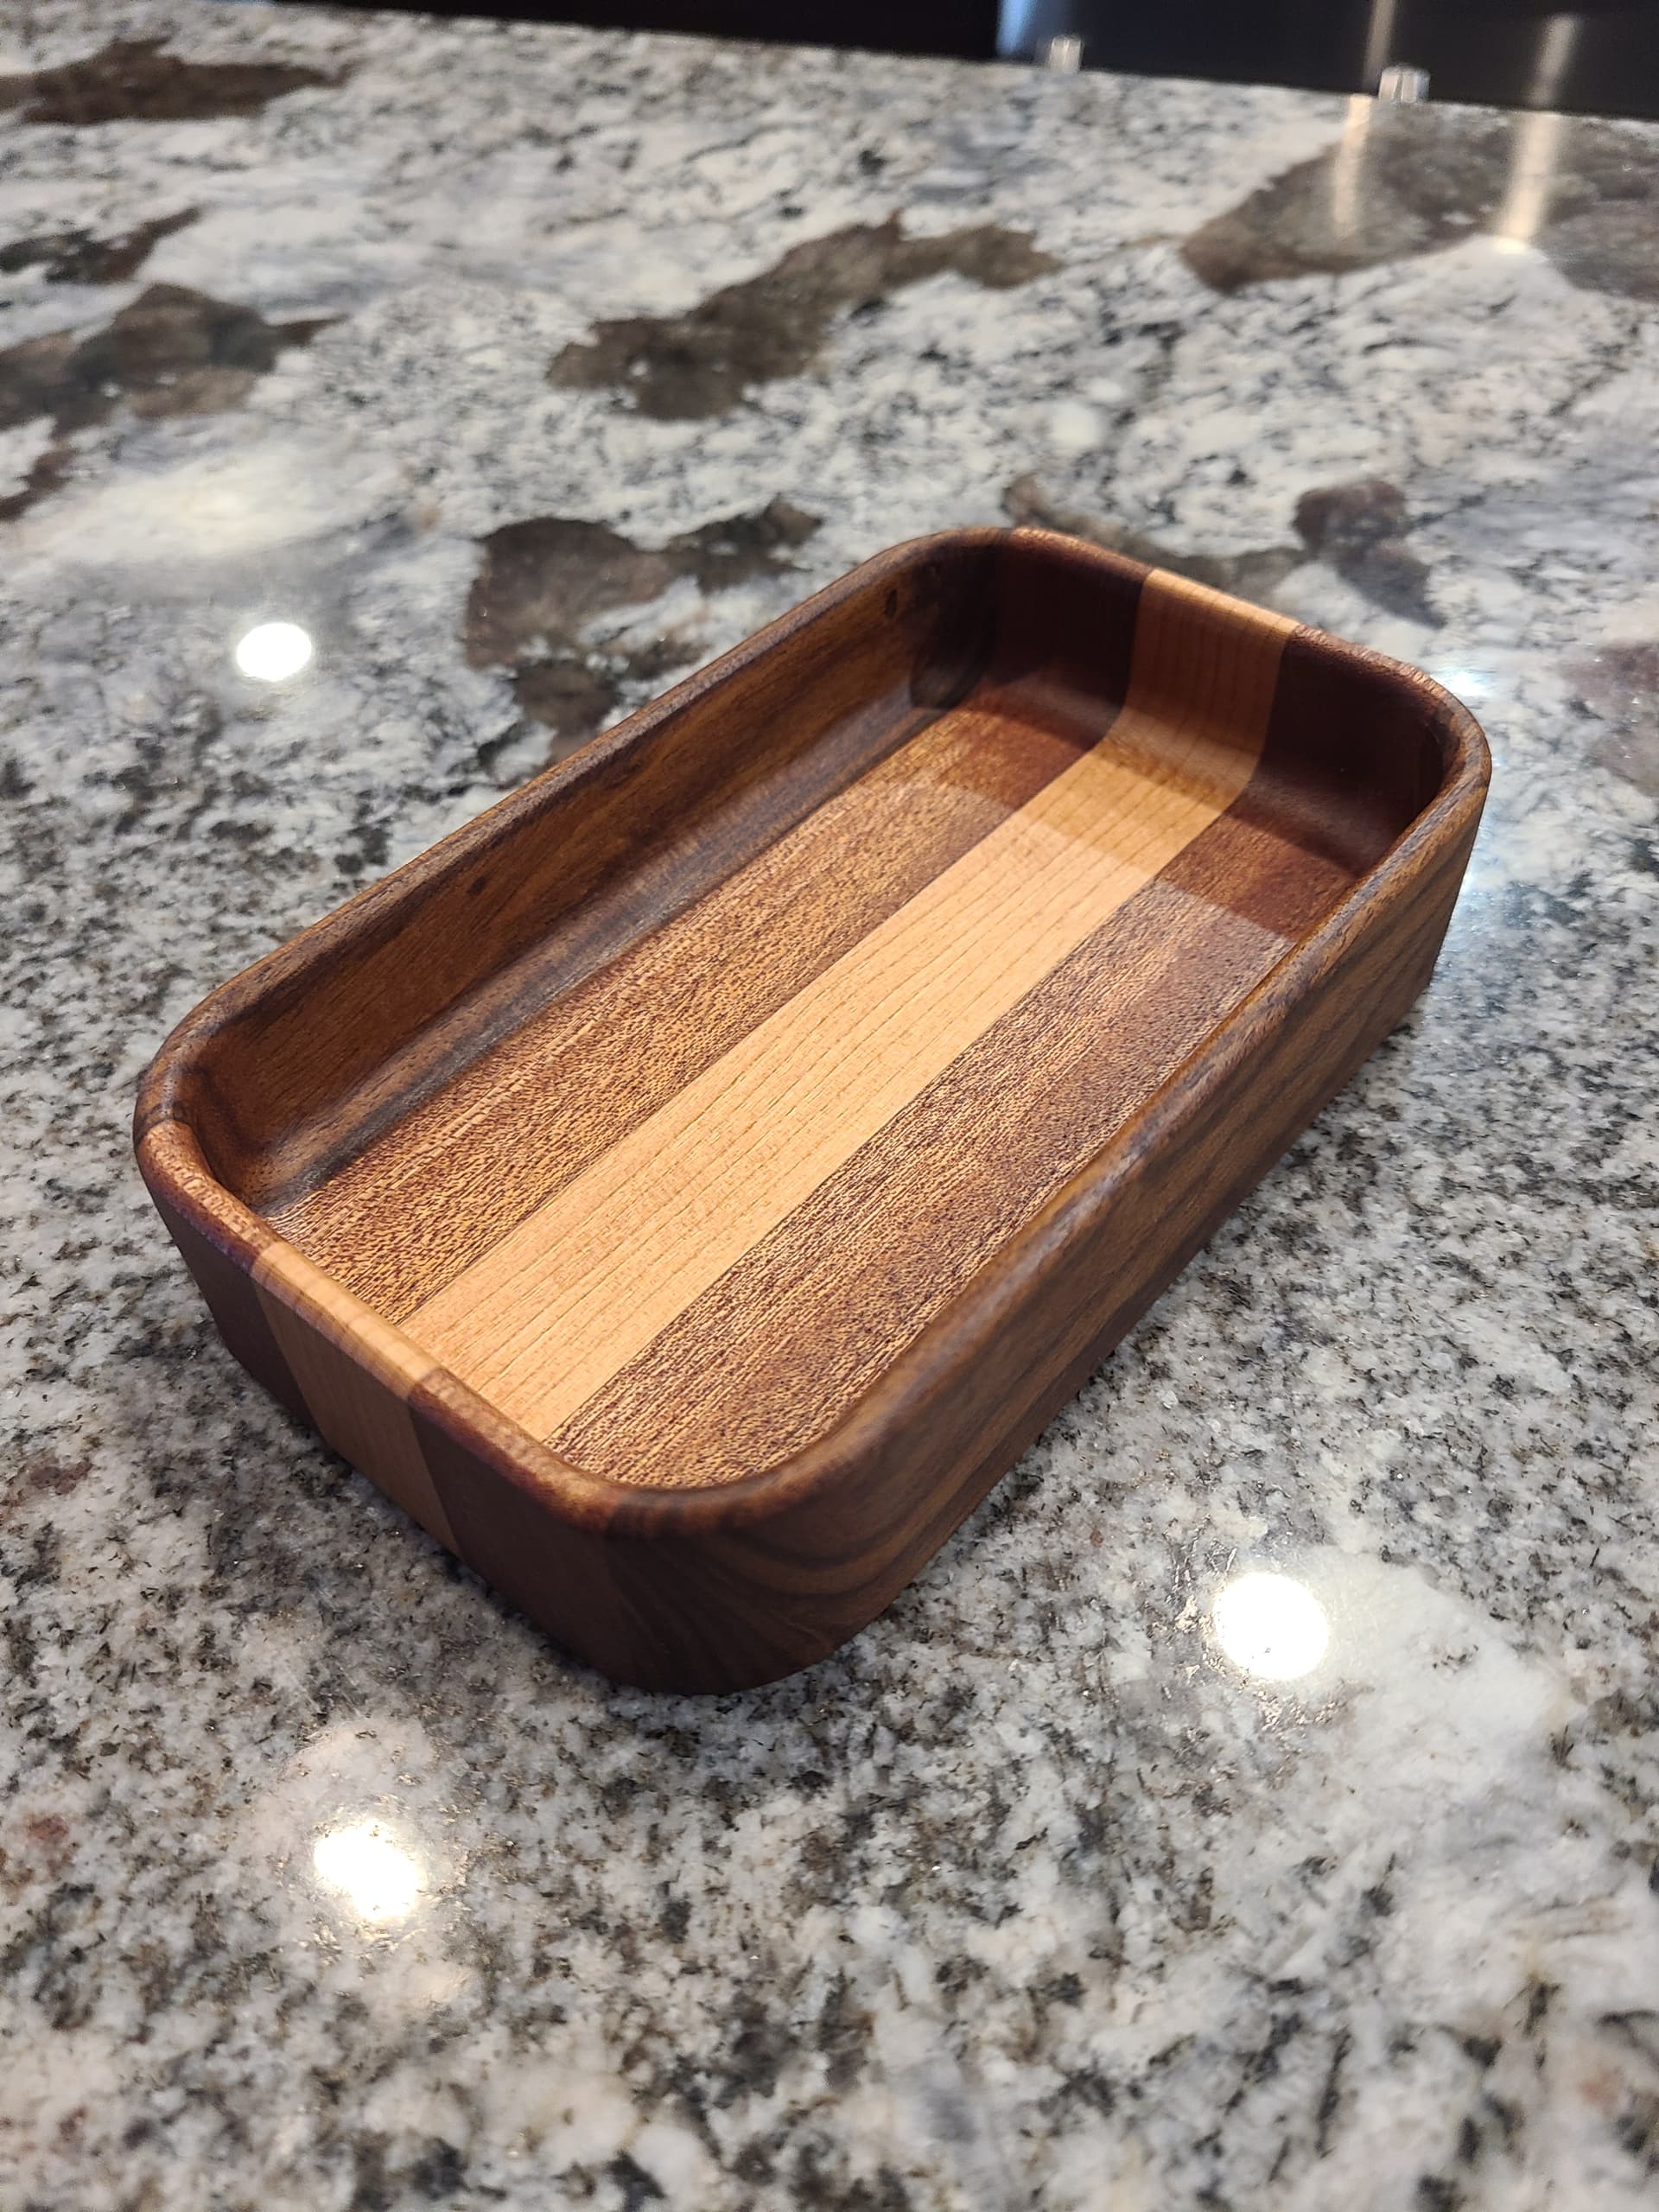
I have been making some flat bottom trays for a couple of months now and recently someone asked me if I could make them into soap dishes as well. I’d like to take my existing tray design and add some small bumps on the “floor” of the tray that would hold the soap up out of any standing water in the bottom of the dish.
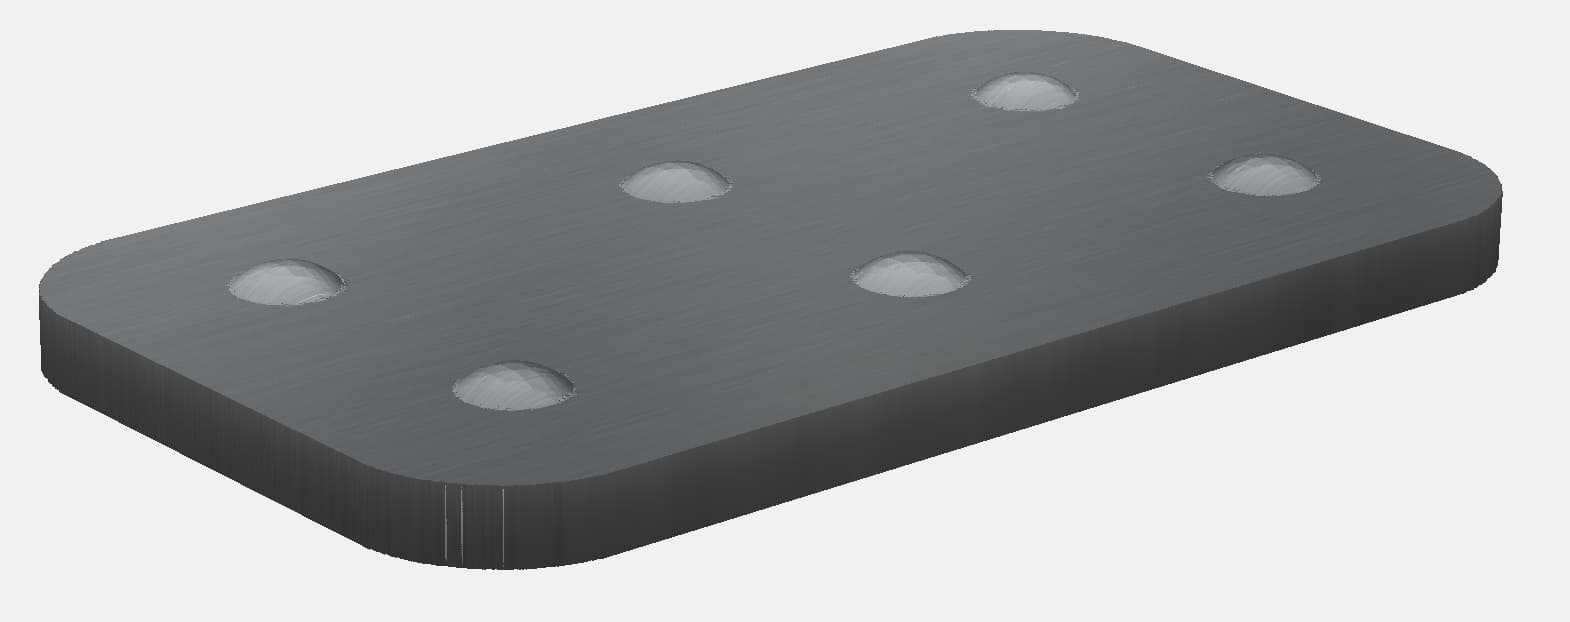
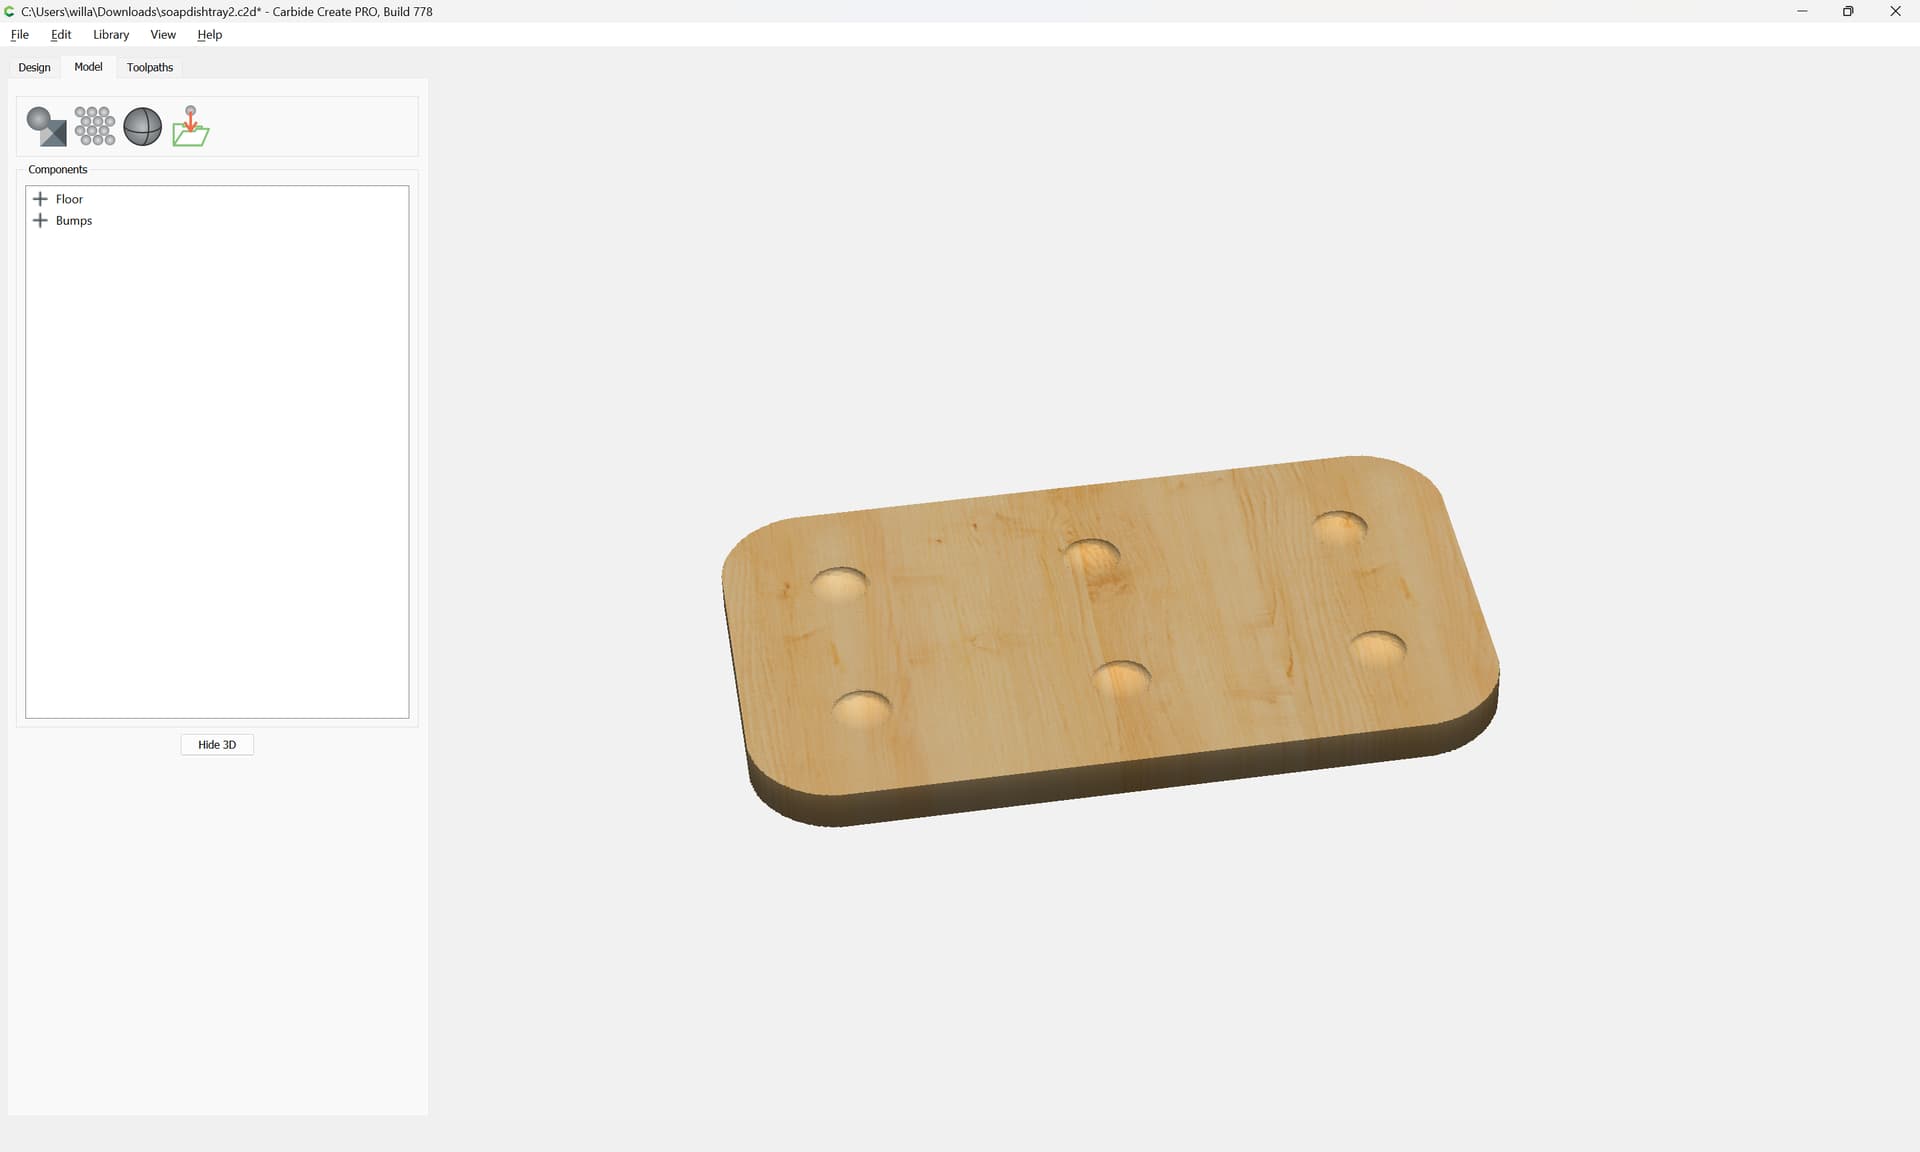
I’ve been able to design the bumps and get them to show as a 3D object in CC Pro:
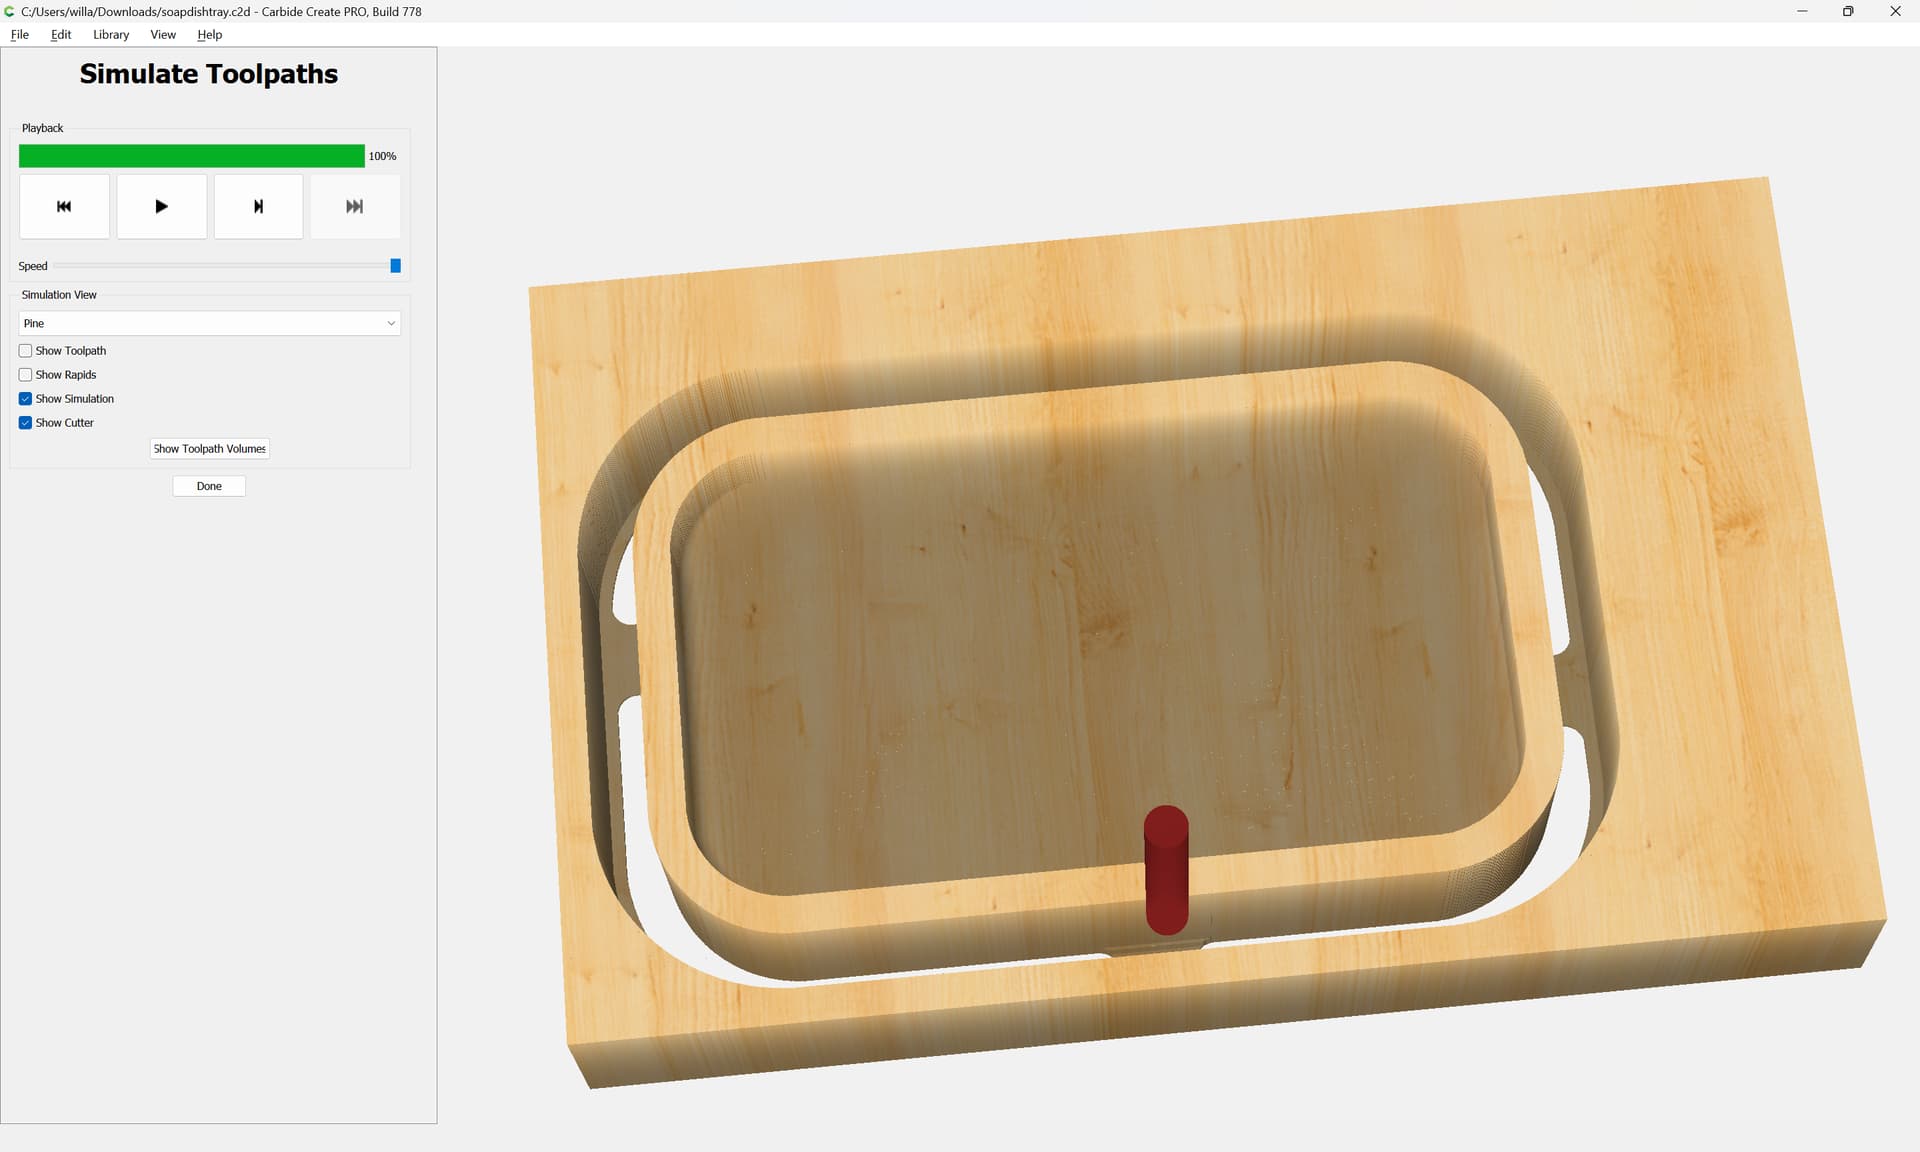
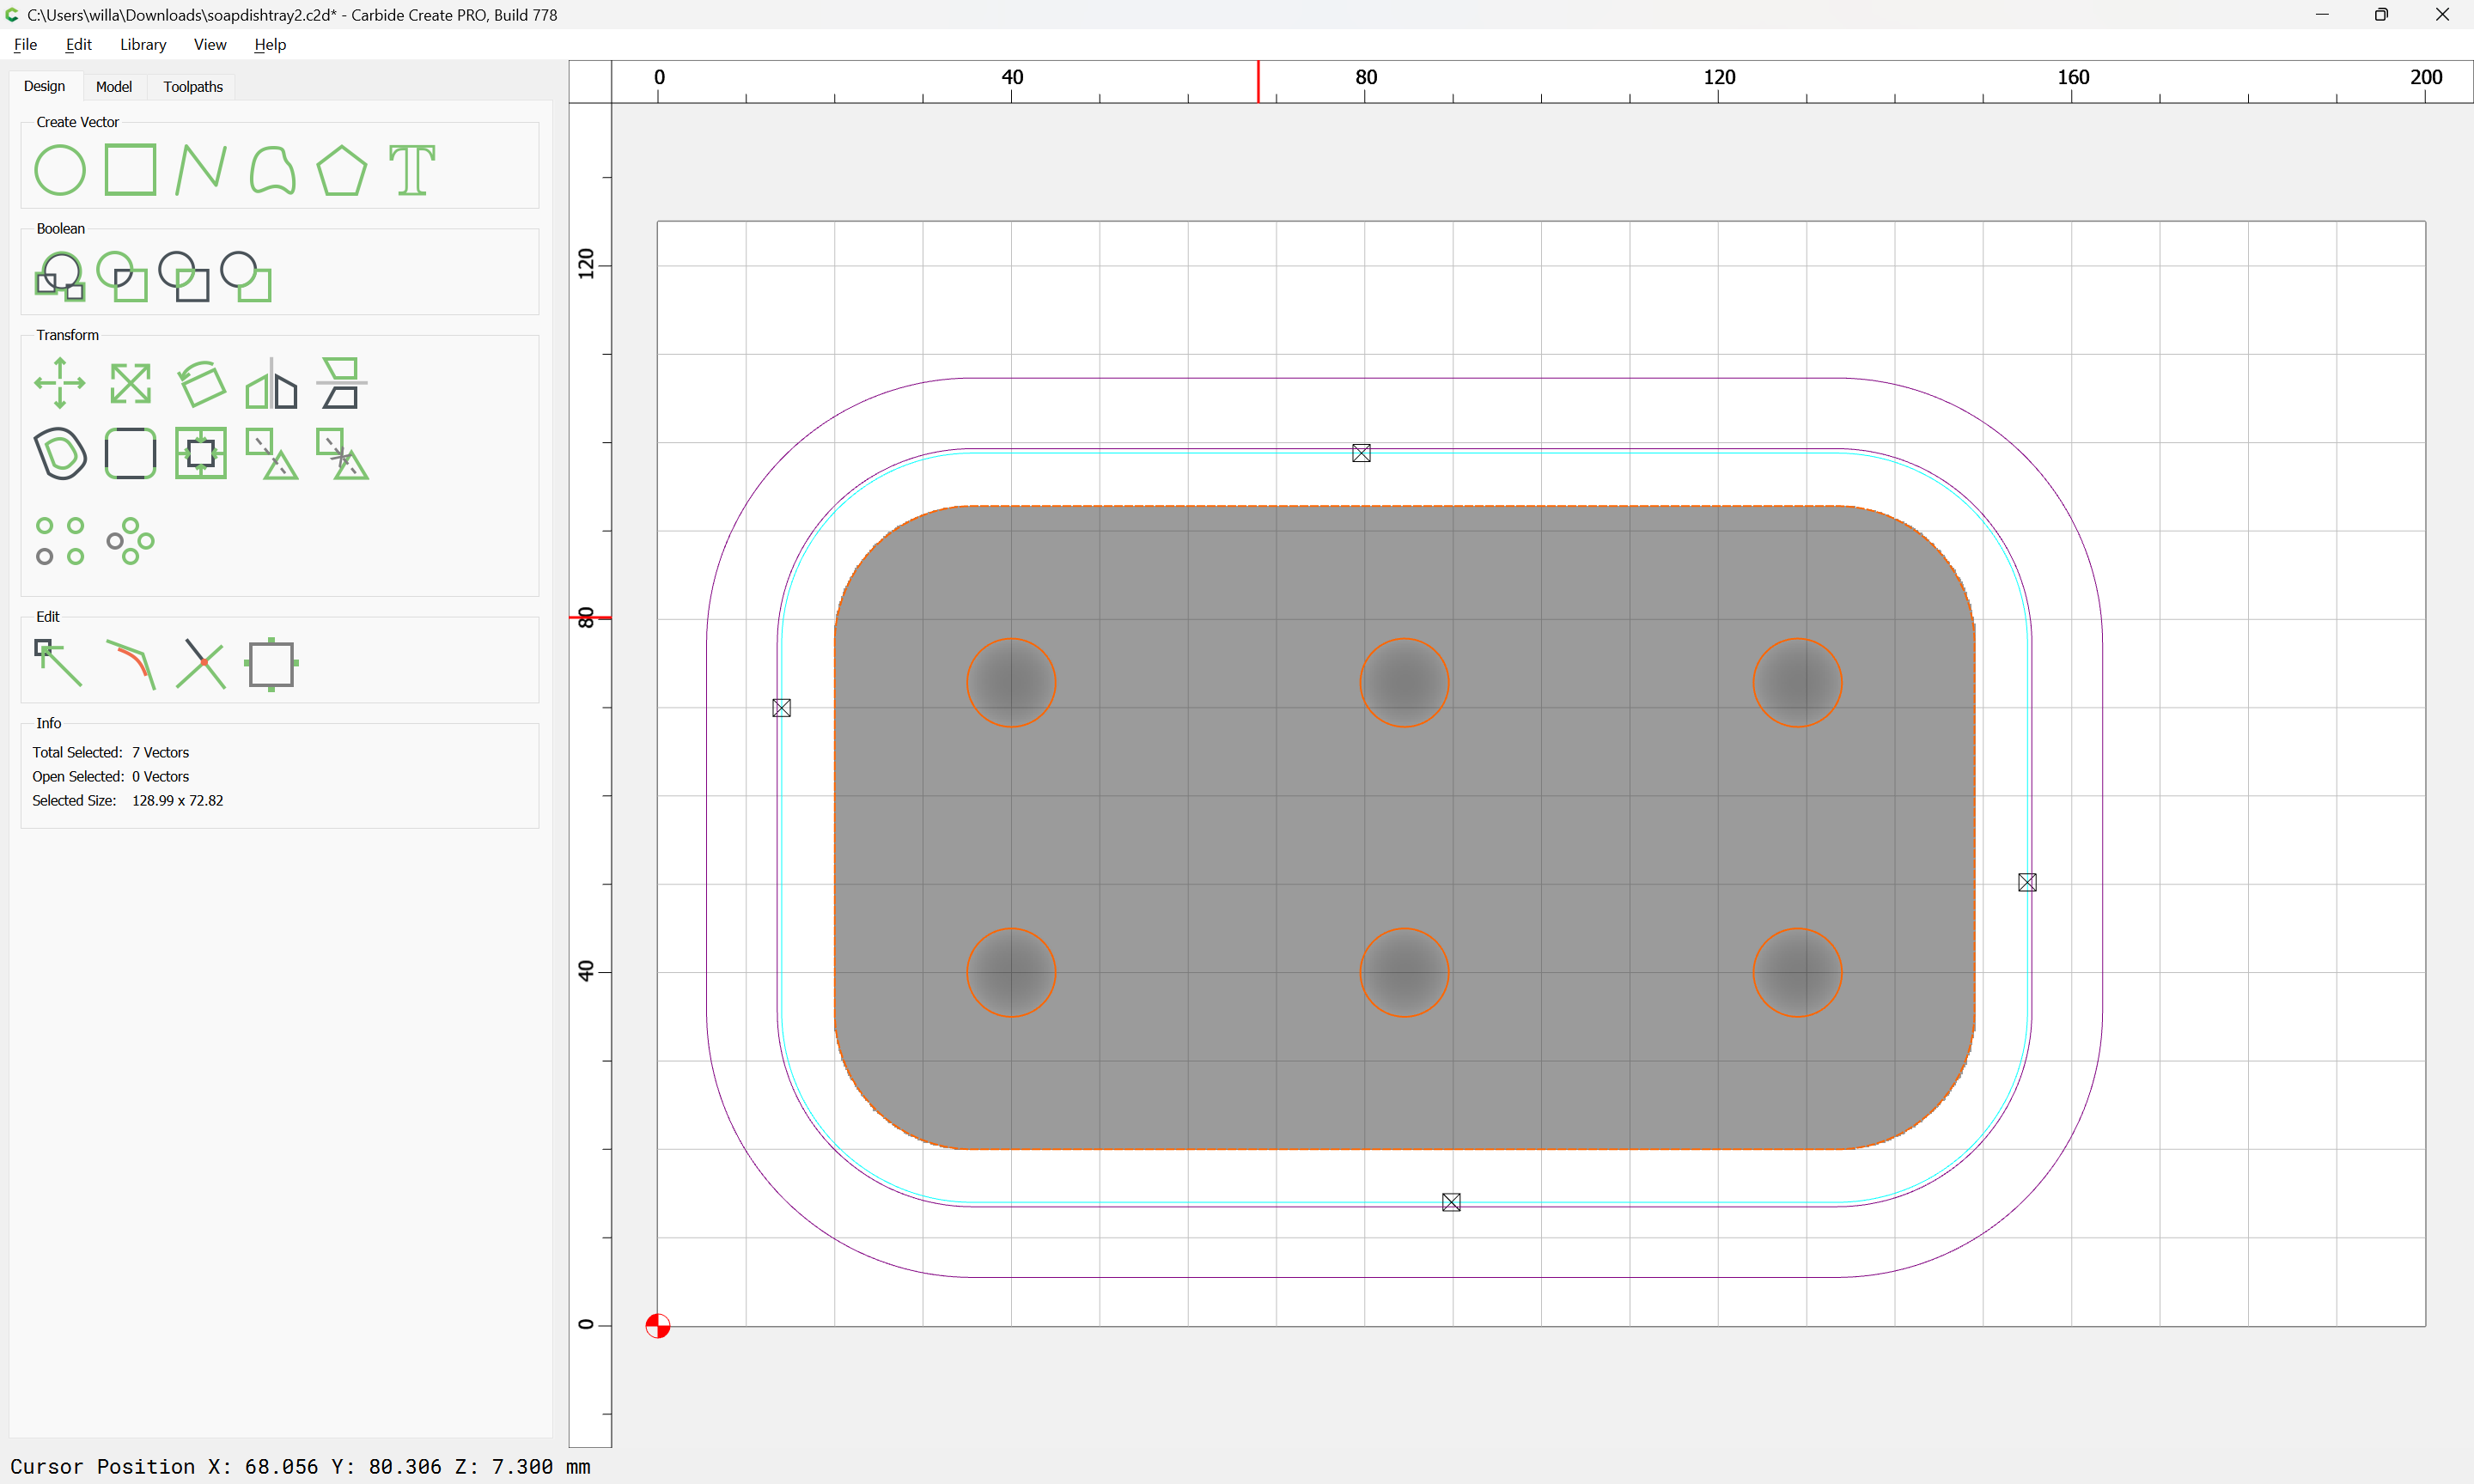
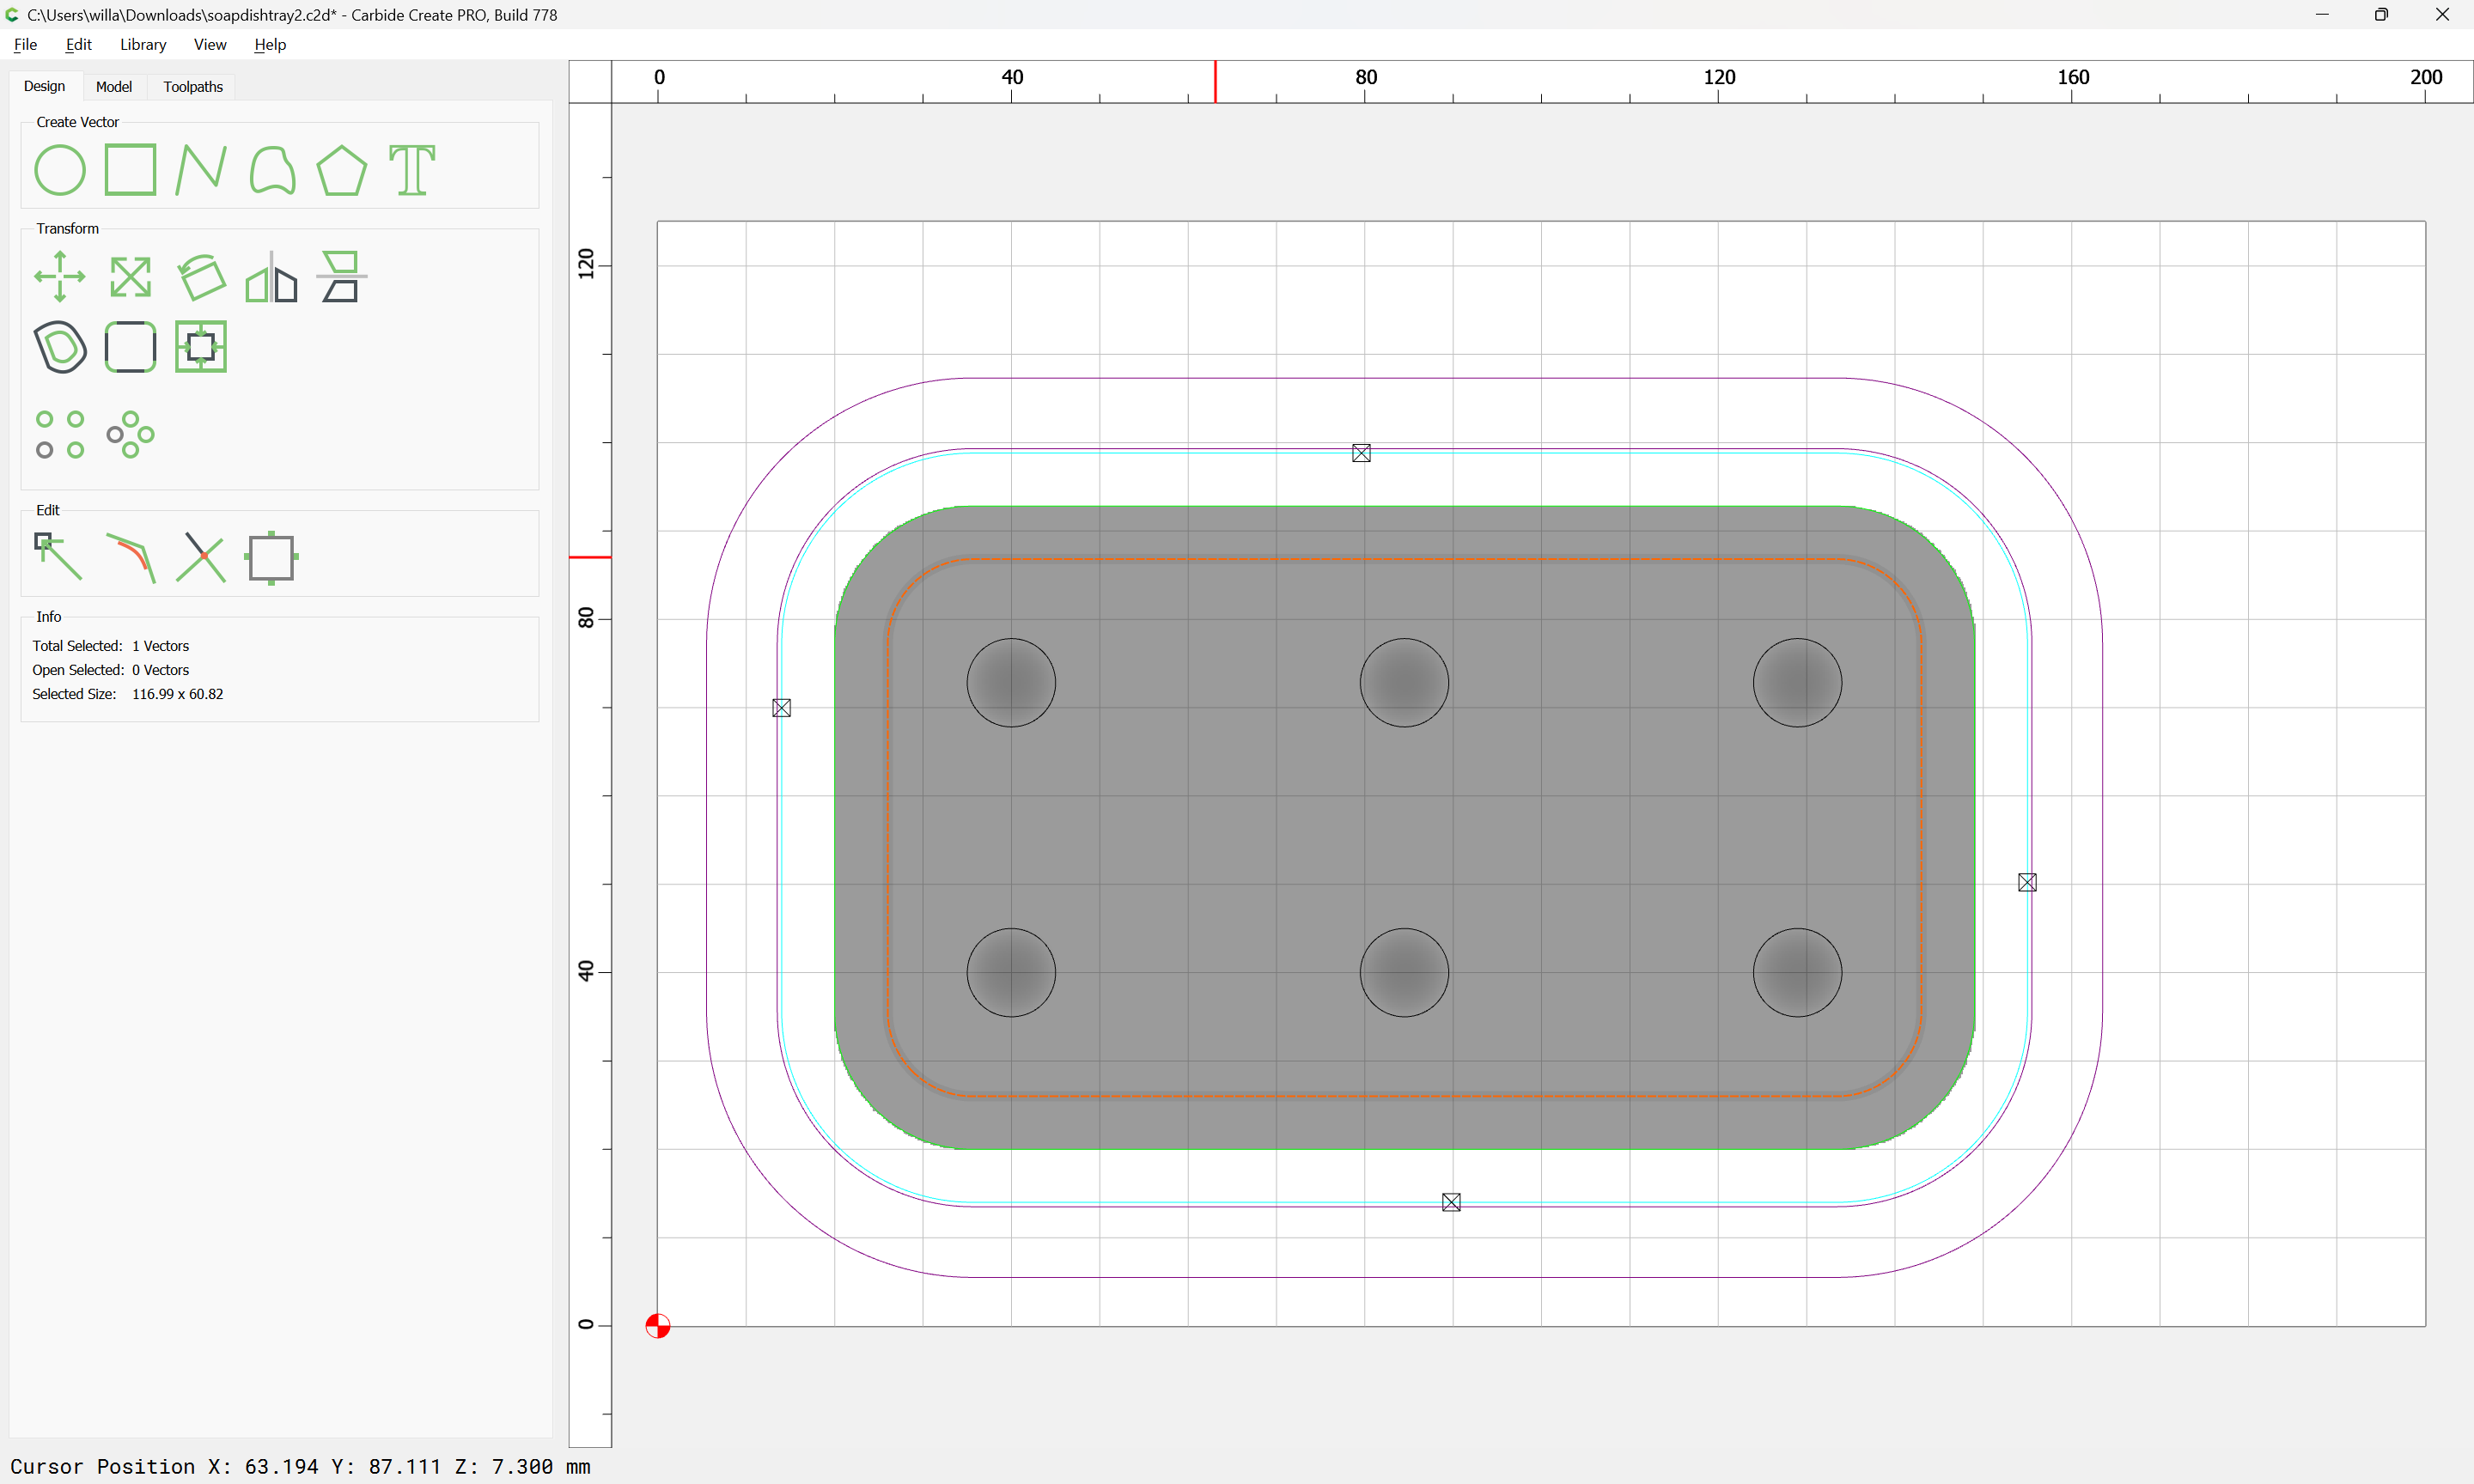
the problem I’m having is how to setup the toolpaths to make this happen. I’ve not been able to stumble upon the correct combination of settings to actually get these bumps inside the bottom of one of my trays:
Below is the CC file that I’m working with. If anyone know how to do this and wants to either post directions or make changes to the file that I can analyze, that would be awesome. soapdishtray.c2d (104 KB)
Wow I like that design. I had to look at your tool paths since I am new. But I think that might be a 3D kind of thing, but I am too new to offer advice
is to first, create the 3D model of the bottom, and then add inset geometry which allows cutting it, and modify the extant toolpaths to leave that uncut so that the 3D toolpaths then make that cut.
If you have difficulty doing this, change things over to use Carbide 3D tooling and then upload the file as far as you get and we can walk through this with you.
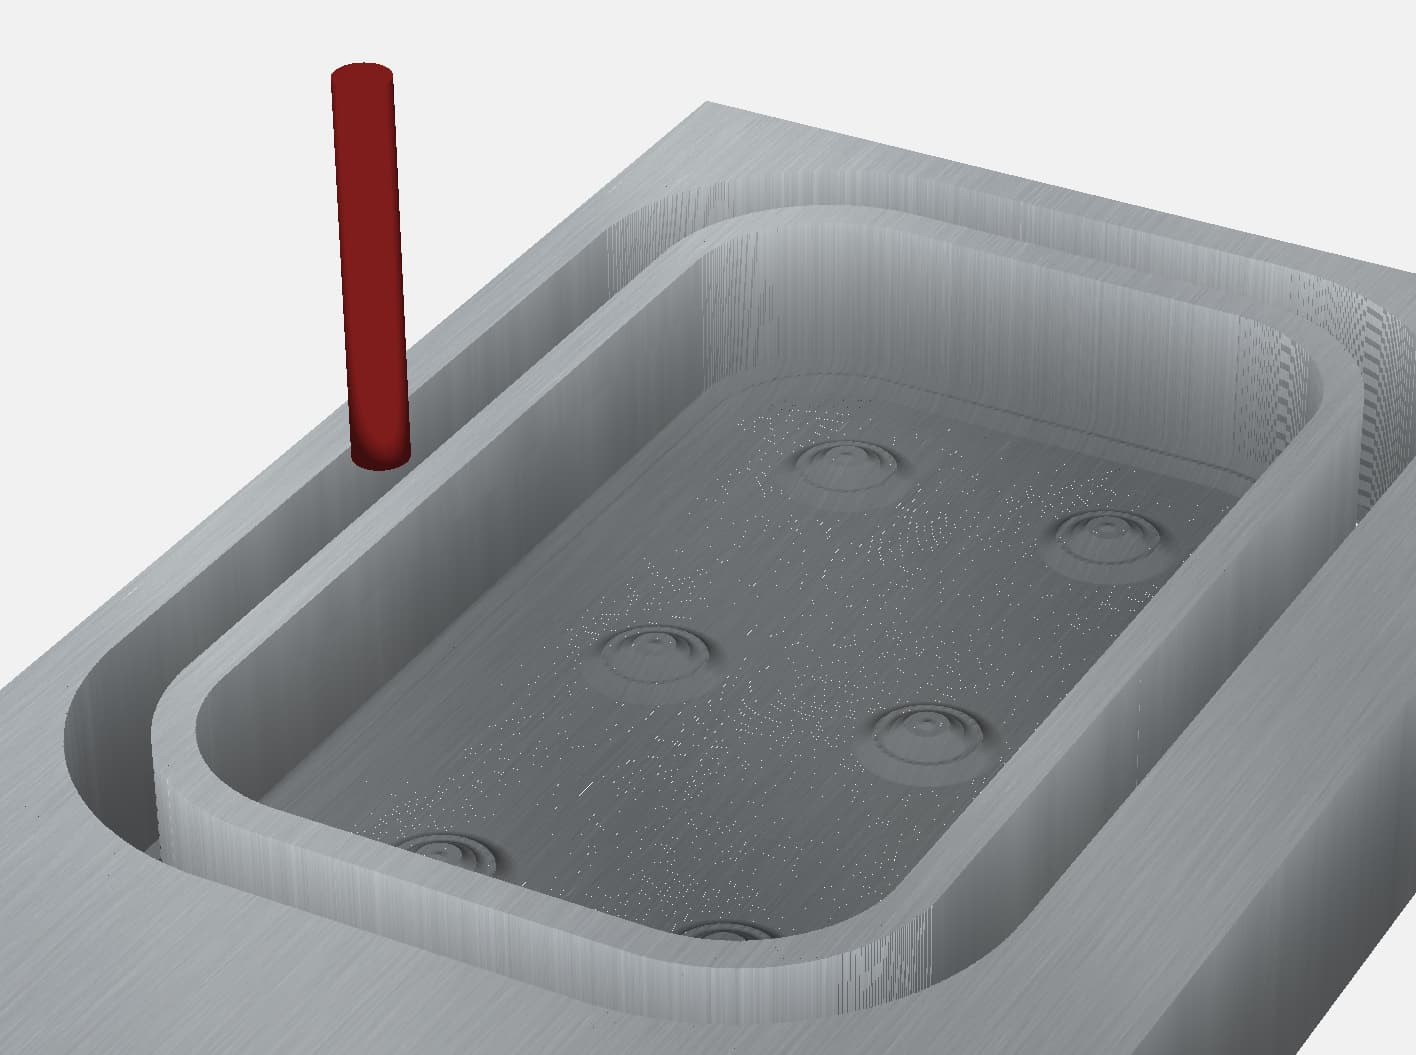
It is close, but obviously I’m looking to have bumps on the bottom, not nipples. lol I’ve also not tried to optimize the toolpaths for cutting time. I’m still just trying to get the results I want.
Im not on CC right now. (Laptop getting fixed). So text only…
Pocket the center down to the top of the bumps, or about 0.010” above. Now pocket the inside vector and include the circles around the bumps. You should now have 6 standing cylinders.
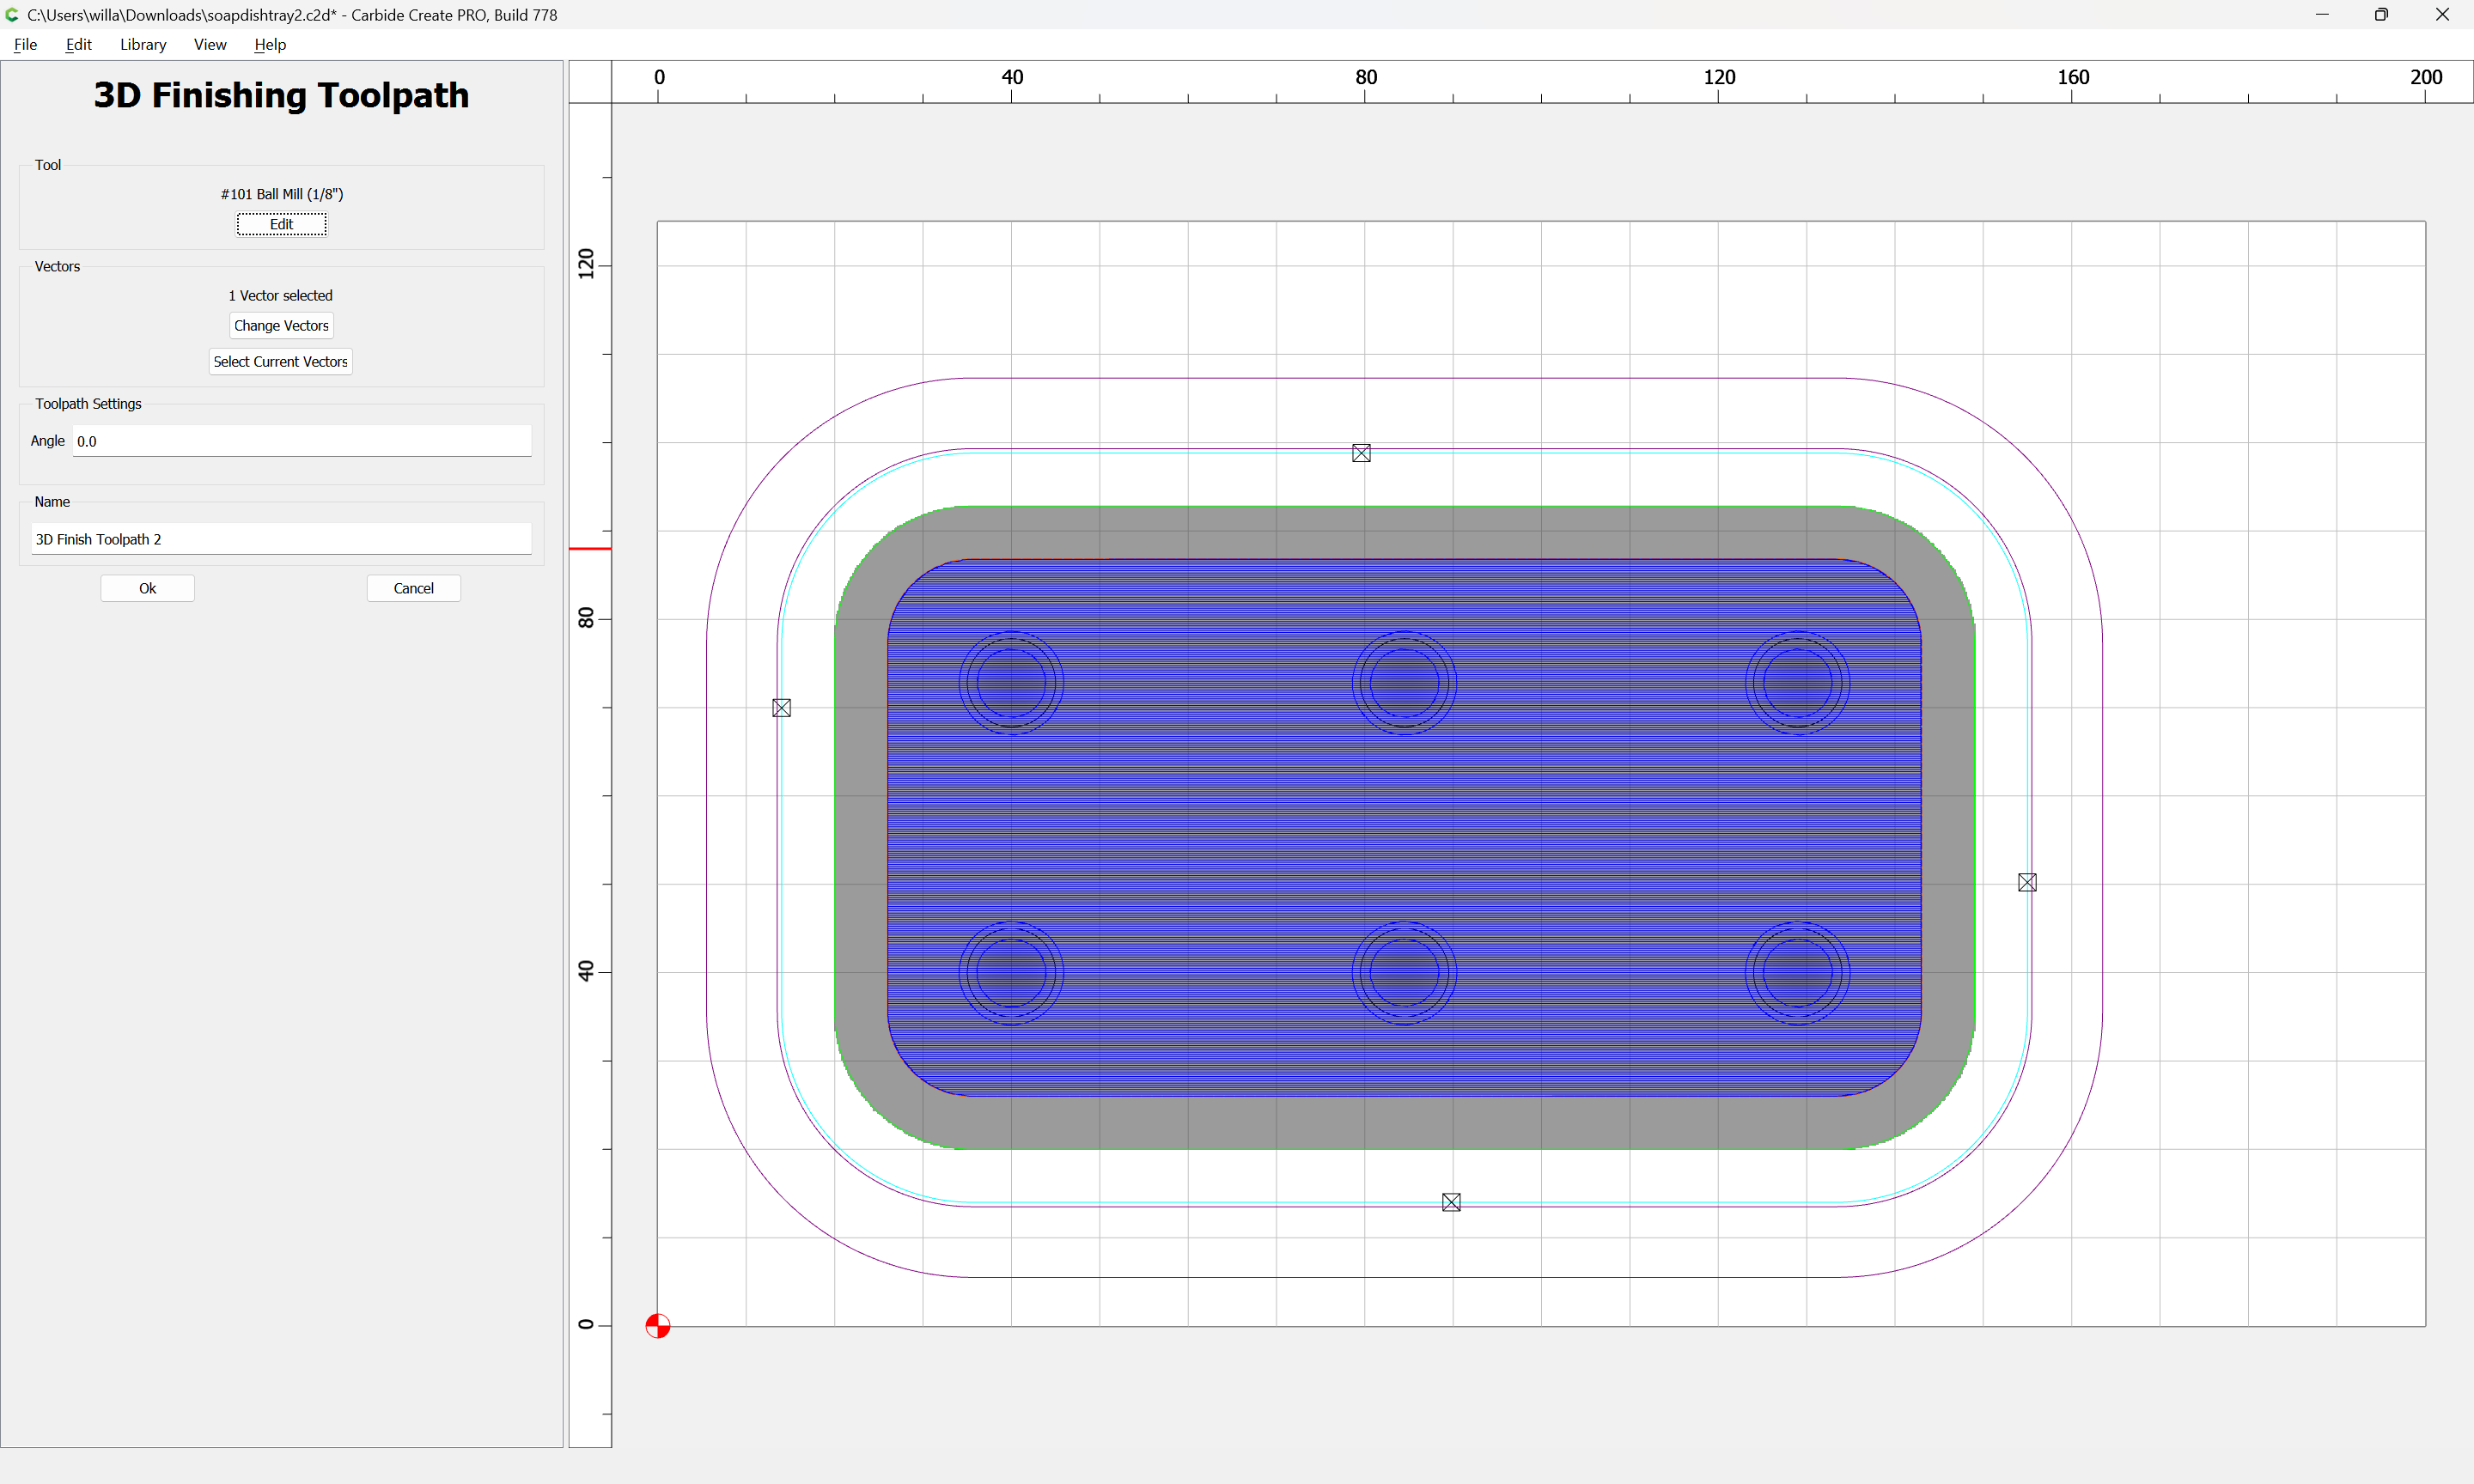
Offset those circles outward by 1/2 the diameter of the tool. These will be your boundaries for 3D finish path. Probably no need for rough at this point. The 3D finish should round off the tops of the bumps. Assuming the model is correct.
Build the model with a flat component for the bottom of the pocket. Then round components with 90 deg angle (for a hemisphere) and the height you want.
Set the stepover to 10% or less of the ball mill diameter
Thanks for the file Will. Earlier I did mess around with drawing a bounding circle around my bumps, but when I setup the 3D tool path I selected the bounding circle and the bumps. That obviously did not return the correct results. I just now tried doing that again in a new file and this time only selected the bounding circles and it did produce nice smooth bumps. Now to play with the rest of my toolpaths to get the tray shape and depth correct along with getting it down to a reasonable cutting time.
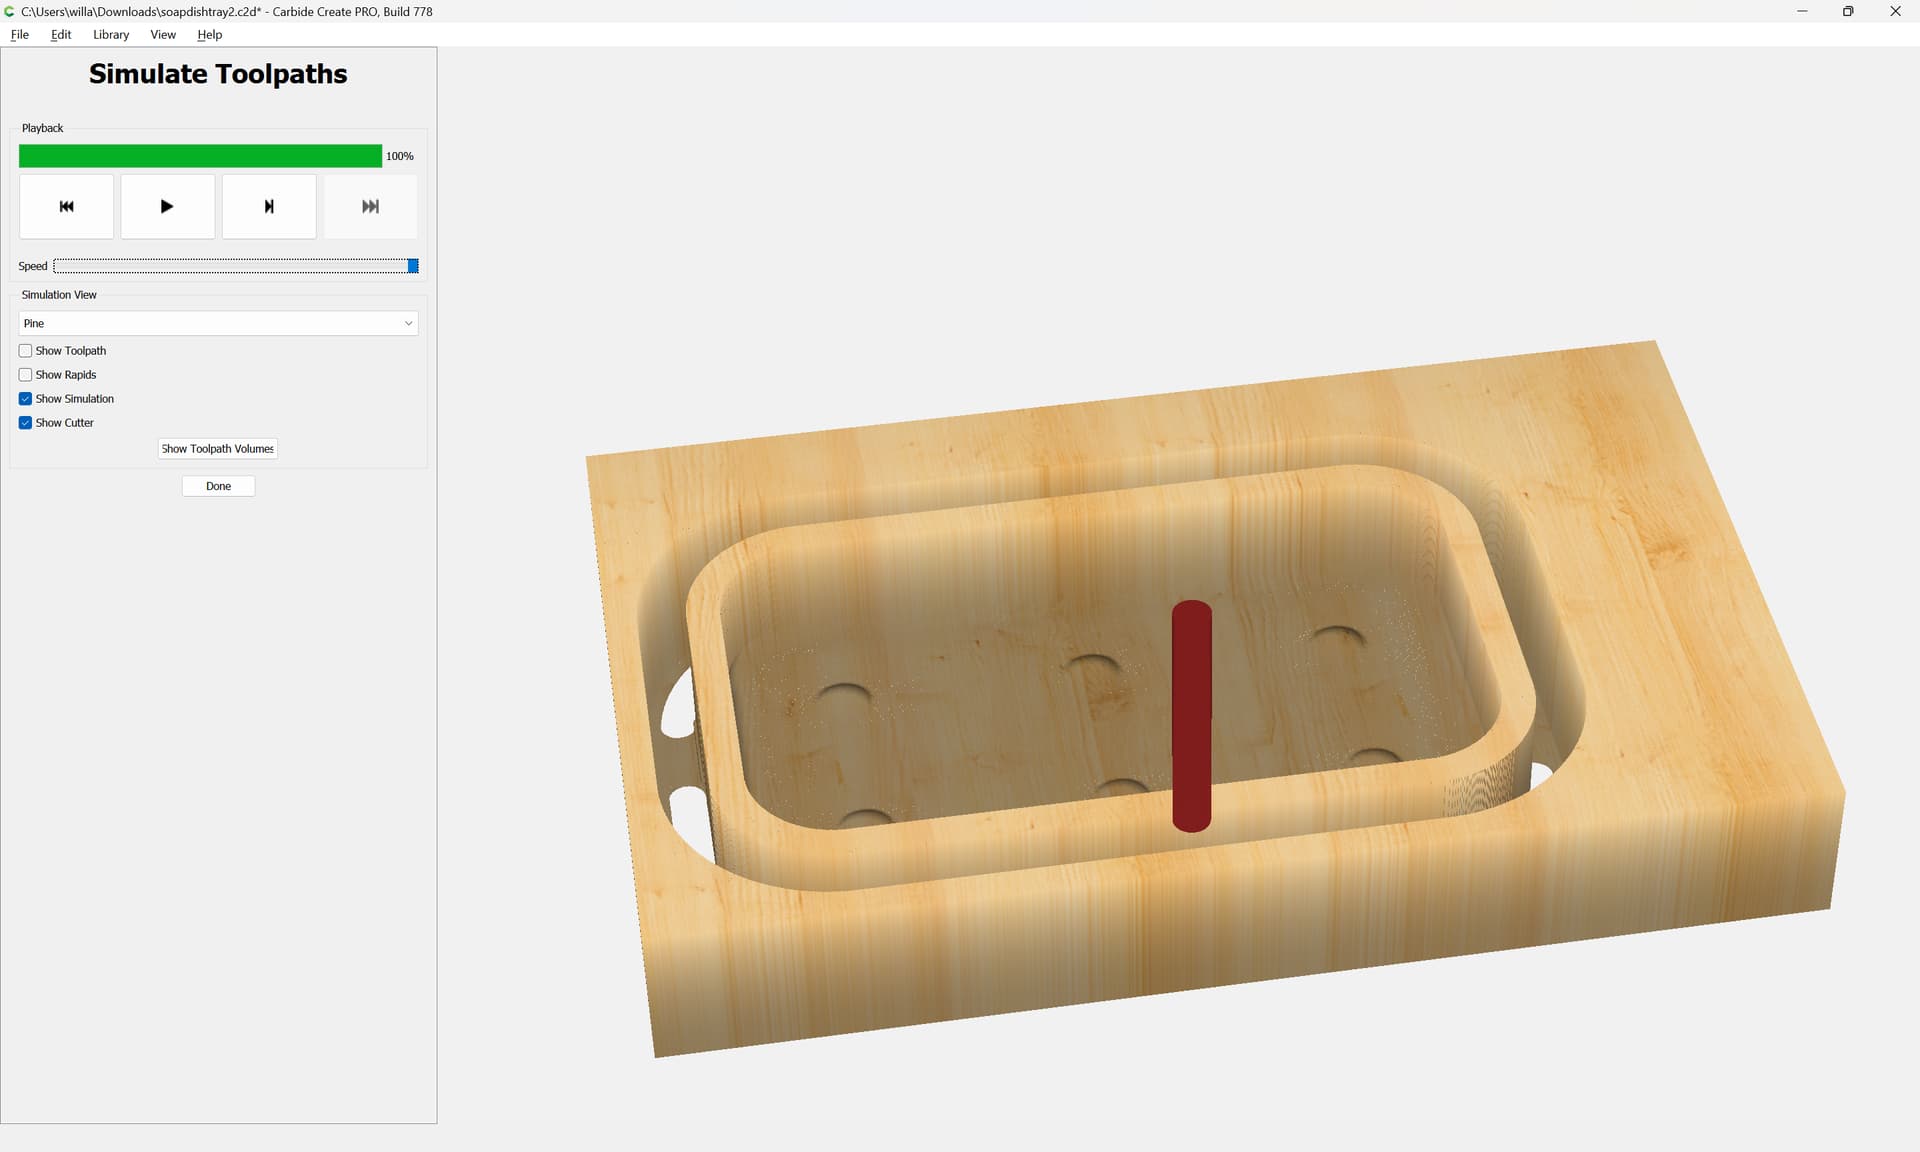
If anyone wants to use it, here is my final design. It uses a 3/4 bowl bit (Whiteside 1372) to rough and finish the main pocket of the dish. The 3D bumps are done with a 1/4 and 1/8 ball mill (Carbide 3D #202 and #101). Cutting out the tray is down with a a 1/4 roughing endmill (IDC the HOG) and an extended cut 1/4 endmill (IDC Long 1/4 down cut). I also use a 1/8 round over bit (IDC 1/8 Round over) to profile the edges of the tray top.
My bowl bit settings are pretty aggressive, but CC says the total time to cut is 28 minutes. 17 minutes of that is just the 3D bumps.
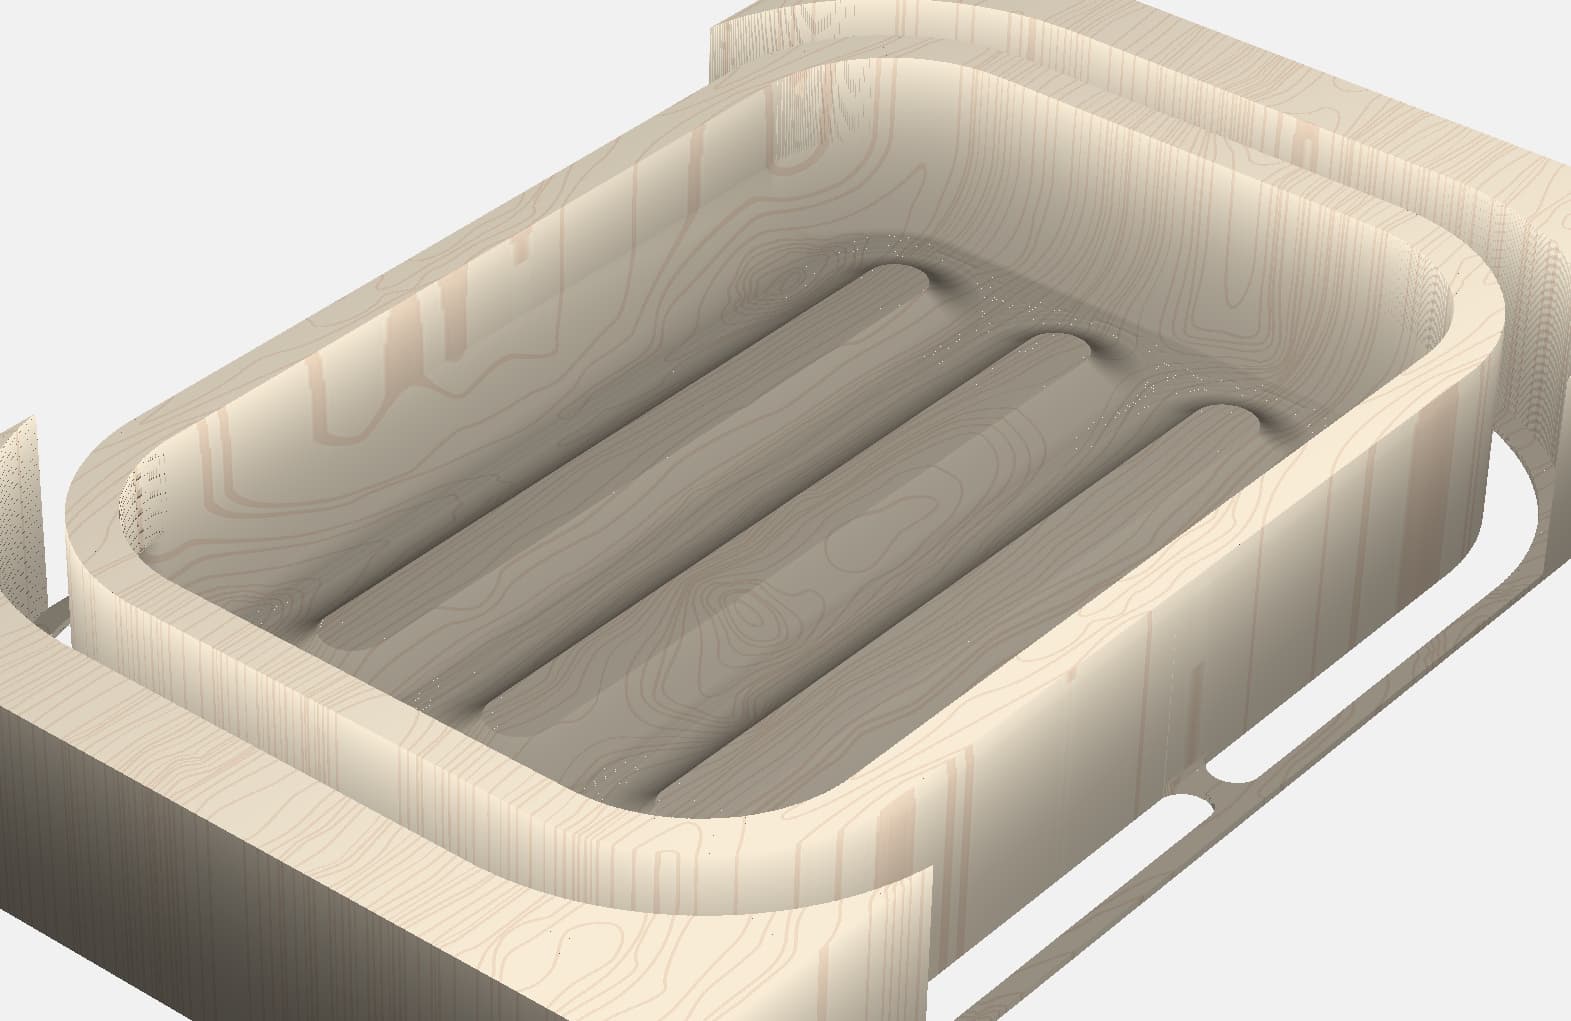
And for those of you that need a quicker cutting project, here is a similar sized soap dish (it is slightly larger) that has three bars along the bottom to hold the soap up. CC says it will cut in under 13 minutes.
Good points Jesse. I actually envisioned the fancy soaps they put in these fancy dishes would not actually get used. They’d probably just be bathroom eye candy. lol