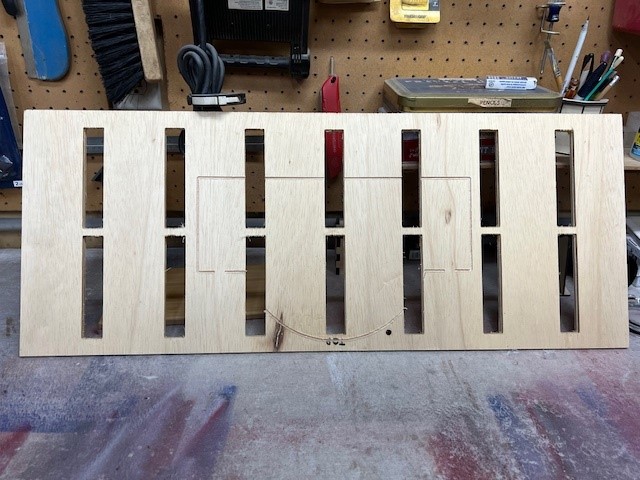
My spoil boards on my ShapeOKO Pro were getting pretty ratty so i replaced all the slats. To protect the spoil boards on my machine I made this overlay from 1/2 Birch plywood. The piece I made is 12 x 30. I use this when I’m doing a project where I am cutting all the way through the project. The slots match up pretty well with the access slots for mounting clamps to the aluminum base. I just lay this on top of my bed then use a little longer screws to mount my project through the slots to my machine base. This holds my overlay and my project tight. Now when i do the project and I’m off a bit i will cut into this piece instead of my spoil board. I attached the c2d file. It would be easy to modify this for other machines. Make it longer, wider, etc
One way to preserve your spoilboard is to use bottom of material instead of top of material. I replaced my SO3 threaded spoilboard 2 years ago and there are a few mistakes that I made but it is a good way to keep from cutting up your spoilboard. The only issue you can have is checking your zeros with rapid movements under jog. The X and Y work perfectly but be sure to move off the material before doing a Z+6mm or you will crash your bit into the material if it is over 6MM tall. I seldom ever have onion skin left at the bottom of cut outs and with painters tape and super glue it rarely cuts into the tape to gum up the bit.
No. I just used high density particle board. Same as the original that came with the machine. Here’s the file for replacement spoil boards for the Pro XL.
On my Shapeoko 4, I cut slats of 1/4" MDF and stuck them on top of the factory slats with double sided tape. It’s working fine and they’re a lot easier and cheaper to replace than the factory slats.
Or, cut out new MDF Filler strips of 1/4" thick material, remove the existing strips, drop the newly cut ones in with a thin layer of glue on them, then drop the old ones on top and secure them — that would avoid the need for clamping and waiting to dry…
I recently took a slightly different approach. I filled in most all of the cut areas on my MDF strip spoil board with a wood glue / saw dust mix. After a couple days drying time I resurfaced and resealed.
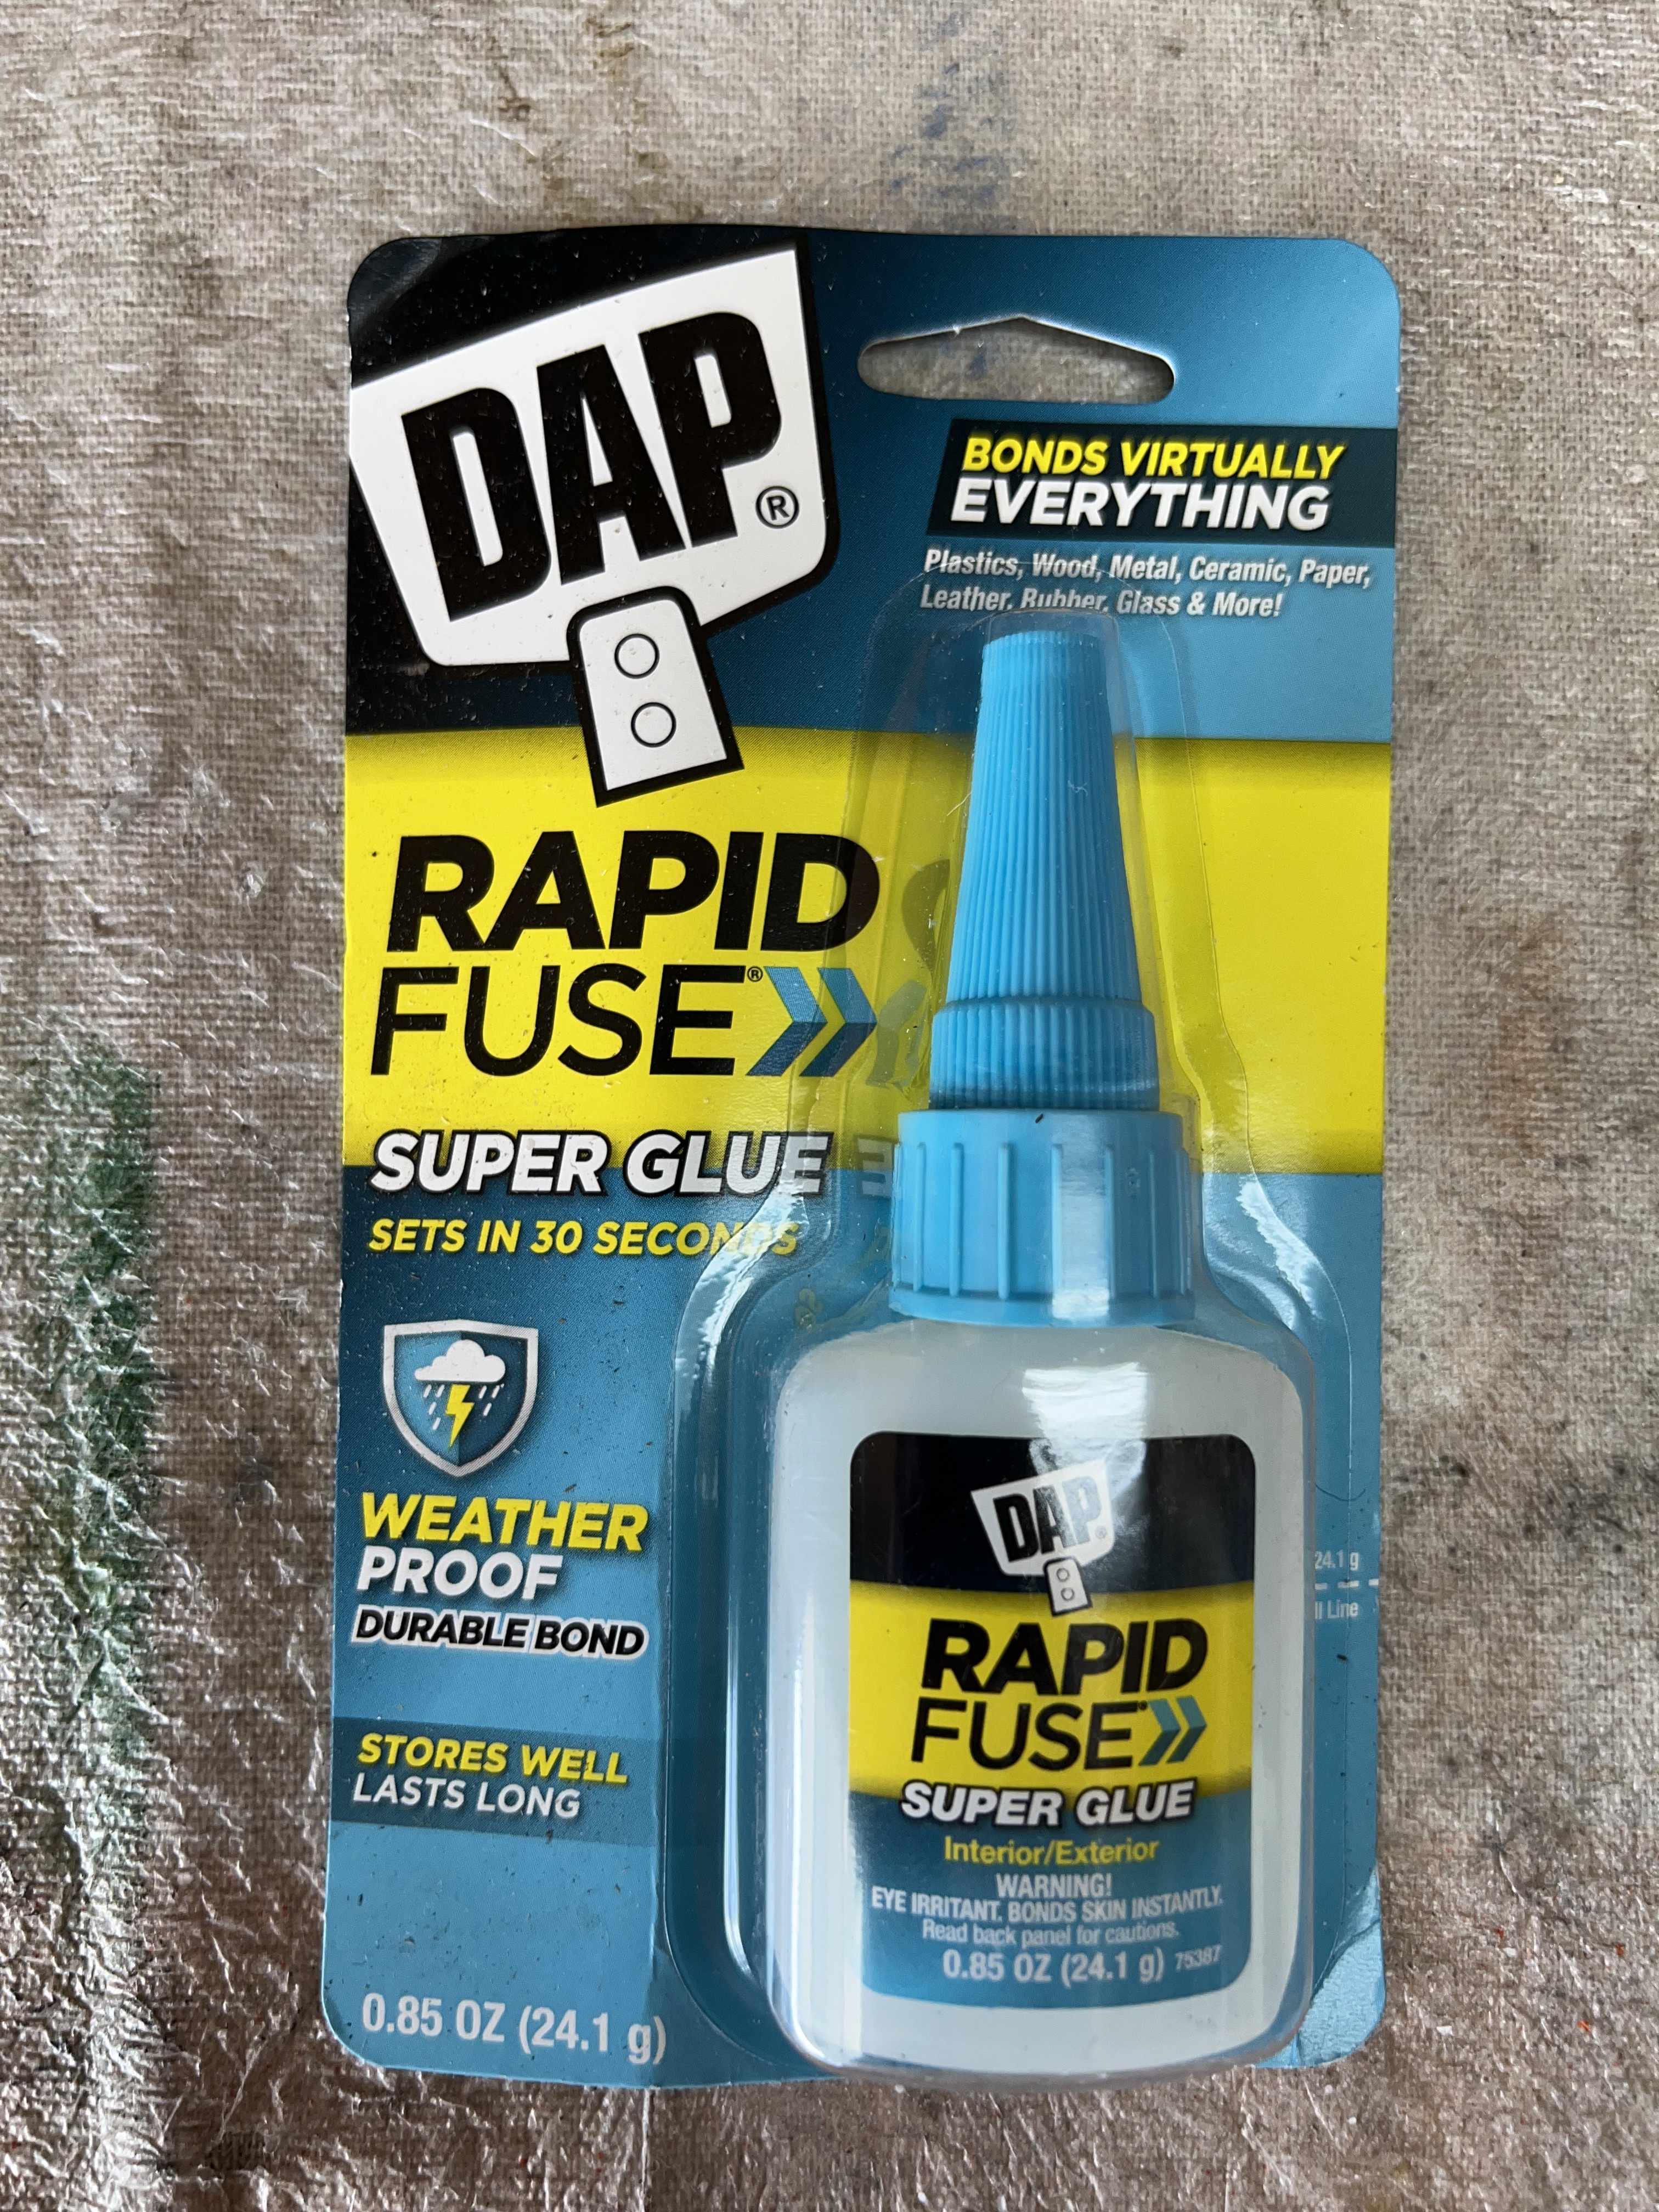
I’ve been using this quick set glue for a lot of projects lately. It’s kind of pricey but only takes a few drops and sets up in 30 seconds. Holds like iron. Much better than standard super glue.
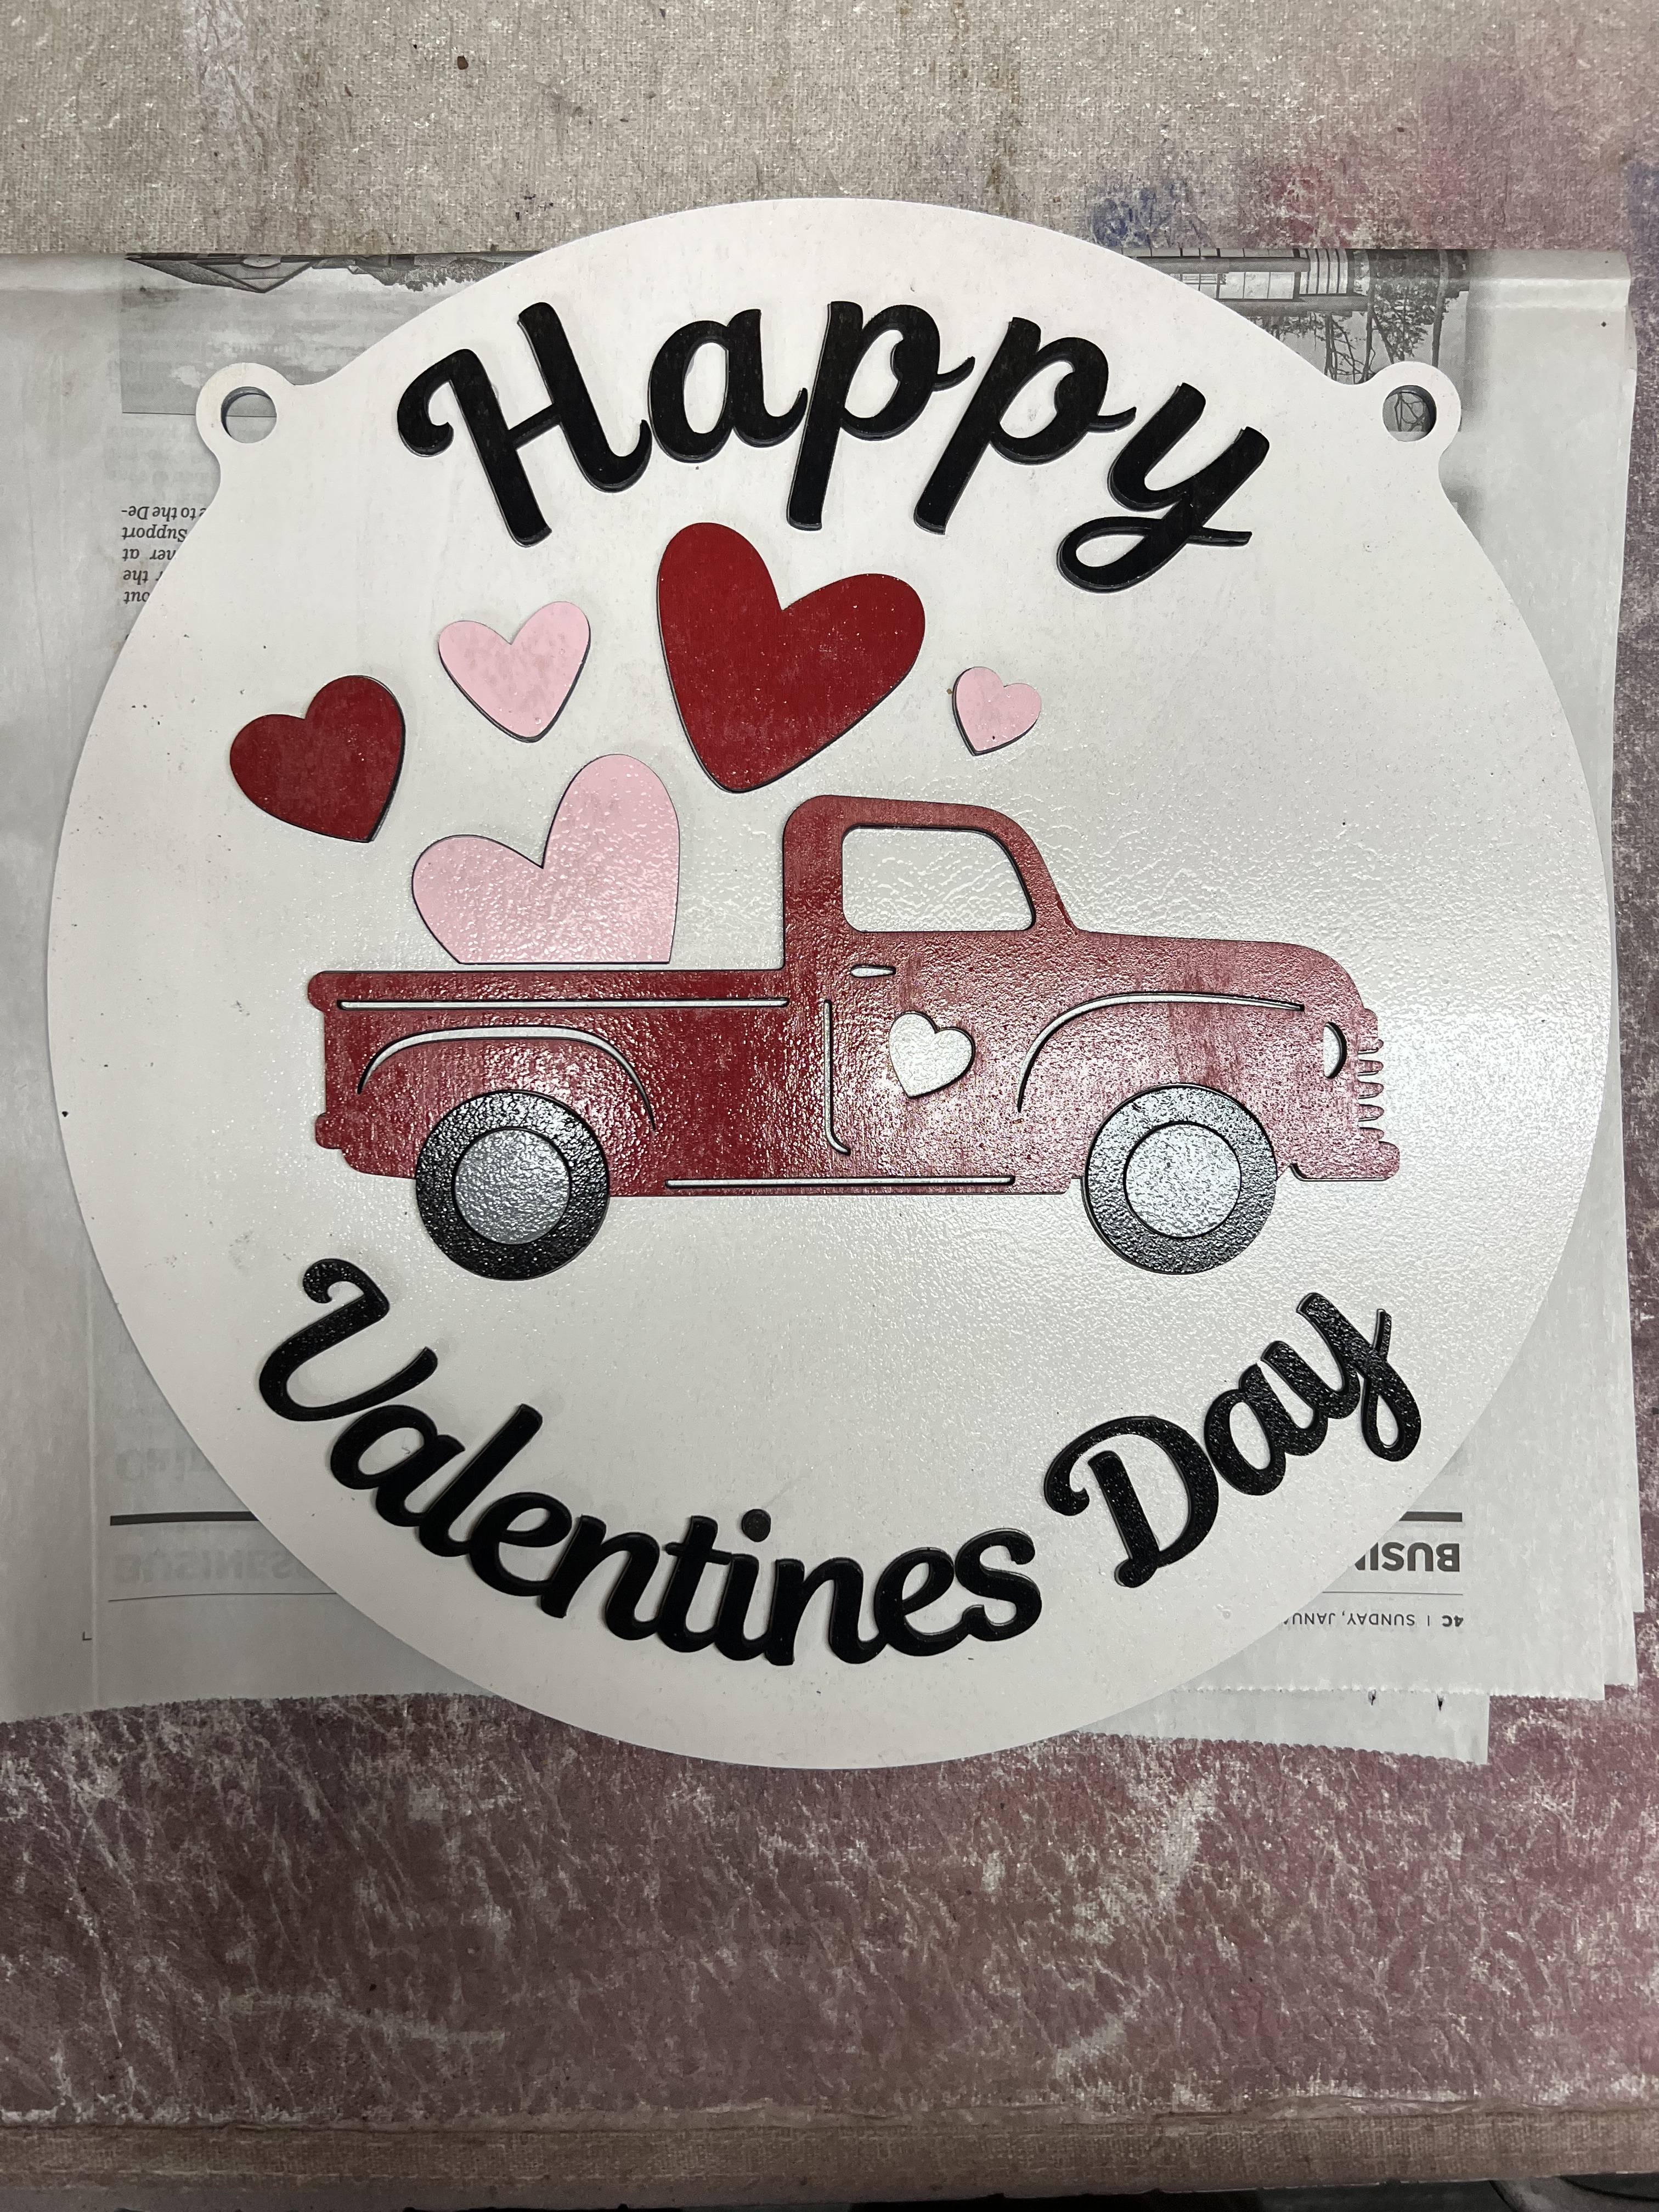
Mostly I use this when doing 2 layer cuts on my laser machine.