Completely new at this. Just purchased a Shapeoko Pro XL. I understand now that the actual cutting area is shorter than the length of the boards. Whichever option I choose as my spoil board I’d like to be able to tile. After reading here, I’ve noticed that some of you add a spoil board that is one piece and covers the metal areas, therefore utilizing a different means of holding down your work. I’m thinking I’d like to be able to utilize the t-bolt clamps etc. keeping the current hold down options. Is it possible to add a second level of boards to the ones already there and make them the size of the actual cutting area (shorter in the back) so that there is plenty of room to surface them as needed and even remove and replace as needed to reduce the fear of hitting metal? I hope that makes sense? I feel like there must be a reason why I have not seen that as a solution.
I can’t find the thread now but I am sure @WillAdams encyclopedic knowledge can locate it.
In that thread it explains how to juggle the birds around a bit such that when done the outer portions of the boards that are outside of the cutters reach (sides and back) are machined lower than the rest. This enables you to resurface the actual work area multiple times and the outer areas are not in the way for tiling.
I’m pretty new to my XXL, but I made a few spoilboards for my 3018. I was nervous that my router would take a plunge as I had a few near disasters with the smaller 3018 when it dug into the stock.
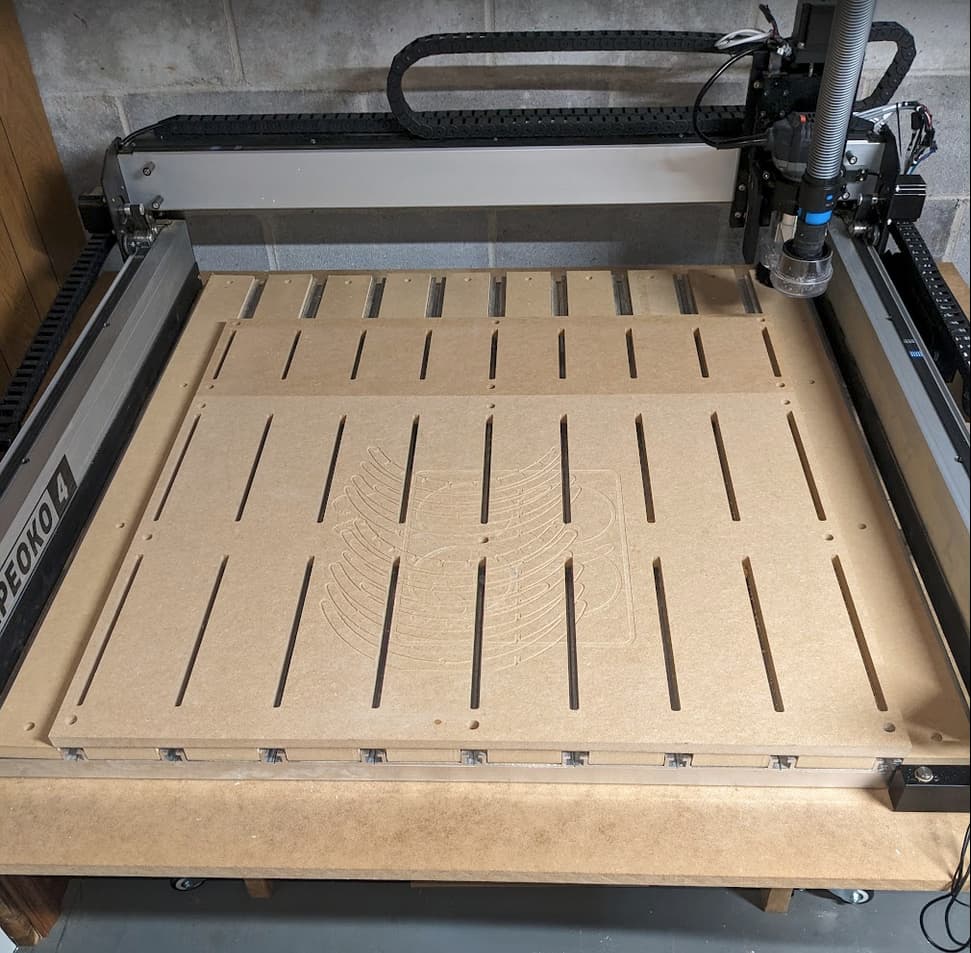
I got a sheet of 3/4 inch MDF from Lowes (big box hardware store) and cut it up. Originally I wanted one piece but I had some issue that I can’t recall and wound up with two pieces. I have them clamped to the bed with M6 screws and T-nuts.
I made the design in OpenSCAD based on a STEP model of the XXL so that the T-slots would be exposed. One could just as easily have made screw holes and inserts, but I’ve always liked the T-slots so I ordered a few sets of M6 bolts in longer lengths for clamping.
There are many ways to skin the cat, this is just the way I’m using now. You may want to go with a thinner MDF board than I used – it will take away from your maxiumum stock height. I aimed for protection.
You could surface the existing slats. Turn them end for end and clean up the south end. A lot of work and you will not be perfectly flat. You asked. I liked what @woodchip_breath did
I found the post I mentioned above. It is from @SLCJedi
This is a great idea! I’ll research how to get a step model of the XL. Thank you so much for responding!
Thank you! Who knew there are so many ways to make a spoil board. ![]() Thank you for your help!
Thank you for your help!
I don’t know which model you have. I think I found this file on this forum. I have the Shapeoko 4 and the hybrid bed has the same dimensions as the Shapeoko Pro bed.
I just measured the distance between the slats from the STEP file and it was an even number of millimeters. If you look on the forum for “spoilboard” you will probably find this file as well. There is also a Fusion 360 model in the .zip.
I have not had the need to remove my spoilboard yet but I could unscrew it. Another mounting option is the blue tape / superglue method which holds strong but can be removed as well.
Shapeoko Pro XXL - Base.zip (1.4 MB)
This topic was automatically closed 30 days after the last reply. New replies are no longer allowed.