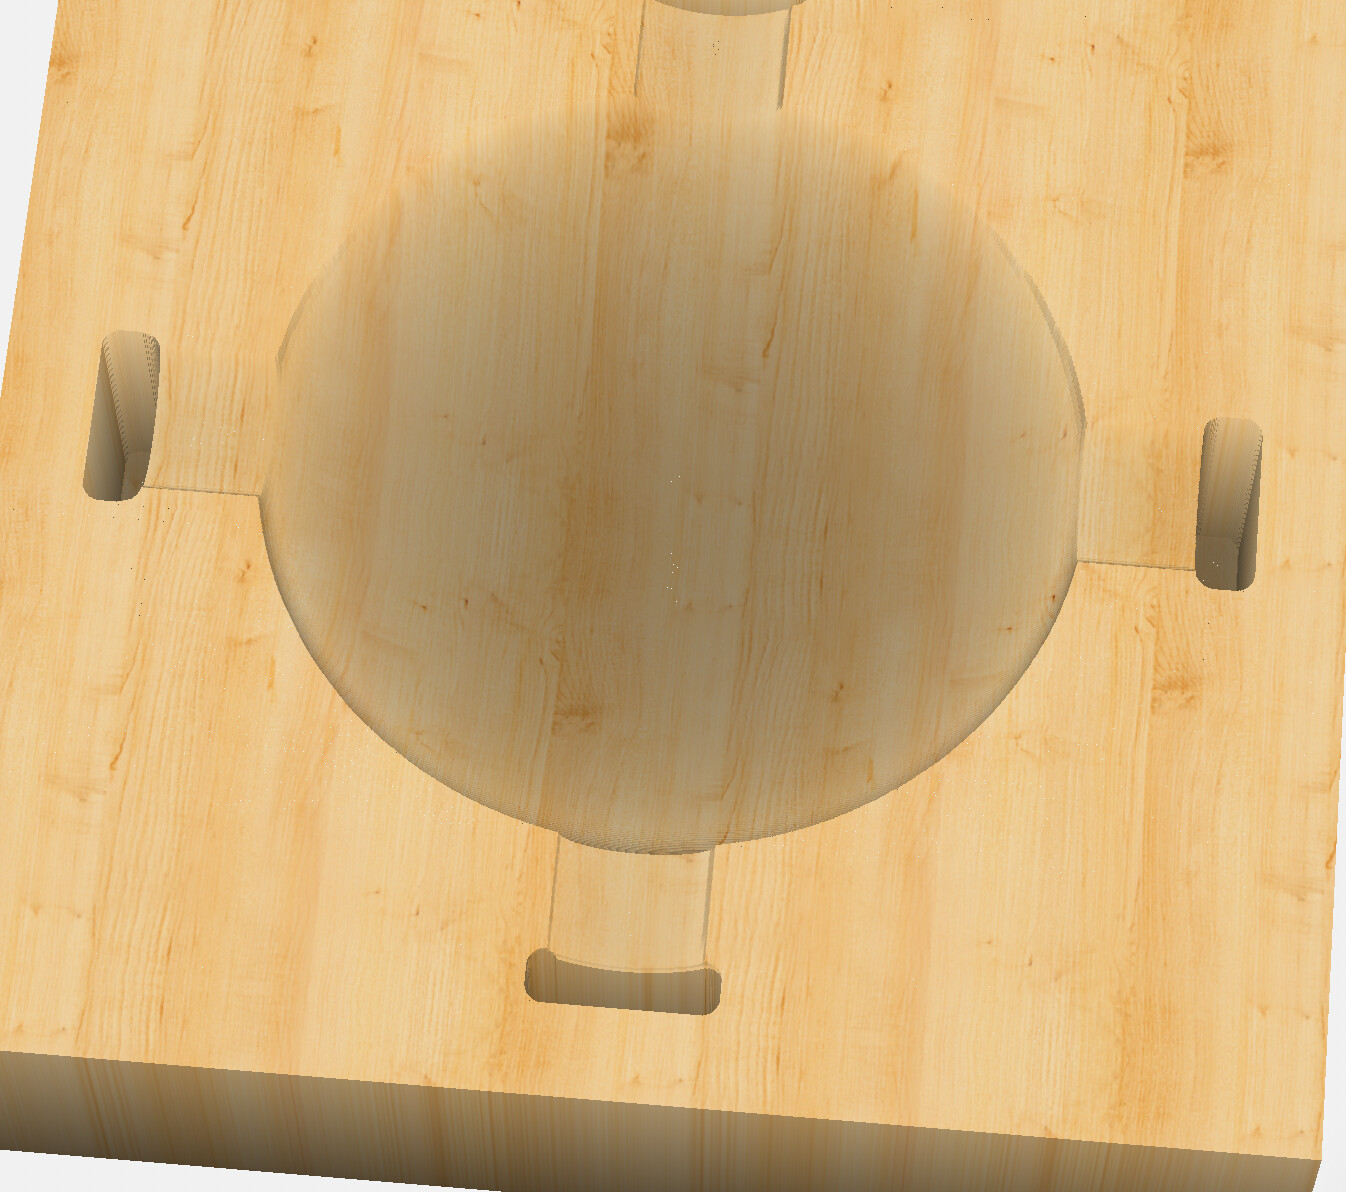
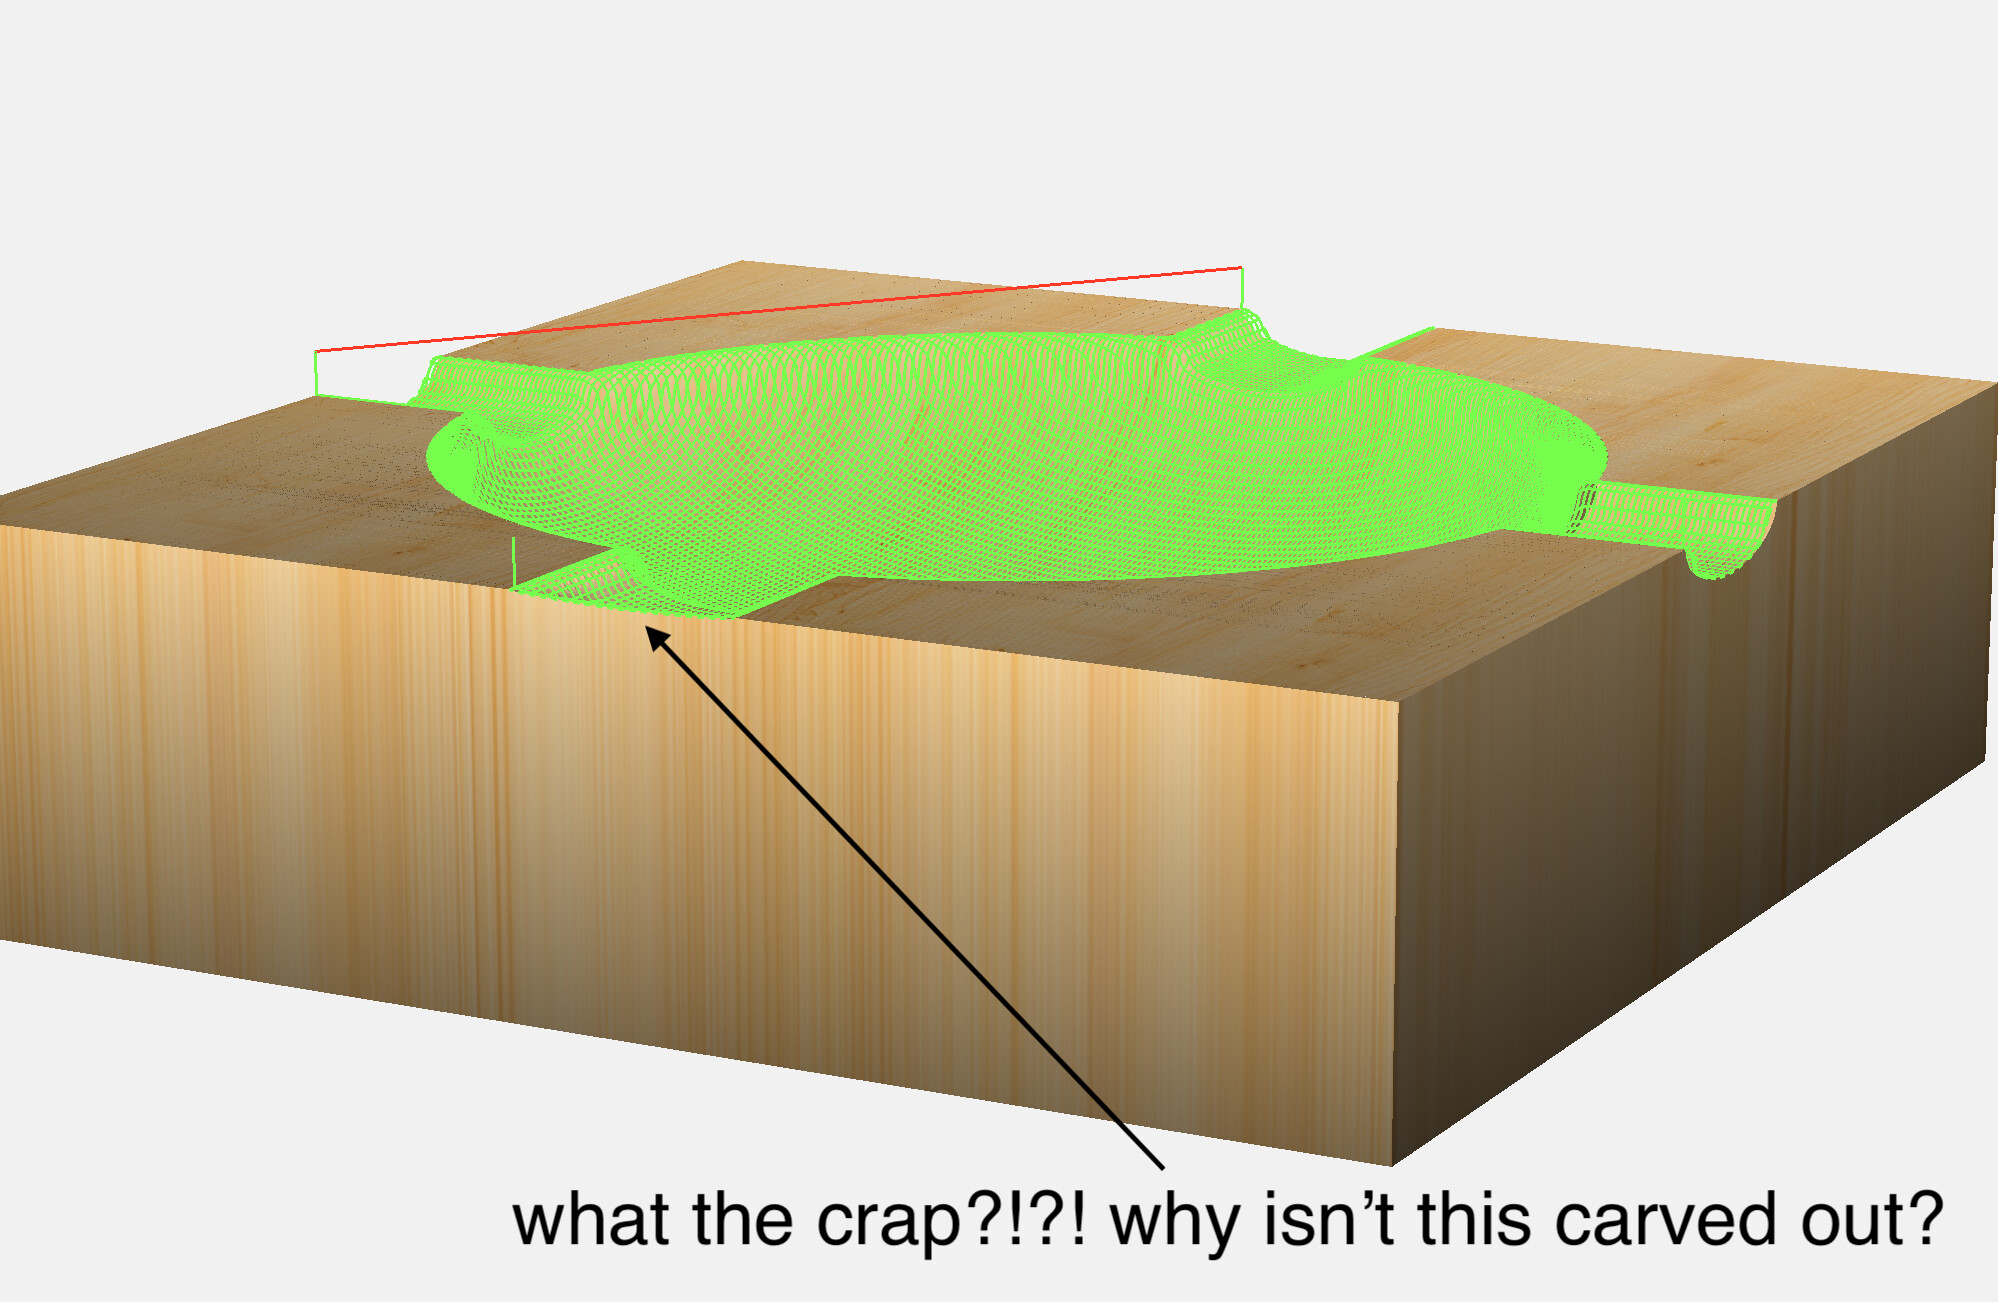
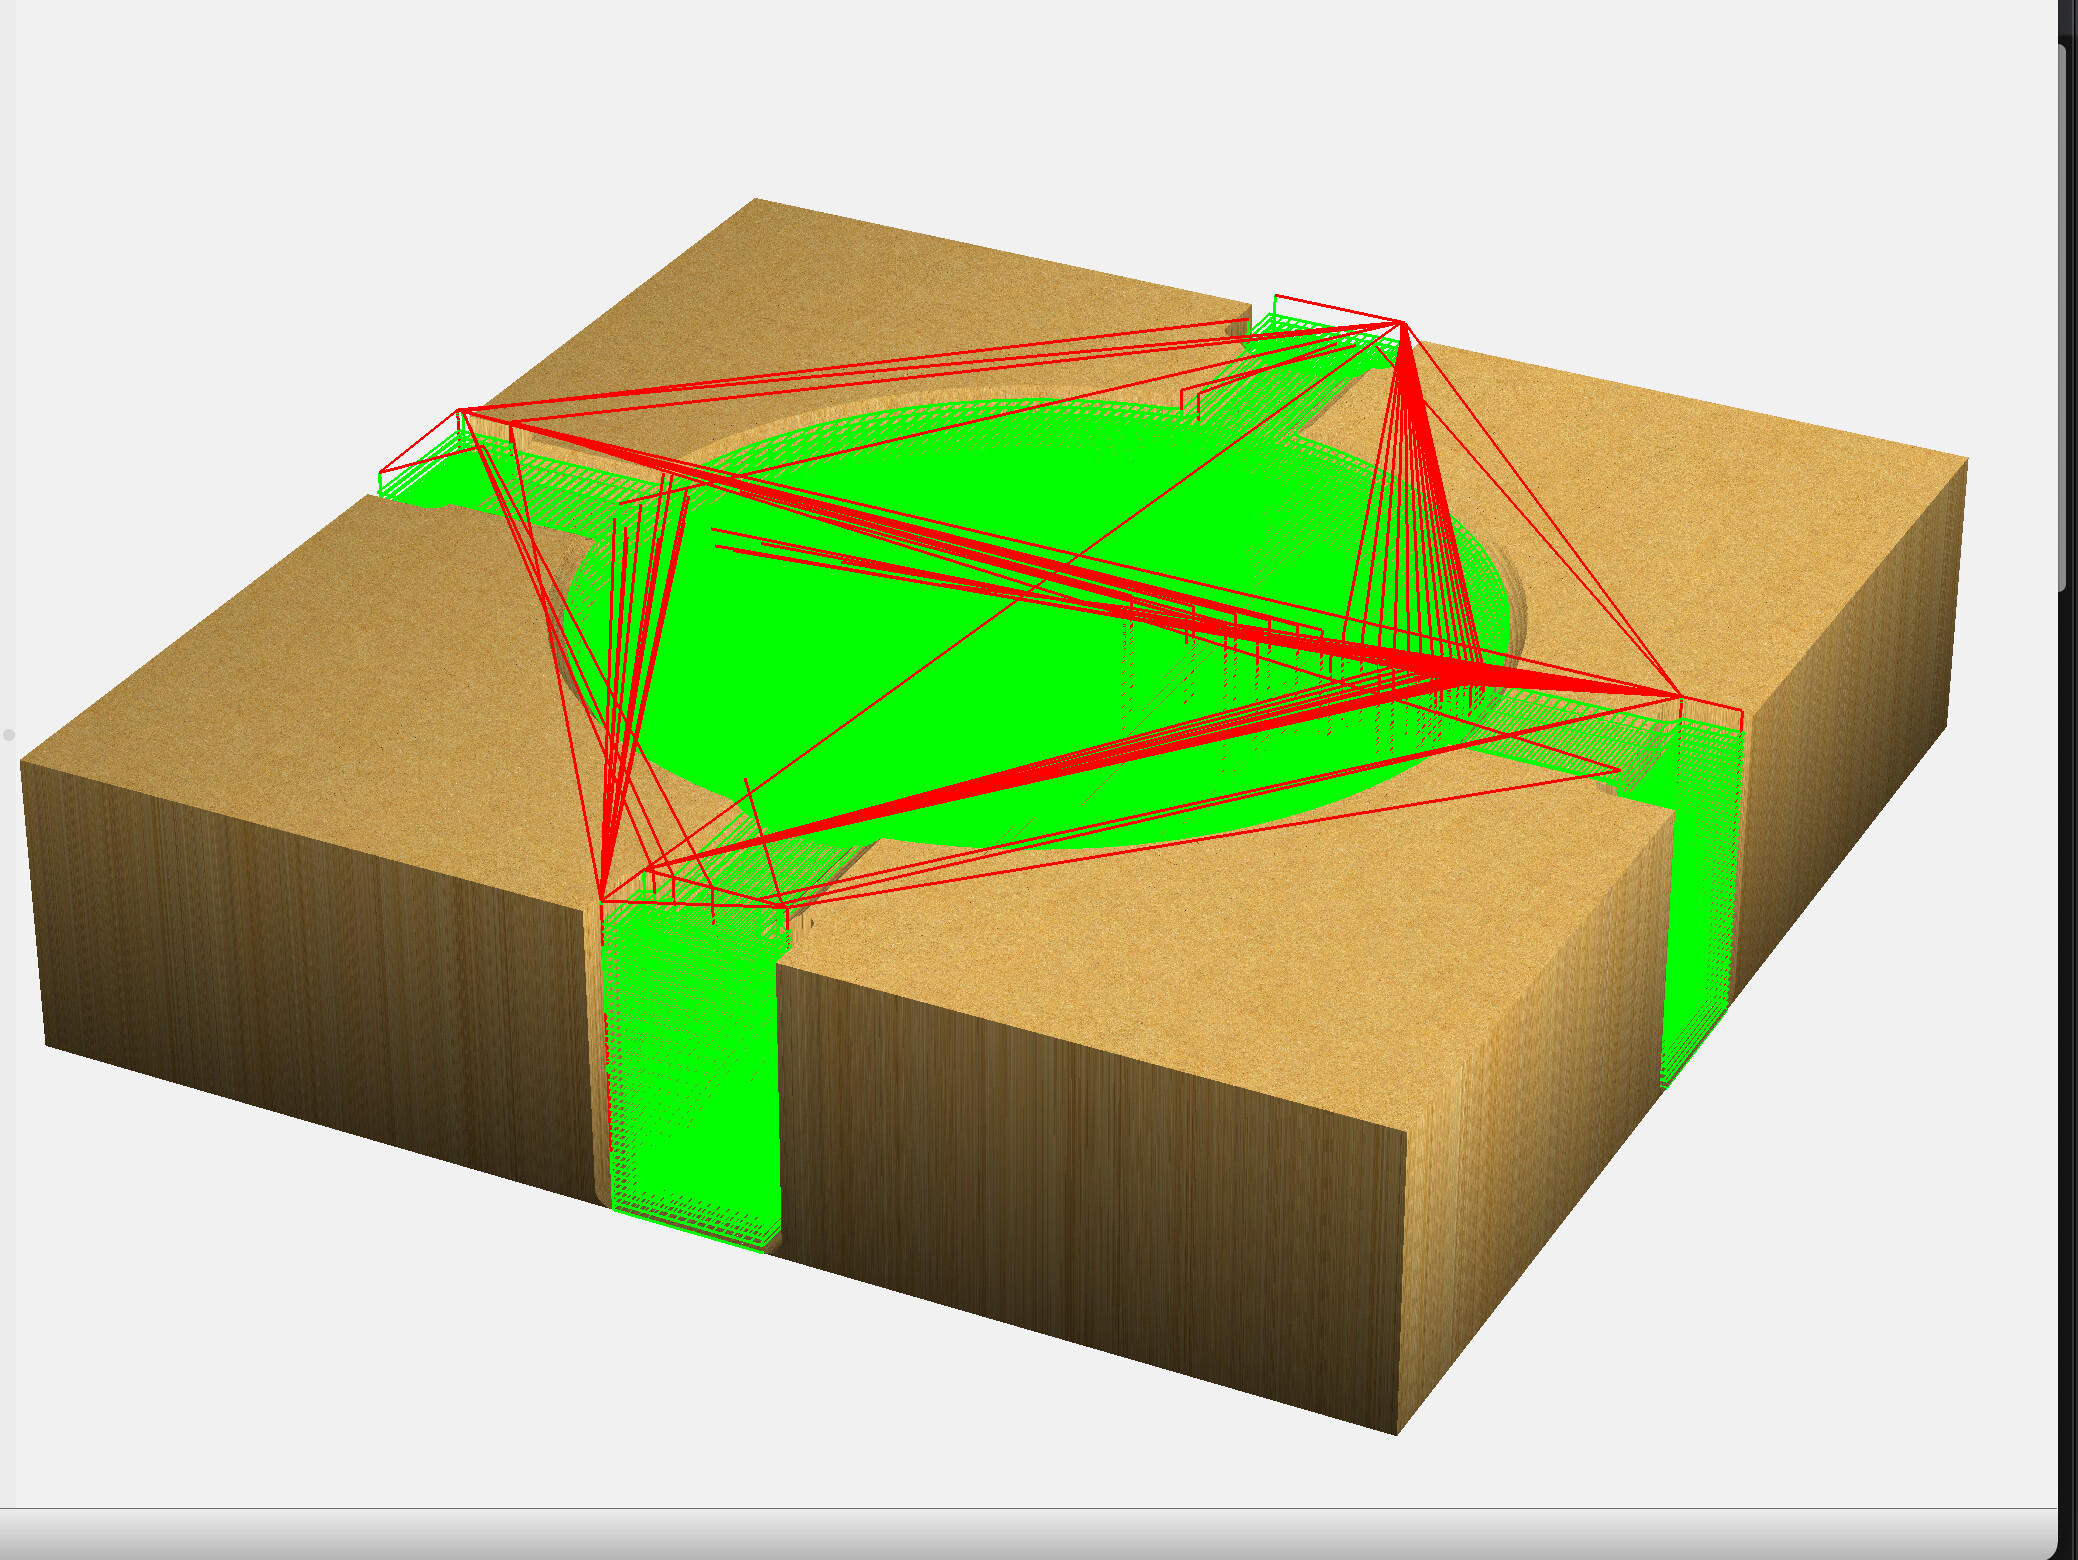
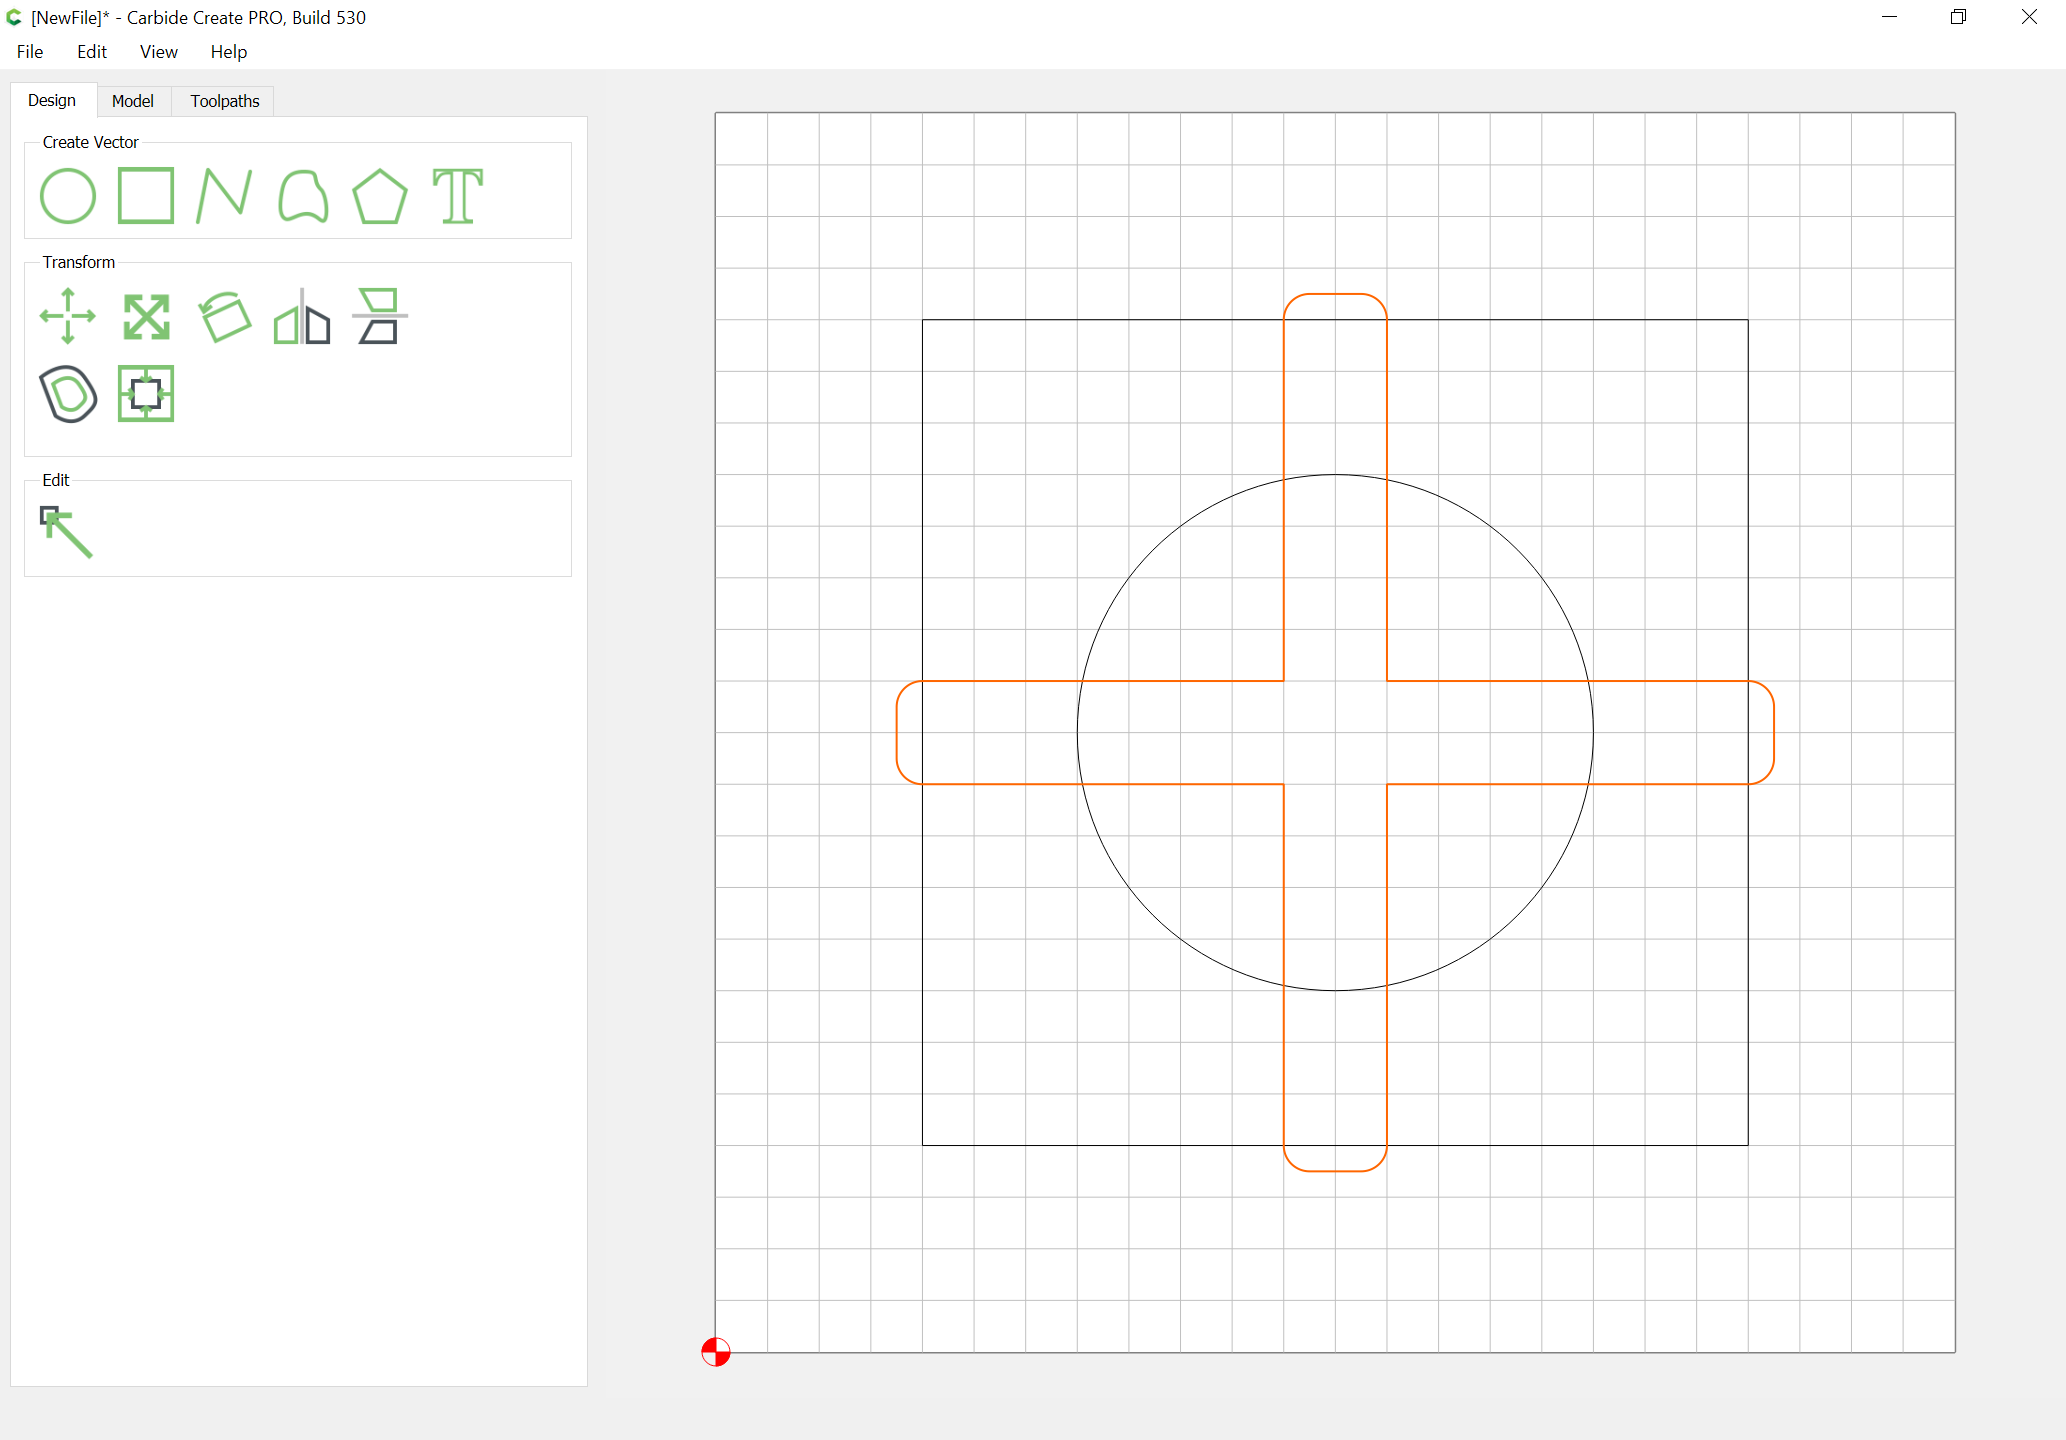
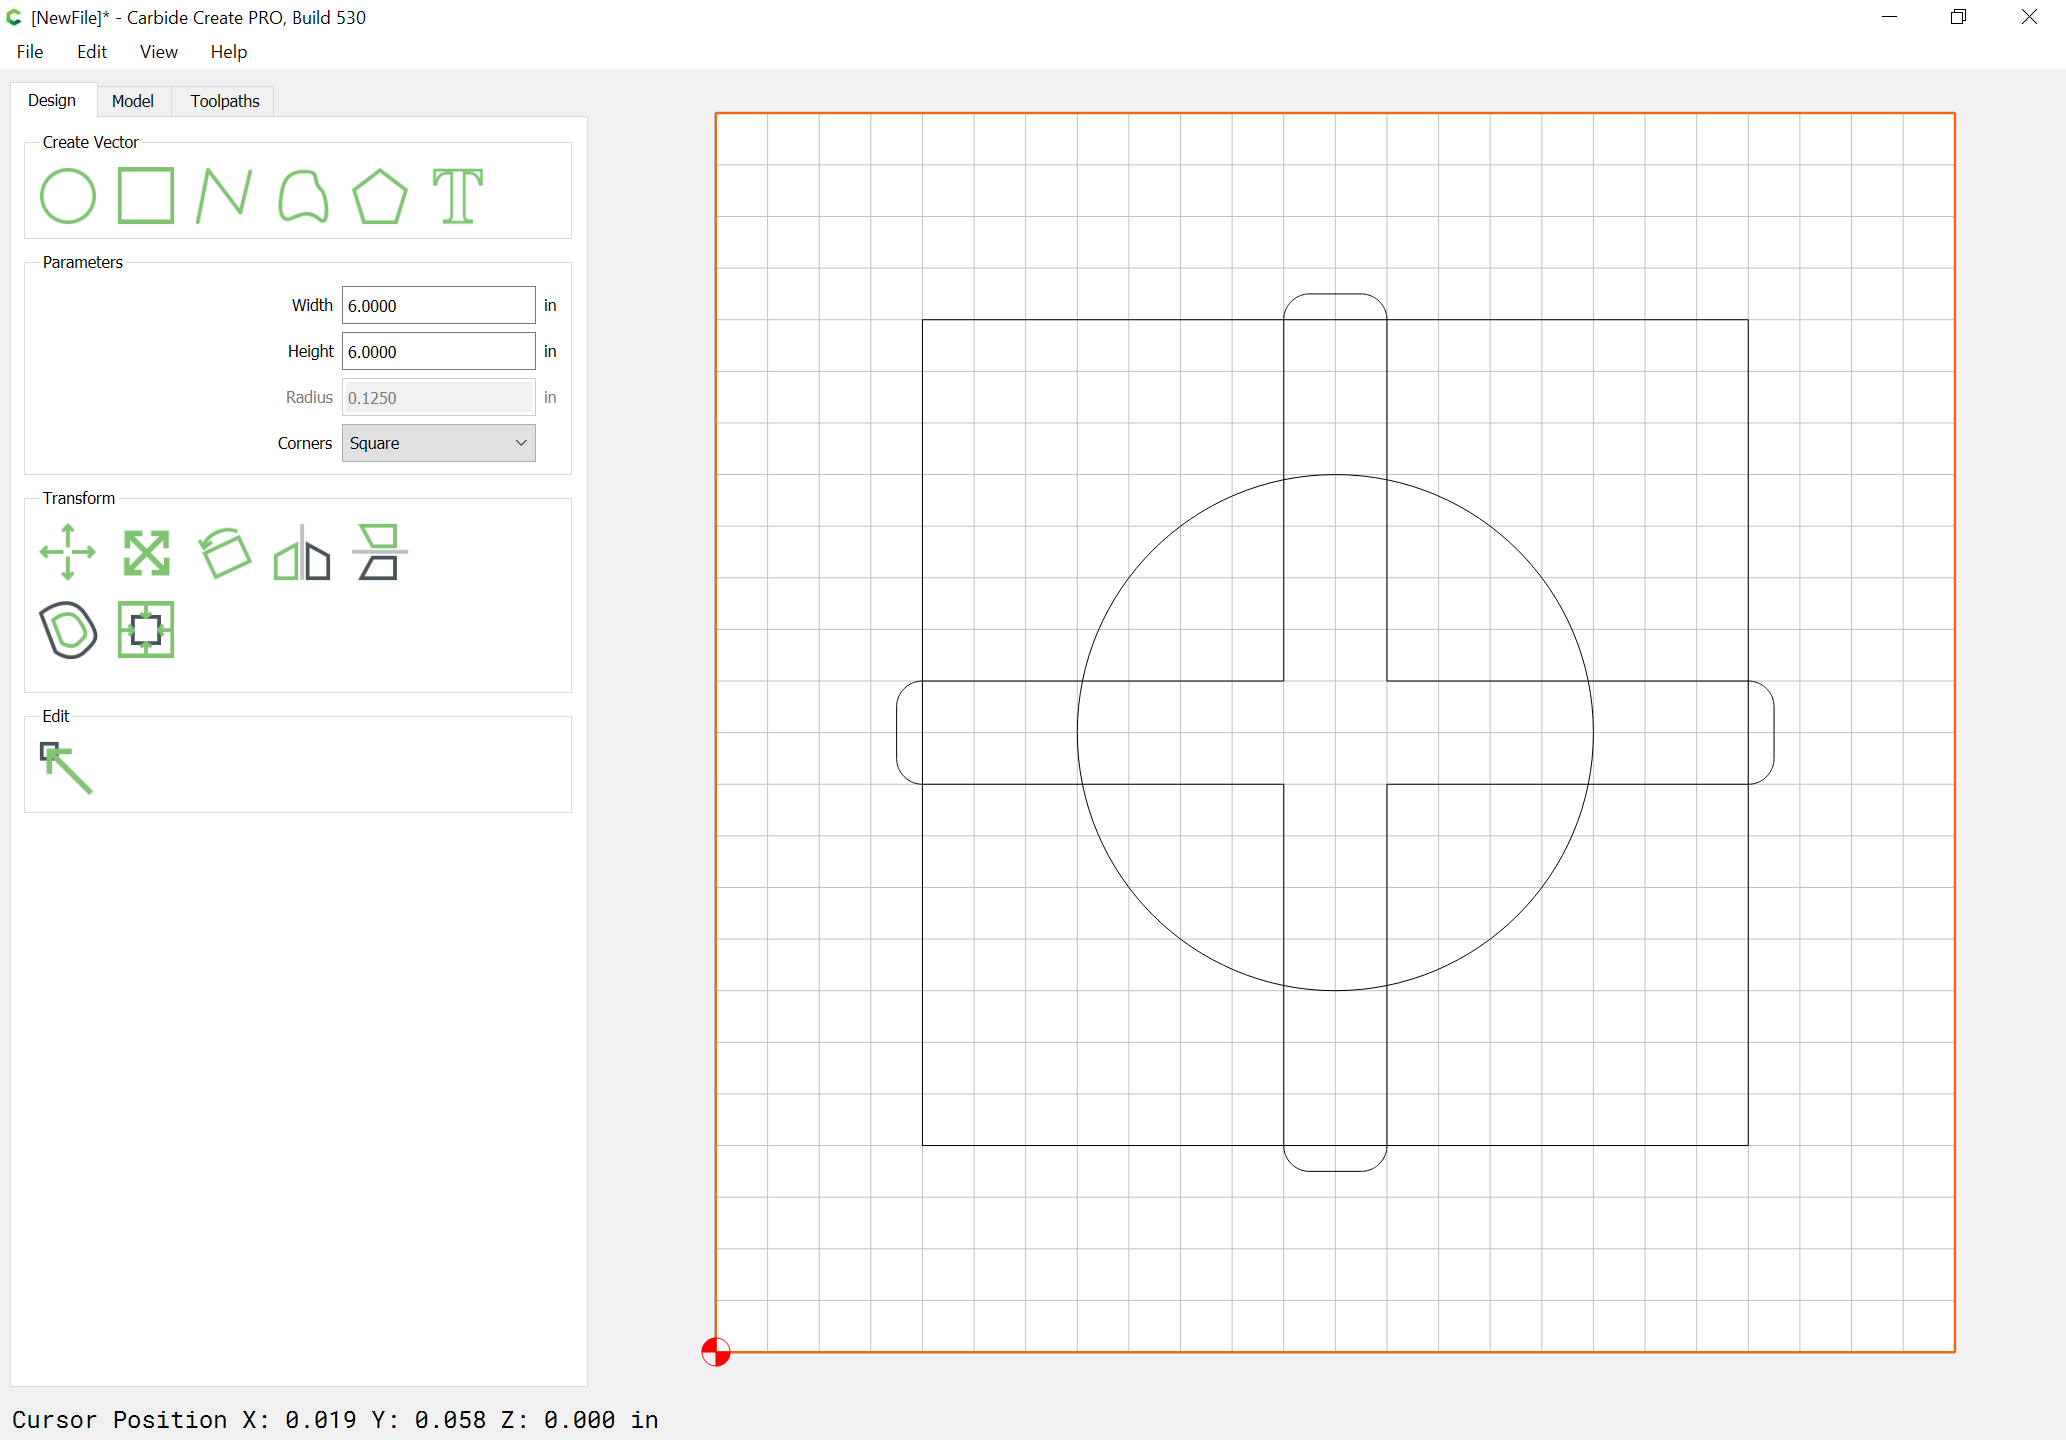
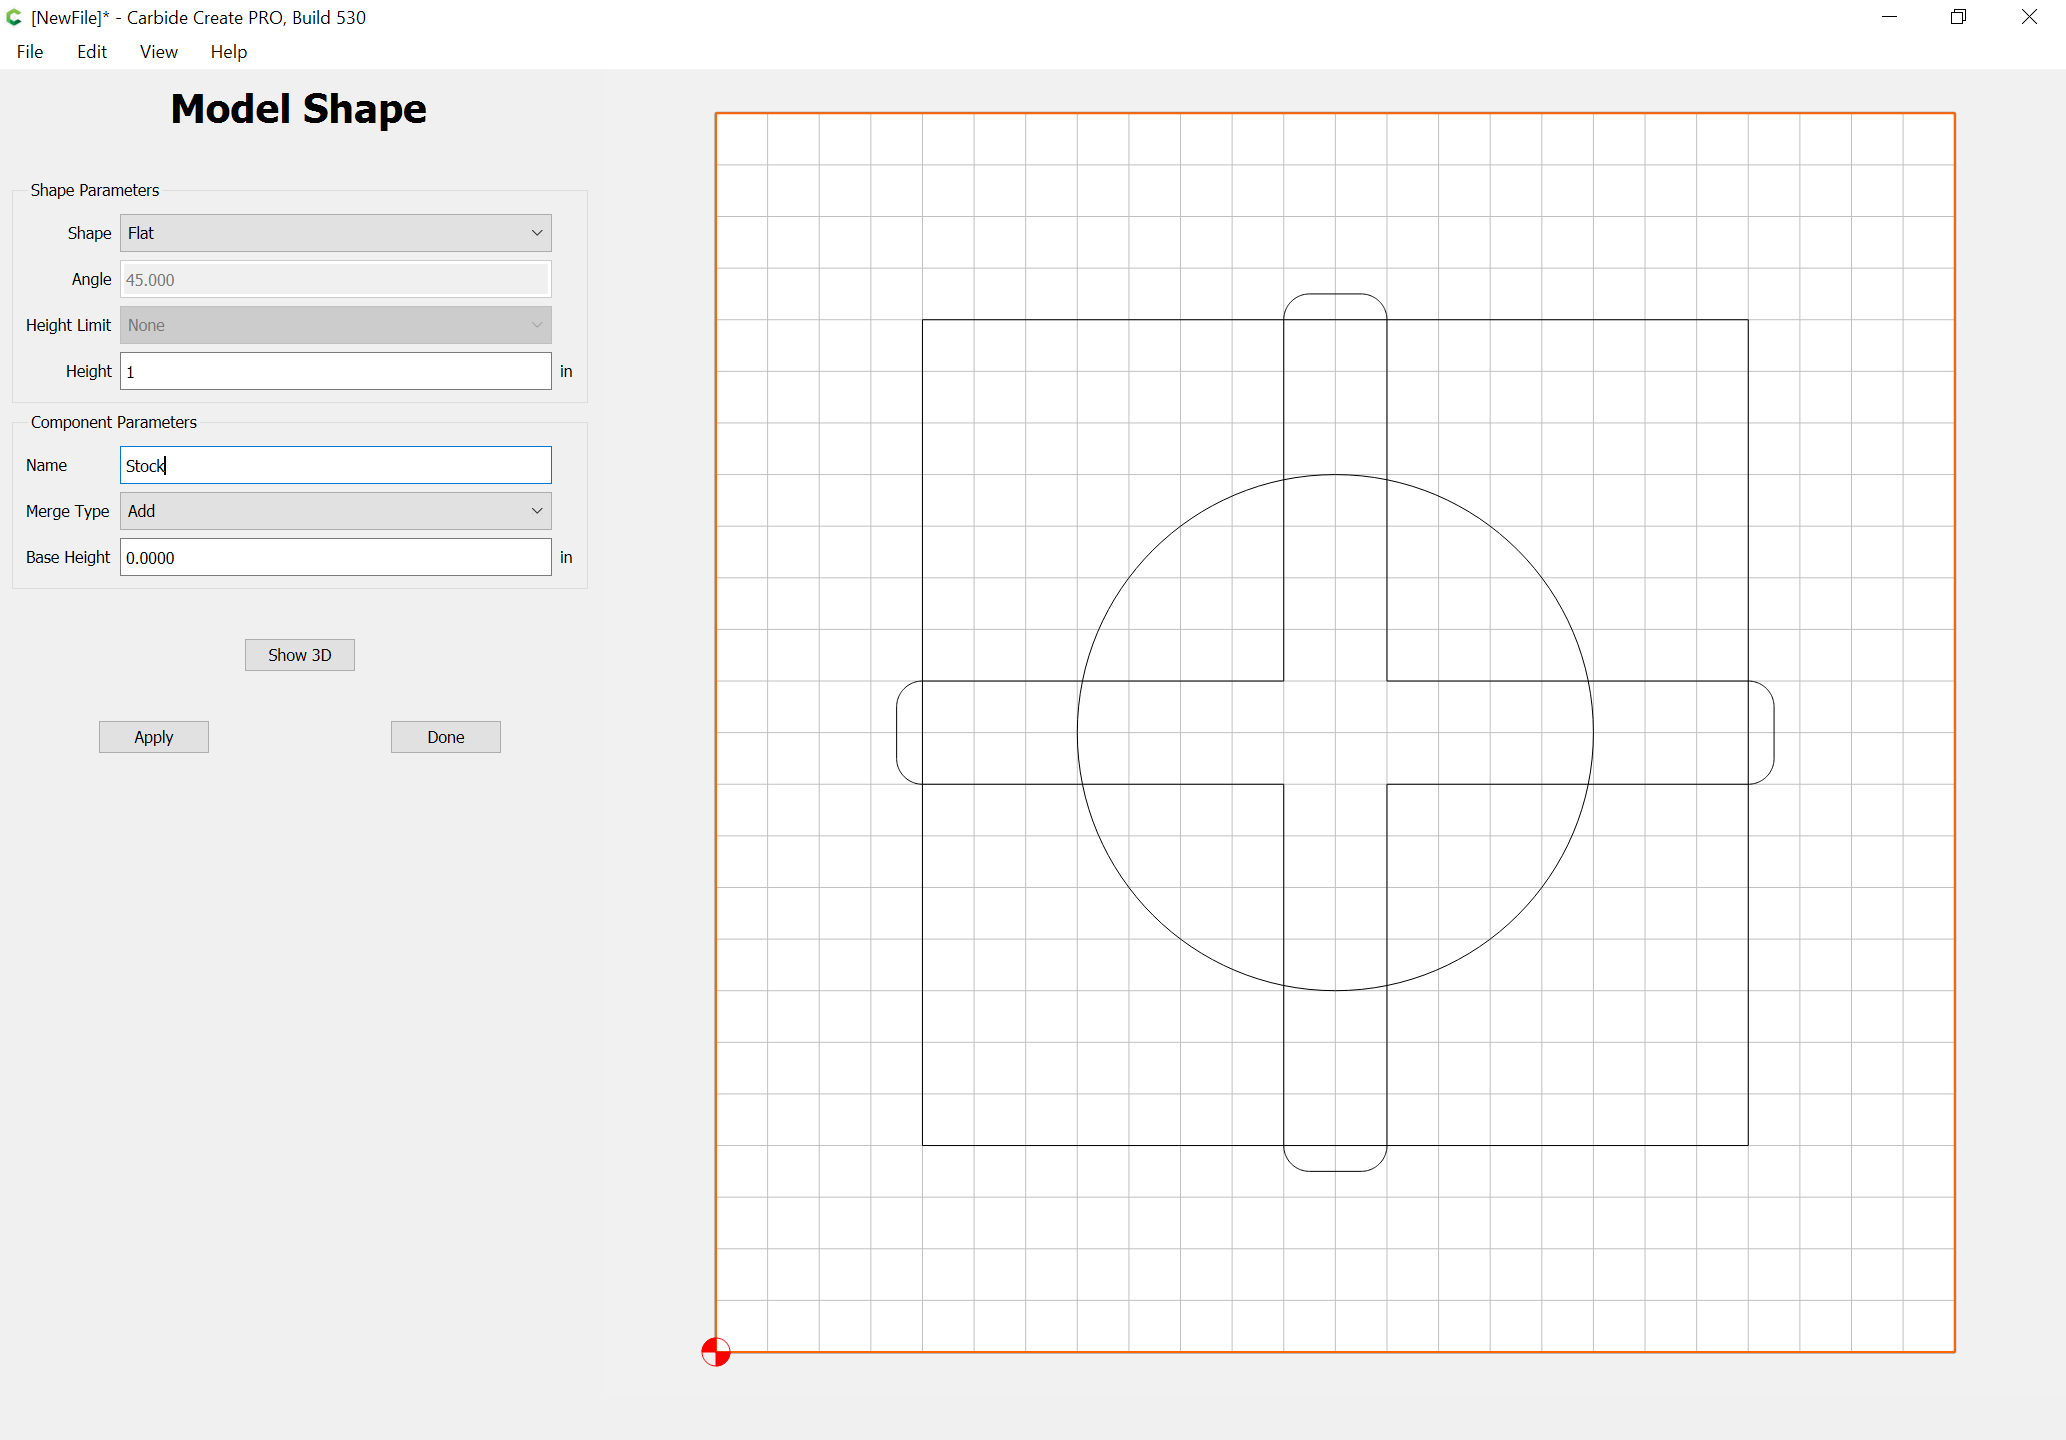
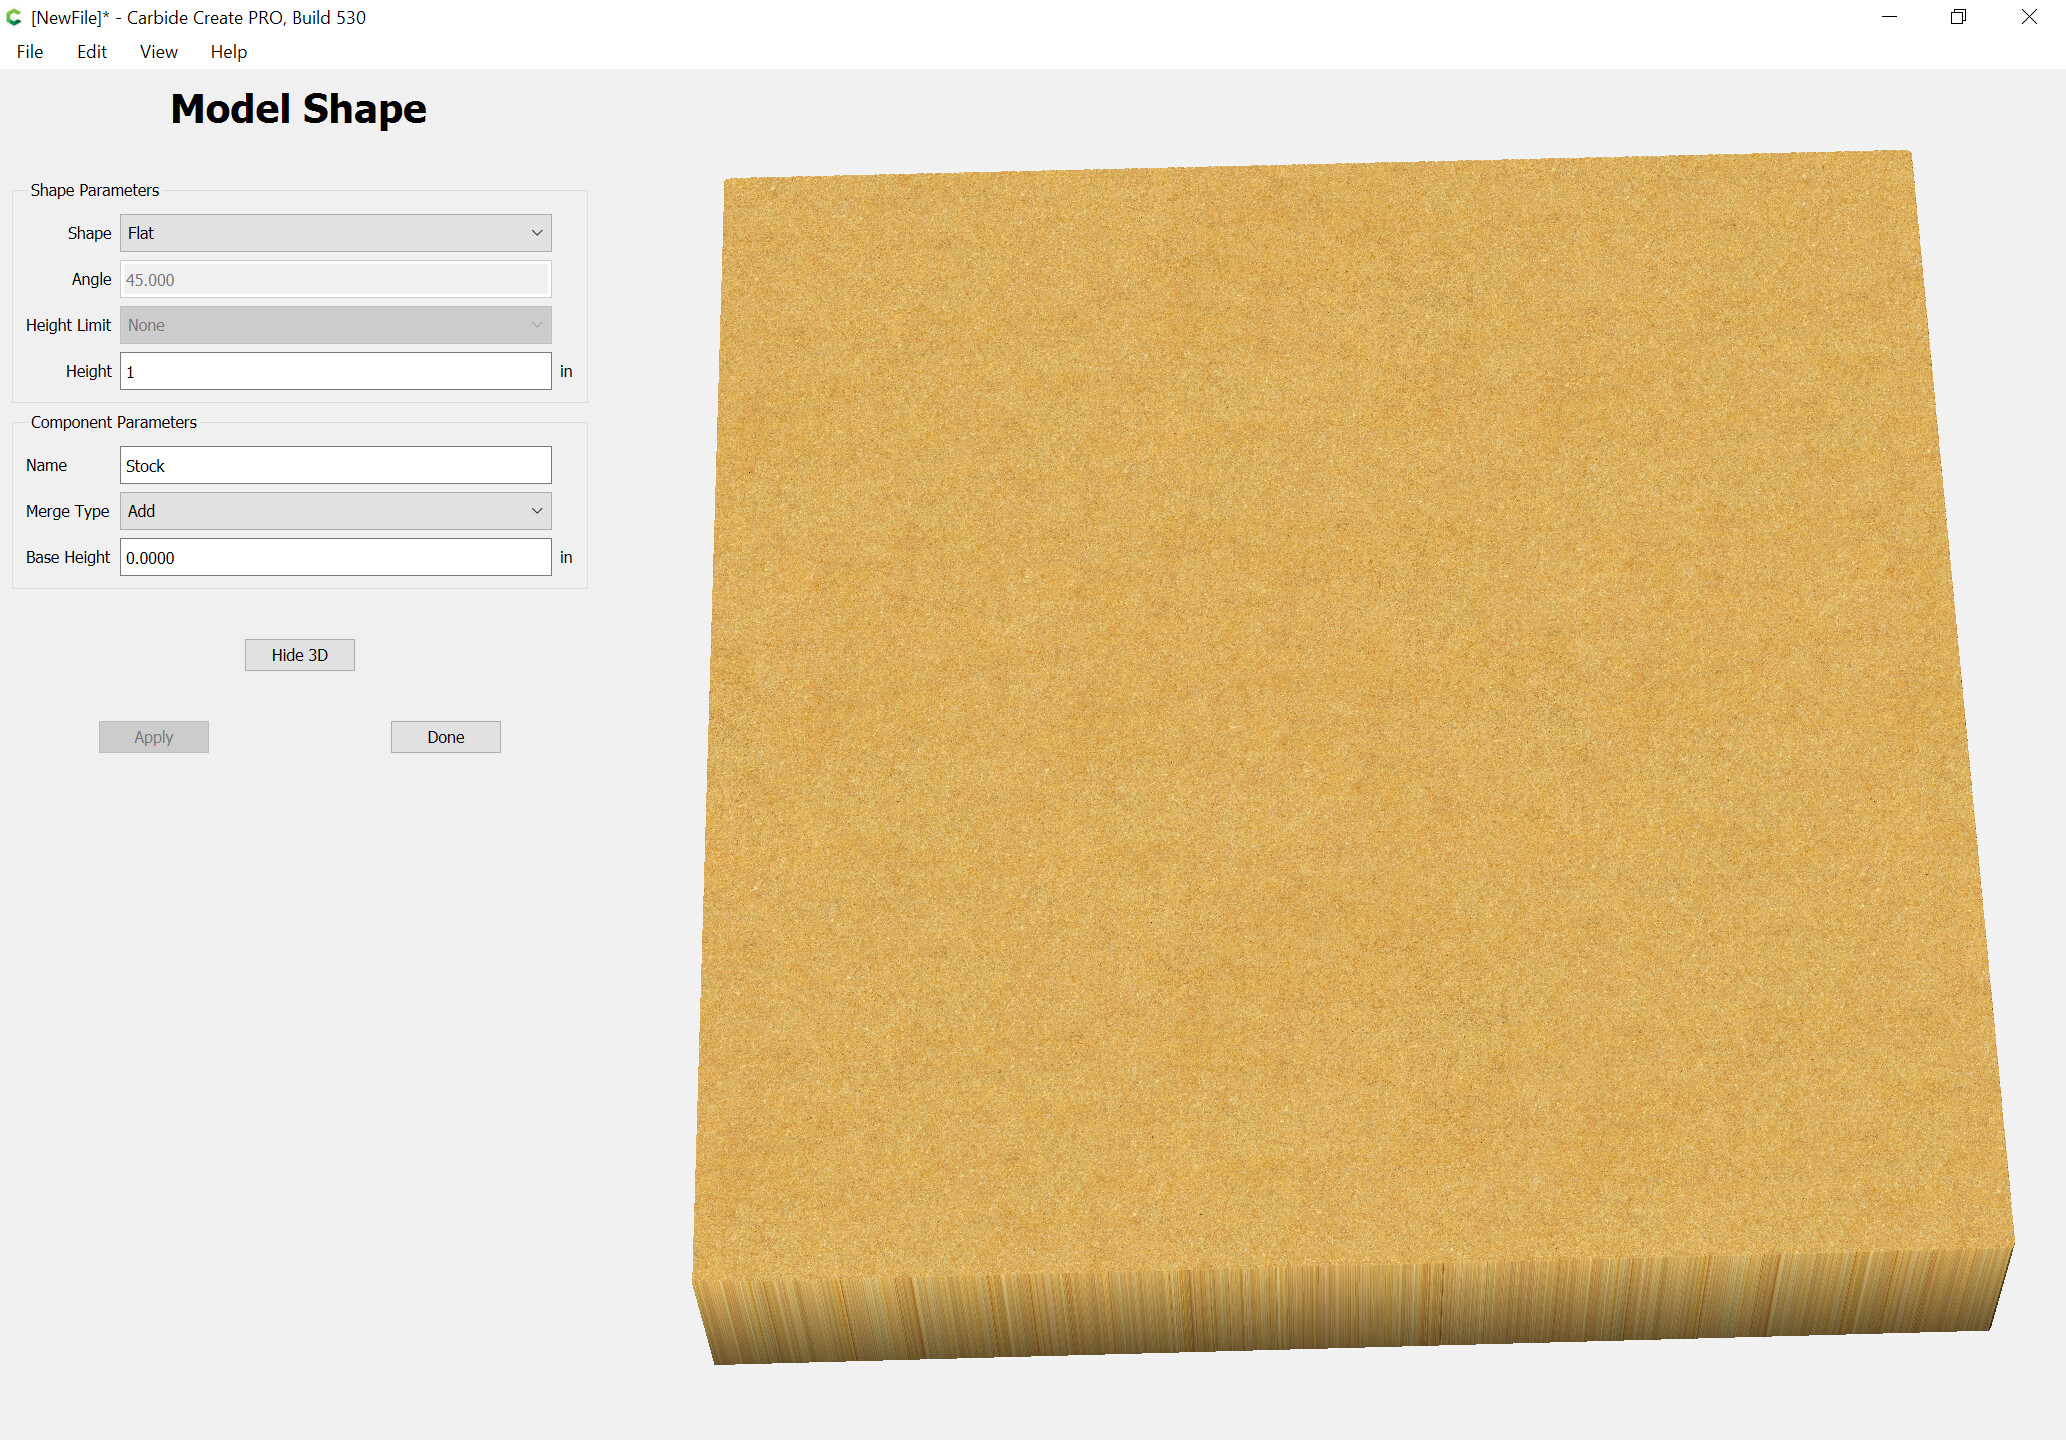
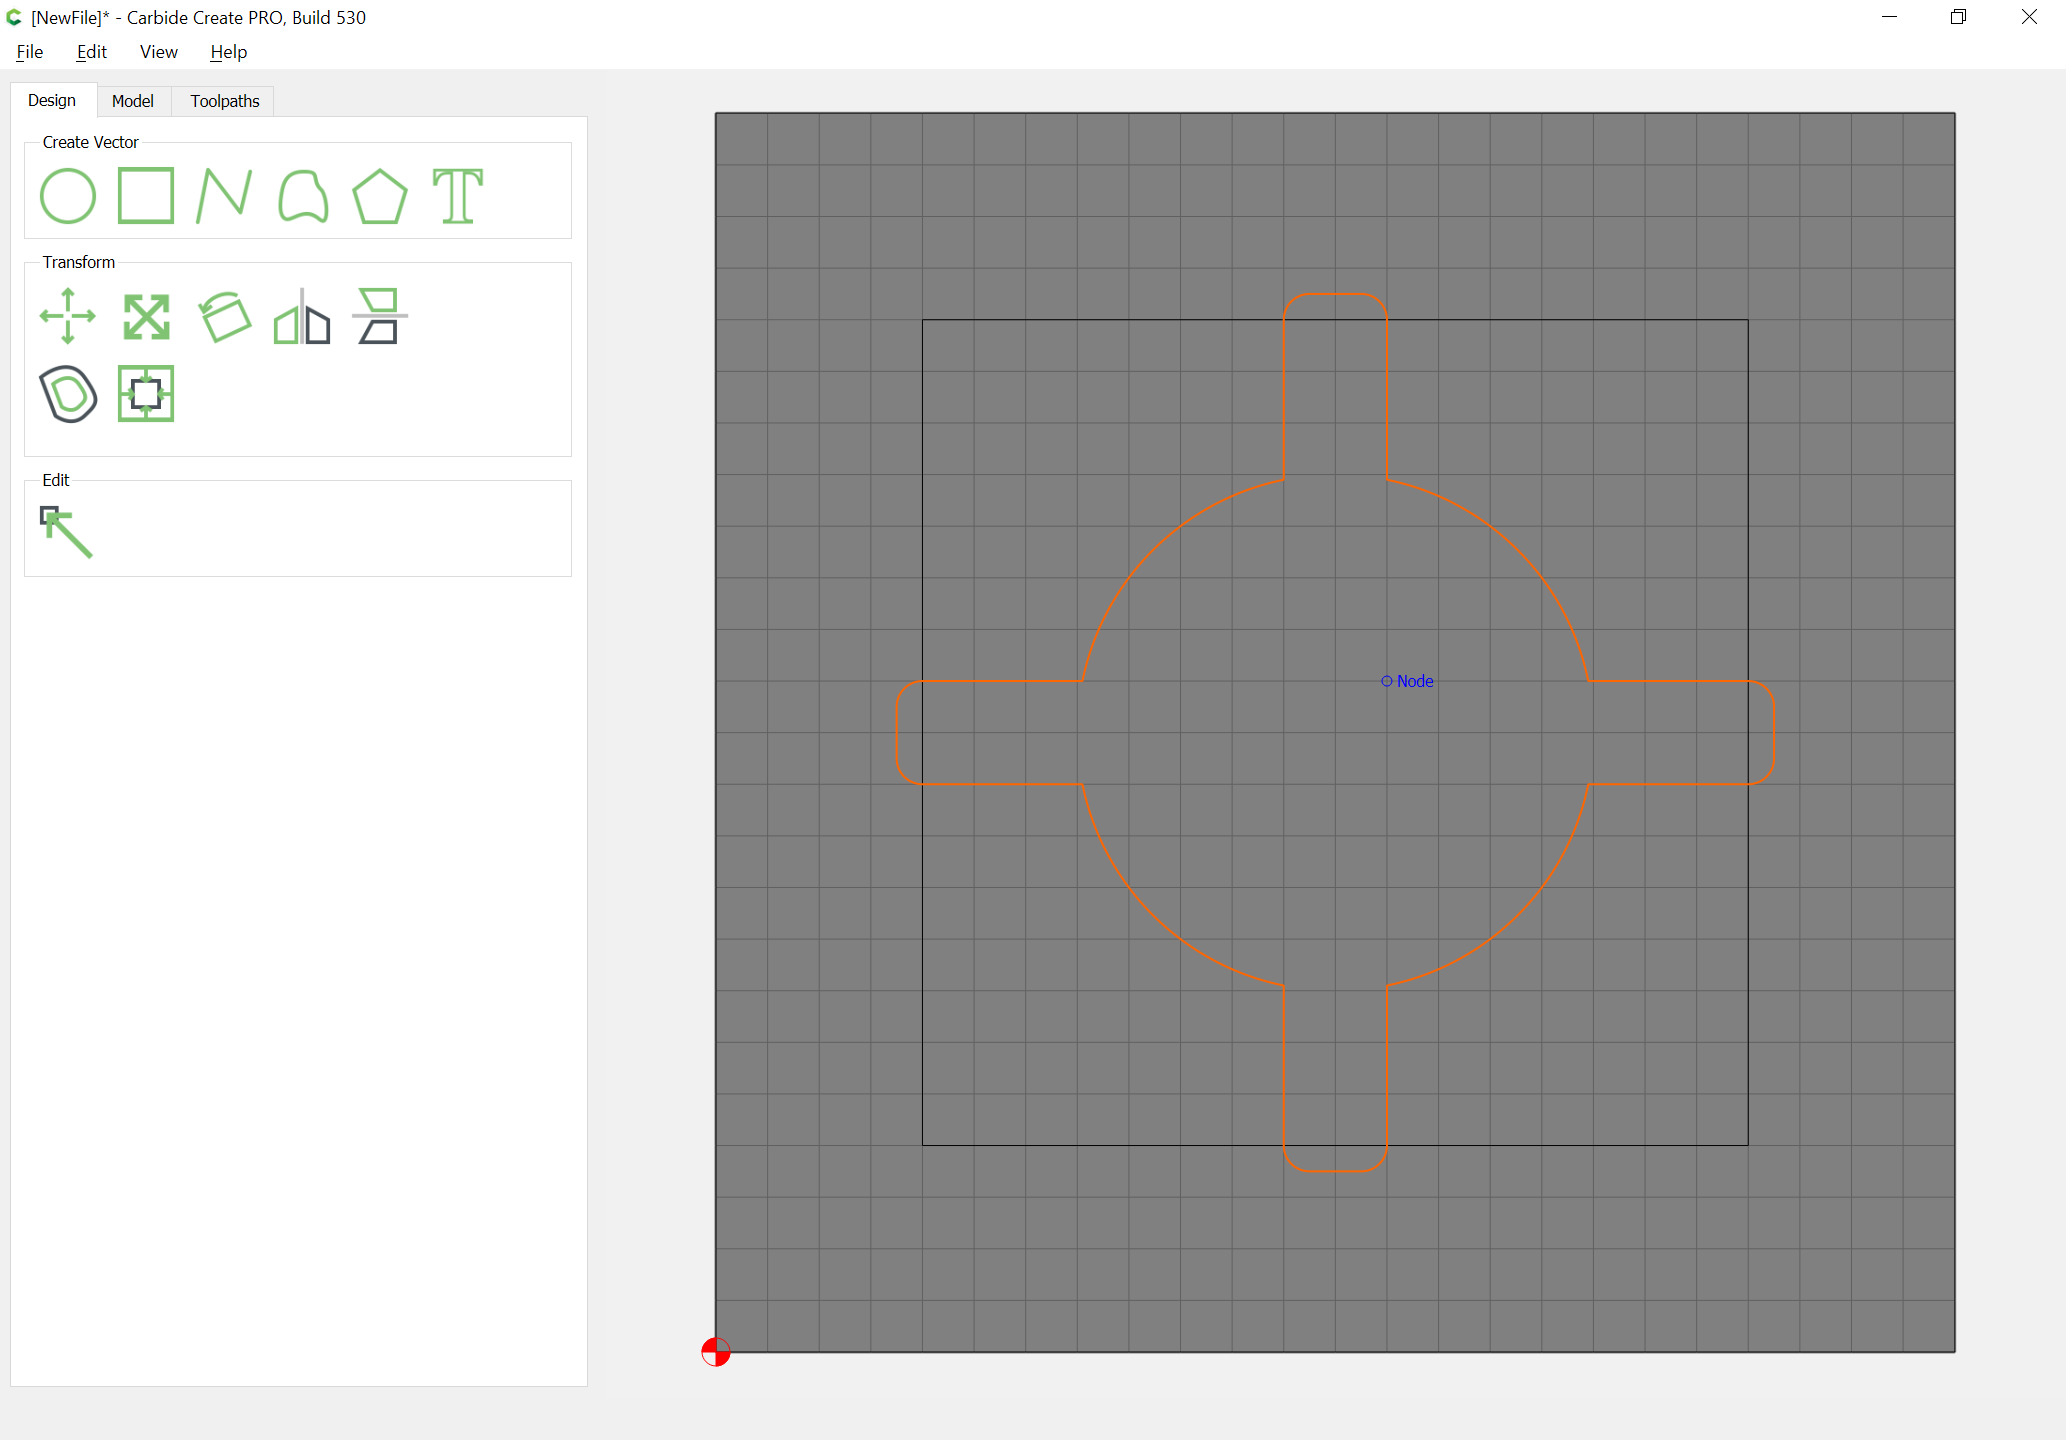
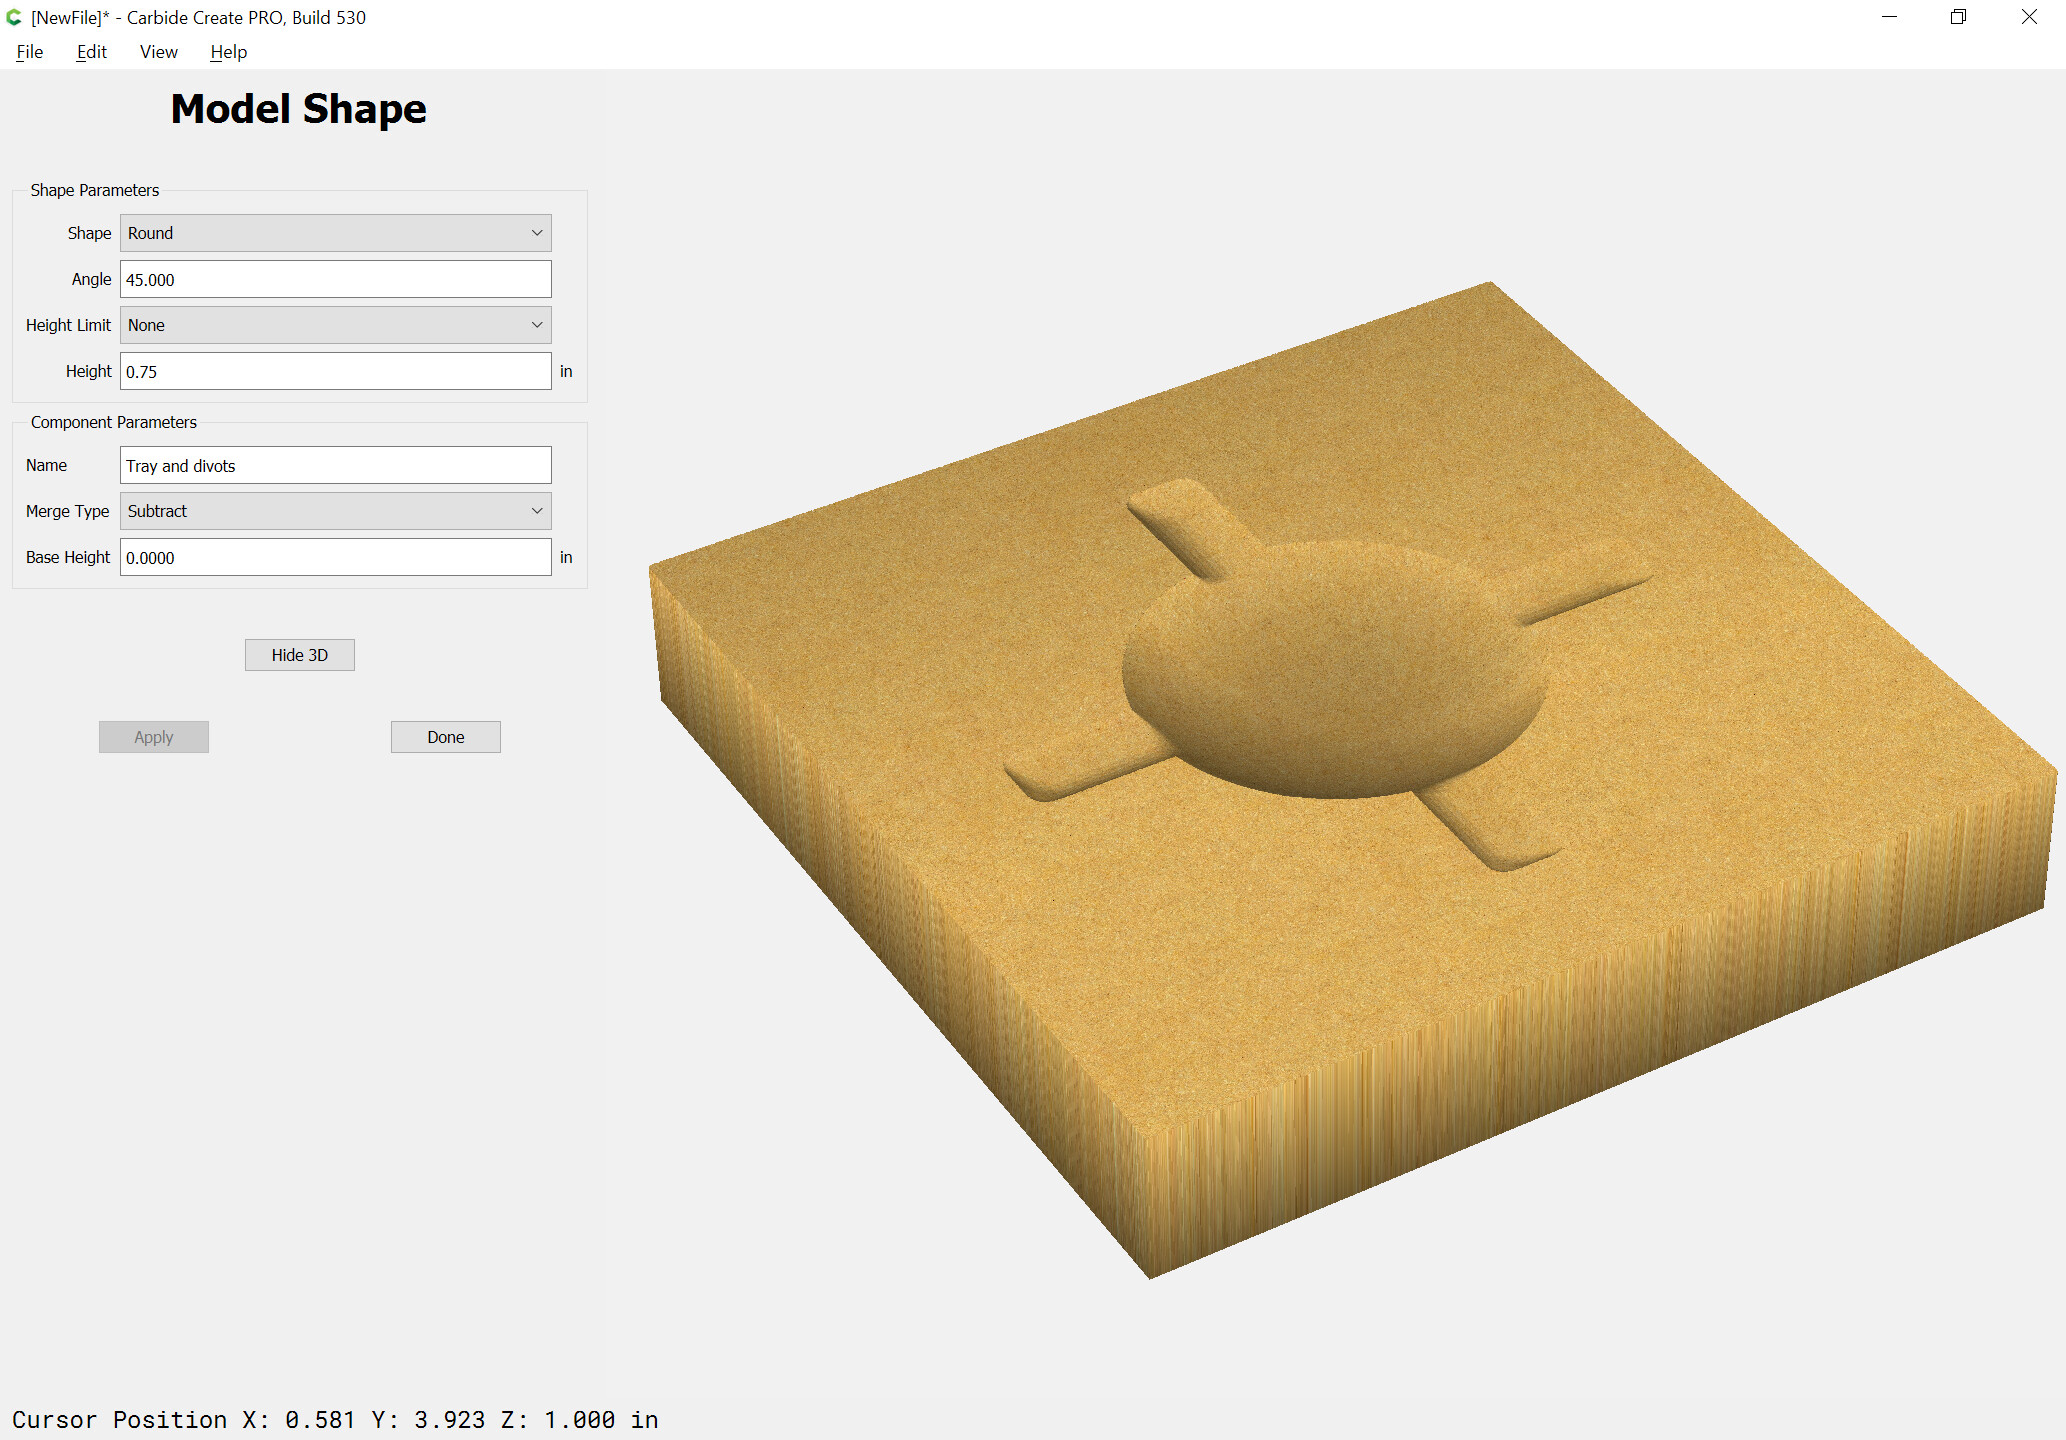
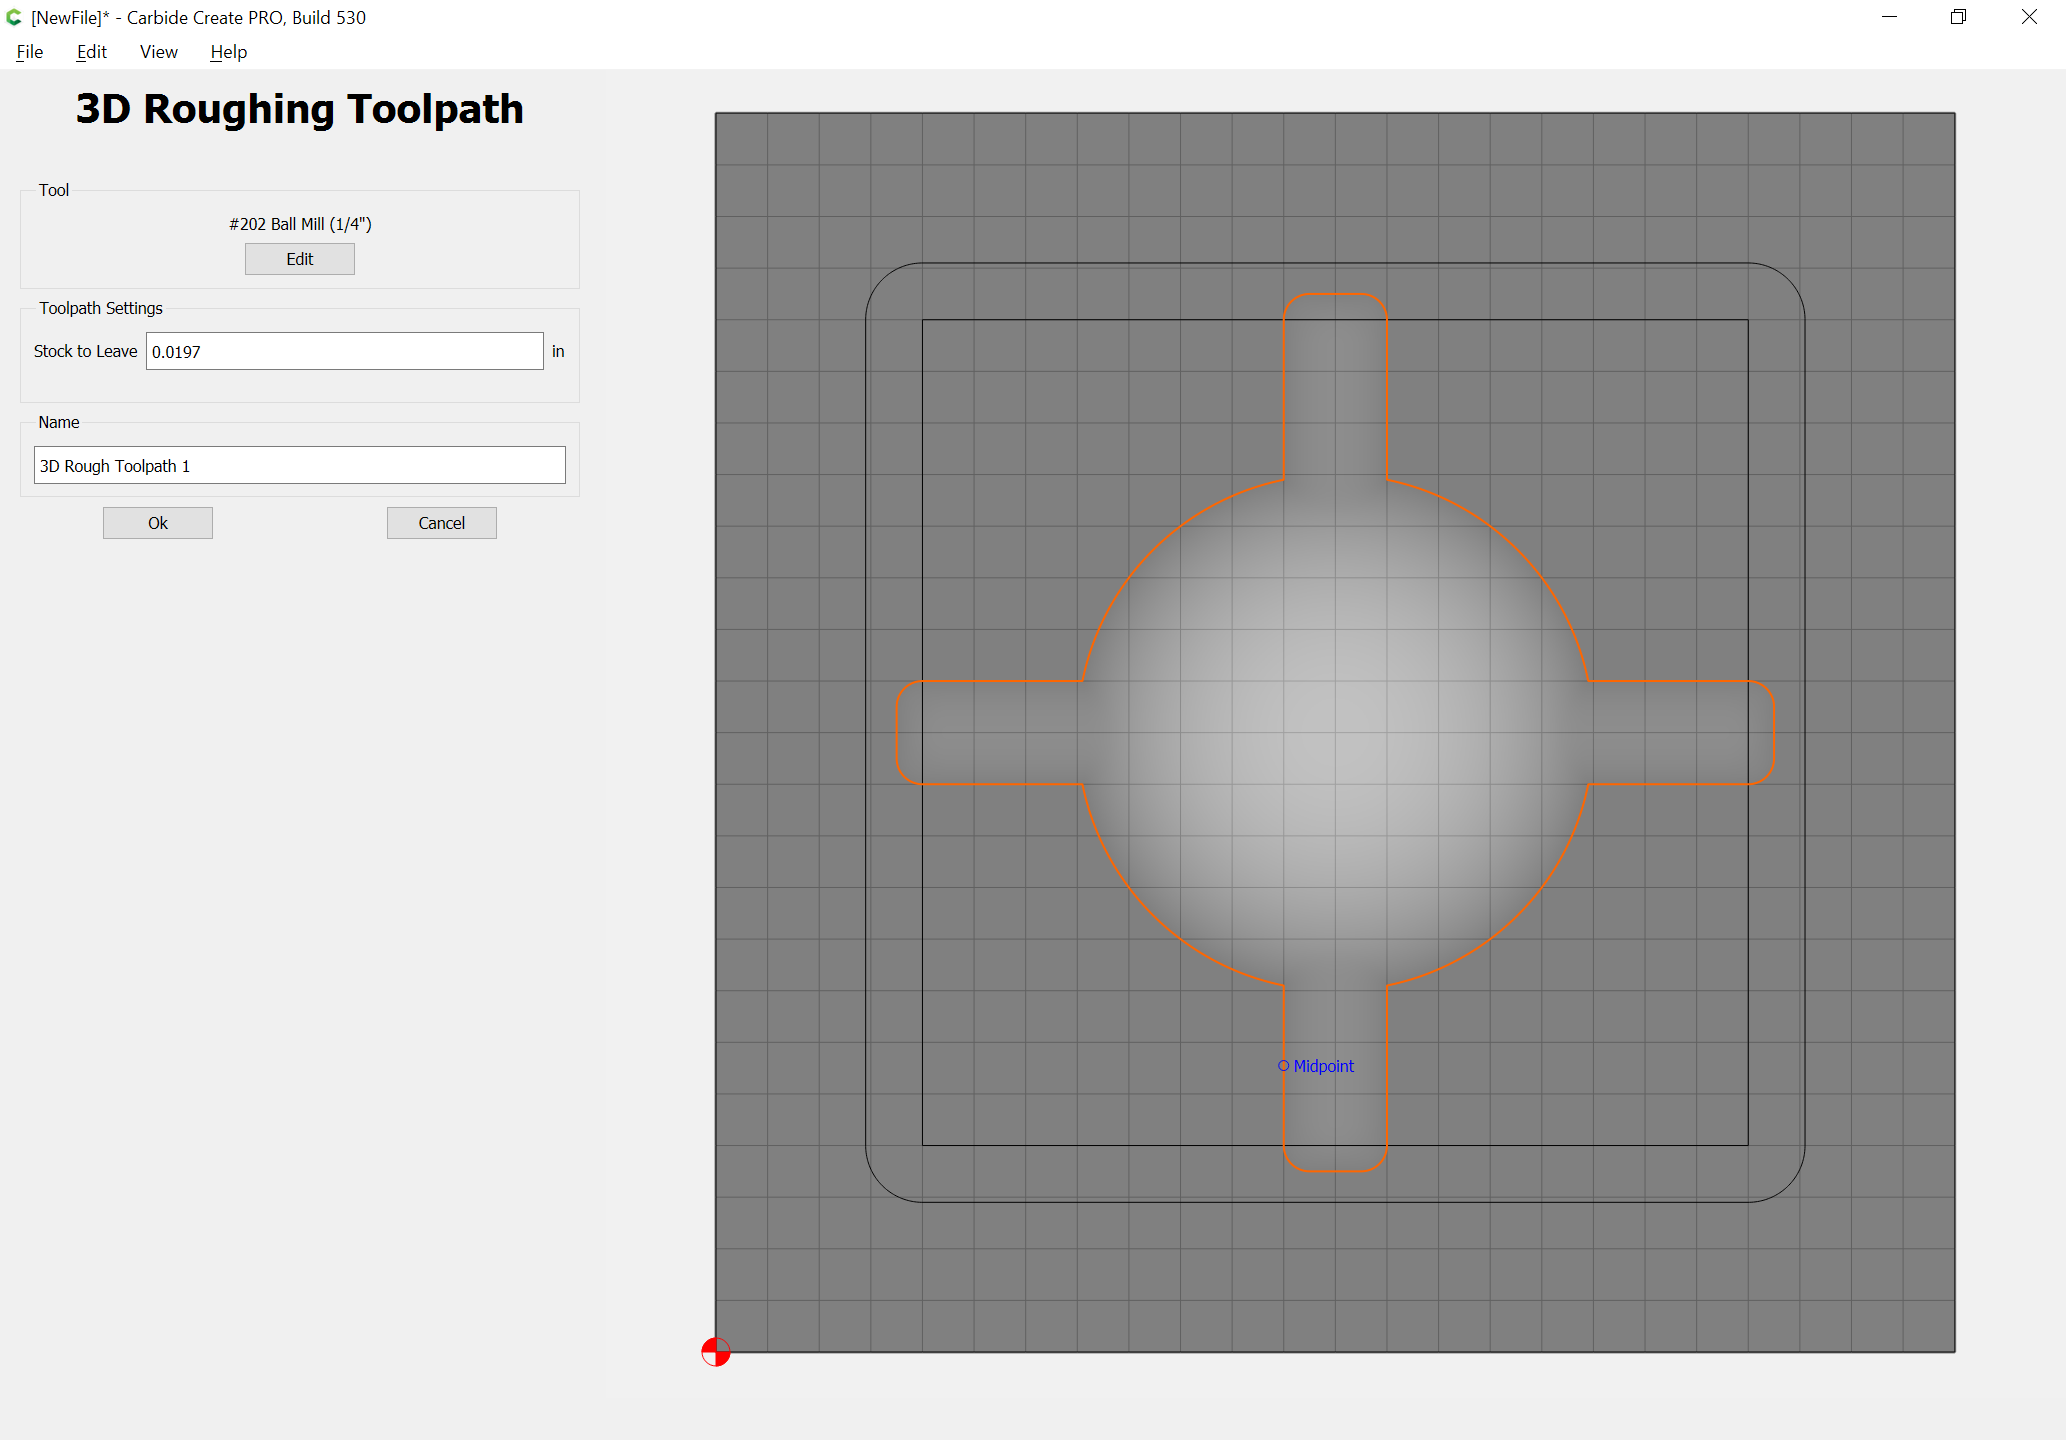
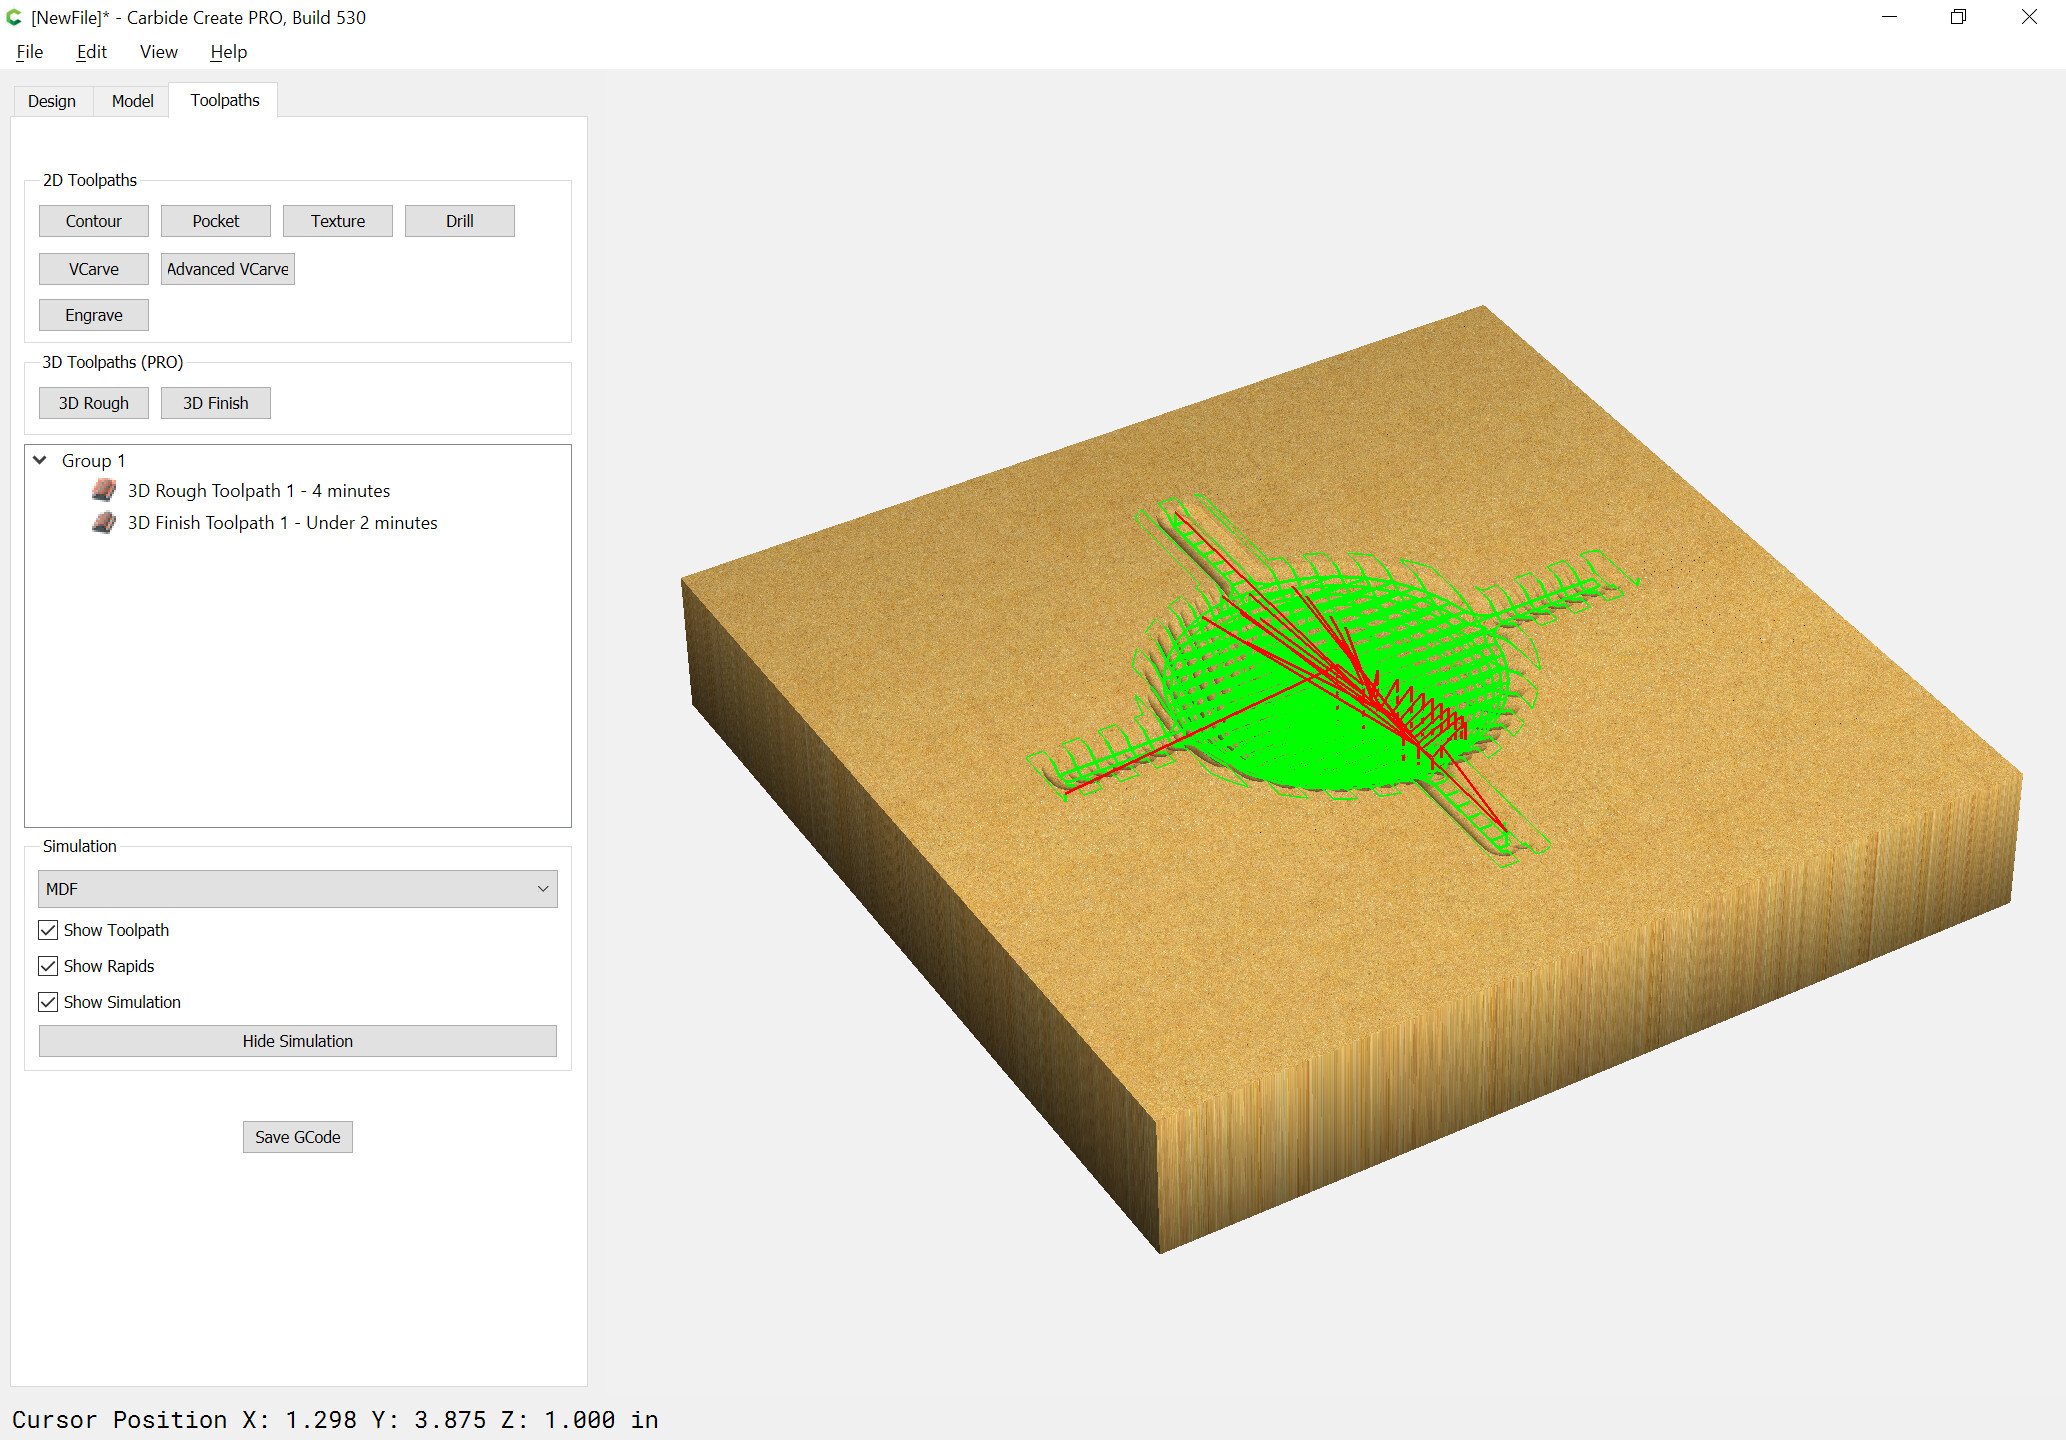
so i’m new to carbide create and in spite of trying to read as much as i can, i can’t figure out why carbide either leaves this unfinished or decides to cut full depth of the material. i’m trying to make an ashtray and i’ve merged the center section but for what ever reason when i do the 3d rough / finish options, it either doesn’t finish ONE of the slots for the cigars OR decides to cut all the way down into the stock depth. check out these screen shots. i JUST want the section for the cigar carved out fully WITHOUT the pocket it wants to carve. Can someone help me with what i’m doing wrong?
pocket files
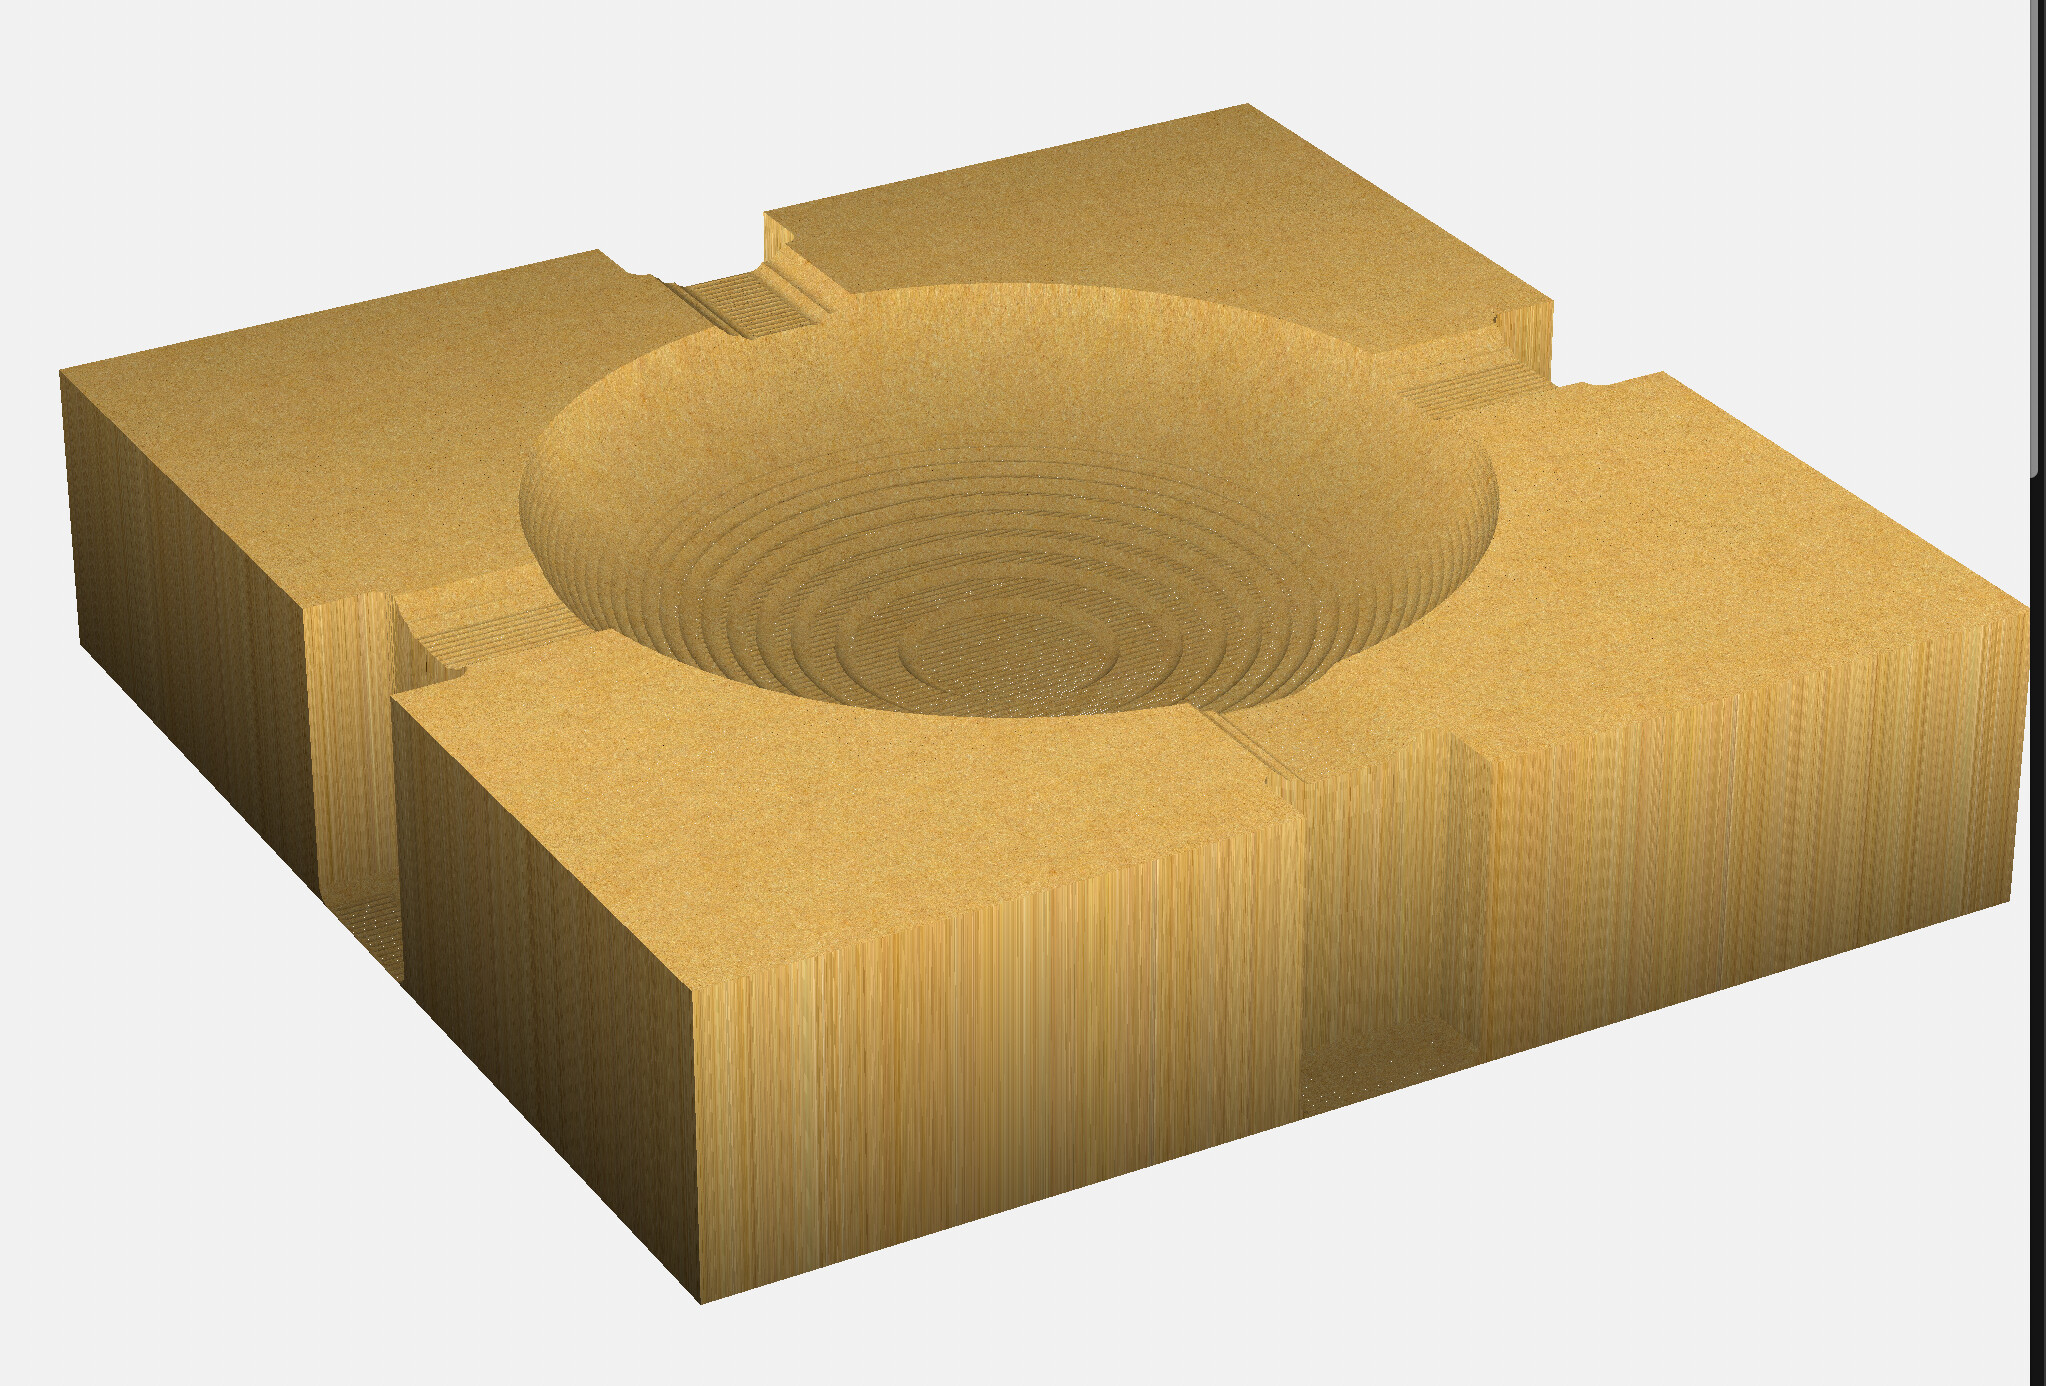
ok but how can i prevent it from cutting DOWN like it is in the later pictures? total waste of time And causes me to do extra work finishing. The short goal for me is to carve out the complete space without carving down beyond the cigar rest…
i by no means am trying to be stupid but what do you mean by “project past” ? My end mill is 1/4 ball mill so are you saying let the hollowed out piece be 1/8 past the edge of the workpiece?
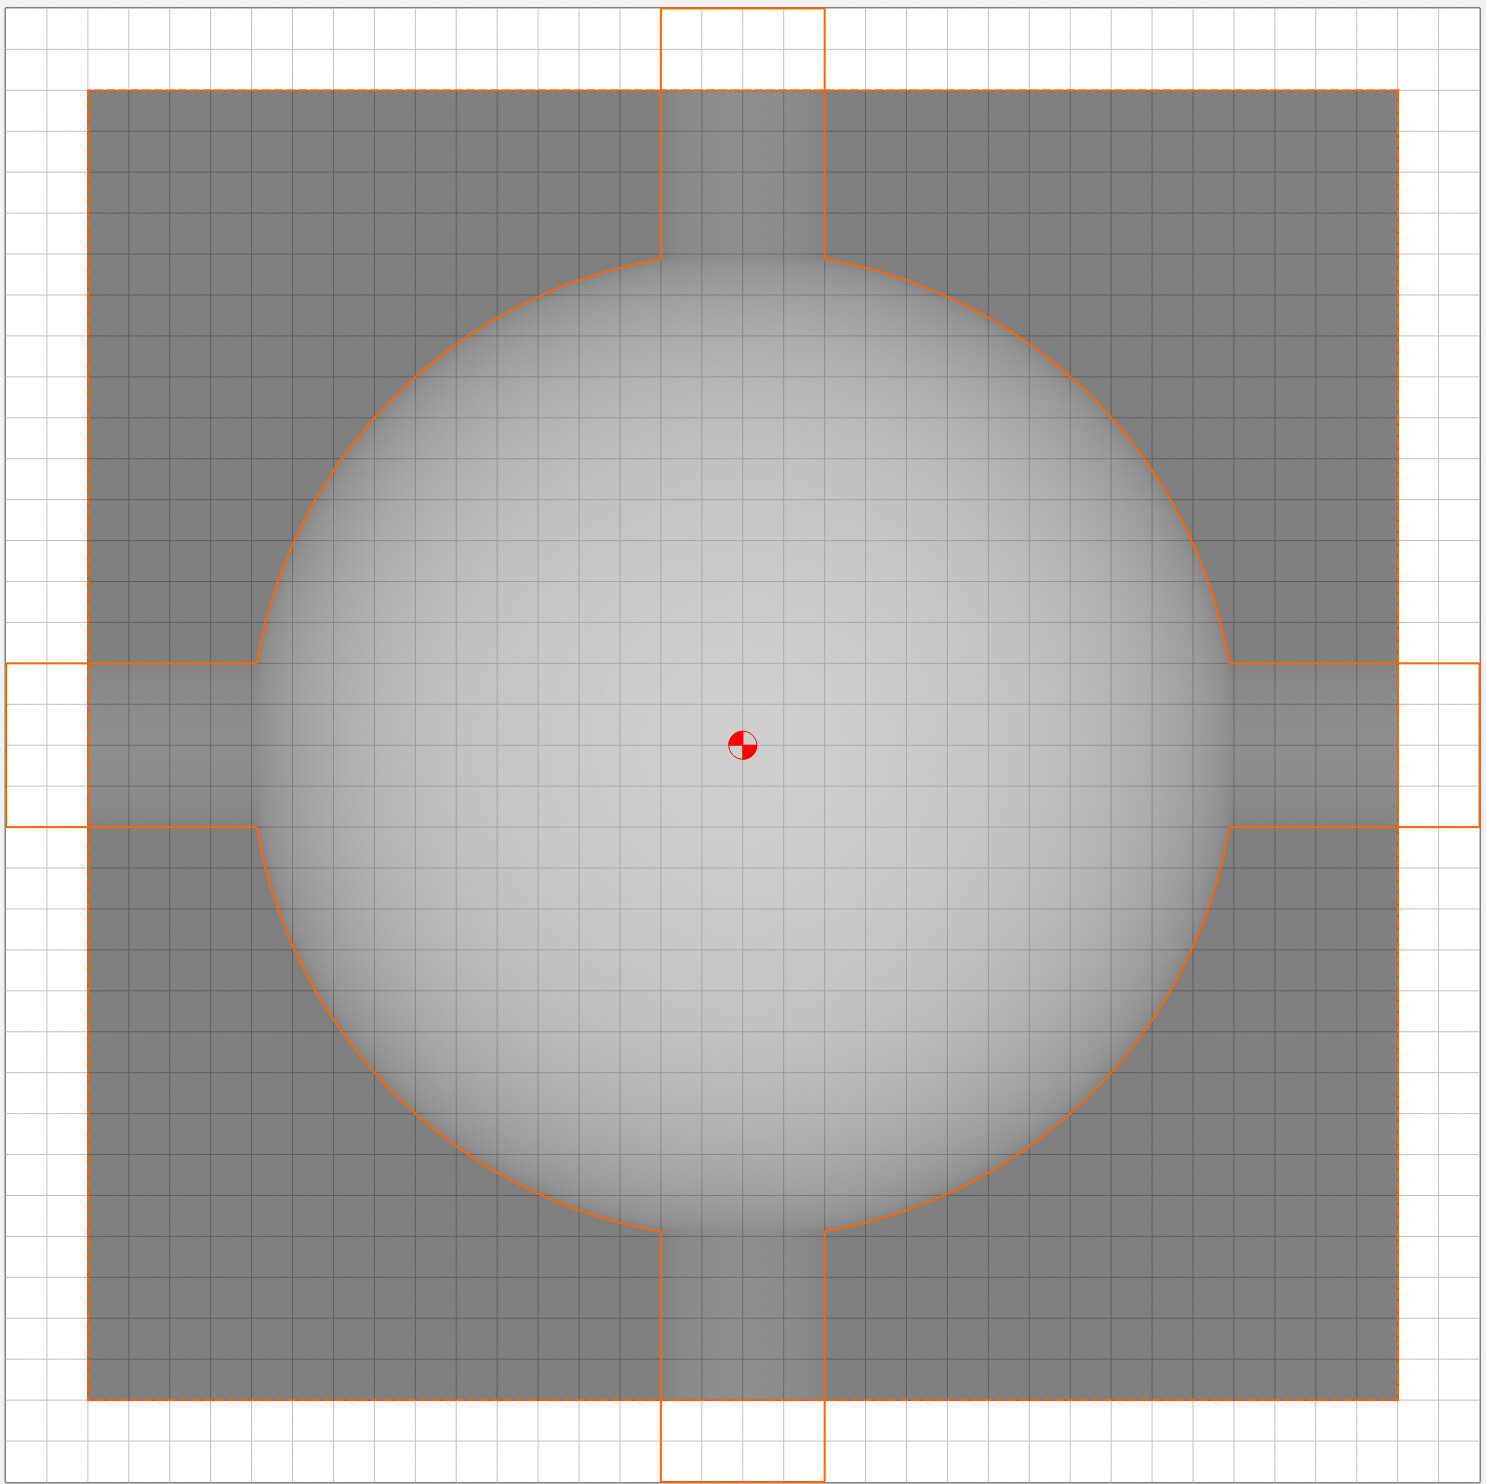
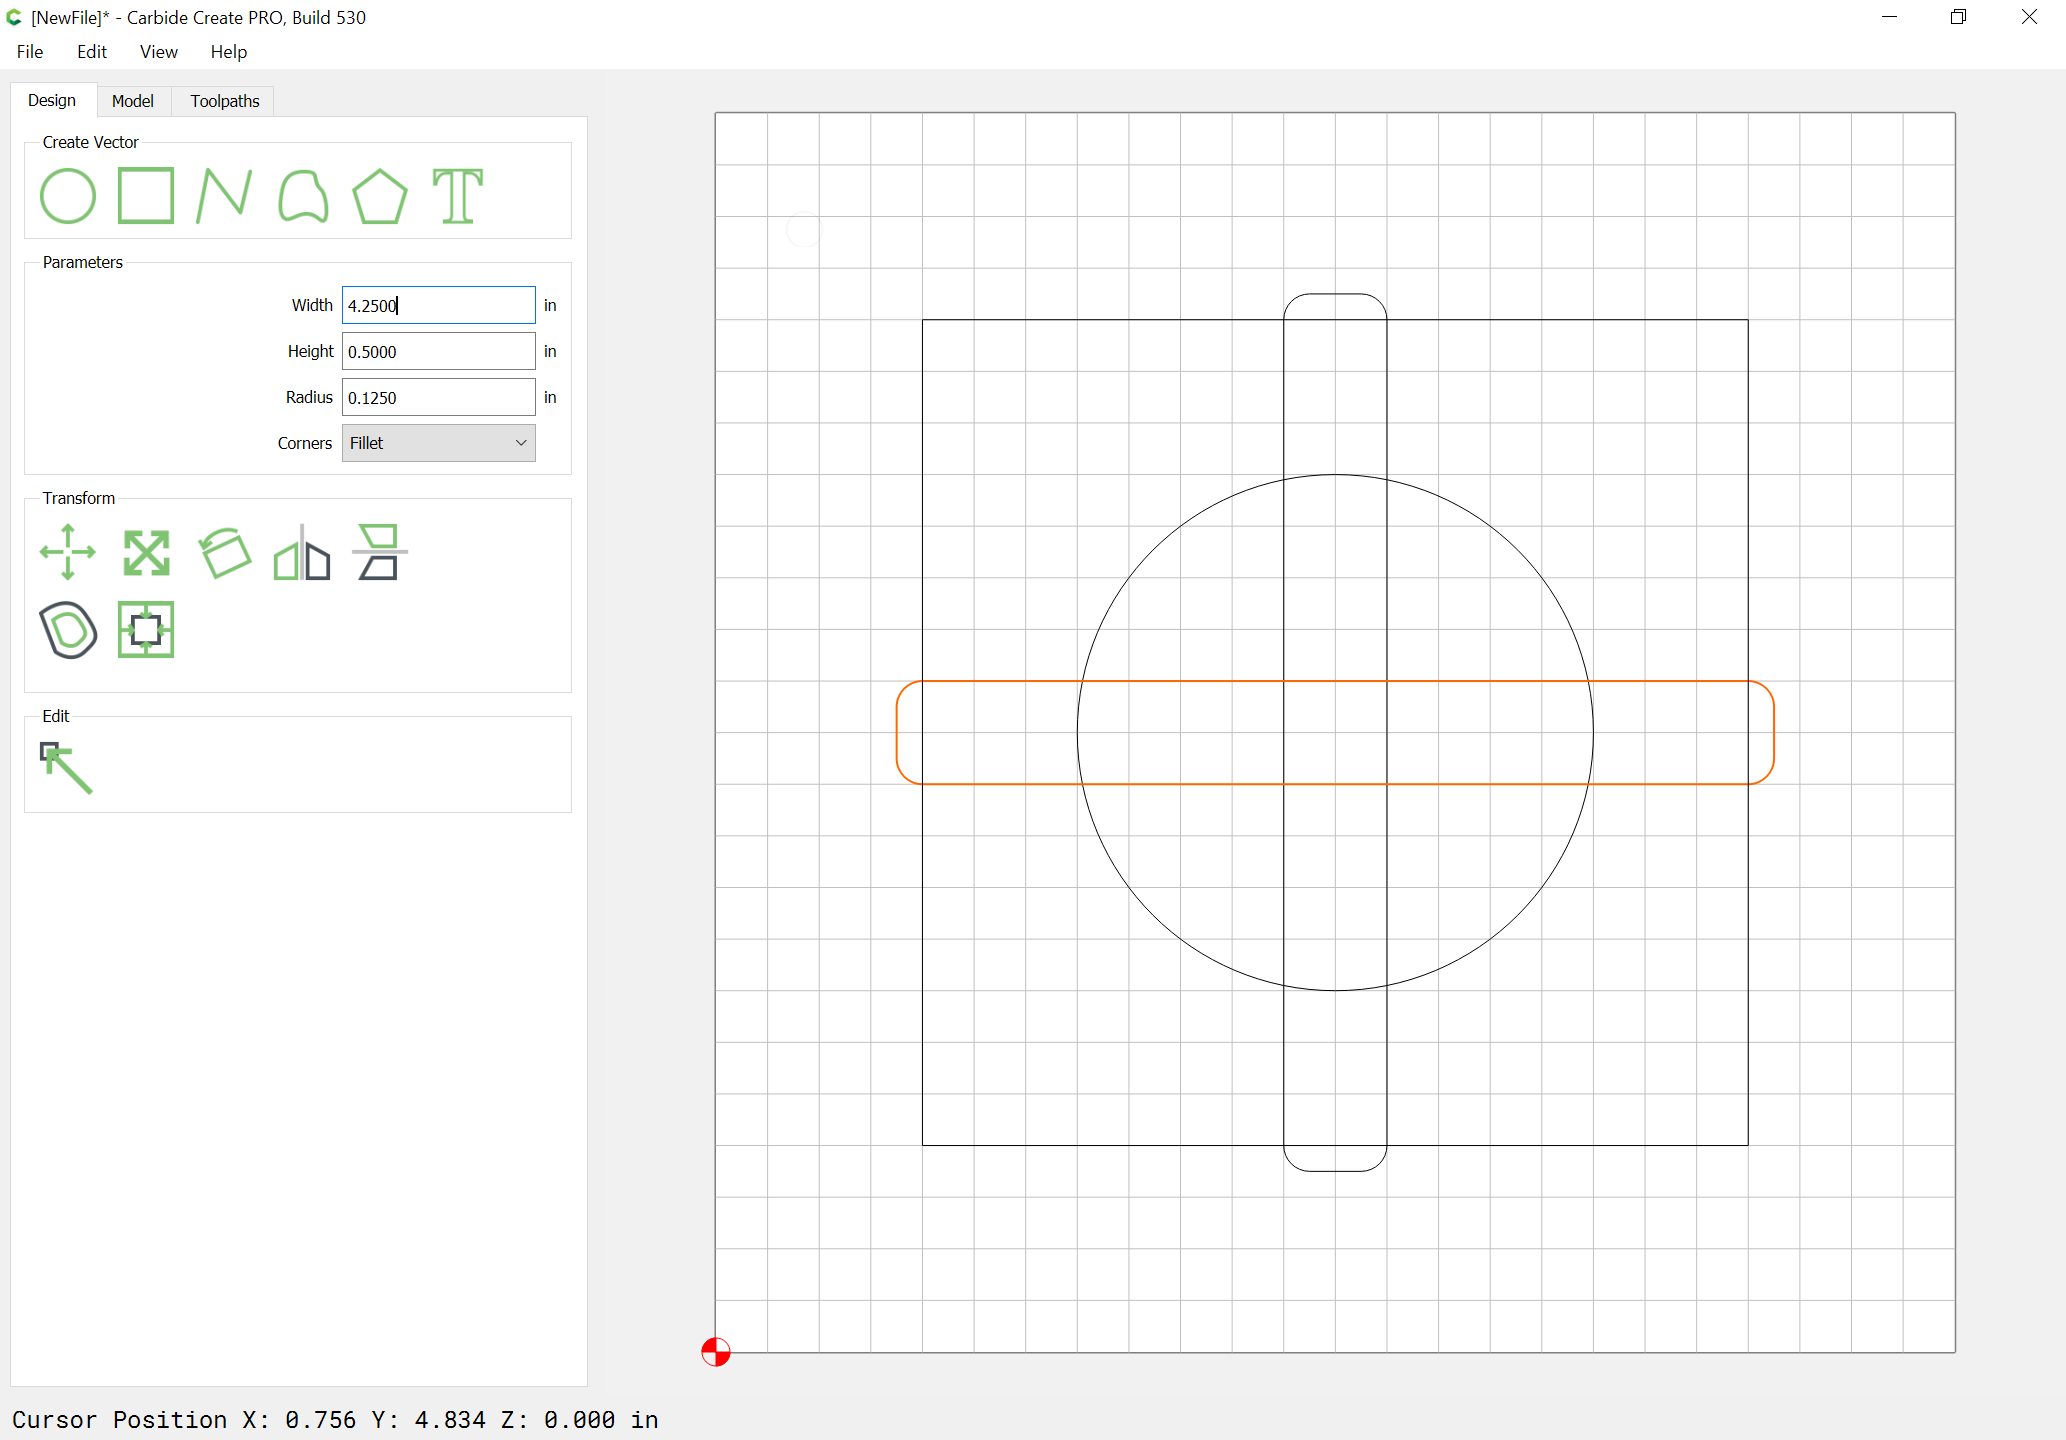
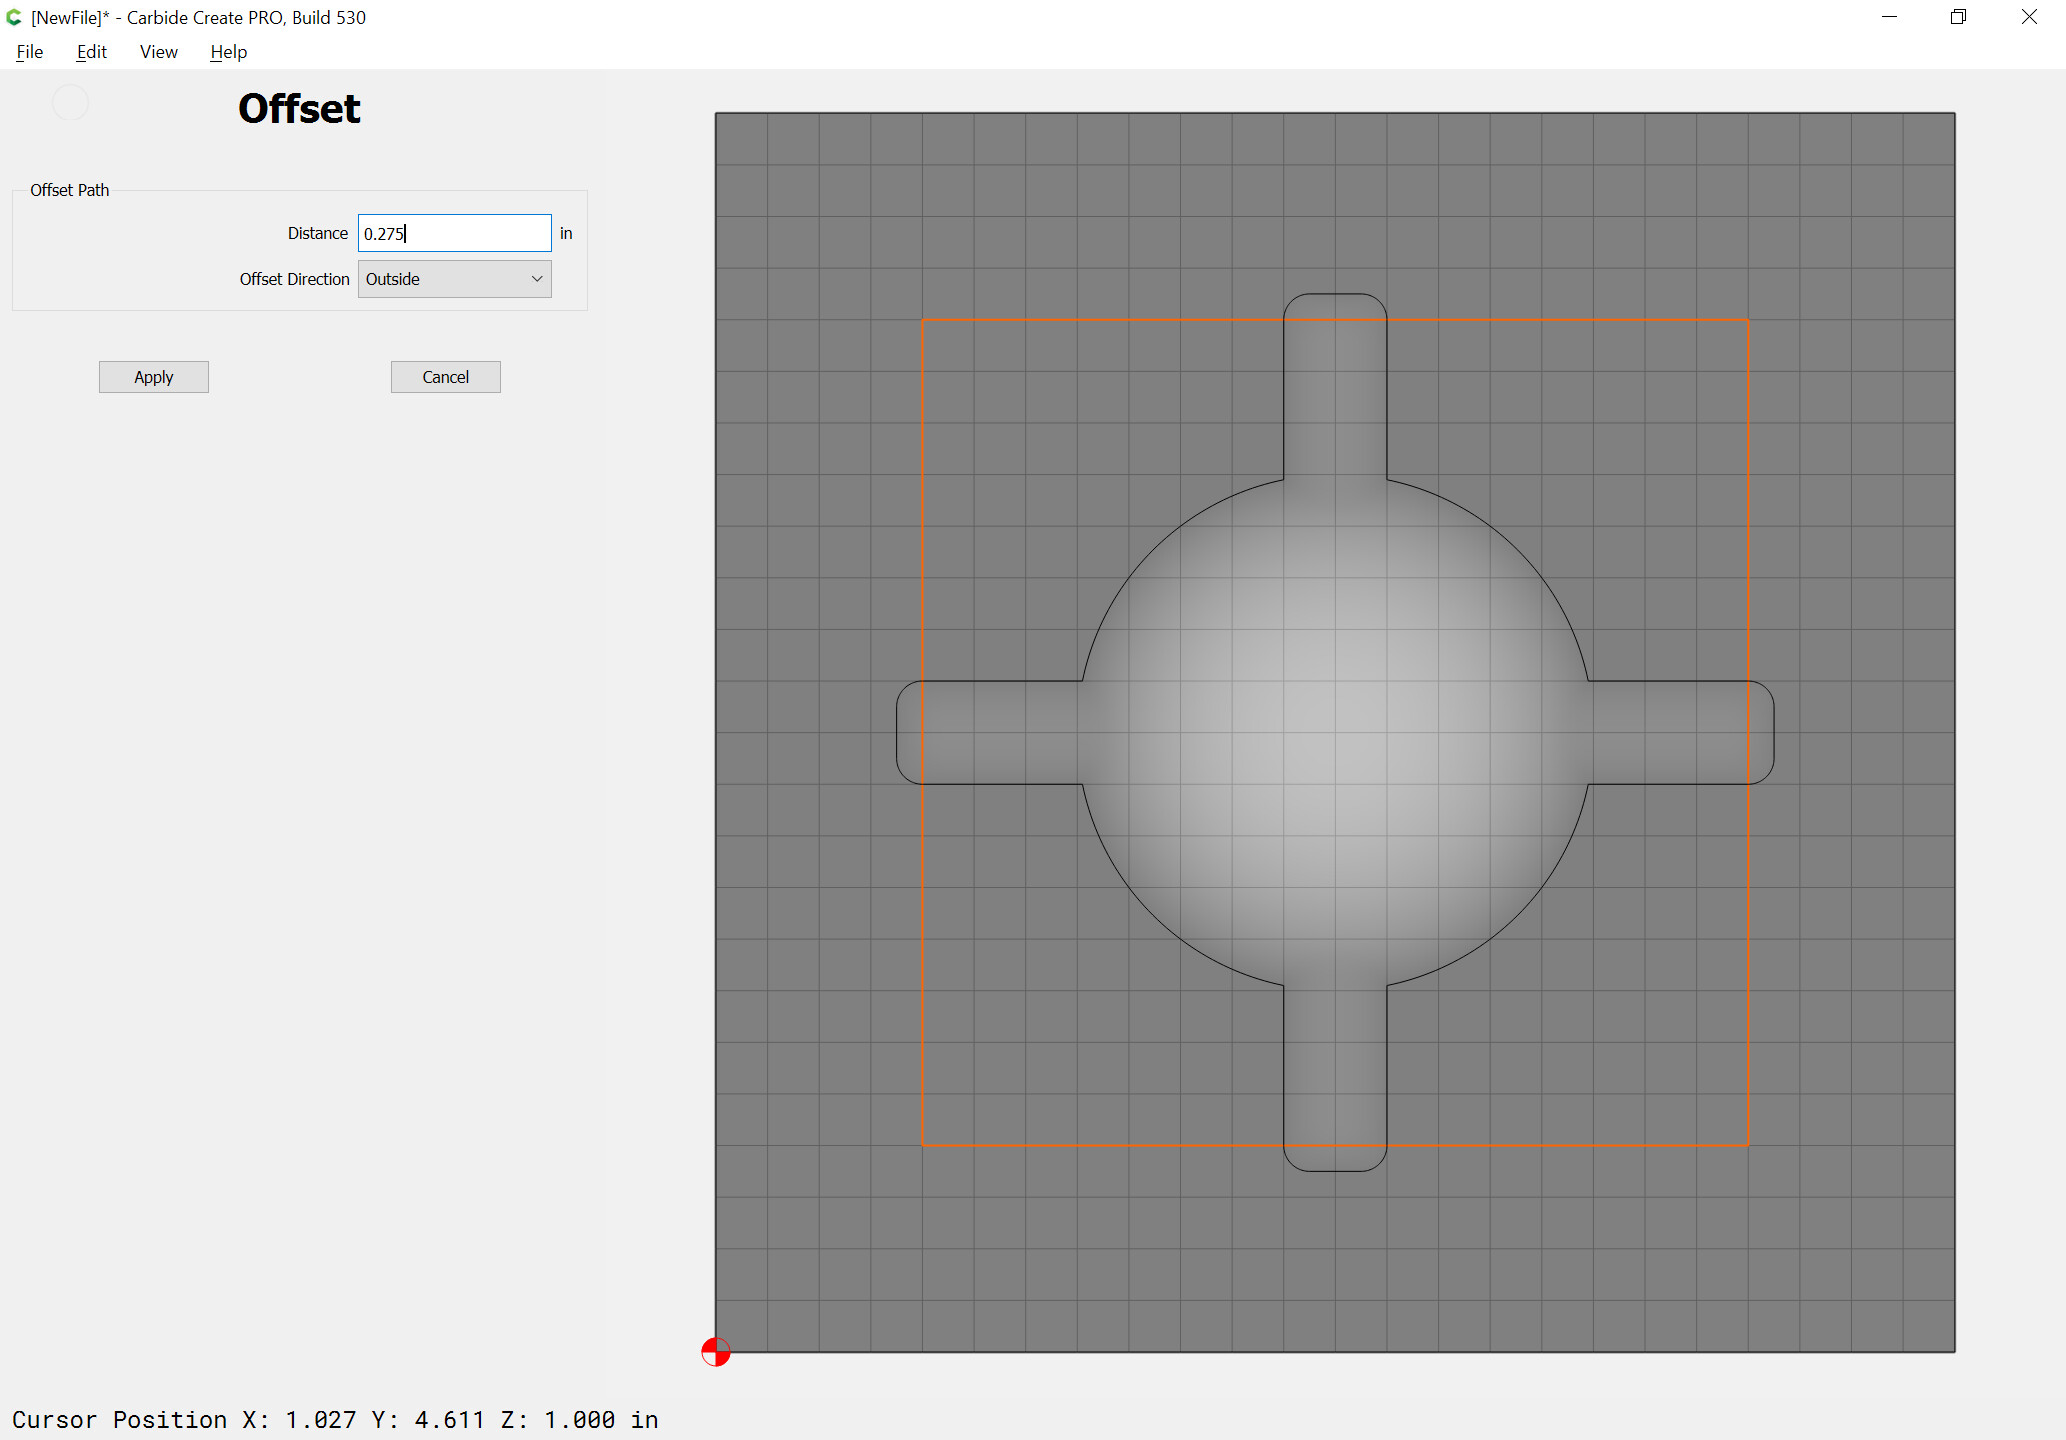
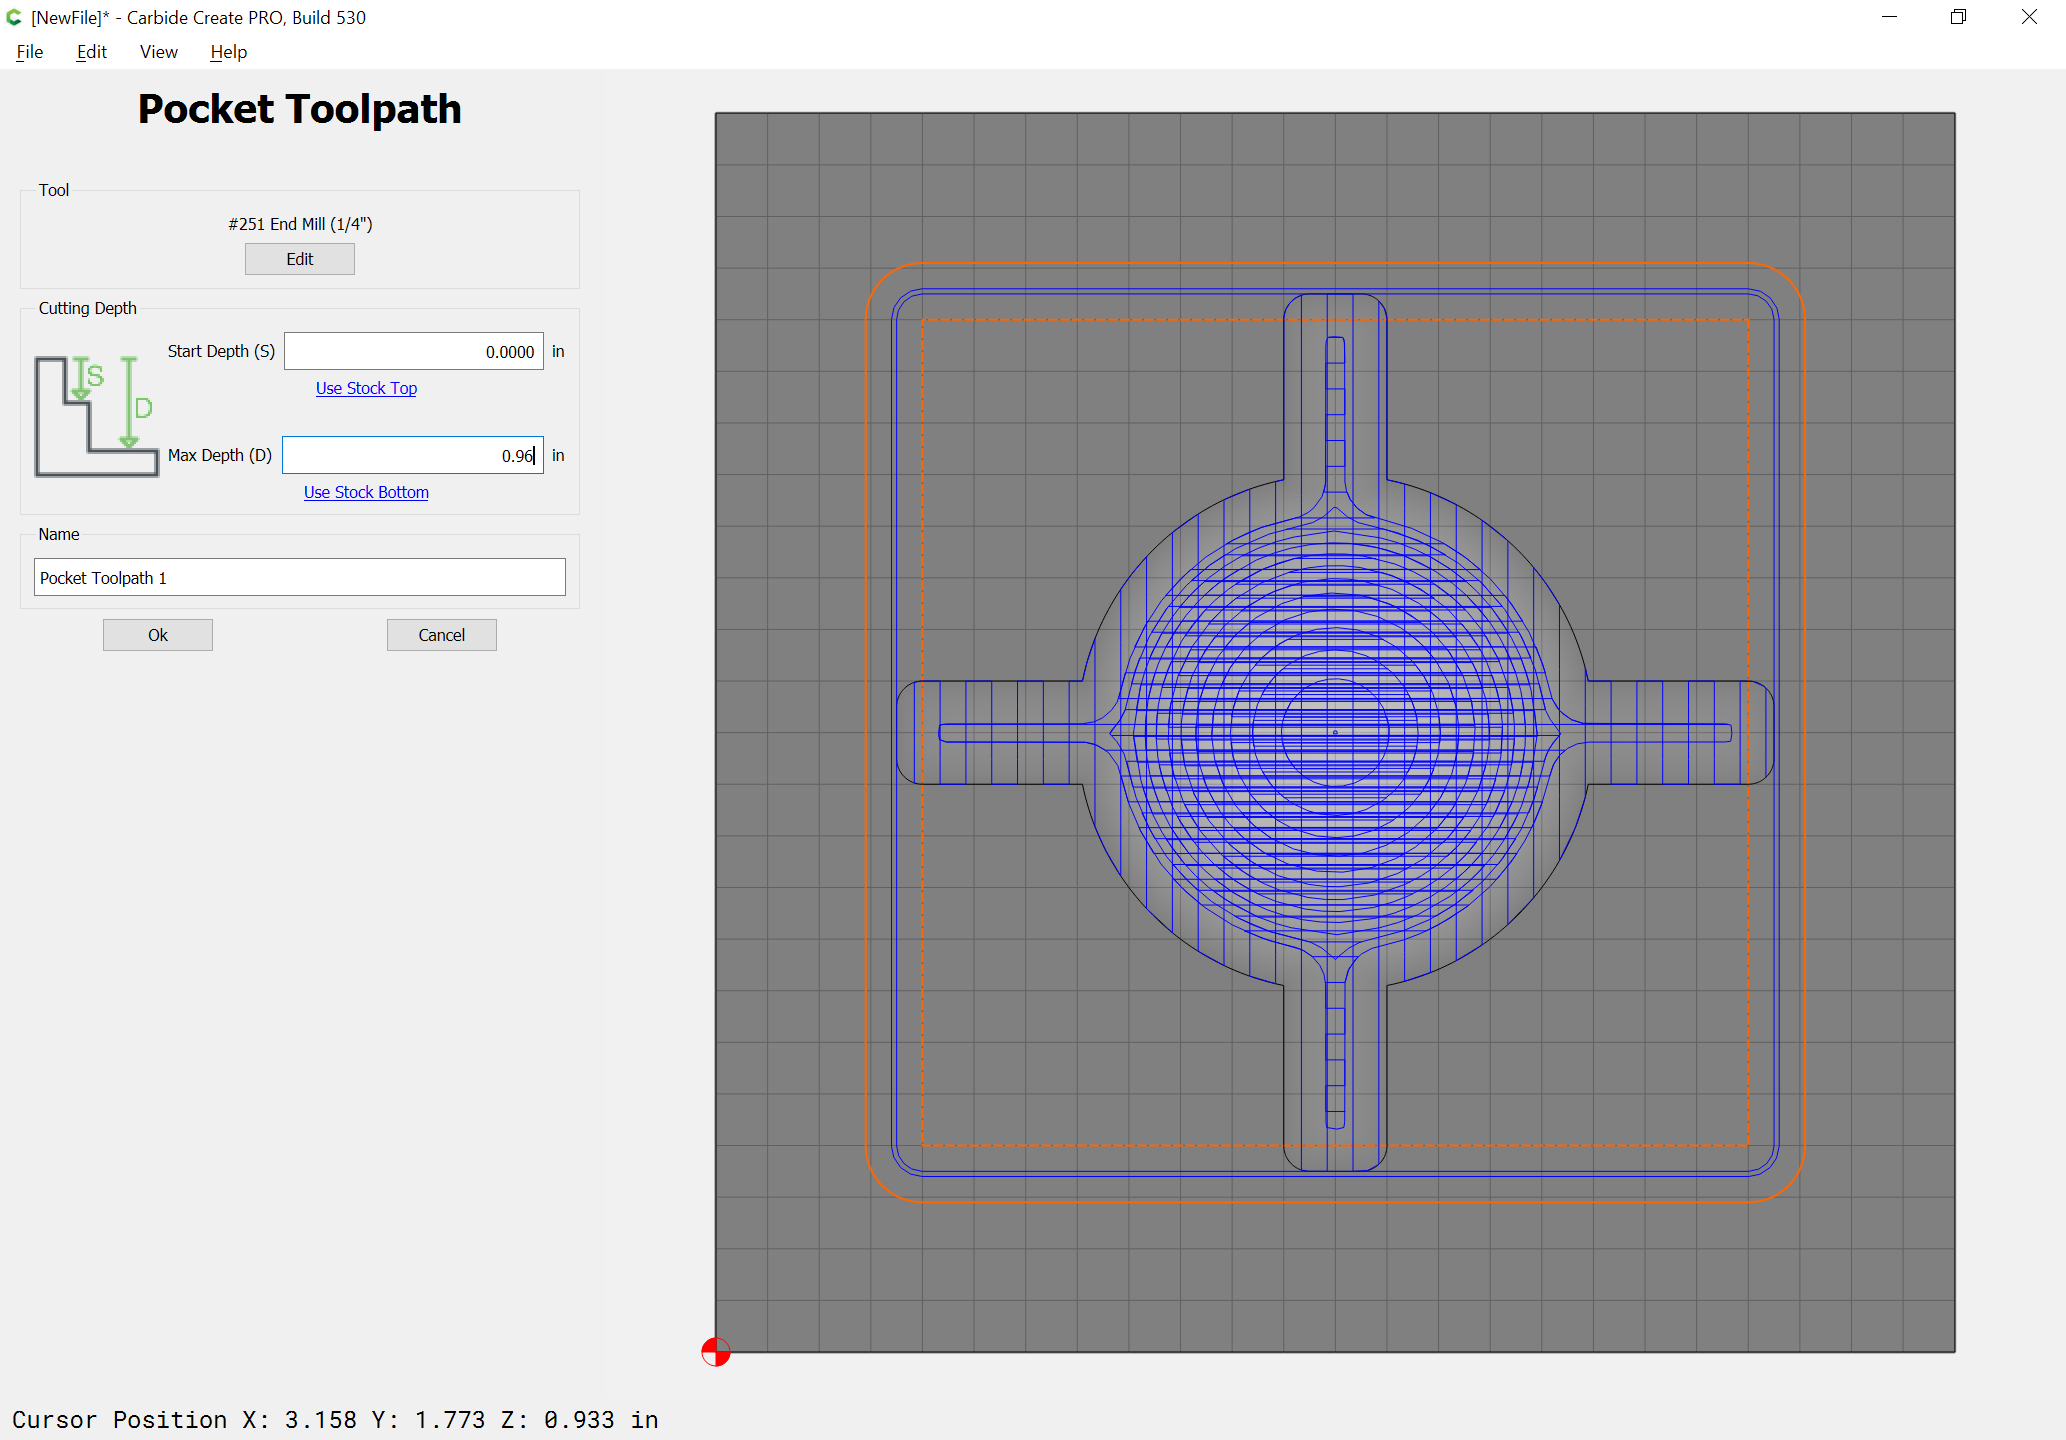
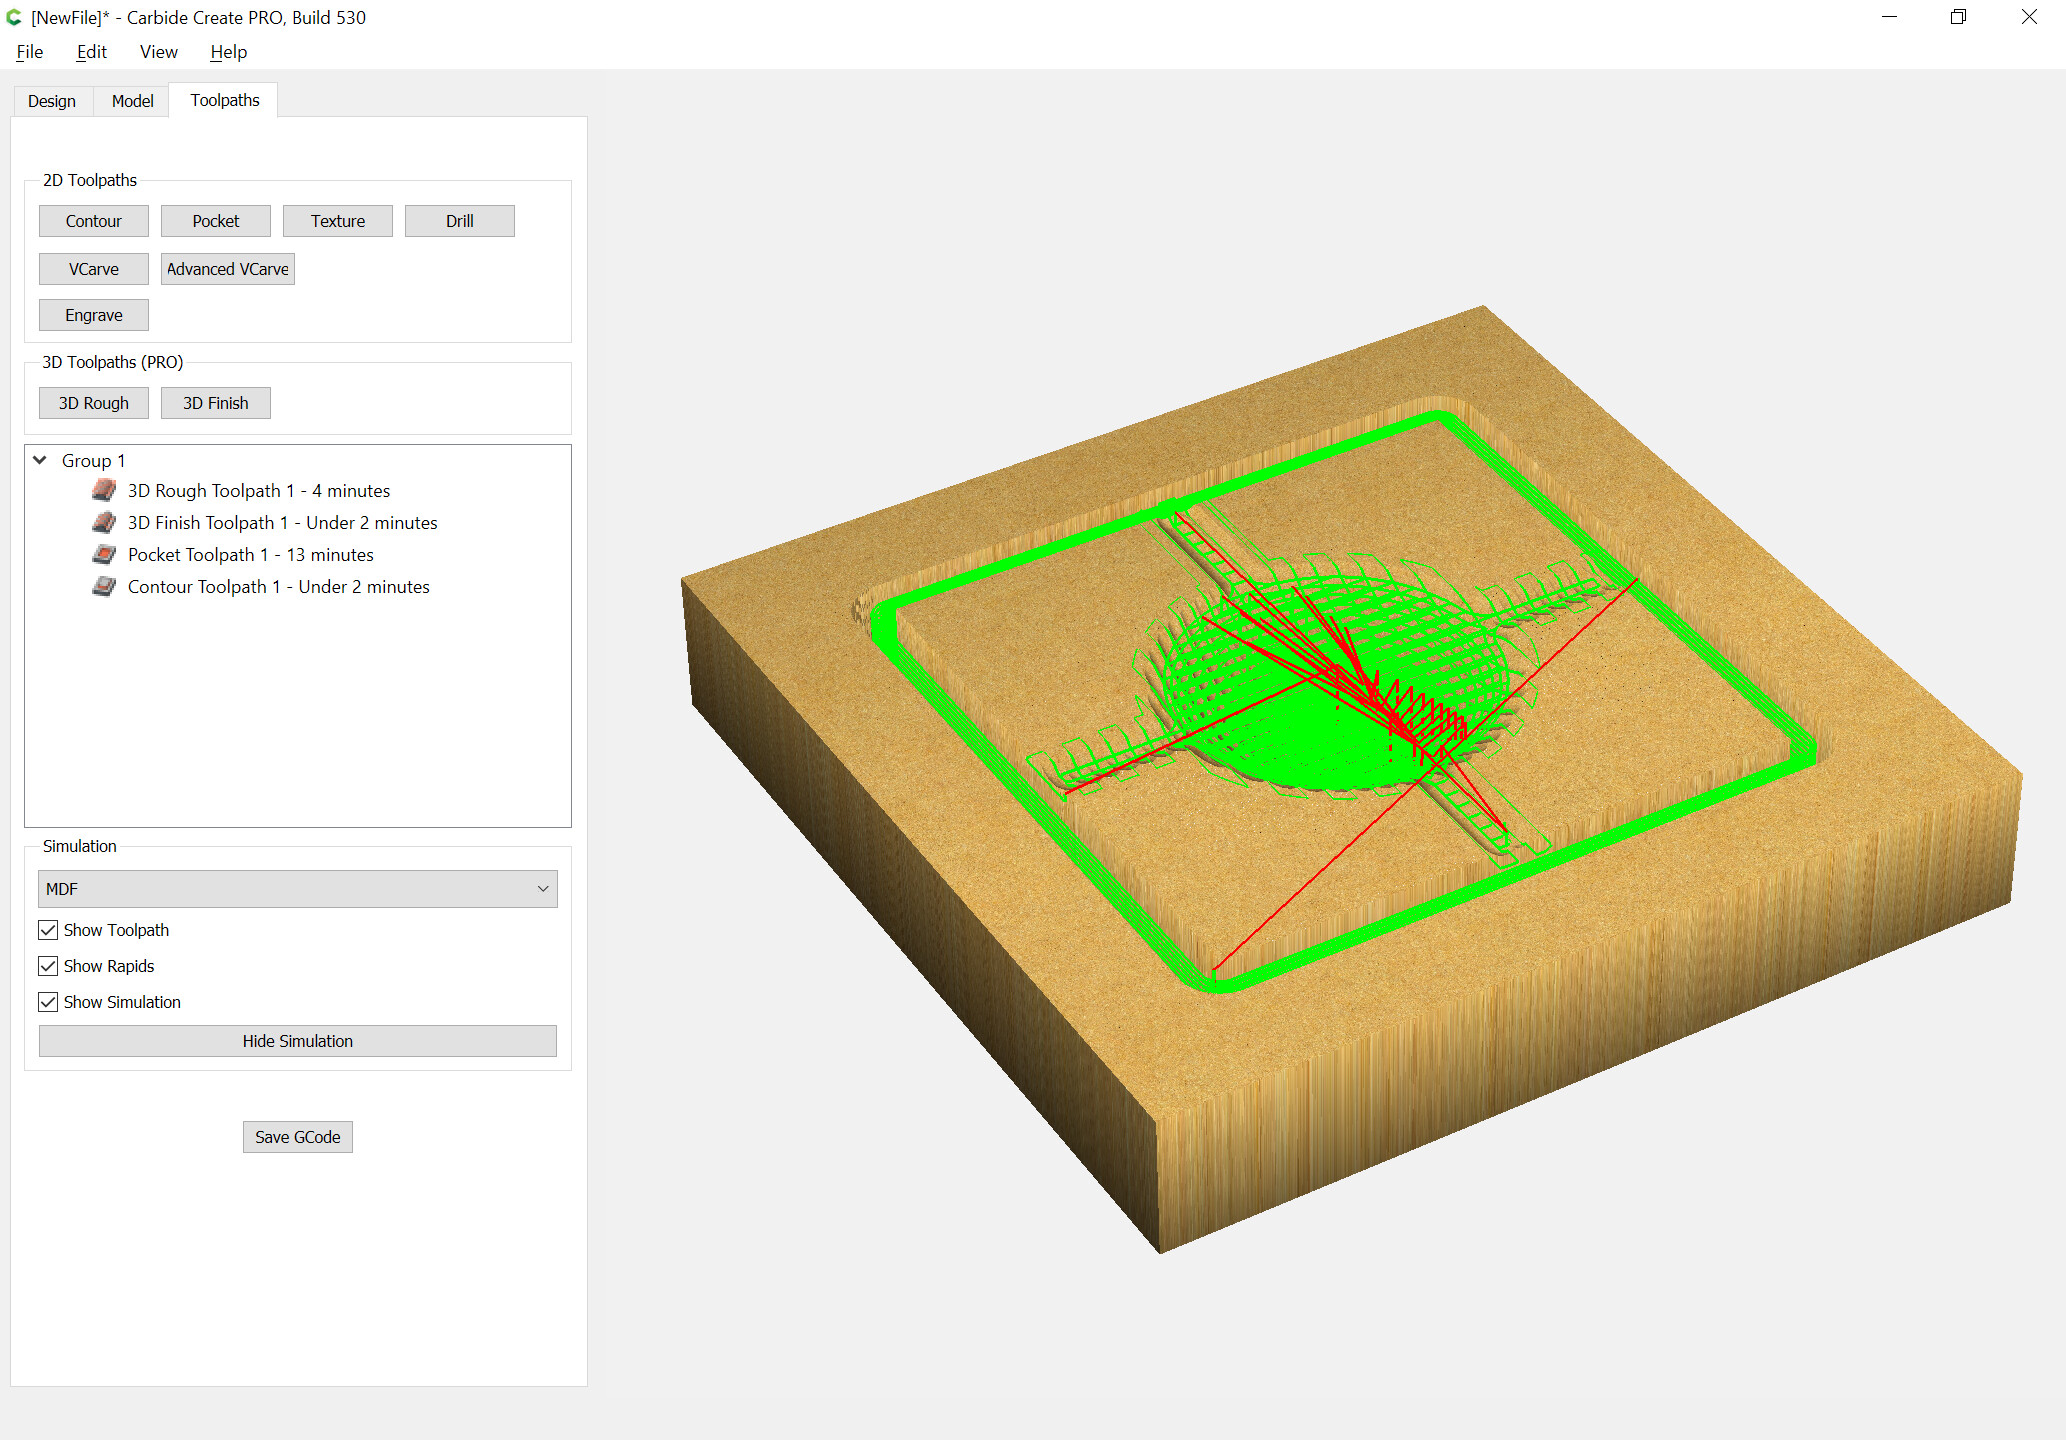
Switch to the Toolpaths tab, select the modeling geometry which defines where you want things cut (assuming the top of the stock is already finish planed):
Thanks @WillAdams. Why did you do a contour toolpath and a pocket toolpath?
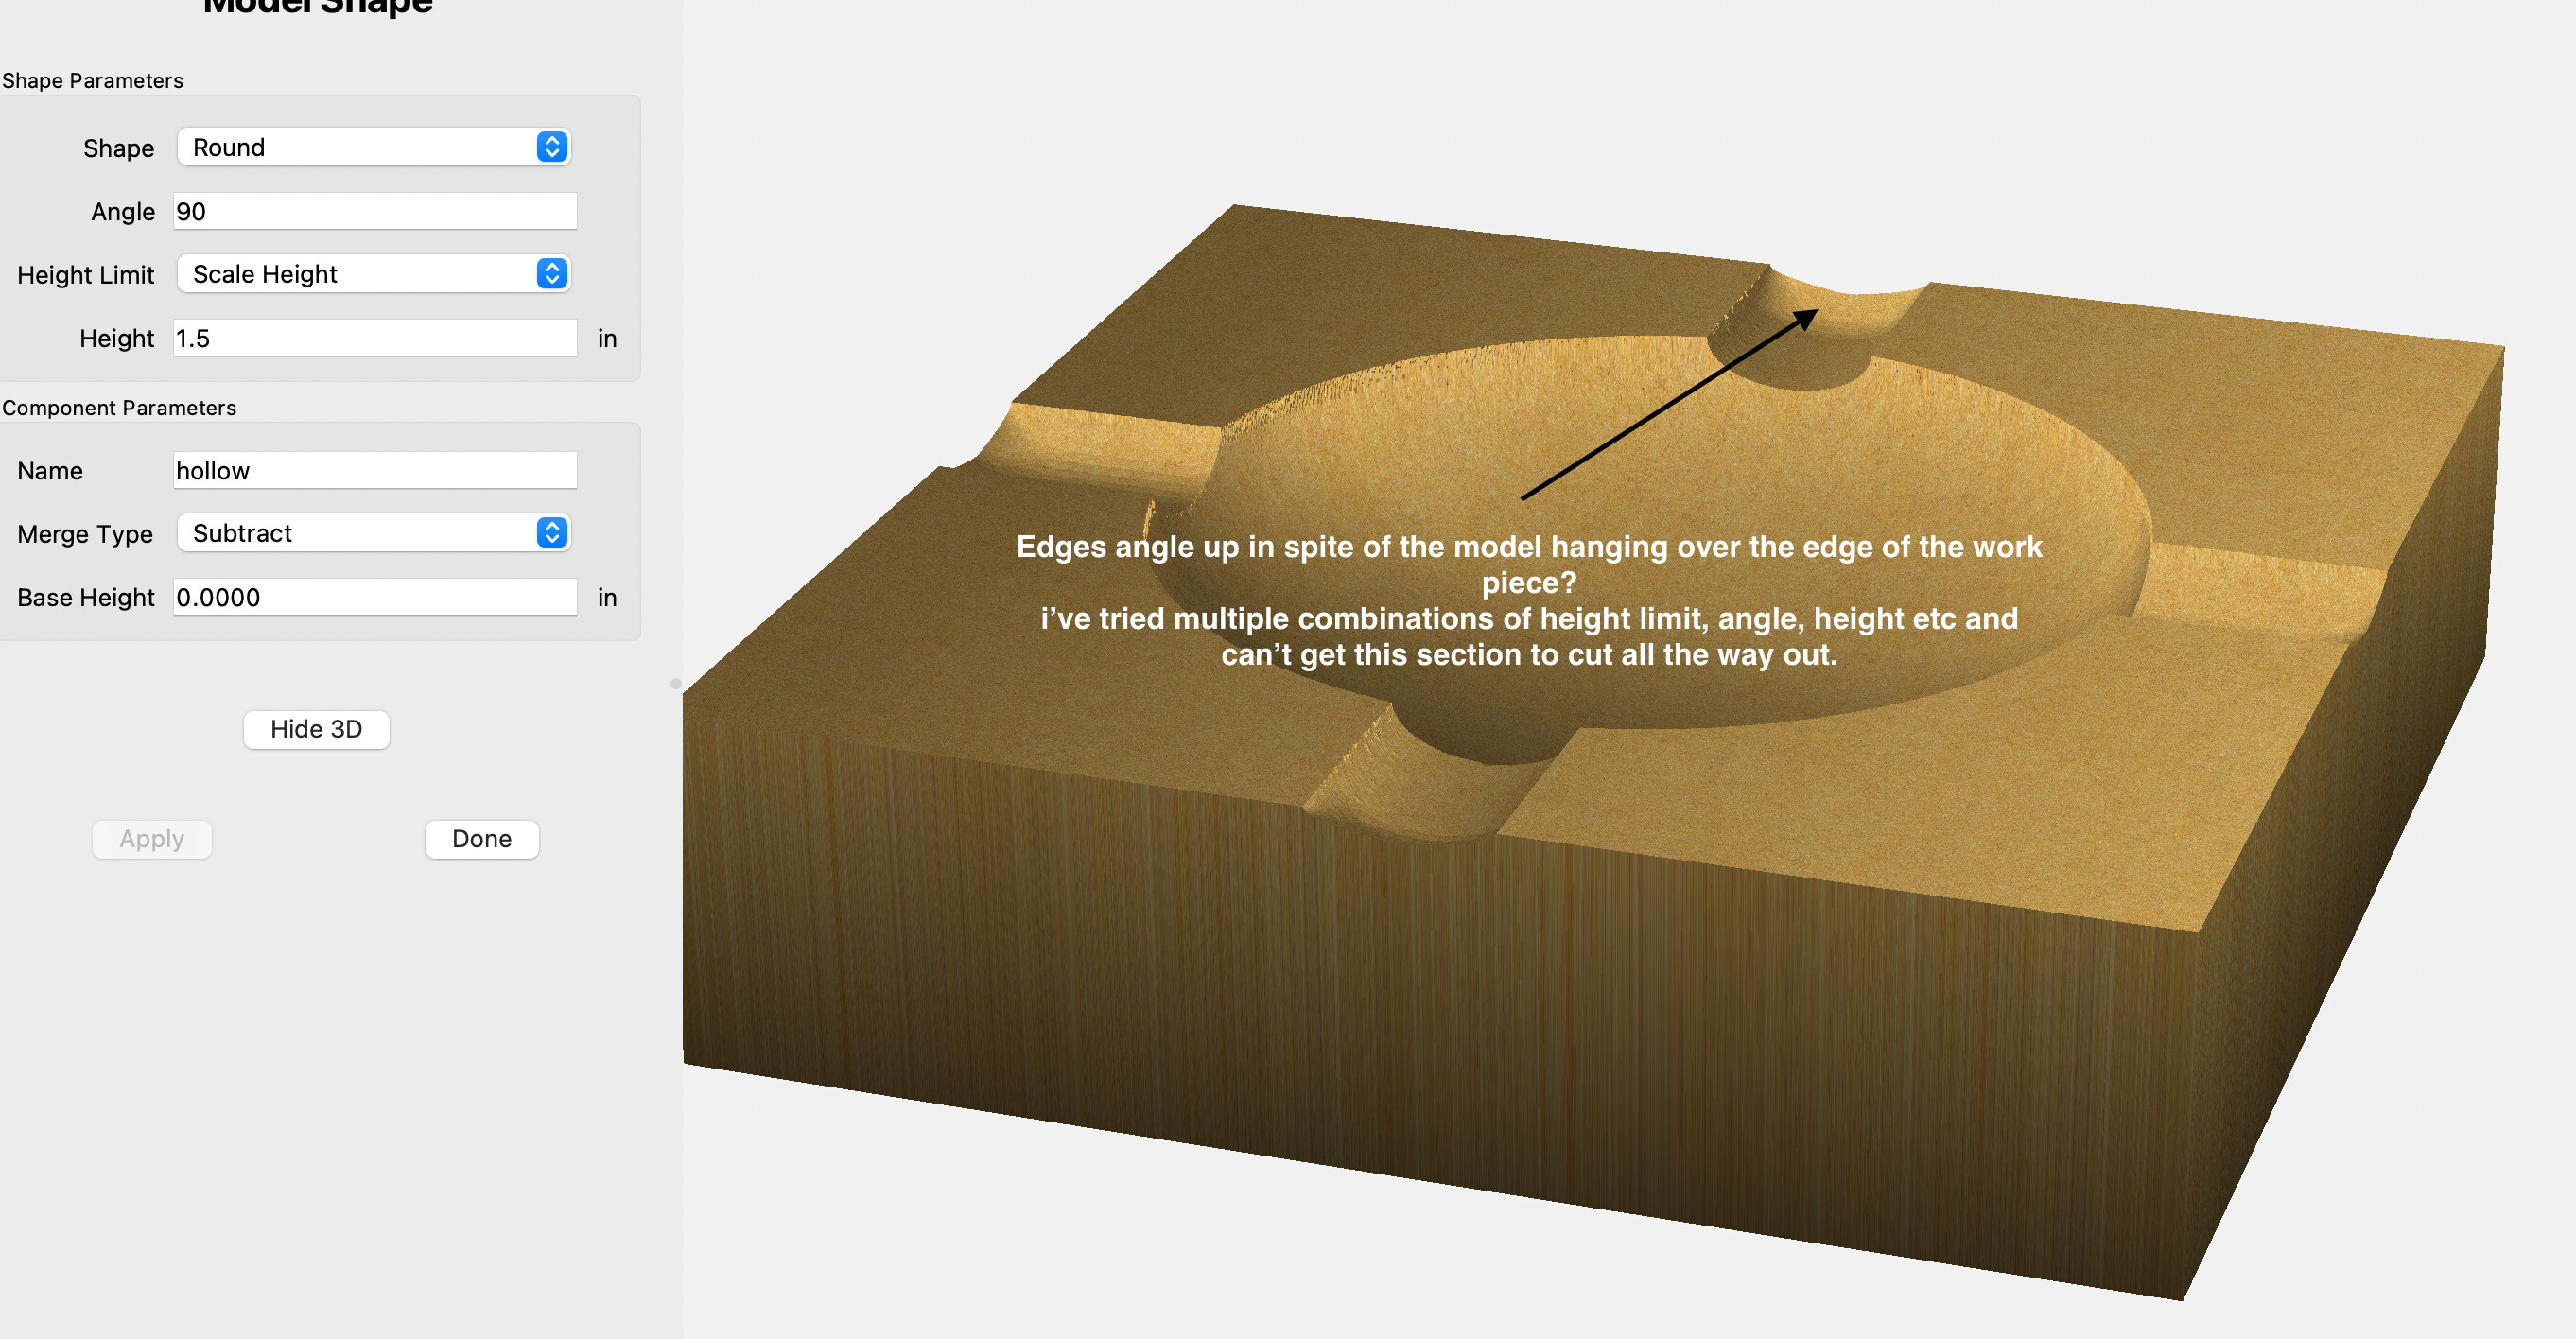
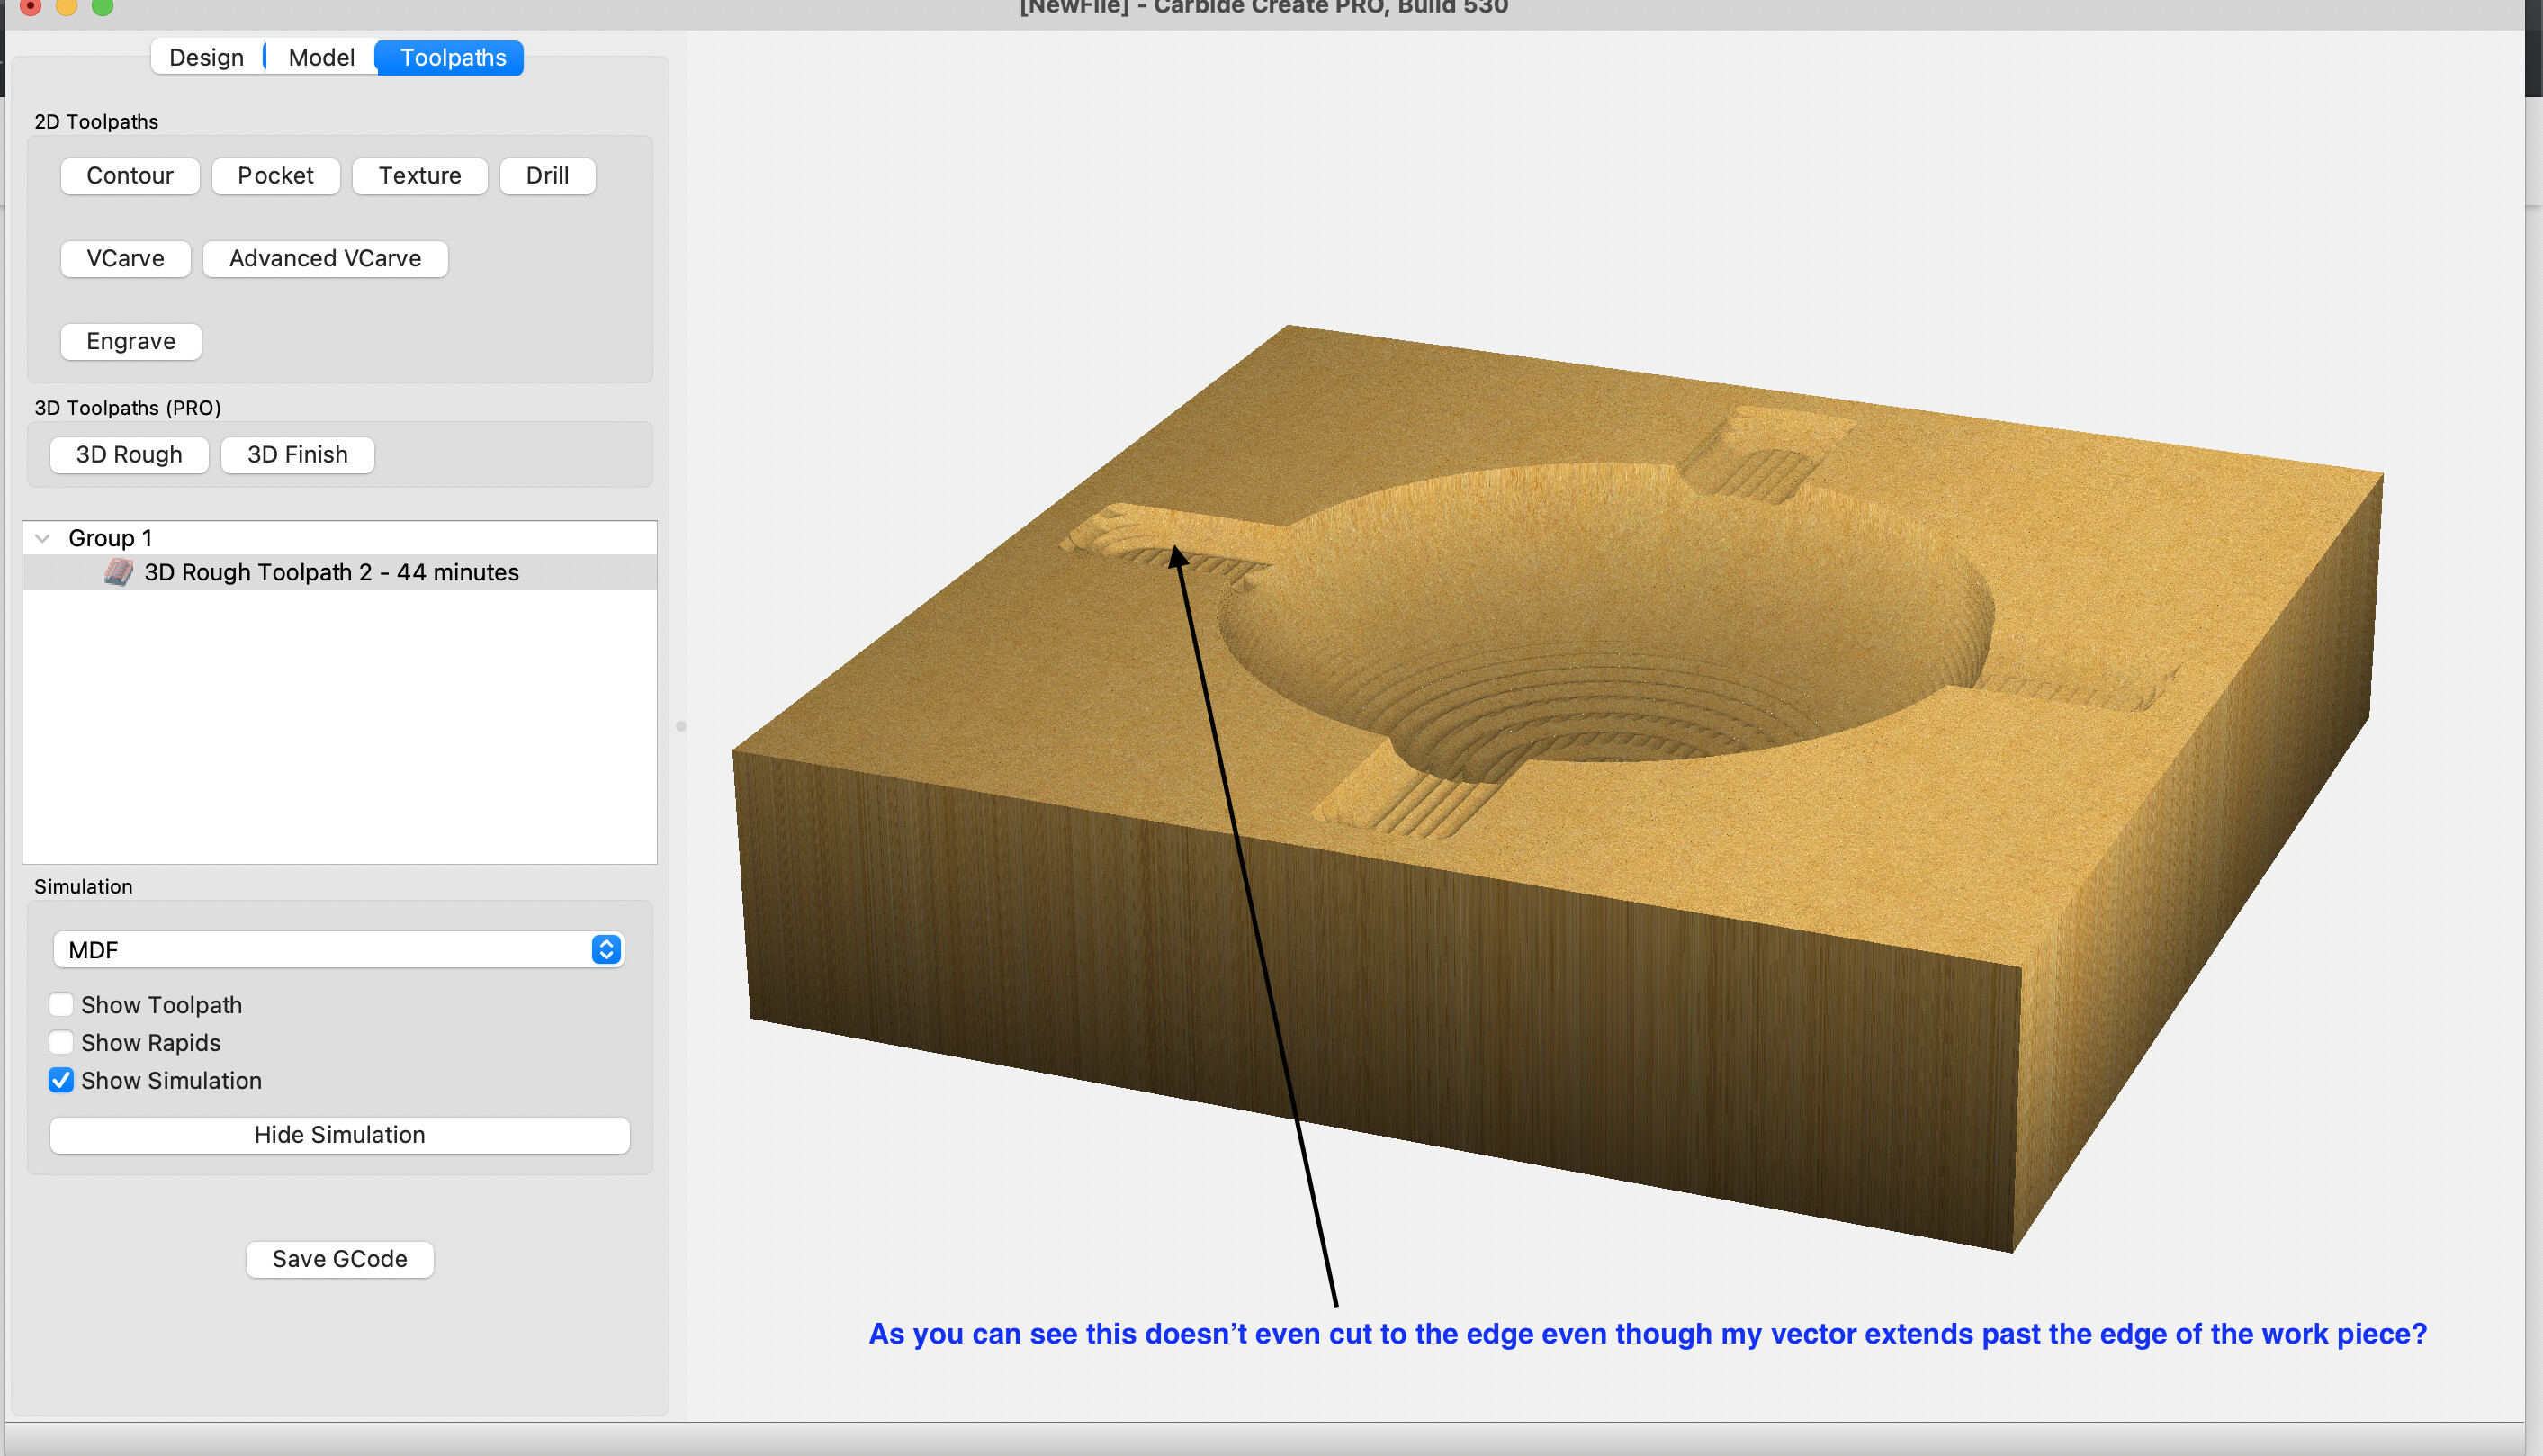
The issue with this approach to me though is that i’m also hoping to try this with stock that is not regular on the edges. If I do that, creating a pocket around the piece won’t work because it will lose the character. Is there no other way to get the thing to cut out the slots where the cigar rests without pocketing it down? like this pic? It is also strange that it cuts out THREE of them fully but not the fourth…that seems strange to me…
As noted, there is an interaction between pixel modeling (for 3D) and the measurements made for the toolpaths.
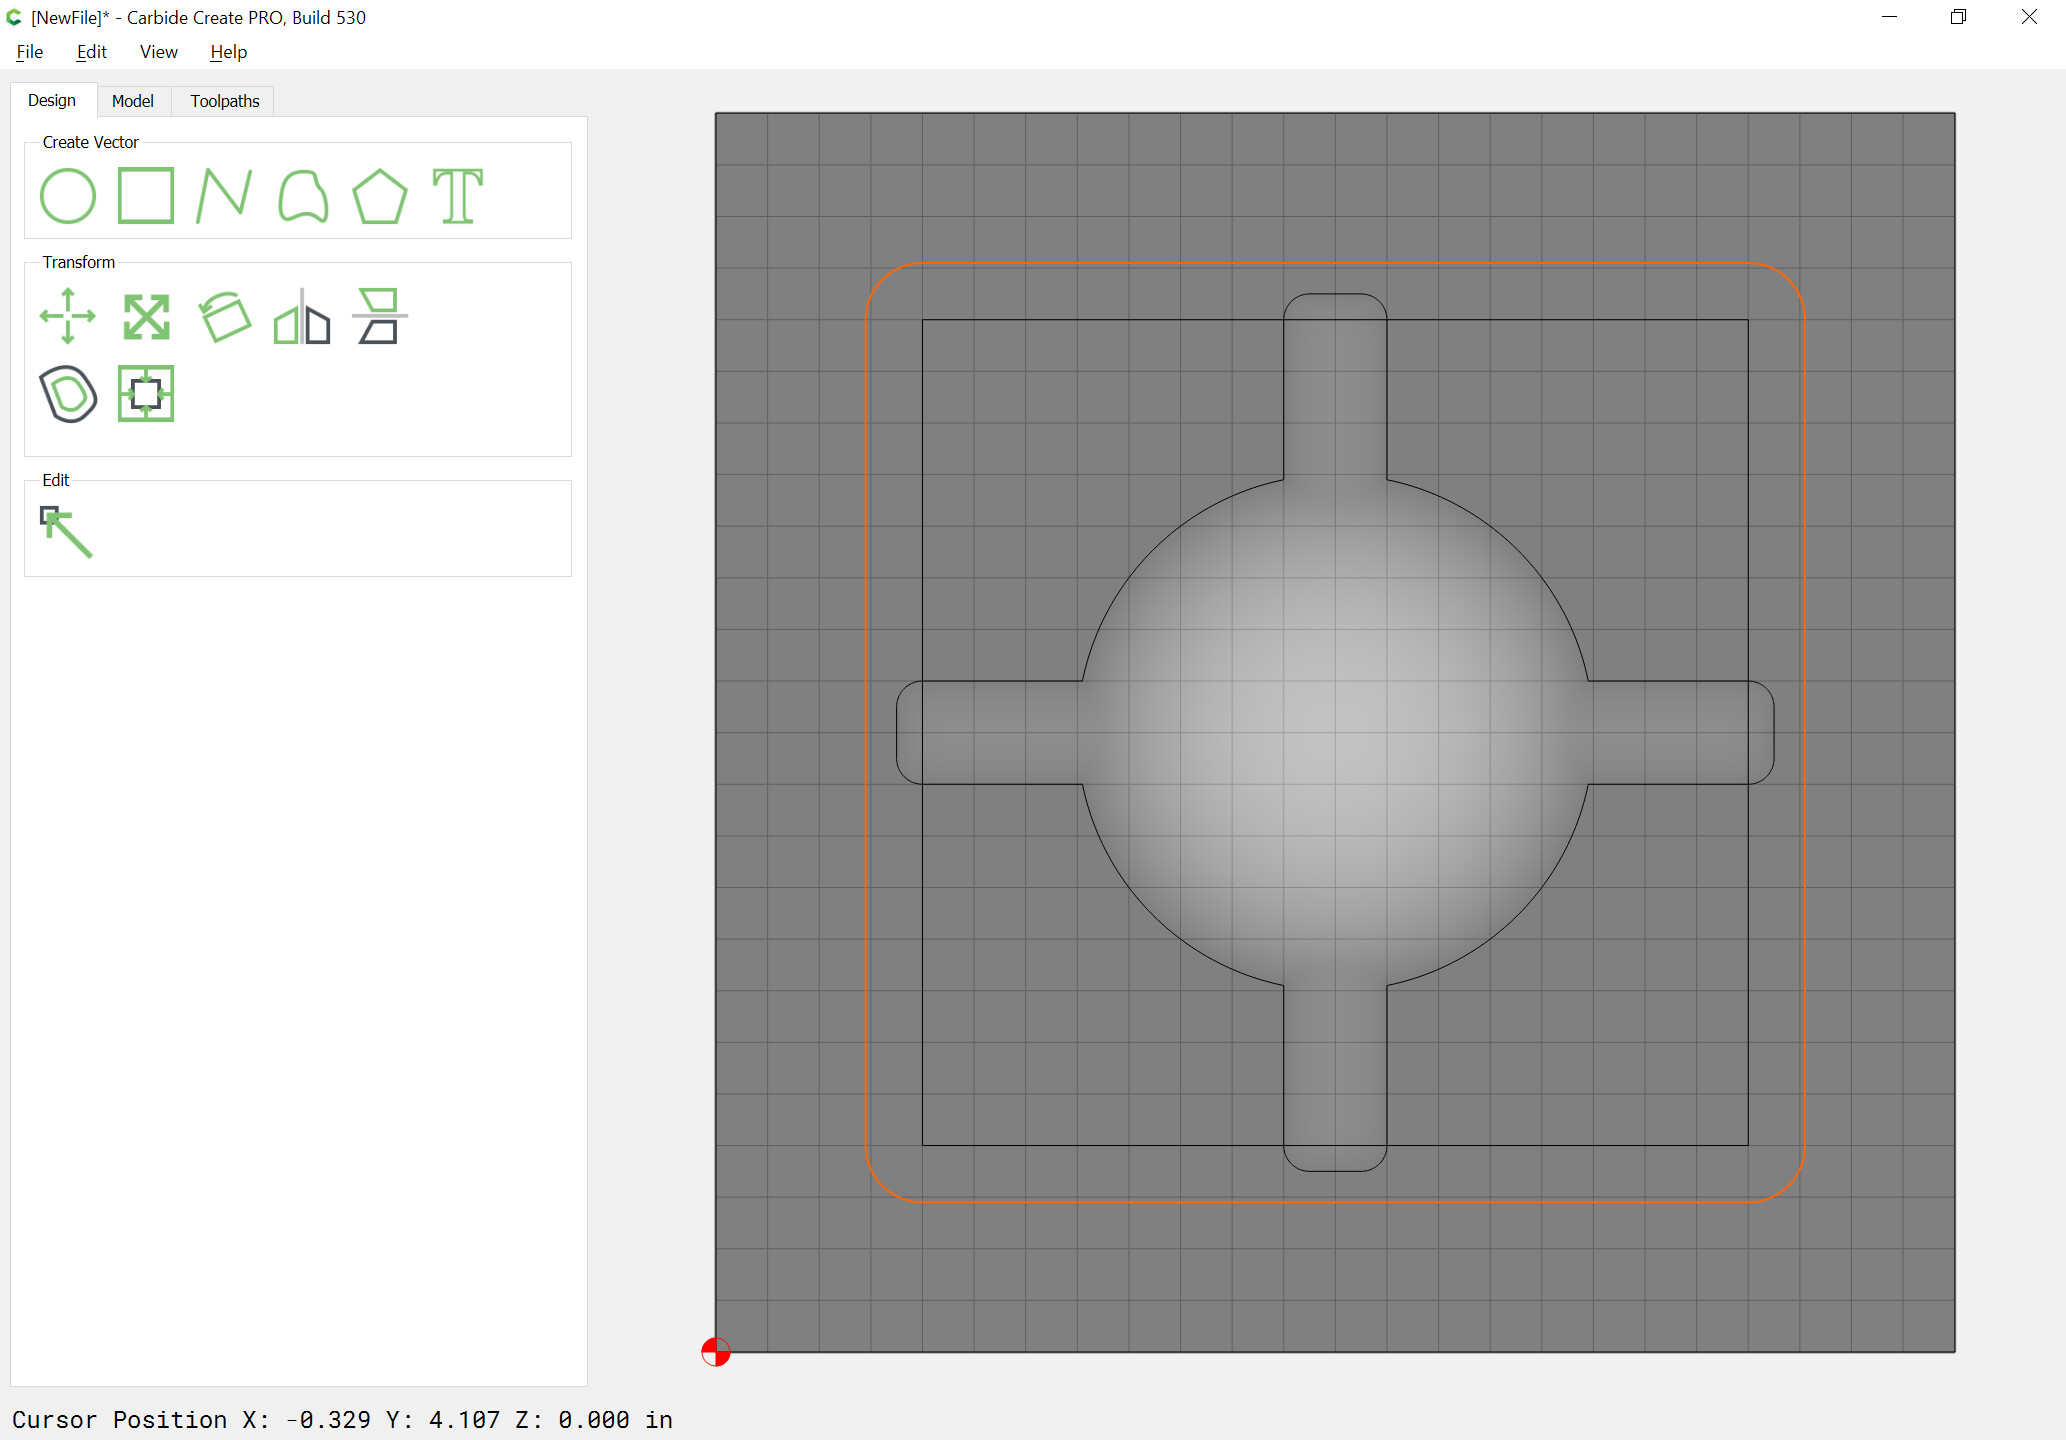
Used an outside contour since that was my assumption that you would wish to use, since otherwise I couldn’t see why there was this issue.
I believe the most expedient solution would be to enlarge the 3D model so that the 3D toolpaths won’t have the issue you cite — just forgo the size/perimeter of the 3D model matching what you are cutting.