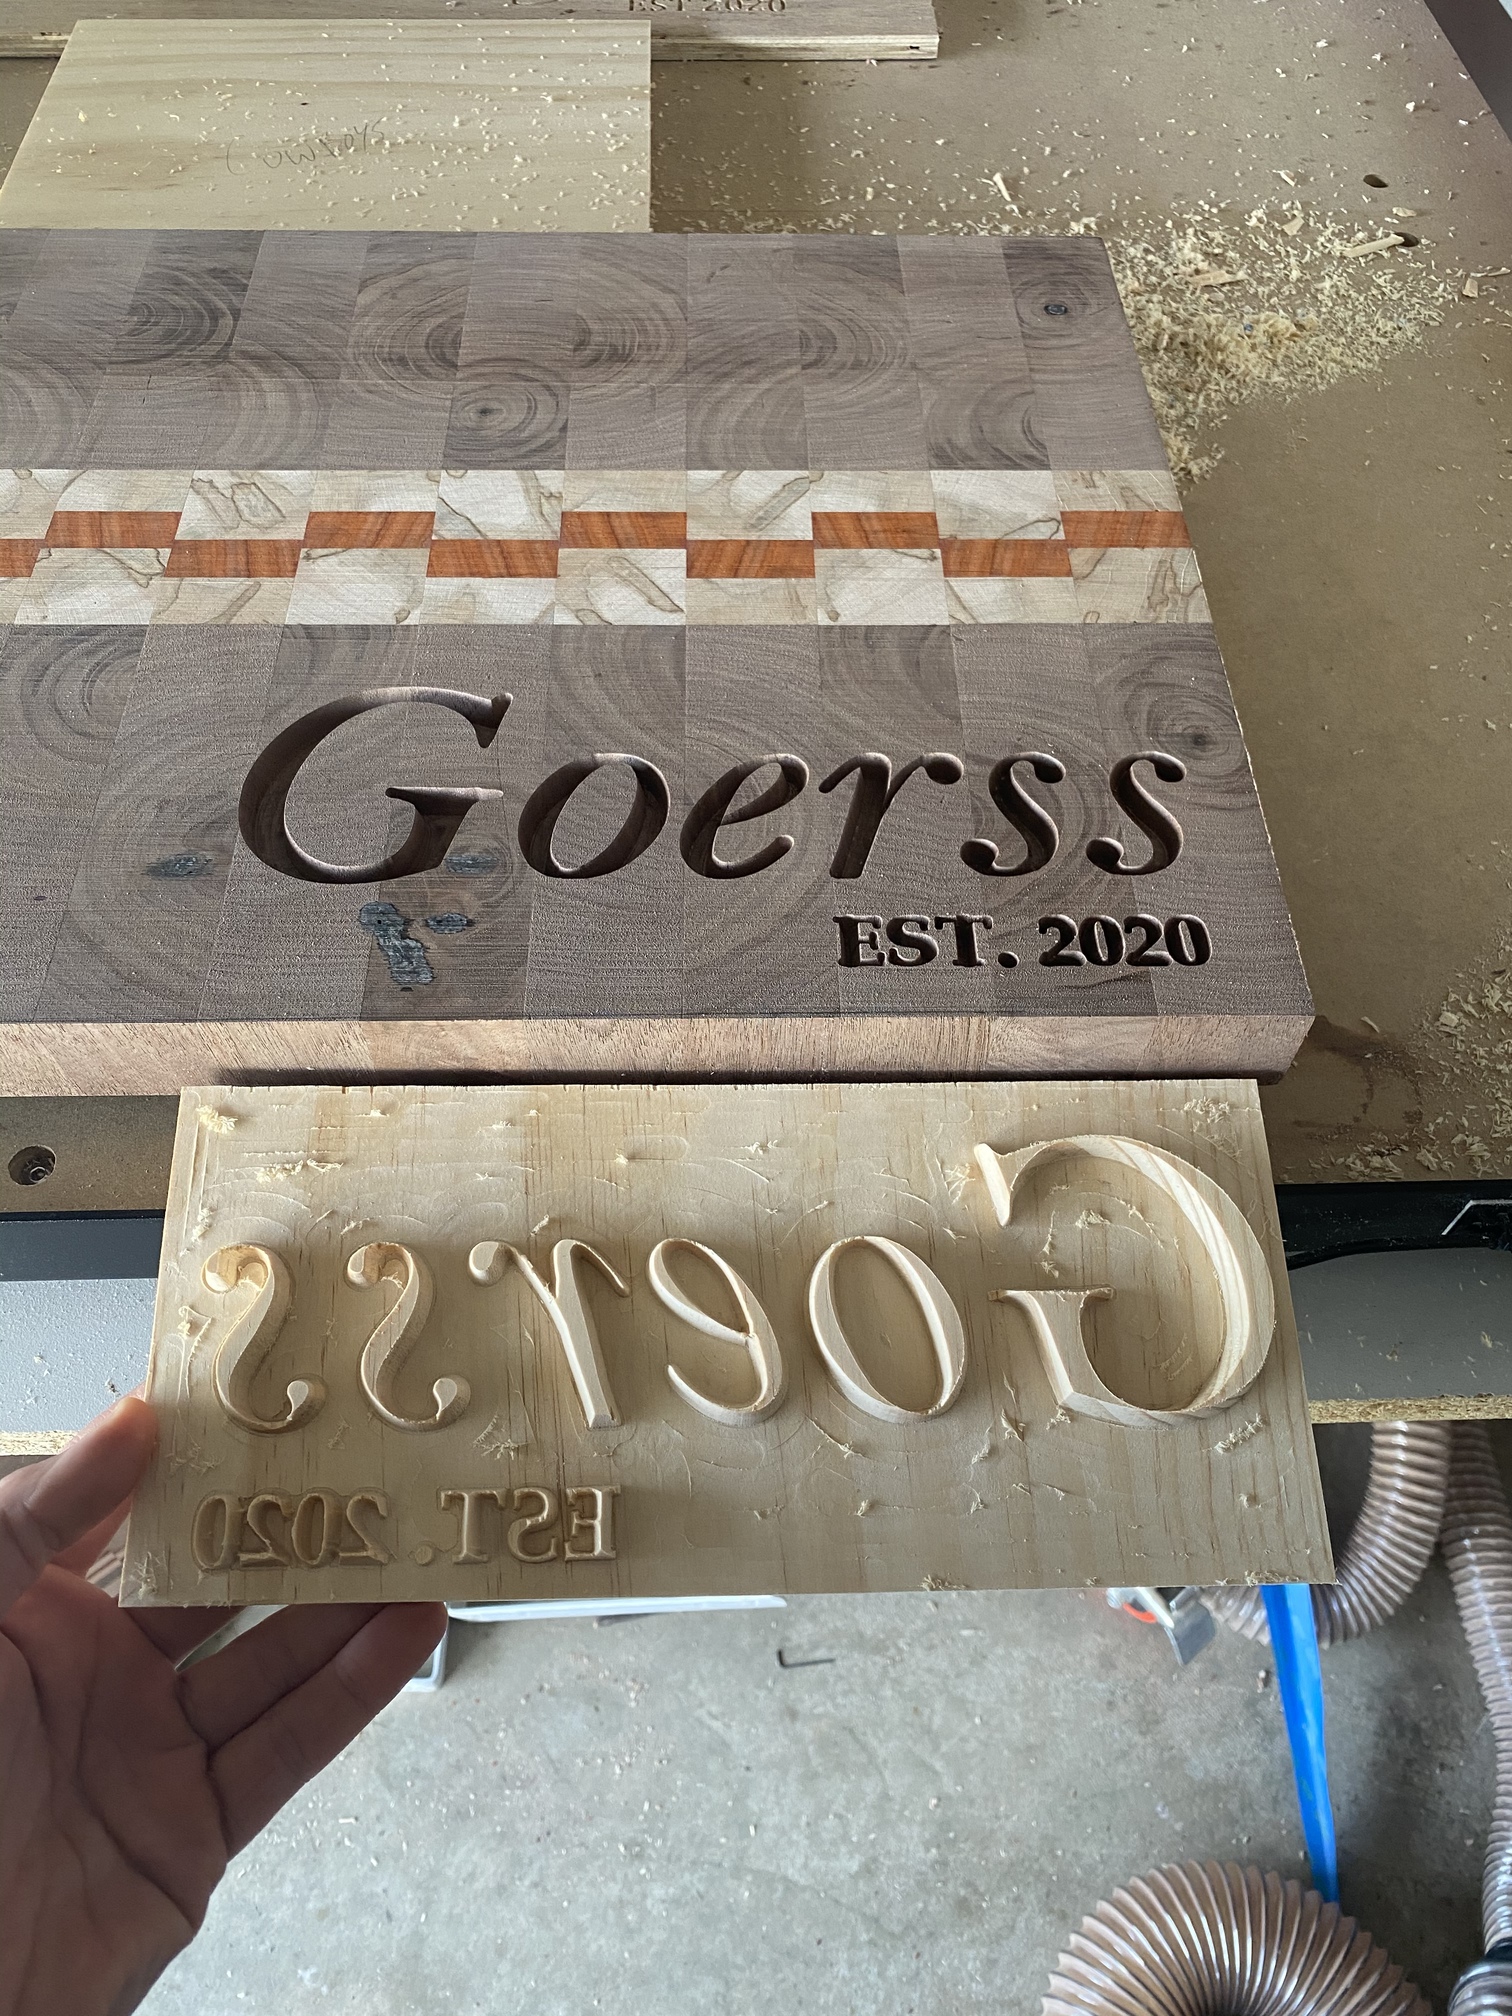
Well then I may be explaining something wrong because both of my pieces sit flush against eachother (the top of my cutting board stock and the bottom piece of wood I used for the plug) there is no gap. And my .2 plug is fully inside my .2 deep pocket but it is lose, so when I glue it and remove all the excess material there are gaps all over my lettering. That tells me my plug needs to go deeper (or it needs to be wider) to fill in the pocket
This makes perfect sense, but mine is not doing that. My plug is going fully inside my pocket, where as this demonstration shows the plug unable to fit inside the pocket. That is where this doesn’t make sense
Here is what I am talking about. Pocket .20/ Plug start depth .05 flat depth .20… and the plug is loose inside. Also, in addition to this, I updated the toolpath for the plug to start depth .18/ flat depth .02 and nothing shows up on the simulation… Am I crazy or is something wrong? I attempted a .150 start depth and .20 flat depth and it made it even thinner.
https://1drv.ms/u/s!AnDHAbcUM0TZhg6IMutZyIDtthAC?e=IxNCAS
goerss male UPDATED.c2d (451.0 KB)
Which bit are you using? Is it actually 30 degrees? For the .18/ flat depth .02 it should be .18/ flat depth .20. Not sure if it was a typo earlier or somebody used to vectric VCARVE (carbide create is asking for the total depth for the second parameter while vectric asks for depth below flat surface, so you can’t directly copy numbers between programs in the vcarve template)
Yes it is a 30 degree… And I was wondering the same so I tried .15 start depth and .20 flat depth and it came out even worse than my original .05/.20… I am incredibly confused what start depth does with Carbide create. So the deeper the start depth, the thinner/ smaller the plug will be? If thats the case I need to go less than .05, which I might as well go to .0 and not even have a start depth
The start depth is the depth where the two parts will meet. Meaning with the .15 .20 setting there should be 0.05" between parts and 0.15" overlap on large features. Thin features such as your smaller text will not be full depth because then the width will be wrong.
Can you take a picture of the female part that you carved already? I’m stumped and really not sure what is going wrong.
huh. I must not have the font you used, because when I open in CC the font is really blocky, so clearly carbide create is swapping fonts out. It should really throw an error when it does that and ask if you want to continue. I also cannot look at your tool library either, so have to go by your description of the bit
Based on the discrepancy in your carving it is either carbide create has an error somewhere or your bit is actually a 60 degree bit.(but the angle on the sidewall looks correct)
I can’t think of any way of saving your project other then epoxy filling the text. You could try faking it out by doing a 0.05 / 0.40 vcarve and then zeroing 0.2" above where you would normally zero in the material. That should make the text wider, but not sure if the geometry would be correct then. It would also be a very long cut with most of that cutting air.
I may have got this wrong, but whatever your design is in CC, others viewing it will see something different if they don’t have that font used in the design installed on their computer.
Having said that, CM will do as it’s told, and the final cut will (should!) look the same as the original design, irrespective of the fonts installed.
No it’s definitely a 30 degrees used on both… but so if this was your project, what would you have set the depths at for the pocket and plug?
Your settings are not the issue. Your issue is that it is too loose, while your settings should make it too tight and the pictures look like a 30 degree bit was used.
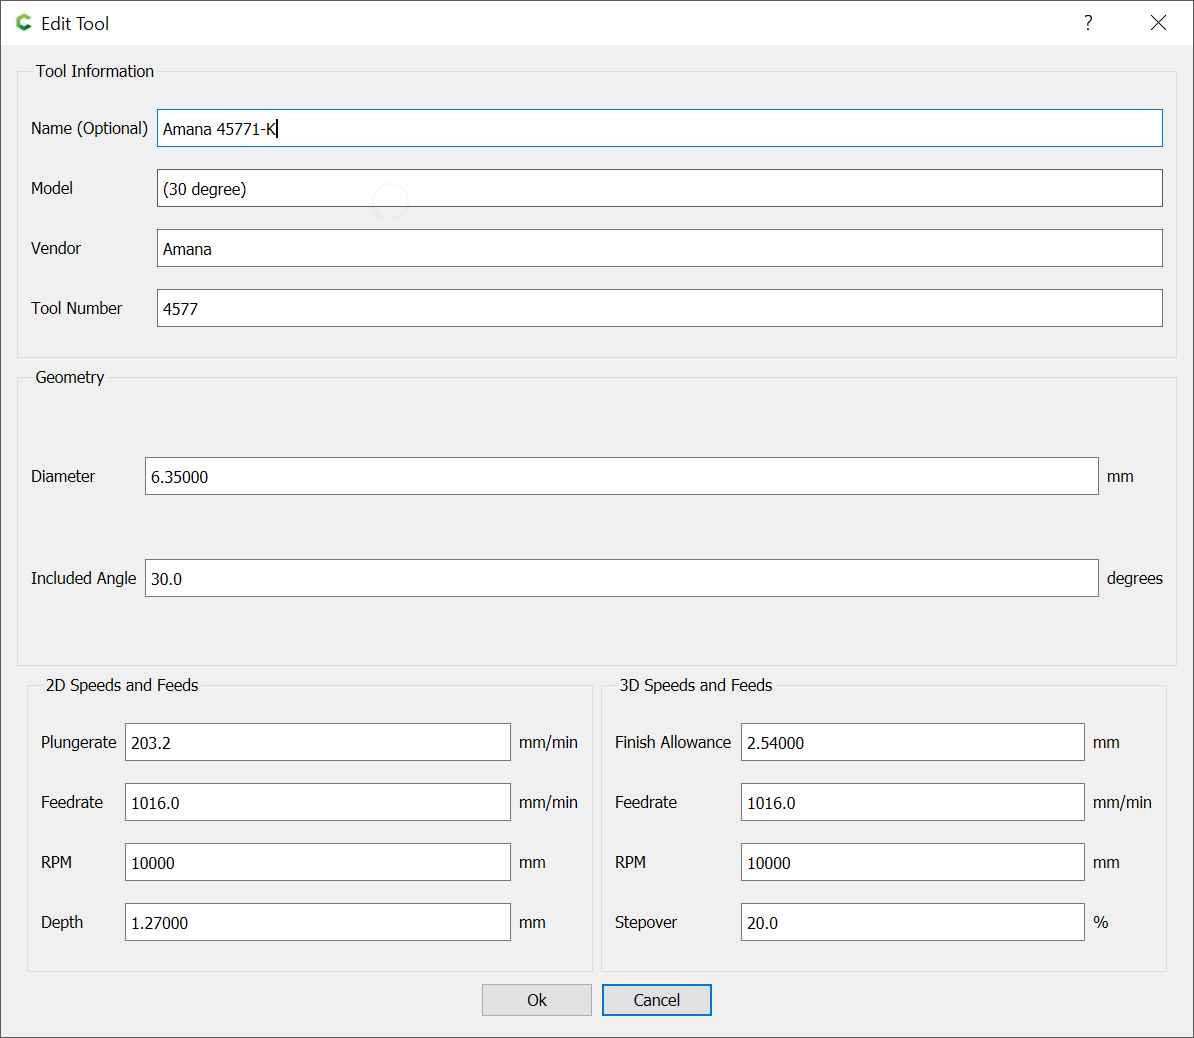
Only thing left would be error in carbide create or error in your tool database. Mind taking a picture of the settings for your 30 degree tool in carbide create and linking to what tool you bought? Are you using mac or PC? Maybe there is a bug in the mac version (seems like a long shot)
I am using a PC, but I am at work now so I don’t have access to my tool database. But I am using a Amana Tool 45771-K Solid carbide spektra extreme 30 degree coated engraving tip… In my create file is shows as #10 bit, maybe that is incorrect… I have the create file uploaded in previous comments I don’t know if it is unable to open for you.
So even though carbide tells me to install a #10, and that’s a 30 degree, it might not be the correct 30 degree?
Carbide Create doesn’t have a #10 tool — that’s just the default number first used when entering a tool — you have to fill in the correct numbers, and it’s best to use one which makes sense.
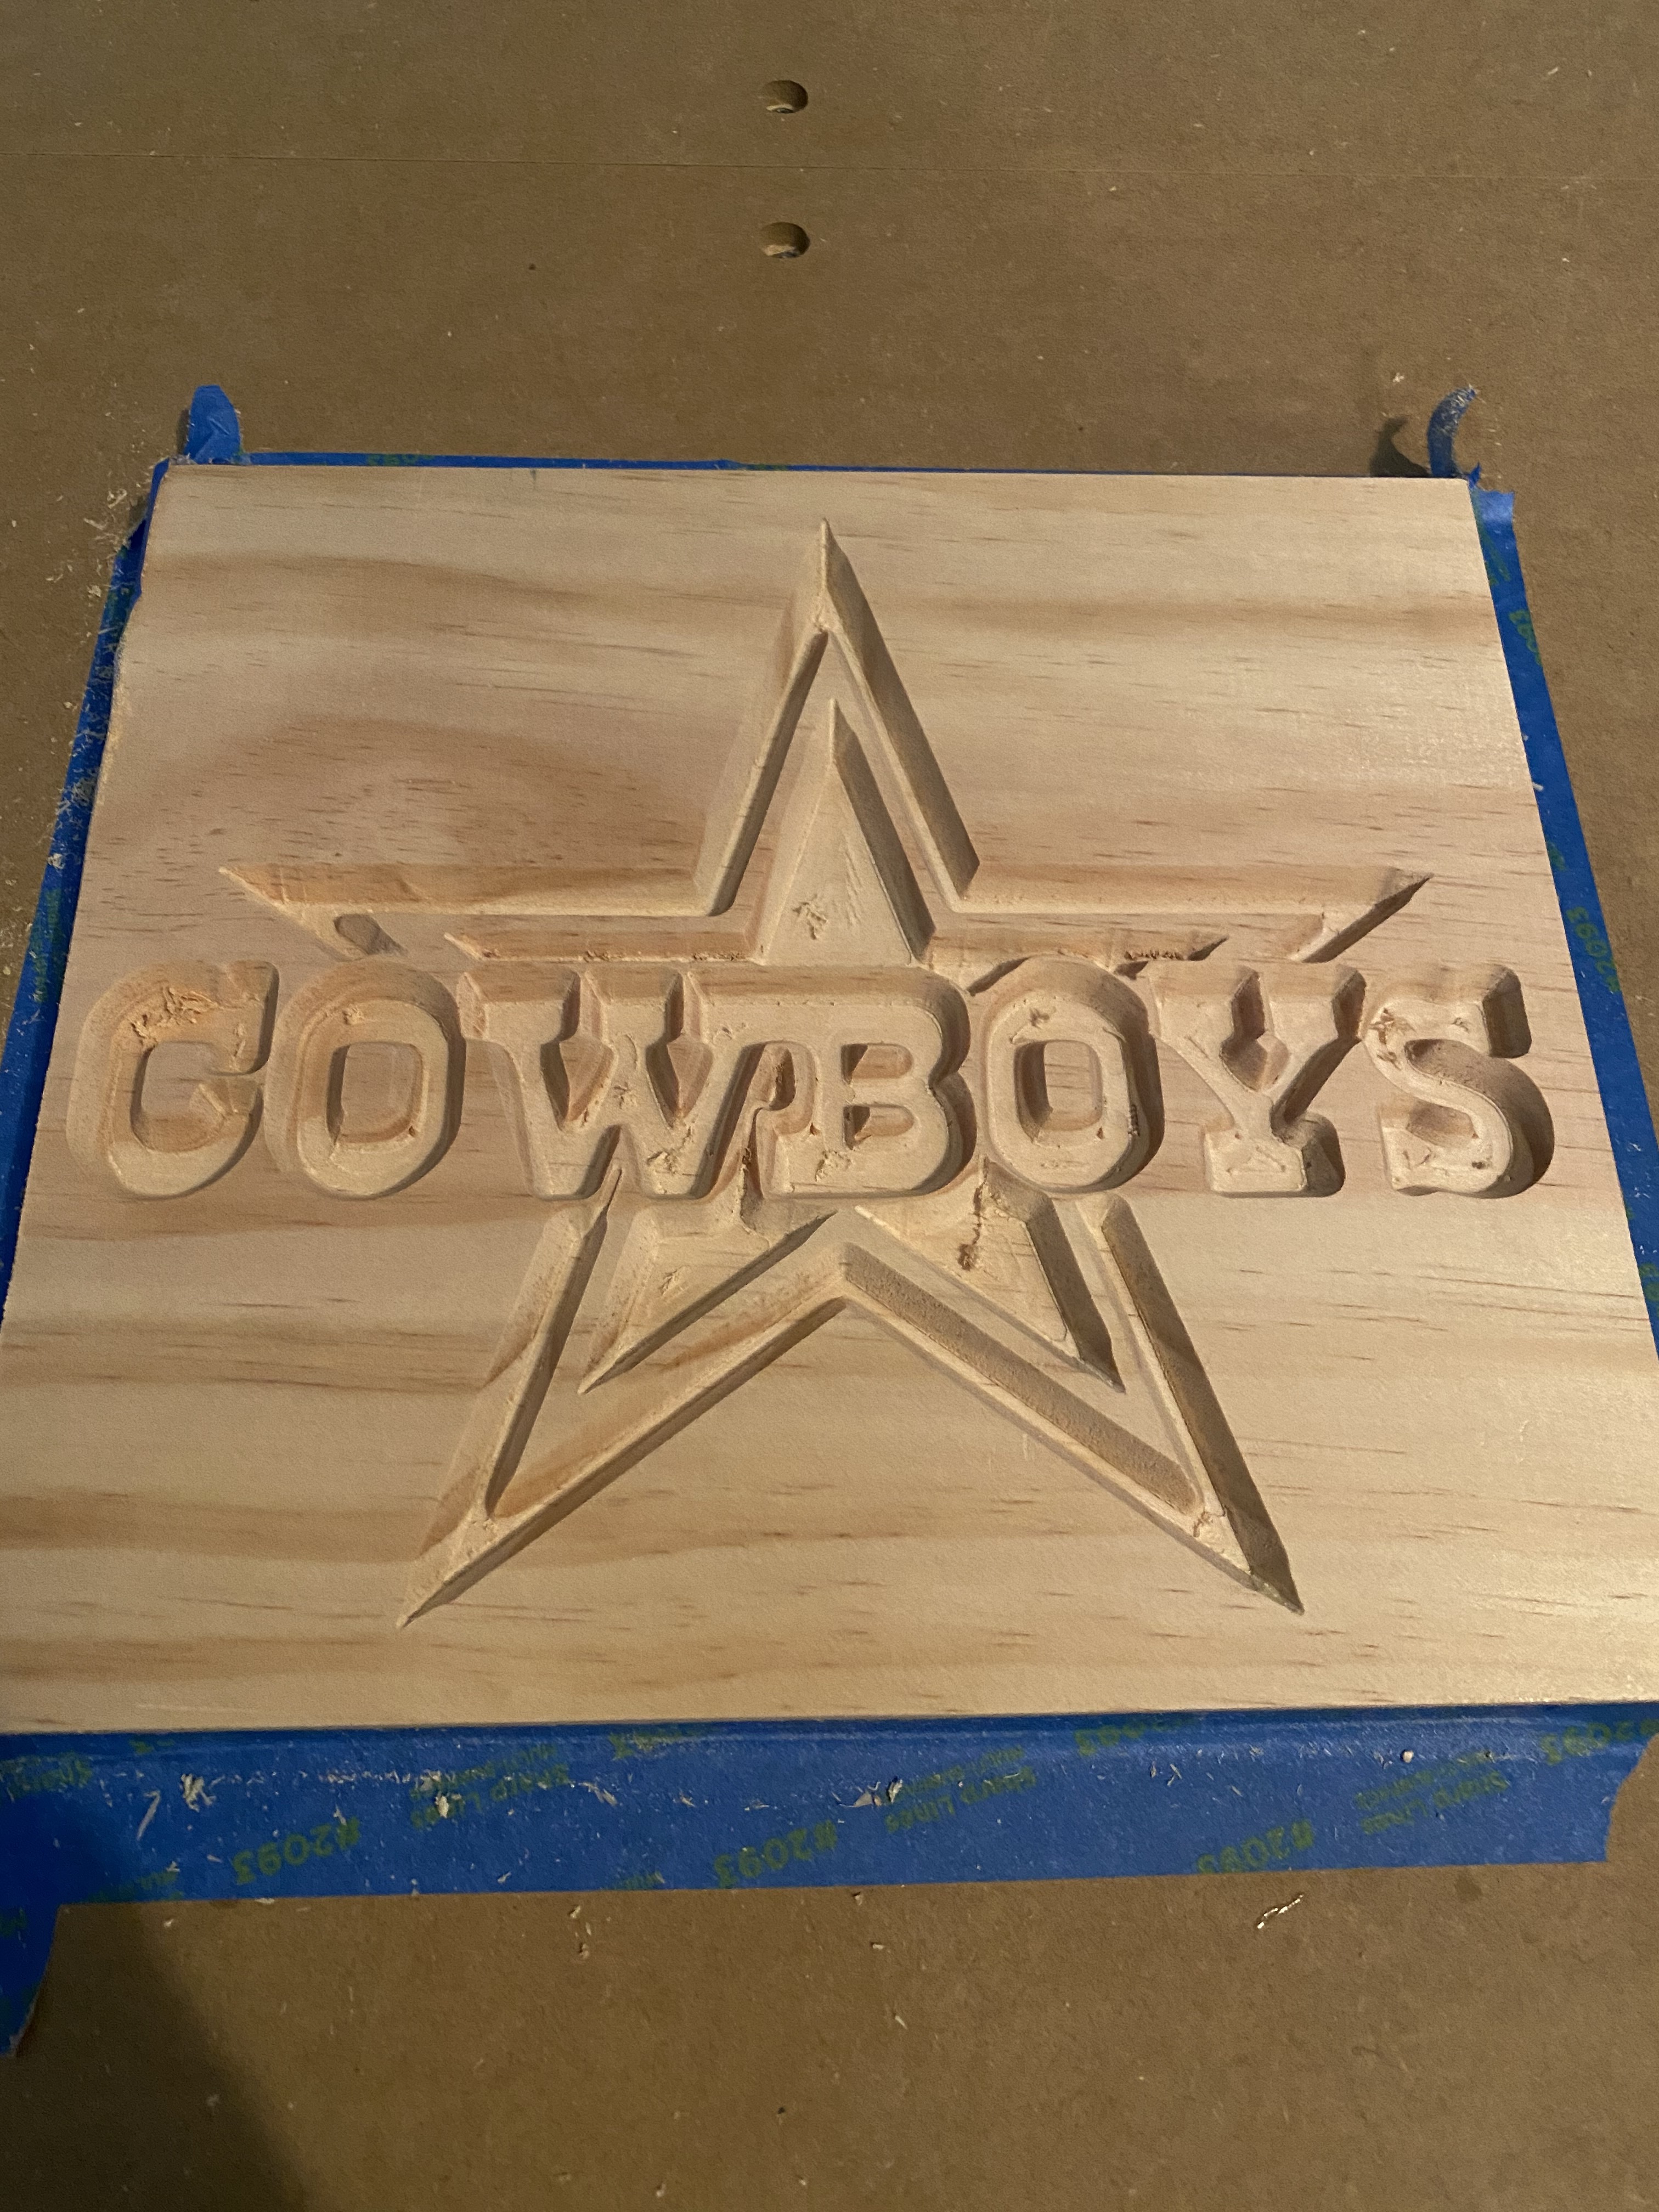
So I tried a new piece to see maybe if I did have the wrong 30 degree bit uploaded. I’m working on a Cowboys inlay using a 1/8th end mill and 60 degree V that seems to match the tool database. And it still came out like crap. The points of the stars are off and the V bit got way too close to the adjacent letters where a inlay simply wont work… Even though the simulation came out perfect. I know I am terrible with this stuff, but I can’t help but think this is a program issue.
Cowboys pocket practice save as.c2d (359.7 KB) Cowboys pocket practice.nc (303.5 KB)
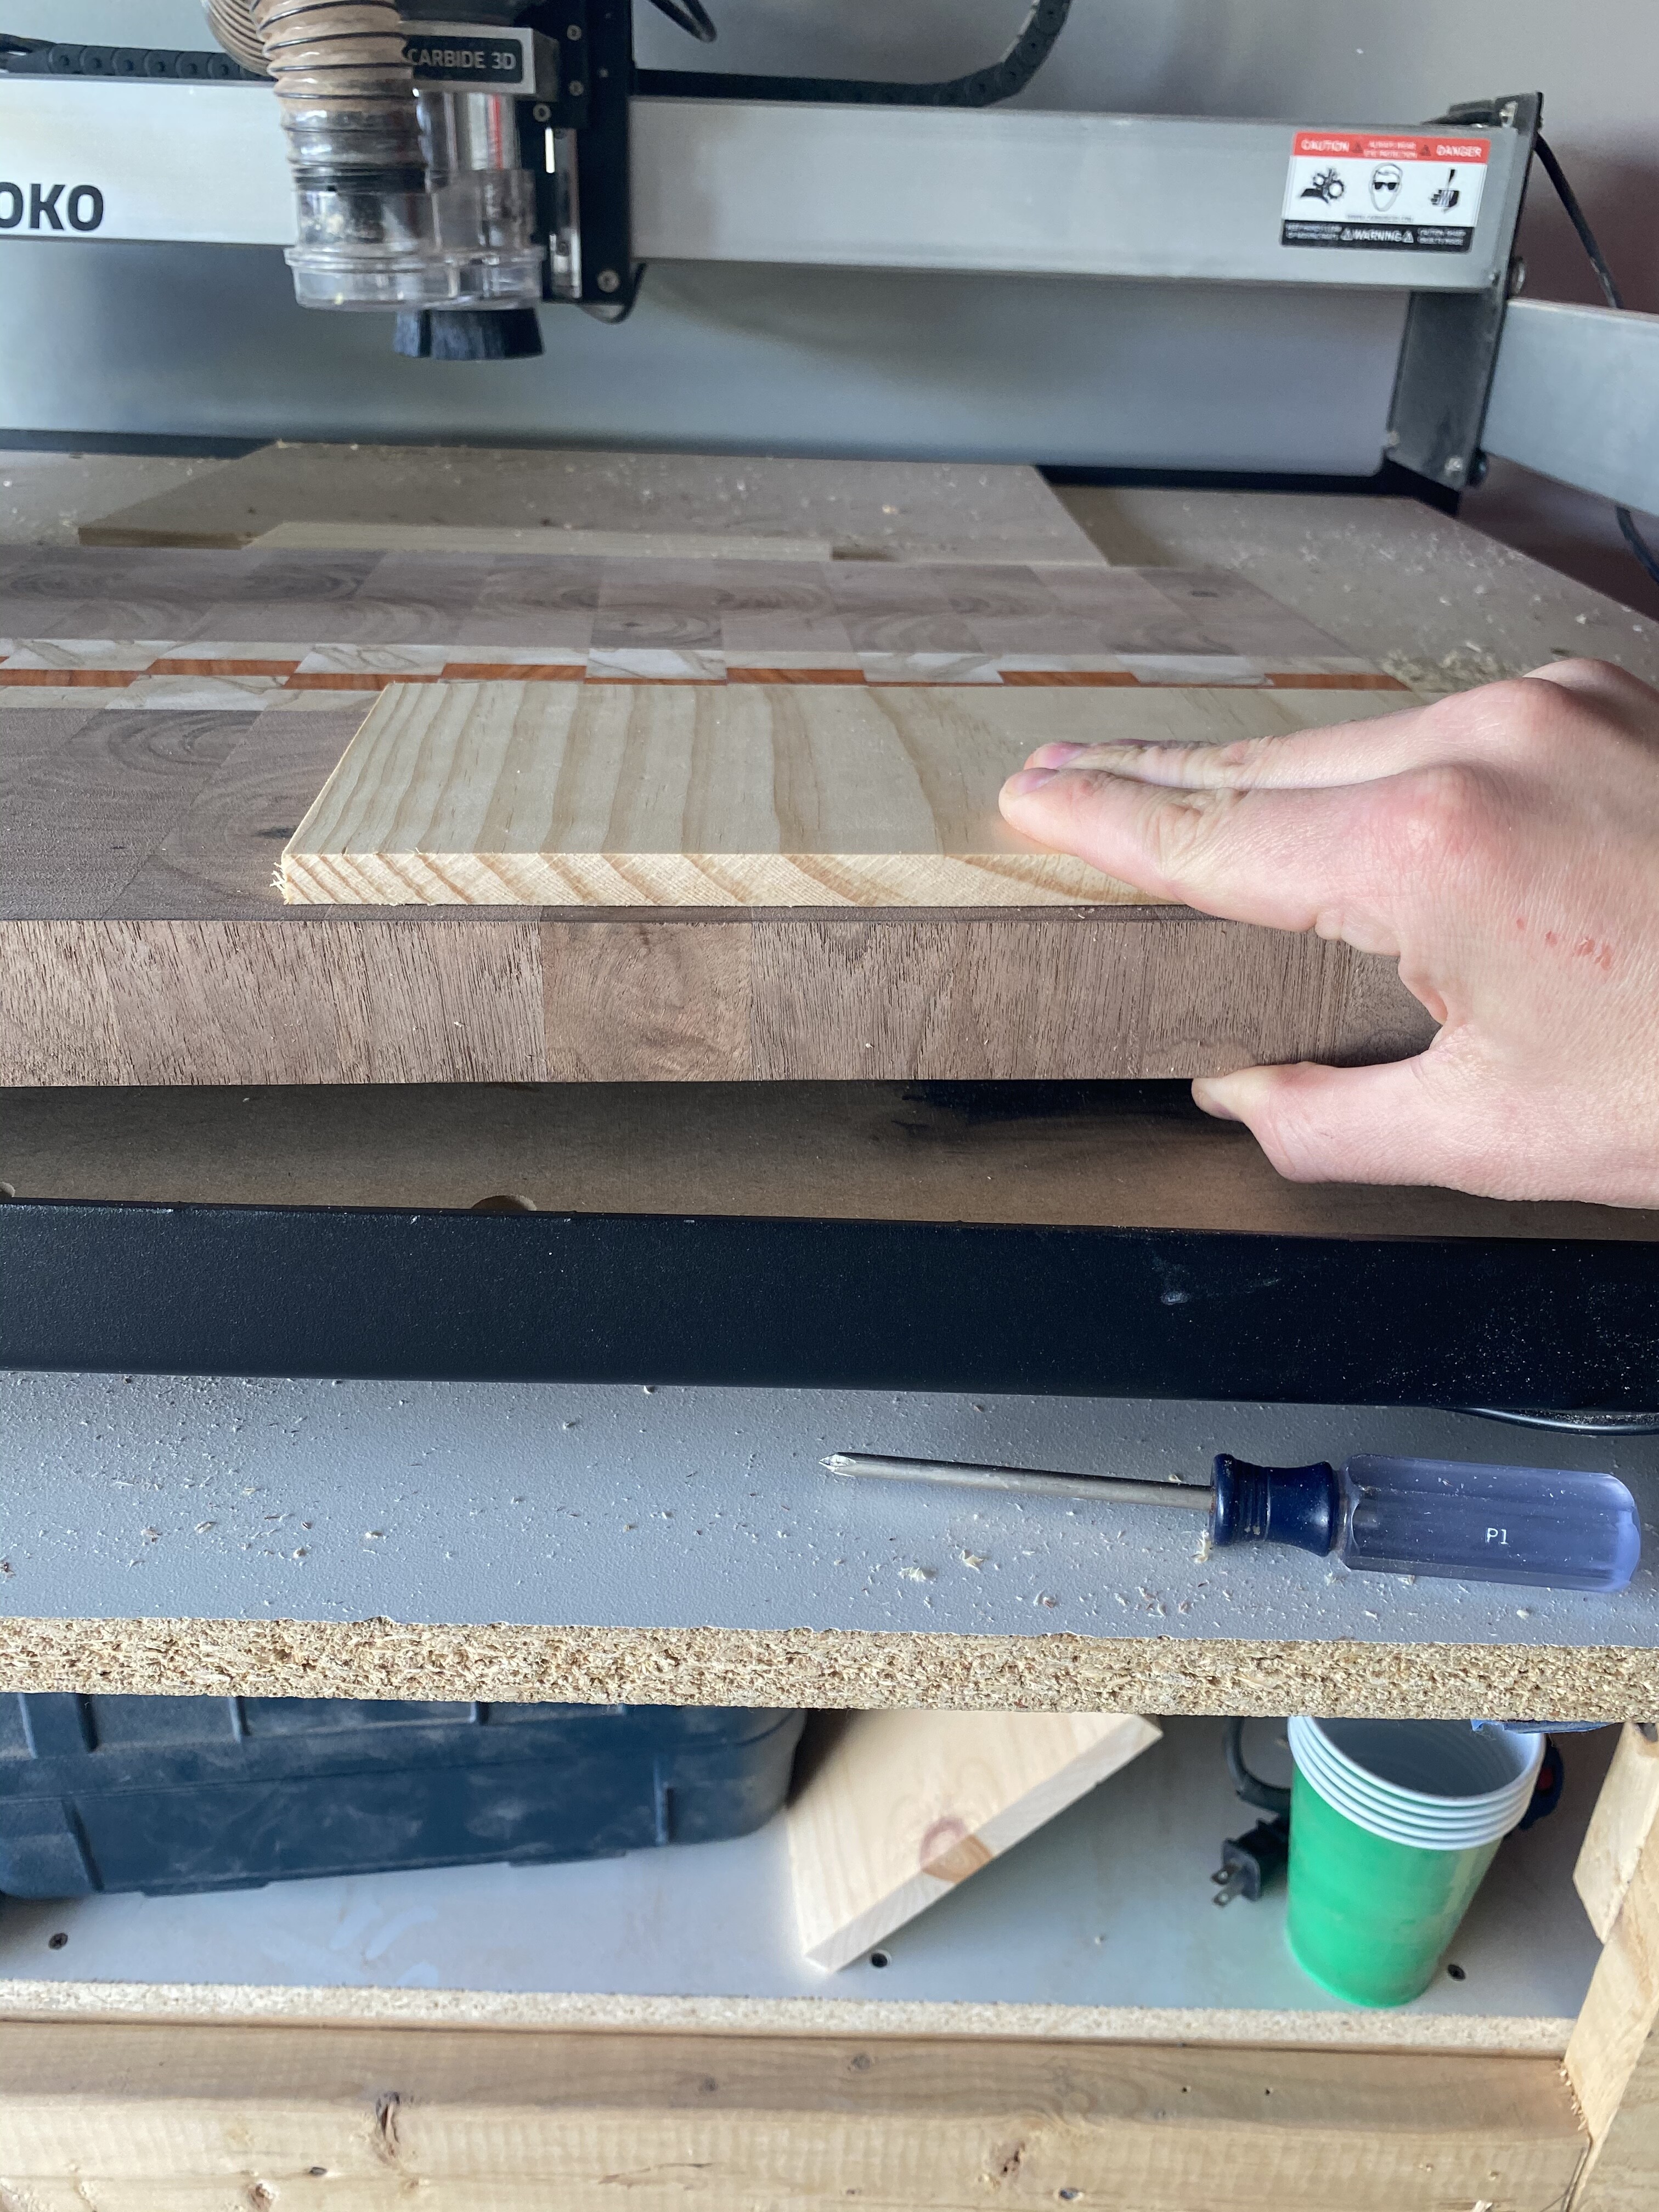
You seem to be cutting too deep. Do you have calipers that you can measure how deep the pocket is?
Possible issues:
Z axis not zero’d out on top of material correctly.
-
Have you verified that your z axis zero point is at the top of the material?
In carbide motion is the correct z-axis selected (ie belt, or HD or Z+) (p. 35)
https://docs.carbide3d.com/assembly/Z-plus/Z-Plus1_0.pdf
1 Like
Yes the z axis zero is at the top of my stock. I recently got a BitSetter, could that be the reason for all of this?
1 Like
The BitSetter is not likely to be your problem. Several people have given you explanations. But to simplify the pocket is one size. You make the plug slightly smaller so it will go deep enough into the pocket so you have some thickness below the surface but not bottom out in the pocket to give your excess glue some place to go. When you get the plug inserted into the pocket you will surface the part still above the surface of the stock. If you have a plug the exact size of the pocket the plug will not go down deep enough so when your surface the excess off you would have an extremely thin veneer of plug and you could smash it in. Both the pocket and plug have the same angle as your vee cutter so you want the plug to seat down into the pocket with a little room at the floor of the pocket for your excess glue to go. The only glue surface is the side of the plug and the pocket holding your plug in. So you cut the plug deeper than the pocket so you have the insertion of the plug far enough to hold in place with a cushion at the bottom for the glue. Hope this helps with the concept. Your plug is shrunk slightly from the pocket but deeper so when you insert it goes below the surface but not bottom out.
1 Like
When I first started out cutting inlays it was with a much less capable machine than my Shapeoko using a piece of free software named F-Engrave. You can read a little about it here: https://wiki.shapeoko.com/index.php/F-Engrave and get a copy here: https://www.scorchworks.com/Fengrave/fengrave.html
Try a few small geometric and text shapes on flat scrap wood to get the hang of what your doing with the settings and apply what you’ve learned to setting up CC advanced V Carve.
2 Likes