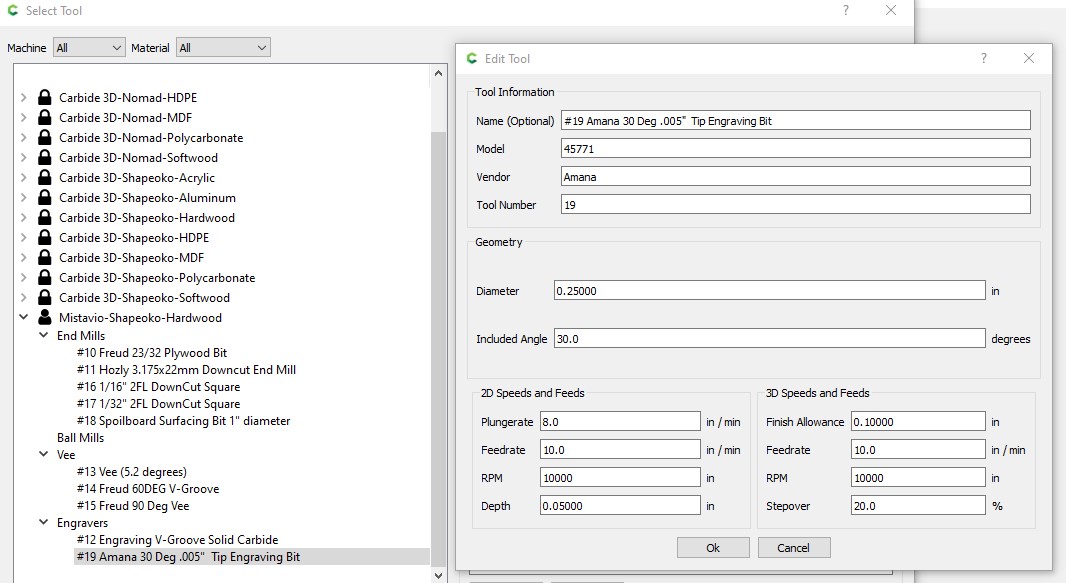
If you’re interested in numbering your cutting tools sequentially, I add the Tool Number to the Name (Optional) field so I can reference what number I’m on since CC auto populates Tool Number as 10. This way, I’m able to see what number I’m on once I expand the End Mills menu in the library.
The BitSetter operation to change the cutter won’t be prompted if you have different cutters that are listed as Tool Number 10 (or the any arbitrarily same number) in the same gcode file.
I appreciate it, I’ve done simple practice shapes on flat pine and got the depths that worked. But for whatever reason those same depths don’t work for lettering or logos, which is the most frustrating part
Have you verified your z zero yet or measured your cut depth?
There have been several posts on this forum ending up with incorrect z when they don’t use bit-setter correctly. I don’t own bitsetter, so I can’t give advice, but it is trivial to jog the machine to the material and verify that the z axis zero is where you think it should be.
Yes I zero my bit manually by jogging it over to the bottom left corner and just barely touching the tip of the bit to my stock, I click on run program, it then instructs me to install whatever bit that it starts with for advanced vcarve, (usually I already have the correct bit installed from getting everything zeroed) I install the bit and it brings it over to my BitSetter to get the correct height. I then turn the router on and it starts the cutting
I don’t have bitsetter, but maybe review this thread and see if you are using bitsetter correctly:
To me the pertinent question is after the machine probes bitsetter, is the z-axis zero still correct. Since it was working before and now it isn’t and you recently got bit-setter, it seems that is the most likely culprit. I think I saw in another thread that they always press change bit before zeroing to prevent errors. Otherwise I am stumped.
First, verify that the machine is mechanically sound — if you cut a negative and a positive are the dimensions reasonably close? If not, power up the machine, grab the collet nut/shaft of the router and try shifting it — does it move/deflect at all? If so, identify the cause (belt tension, pulley set screws, Delrin V wheel adjustment, other fastener loose) and address it.
Is the setup of your files consistent with how you are setting zero relative to the stock?
Are your tooling definitions consistent with the physical tool?
To eliminate the software, please check it in a 3rd party previewer such as CAMotics: https://camotics.org/
Verify that you are using up-to-date software versions including the firmware (Grbl 0.9 originally, currently 1.1 and that the versions match, Carbide Motion 3 with Grbl 0.9, CM4 or later with Grbl 1.1).
Review that the machine is properly assembled according to the assembly instructions and that everything checks out per the Machine Operating Checklist: Machine Operating Checklist - Carbide 3D
The software works by:
Carbide Create (or some other CAD tool) creating geometry
assigning toolpaths to the geometry
exporting toolpaths to .nc (G-Code) files (using the appropriate post processor, Carbide 3D Shapeoko for Carbide Create)
Carbide Motion connecting to the machine (and if need be sending the correct settings for both the machine and Grbl)
initializing (homing) it
moving the machine to the correct origin relative to the stock and setting zero there
sending the G-Code file
appropriately changing tools as prompted
The machine is able to move based on:
the controller interpreting the G-Code to make
impulses from the stepper driver — usually if they don’t work right there are horrible noises
sent through the wiring — check the connections and wiring — if you or a friend have a multimeter use it to check for continuity
received by the stepper motor — these almost never go bad
which rotates the motor shaft — check that this is true and not bent
which rotates the pulley — check that it has two set screws at least one of which is on flats and that they are secure: Checking Pulley Set Screws - Carbide 3D
which pushes/pulls on the belt (or screw) — make sure that the belts track true through both the pulleys and the idlers and are in good condition, secure at appropriate points and well tensioned (see the assembly instructions)
which moves the machine along the V rails guided by V wheels (or linear rails for a Pro) — make sure that the latter are properly adjusted Tightening Eccentric Nuts - Carbide 3D and the former clean and in good shape, lubricate rails as necessary
The machine then cuts based on:
the trim router being securely in place
having an endmill properly installed in a clean and well-fitting collet properly tightened
being moved along by the toolpaths without running off the rails and running into a limit of motion along any axis or any workholding or physical obstruction such as a cord, dust collection, &c.
which matches the toolpaths in the G-Code (which brings us full circle)
For electronic accessories, check the connectors and the wiring along the entire length and that they are properly configured and enabled.
I can understand you are frustrated. Do not give up. DId you know that it took over 1000 tries for Thomas Edison to invent the light bulb. If Thomas Edison had given up you might not be reading this post right now. Making a vcarve inlay is not the greatest feat of mankind but it is important that you master this and get it right. All success comes from failure. No one ever learned very much from success but they do learn from failure. You will learn from your failure and when successful you will remember it and help you along your way with the CNC machining and believe it or not with life. Stick with it and keep trying until you get it right. Maybe you need to set it aside for a day or two but come back and become successful.
Recently someone posted the 70 Maxims of Mercenaries. #70 was
Failure is not an option - it is mandatory. The option is whether or not to let failure be the last
thing you do.
For a Mercenary the last failure may be death but for us it simply a trash can full of wood scraps and knowledge you picked up about your craft.
So I cut in half the cowboys logo that I previously posted and although I had the depth set at .20 for the pocket, its reading .30 on my digital calipers. The same goes for my “Goerss” plug that I originally posted about is .10 deeper then I set in carbide create. So now that that is figured out, what could be causing that issue?
I’m pretty positive I am setting zero correctly, I am just barely touching the top of the material in the bottom left corner so I don’t believe thats the issue, along with the material is 100% flat… As for endmill getting pulled out and backlash in the lead screw I’m not sure what that means.
I think the issue is either machine configured incorrectly for z axis or bit setter issue. Looking at the picture the end mill and vcarve sections seem to line up and look correct. With a bit slipping you would see differences between sections and between bits.
Bit setter:
Whenever changing bits you need to use change bit button even if you are not in middle of program. Easiest way around this is get in habit of pressing change bit before ever setting zero.
Incorrect Z-axis:
The different z-axis types move a different amount per pulse from the stepper motors. If you have the belt drive z-axis but incorrectly selected Z-plus your z movement will be incorrect.
To verify bit setter, check the Z zero location after running the program.
Sorry all that is confusing… I agree a bit isn’t slipping, it’s too clean and I would definitely notice that… But I don’t see a change bit button, whenever carbide is done with the first bit it automatically brings it to the front to instruct me to change bits… And my Z axis isn’t driven by a belt but I am not sure if I have z-plus selected or not.
And how do I go about checking a Z zero location once the program is finished?
If you haven’t upgraded your axis it will be a “Z-Plus”. If you haven’t done it, you need to make sure that Carbide Motion’s “Settings” page shows that you have a Z-Plus, and you need to send the configuration to the machine after selecting it.
You can zero after the job by using the Jog function and making sure that if you return to the previous X,Y and Z zero, you are where you started.