So I don’t see how my bitsetter would cause an issue. I do everything that video talks about. If I am manually setting my X,Y and Z before the job, it tells me to install a bit then takes it over to my bitsetter which then goes off my manually set Z, and then the job starts. What I am struggling to understand is having to manually check the the X,Y, and Z after the job
These are the settings in Carbide Motion.
Make sure you’ve updated to the very latest version. You’ll then see three tabs for settings. Check each of those carefully and you’ll find a dropdown list with Shapeoko 3 - Z-Plus on it.
You don’t have to manually check the X,Y or Z after the job. The idea here is to help you debug your situation and make sure that after the job nothing has moved incorrectly.
If you can set your zeros, then you can check your zeros. It’s exactly the same procedure.
So, after the job has run, if you use the rapid position option and tell it to go to the previous X,Y zero, and then the Z+6mm zero, then jog 6mm downwards in Z, the tip of the tool should be at your zero point. You are only doing this now to verify that your machine hasn’t slipped.
So I just completed a job and jogged my router over to the X,Y and Z I had set. -0.00/ 0.00/ -0.00 and it lined up exactly in the bottom left corner where I started. Correct?
Is the 6MM supposed to line up with my bitsetter or something?
The 6mm is a “safety gap” so when you use this rapid positioning function there’s less chance of you ramming the bit into the surface of the stock.
Since your zero is okay, the only thing I can think of you to check is the type of z-axis, and confirm that you have sent the machine configuration from Carbide Motion to the machine.
So I want to select Z-plus?
You want to select the correct Z-Axis for your machine, which - if you bought it recently and have not purchased a HDZ - is a Z-Plus.
Edited for pictures:
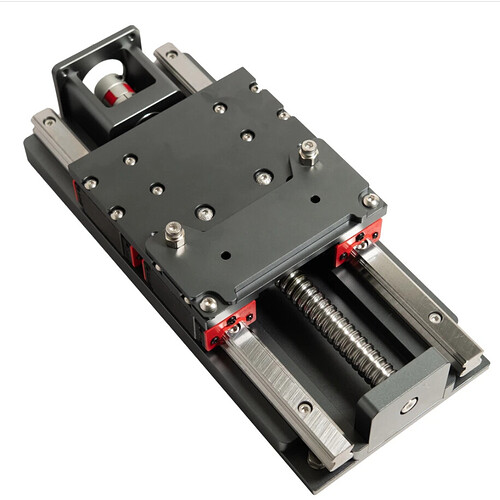
This is a Z-Plus:
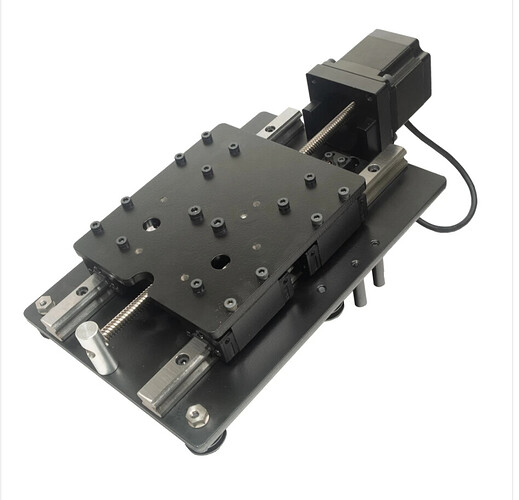
This is a HD-Z:
Ok, thank you so much. That was the issue. I just cut a practice circle at a .10 depth and it is reading .10 on my calipers now… Hopefully this was the only issue with my plug… Thanks again!!
Excellent… it’s great that you got there in the end!
The theory here is that each different type of axis travels a slightly different distance for each electrical pulse it receives. By sending the configuration, the controller knows how many physical pulses to give for each distance-based movement request.
You aren’t alone in having this issue. A new Shapeoko won’t work properly after you’ve assembled it unless you know to go into the settings and make particular changes. It might be good for the Carbide Motion developers to create a “Setup” procedure that gets run automatically on a fresh install.
Yes that makes sense. It also doesn’t help that I didn’t have my Motion updated, only my Create. So now my settings look how they should, thanks again for real can’t say it enough, this has been stressing me out for weeks now. Praying these inlays fit right now
This topic was automatically closed 30 days after the last reply. New replies are no longer allowed.

