I’ve started my journey on wooden inlays in carbide create and its by far the hardest thing I’ve ever had to do pertaining to wood working. Can anyone tell me why a start depth of 0.0 and finish depth of .20 for my pocket and a start depth of 0.05 and finish depth of .20 for my plug doesn’t work with lettering? But works for simpler shapes like a circle. Tempted to get Vcarve because it seems more suitable to more complex jobs along with there being more youtube videos. Any input would be appreciated!
Could you share your file? My guess is that you want to make your start depth lower since that controls how much overlap your inlays have in the wood. With your settings I think you are machining 0.05 overlap when you should really do more overlap. With the inlays I did this weekend I used settings of 0.15 for the pocket and a start depth of 0.1 and finish depth of 0.1. This resulted in a glue gap of 0.05 for the inlays that bottomed out and for the text, 0 glue gap since the vbit did not extend 0.1" into the wood for those narrow features. (I used a 60 degree bit). Which degree bit were you using? I use vcarve, but I think your issues are with setting / bits and not software in this case.
Well I really just don’t understand what start depth does to be honest. I was going off some Youtube videos and messed around with some numbers. To me, a start depth of .1 would make the plug even smaller, giving me the same issue I have now, where it is lose inside the pocket. Could be wrong but I’ve tried many different start depths and this was the only one that worked, until I used it for lettering. I was using a 30 degree v bit.
goerss finale female save as.c2d (444.6 KB)
Goerss male final.c2d (451.0 KB)
2 Likes
Those numbers seem off. I just did a maple inlay in walnut with lettering and I used 0.2" flat depth for the pocket. Then I did start depth 0.18 flat depth 0.02 for the plug. This was with a 60 degree v bit.
1 Like
Thanks for breaking that down for me!
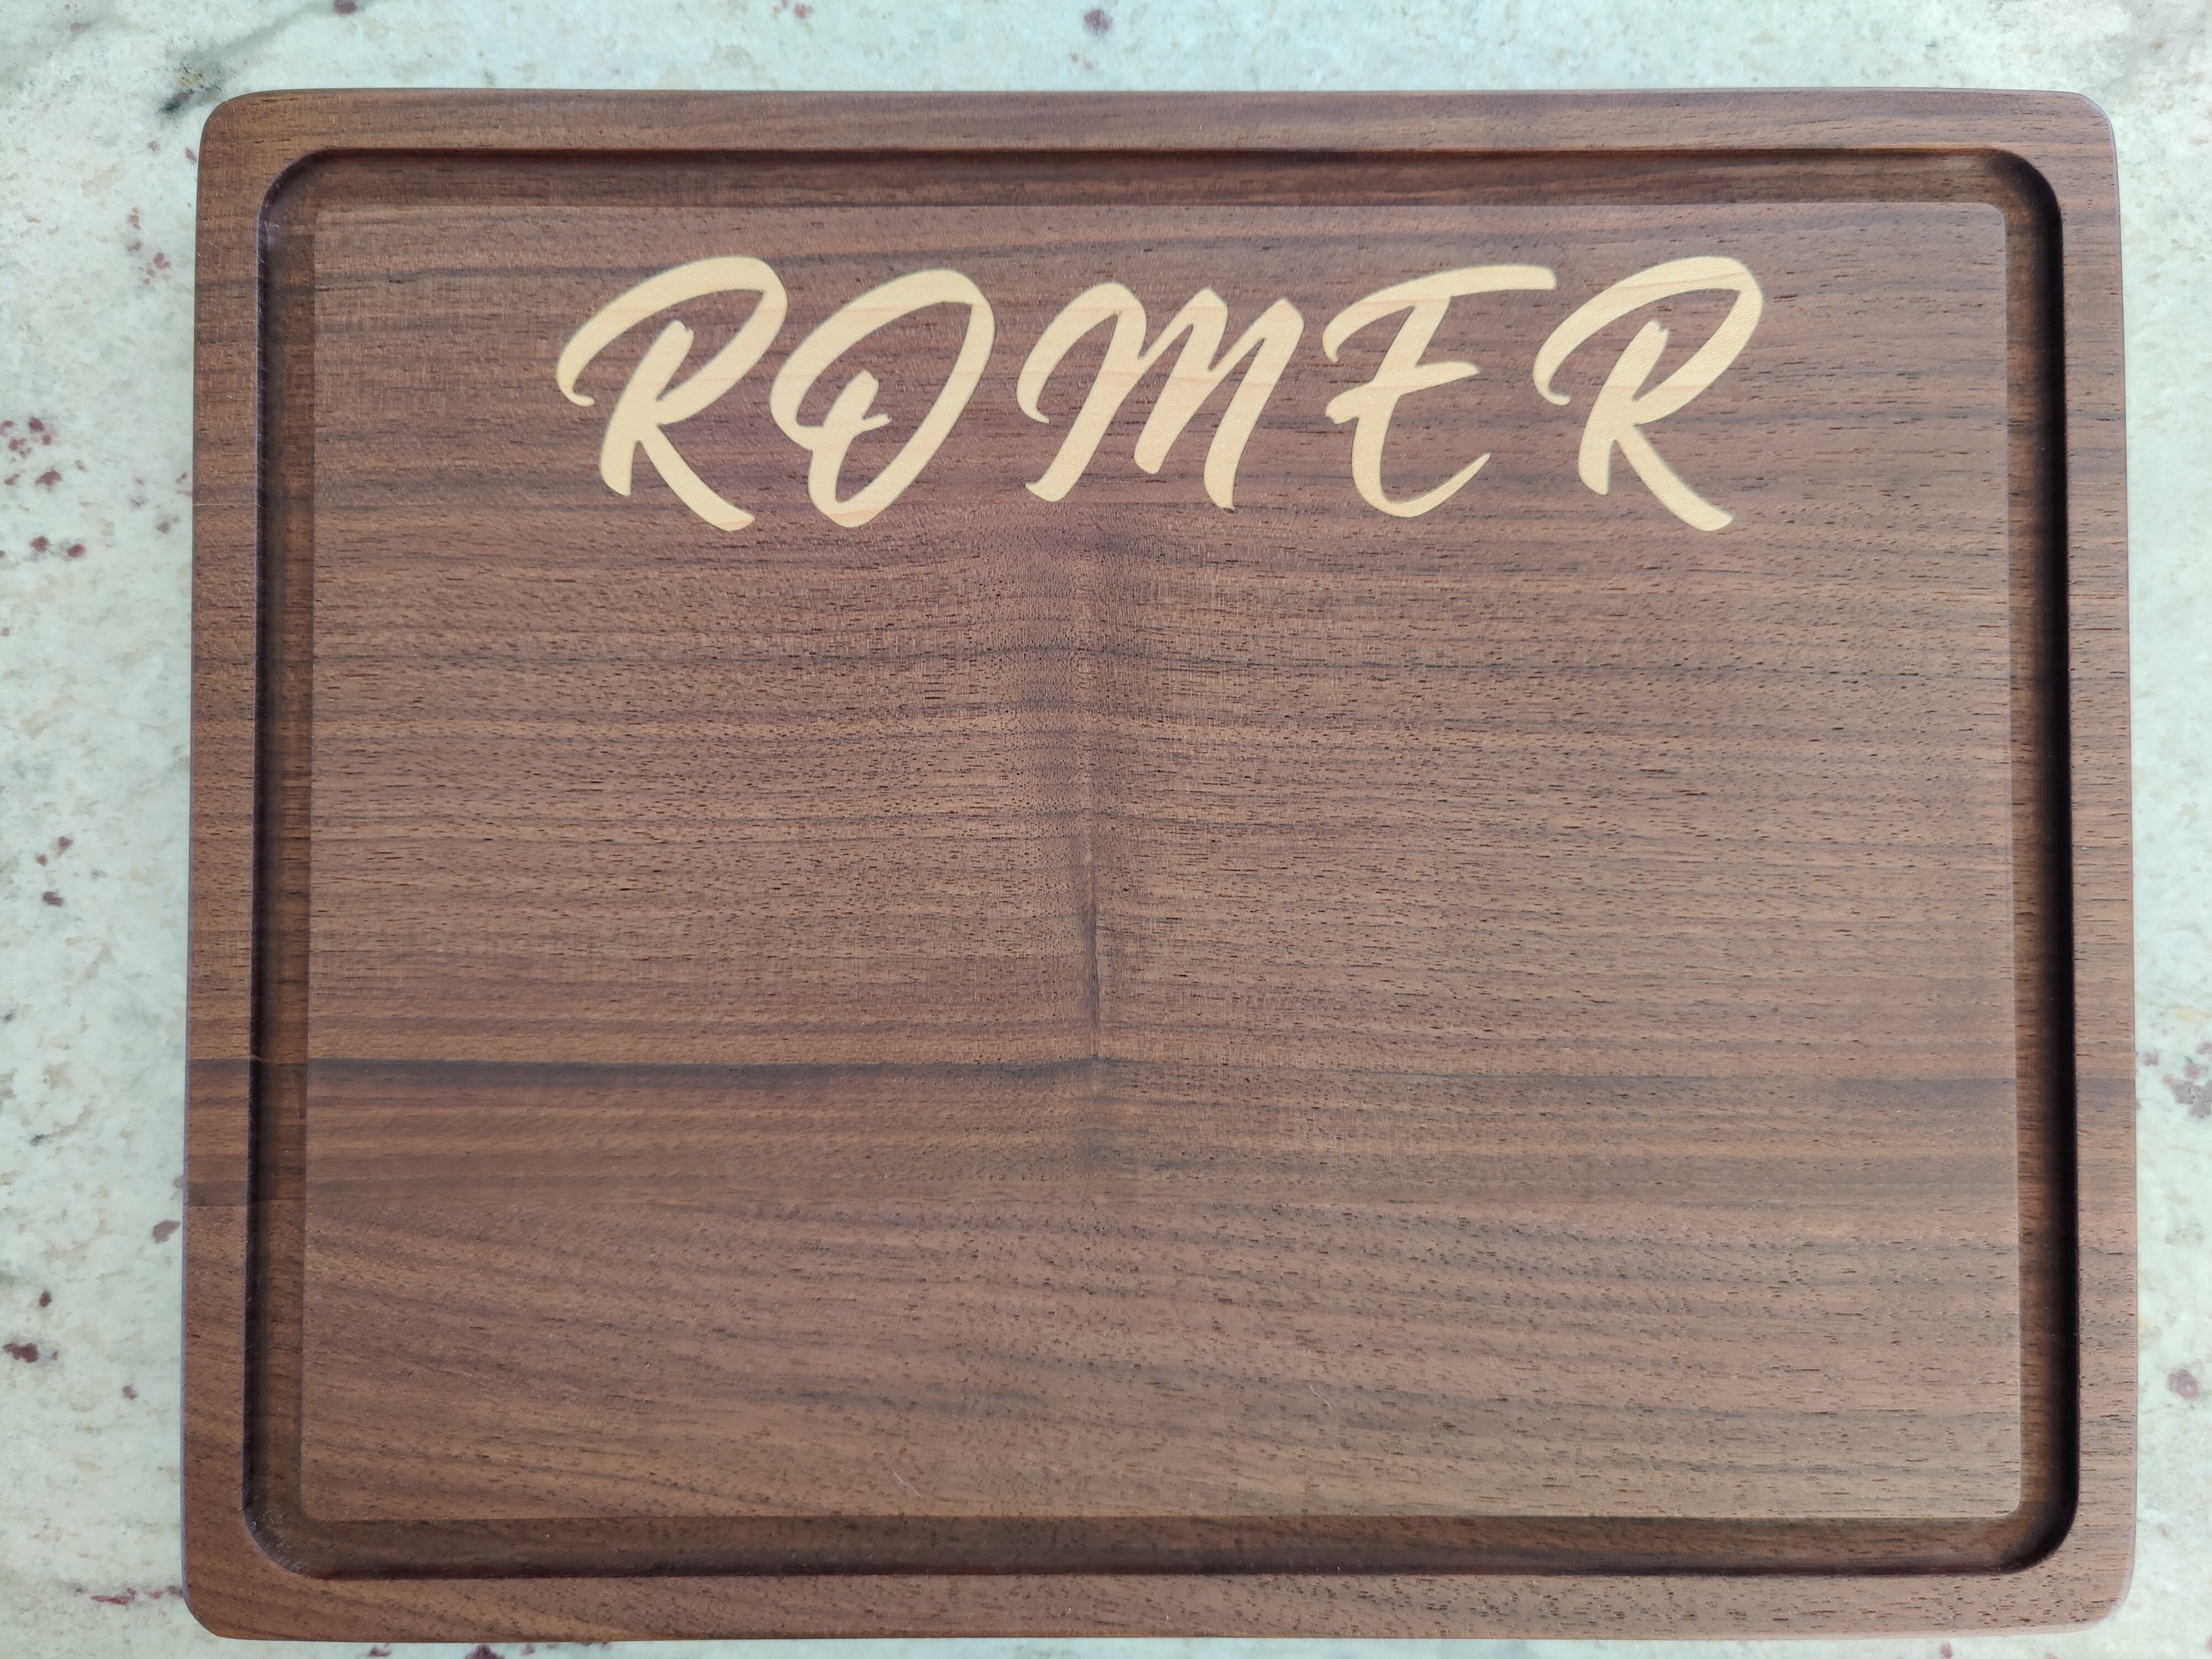
So yeah, what I’m getting out of all this is that my start depth isn’t nearly deep enough. I’ll try a .18 for my start depth tomorrow. So being that you did .18 start depth and .02 flat, did you have a gap on top for a sawblade? Or was it completely flush with your board? Looks great by the way.
Thanks. It wasn’t completely flush, but there wasn’t enough room for a blade - not that my bandsaw could handle 12" anyway. But since I have a CNC I just run a surfacing pocket to get it close, then sand with 40 grit to get the rest.
Right, I’m just trying to figure out which number to adjust (start or flat depth) in order to get that gap, more so for that I know for sure the plug is fitting snug in the pocket.
Saw Gap = Male Max Depth - Male Start Depth
1 Like
You mean Male start depth - male max depth right? Since Start depths are larger than the max depth.
Max depth as measured from the surface of stock. As in my diagrams from the post linked above.
If the maximum depth is just measured down FROM the start depth, your Max depth setting is equal to the gap.
2 Likes
I think the geometry around it is what doesn’t make sense to me… Being that a .18 plug will fit snug into a .20 pocket. But a .20 plug won’t fit snug into a .20 pocket.
I’m going to mess with it more this evening hopefully it will click
In theory a .2 plug will fit tightly in a .2 pocket – in theory. IF (a big if) everything was machined perfectly with no little bumps or anything to get in the way. But, in order to have your inlay actually STAY there, you need glue. Glue takes space, maybe not much space, but space. So if you had a .2 plug and a .2 pocket, then added glue to that pocket - all of a sudden the plug can’t go as deep as it should. So you need to machine for that space the glue takes - hence the .2 pocket with a .18 plug allows .02 for glue. Glue probably doesn’t require .02 but it also allows more room to REALLY SQUEEZE the parts together to get the tightest fit especially with the smaller v-bit details.
2 Likes
So yea that makes sense and that’s what I assume would happen yesterday when I did a .2 pocket and .2 plug with a start depth of .05. But instead then entire plug was loose and it wasn’t touching the bottom of the pocket like you’re explaining.
You’re leaving 0.15" of your 0.20" pocket empty doing it that way. Small details might not even reach the female side at that low of a start depth.
So you’re saying only .05 of the .20 plug is going in the pocket?
do the diagrams in Using "Advanced VCarve" in Carbide Create 461 to make Inlays - #5 by fenrus help draw the dimensions ?
2 Likes
Yes. In addition to @fenrus diagrams, look at the diagrams and post in the link I shared above