Found some models on the internet and worked with a friend to modify them into a millable telecaster copy.
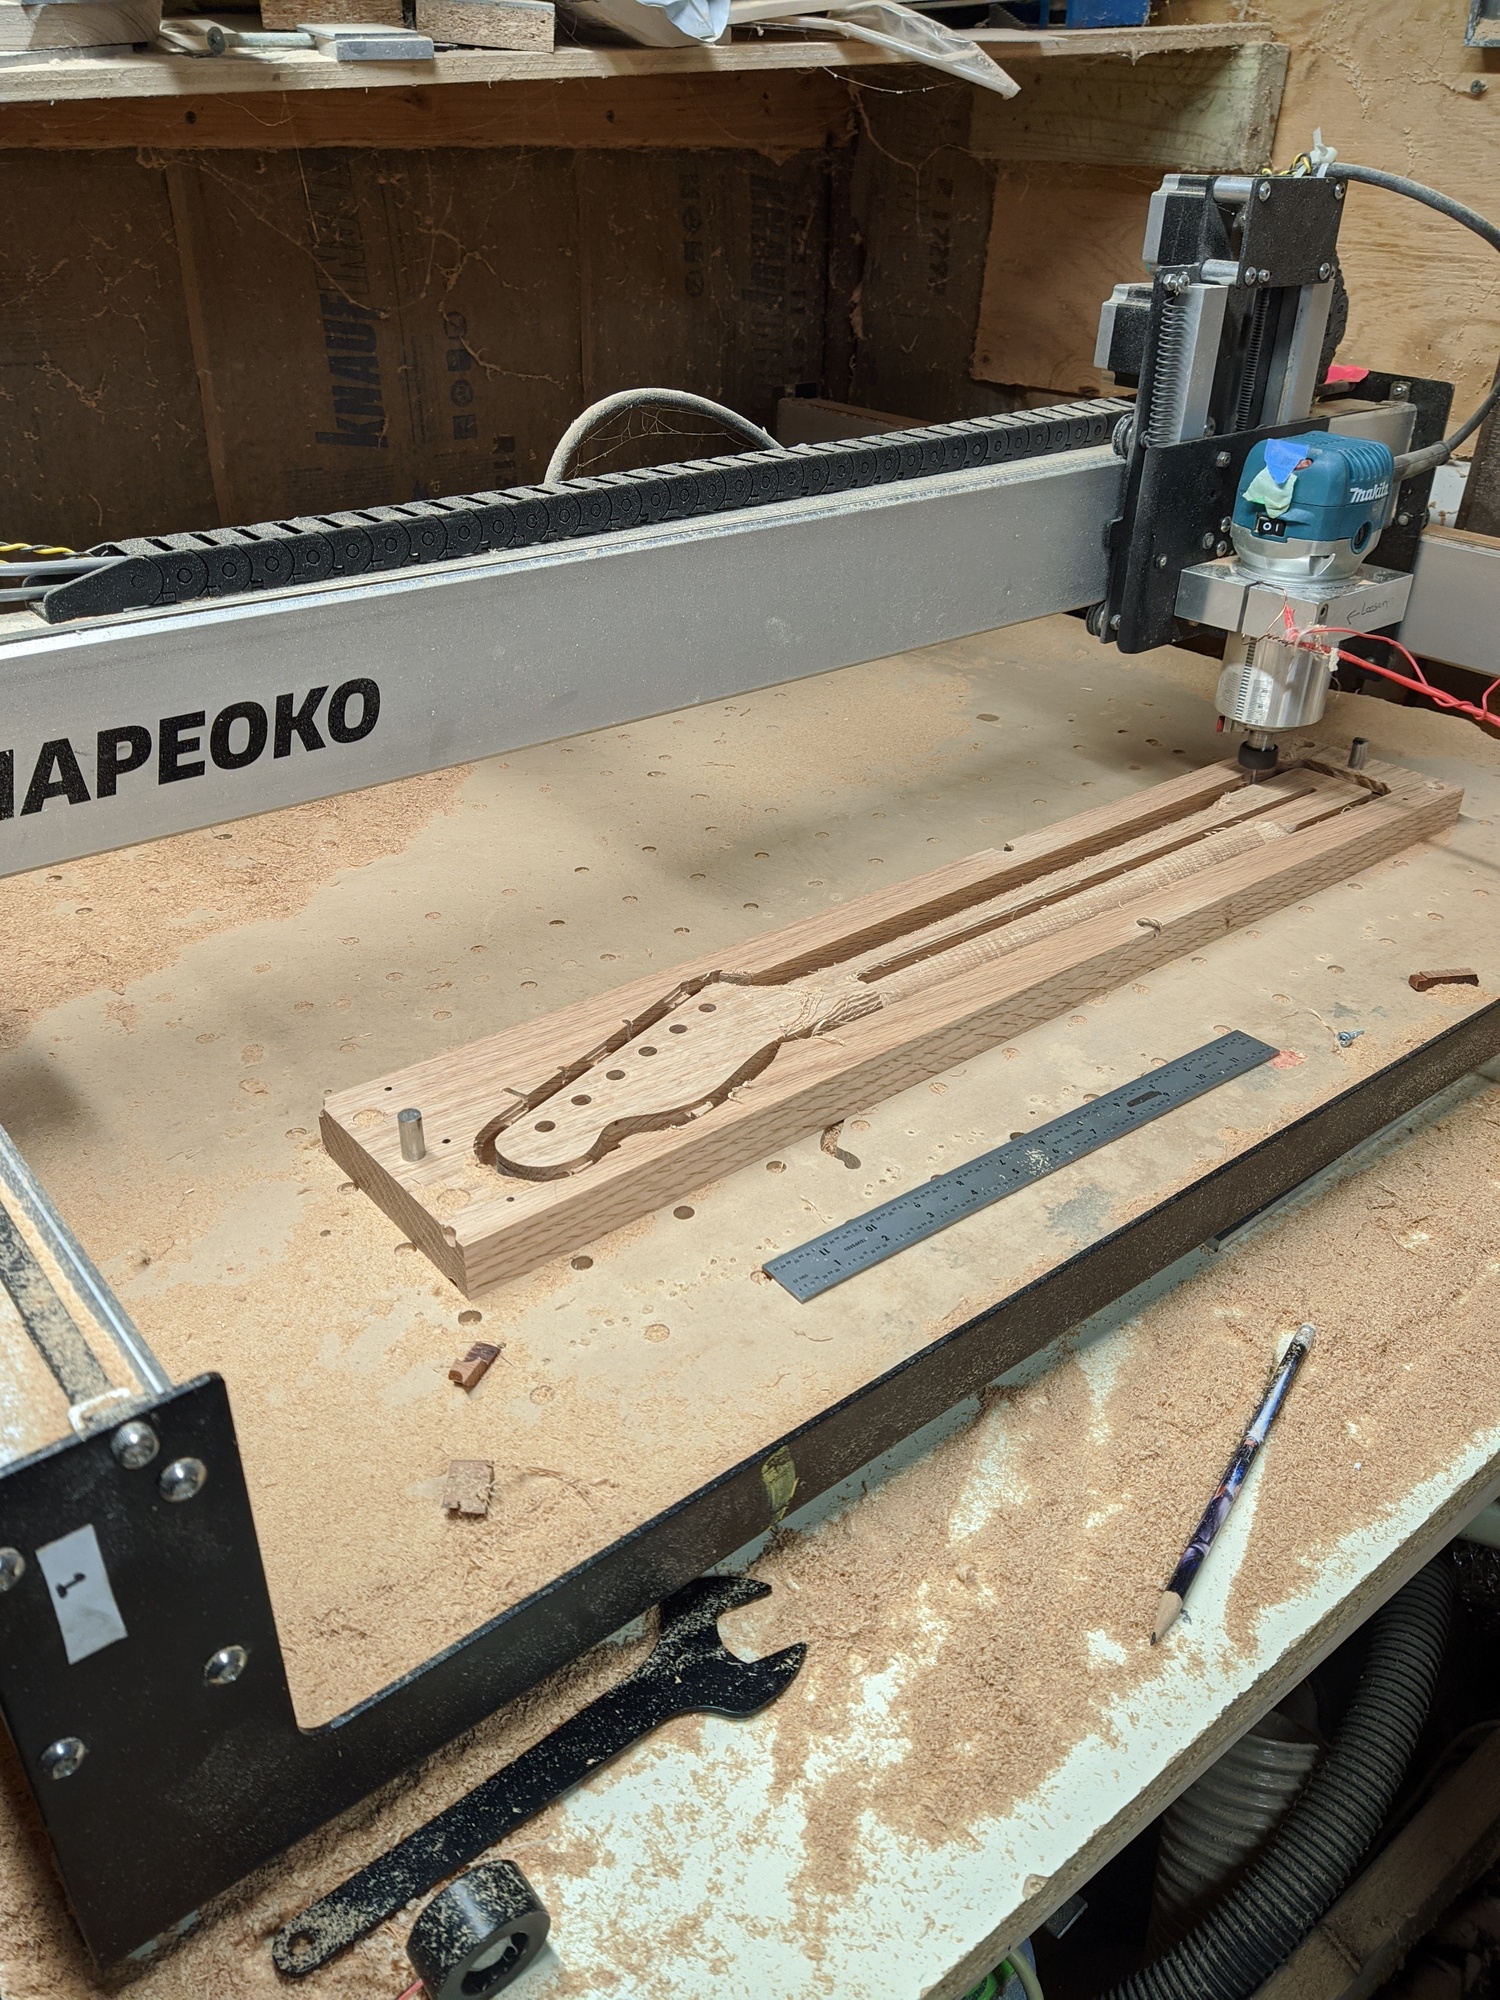
The neck took 5 tries because I had issues with origin repeatability.
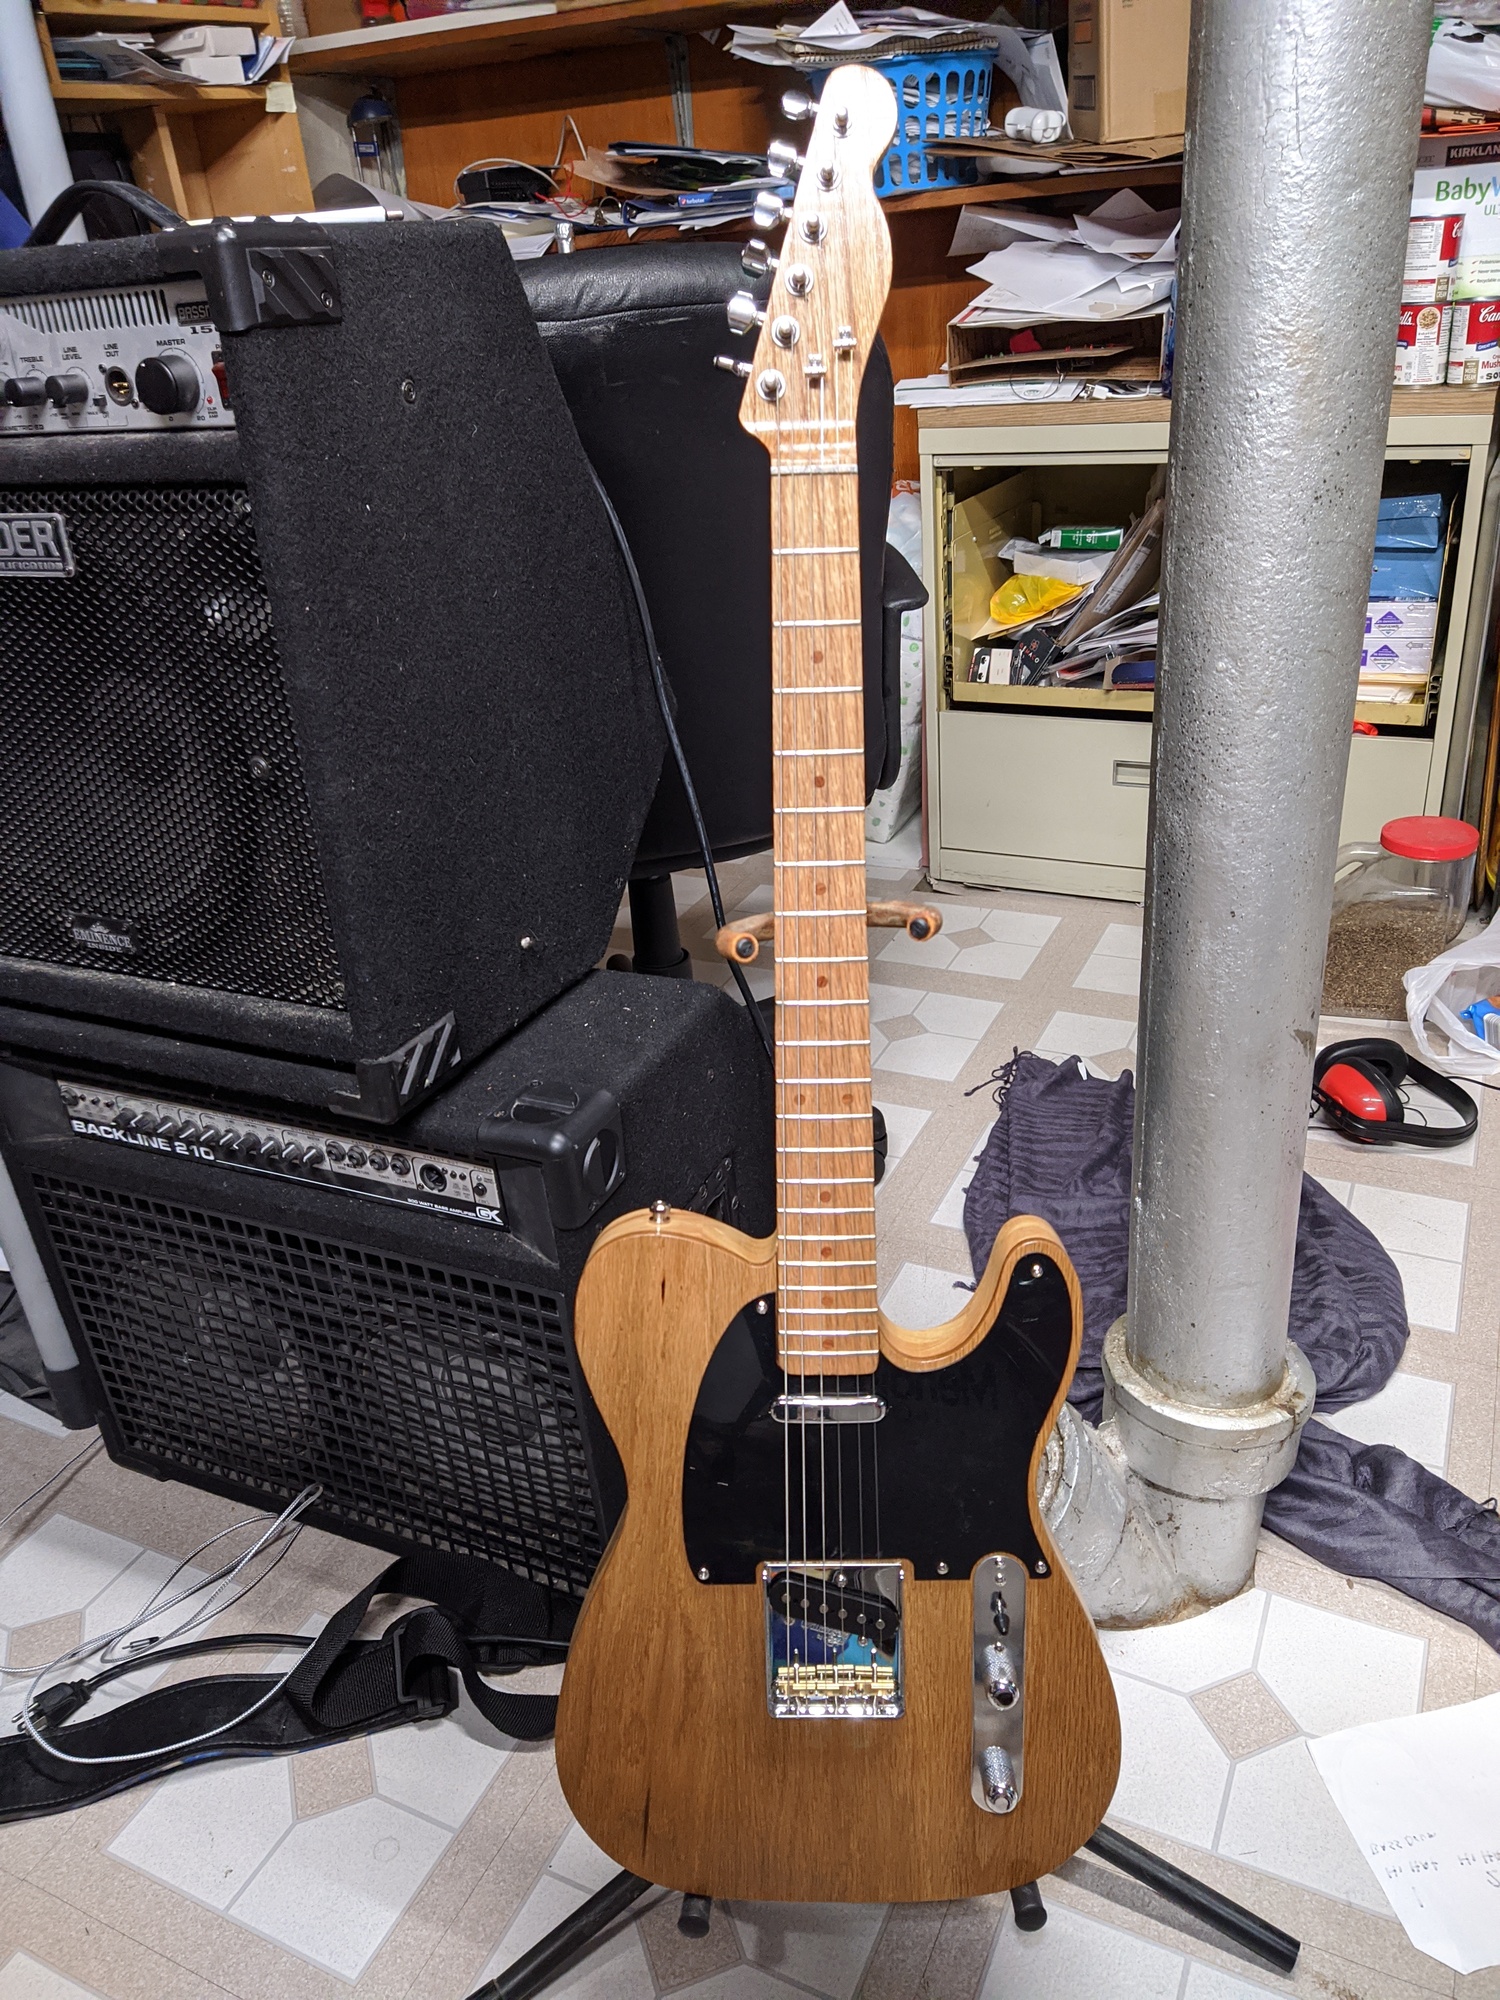
The neck is some oak handrails I garbage picked. The body is a kitchen table I garbage picked with some oak laminated on top.
I milled the neck plate and the control plate from aluminum. I carved the nut by hand from corian and did all the fret work myself. It plays pretty well, but needs some more setup work.
Amazing work!!! I am hoping to build some electric bodies and purchase necks to get into guitar building for myself and a few friends. I’m curious what you used for CAD and CAM to do the design work. I am mid-level with V-CARVE but am thinking I need to get into Fusion 360 to get the design precision I believe I need to do electric guitars. My goal is a Tele with a maple neck and a natural gently stained body.
This was from a neck model I found online and a friend modified in fusion360 to make it millable. We found most of the stuff out there was not ready for CNC. I milled the fret slots on mine, so that is something most of the models didn’t have.
The body is no problem since it is all 2d. My strings go through the bridge (not body) so it is single sided too.
I’m not really familiar with vcarve, but I’ve seen tons of threads of people using it to make necks, so you should be good there.
Using CNC to make it felt like cheating, until I had to do a fret install/leveling/crowning.
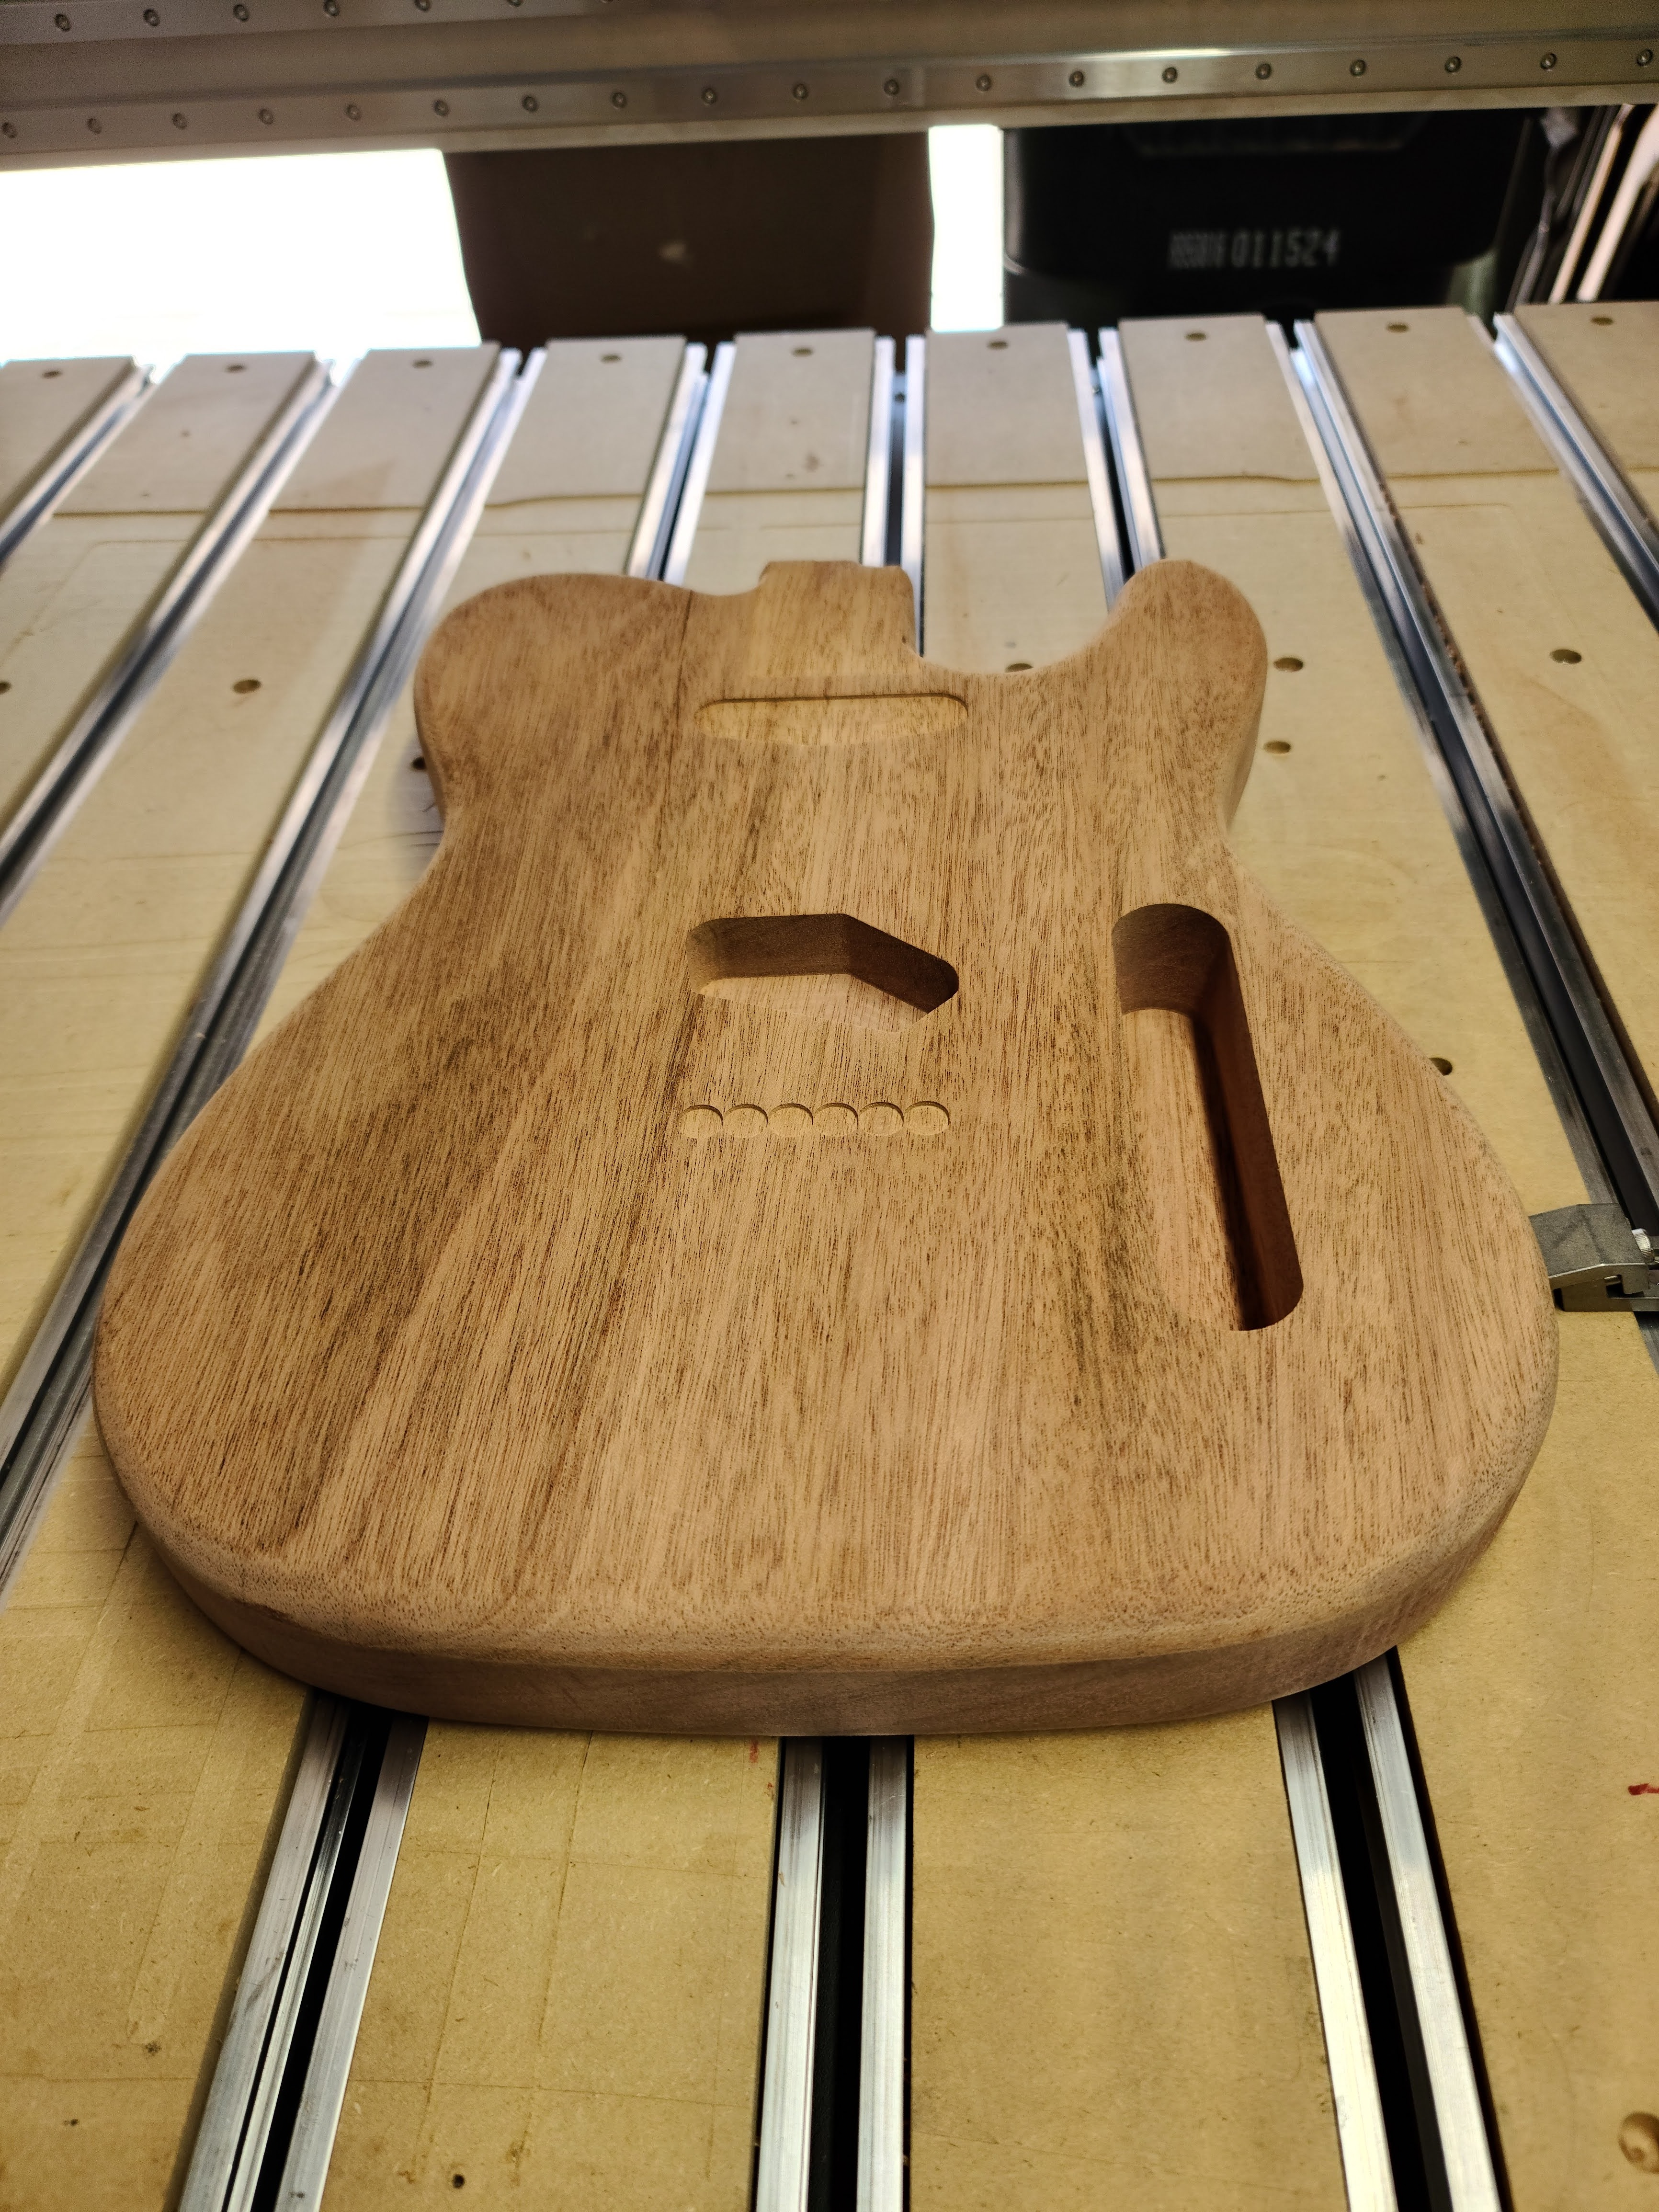
This is the body file I used in easel. I don’t remember where I got it to give credit, but I didn’t design it. One note, the neck pickup cavity was NOT deep enough. I had to reroute about another 1/4 deep after I realized this.
Here is the control plate. I did this in two sections where I milled the initial stuff with a 1/8 bit, made a copy of the project and did the smaller with a 1/16 bit.
Use great caution with this file. This took me (6) tries to mill properly. Some issues machine caused (bed flatness) most user error. Most of the cam work was set up by a friend in another state and it was his first time with 2 sided stuff (though hes much better than me). It’s been long enough that I don’t remember much about it. Make sure to modify the tuner hole size to the style you choose (vintage vs new 10mm). If it doesn’t work out, keep this in mind.
A note on hardware. Most of the “cheap” stuff on amazon had terrible fit and finish and did not work out. The brand “musiclily” comes to mind. Returned almost all of it. If I were to do it again, I’d probably buy a squire and take the hardware from it.
Hi Baaja, thanks for the experience to provided. Based on your conversation we are at about the same level of capabilities. I appreciate your successes and mistakes. I’ve been working on a Tele for my sister. I got a good body cut with African Mahogany. I used a piece with a crack in the grain a a prototype and have made the adjustments for the next cut. I found some very interesting information on the neck depth at Walmouth.comWarmoth Custom Guitar Parts - Will it Fit? I downloaded the neck file you provided to review. Thank you.
I rounded the edges a bit to cover up some mistakes and tried 2 different finishes to see how it would turn out. won’t do it on the next one. Great job! it looks amazing! how does it sound?
I’d appreciate any other learnings you discovered since your completion of this one.
Best,
JV
One thing I didn’t realize was the difficulty of fitting the cup jack. It was almost all hand work with a rasp/file etc… I love the look, but getting it to look nice was a bear.
One other mistake I made is that the body is too heavy. The bottom is beech and the top is oak, but I’d guess the body weighs 7-8lbs by itself. I started out with the idea that this was a prototype, so I didn’t care what wood I used. Now I wish I had used nicer stock. I can always make another body, but I like the way this one looks.
I used tru-oil finish (no stain) and I’m still really happy with it. It was the first time I worked with it, and I love how it dries fast and hard.
I really recommend making your own caul/fret press. I’ve hammered in frets before for ukuleles I’ve made, and this was so much nicer. I super glued all the frets in which I think is necessary the way fret wire is made today. I’ve used stuff from grizzly, stewmac, amazon and the tang just isn’t enough to keep it in long term.