The coins are roughly 51mmX3mm. An often overlooked issue with these large coin blocks is that they are lathe cut, this leaves a slight dome that can throw off z height measurements.
So I’ll be facing these coins which I’ve never done before.
The design is not done but on last nights stream @KevBarn14 mentioned an interesting iterative approach that I’ll try here.
Kick off the first op and continue on the design while it’s running…which is obvious in hindsight but I’ve never been really intentional about it.
I’m assuming those are the toolpaths for your pocket? Have you considered a stepped pocket that has a .0625" smaller diameter step down in it of maybe 10 - 15 thou then you need to make sure your toolpath comes in from outside of the part instead of plunging and very conservative feeds and speeds with potentially a spring pass to account for the deflection assuming your work holding is good and the coin cannot rotate.
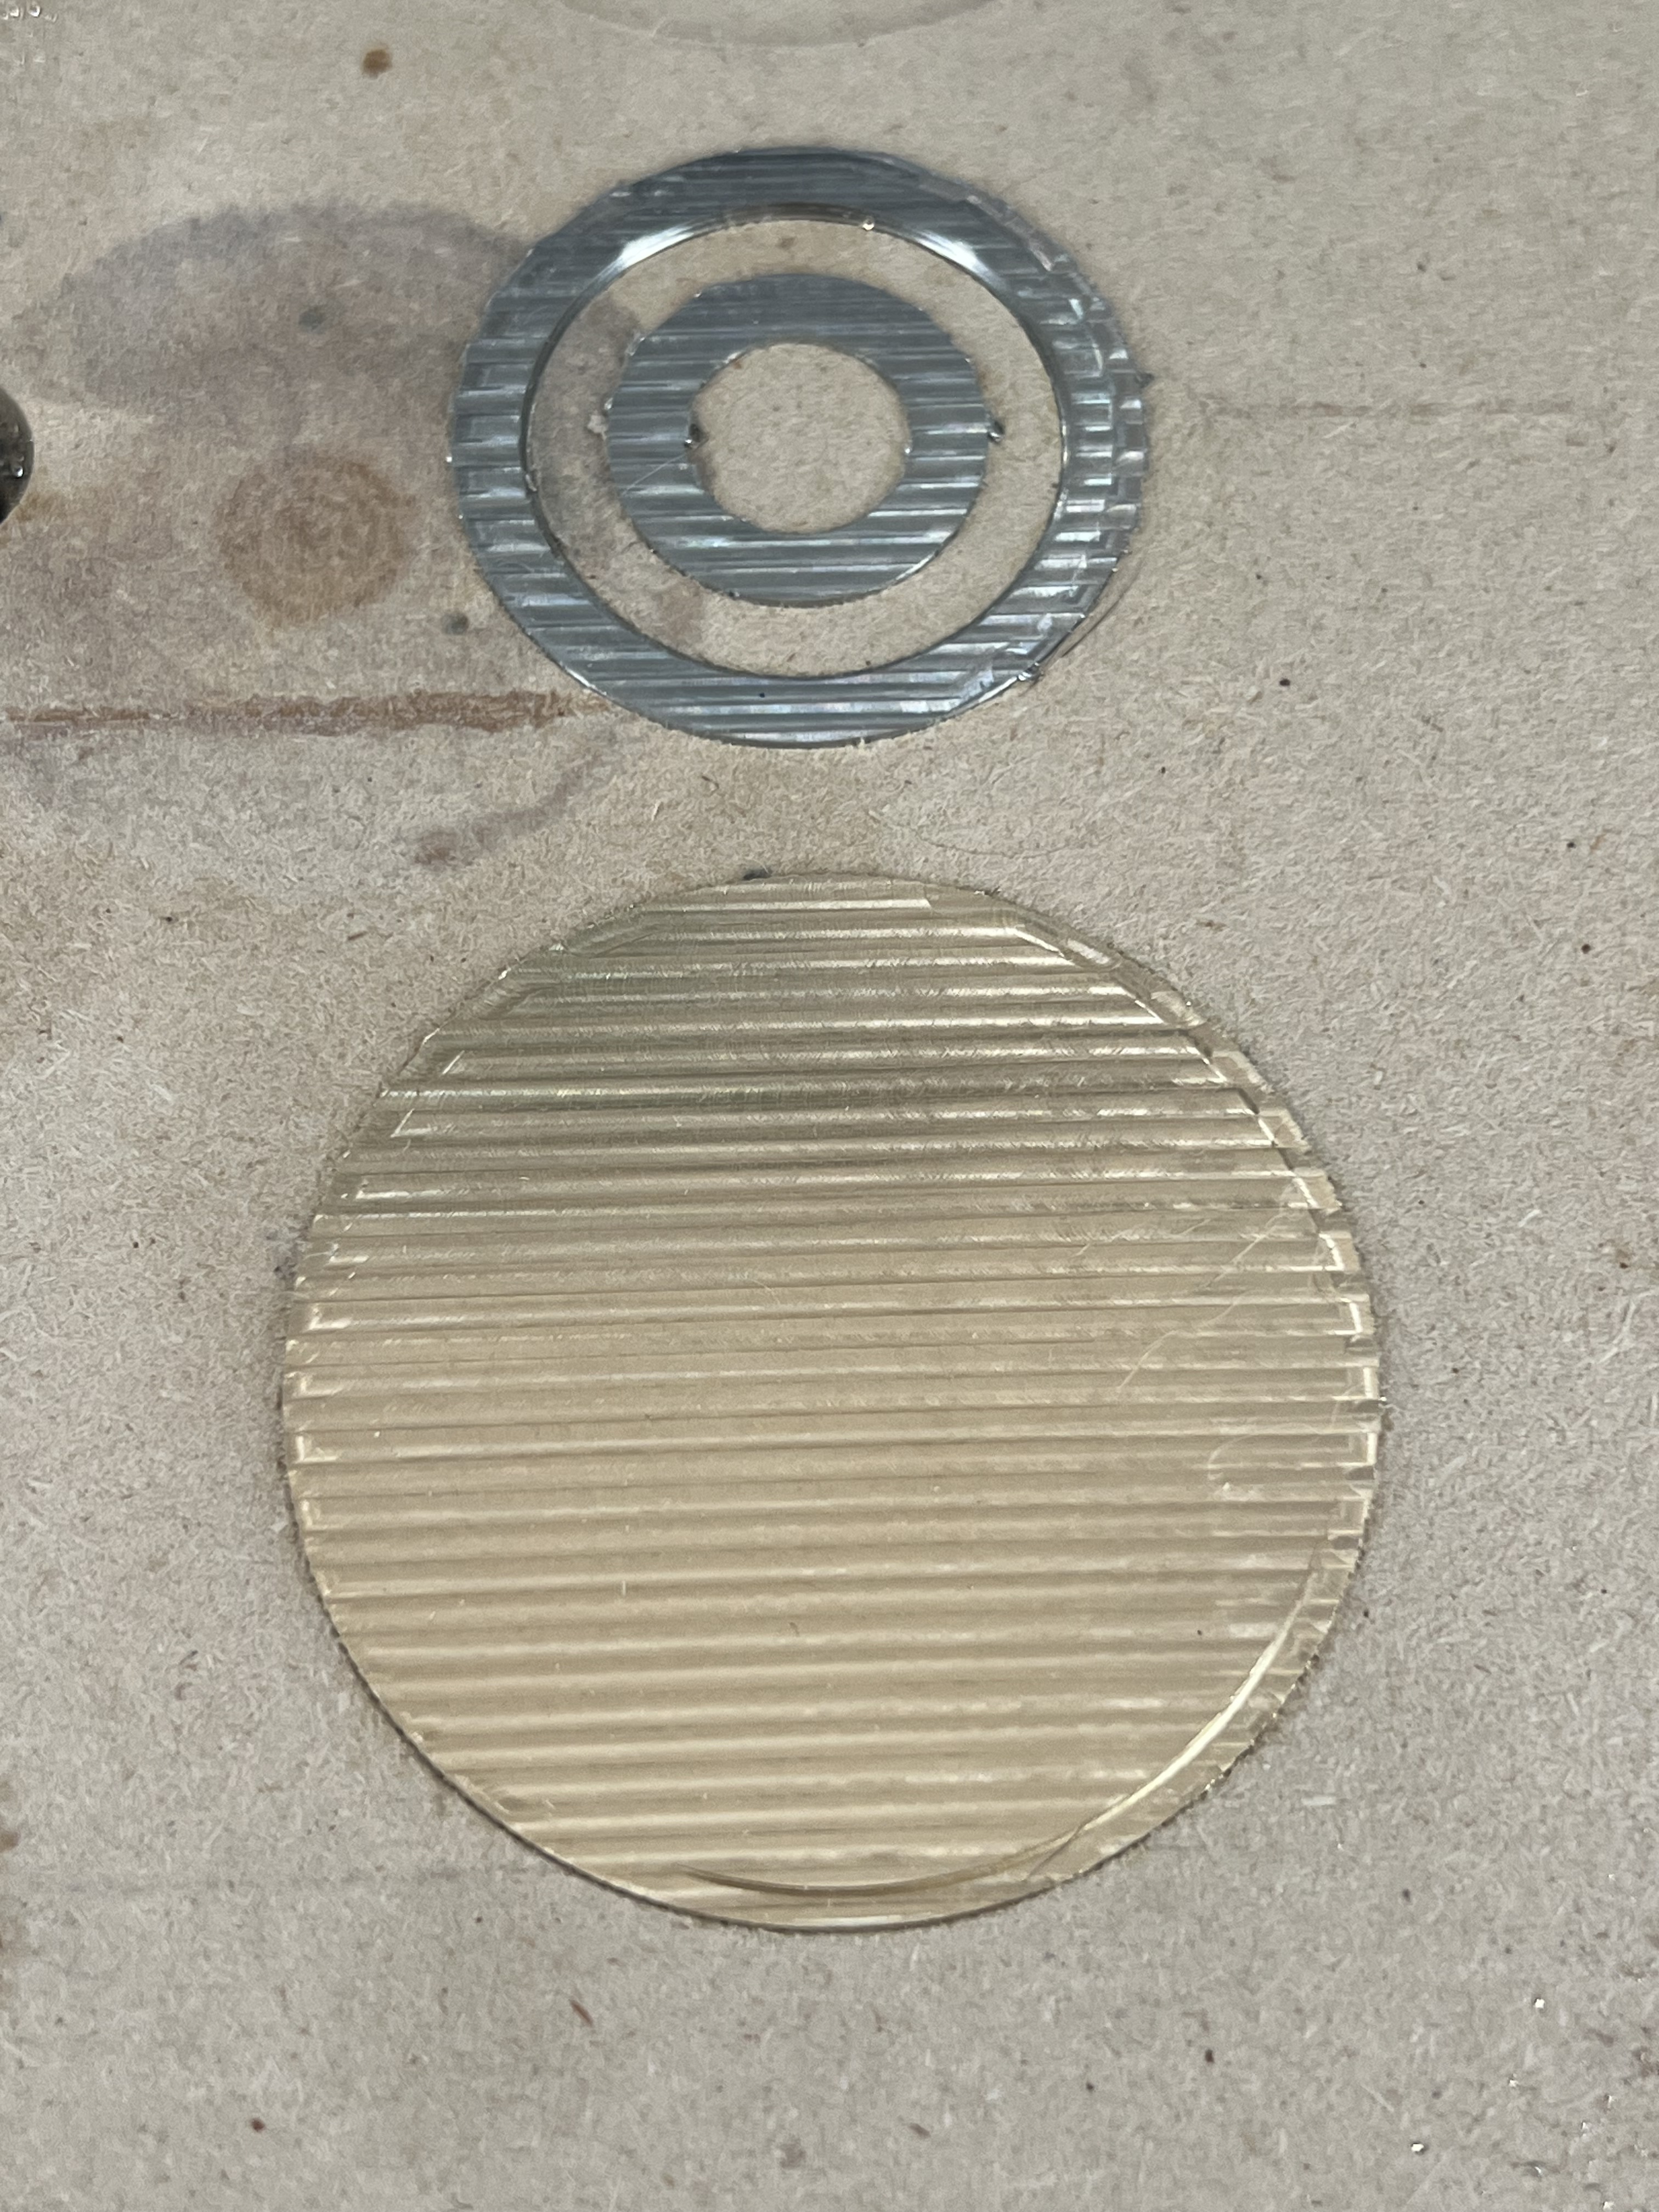
I found my previous cut rings, that will save a bit of time!
I’m genuinely surprised at just how tightly a snug fit in mdf can do. Time to do a light facing path on the coin and an a bit more material removal on the rings. (They need to go from ~3mm to about 1.75mm)
oooof there is no negative z height for tool paths in carbide create. The coin protrudes up from the original pocketing Toolpath 0 so I need to redefine it a bit above its current z.
That’s not a problem but who wants to bet this will either:
Screw up my pocket depth math later on because I forget…
Really screw me up if I try to rerun the entire process in 3 months
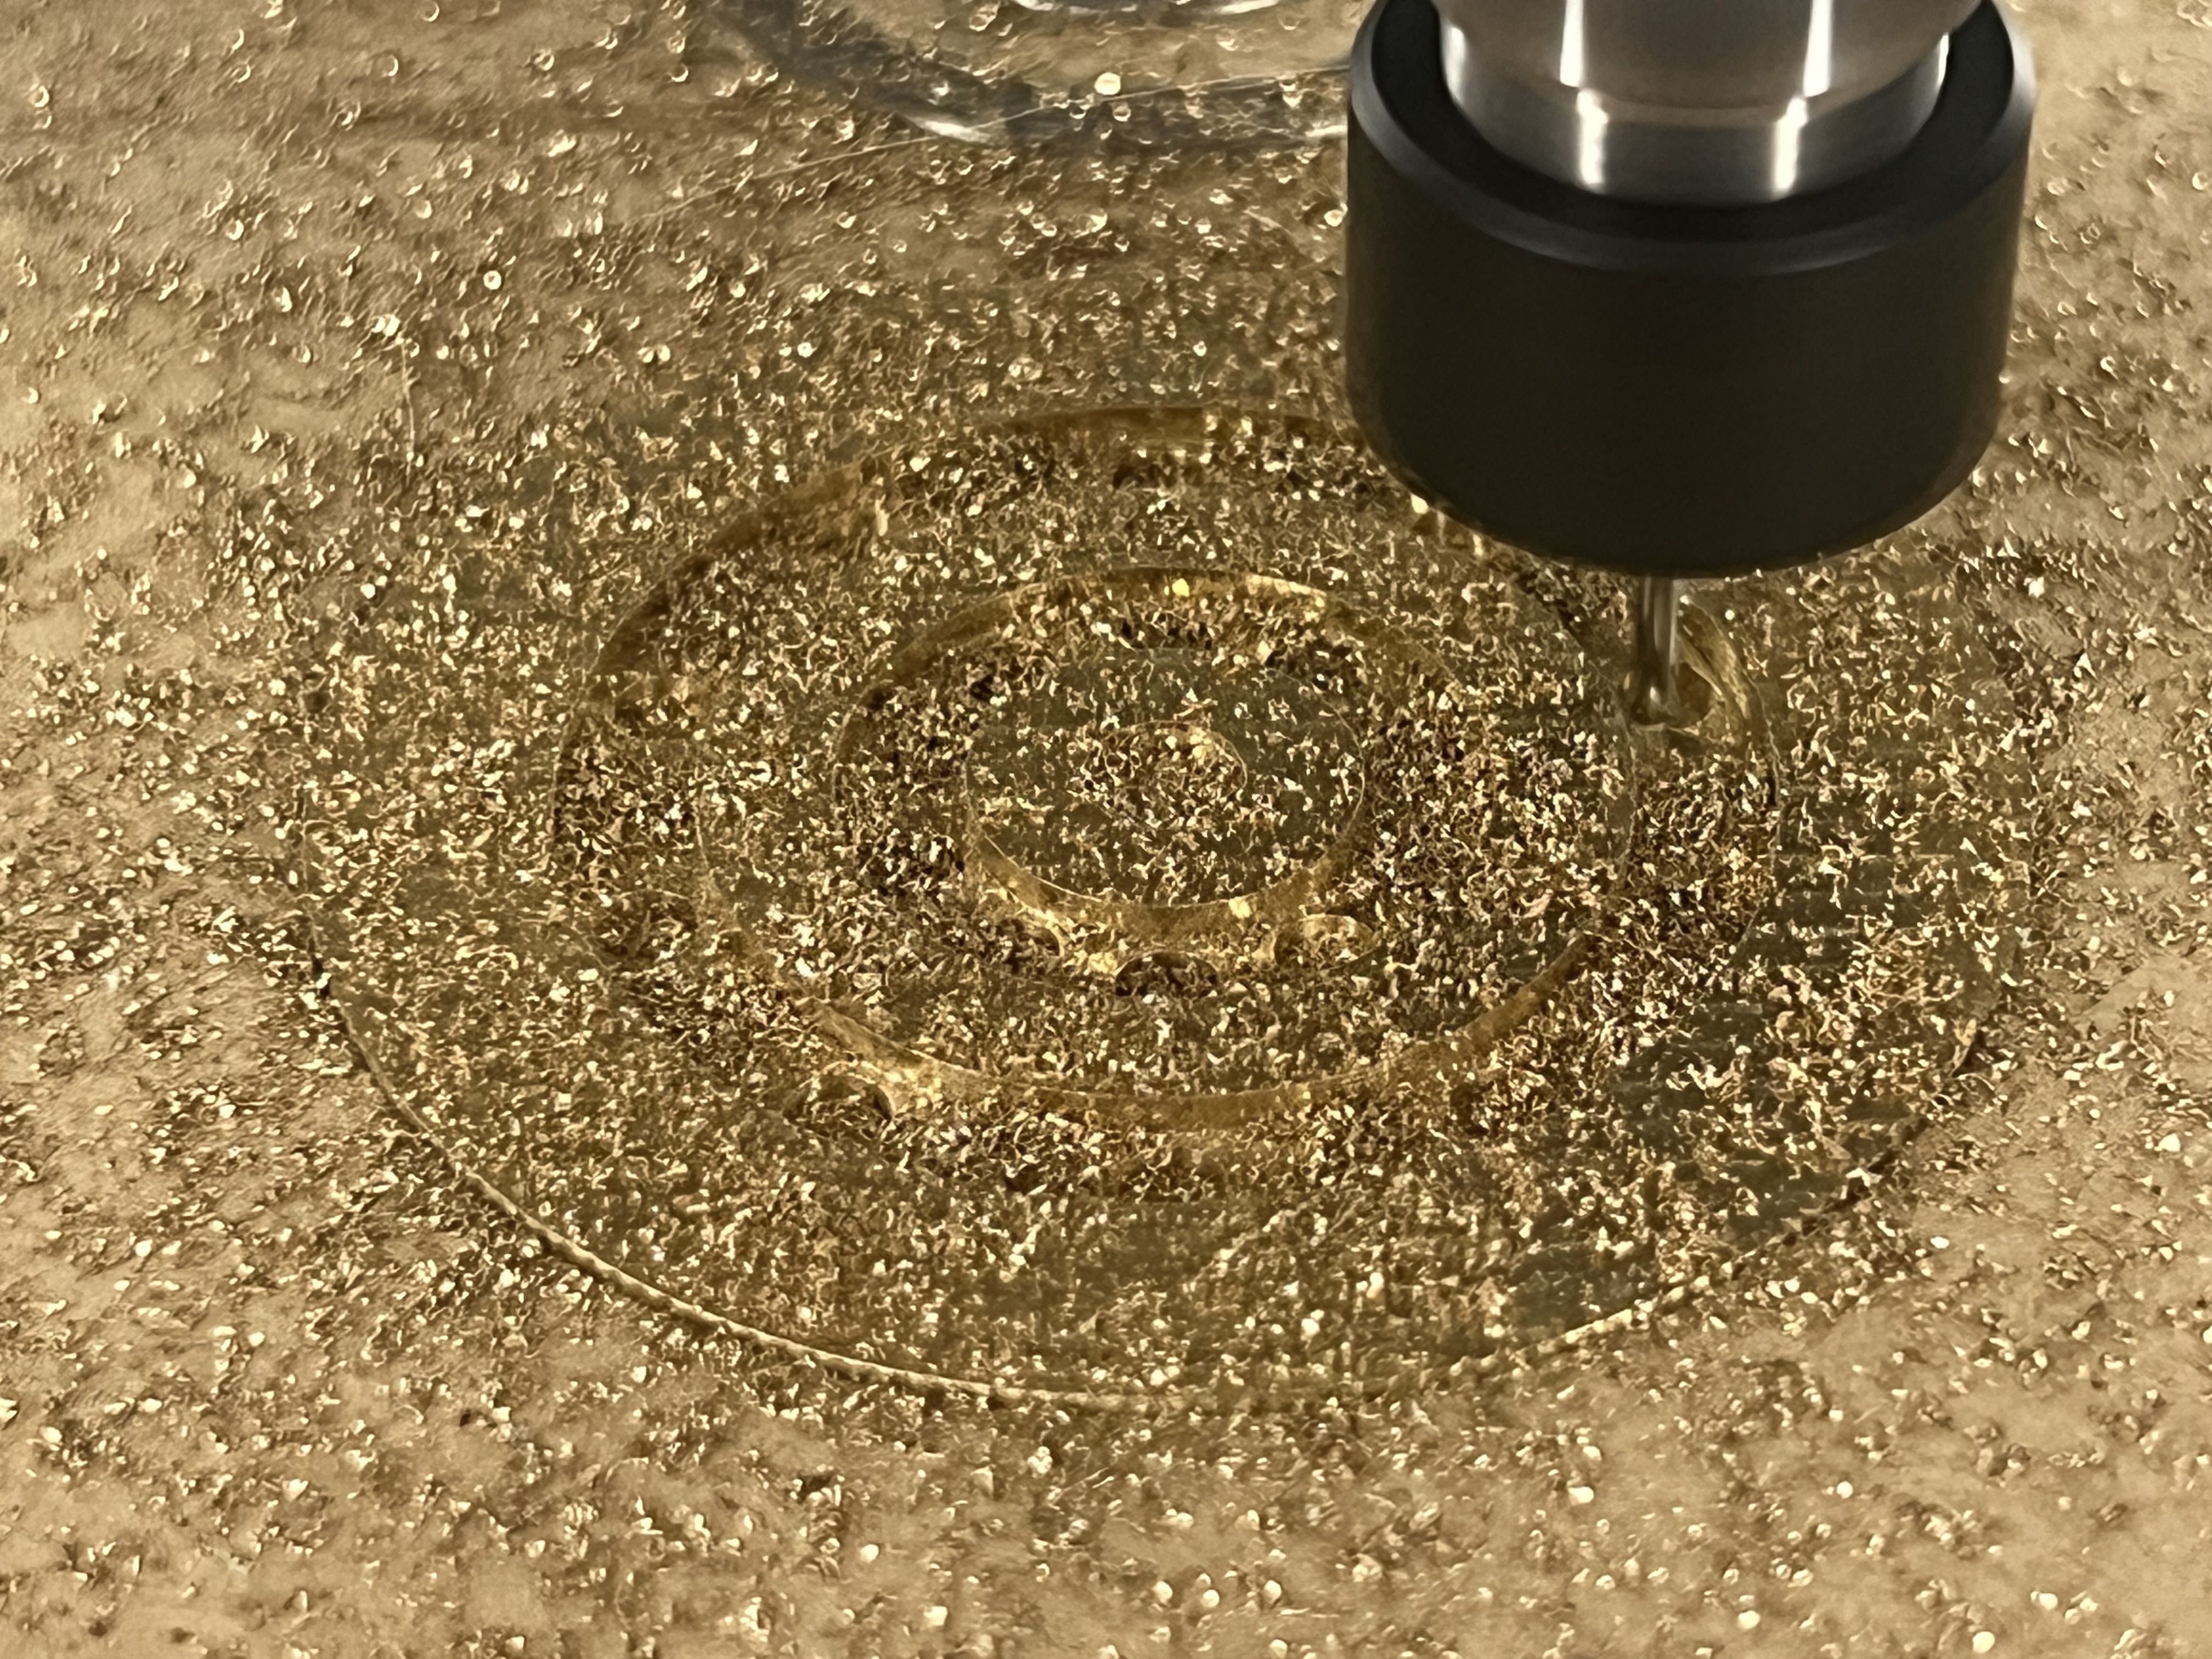
Oh well, time to take .25mm off of the faces of these boyos.
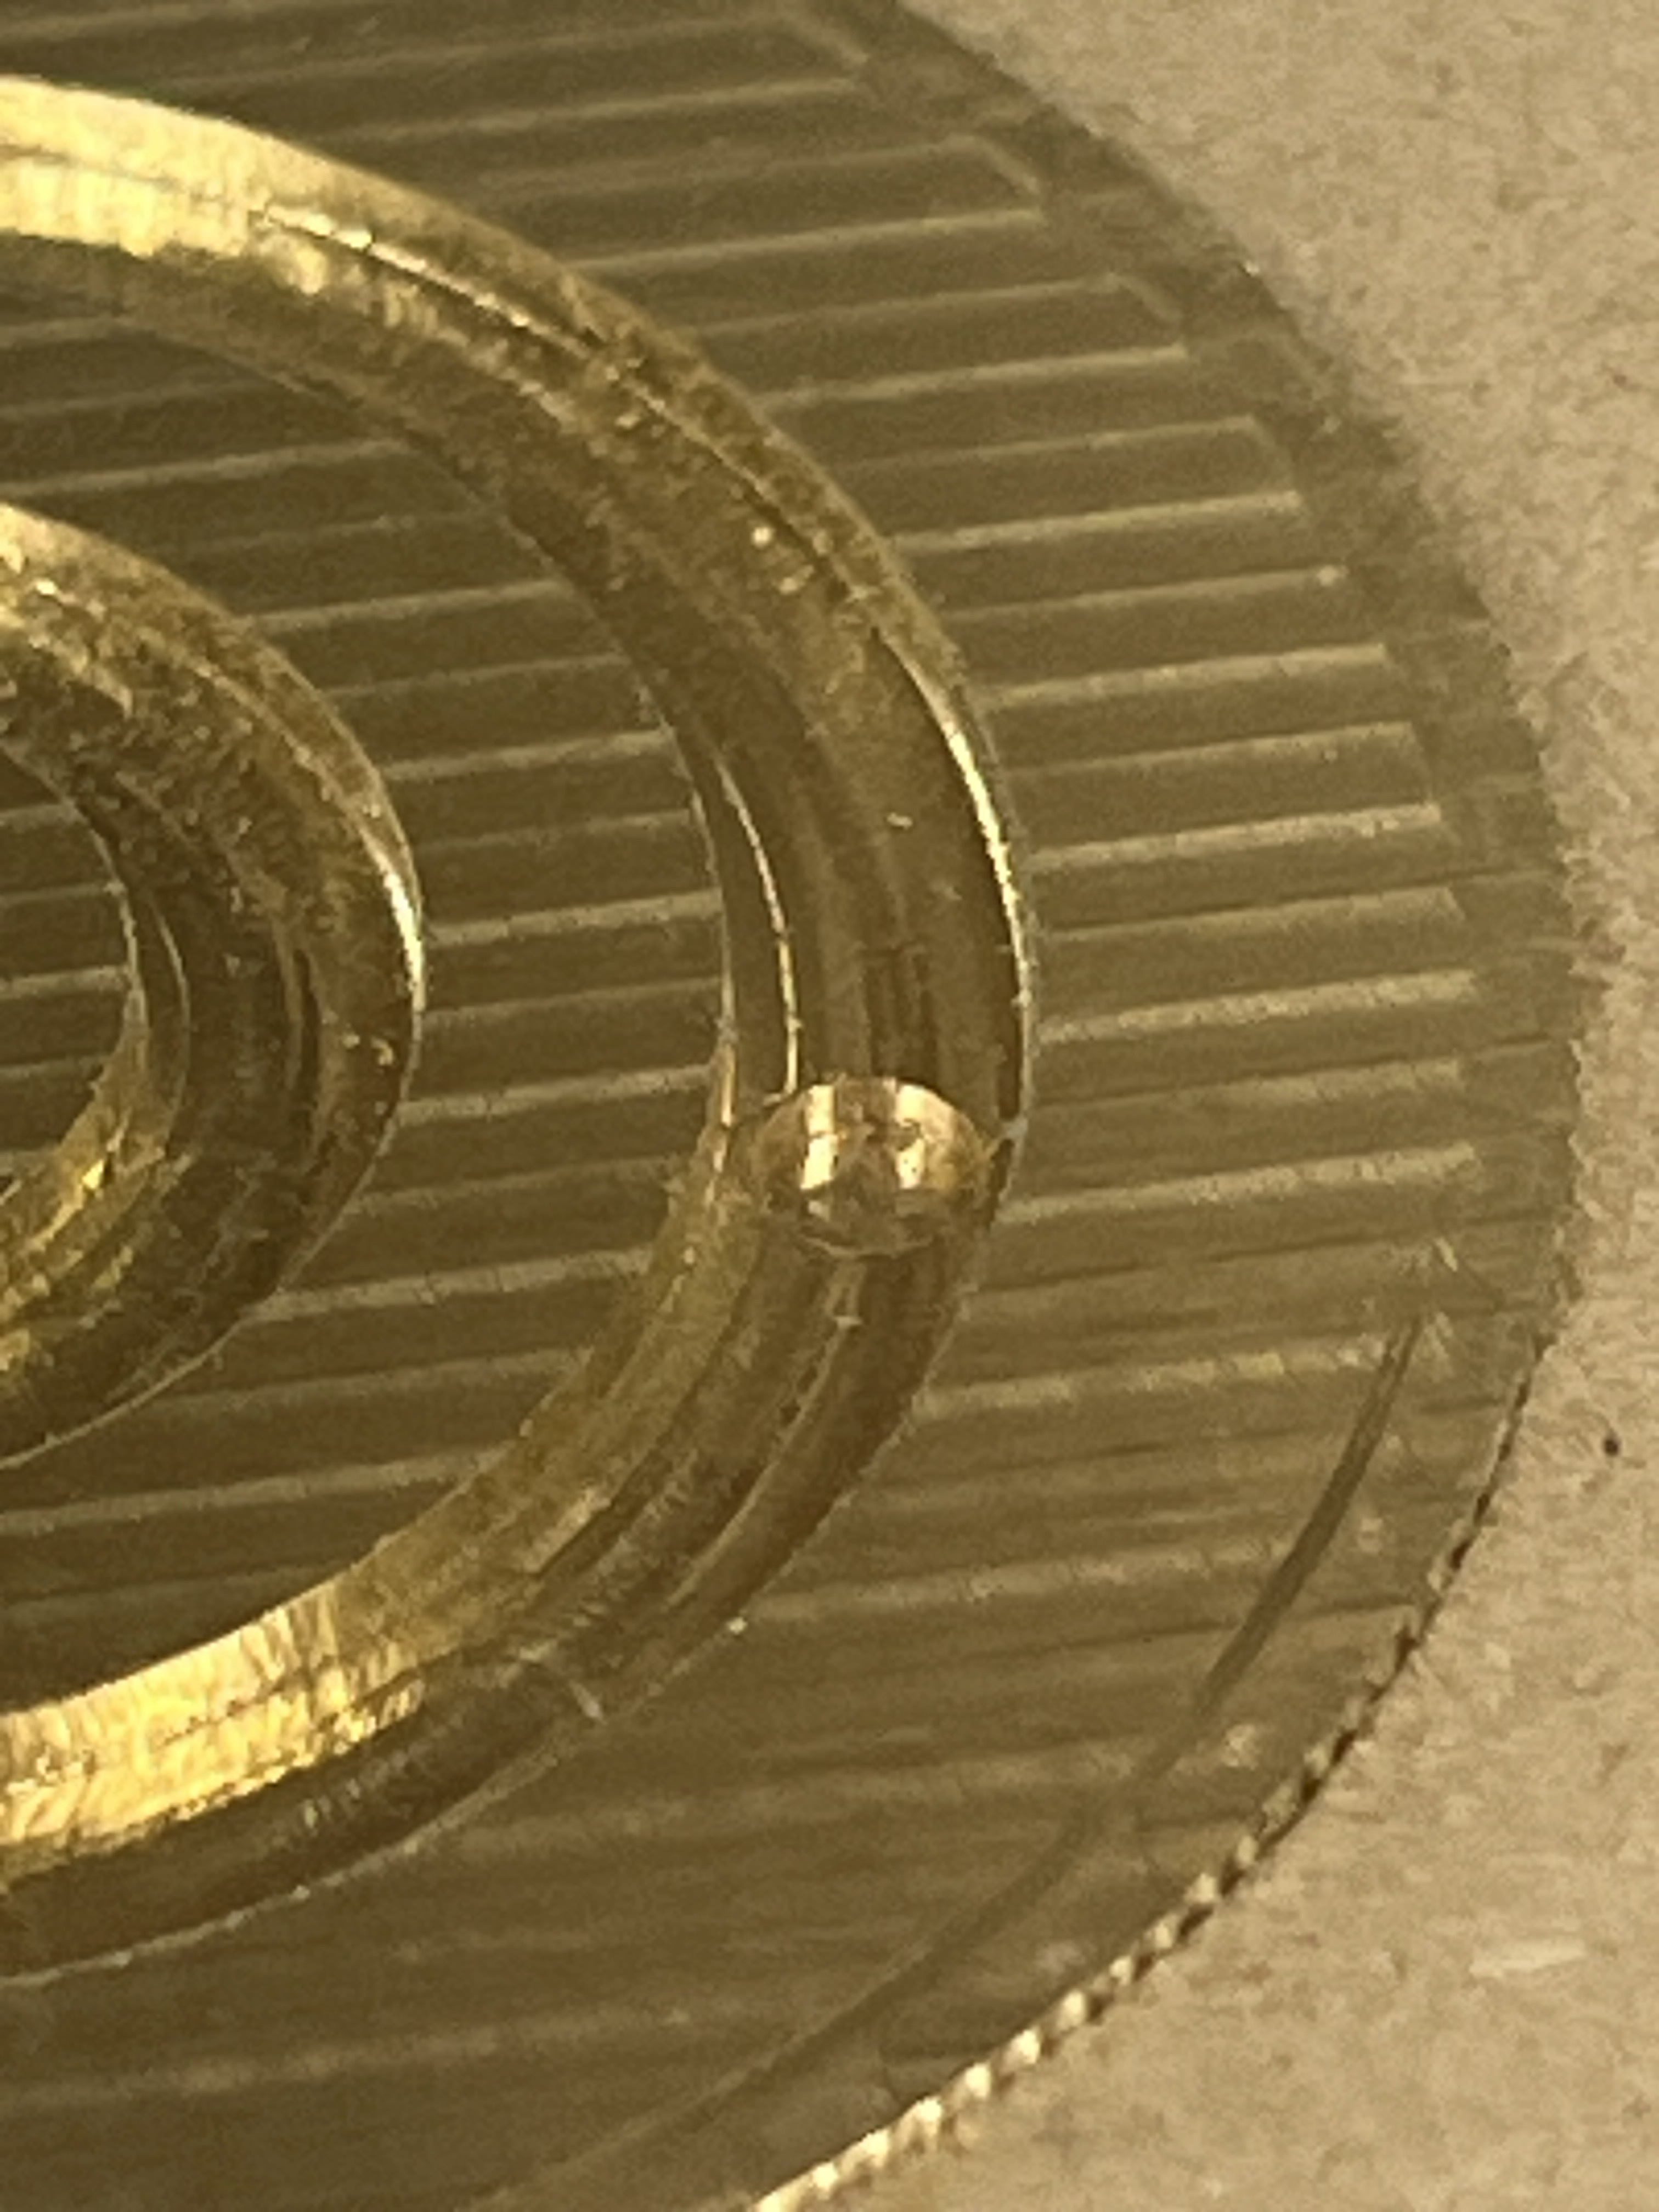
Facing went well enough. You can still see remnants of the outer groove originally cut into the blank to frame it but that’s not a problem, it’ll get cut away at the end regardless.
Again just going with nice and safe carbide create defaults. Breaking a tool will waste a whole bunch more time than just taking a few extra minutes (which I’m using to develop the design anyway )
Sometimes being aggressive is just a false economy…but it sure isn’t as fun as pushing those limits
Also didn’t take the time to back off feeds for the slightly harder nickel based silver coin…which is pretty obvious in this comparison but it’s still well within the machines limits. Little nomad is ~humming along just fine so there’s no reason to adjust at this point.
also worth noting these are the defaults for aluminum, not brass or nickel-ish. So I should have probably backed off by 15% to get a really clean cut on the brass and another 10% on top of that for the nickel-ish…The lesson is to save some custom presets so I don’t need to think about it next time and it’s still ~correct for the material
The iterative process is actually pretty fun. Racing against your next toolpath is a good time
I tell you what though, I really wish there were a simple toggle in carbide create to turn off the M6 tool change. I’m not exporting to gcode, instead opting to just load the c2d file so I’m not sure if it’s possible to remove the tool change (I would usually just comment it out in post if I know I’ll be doing lots of short operations with the same tool)
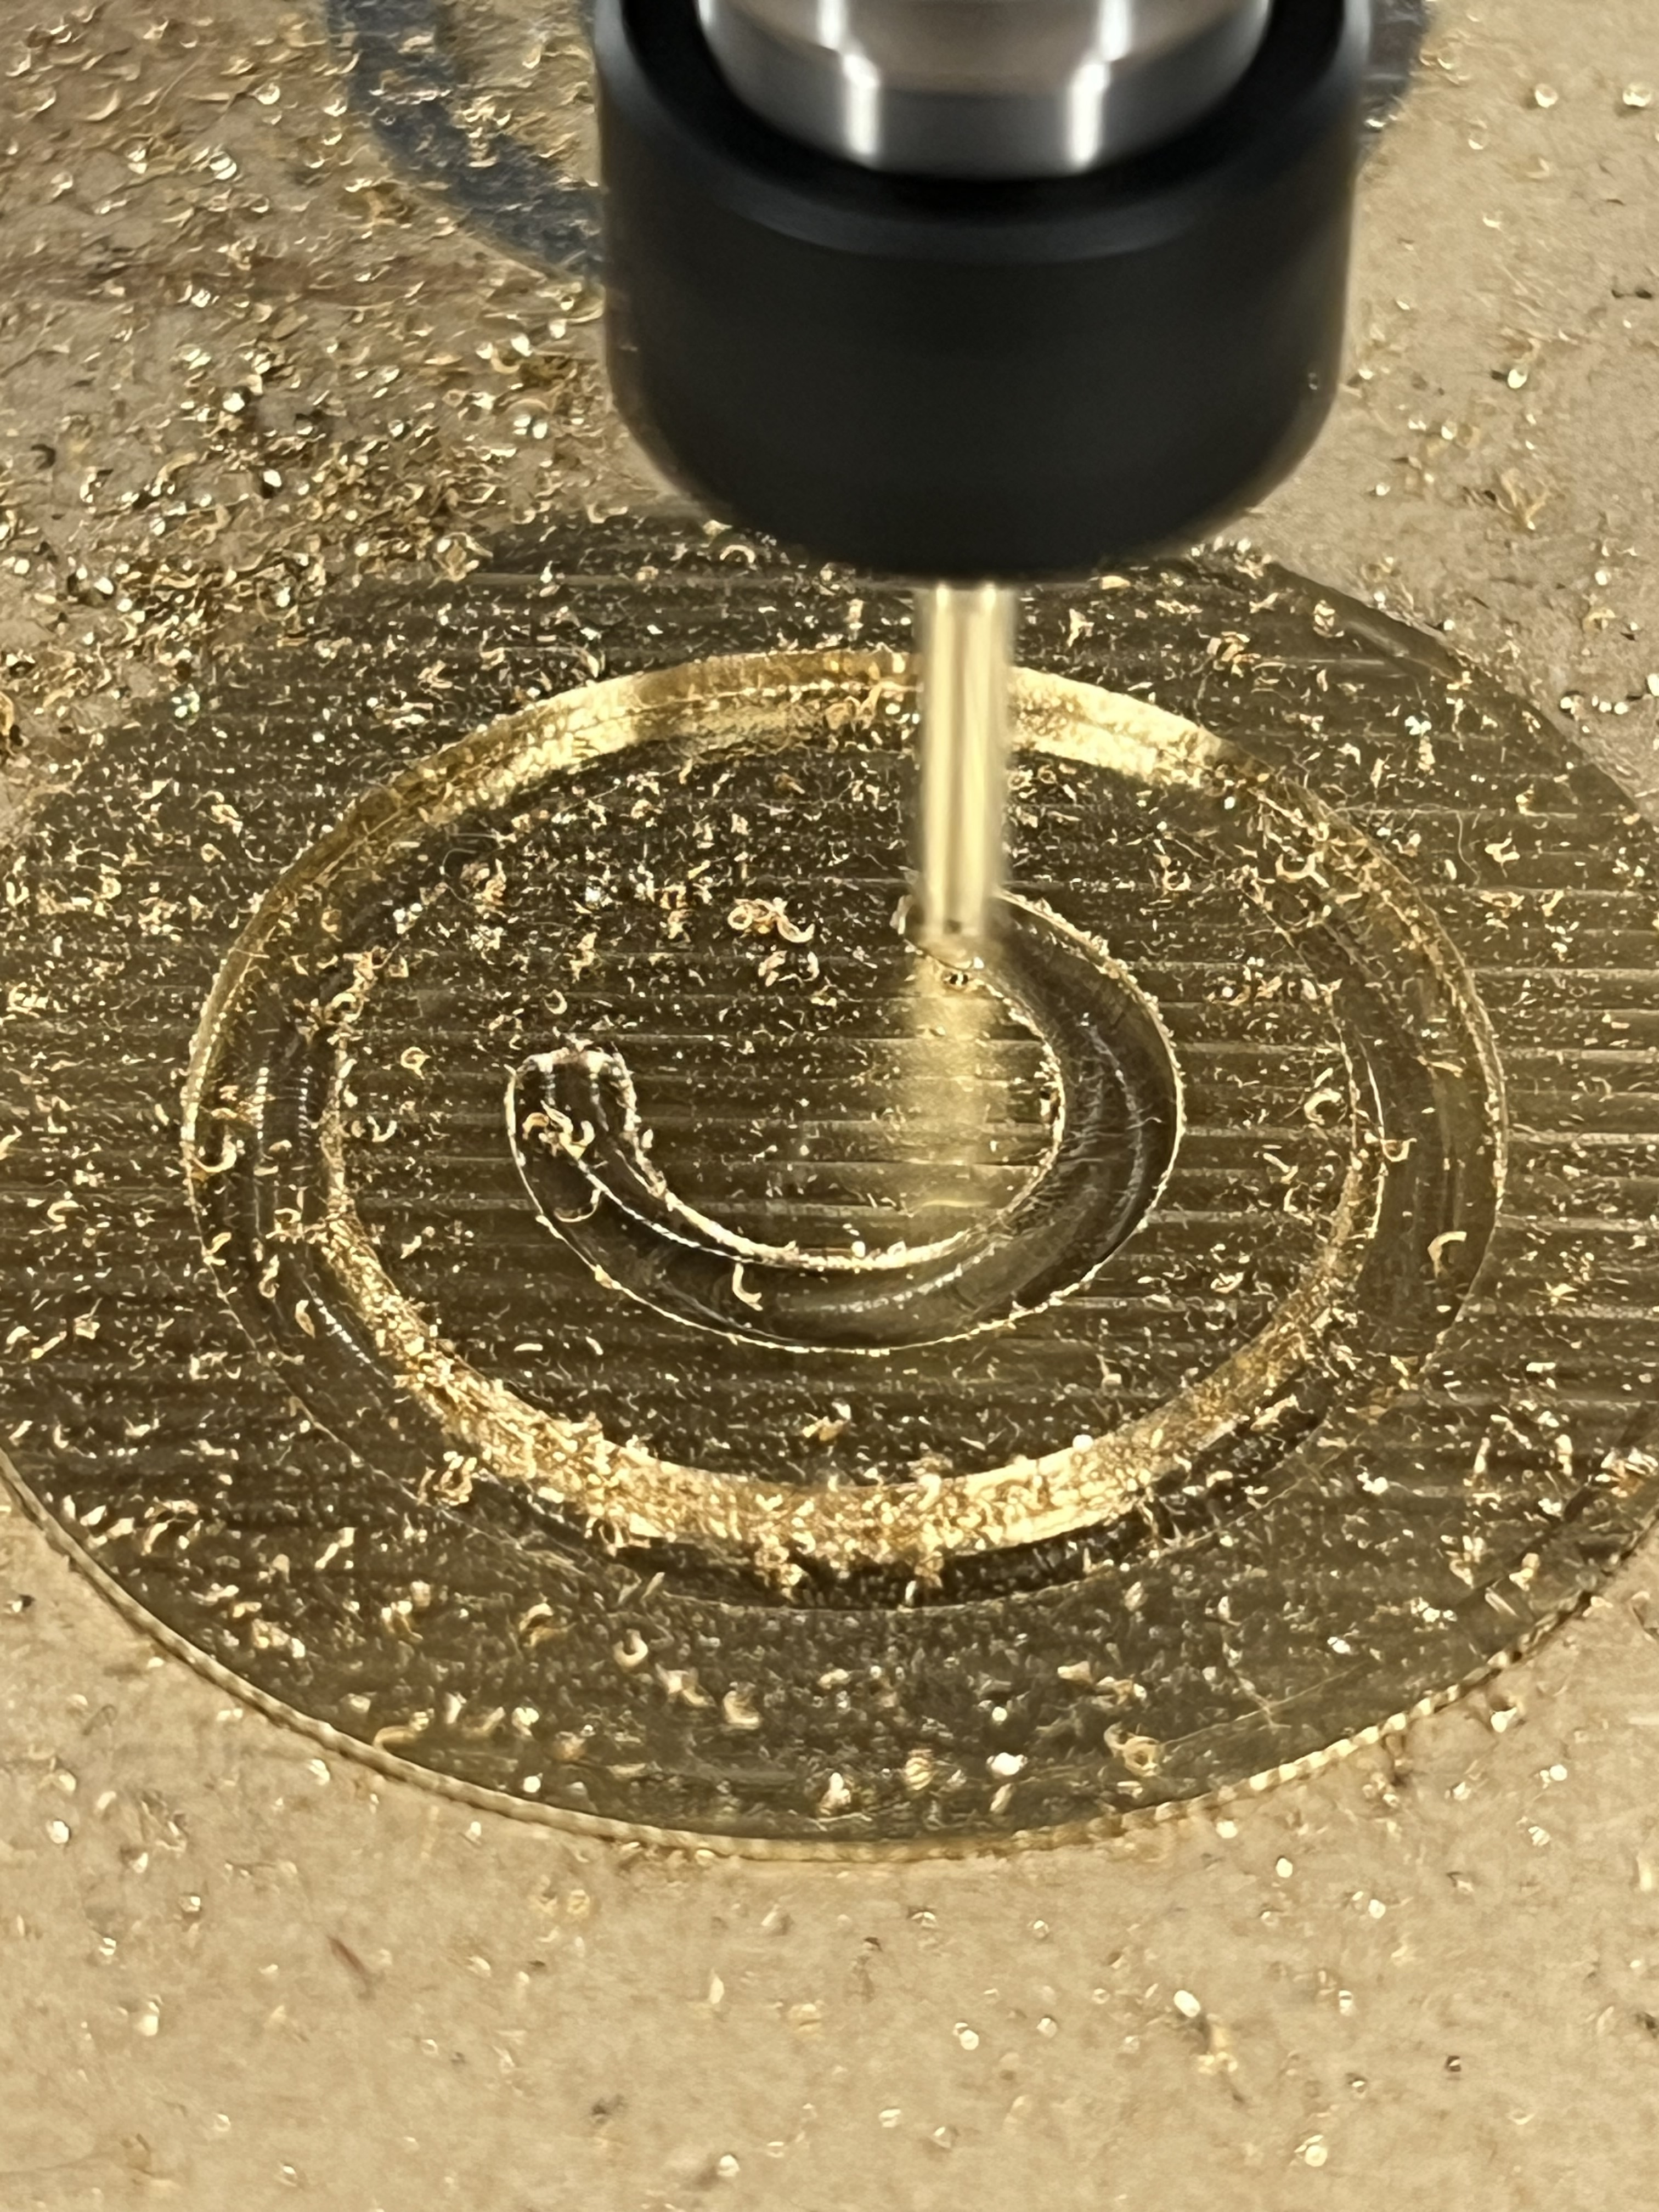
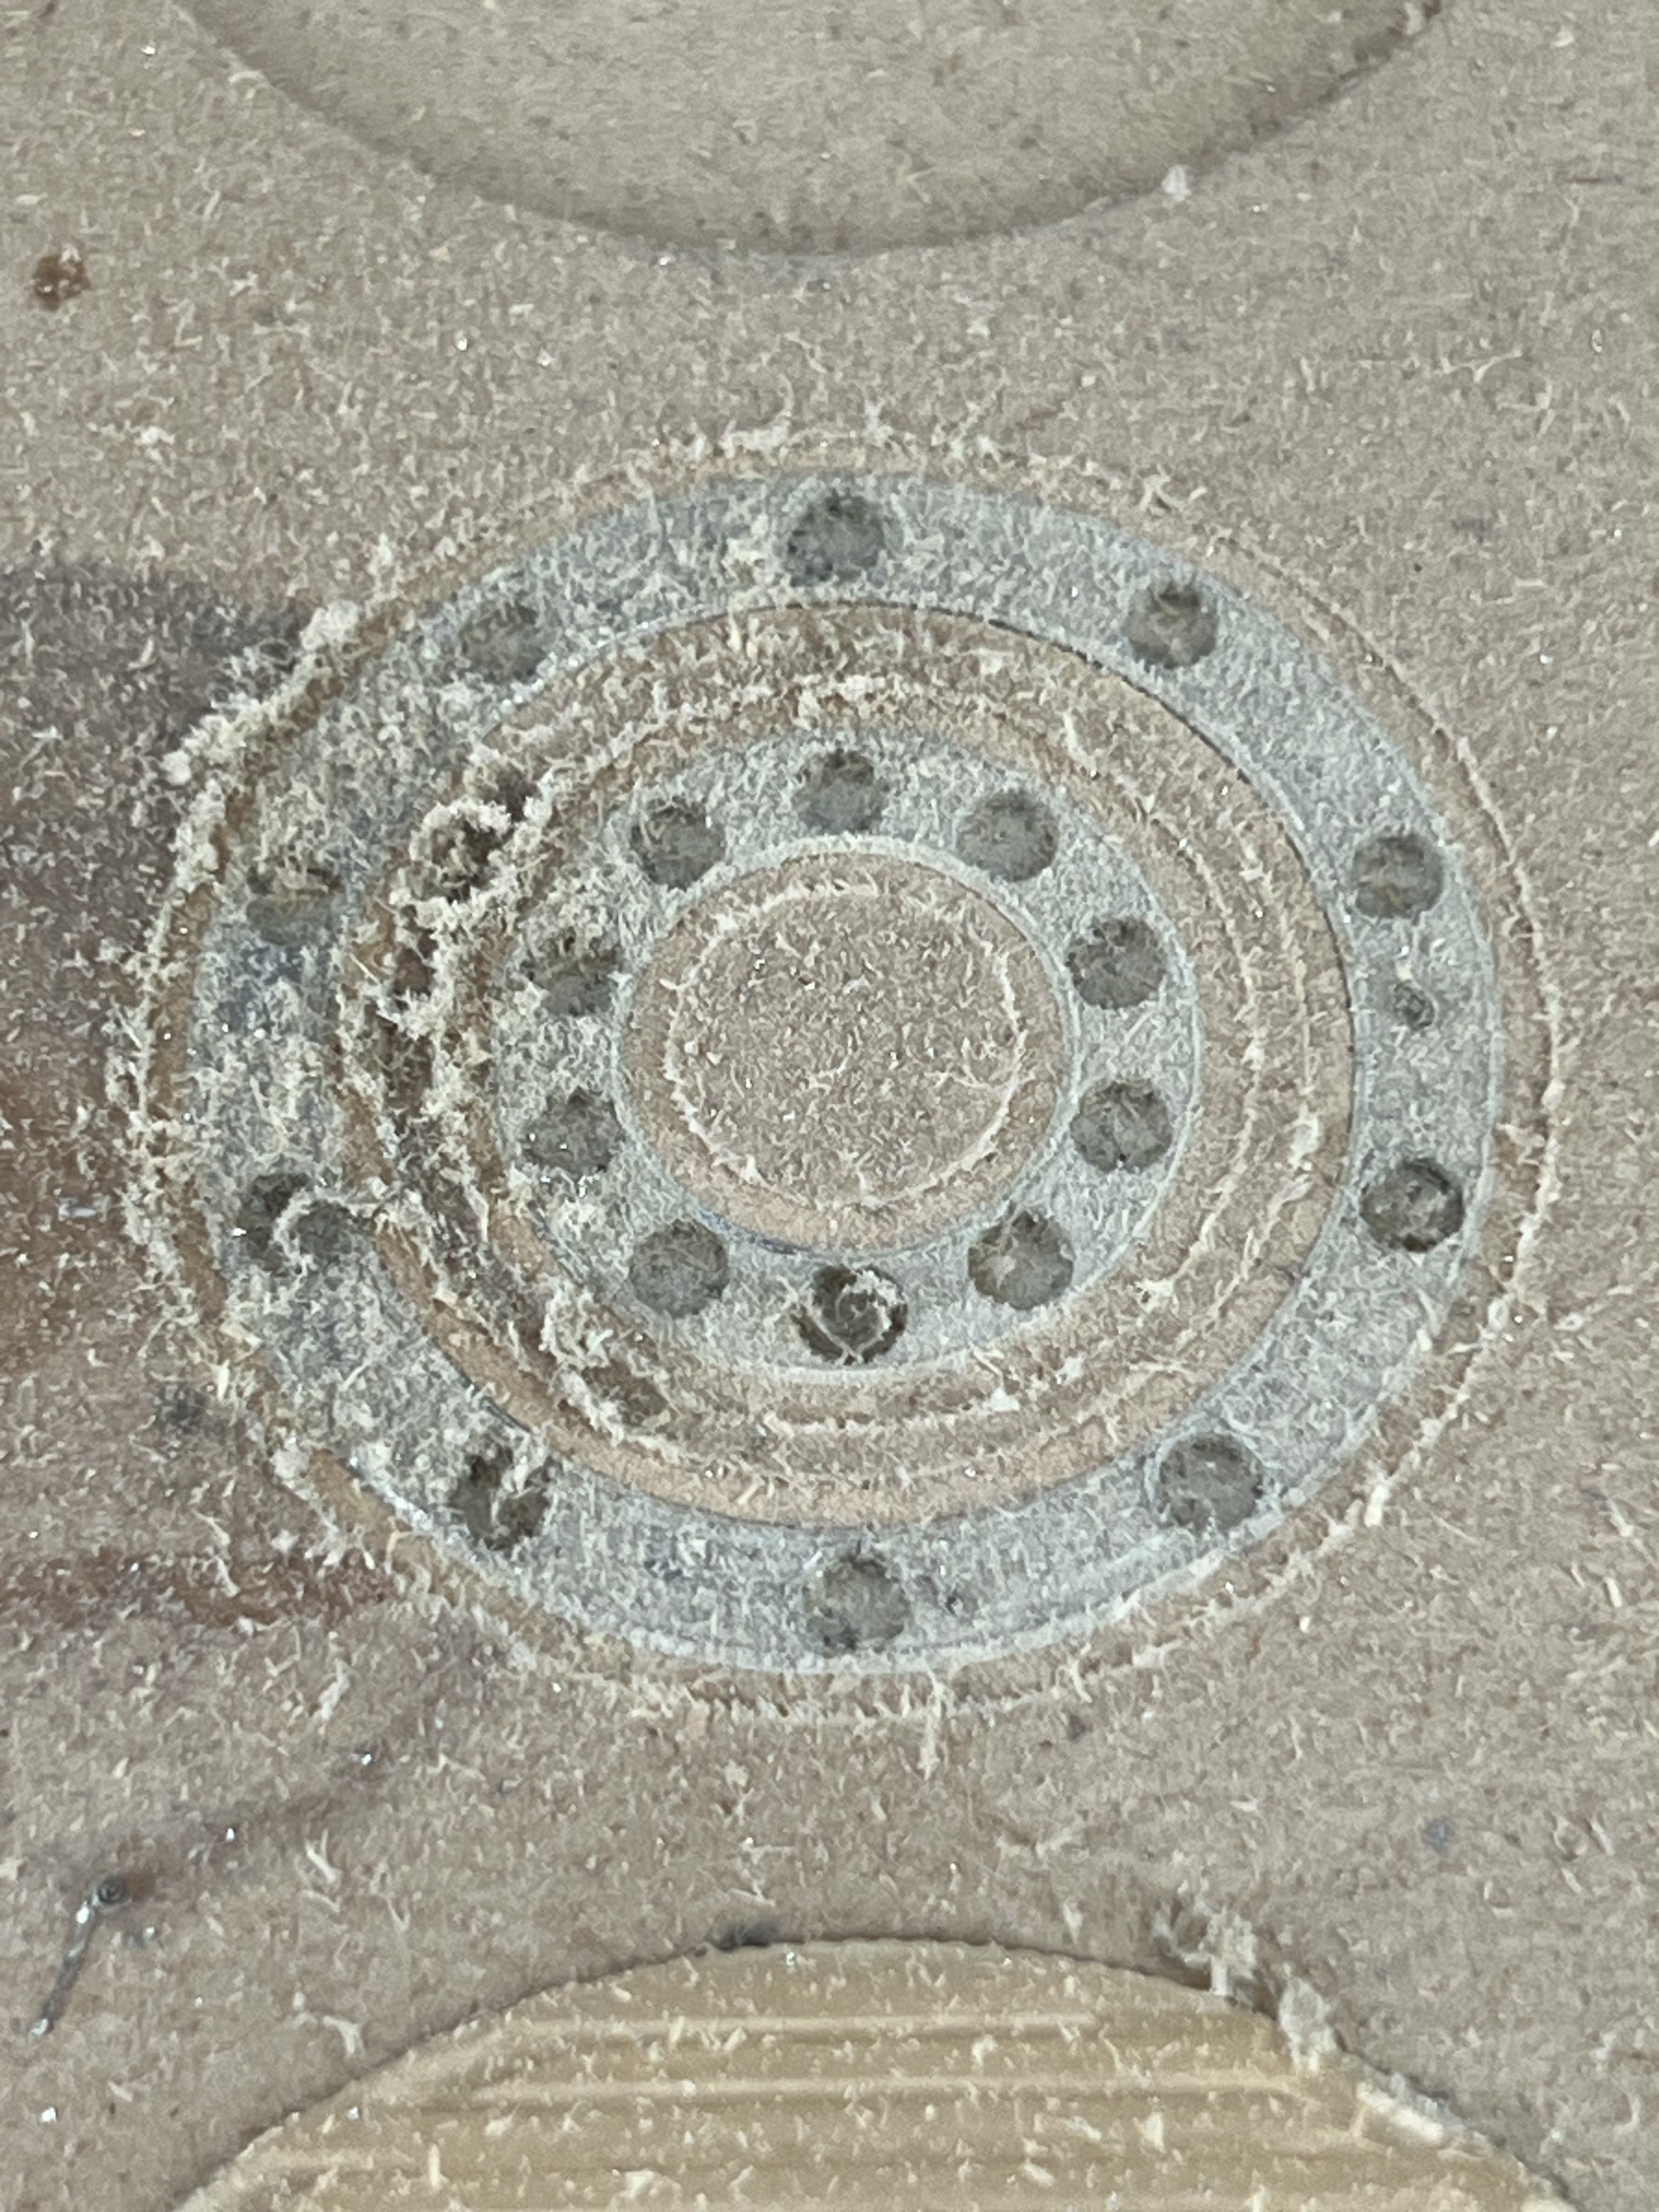
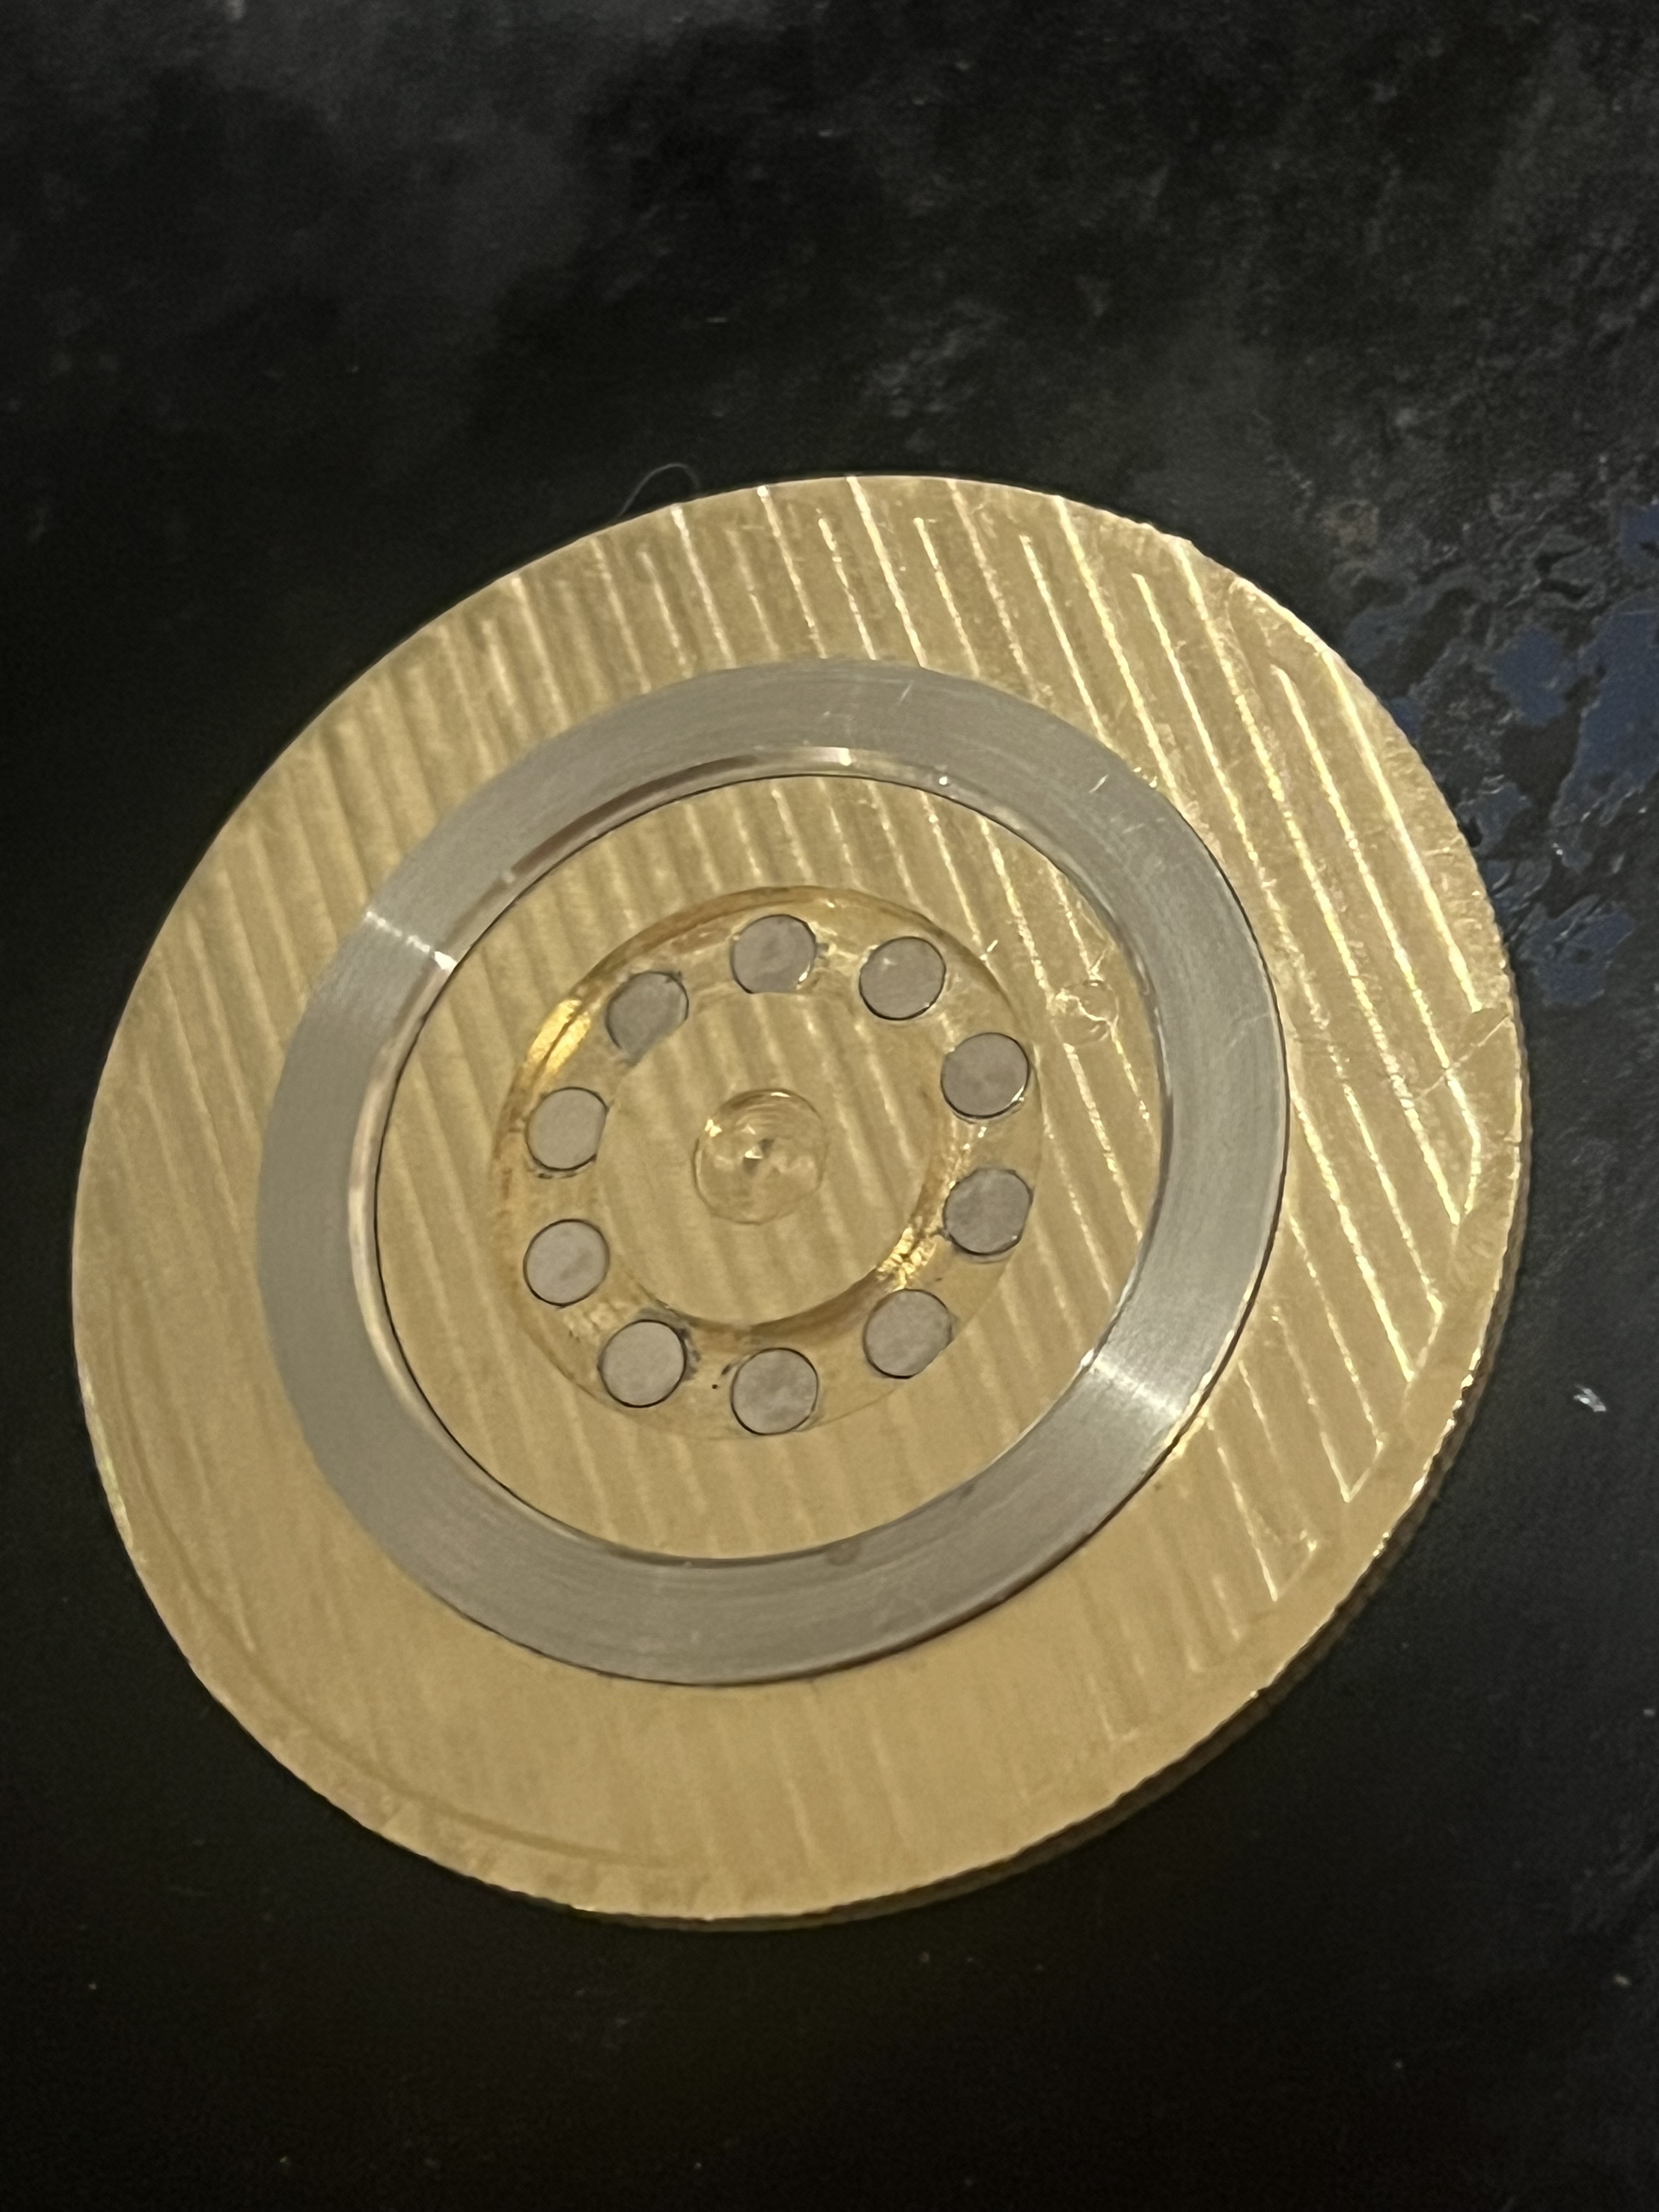
Well I forgot to update but we’re currently boring (40) 3mmX1mm blind holes. ETA is something like 25 minutes.
In switching to the 112 1/16” Endmill I took the opportunity to back off the feeds and speeds by 20% (smaller tools, less wiggle room before breaking tools)
I actually stopped this cut because it was taking so long. Turns out I had set the hole start height at the stock top so it was cutting air for 3/4ths of the depth
Luckily that was only a few of the holes.
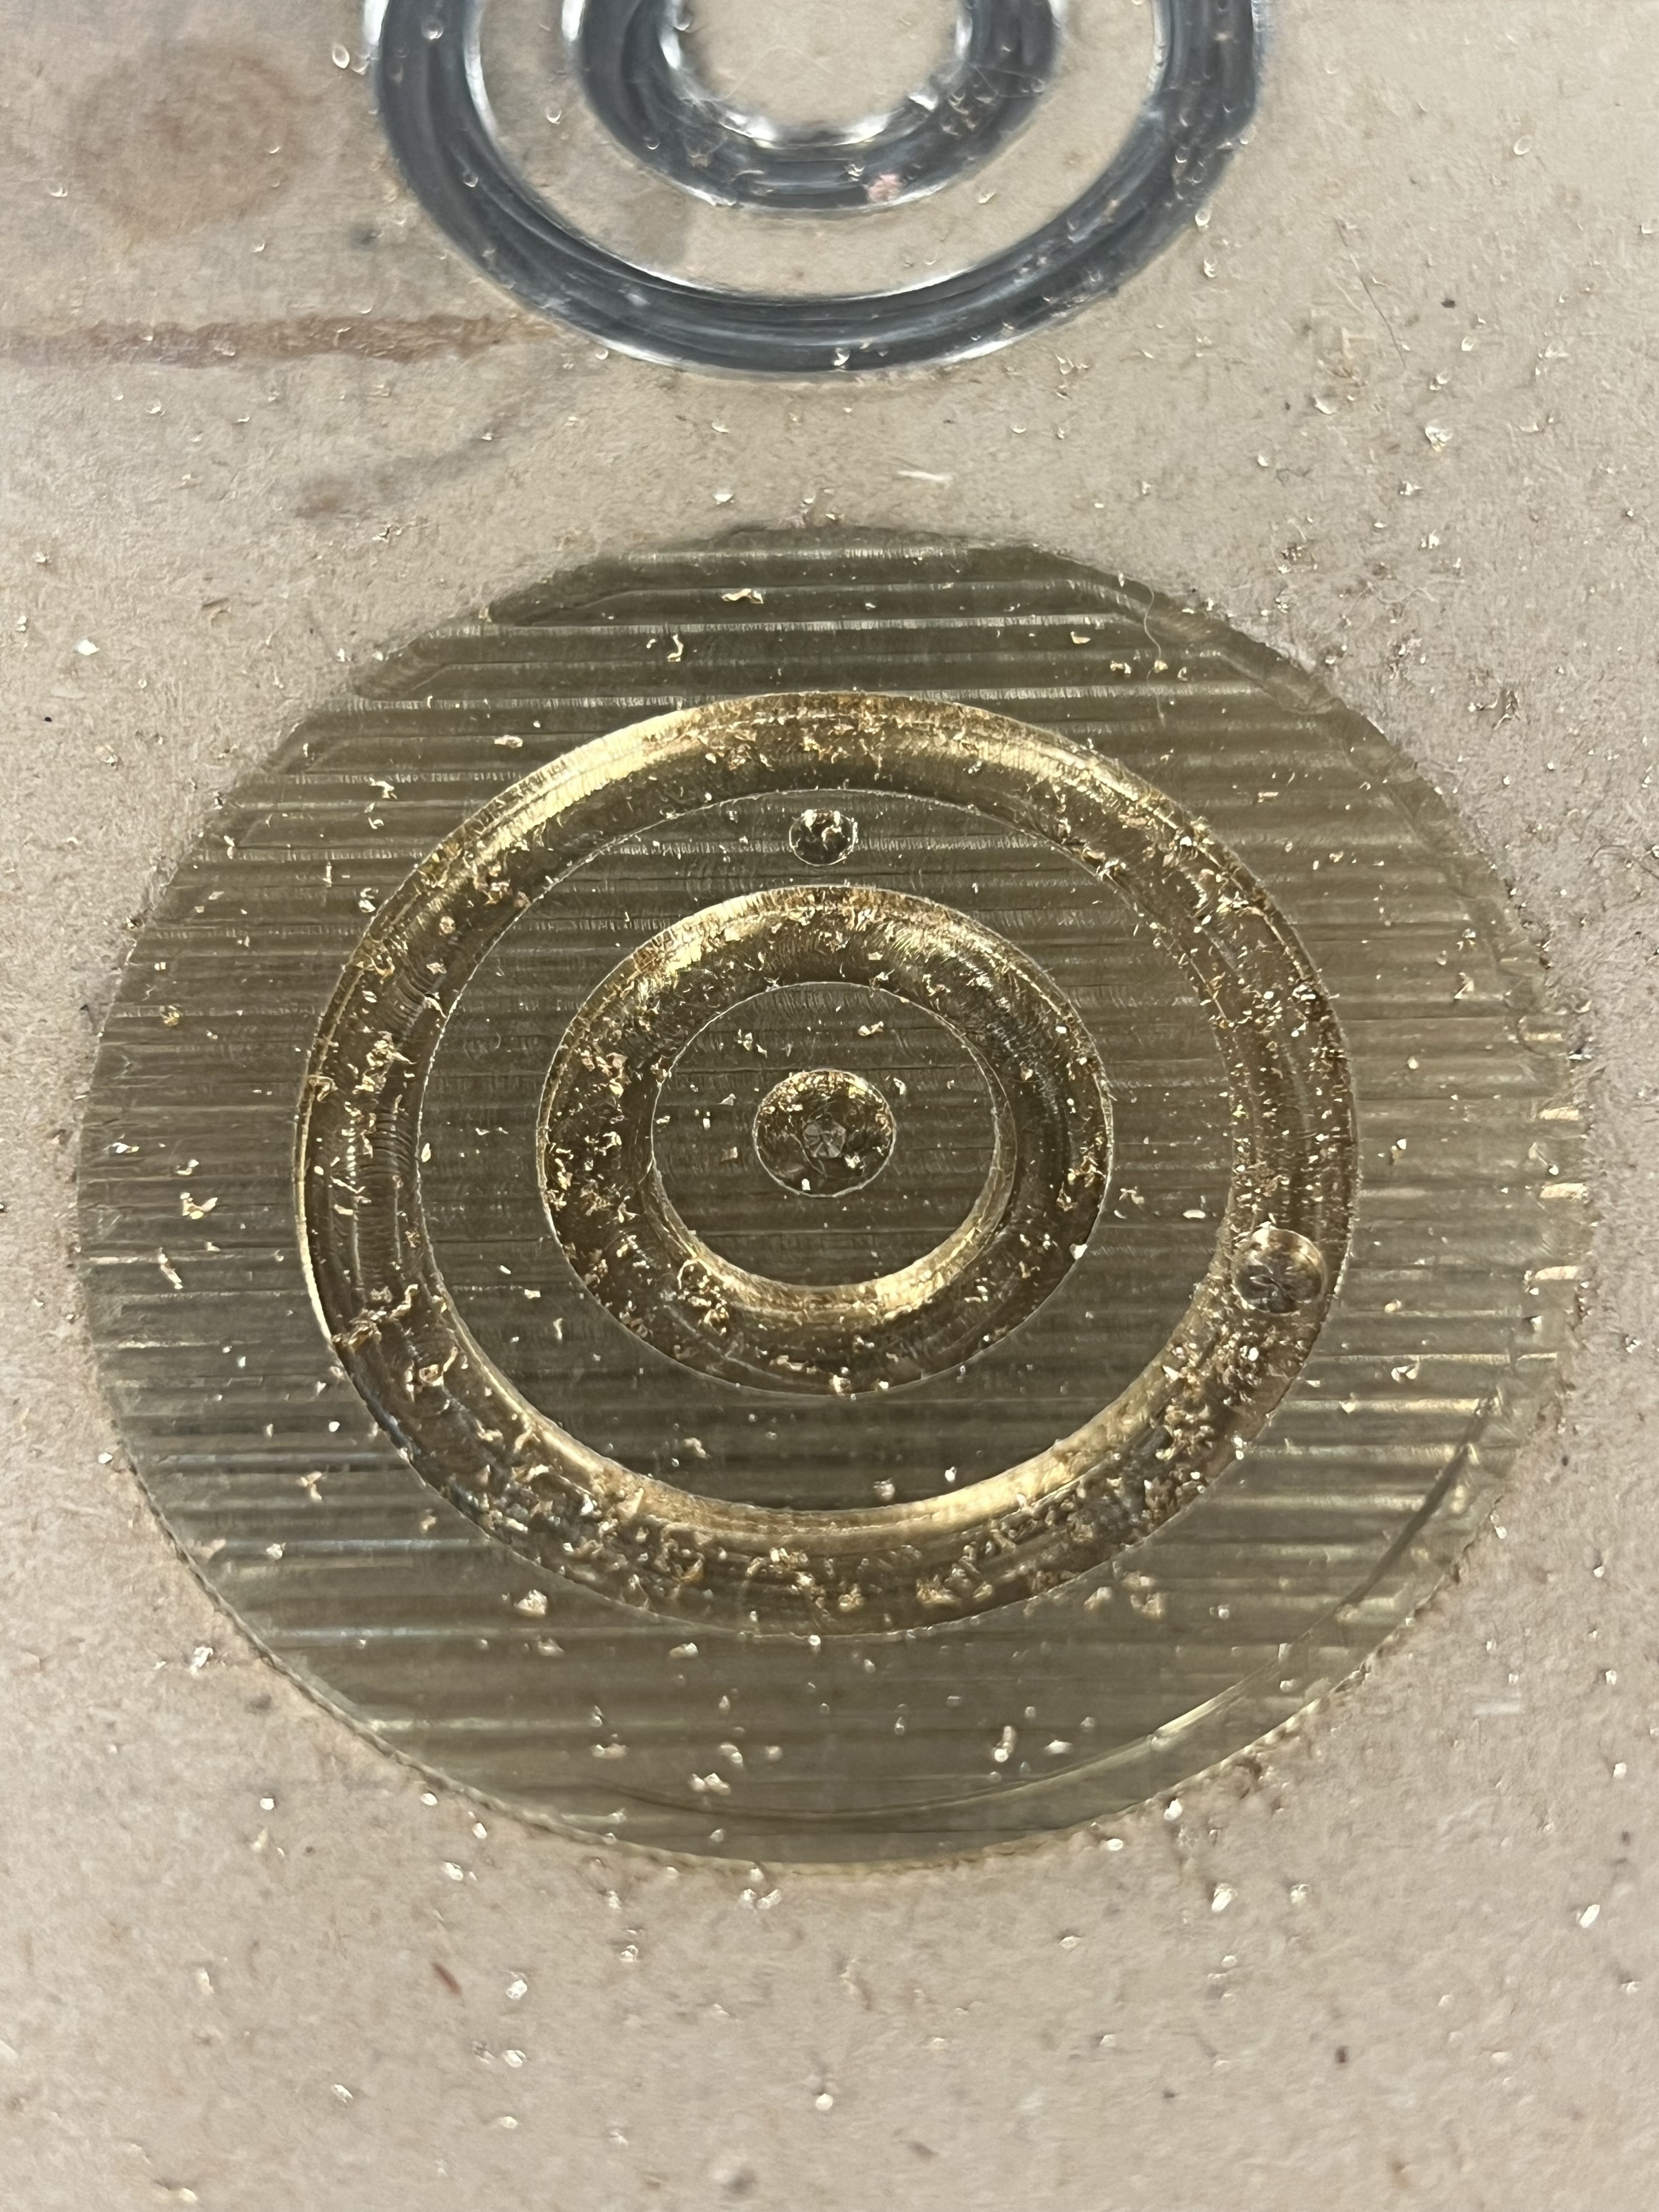
The cleanup of the earlier tool paths went really well. Unfortunately I think I went too light on the rings cleanup. The negative stock to leave I set ended up just pushing the exceptionally thin remaining wall…essentially forming the remaining material which is neat.
FYI those feeds and speeds are about as conservative as can be if you really want a good surface finish what you want is a new uncoated 3 flute 1/4" endmill 18000 RPM and like 80IPM doing a max .003-.005 DoC finishing cut and what you end up with is a beautiful prismatic looking finish.
I’ve been wanting to do some “proven cuts” style testing for a few different recipes. I’ll add your suggestion to the shootout
If you’ve got any general recommendations for 1/8” or smaller I’d also love to hear them…it could get expensive if I have to do too much trial and error
quarter inch is all i have alot of testing with at the moment. Facing and profiling. I guess I did do 2315 5mm x 10mm depth holes at one point using a variety of different 1/8 endmills but other than knowing you cant really cut beyond 4xDia with them I don’t know much in terms of slotting etc.
So the walls of the rings were being annoying with the cleanup…then I remembered they weren’t the actual ring dimensions, rather they were the offset ring dimensions for the press fit pocket.
Finally I took the opportunity to offset correctly and take a breath width off the outsides and down by 0.5mm. Essentially just to relieve those corners that will mate with the brass slots.
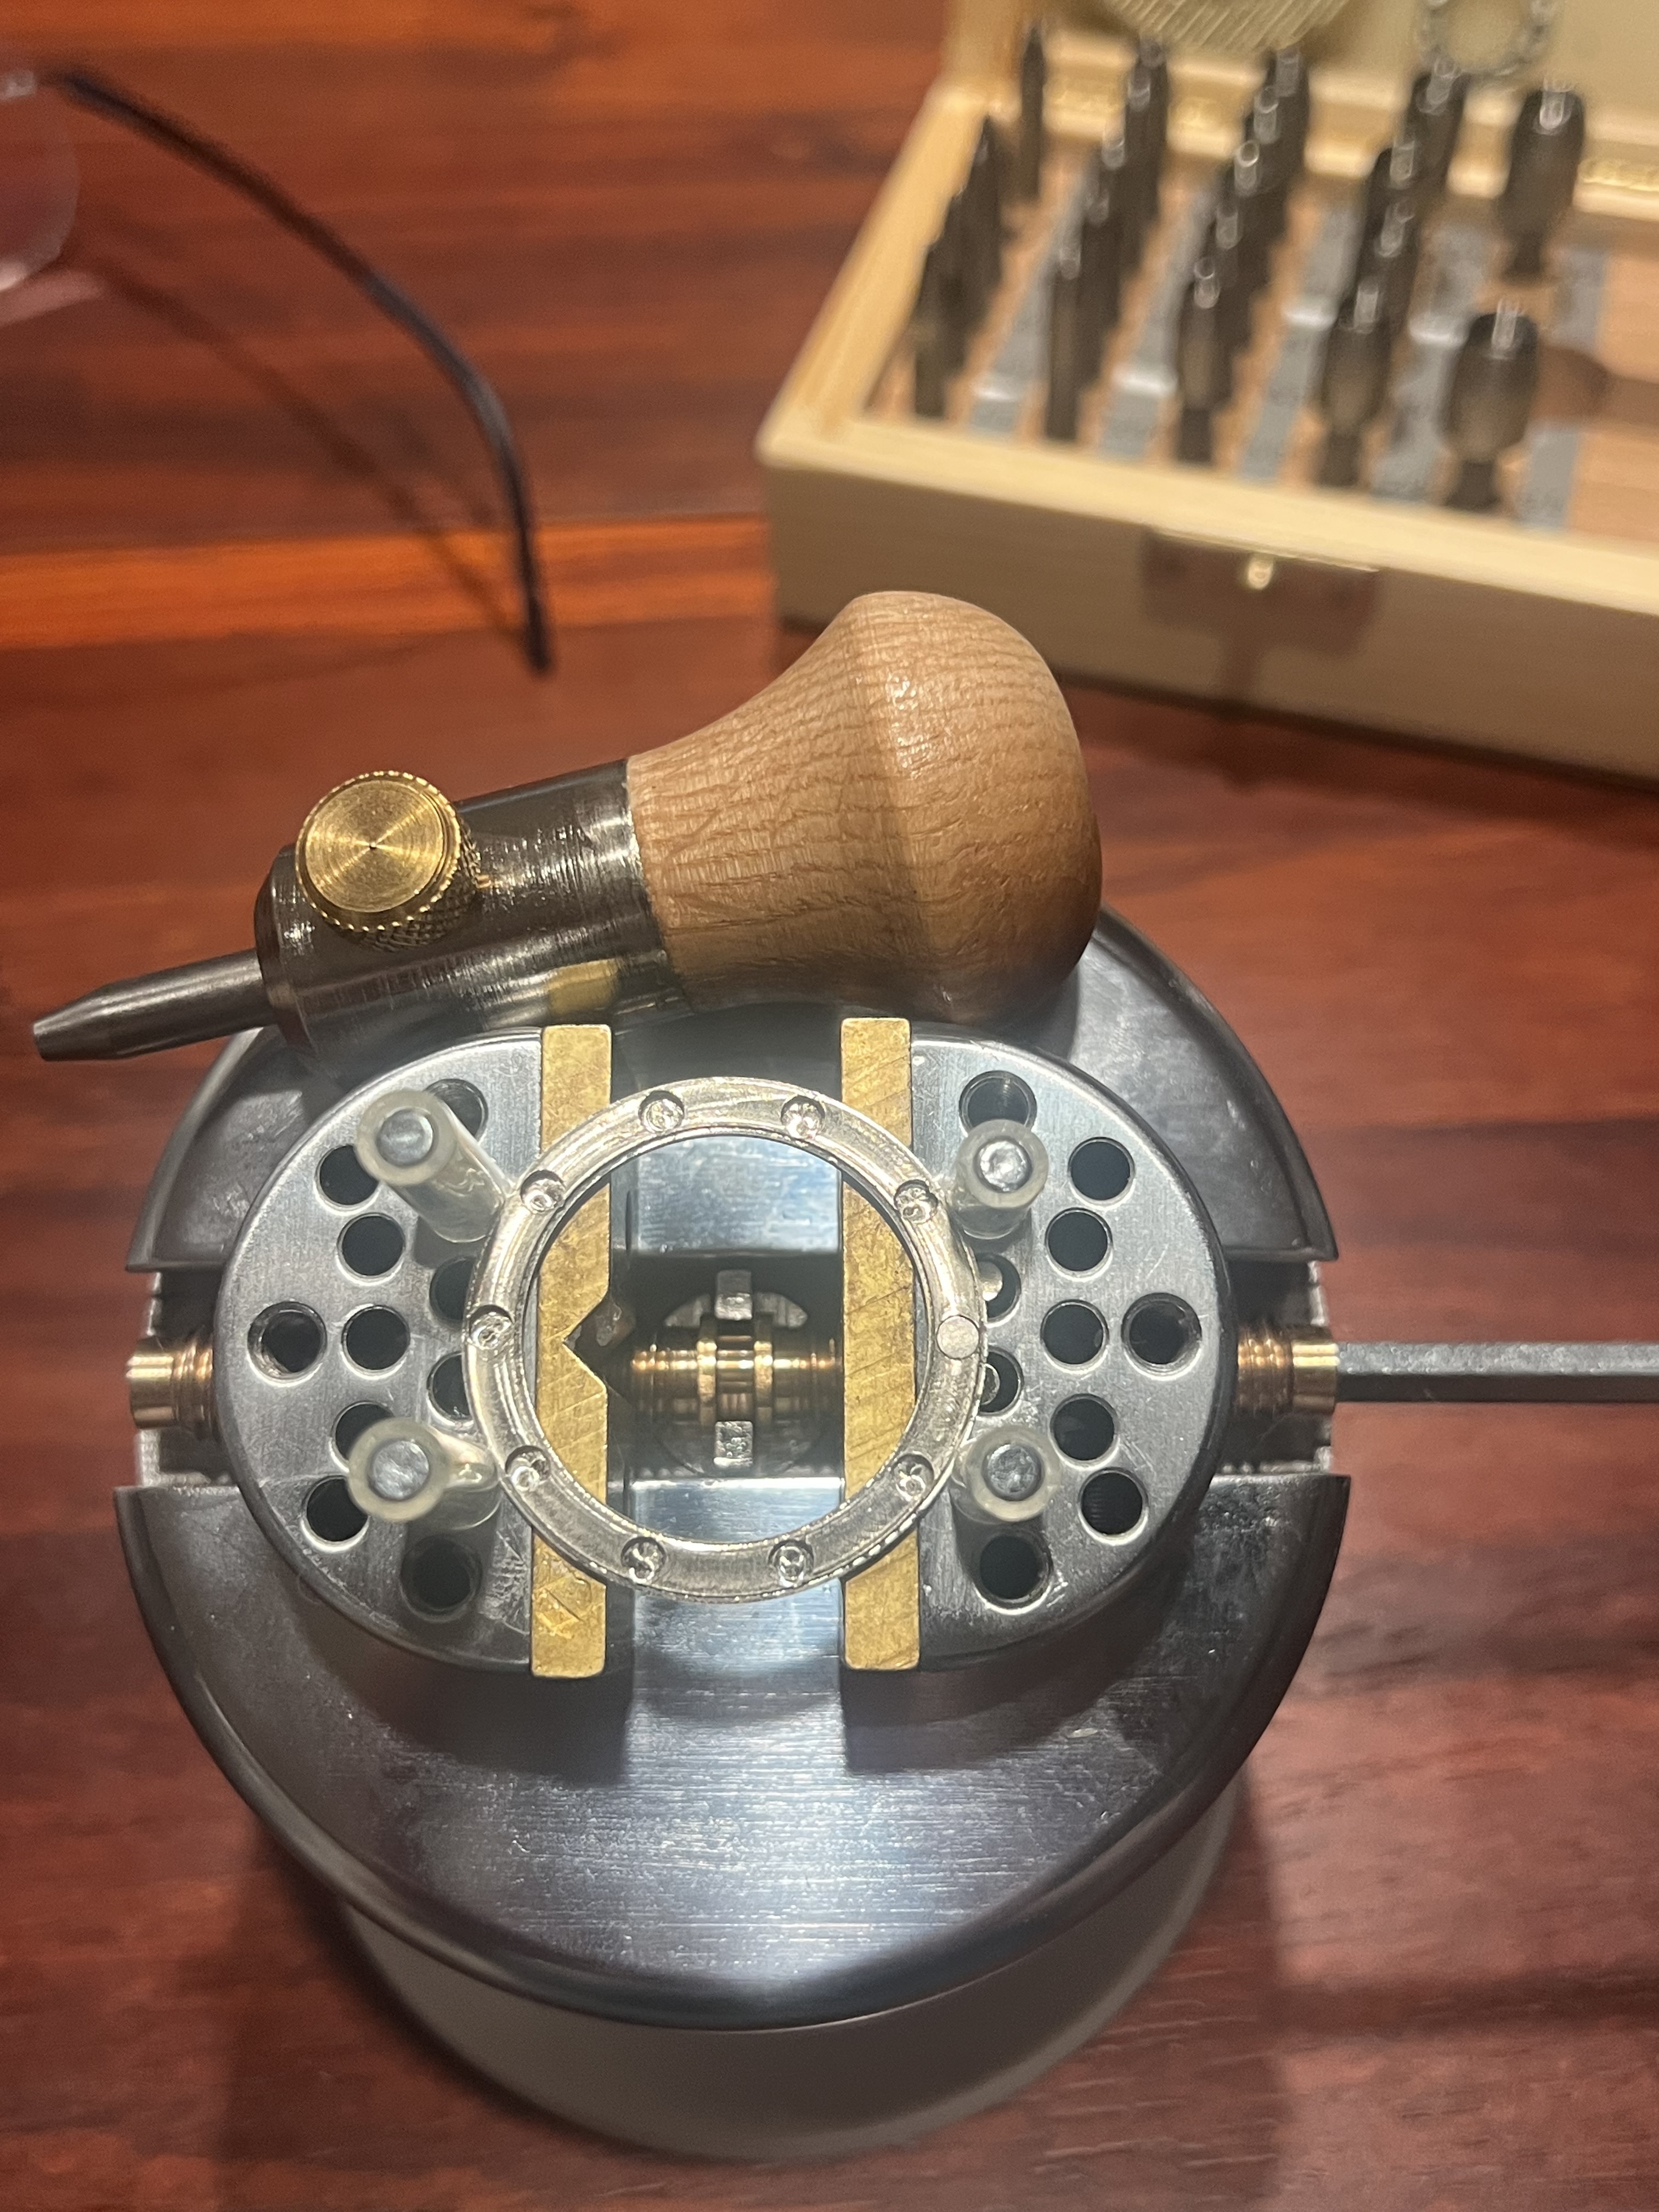
This was a great idea in theory but in practice, it was also a great idea until I made another silly mistake. Is there anything wrong with this picture
Literally the last operation on the last toolpath…what are the odds
Fortunately it was a completely benign catastrophic failure, so maybe I’m lucky after all
Coulda been me and slapped the estop and watched your 1000$ spindle crash into your 2000$ fixture plate and explode a 50$ 1/8" CVD endmill. Collet, collet nut, fixture plate all looked a little funny after
Silver lining, at least it wasn’t an MCD endmill
I’ve wanted one since I first learned about them years ago. I decided it would be my “graduation” present for when I felt like I really understood the ins and outs of micro machining. The last 1/8” Endmill I would ever need for aluminum with the best finish I could dream up indefinitely. The dream…
I still haven’t bought one
Still, that’s a rough day you had there. The nicer the tools, the more it hurts. Worst part is there’s no one to blame but yourself (usually)