And this is finally DONE. Phew…
Wife is happy, I’m happy I saw this through, and it will be a delight to cross that one off the todo list!
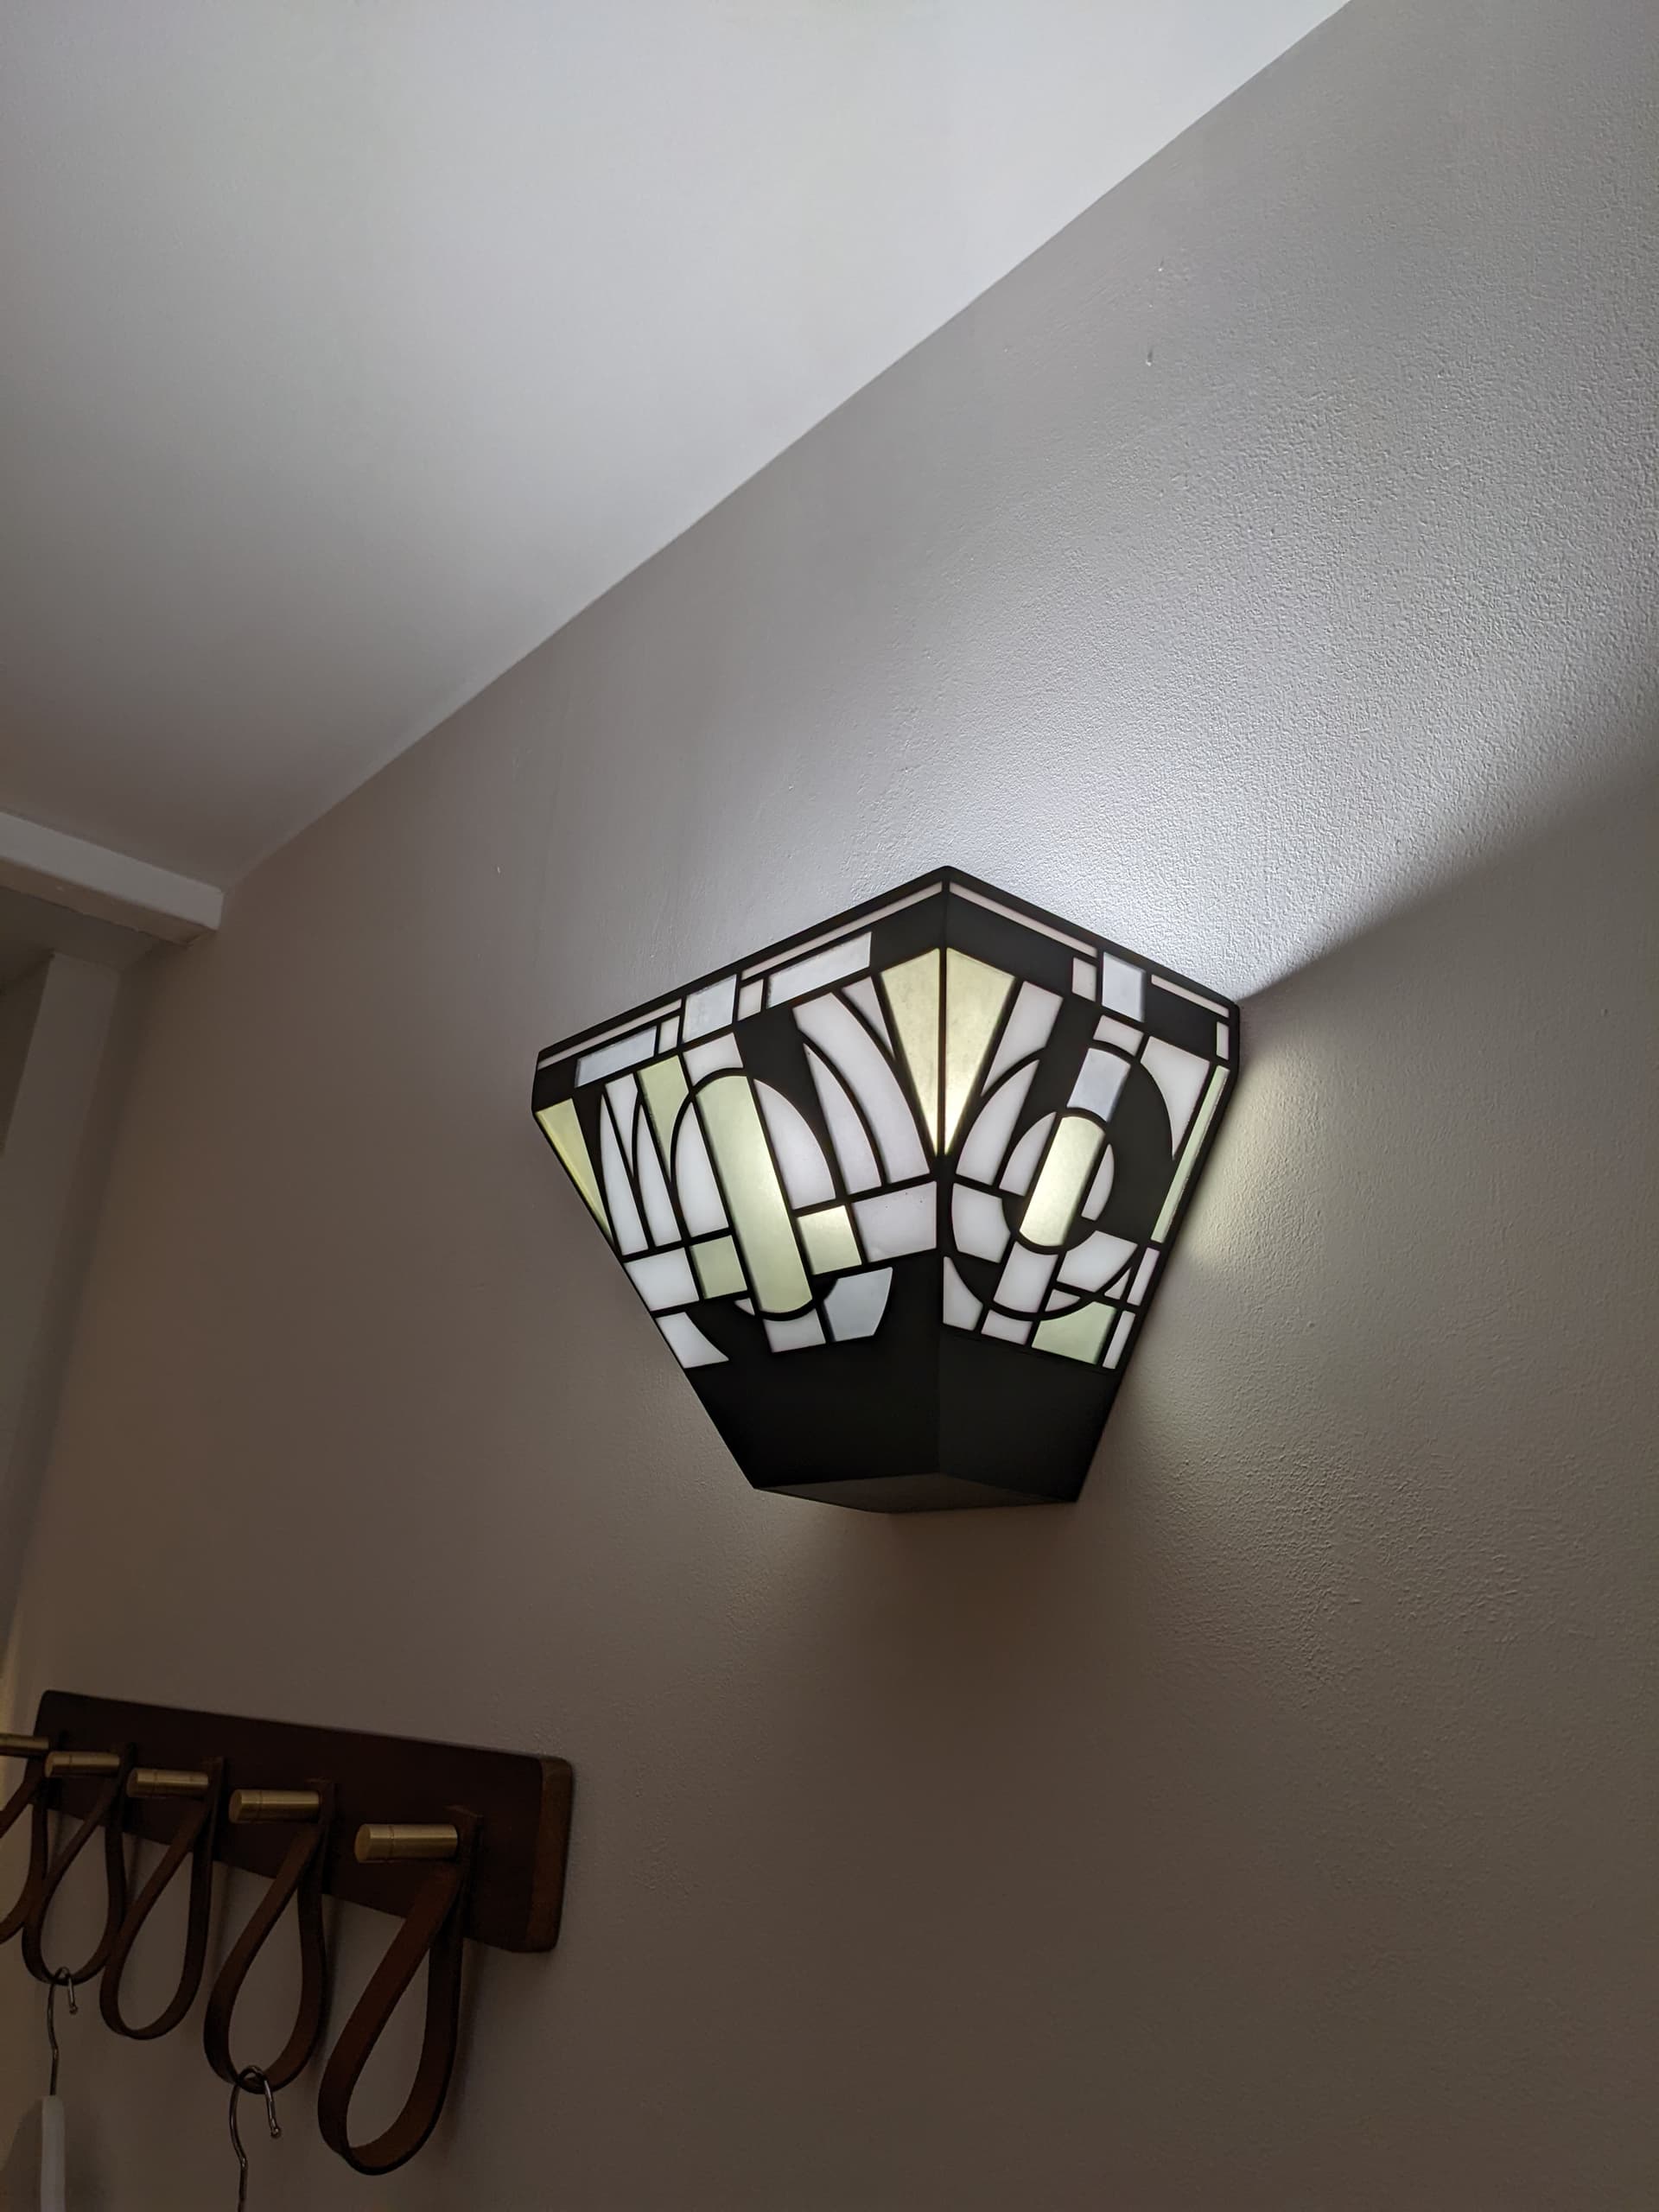
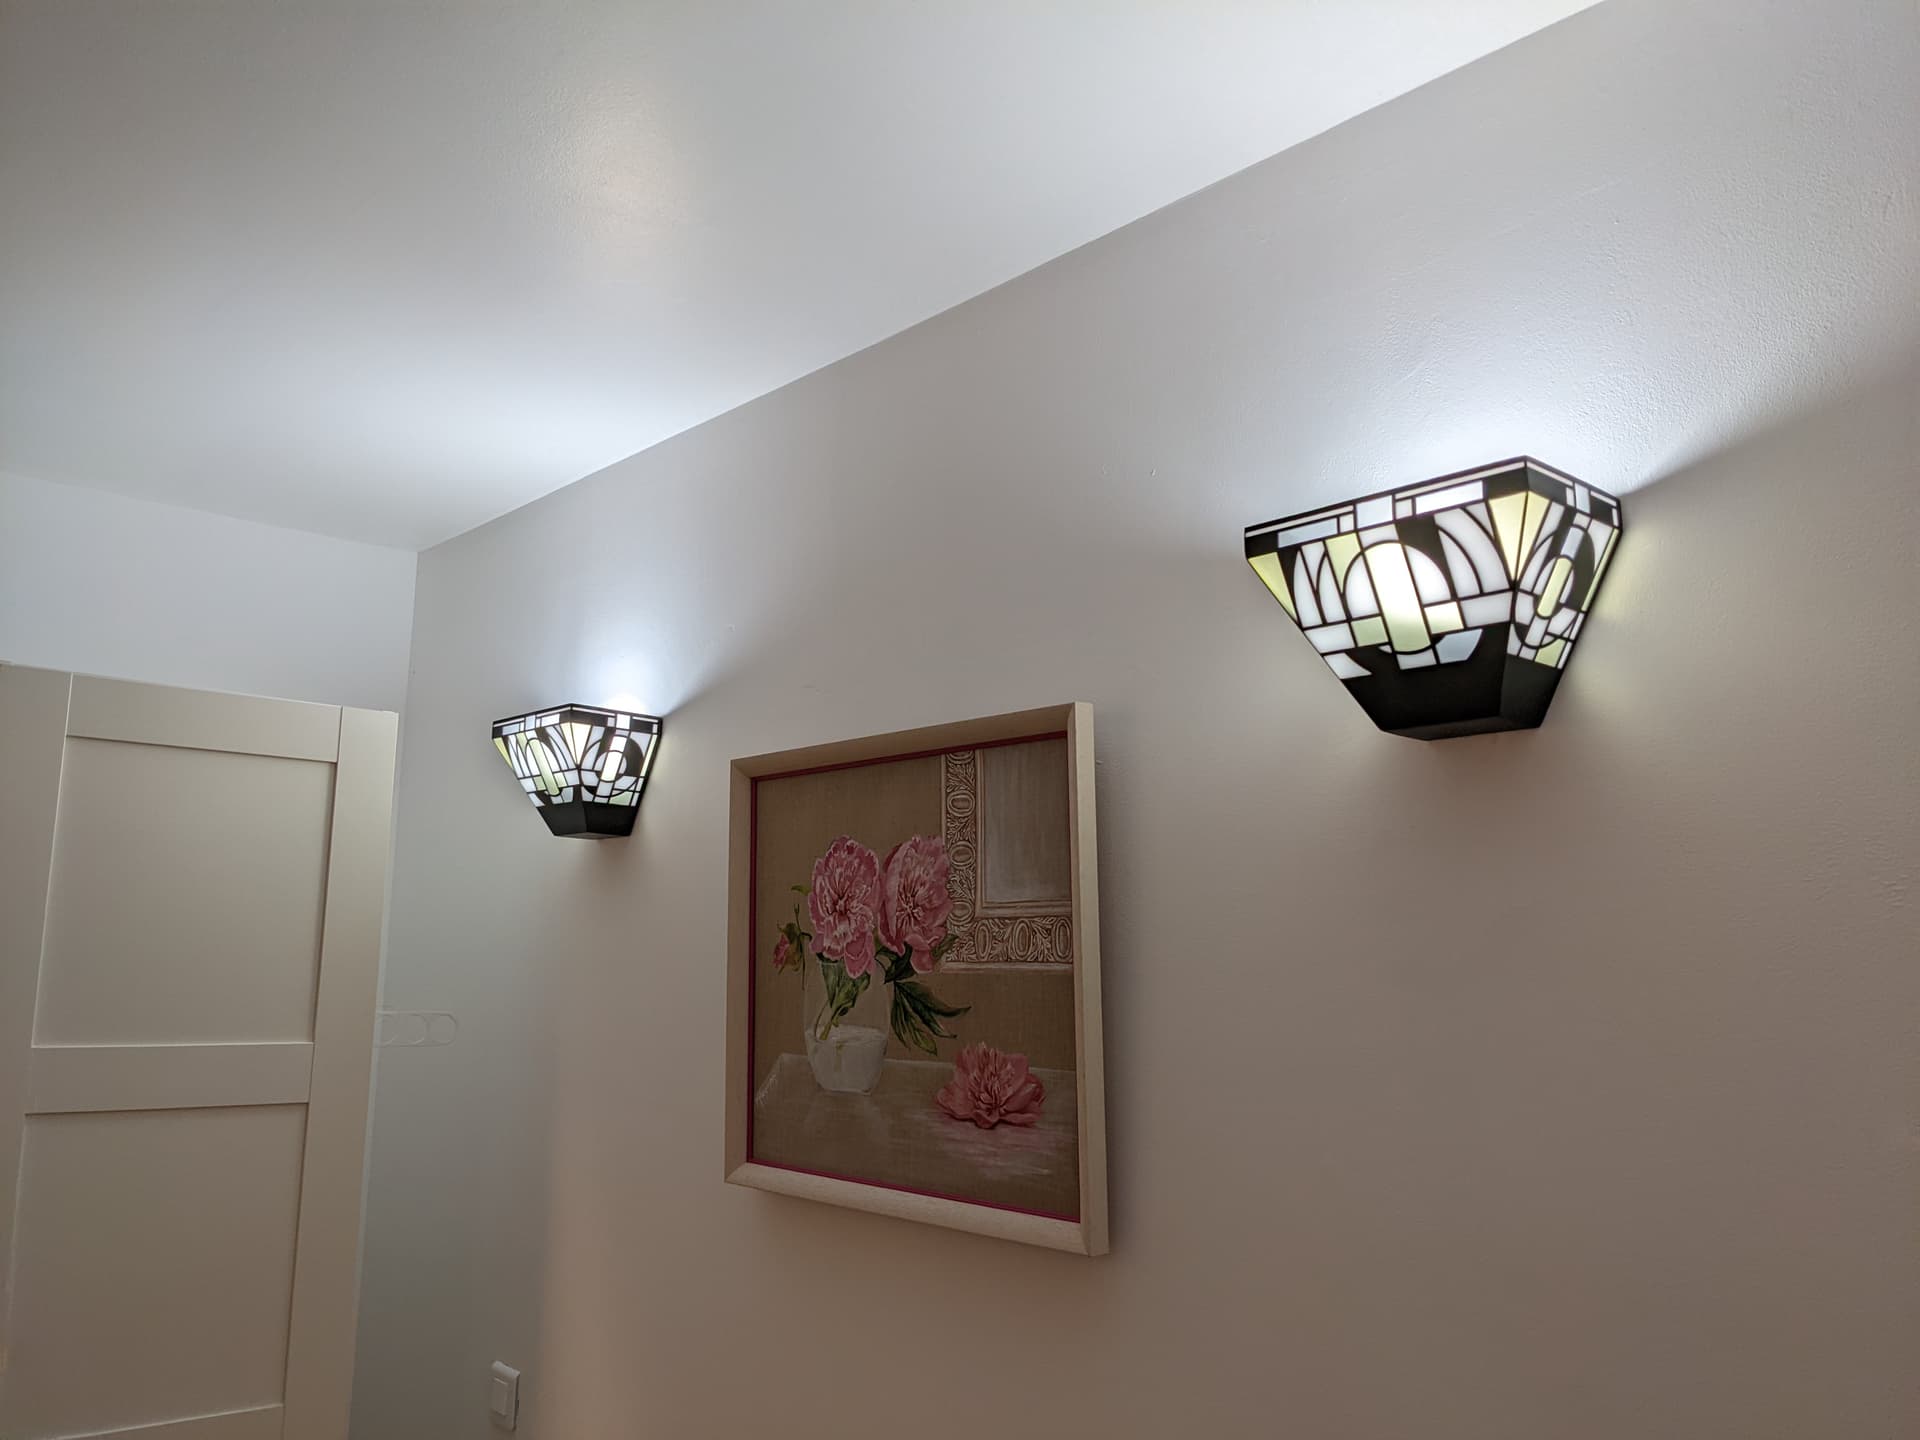
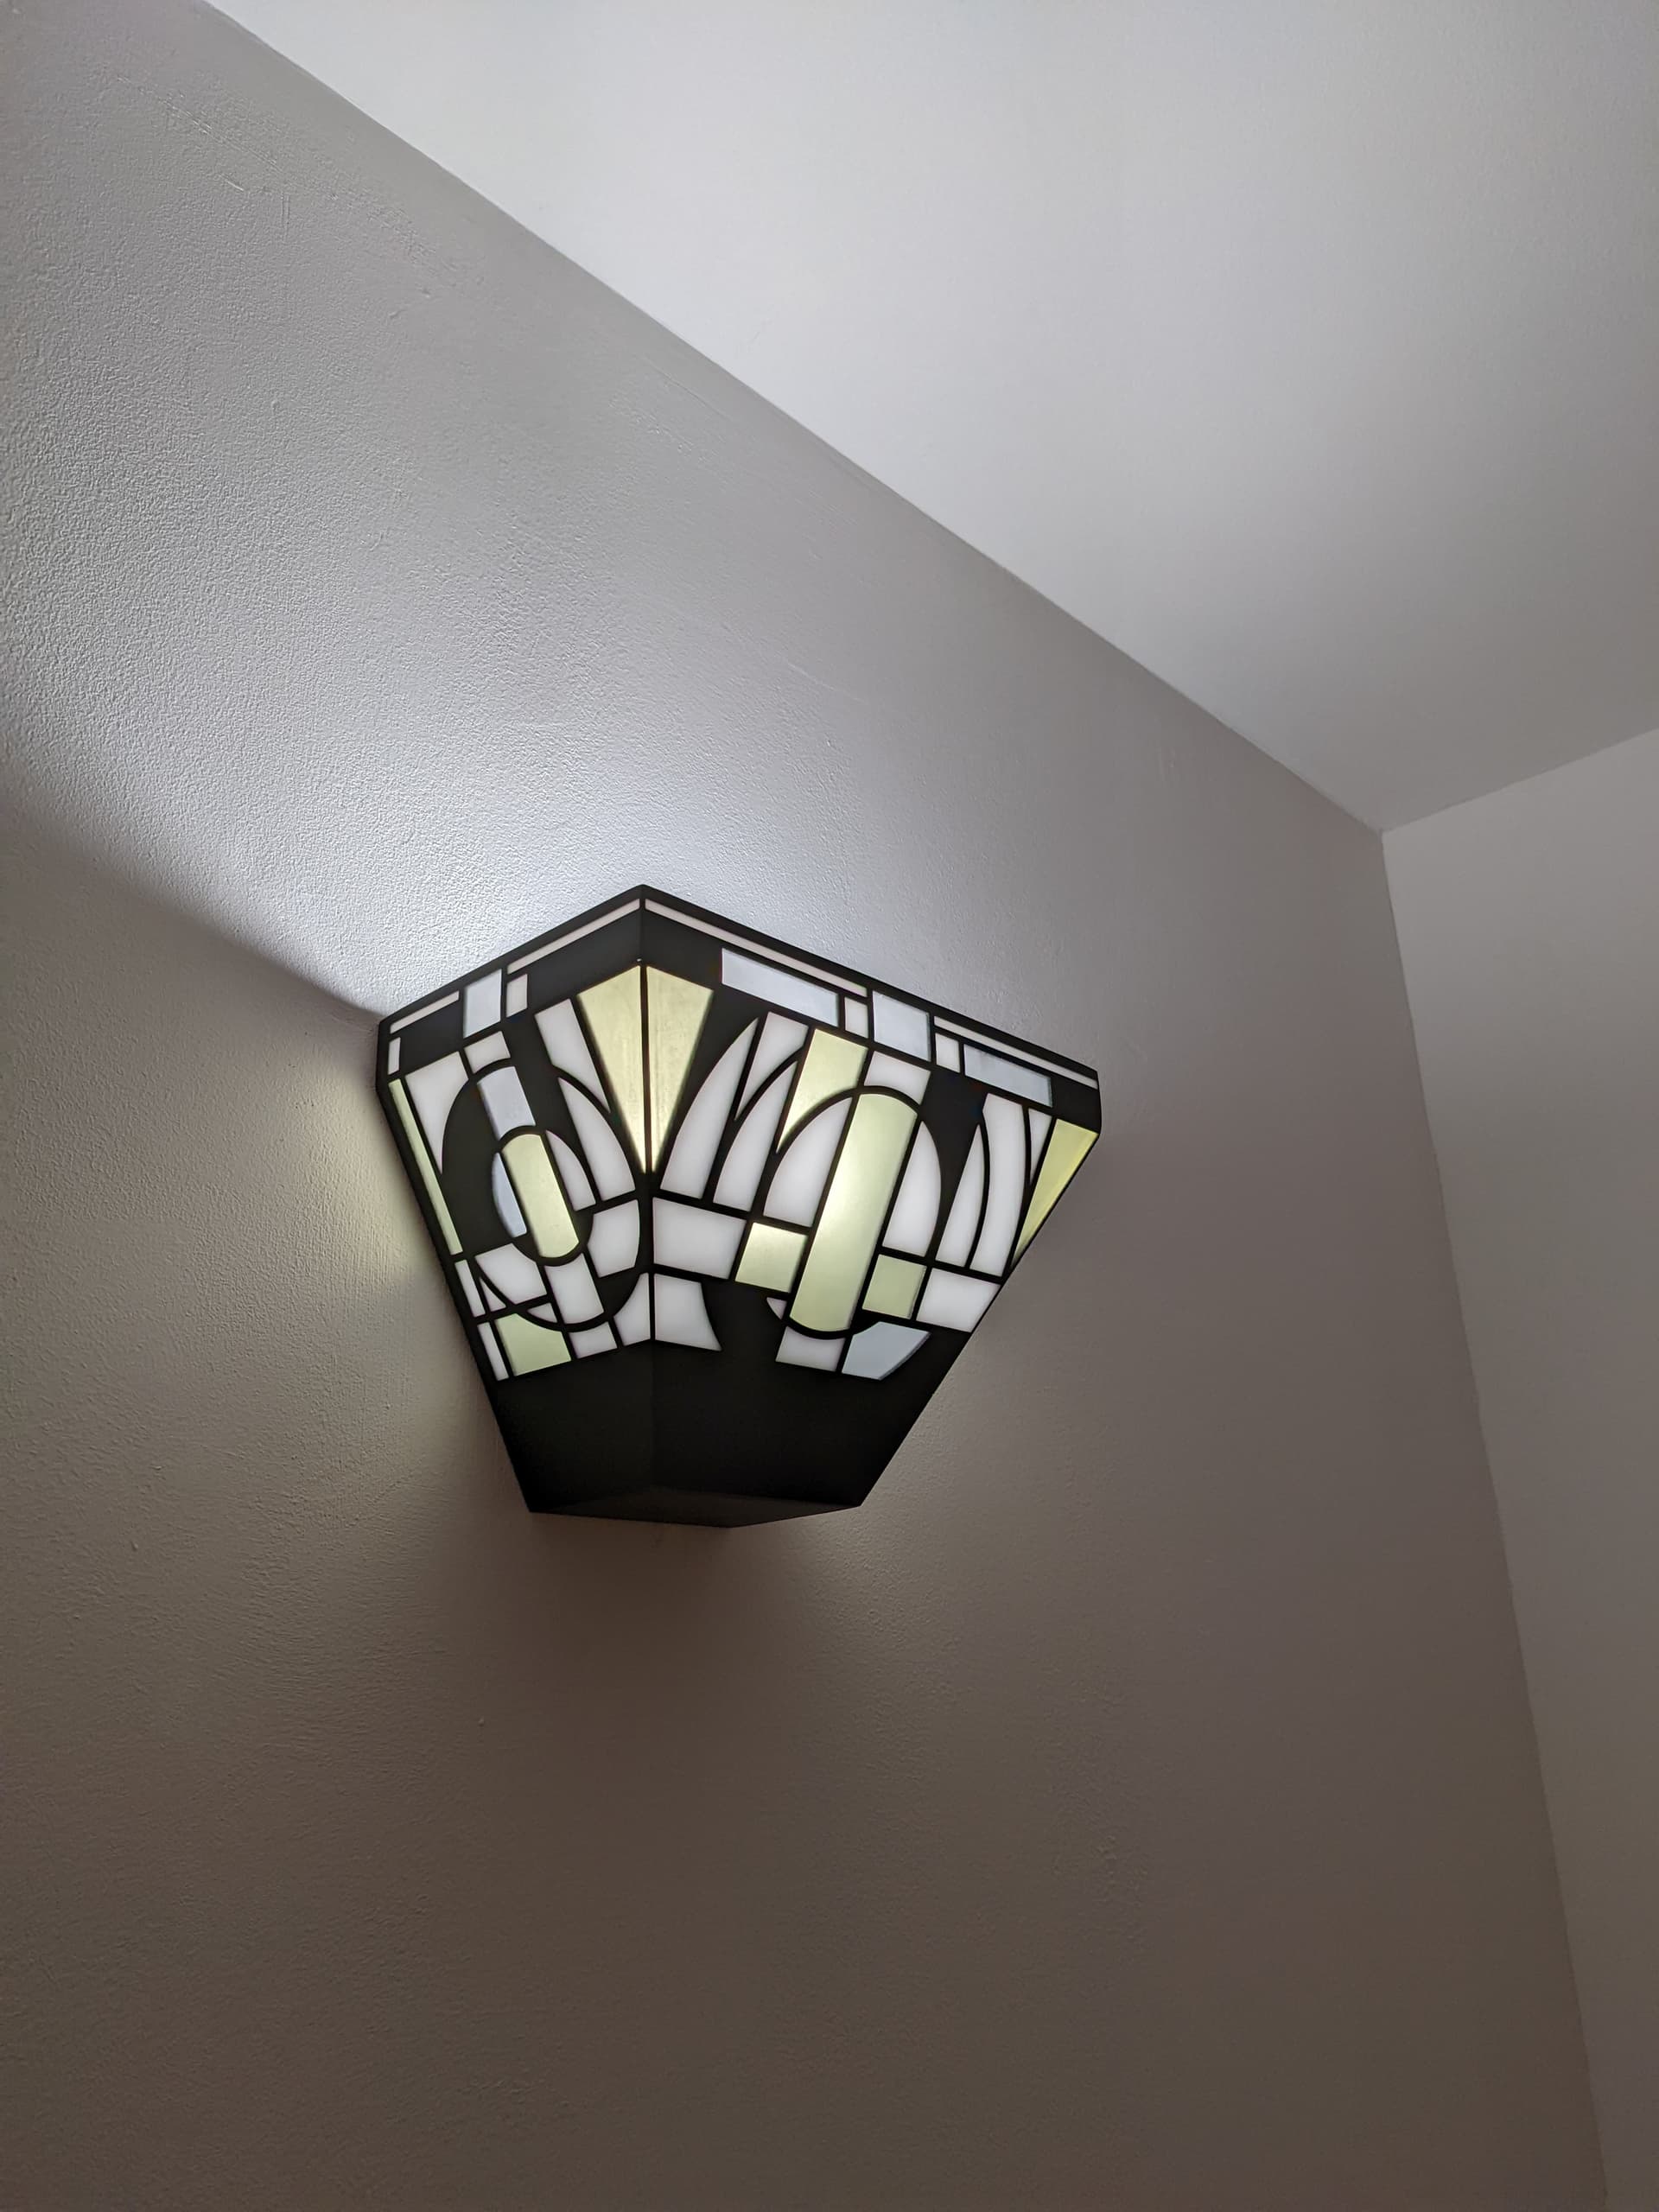
They have been on for three hours and the body of each sconce is still cold to the touch, so @GJM you can probably call off the fire department 
@LiamN: sorry, I had no dry ice smoke machine on hand