Of the three, I like the center model the best. The center wall light caught my eye immediately. All of them are great though.
1 Like
I have used an orbital sander with a fine grit disk on acrylic sheets for a good opaque effect. Perhaps it then could be coloured with transparent dyes.
1 Like
I had a rough fool around with Fusion360 and came up with this. It’s out of a a flat piece of material, say wood or acrylic, with a 45 degree relief.
Julian v1.stl (4.0 KB)
2 Likes
Thanks John! Food for thought…
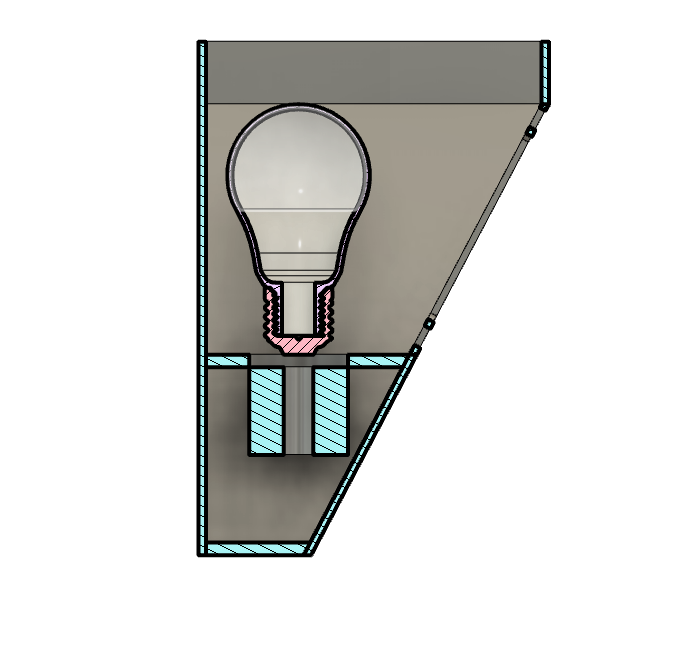
@Julien I wouldn’t connect the socket to the front of the fixture. I would connect it to the back and to the bottom. This will allow the light to pass downward and illuminate the bottom half of the glass. I think that will give you more of the look you’re after.
4 Likes
Like so ?
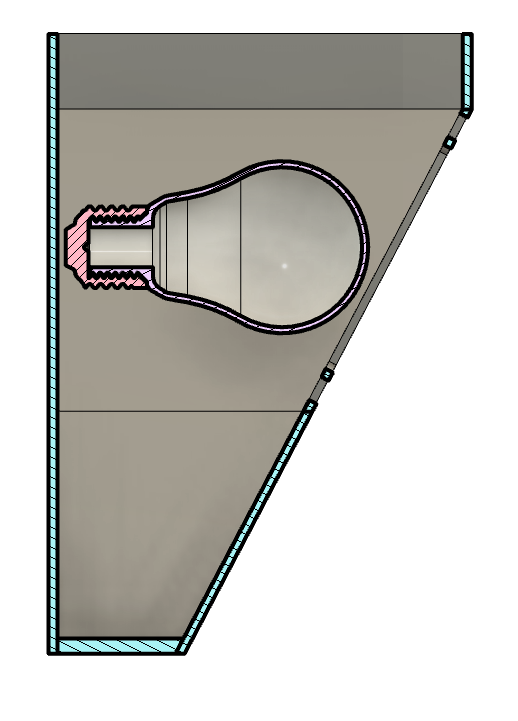
I need enough distance between the light bulb and panels, for proper light diffusion, I like your idea but the shape of the lamp would have to to be modified to be shorter but deeper, I wonder if it would make it look too bulky.
I kinda like the idea to have a solid bottom part (I’m going for wood in the end), and the light goes through the top front/side parts, but is also mainly directed at the ceiling.
I didn’t realize that’s what you were after. Then I would change the proportions of solid to glass - in favor of the glass…in other words, make the solid section shorter, so the glass is the “hero” of the piece. To my eye.
1 Like
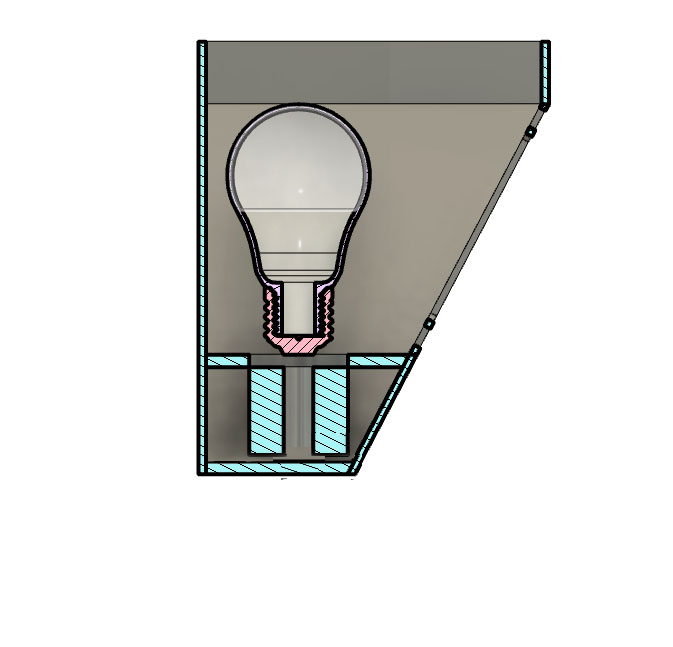
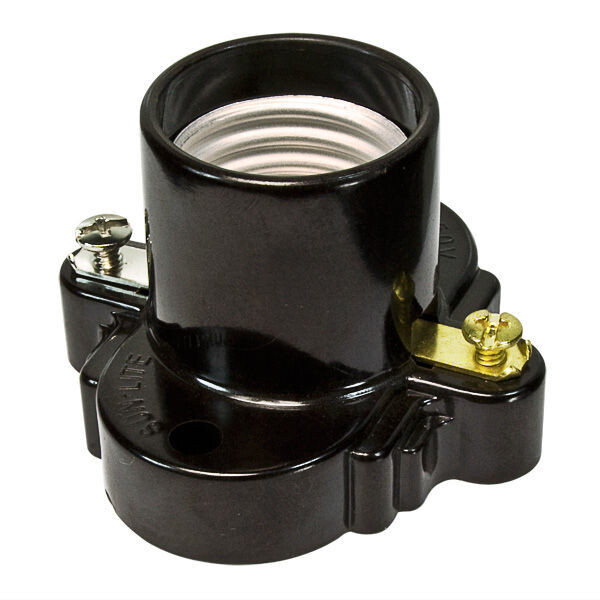
Yup, sounds like a good idea to minimize the height of the solid base like that. I just need to prototype it to make sure there is still enough clearance for wiring. Or find a bulb socket with the wires coming out at 90° , if that’s a thing
Or use an LED Strip…but that’s a whole different light pattern, perhaps
I should have mentioned that I am basically building those sconces “around” those ikea LED bulbs:
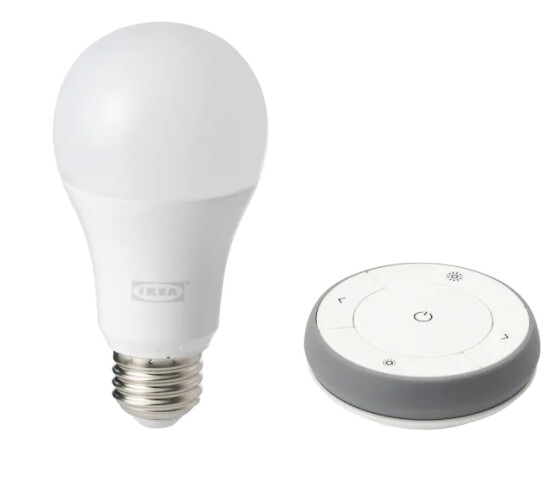
(because other lights in that are already controlled this way and I want a single-button operation for all lights)
They are surprisingly bright, and the zigbee controller (also on the pic), even more surprisingly, does not feel cheap.
1 Like
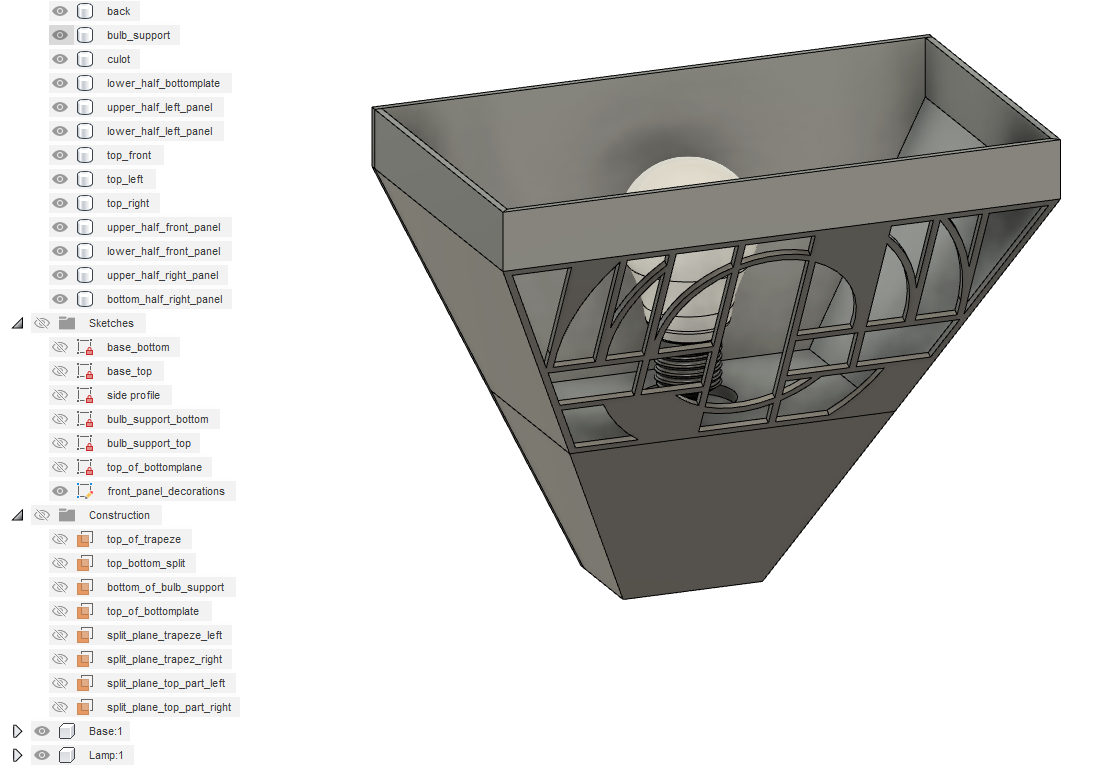
I modified the bottom of the lamp following @GJM’s advice, and did a first render as a test

I’ll play with various epoxy colors now, but this is promising (well, until I get to the toolpathing for the individual parts, that should be a different story)
9 Likes
What about using a frosted acrylic, used for lighting, then doing a paint fill? Or paint it all opaque and mill away the parts you want translucent.
5 Likes
To my eye, that’s really a nice proportional piece. The light pattern is uniform. That’s a sconce! 
3 Likes
Can’t…help…using…wood
Those are nice options though, we’ll see how the first prototype turns out and go from there.
1 Like
Do epoxy for everything! Use like mdf to cut the windows part, pour epoxy, then machine the frame portion out of the mdf and pour resin with brass color (or whatever). Then flip it and machine the rest of the mdf away.
As a electrician for close to 50 years let me pass on a word of advice. First if you put a reflective back on the fixture you will get a better spread of light reflecting forward onto your glass or plastic or whatever you are putting on the front. Make a first draft and play around with the distance between the bulb and the front material, two close and you will get a hot spot instead of a fully lit front panel. also bear in mind the LED will be fine heat wise but if you go into production ;0) and sell these someone else might put in a old A bulb that generates a lot more heat so you might need some vent holes in the bottom to allow the heat to rise and dissipate out the top. Look at most of the sconce lights on the market today they are open on the bottom for that reason. As for ease of construction you might just start out with a inexpensive sconce, then you will already have the light socket, all the wiring and mounting hardware. Oh and my vote is for the one on the left. Enjoy the design process…
6 Likes
Good tip on the reflective back, it makes a lot of sense, thanks.
For this project I want to apply the “fail fast” method, which is why I’m working on making prototype #1 as it stands and then see where I go from there. This will only ever be a one-off though (well, three-off, in my case)