Sadly, I had to pull the plug on this attempt. Had multiple problems, the final blow appeared to be a bit slipping or some other z axis problem. The 1/16 ball started milling about 1mm lower than it should have right down the center of the map.
I’m going to start over, reduce some of the detail (roads between towns) and try again with the tapered 1/4 inch shaft bits. At this point I’m going to try and avoid 1/8 shaft bits in the Shapeoko. I have not owned the Shapeoko long enough to draw any definite conclusions other than I’m having bad luck with 1/8 bits slipping.
also may I suggest starting with something a little smaller in size, maybe 4"x4" or so… just to get to the end of it and ensure all your settings are sound/working/etc
Looks like you have got a lot of great advise on cutting. My one suggestion is to consider using a different material. Baltic Birch can be from great to not so great in quality. There can still be voids in the subsurface of the plys. Even in Baltic Birch or Finnish Birch there can be knots in the middle plys. If you hit a void it could ruin all your work. MDF could work but solid wood might be better even if it is just clear pine with glued up boards.
With all this work you dont wont to find out you got a bad batch of baltic birch plus the glue on the plys can fail when getting to fine detail like the top of a mountain.
I got my Baltic-Birch from WoodCraft, and (so far) that is the only option I found to locally source “good” plywood. I paid $50 for a 48in x 30in x .7in board, and yes it has roughly 4 to 5 knots on every inside layer
I need to find a local source, like what John Clark found near him.
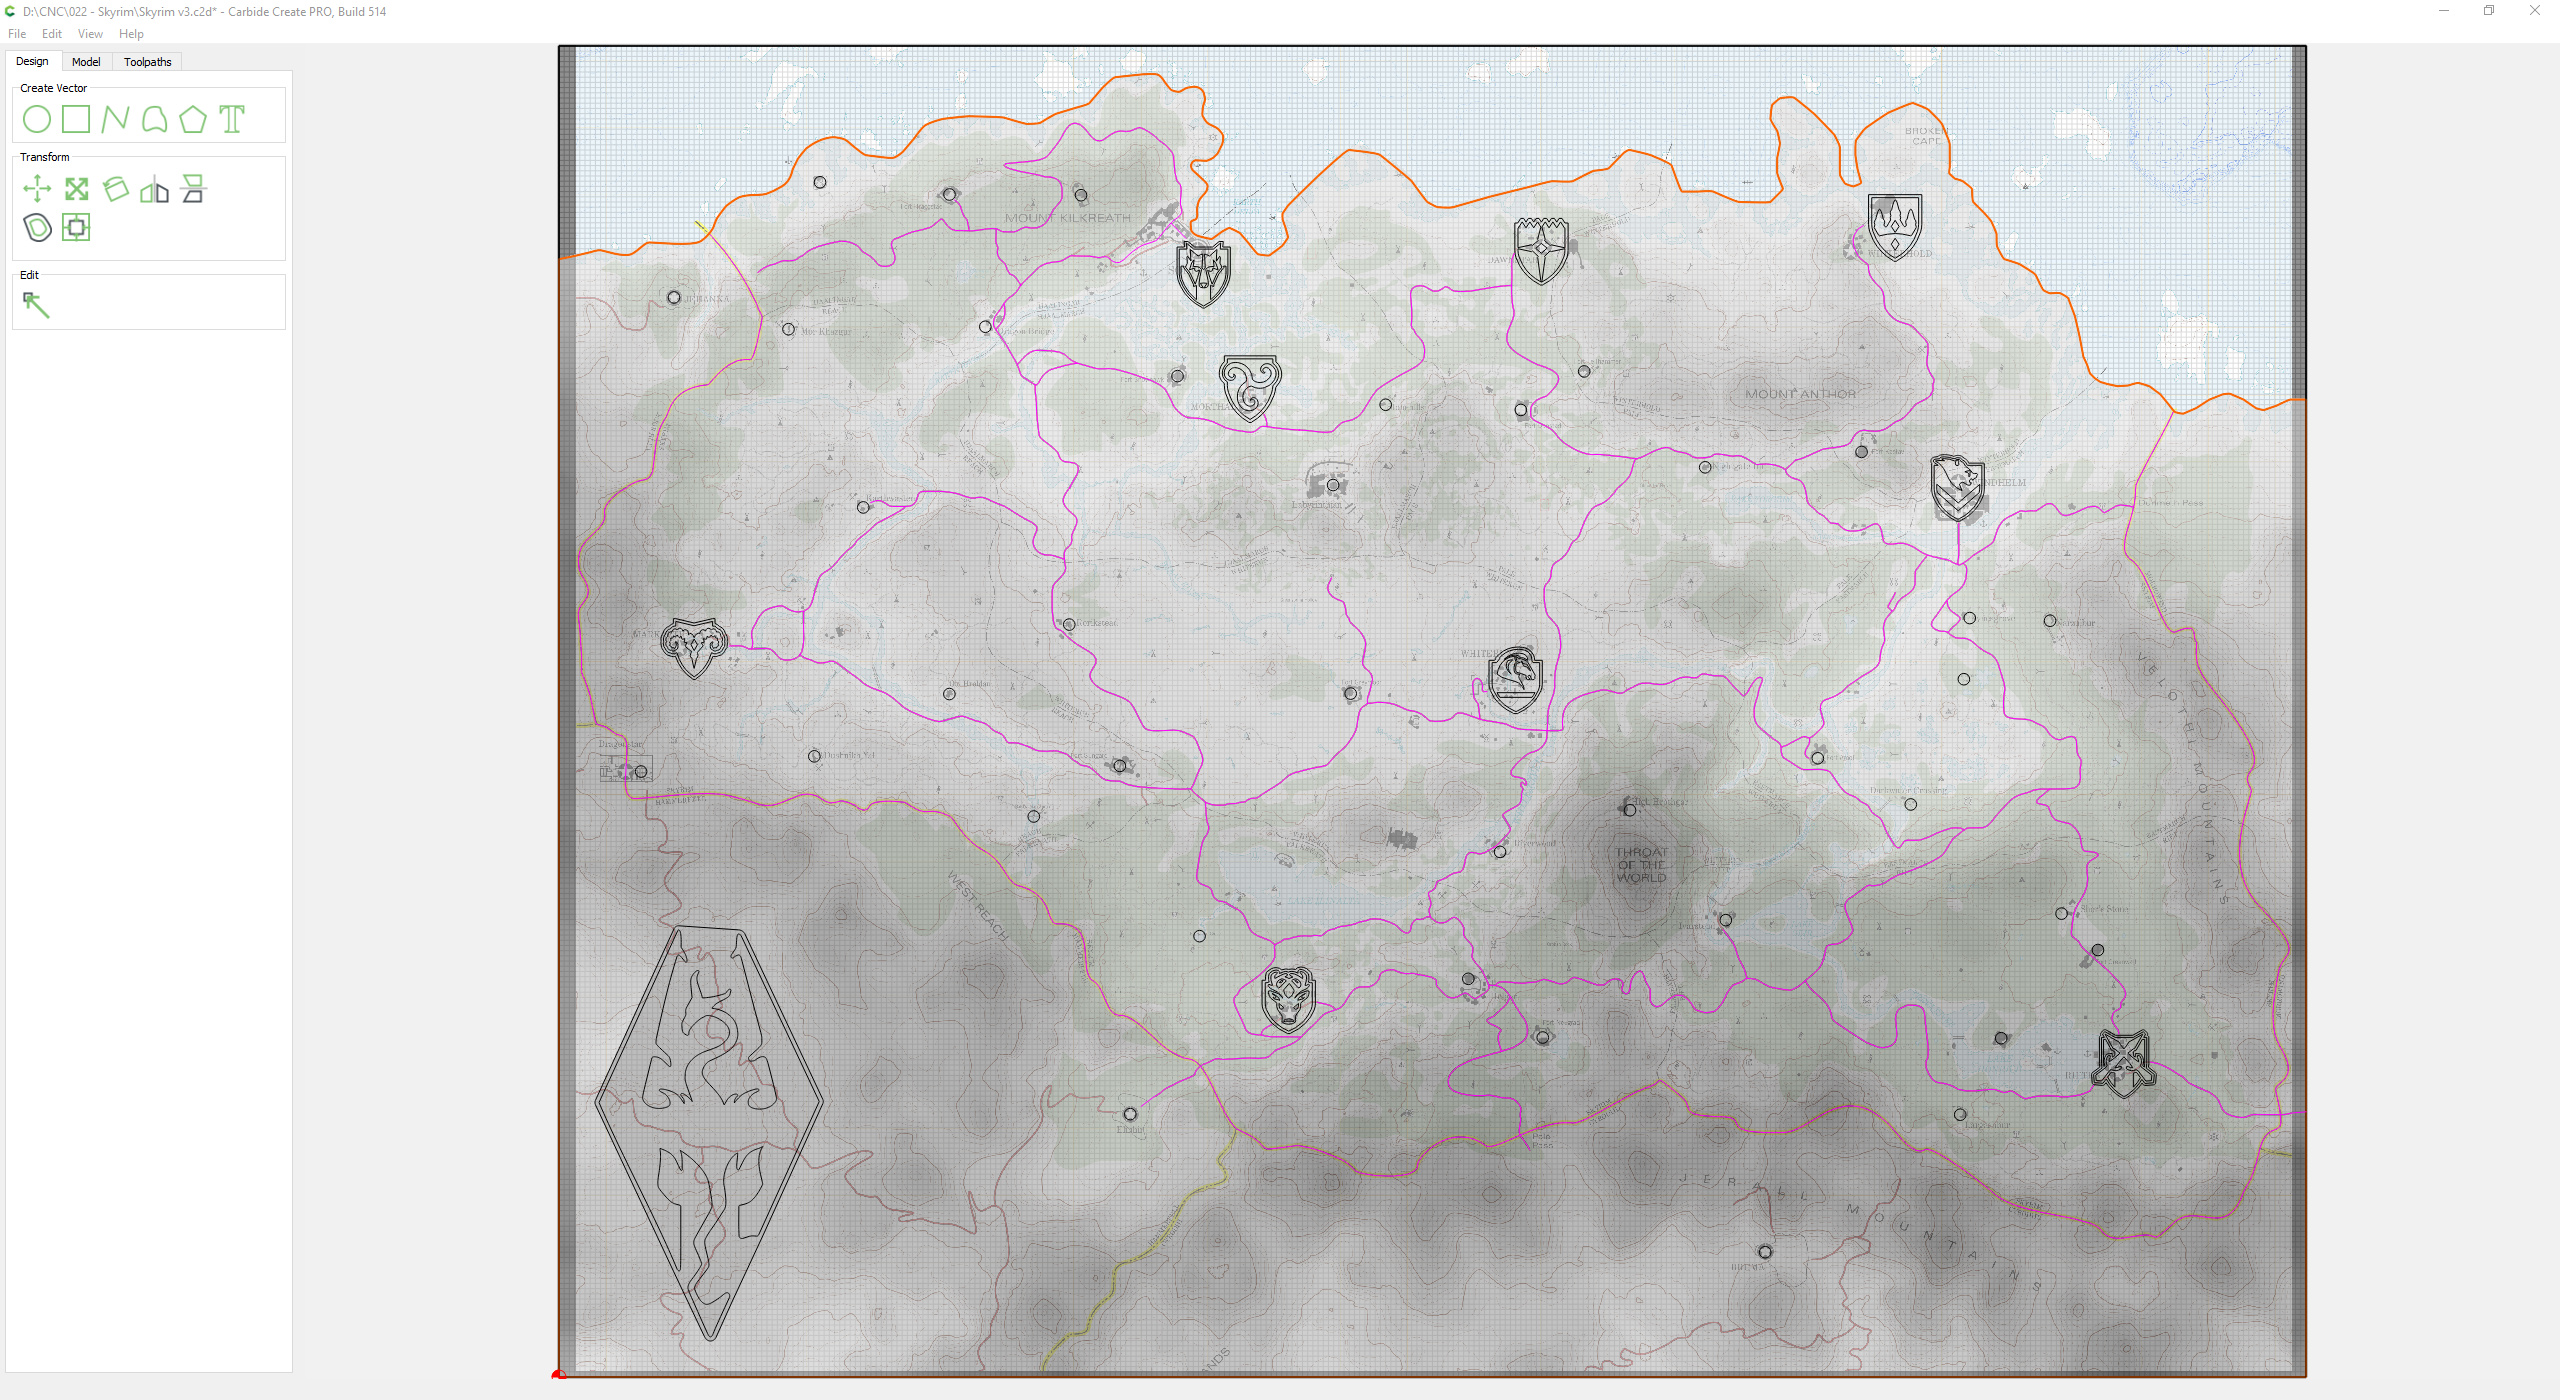
I reduced the detail in the 3D model (it no longer has the city platforms or roads). I am adding that detail back via (non 3D) toolpaths after the finsihing pass is done.
I’m not sure when @robgrz added this feature, but being able to see the X,Y and especially the Z height in a 3D model REALLY made this possible. If you have not noticed that information down in the corner…
I am also going to stain the board between these two steps so that detail pops out more. Like what I did with the last topographic map.
Status Update: Temporary Delay
With all of the complicated things that could have gone wrong, I just simply dropped my 1/16 down-cut bit and it broke against the garage floor
Up until that point, things were going great. The topographic carving is done, the board has been stained, some post stain details have been added… and now I wait for a replacement bit to arrive.
Like an arrow to the knee.
Edit: I dropped the first 1/32" AND 1/16" bits I ever took out of the packaging to use, within minutes of each other. Felt like quite a monkey that day.
from a pure selfish perspective: What is the biggest learning you think we should all know?
And is there anything in the software workflow that you wish was easier/better ?
I learned a lot doing this project, hard to pick a single thing. Here are some random thoughts.
The feed rates I started with were roughly doubled by the time I was finished. This may be my biggest takeaway in terms of learning to use my Shapeoko.
This was my first big project on the Shapeoko, and I found several flaws/disappointments with my dust collection setup. At some point I will start another discussion with pics and measurements to discuss possible ways to improve my current setup.
I learned the phrase “rest machining”, it is something carbide create does not currently do, but now that I understand what it is I would rank this very highly on my Carbide Create wish list.
If you are using the 3d modeling feature in Carbide Create, switch to the beta version. For me, the 514 beta was not only better, it was also more stable than the current version.
While probably overkill for easier projects, it’s been my habit to keep notes (simple text document) for each project. This was really helpful for this project.
I would be remiss if I failed to point out that the Machine Operating Checklist recommends clothing suitable for a shop, and while footwear is not specifically mentioned, it is implied.
This is my Bit Protector / Foam Pad that also makes it a little more comfortable when I am standing in front of the CNC being memorized by rhythmic patterns.