Tramming Question

Stock SO3, after surfacing spoil board I see with my makeshift tramming device that in 6 inches from 5 o’clock to 10 o’clock I’m low in the back left by about 1.7mm.

I’ve tweaked the carriage but can’t get any more out of it.

Is there a guide for shimming? I’m not sure how to proceed.

Usually a “surfaced” spoilboard has milling marks… I do not see any, but maybe it is the camera angle?
Surfacing and Tramming are two seperate things that work together along with the need to be square and parallel with the beams/board.
(on first cup of coffee.)

1 Like

Which Z axis do you have?

On my HDZ after running out of adjustment on the X beam I cut small pieces of shim stock to put between the lower V Wheels and the back of the Z to level out the ‘nodding’ rotation about the X beam.

2 Likes

@MindlessCorpse , it’s funny that you mention that. I ran a 1-1/4" mortising bit back and forth manually along the Y axis to surface at first. I had distinct ridges when doing that. Then I ran the same bit in the X and that evened out the surface. Interesting that I didn’t get the ridges going front to back when I ran the second set of passes.

But that’s when I decided to check the level and found what I perceive as both left to right and front to back discrepancies.

Guess most of the issue is in the X and not so much in the Y anyway.

@LiamN, I have the stock Z. I think I will need to shim similarly to how you’ve done, but not exactly sure where to shim.

Do you mean the old belt drive Z or the Z Plus unit?

The first thing you can do is loosen the four bolts at each end of the X beam holding it to the Y plates and see if the beam will rotate a little in the slack in the bolt holes. Sometimes this gives you enough adjustment.

On mine this wasn’t enough so I had to cut some shims and install them between the lower V Wheels and the Z axis to tilt it up further.

Here’s a couple of pics using a bit of post-it note instead of a shim on my old belt-Z axis.


If you don’t have any suitable shim stock (which most people don’t) then the aluminium from a beer or ‘soda’ can makes a good substitute. You can cut it relatively easily with big scissors or snips. Wear gloves, it gets sharp. To get a clean hole in it, put the aluminium between a couple of bits of wood and drill all the way through.

4 Likes

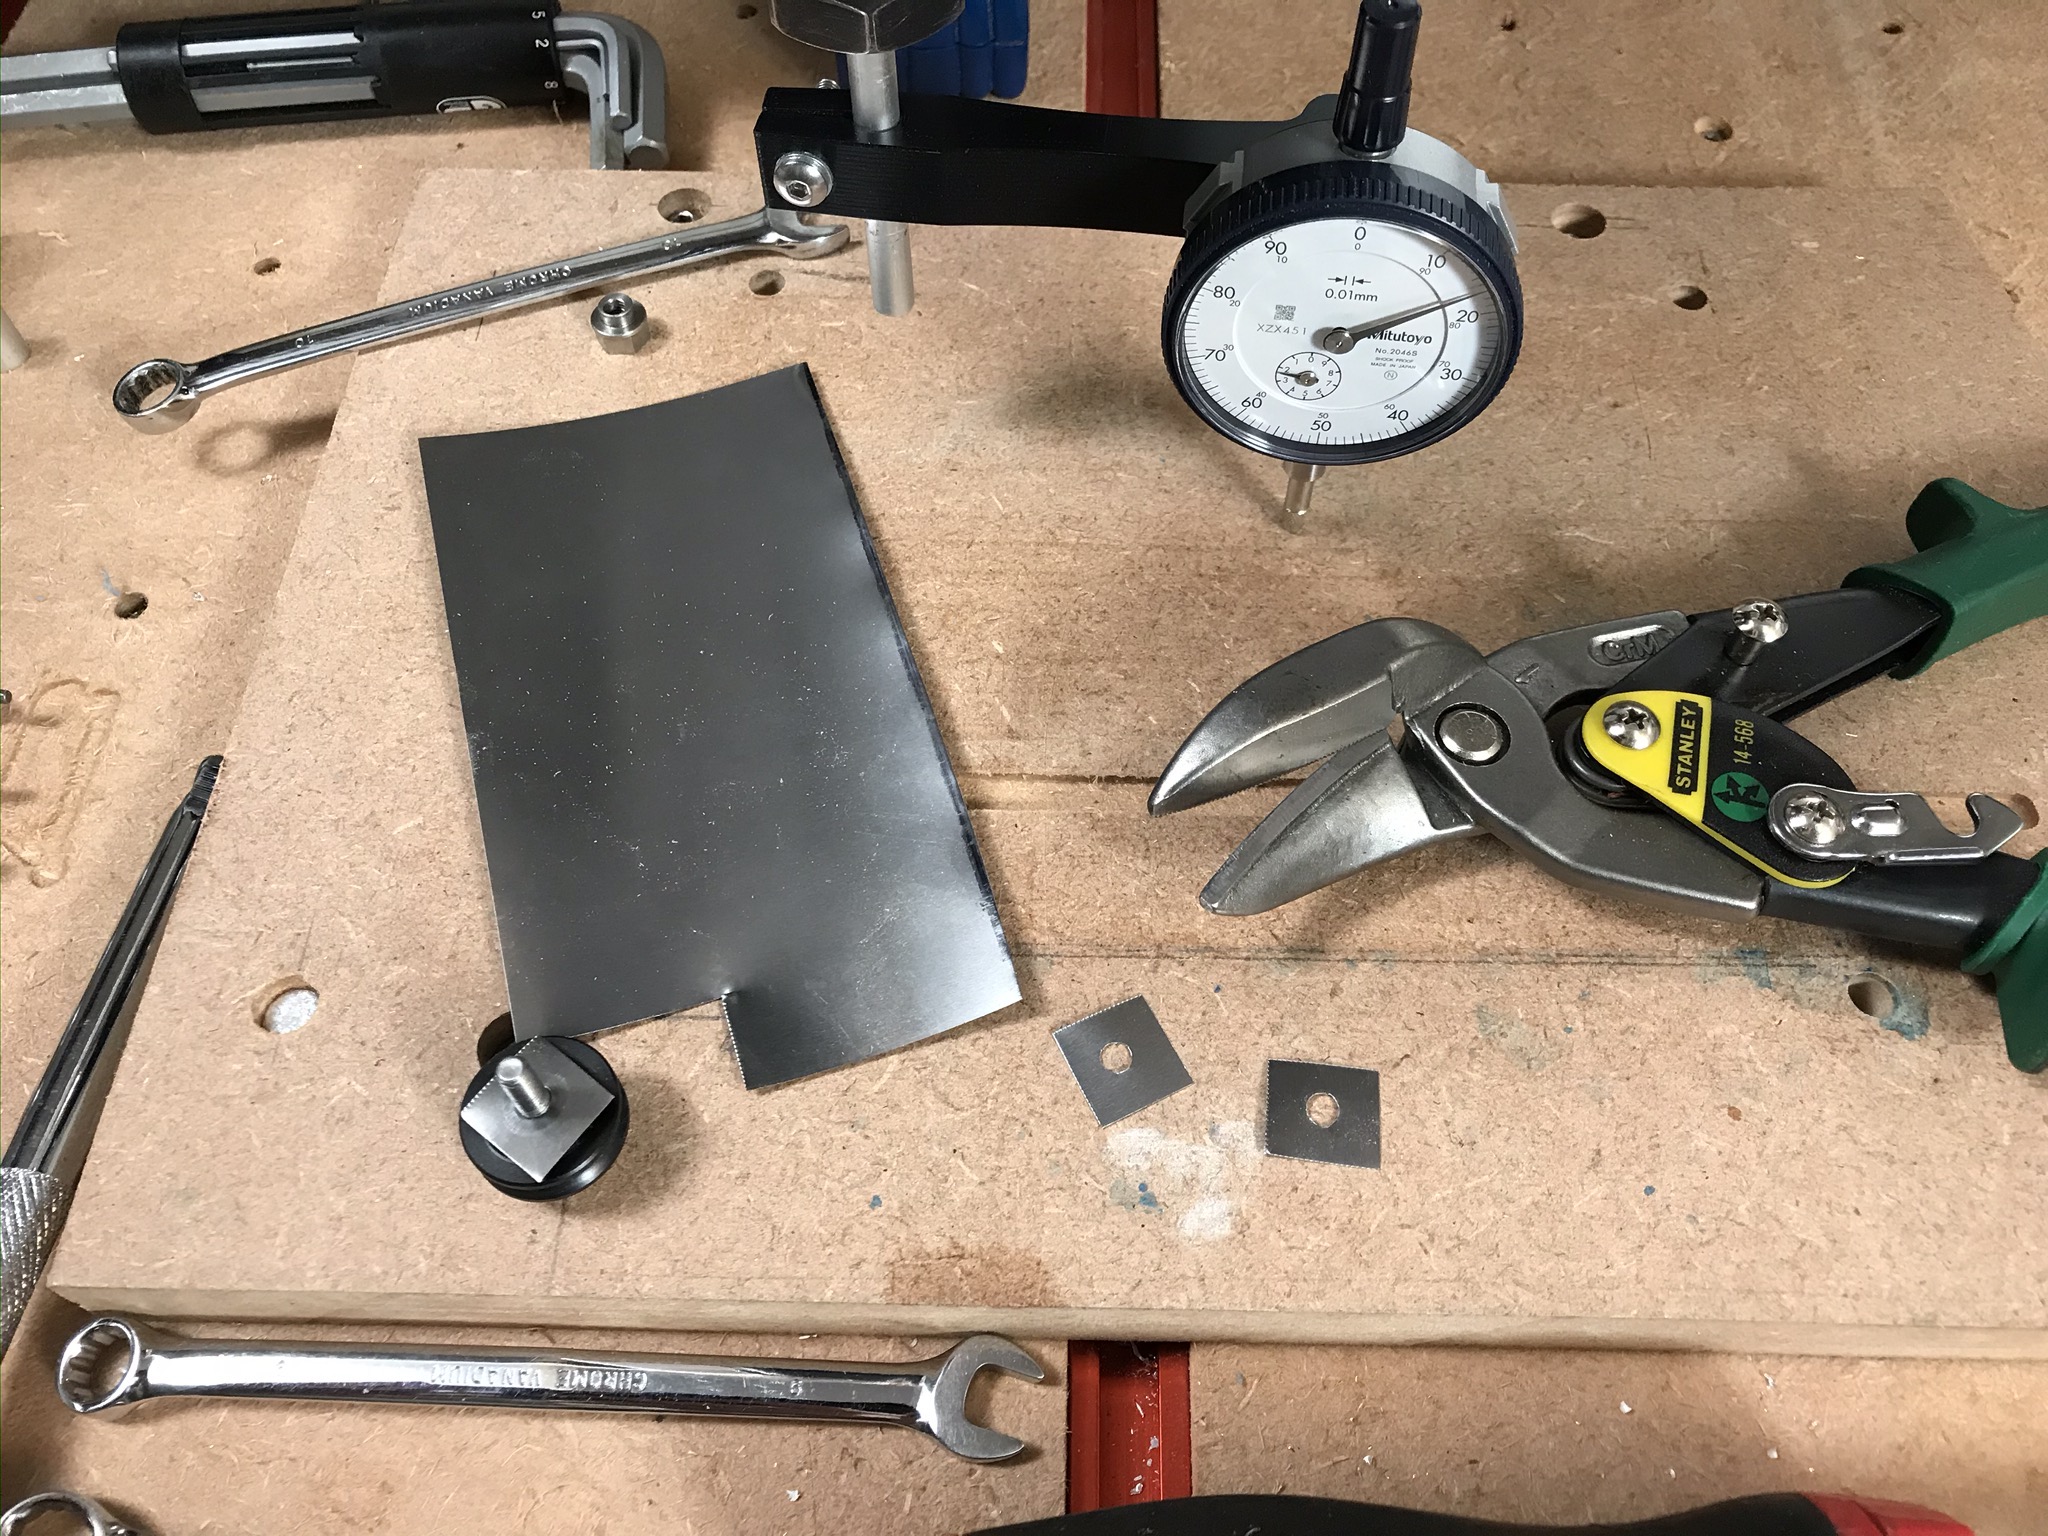
My machine setup took a little time, I don’t think any of the steel components were free from warp. But I was able to get it to what I’d consider quite satisfactory without shimming, but barely.

Admittedly, I went about my setup in a silly manner. First I established a laser datum, set the table, then the Shapeoko base(a level would work, and a machinist bubble even better). Unnecessary, but its nice for visual interpretation. And It never hurts to start building a home square and plumb.

I then roughly set out the machine with 123 blocks and a suitable shim as required. In such instances, I pick a side. That is to say, most basic hardware scenarios allow some play in one direction or another, pick an applicable direction to take up that play and follow suit throughout assembly.

Using the 123 blocks at machine corners, I positioned both Y extrusions parallel to the base. The X axis was used for Y to Y spacing. Same procedure for X extrusion. I then used the 123 blocks to square the router mount to the base.

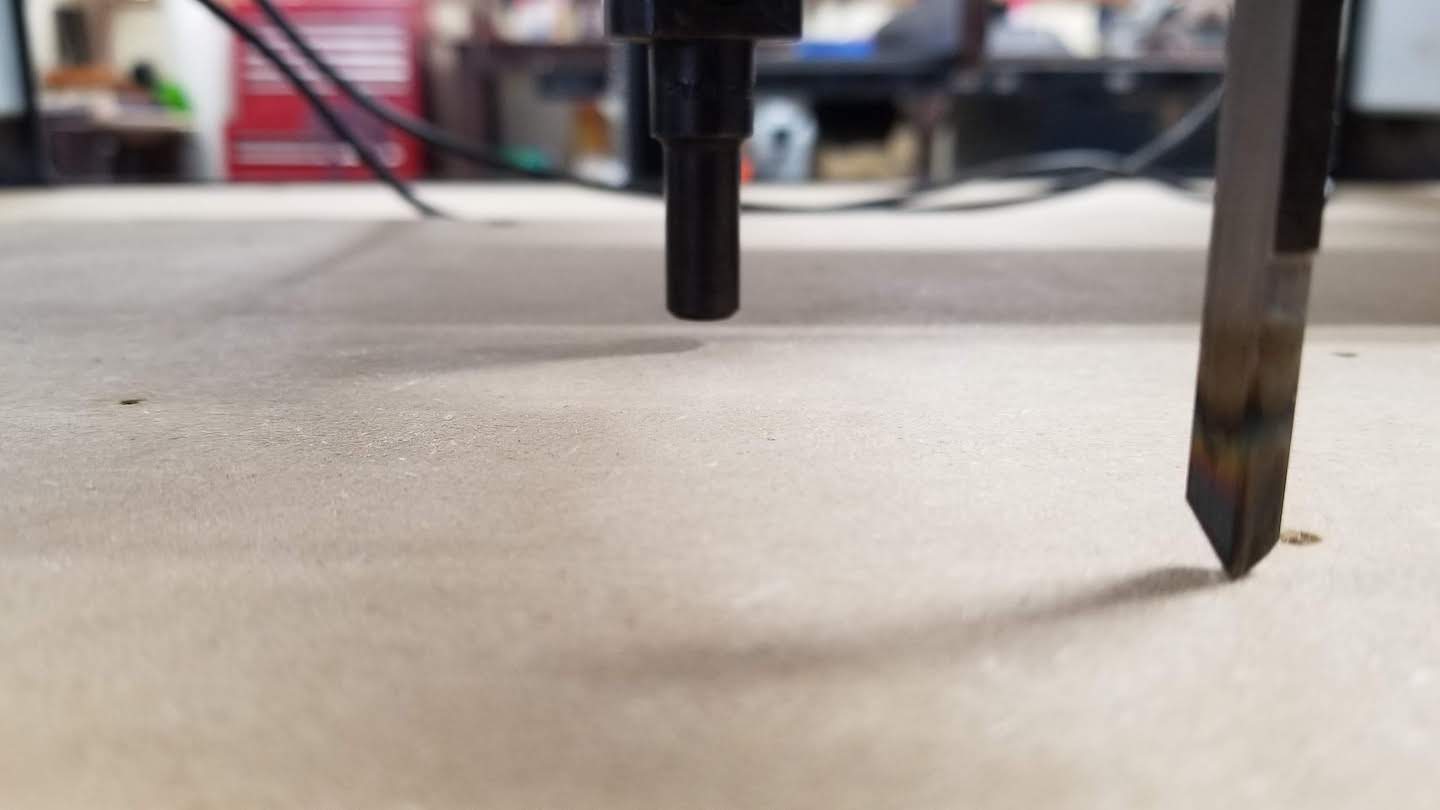
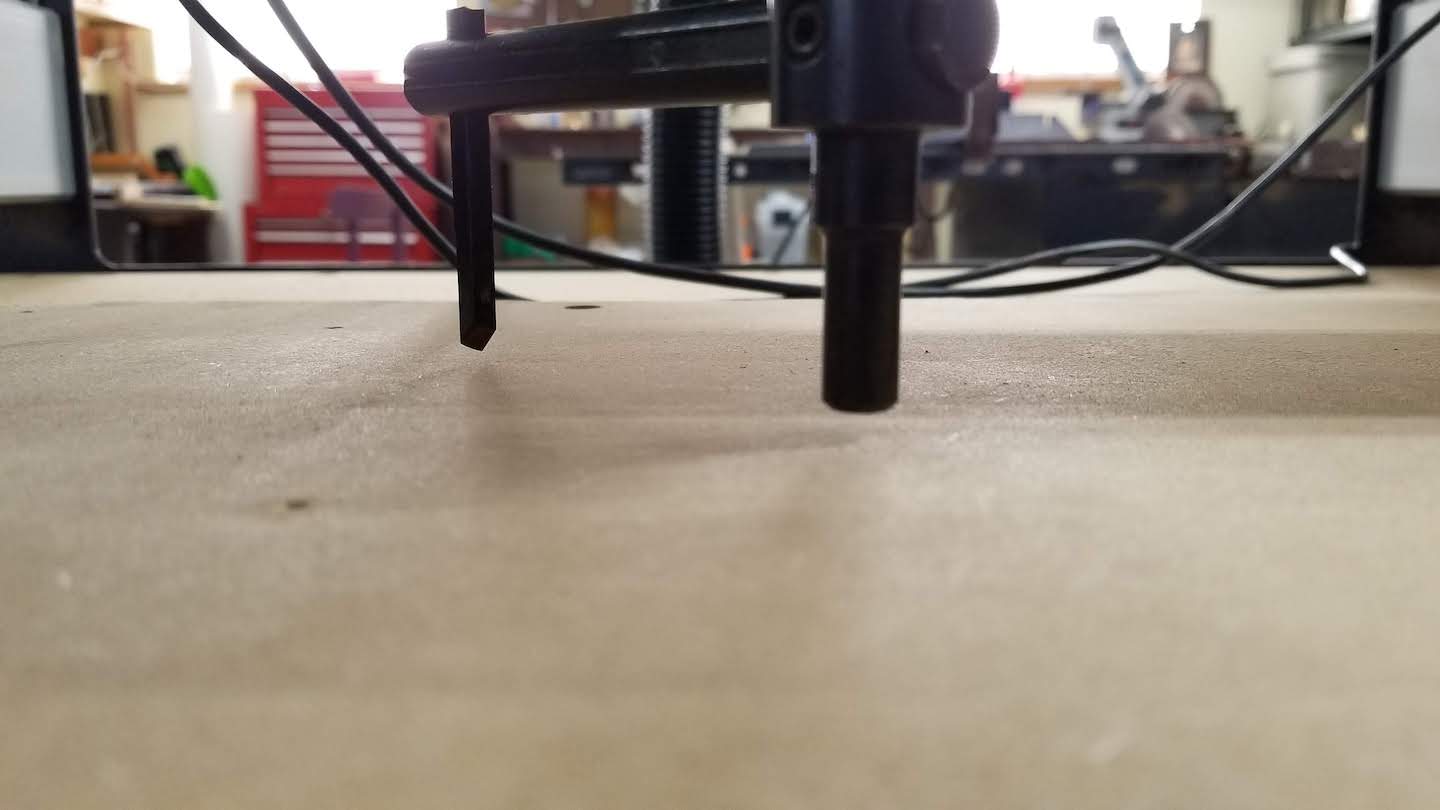
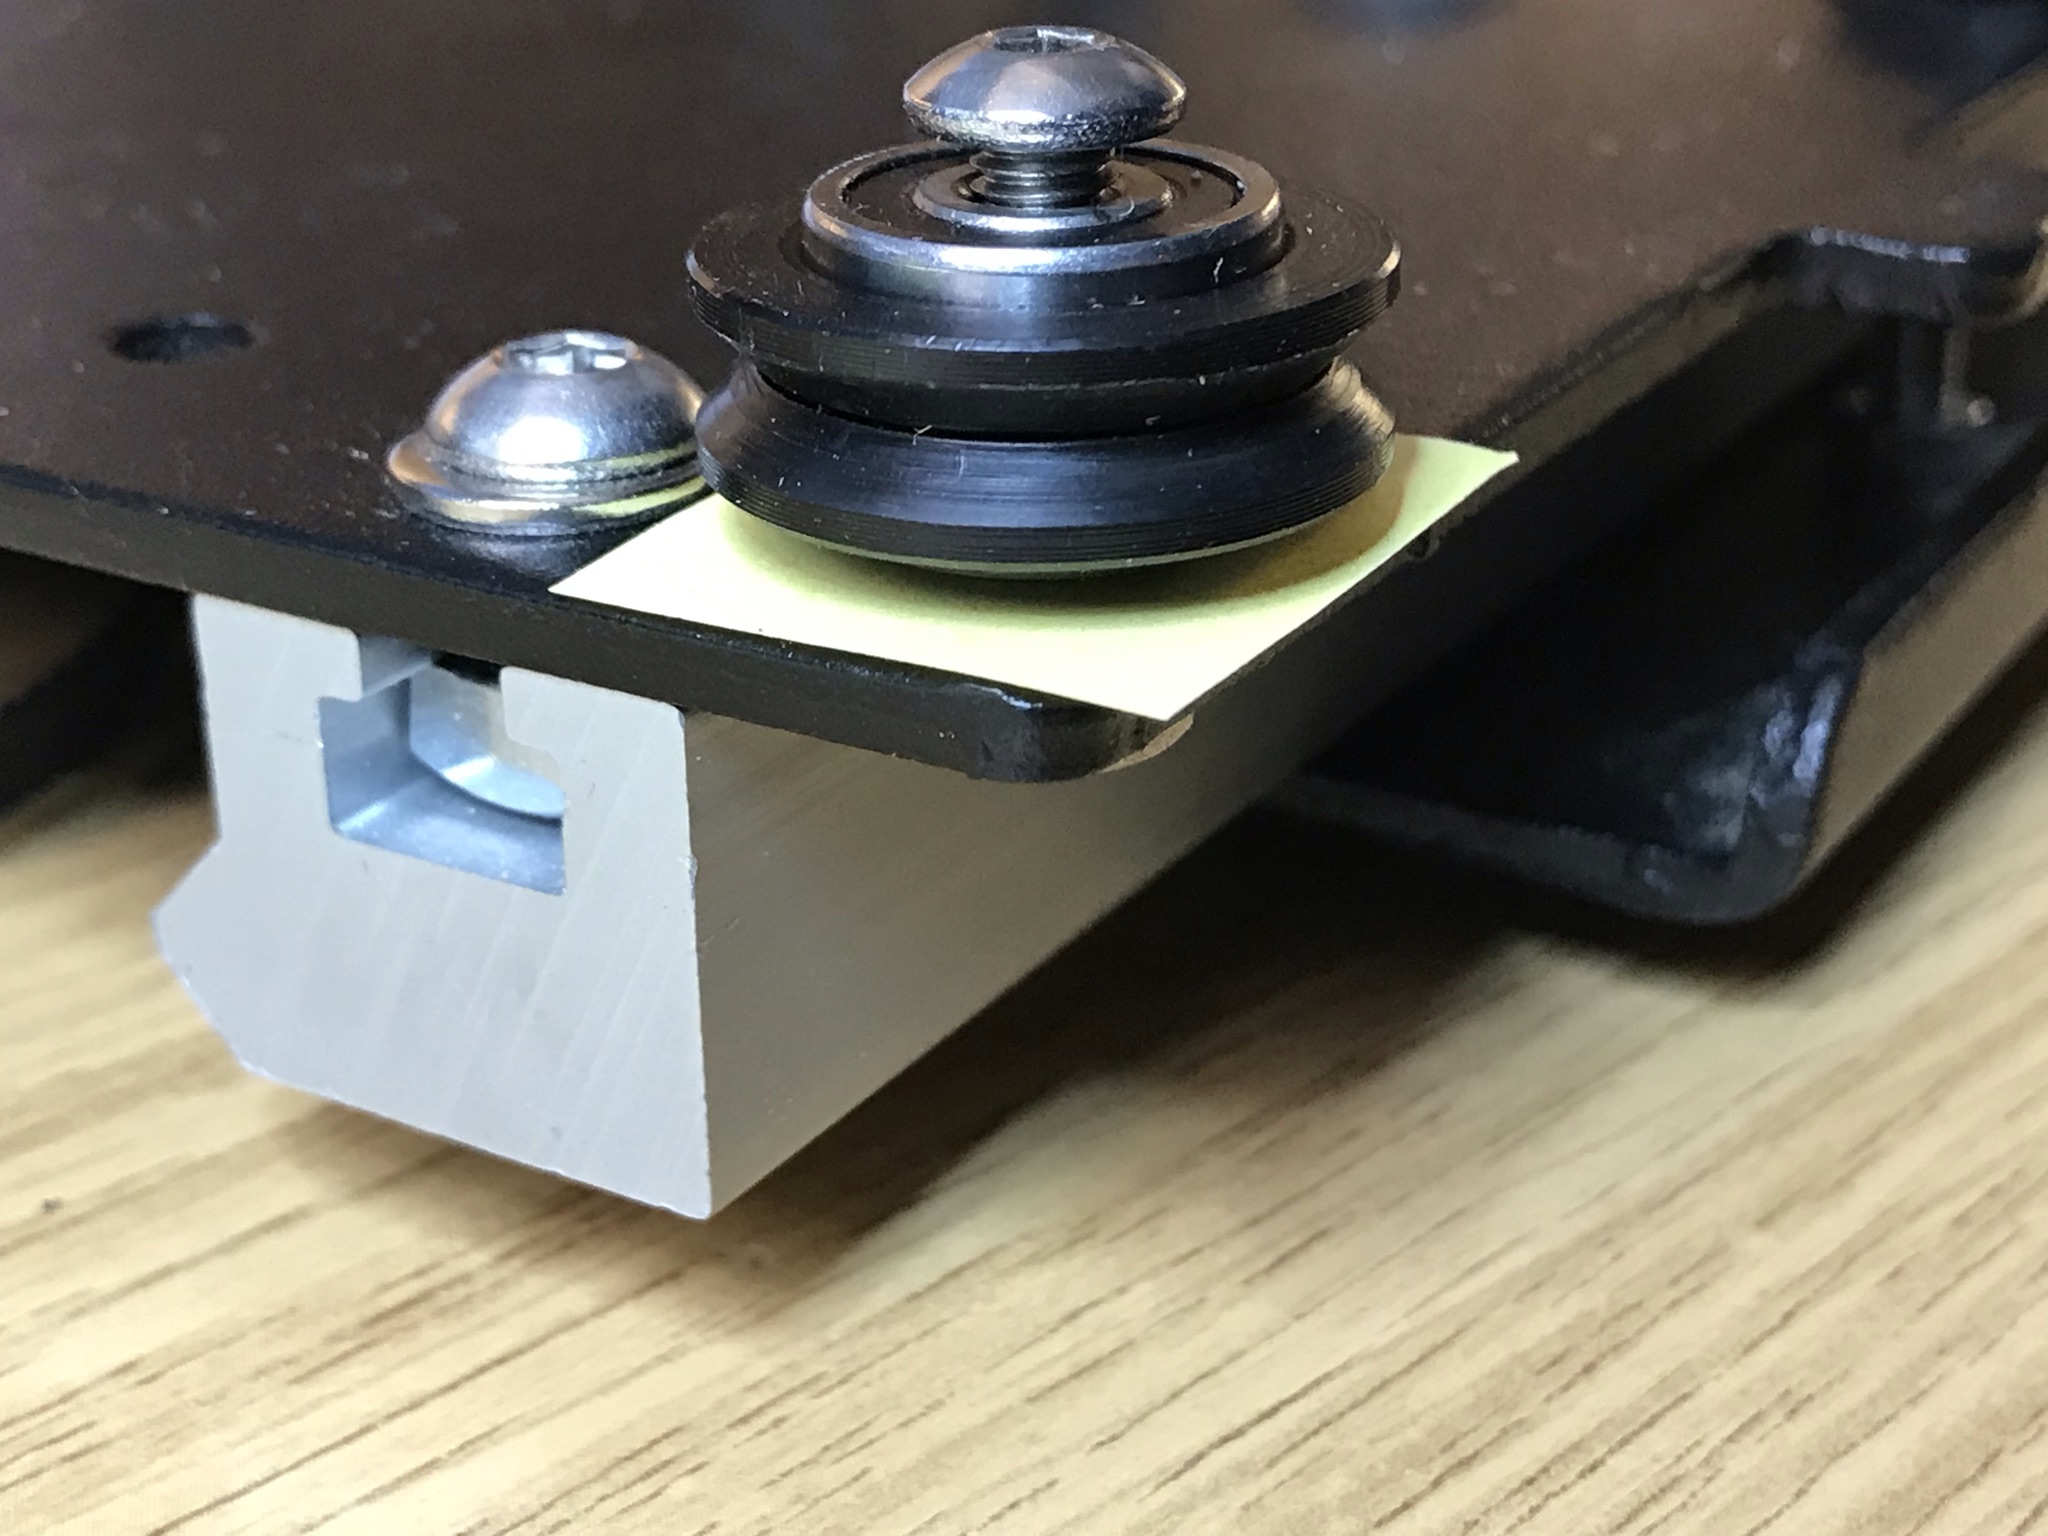
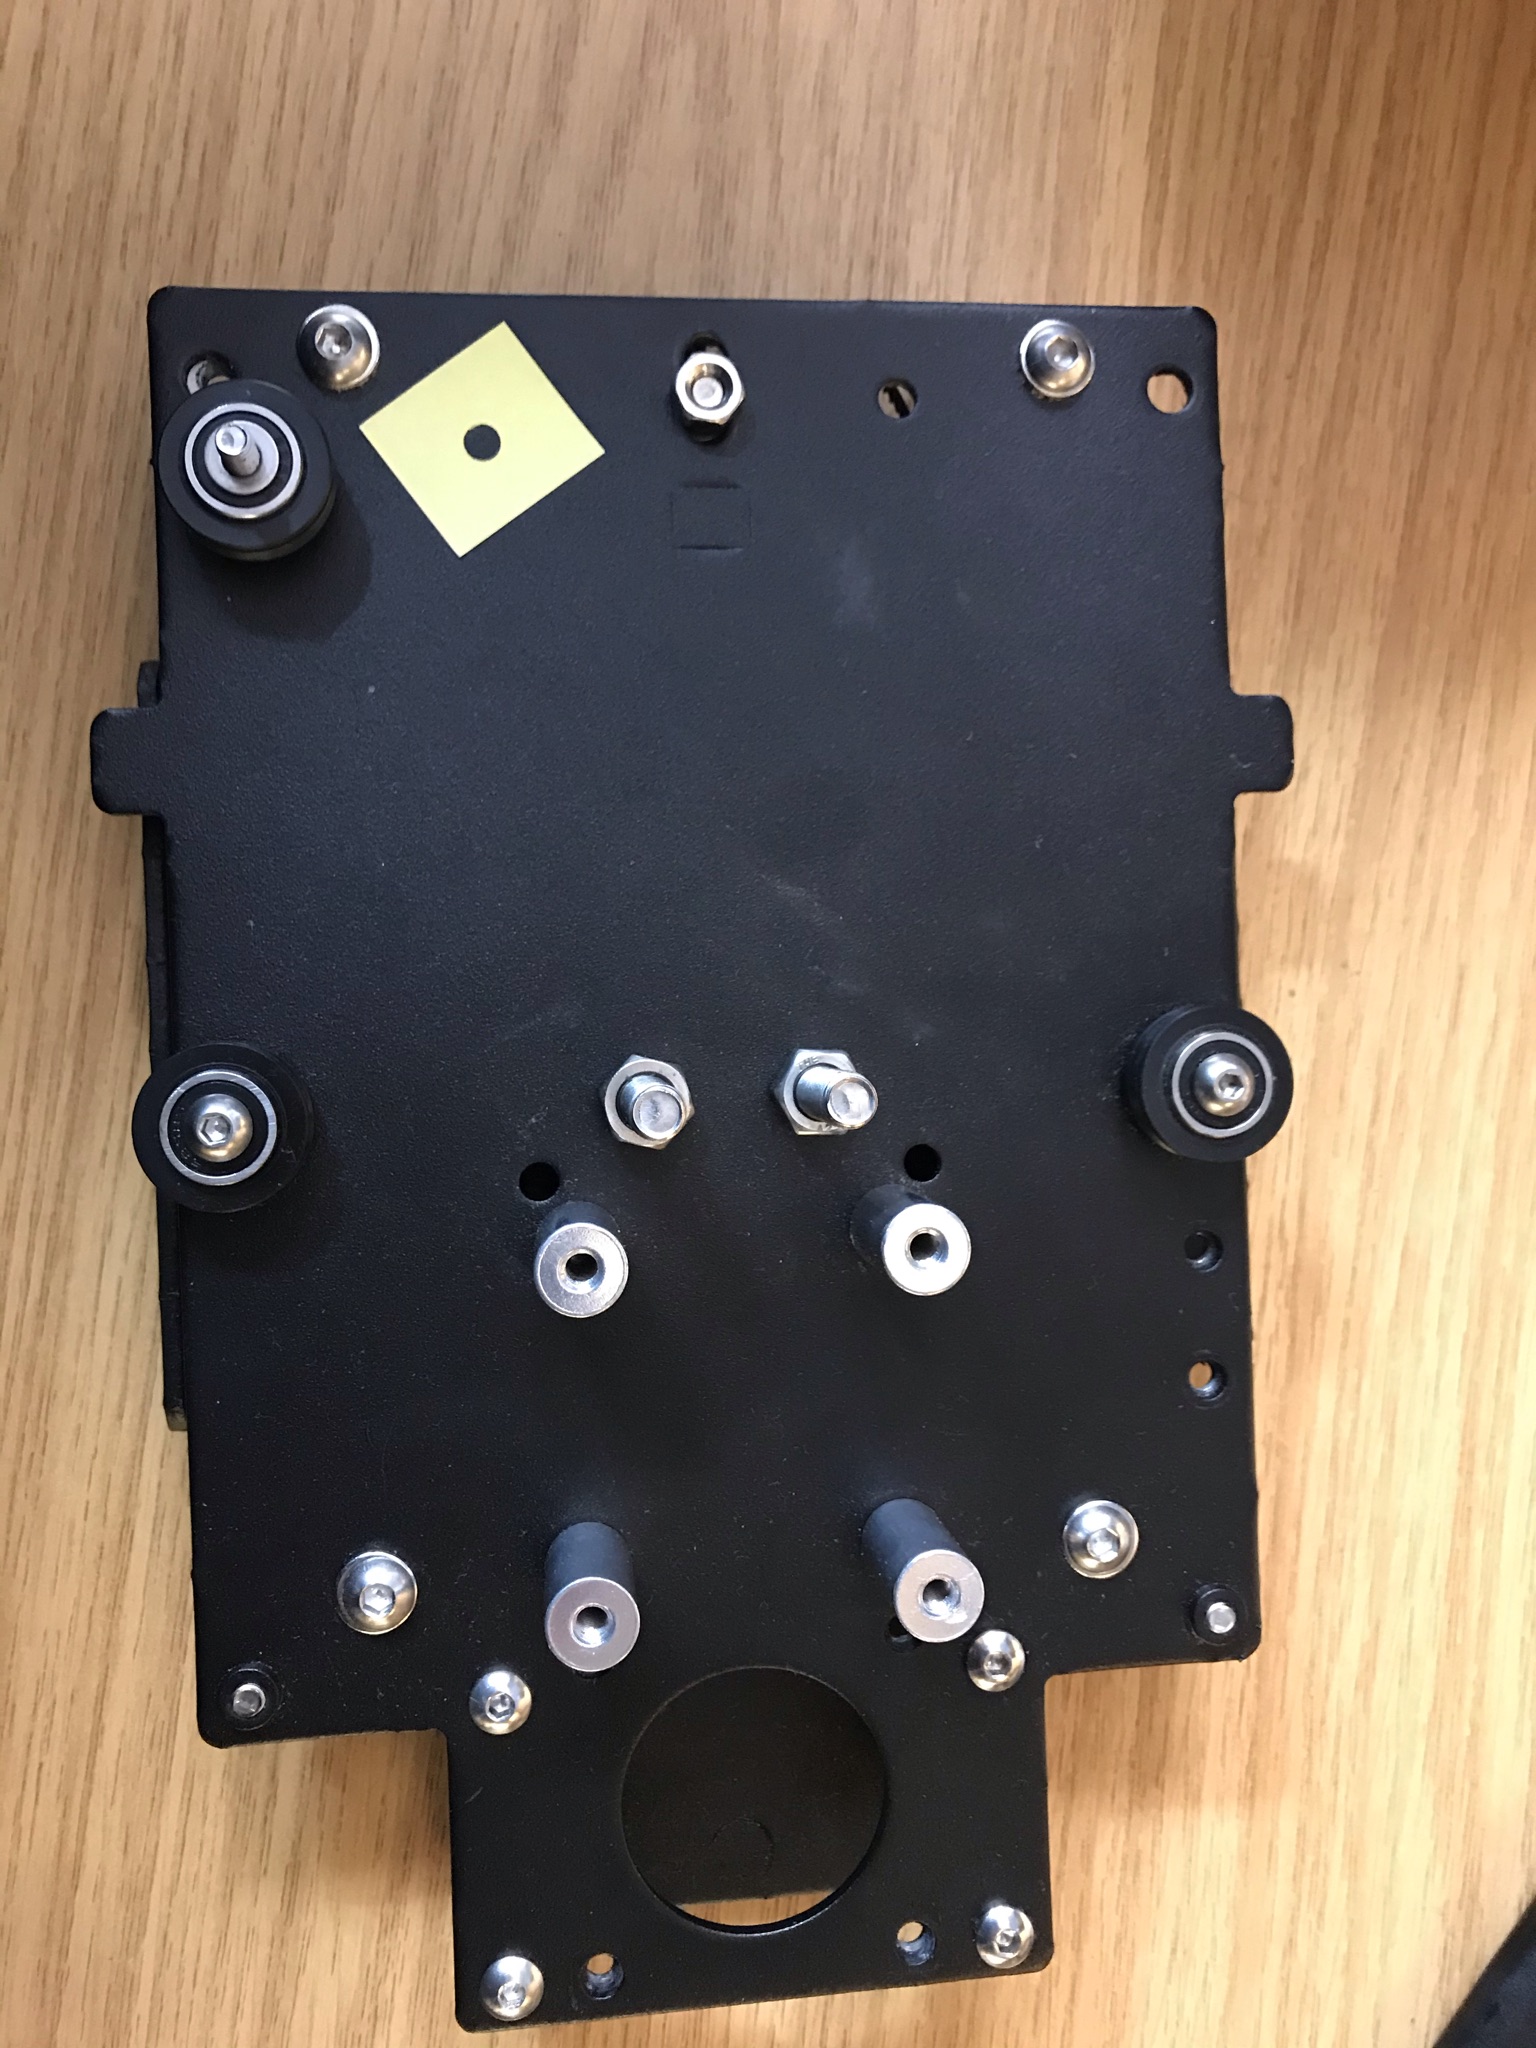
At this point I ran a program to surface the spoil board. After surfacing I used a tool similar to yours to fine tune. Noting my previous decision regarding extrusion placement, I picked two opposing screws on the X gantry to act as a hinge, loosened the other six, and corrected for north and south. Tighten screws back up. For East and West, I used the router mount. Mine doesn’t have any of the easy tram stuff, so I tighten it just enough to prevent movement after positioning. I set position, then disassembled, and tightened everything up. Once tightened, things will change. Take note of how, and adjust further. Sometimes you need to ream a few holes to eek out a little love.

Couldn’t tell you if that’s the right way to go about it, but it worked for me. Years ago I ran a large industrial CNC shop. Mind you, I ran the place, I didn’t(don’t) know shit about running or fixing a machine, there were professionals for that. But I’d call up the manufacturer, and they’d fly some dude in from Germany and the like. And to my memory, that’s what they’d do. Starting at the base, and using little bubbles, spacers, gadgets, and widgets, they’d end up at the top.

3 Likes

Thanks a lot guys. I am still using the old belt drive Z and I have 123 blocks and plenty of appropriate shim stock material.
I’ll give shimming a go and report back.

The good news is I’m very much a hobbyist, so precision is not a necessity as much as a lofty goal. I’ll get close enough.

Cheers!

2 Likes

This topic was automatically closed 30 days after the last reply. New replies are no longer allowed.