Hello everyone. I’m thinking of buying some LED tape to add some light into the interior of my Nomad. I’ve found very inexpensive tape at Amazon but would love to power it from the same power source as the Nomad. I mean, when I turn on the Nomad, the lights go on. Is there any reason why this is a bad idea?. I know that it should be a simple electric connection but I was wondering if there would be any electric interference or something that should keep the two power sources separate. By the way, I already got my replacement bed today and it rocks. Also I’ve been working with @mbellon to make a dust boot for he Nomad. It is almost done. We will soon make this available to you guys as a project to sink your teeth into. If I can get these LEDs working, I’ll have my Nomad all tricked out. Will soon post some photos to show.
I’ve got some LED bars - got them on Amazon; used them in my big CNC machine enclosure - that I was planning to install for my Nomad - when it arrives. Good LED lighting in a CNC enclosure is something I have found make it easier to work and makes for an impressive demo.
I was thinking on replacing the the front switch with a DPST toggle with a missile launch cover (@Randy will approve).
No, LEDs won’t interfere with anything especially with an entirely independent power path. Grounding is important.
A parasitic tap of the Nomad - not an independent power path - may be possible. I need a Nomad to check the wiring; designing the necessary circuitry to filter and ground is easy.
I’m inclined to a separate path… easier.
mark
I’m going in a slightly different direction (but aren’t I always…?  )
)
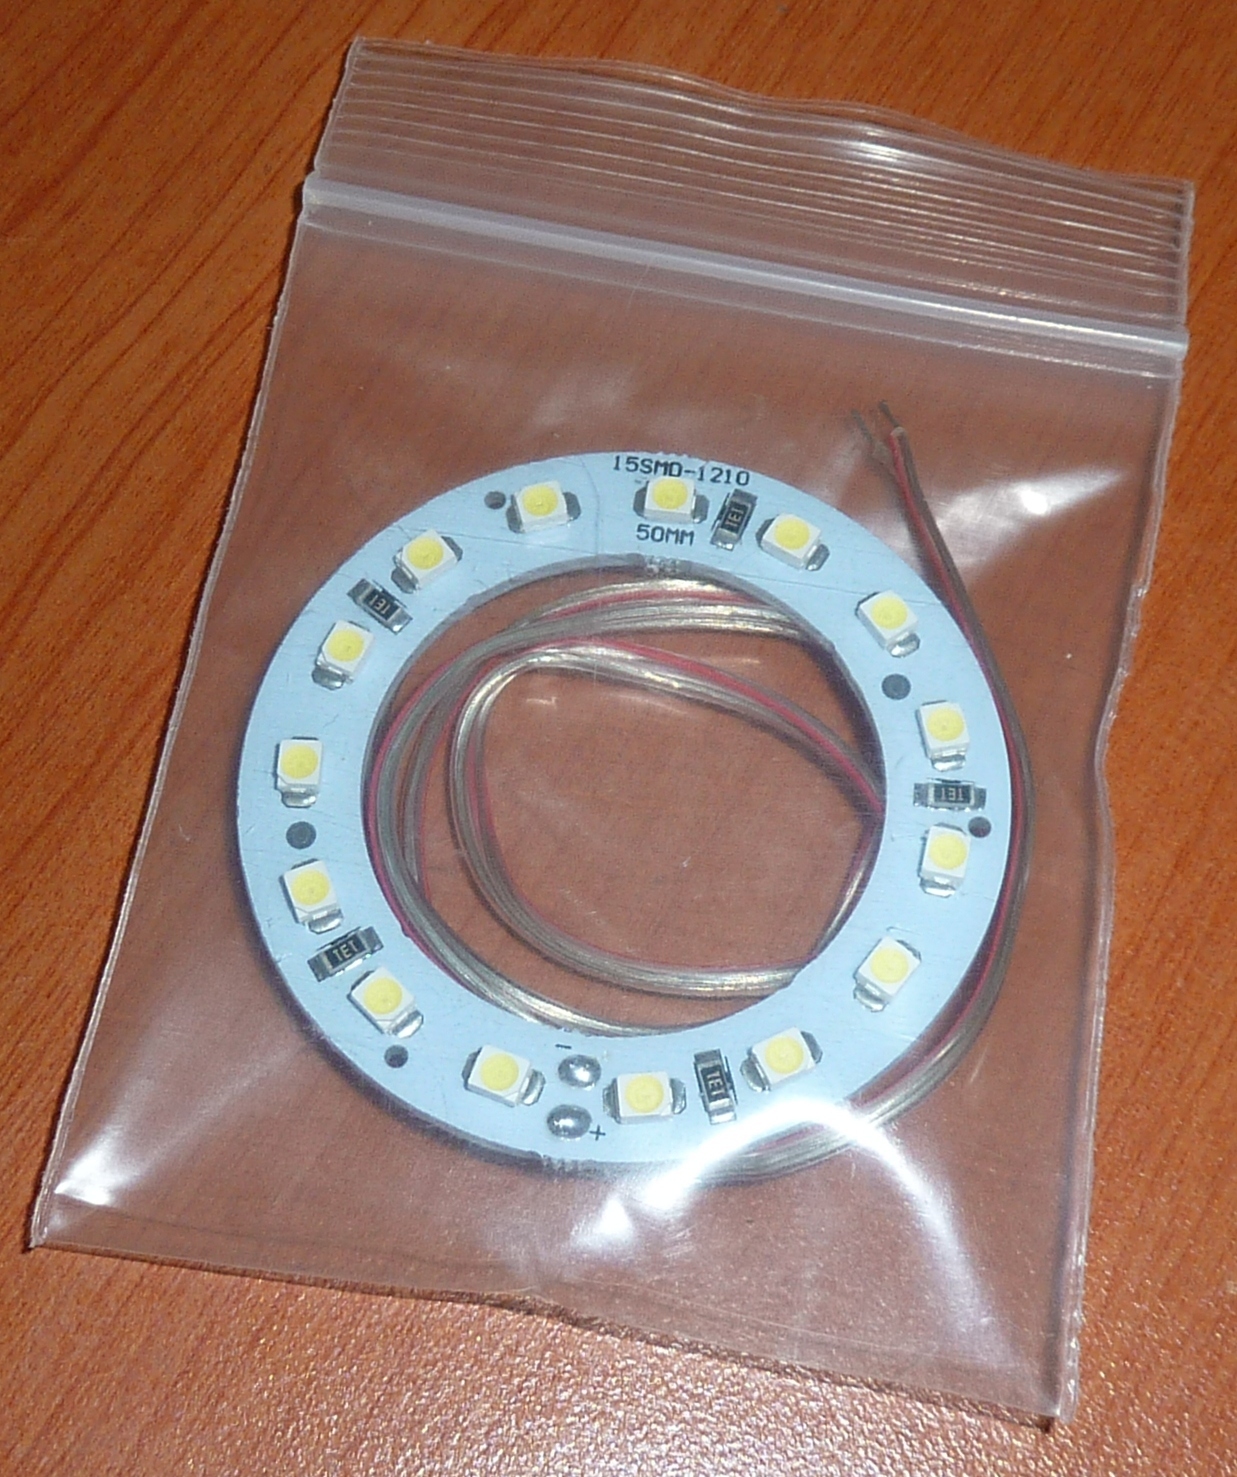
I just received a pair of these http://www.ebay.com/itm/252016192332 which were $4.20 including shipping for two of the 50mm size.
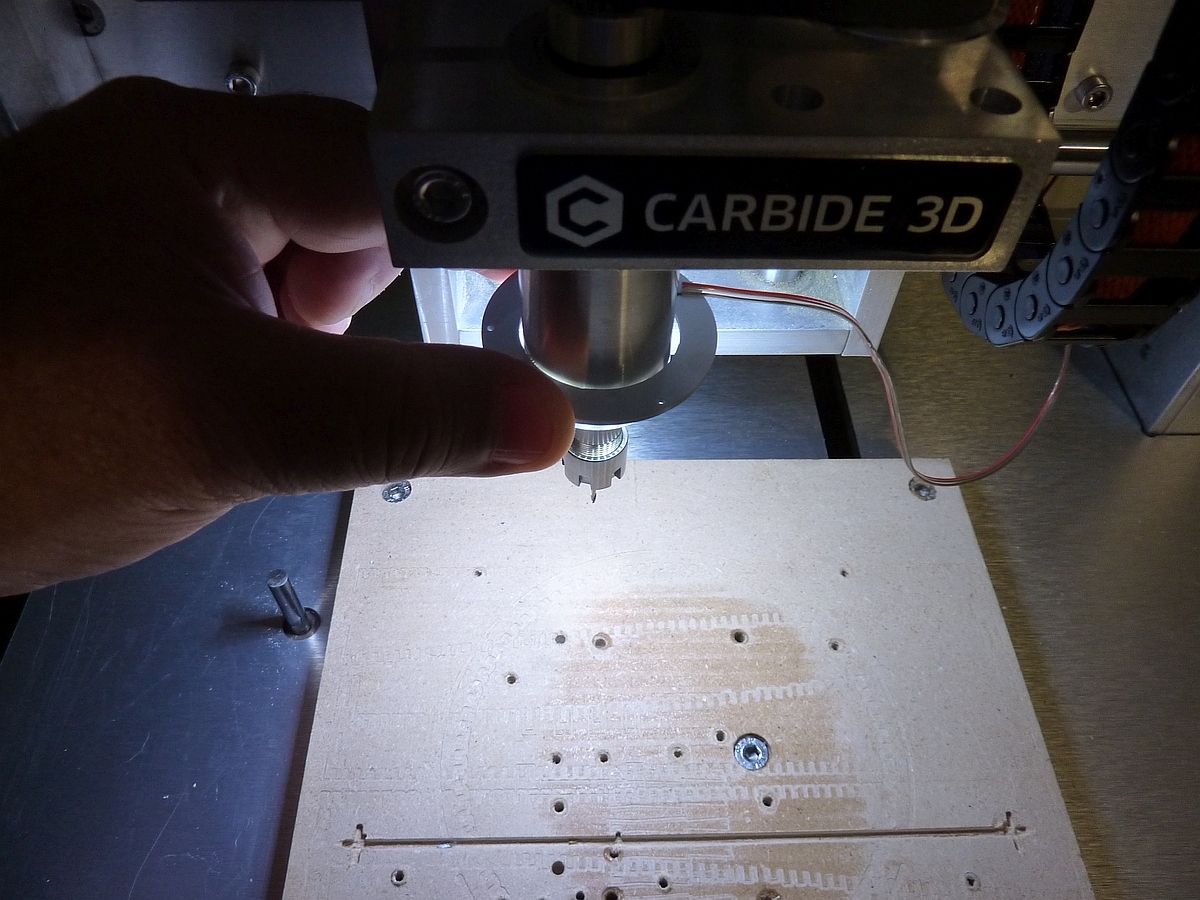
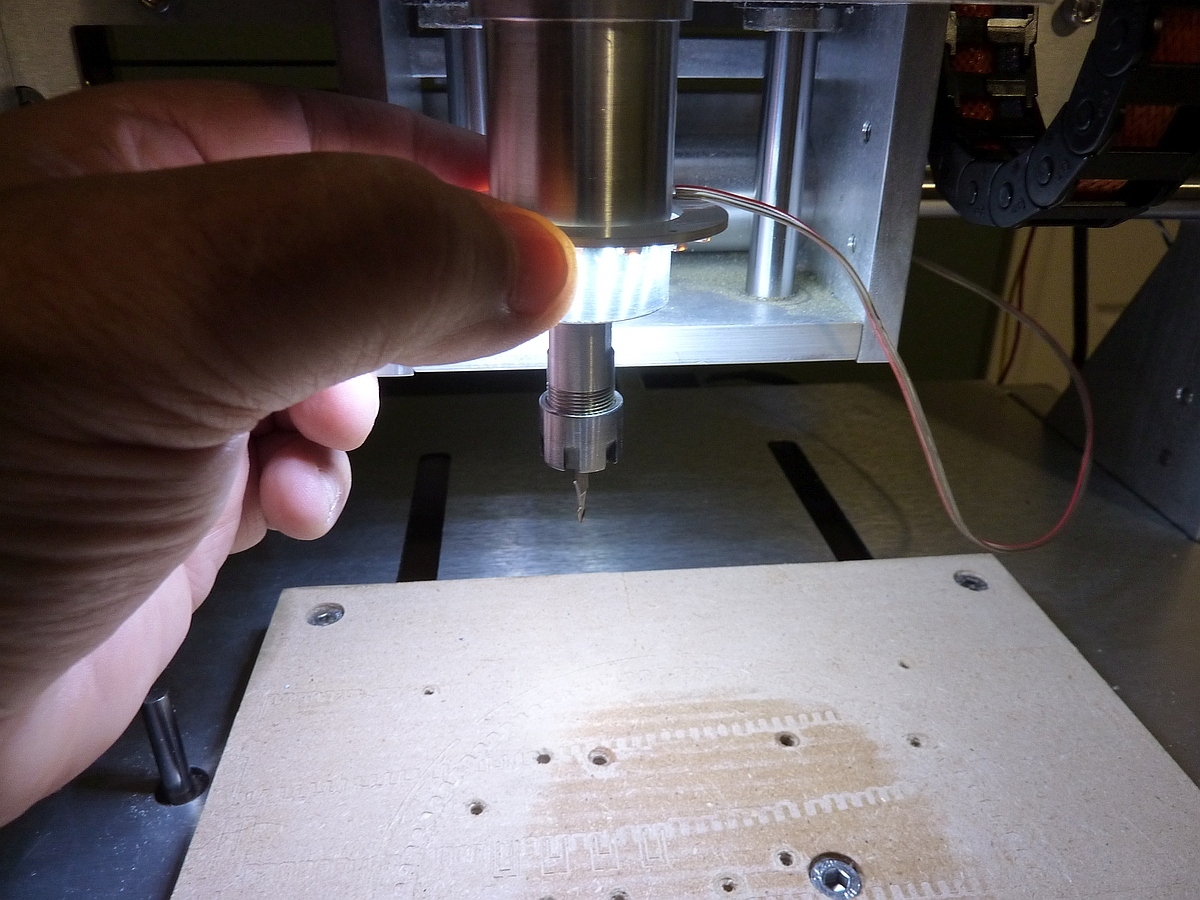
The first job on the Nomad after the recent teardown and rework (more about that later) will be to make a housing that fits on the spindle cartridge. I plan to make it an interference fit, probably using an o-ring. Here is the ring temporarily powered from the 12V system fan header on the stepper control board. These are non-flash photos.
The light ring is very bright.

I’ll ask the Carbide crew if the system fan header can source enough current for the fan plus ring, and if so I’ll tee it in. Otherwise I’ll build a little board to regulate some 12V independently from the 24V power supply.
Randy
For setting up runs, I’ve been using a clip-on JANSJÖ LED light which I bought on sale at Ikea for $10. http://www.ikea.com/us/en/catalog/products/60237269/# is the current page.
I haven’t put the enclosure back together, but I just clip it on the side panel when the door is open. But this gives the impression.
Randy
I like it @Randy!
With a dust head, spindle based lighting would be obscured when the brush is in place.
The dust head design @patofoto and I are working on is trivially removable. With the brush plate removed, a ring like this could work very well. Embedding it in the top plate is just a little extra machining.
I like the idea of illumination inside the enclosure but the ring idea is also valuable.
mark
P.S.
Alternatives?
http://www.amazon.com/50mm-White-1210-Headlight-Angel/dp/B00D7C2QCI
I love all these enhancements! With the bed replacement, dust boot, and enclosure lights, the Nomad is well on its way to ultimate awesomeness.
But have you considered taking it a bit further? Perhaps even taking things TOO far?
Adafuit sells neo-pixels that can do every color in the spectrum for not much more than the ones mentioned above - wire a few of those babies up, along with a couple of speakers and a mini fog machine, to an arduino (or similar), throw in a latch trigger on the door of the Nomad, and boom! Instant machinist’s rave, every time!
Maybe we could get Apollo or Jorge to record themselves saying “y’all ready for this” and throw that on top of a heavy techno beat… The possibilities are staggering…
OK. OK. I’ll throw in an ATMEL processor with an audio input too. $3 more. 
We’ll modulate the LEDs and make the illuminator a color organ. Of course, I’ll mill the PCB on a Nomad… 
My Tesla coils are Dually Resonant Solid State Tesla Coils (DRSSTC). They are digitally modulated. The arcs can be modulated during a discharge to produce sound directly from the air - a plasma speaker.
The Nomad can produce sound and discharge arcs while it is machining!
mark
@mbellon, that appears to be the same “angel ring” that I purchased. 15 LED’s, 34.5mm I.D. on mine.
@MrHume, @mbellon, you guys are really taking this to 11! 
Yes, the angel ring would not be usable with a dust shoe. The only woodworking I do with my Nomad is facing the spoilboard and milling registration pockets in it. I’m happy to sit around with the vacuum (with HEPA filter, Mark  ) for that task. Otherwise it is acrylic and styrene, with the occasional nickel silver. Oh yeah, and the phenolic PCB–I also used the vacuum real-time for that machining.
I had been thinking of removing the “clothespin” from the Ikea clip-on and building it permanently into the structure where I show it in the above photo. Still might…
Randy
Yes, the angel ring would not be usable with a dust shoe.
The dust head has a fixed plate and a removable plate. The removable plate has the brush on it.
When it is removed a ring embedded in the upper plate would work perfectly. With the removable plate in, the illumination isn’t useful.
This way wood is fine and other materials have the illumination.
Hey! Let’s take this to 12! ![]()
I’ll add a magnet and a magnetic reed switch in the upper plate. This way the ring will not be illuminated when the removable plate is installed!
@mbellon thanks @Randy for inducing labor on these ideas. ![]()
mark
I had been thinking of removing the “clothespin” from the Ikea clip-on and building it permanently into the structure where I show it in the above photo. Still might…
For eyeball touch zero that could be very, very useful…
mark
Instead of a spot light, I am considering putting in white LED strips on the side walls and the top. My Ultimaker 2 has this and it helps with taking photos. With the correct intensity, it might be better than just a singular spot lamp.
The switch on the Nomad 883 Pro is a E-Switch ULV423xxx35x. The 24V goes directly through this switch. The LED illumination on the switch seem to be a signal around 9 to 10 volts. If you are upgrading to a missile switch with illumination, keep this voltage in mind.
The switch is connected by spade crimp connectors, not soldered, this is good news, makes modding very easy and reversible.
I think a good method is to use that LED signal to trigger a optoisolator, and the extra lights will be controlled indirectly by a MOSFET that is triggered by the optoisolator, and powered by another 12V wall wart. You can add logic however you like. If you want a magnetic reed switch or NeoPixels or just simply dimming, I suggest adding a ATtiny microcontroller to do all that.
Elsewhere I mentioned using a current sensing switch. ACS712?
mark
Seems like way more work for just a way of switching on a LED.
By the way, my 3D printer is outfitted with this: http://eleccelerator.com/wp-content/uploads/2015/07/20150725_145324.jpg That’s just a cheapo panel meter with a 50A current measuring shunt
Do you have any ideas on how to use the analog current data? I don’t expect any current to be very high during idle. Do you think you can also implement some sort of “speed and load analysis tool”? Perhaps too high of a current draw = feed speed too high or cut is too deep?
The spindle feedback is all about attempting to maintain the RPM specified by the G code. The current is expected to vary. Where “out of bounds” is would take a study. The signal analysis is definitely doable… but…
Getting the feeds and speeds correct for a given material isn’t something that I would try such a scheme with. I just use G-Wizard. There is well known math and material measurements that go into it.
From experience, I can just tell what is too fast or not right by sound and feel… the benefit of years of working with manual mills and CNC.
As an aid for a n00b, this is something to look into.
mark
Seems like way more work for just a way of switching on a LED.
The suggestion was to monitor the spindle current and turn the LED ring on and off with that.
mark
OK, I calculate my LED ring draws about 460mA. Jorge told me that the 12V fan header on the stepper board is supplied from a 500mA regulator. So for safety I’ll regulate down some more “utility” 12V from the 24V power supply. I like the little switching regulators, which I’ve used in past stepper control boxes, and found http://www.gravitech.us/312v1aswvore.html That should source enough current for the LED ring plus some supplementary LED’s if I wish. My vision is to have the ring illuminated the whole time the machine is powered up. That is the focal point of the machine. Supplementary spot or strip lighting I’d put on a manual switch for selective use.
Randy
I’ve got a chip that is plug compatible with the 78xx voltage regulators, basically a 5V version of this.
They are wonderful! Super efficient - which the 78xx are not.
Nice catch! Thanks!
My LED bars are 24V drive from an independent source. Plenty of current left on the supply to step down to 12V for the ring.
The LED bars will be on a switch - just as @Randy is saying. The ring will be on a magnet reed switch such that when the removable plate of the dust head is removed it goes on.
Now if my Nomad would arrive… ![]()
mark
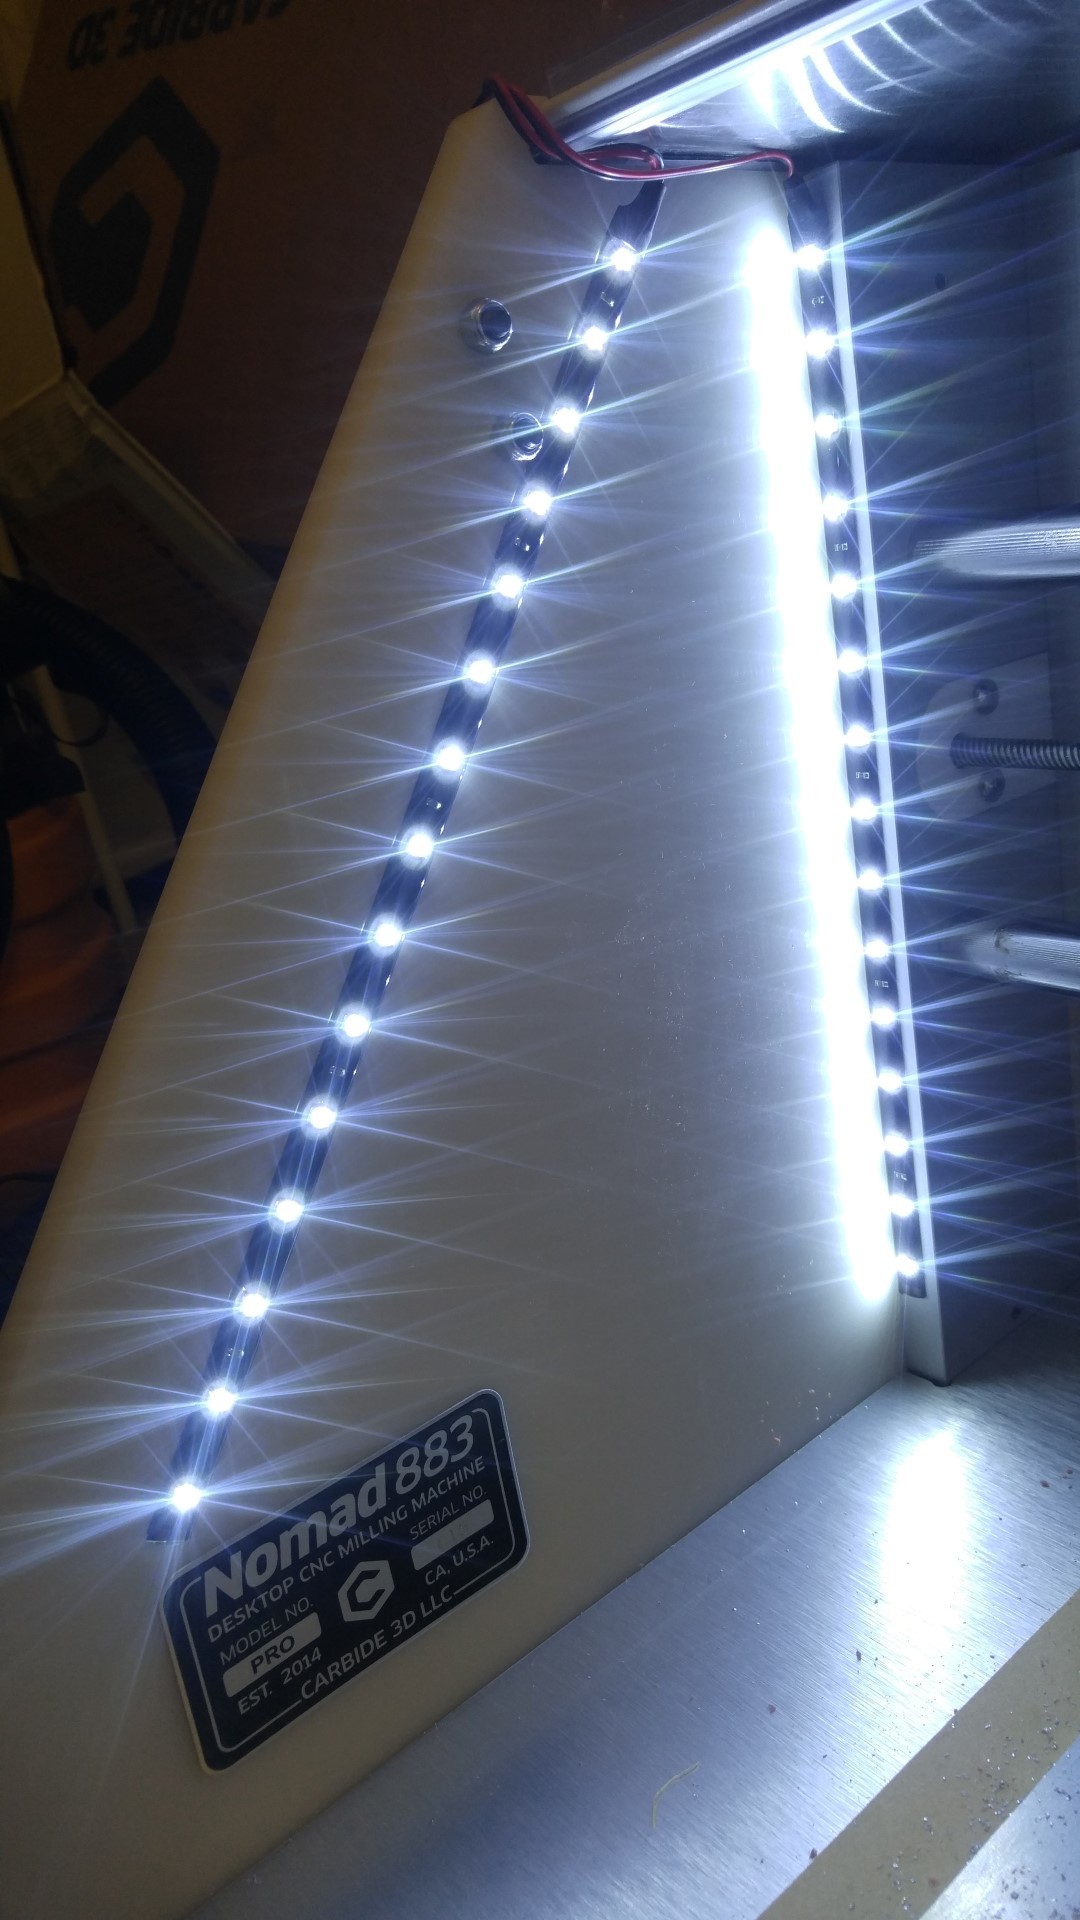
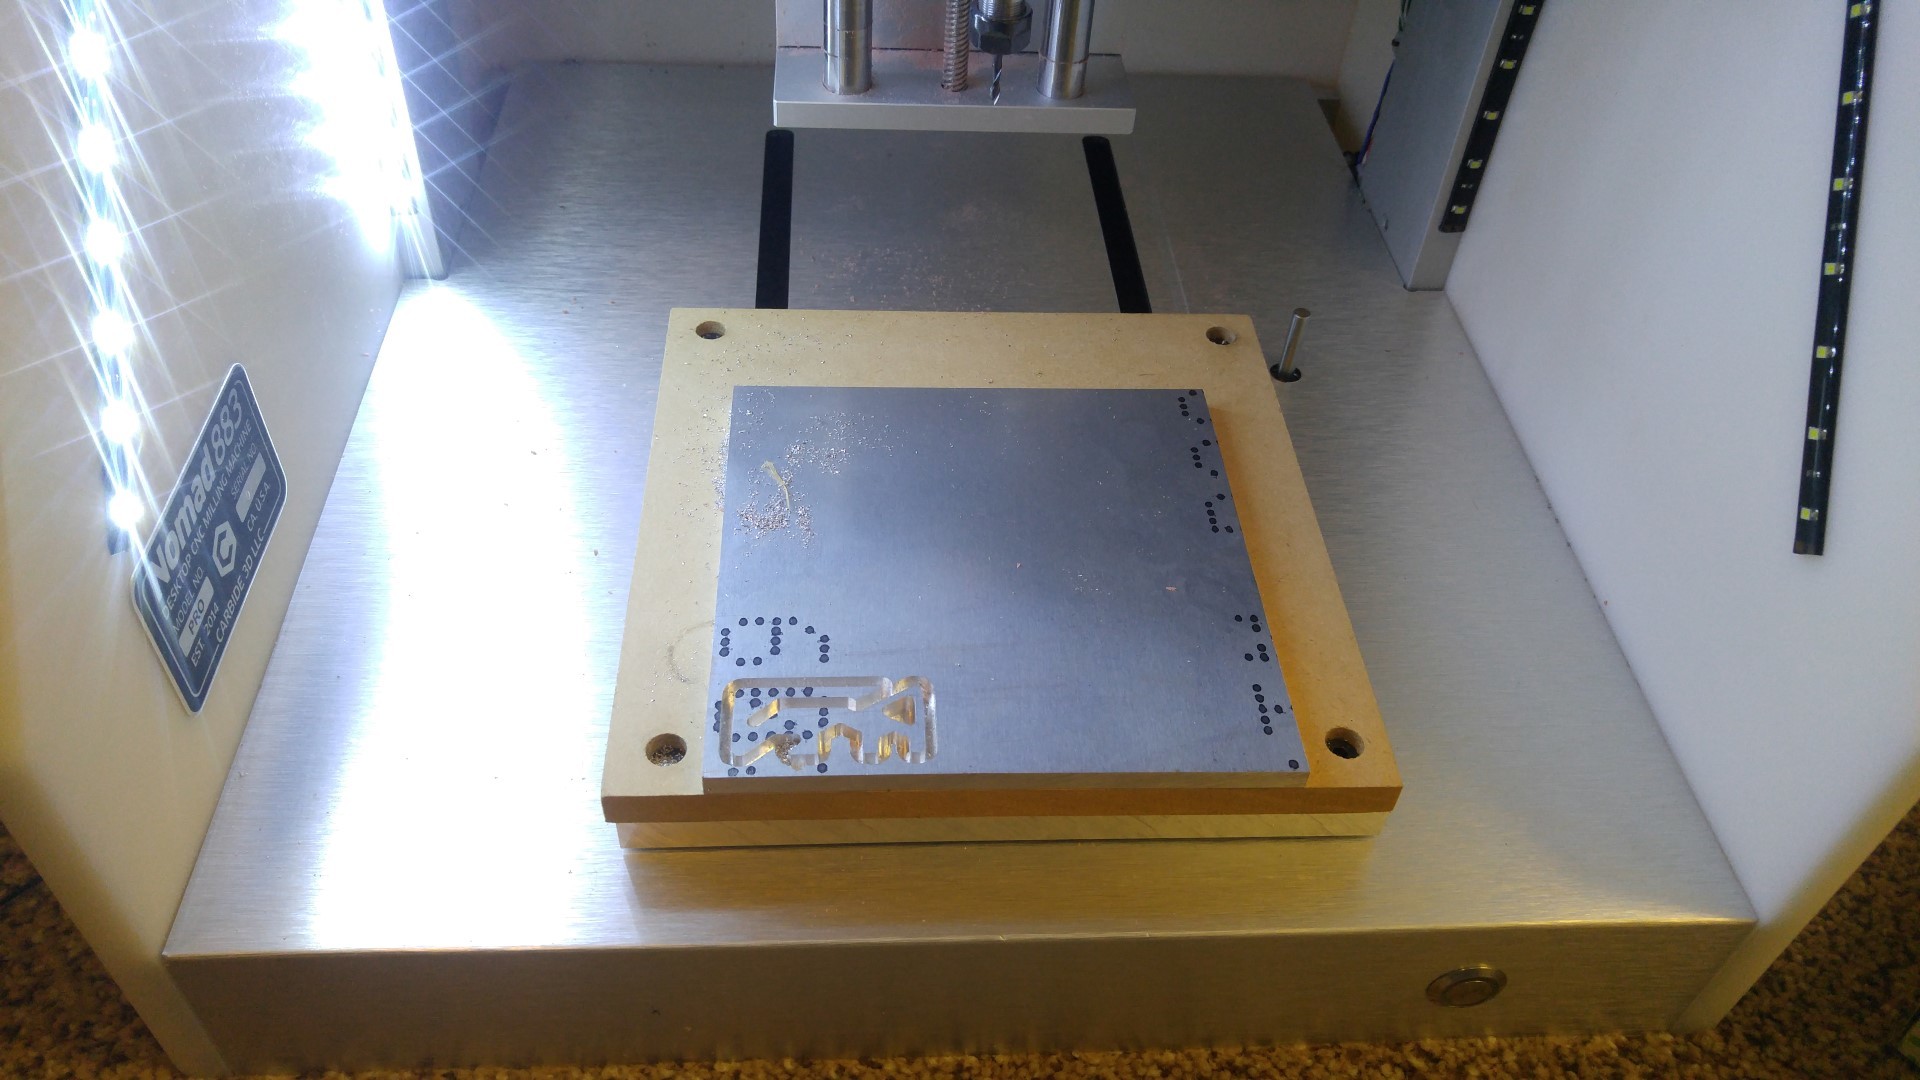
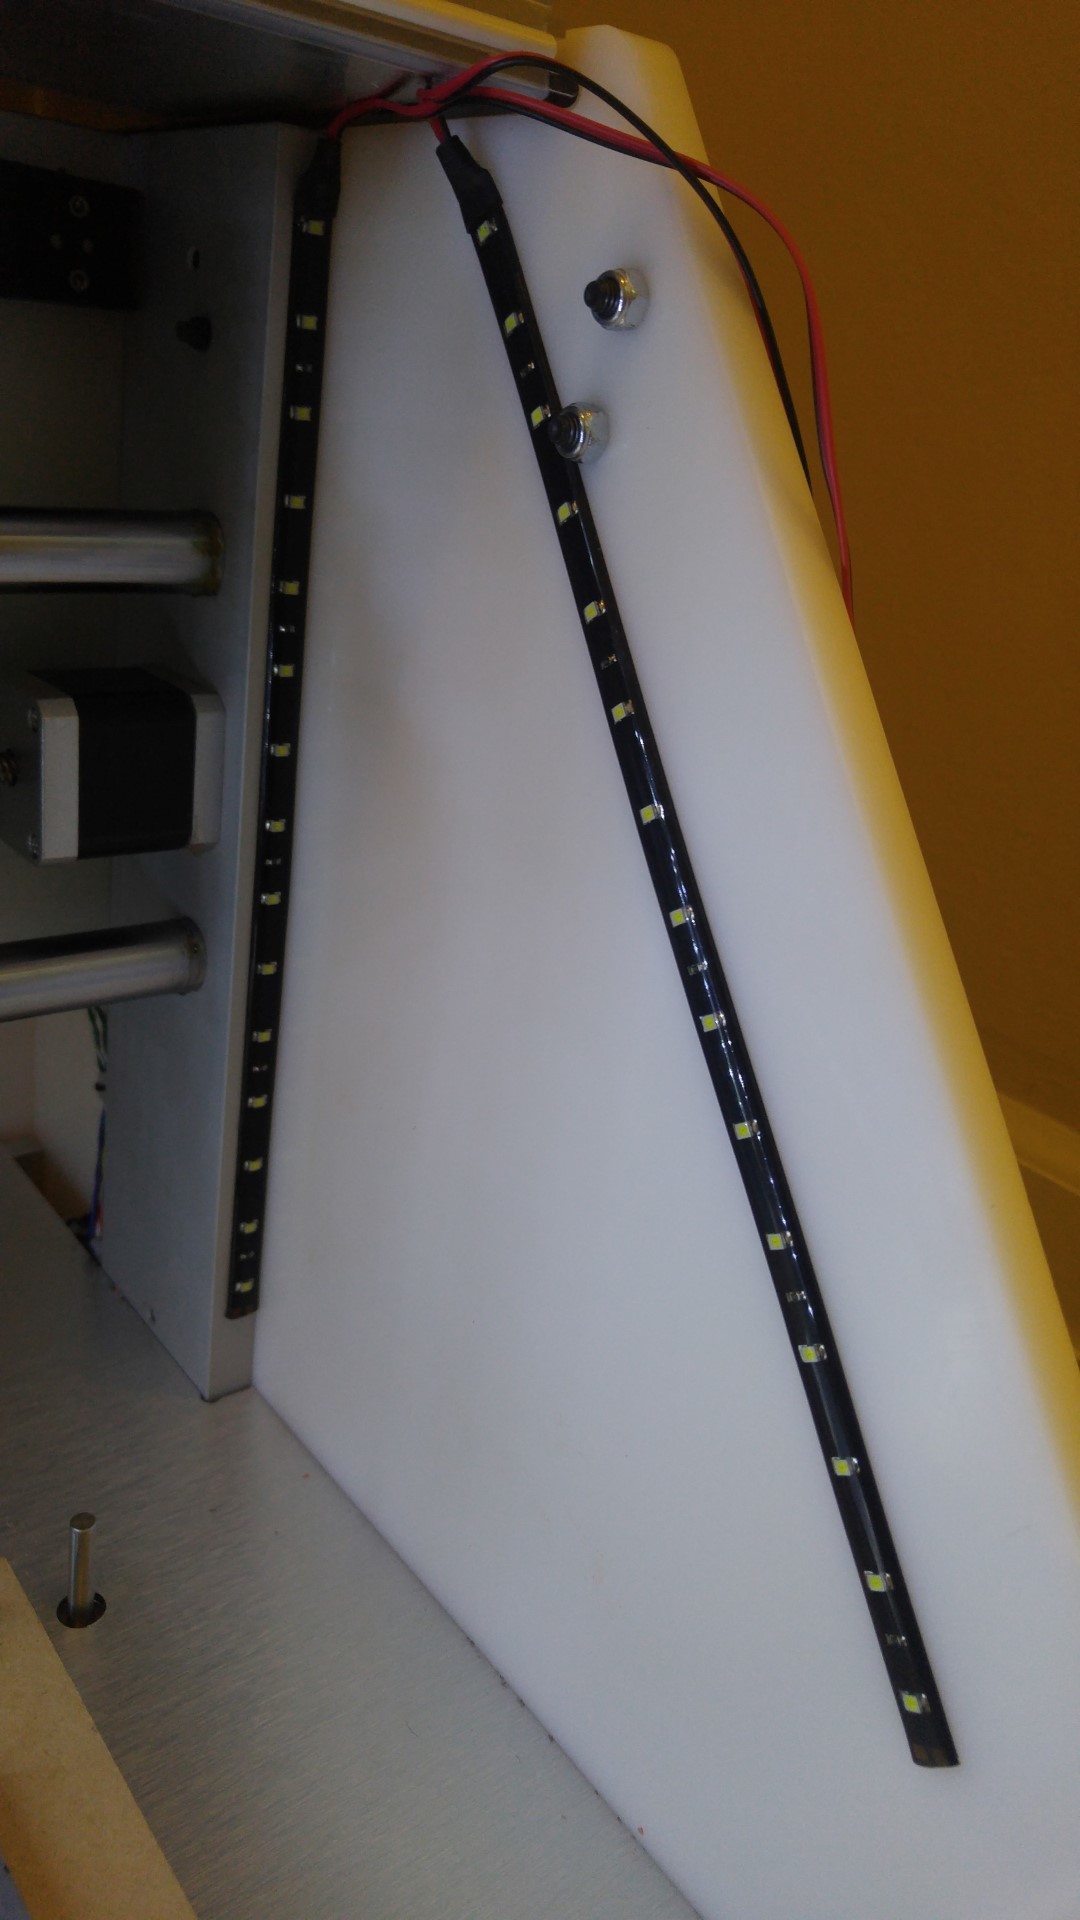
Got some of these light strips from Amazon http://www.amazon.com/gp/product/B00BQE5JAK , they are entirely coated with a smooth jelly something something that keeps them water/dust proof
I didn’t make a circuit yet. I’ll run all the wires to the back around the top when I do.
Also… bonus addition
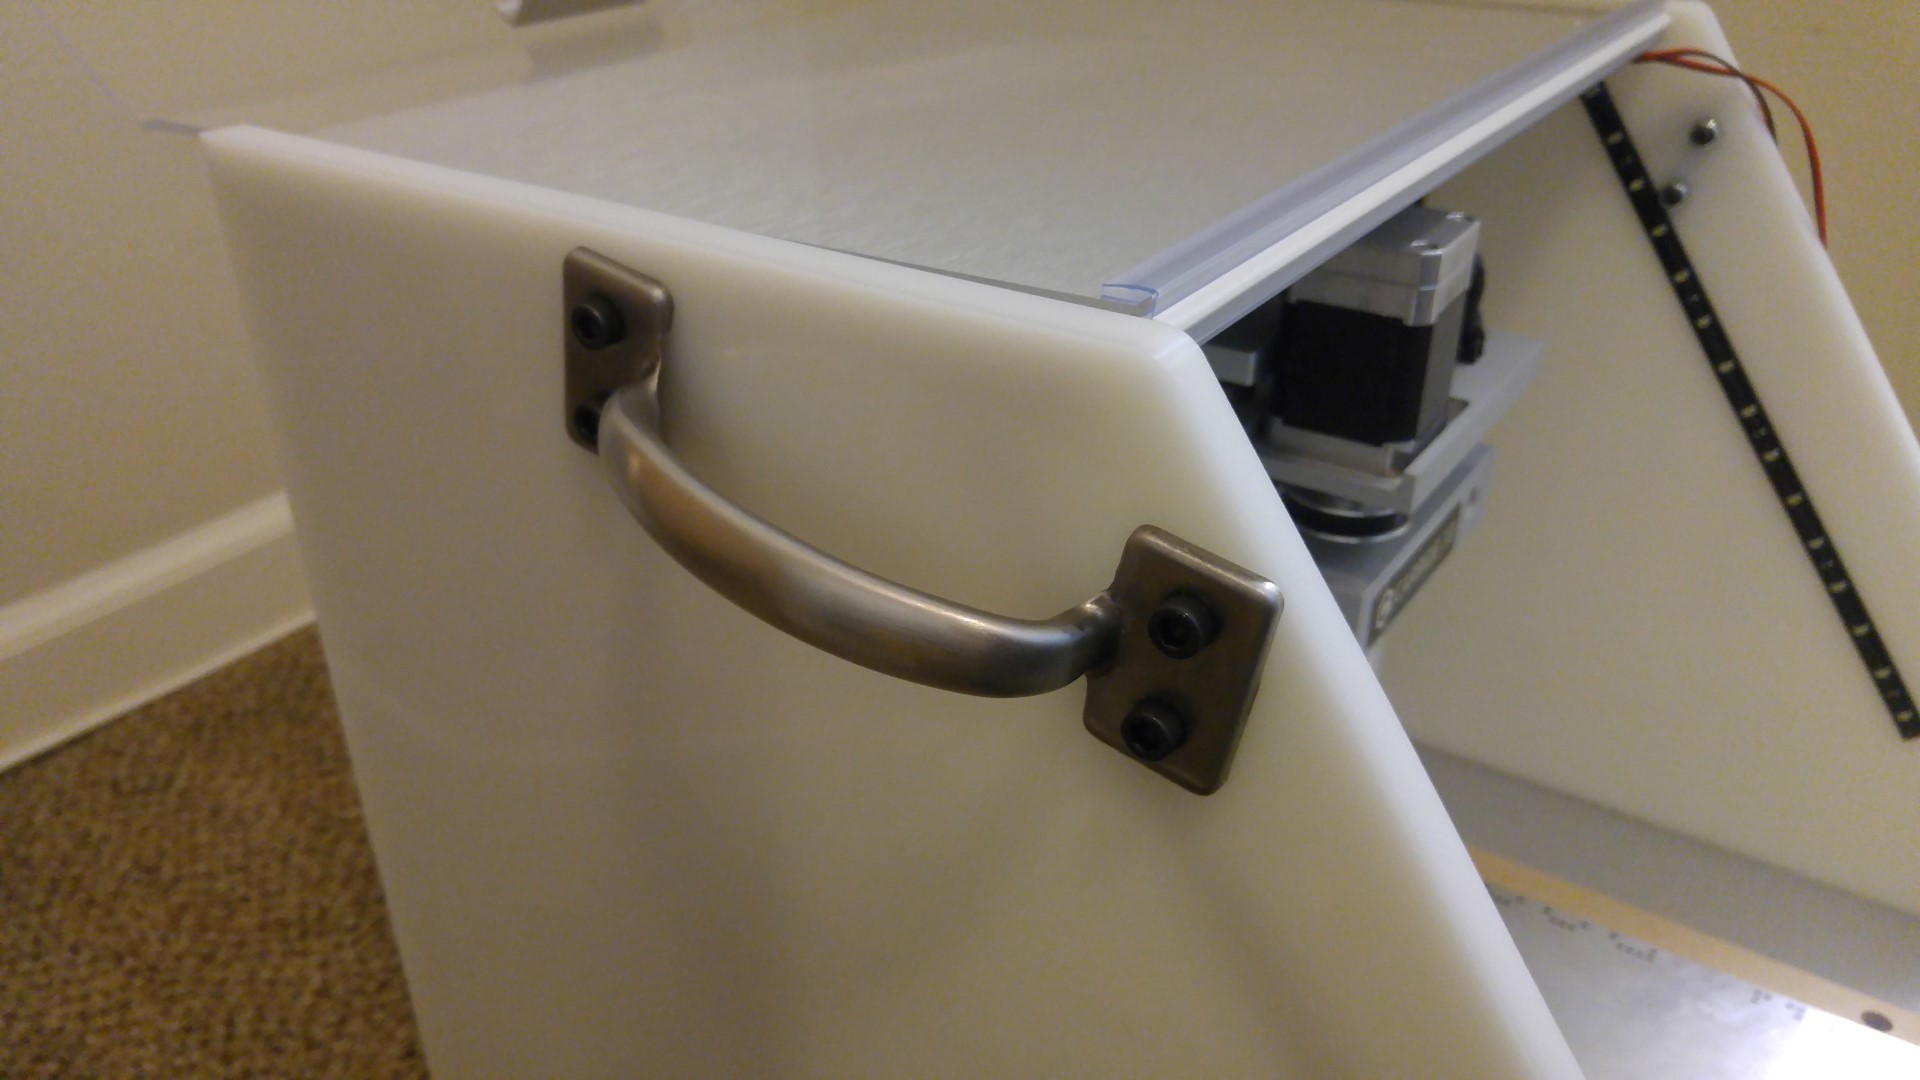
The odd placement of the handle is because one of the screws goes right into the metal frame
Sweet. I had the same idea for placement. I got the same LEDs but in a roll and are having a hell of a time making good connectors to power. Getting the silicone off is not easy. Just ordered the ones without the silicone to compare. I want to power mine from within the Nomad if possible.