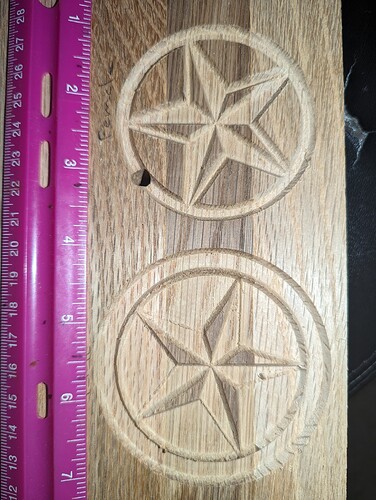
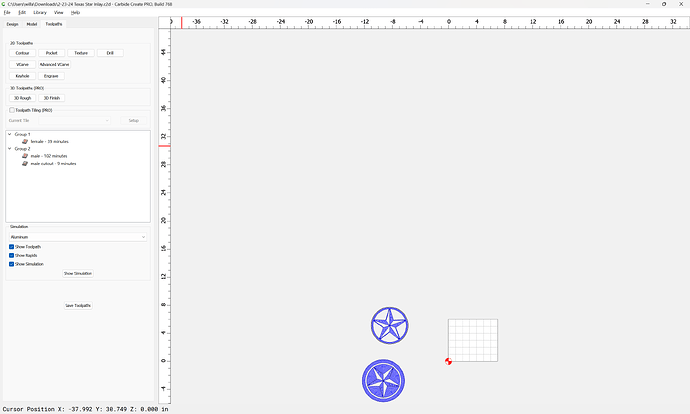
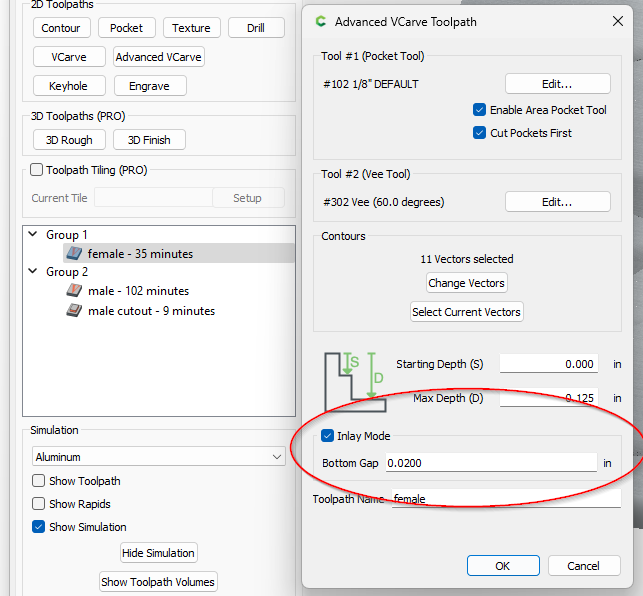
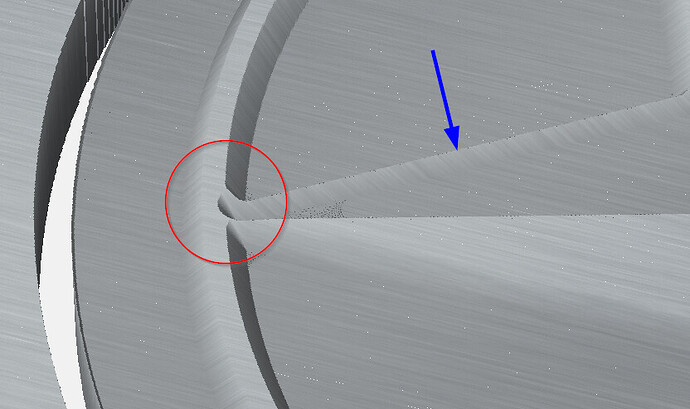
This is extremely frustrating. I’ve watched many videos, and the inlay process makes sense. I thought I understood the inlay feature in the advanced v carve tool path. I tried this simple Texas star and the circle around the star in the male piece carved down to almost nothing. The 60 v bit carved off both sides of the circle cutout and just left a sharp point. The way I understood the process is you duplicate the project and mirror it. Then create an outside offset around the male piece. Please look at my settings and advise me of what I’m doing wrong.
Thanks
2-23-24 Texas Star Inlay.c2d (224 KB)
I don’t know if it’s clear from the picture, but in my design the circle around the star in the male piece is the same width as the circle around the star in the female section.
I was hoping to practice inlays this weekend. Any help would be greatly appreciated.
We explored them pretty thoroughly in:
and there are sample files.
The big thing which seems to trip folks up is using V tooling which is noticeably rounded at the tip, or making a very thick inlay — if you have a file which is intractable, send it in to projects@carbide3d.com and we’ll look into it with you.
I did read all of that. I was wondering if my file looked right. Is there anything I did wrong? I’m sure the V bit is not supposed to do what it did to the circle. So I’m trying to figure out what I did wrong.
Your file has the toolpaths outside of the stock area:
I would suggest working up a pair, or a single file with groups which allow a person to open the file and see what is being done w/o fiddling or trying to figure out what you did.
Probably there was a mechanical issue — tool pulled out, steps were lost, a hose or cord got in the way, &c.
I’m not sure I understand. I just used two tool paths; 1 AVC for the male, and another AVC for the female. Should I send this to Support@carbide3d, or Projects@carbide 3d?
First thing I see is the Female is using the “Inlay Mode” option. This should only be used on the Male side.
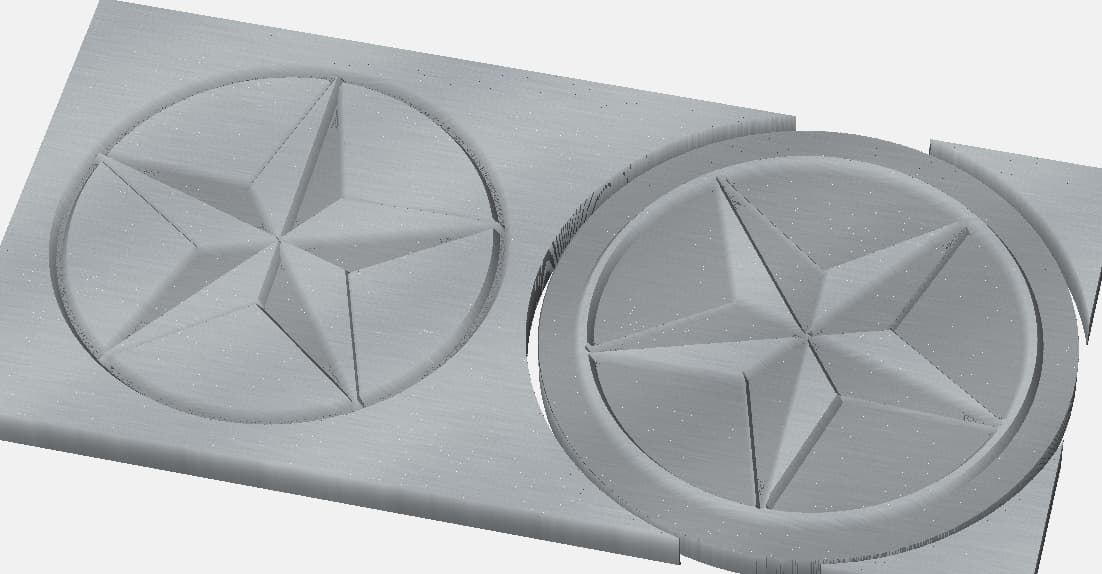
If I turn it off, and move the features back onto the workpiece so I can simulate them, they look right.
I see these areas being problematic (red), as well as the very thin ribs (blue). They are ‘technically’ correct, and in a perfect world they should fit the female side. Trying to inlay those very thin lines is going to be difficult. Consider making them a bit wider, and maybe switching to a 30° Vee ??
If you have features that don’t machine the full height & come to a sharp point like that, hand sand a little bit off the sharp edge to create a glue gap…
This topic was automatically closed after 30 days. New replies are no longer allowed.
