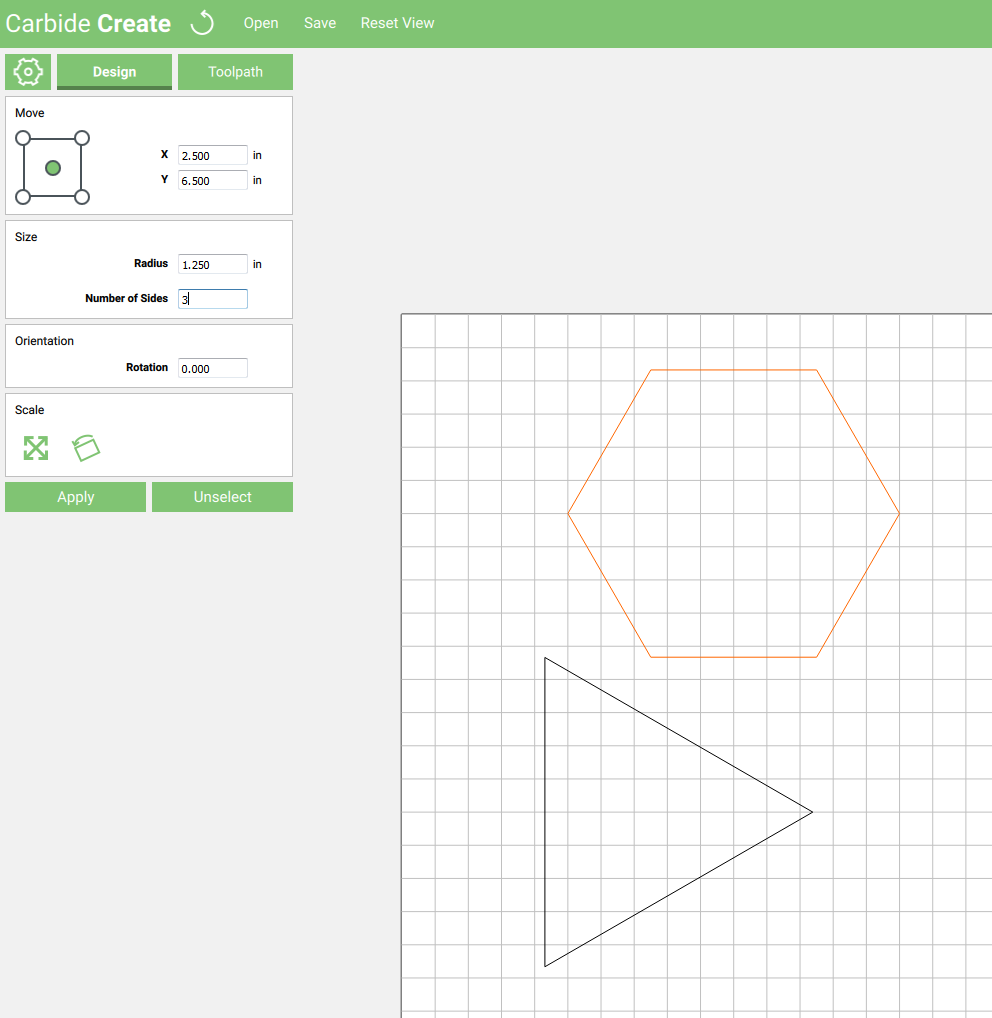
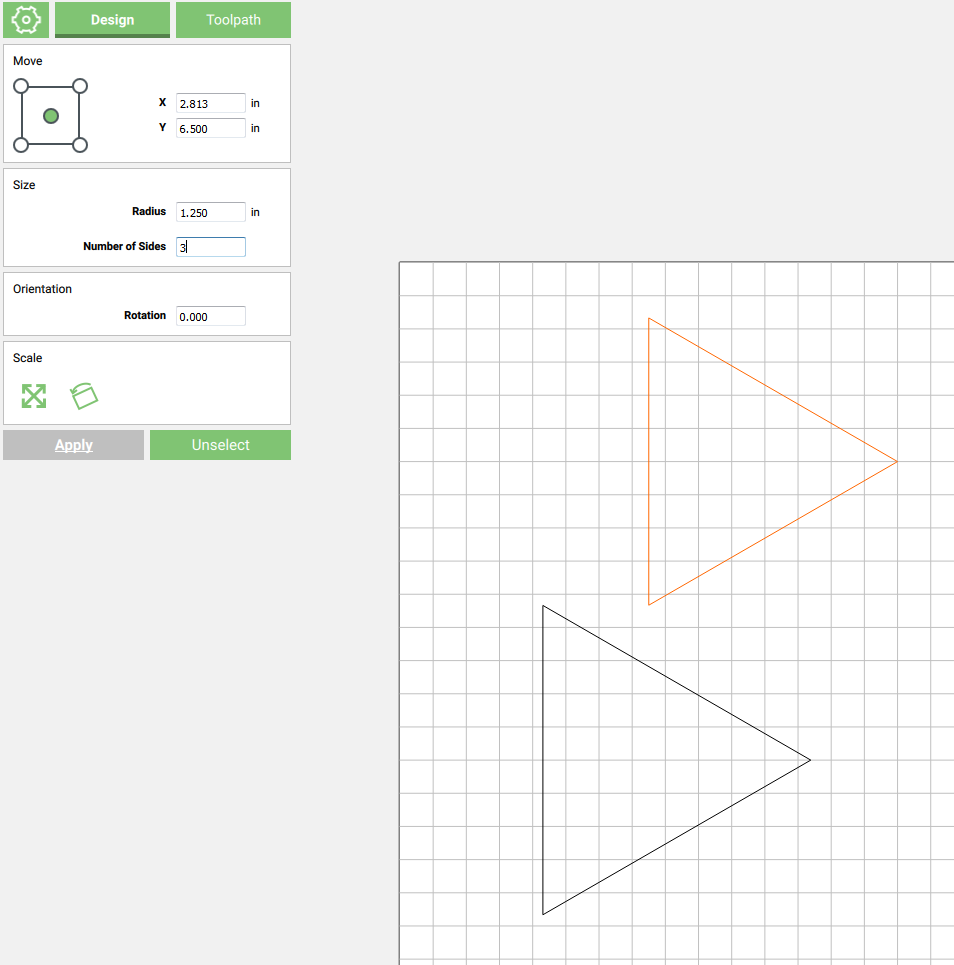
so I am trying to make a 20 sided die just for fun, however I am quite new to the software. I am curious how I would create the edges for my router bit to cut. Also it seems there is no option to make triangles as shapes.
I have attached an image, so I basically need to just hit every edge of each triangle, just baffled as to how I would make this in carbide create.
I couldn’t tell what angle would be needed, but If its just a test, I would try a V-bit tool and use a “No Offset” toolpath and cut the Triangles on the line.
So I am wondering, because there really is no router bit that will hit the angle needed for these to glue up together.
What if I took a thin 1/32 rounded bit or a 1/16th and cut out a groove 4 passes wide 3/4ths or more through the material, then made another pass in the dead center of those 4 passes taking away as much material as possible so the wood could be bent without cracking?
Do you think that might work? If so any thoughts on how to set that up hah, I am still struggling with the basic carbide create guide. It lacks SO much in the sense of actually teaching/telling how to achieve certain basic functions of cutting/creating with a shapeoko lol.
If your using Plywood and you soak/steam the wood in theory it should work.
To make it simple, I would stick with the v bit, and test to find the best maximum depth.
I dont think you need anything other than a 90 degree V bit. Since the angle you need is greater than 90, you will have room in the channel to allow your parts to fold.
Im thinking it would be a similar to the Dymaxion Map:
for some reason I had it all backwards ahahaha. I will play around with this. I am still trying to figure out how to set cutting depth in carbide create lol, or does that come when I transition over to the motion software?
If you want to post your Carbide Create file and some material and size details Im sure we can get you cutting a test in a few minutes.
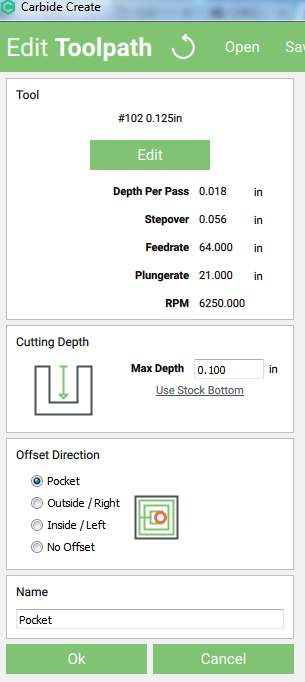
The Tool path controls are fairly simple.
First select the tool, then check that the 5 Speeds and Feeds values are accurate to the material you are cutting.
Second you will set the Maximum Depth which is defined separately from the feeds and speeds.
Third and last step is choose the “Offset Direction” In this case I think “oustide” or No offset would be the 2 options depending on how you set up the design file.
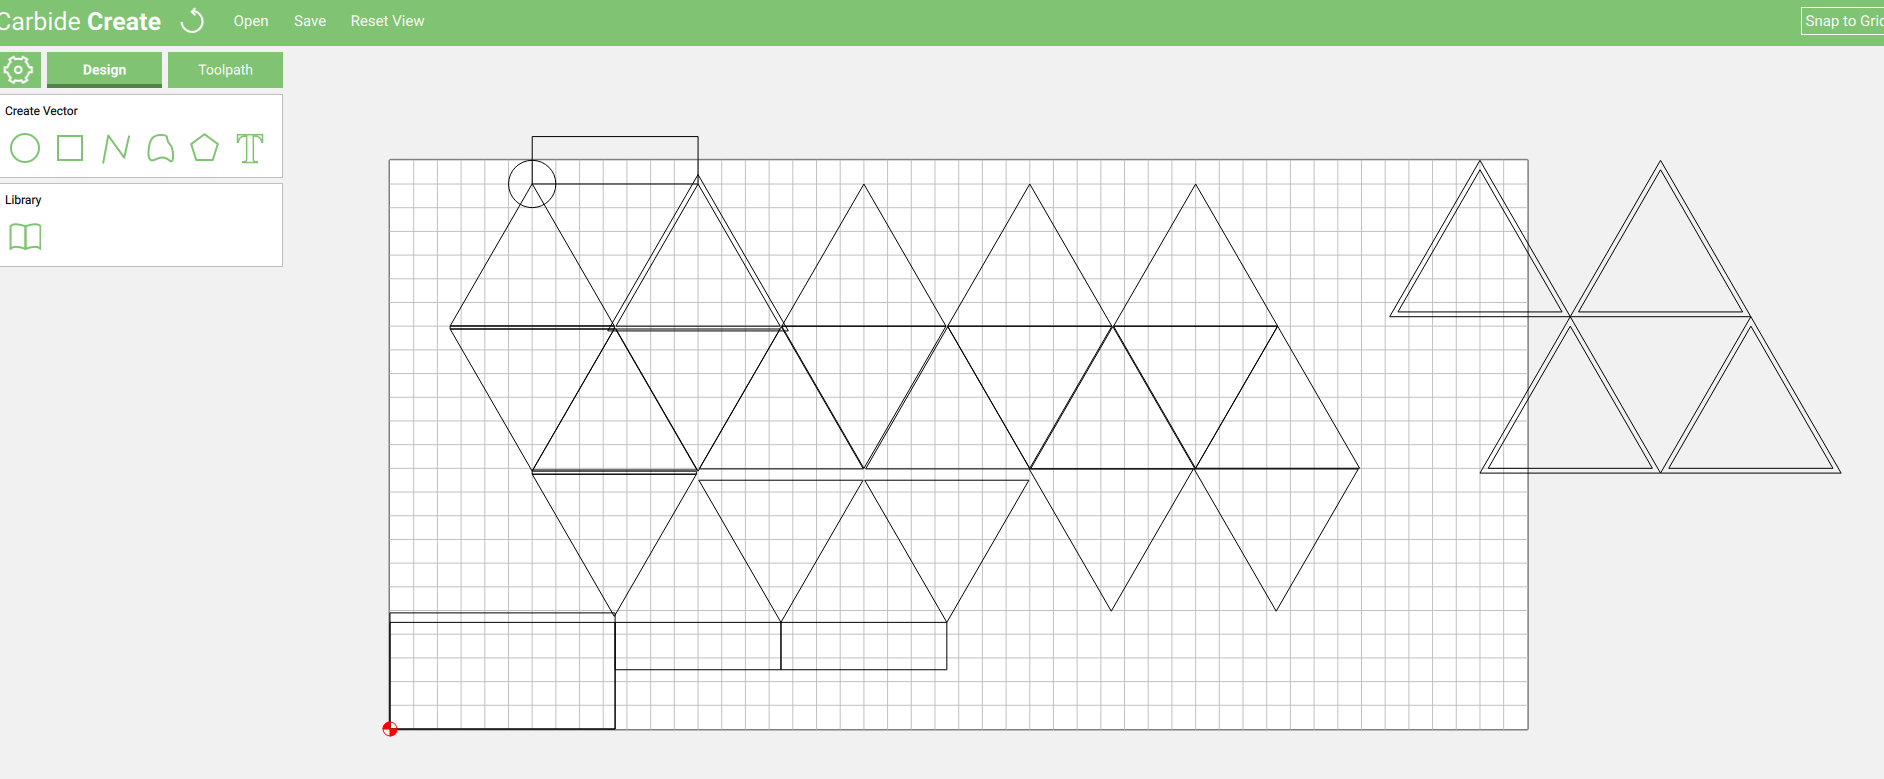
Not sure what happened with this, but the snap to grid stopped working and everything got all wonked up. Wasn’t sure how to fix it as manual placement just is not at all accurate for something like this heh.
Yeah I have tried that with this. Think I am just going to make a new file most likely. btw are you on Skype or anything? Not sure how to send you a PM on here
I took a look and think that you may need to use some construction shapes for reference.
The Grid is good to snap to, and you can also use shapes to snap to as well.
I guess I am just missing the whole, how to snap to shapes. I got your file and I have been toying with that trying to understand it, but I am clearly missing something hah.
Any chance you would be willing to do a screen share with me if/when you have 5 minutes free? Buy you a beer :: )
If you click on a shape and hover over a corner or mid point on that shape you should get a fly-out label.
You can then drag the shape and snap to an intersection.
If you want to download Teamviewer we can set up a time to screenshare.