Hi All - My name is Edward, I’m one of the founders of Carbide 3D, and the guy who started the Shapeoko brand a long time ago.
A lot of my time is now dedicated to support and documentation. In fact, we just launched an entire new site dedicated to documentation and support! You can see that here: http://docs.carbide3d.com/
I have a pretty long list of tutorials that I am planning to do, but before I get going, I wanted to ask the community - What sort of tutorials you would be interested in?
So - give me your ideas - more information or even an example photo would be helpful, but not required.
If you like someone else’s suggestion, go ahead and hit the heart button so I what other people are interested in.
Here’s how I’m thinking this will work: You give me your suggestions for the next week or so, then I’ll build a list of maybe 5-10 tutorials, and keep everyone posted on the progress as I work through each one. I’d love to hear your feedback as we go.
And as I’m sitting here thinking about it, I’d also like to see a better write-up for tensioning & tramming the machine, to ensure your spindle is square (I use the double-bent-bar-in-the-collet method) and that everything is as stiff as possible.
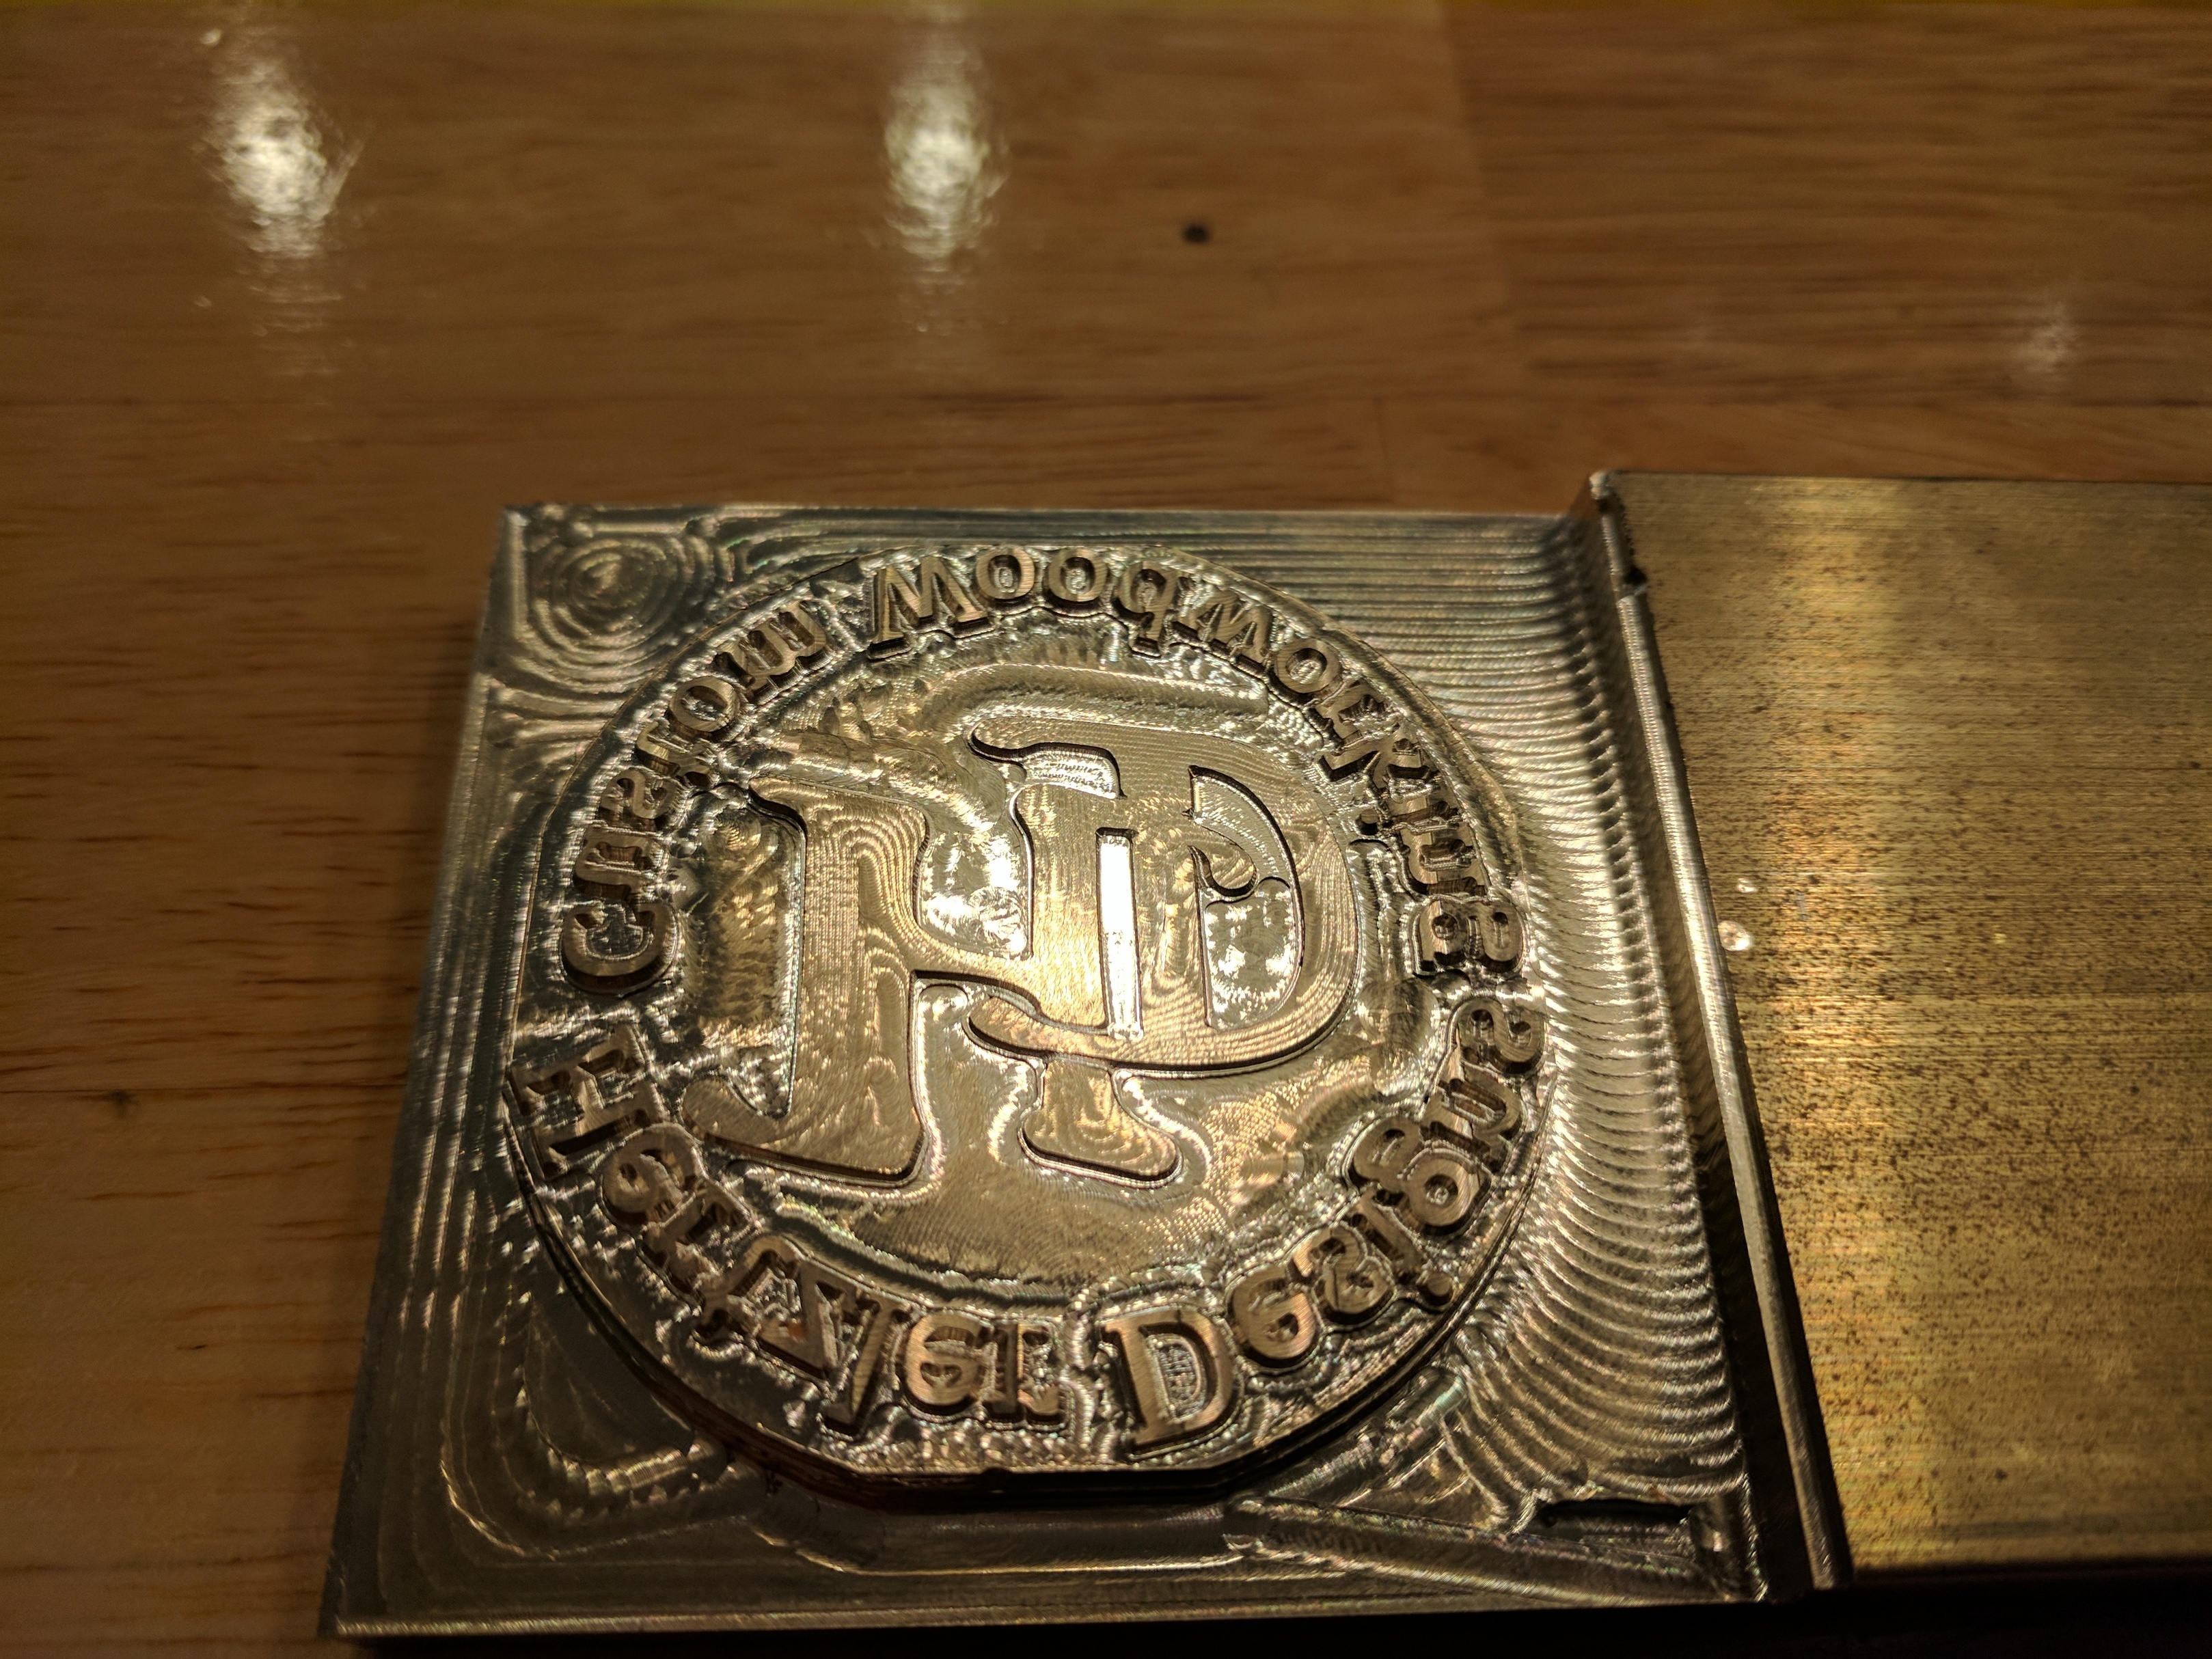
I’d also like to see how you’d do some basic mold-making, for resin & metal (aluminum) casting since it’s pretty easy to hobby-cast aluminum.
Whether you cut the positive at the bottom of a pocket—to do a silicone pour and then cast the positives from there—or direct-cut the cavity in an appropriate material, it’d be interesting as well.
Troubleshooting guidelines with pictures. We all have gone through missing steps and no idea why but know what the output from our CNC milling looks like. It would be awesome when we have a problem to be able to look at a guide and compare our problem and find what we probably need to correct to fix it.
Video the entire process-from Idea to completion-if a picture is worth a thousand words, 30 frames per second makes for the most efficient conveyance! Mutliple camera angles and outtakes for enhanced detail…Then abbreviate the process with a workbook. I am doing that very thing for a long term project that was a large part of my XXL buying decision.
I think that showing the care and setup would be the most helpful and needed, What can be done on one cnc router can pretty much be done on all-with software and capacity being equal. Getting the most-and best out a a machine means setting it up square and keeping it that way before/during each operation, and learning best practices-and common issues/mistakes. Addressing wasteboard rigidity, weekly maintenance,
That said, I would like to see some embossing.of metal foils.
Taking a photo and engraving or lightly carving it onto a wood and or metal plate. Start with the picture and what free program or what needs to be done to get it ready for CC input. than do it in CC.
Two ideas - first, many tutorials are typically meant for beginners, a focus on basic Shapeoko accessories (expanding on your clamp tutorial) would be great. Think dust boot, wasteboard (t-track and/or inserts), cyclone separator, endmill/collet/accessory organizer, lighting bracket, etc.
Then I think some typical workshop projects are good - kids games (Chinese checkers, 4-in-a-row, checker board, sorry, etc), kids toys (puzzles, shape sorters, marble mazes/labyrinth) signs and door/drawer fronts,
Once you have the basics out of the way a tutorial on making an edge lit acrylic sign would be cool (both the acrylic and wood base pocketed for led’s.
An advanced course would include multiple panels to do several colors or sequential led displays.
Or perhaps even wooden intarsia designs as an advanced puzzle tutorial.
No matter what, I feel the focus should be usable items that keep people excited to learn more about there machine and show other people the cool stuff they can do. That external validation is a huge motivator to some.
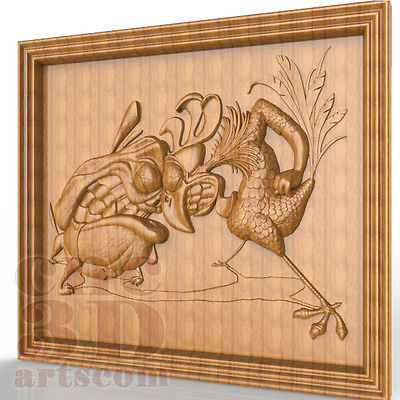
Step by step tutorial of importing a STL file into Fusion 360, then doing the CAM work, Machine Setup, at least 2 tools (roughing and Rest finishing), for something like this (with frame):
I second BiologyBen. When I first started with my Shapeoko some areas that I could of used help with:
Calibration: how to ensure my machine was set up by me correctly. Include leveling the waste board.
Beginner carves: once I had my machine up and running I had to hunt for projects o felt I could tackle from a basic level. Fun and engaging basic projects would be great to include.
I would like to specifically mention that we have a standing offer at support@carbide3d.com — if you have a task which you are having problems with, please feel free to let us know about it. Many of the tutorials listed at:
are the result of such requests (there are a bunch more which were based on files which didn’t seem appropriate to share and which I haven’t had occasion to re-create using more generic drawings).
+1 to @Biologyben’s idea of building out the tutorials around accessorizing the Shapeoko or Nomad with additional useful things that make shop-life easier.
I’ve got my own figured out, but there was a while there when the challenges of work holding almost made me lose interest. I know there’s a lot of discussion here on various approaches, but maybe having a video showing an application of each of several useful techniques (screws, glue/tape, tape, wax, clamps) with considerations and things to look out for (eg, hitting clamps) all in one place would be helpful.
to me its the bible.I would love it if we had somthing of the same. Shows actual pictures of the problems and faults on the work peice and the steps to correct them I.E see link above
These look like great suggestions! This is what I am seeing so far for project based tutorials:
Image machining project
3D Project (STL -> Gcode)
Two sided tutorials
Projects for the machine (making things to make the machine better/easier to use)
Start to finish video of me (or someone more charismatic) making a project
Also, it is pretty clear that everyone wants some sort of calibration / tuning tutorials.
@orlrobinson - I had not seen that 3D printing troubleshooting guide before. Very well done. I’ll start thinking about how we can create a similarly helpful guide.
OK - let’s keep the ideas / suggestions coming. At the end of the week we can all look at the suggestions and come up with a punch list to get working on!

 Looking forward to seeing what you come up with.