jcdawson
November 13, 2024, 6:06pm
1
Hi everyone,
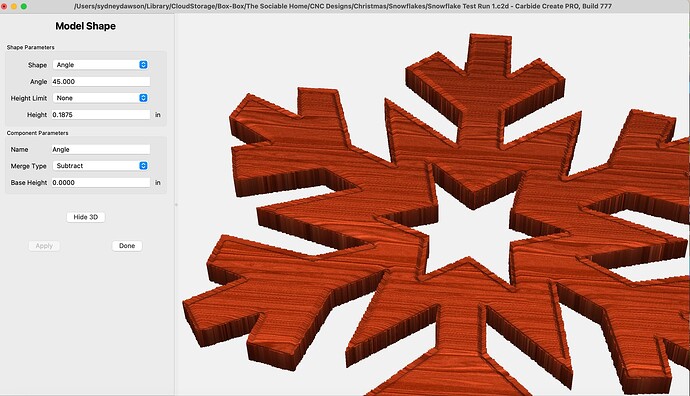
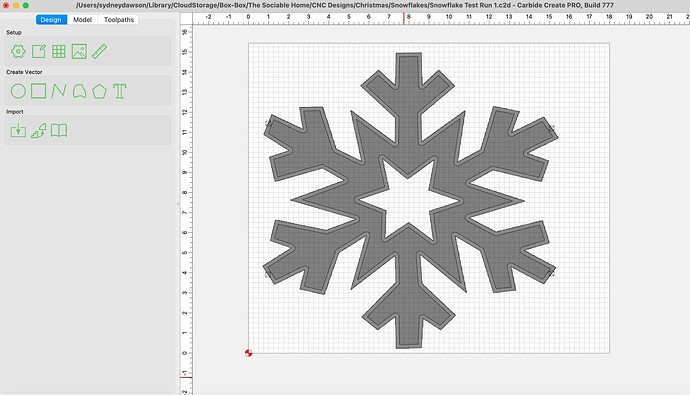
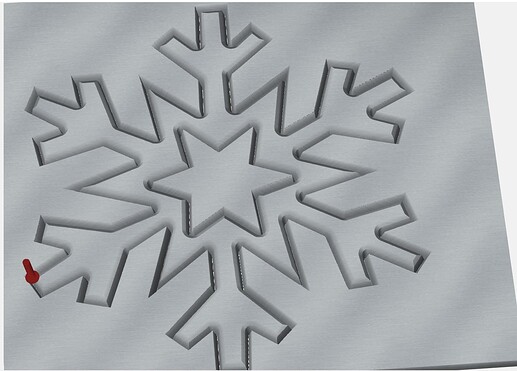
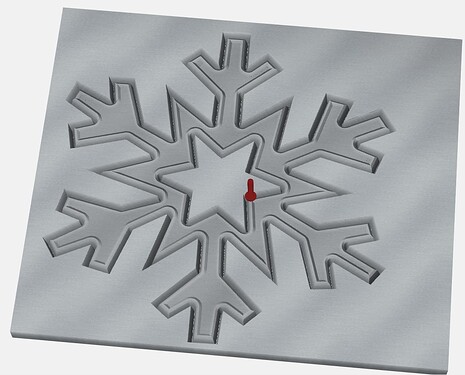
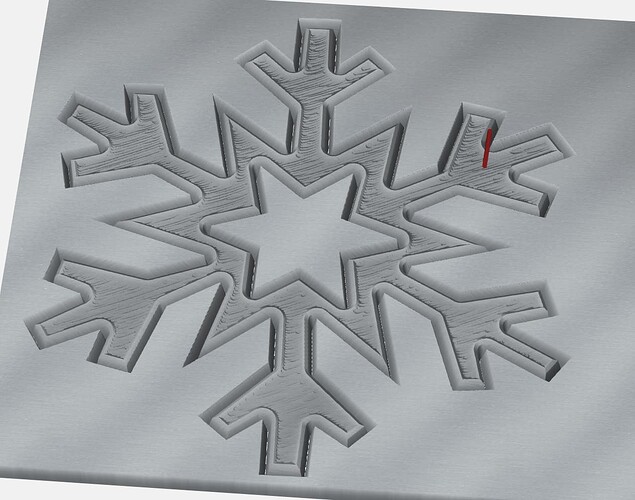
I’m working on a snowflake, and I’d like to use a 3D model to make chamfered edges so I don’t have to do it by hand afterward. When I use the 45 degree angle, it doesn’t turn out as a chamfer (see the pics below). Can anyone give me suggestions on set up?
Thanks!
1 Like
WillAdams
November 13, 2024, 6:10pm
2
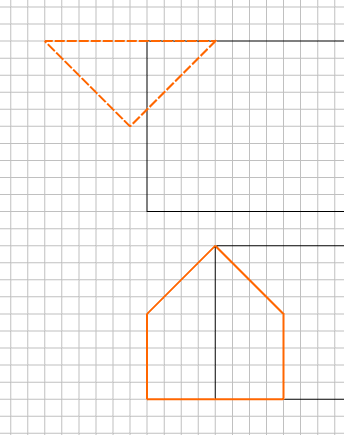
You need three lines:
inner/outer define the angle of the chamfer to one side or the other of the center
the center line gets you a region which can be forced to be a given thickness (equal with the height raised by the angle)
If you have difficulty with this, post the file you are working on and we will walk through it with you.
Or, you could just trace the geometry, offset it slightly and run a No offset contour w/ a V tool along it.
1 Like
Tod1d
November 13, 2024, 6:45pm
3
If you look at it in side view, you want to model the flat shape and subtract an angled shape, or model the center & use “max” to add the house shape.
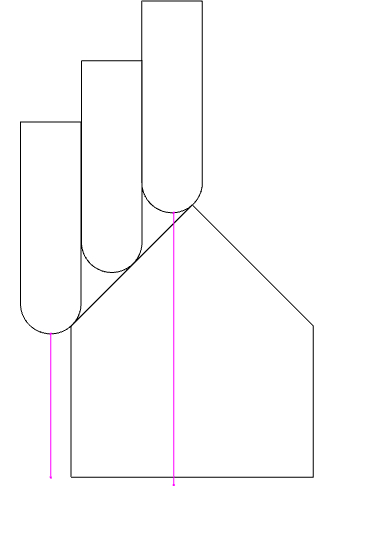
Or you could just model the house shape without anything in the middle & only cut the chamfer face… (pink lines being your boundary)
3 Likes
jcdawson
November 15, 2024, 3:35am
4
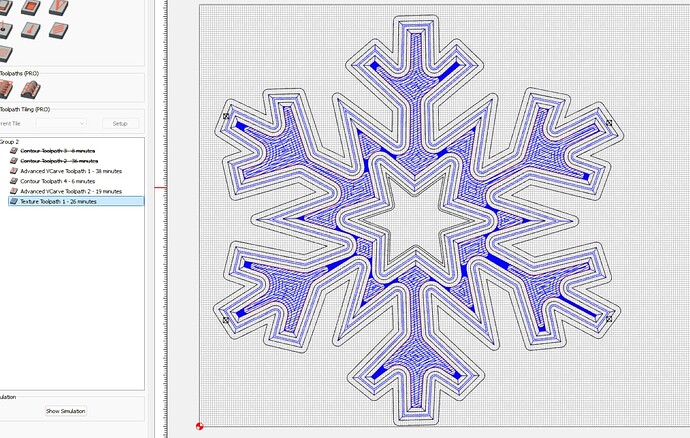
Thanks guys! I tried the first suggestion by adding an offset and applying the angle. It is closer to what I want, but the simulation doesn’t look as smooth as I’d like it near some corners. It also seems like I could make the cut more efficient, too.
I initially cut out the snowflake with contours and did the chamfer by hand, but the hand routing chipped out some edges and broke some of the arms, so I’m hoping that having a more controlled/steady cut with this will prevent that.
I included my file here. Thanks again for the help!Snowflake Test Run 1.c2d (3.3 MB)
Chaotica
November 15, 2024, 4:47am
5
I would just cut it out along the lines. Probably using a really narrow V-bit like 20degree. Then a 90degree chamfer along the top edge.
Could do a relief on the top surface too.
And then maybe a texture operation cause it’s cutting it out too fast…
Yeah, that’s not too shabby on time.
JayGee
November 19, 2024, 11:47pm
6
Hey Will, could one use a Round-Over but to do the rounding and then something like a 1/8" End Mill to do the perimeter cut?
I’ve never used a Round Over bit in my CNC, but would it work?
WillAdams
November 20, 2024, 12:23am
7
Yes. For using a Roundover tool see:
These are usually used in routers for decorative effects in wood:
https://www.whitesiderouterbits.com/products/1570
but they are potentially useful for joinery:
They are also useful for rounding off parts to allow rotary motion as for a hinged lid.
Unfortunately, Carbide Create does not support this endmill geometry — but using the new support for previewing a V endmill when used in a No Offset Contour toolpath, it should be possible to preview them w/ confidence by stacking a series o…
1 Like
JayGee
November 20, 2024, 12:52am
8
Many thanks Will. I’ll have to play around with the 3X3X3 box you show for sure.
And I do need to make a few wooden boxes for more storage but I do like those with even just a bit of a round over for handling.
system
December 20, 2024, 12:52am
9
This topic was automatically closed 30 days after the last reply. New replies are no longer allowed.
