I feel like I’m brain dead. I CAN NOT find a tutorial (that’s easy to follow) that guides me through this process. I have the Shapeoko XXXL 4 and just bought ($129) carbide create pro. I’ve spent all day the last 3 days trying to figure out HOW to do this, watched several tutorials, and am lost. Does anyone know of a tutorial (step by step directions) that could/would guide me through the process? My work piece for the sign is 20x6 chestnut and the inlay stock is ¼” hard maple. The word is Namaste, and is about 10x4. Any help would be appreciated.
Thanks,
Jim
James,
I know this may not help but spend a day reading different posts and watching different videos’s on this subject. You will soon develop your own understanding of the concept. Then try to understand the different variables involved such as tool geometry and software capabilities. It is the variables that make it difficult to make a tutorial that is a one size fits all. If you have something very specific, post your file here and I’m sure many will be more than glad to help you get going.
Could you post the file you have and your notes on how you want the inlay to work?
Note that Carbide Create Pro doesn’t have any features for inlay (yet?)
Hey Craig, that’s exactly what I’ve been doing and still lost.
Hi will, I’ll post that file today, thanks.
Sorry James. I do get the frustration but hang in there. You are in good hands with Will.
Here’s the file Will…Thank You
namaste.c2d (152 KB)
Okay, the canonical technique for this is:
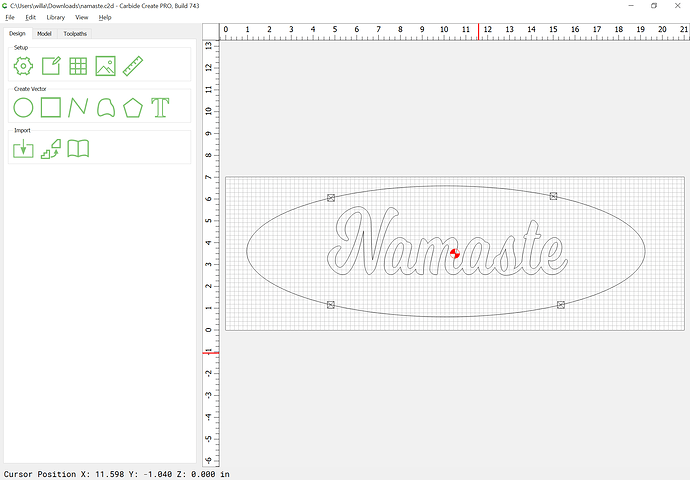
Start by opening the file:
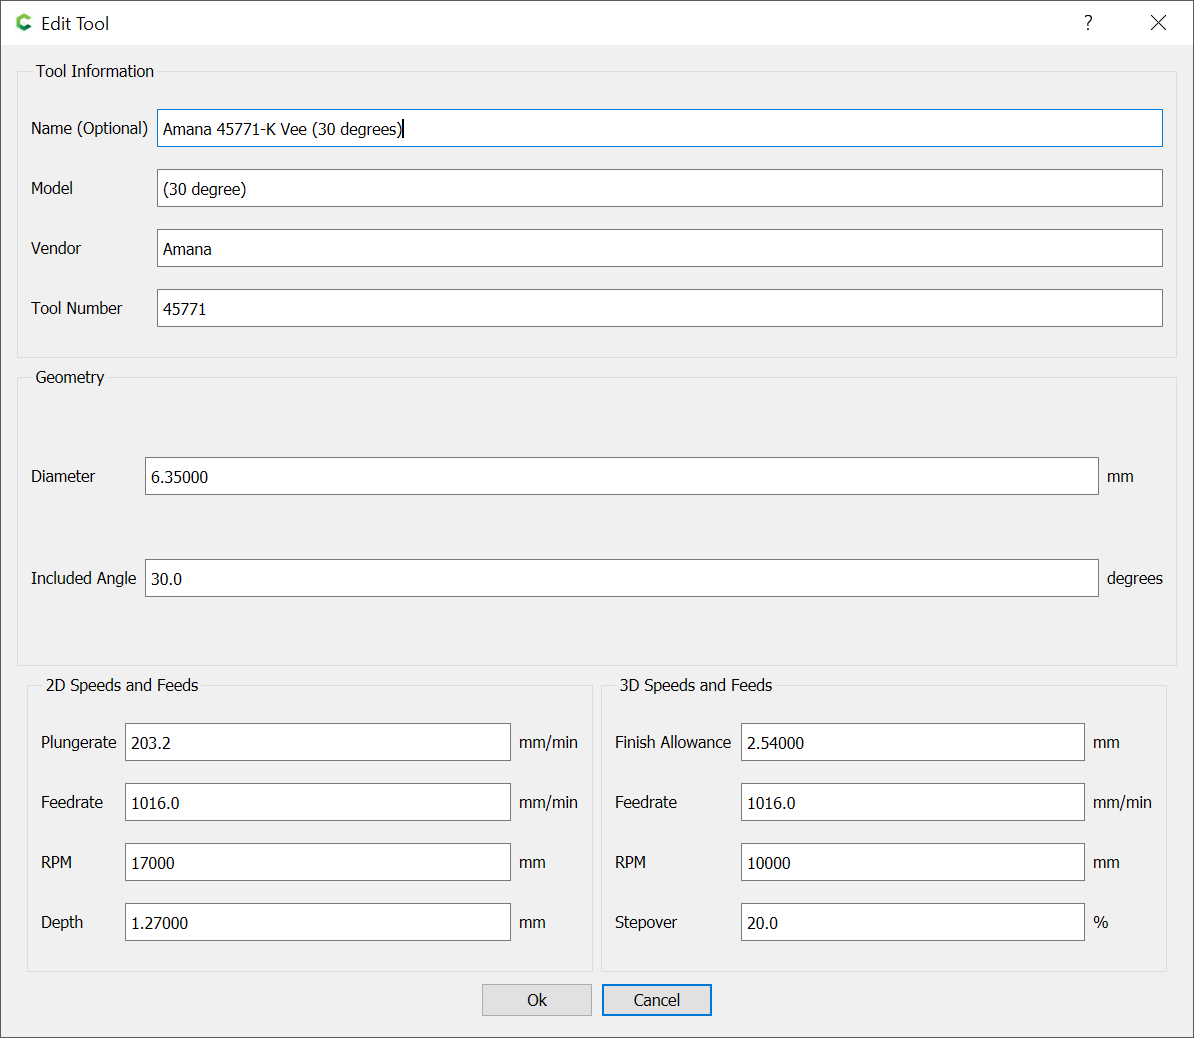
and we will use 30 degree V endmill:
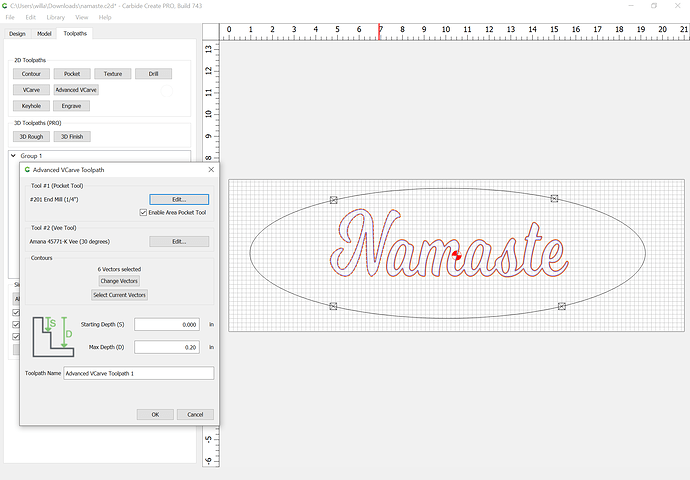
First step is an Advanced V carving of the design to a depth of 0.2" w/ pocket clearing:
(might want to use a #102 endmill instead)
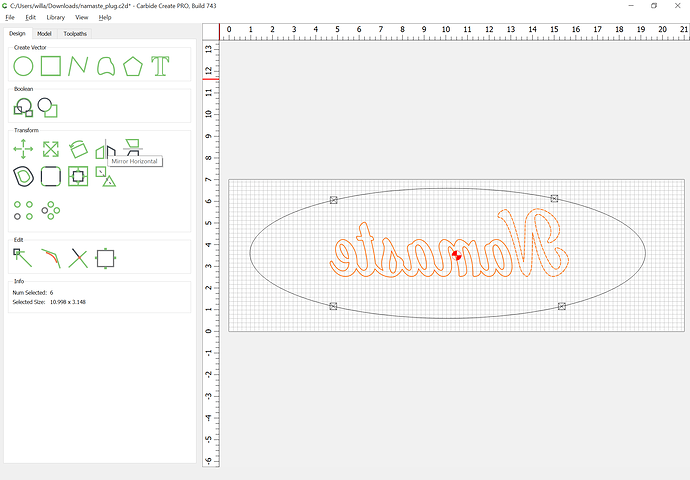
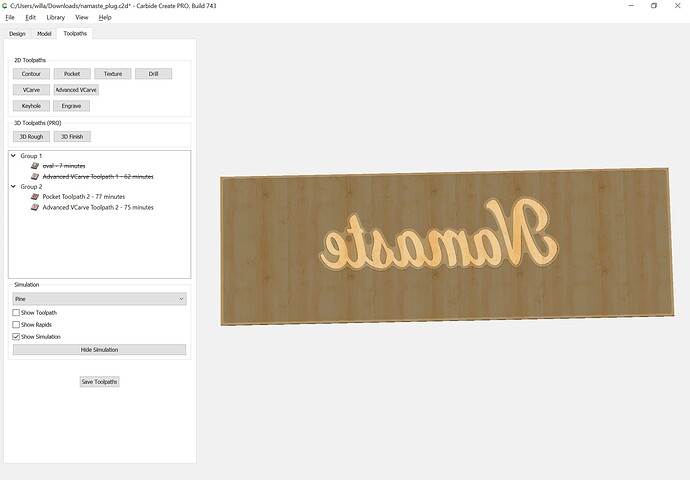
Next, we re-save this file as _plug, and mirror image:
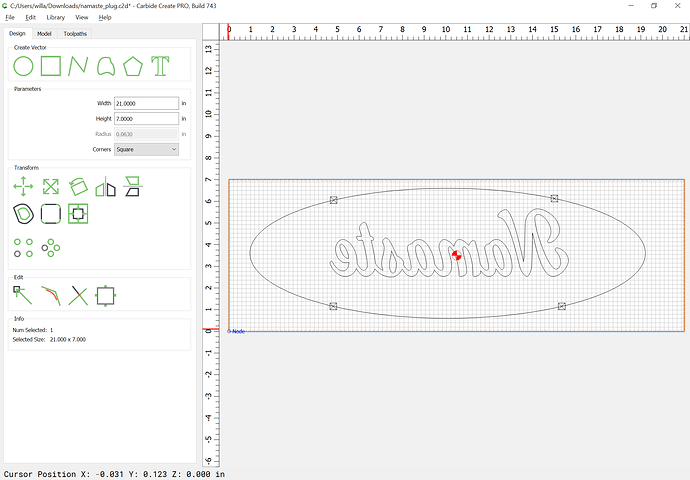
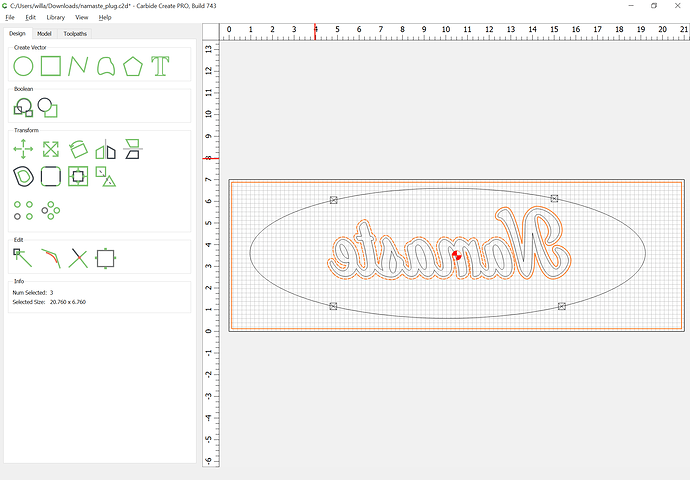
Draw in geometry which will allow us to clear all around the design:
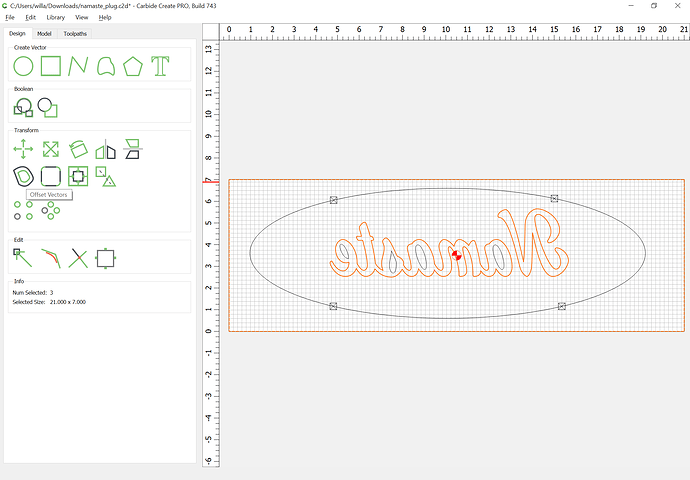
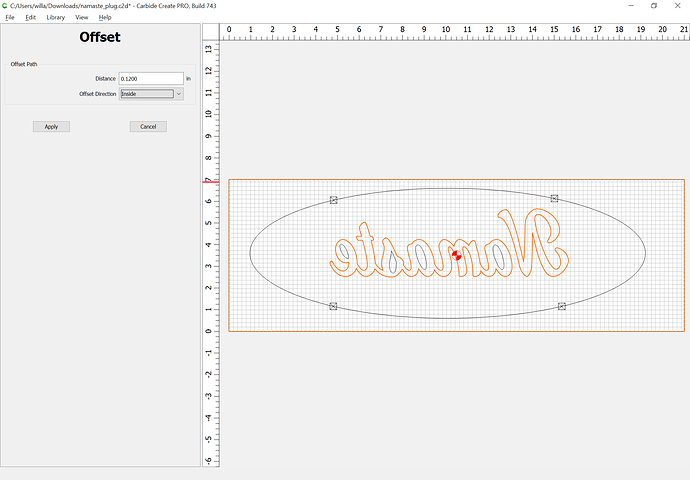
Then we need to select the outer geometry and offset to the inside:
by 0.12" as a roughing clearance:
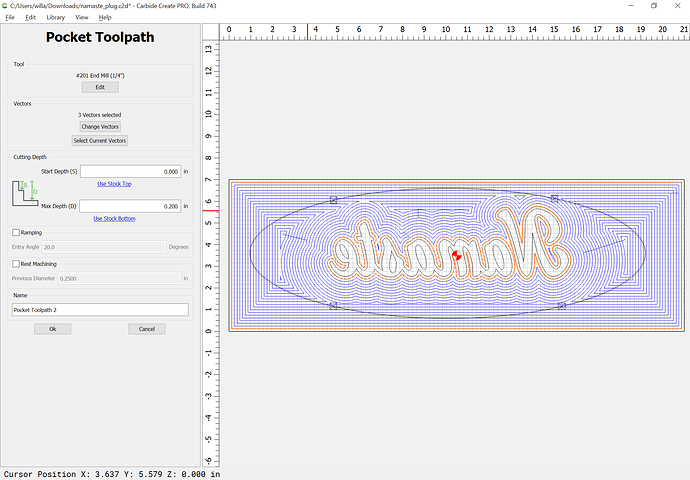
then assign a toolpath to the same depth as before:
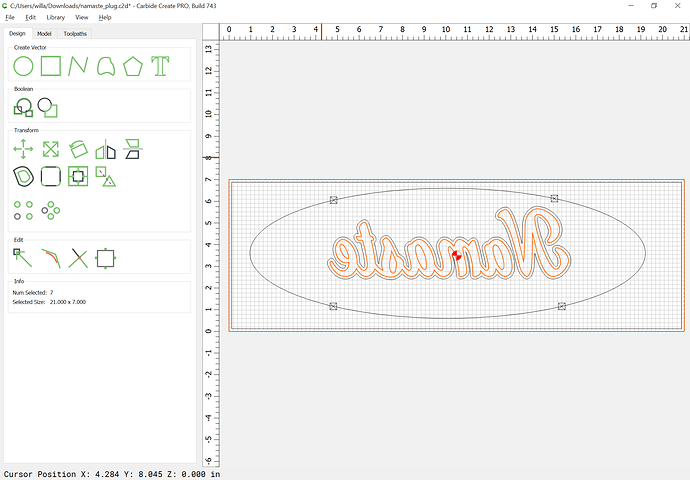
Then select the border and the original design:
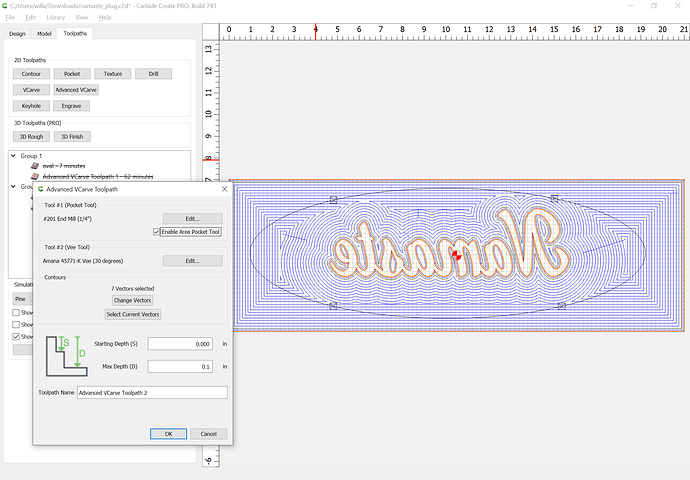
and cut an Advanced V carving w/ pocket clearing to half the depth of before:
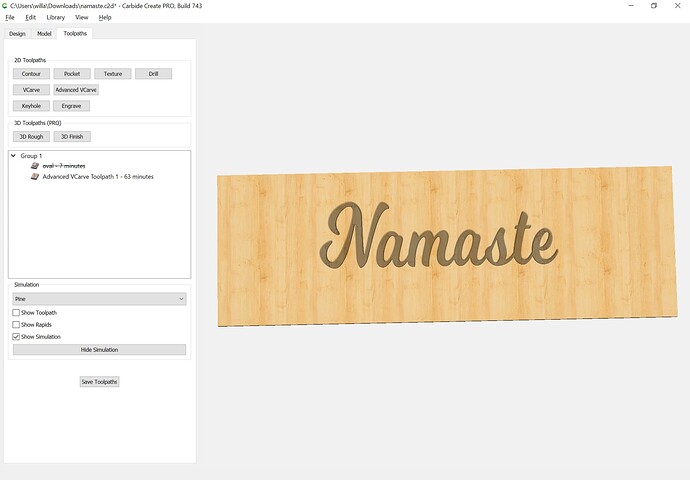
which previews as:
and which should fit into the previous file as an inlay.
@JHickey These two posts may help as well with explaining what’s happening with the geometry of each piece. I use different software, but the steps are similar (and also would work in CC). The above shows using an “inside offset” to get the plug size right, I did a two pass with different starting depth . Different ways of getting at the same thing depending on the software and workflow you have. The drawings in these may help you understand what you’re trying to accomplish, regardless of the method you use to get there.
Hope these help - once I figured out inlays, I had a lot of fun making all kinds of things. ![]()
This topic was automatically closed after 30 days. New replies are no longer allowed.
