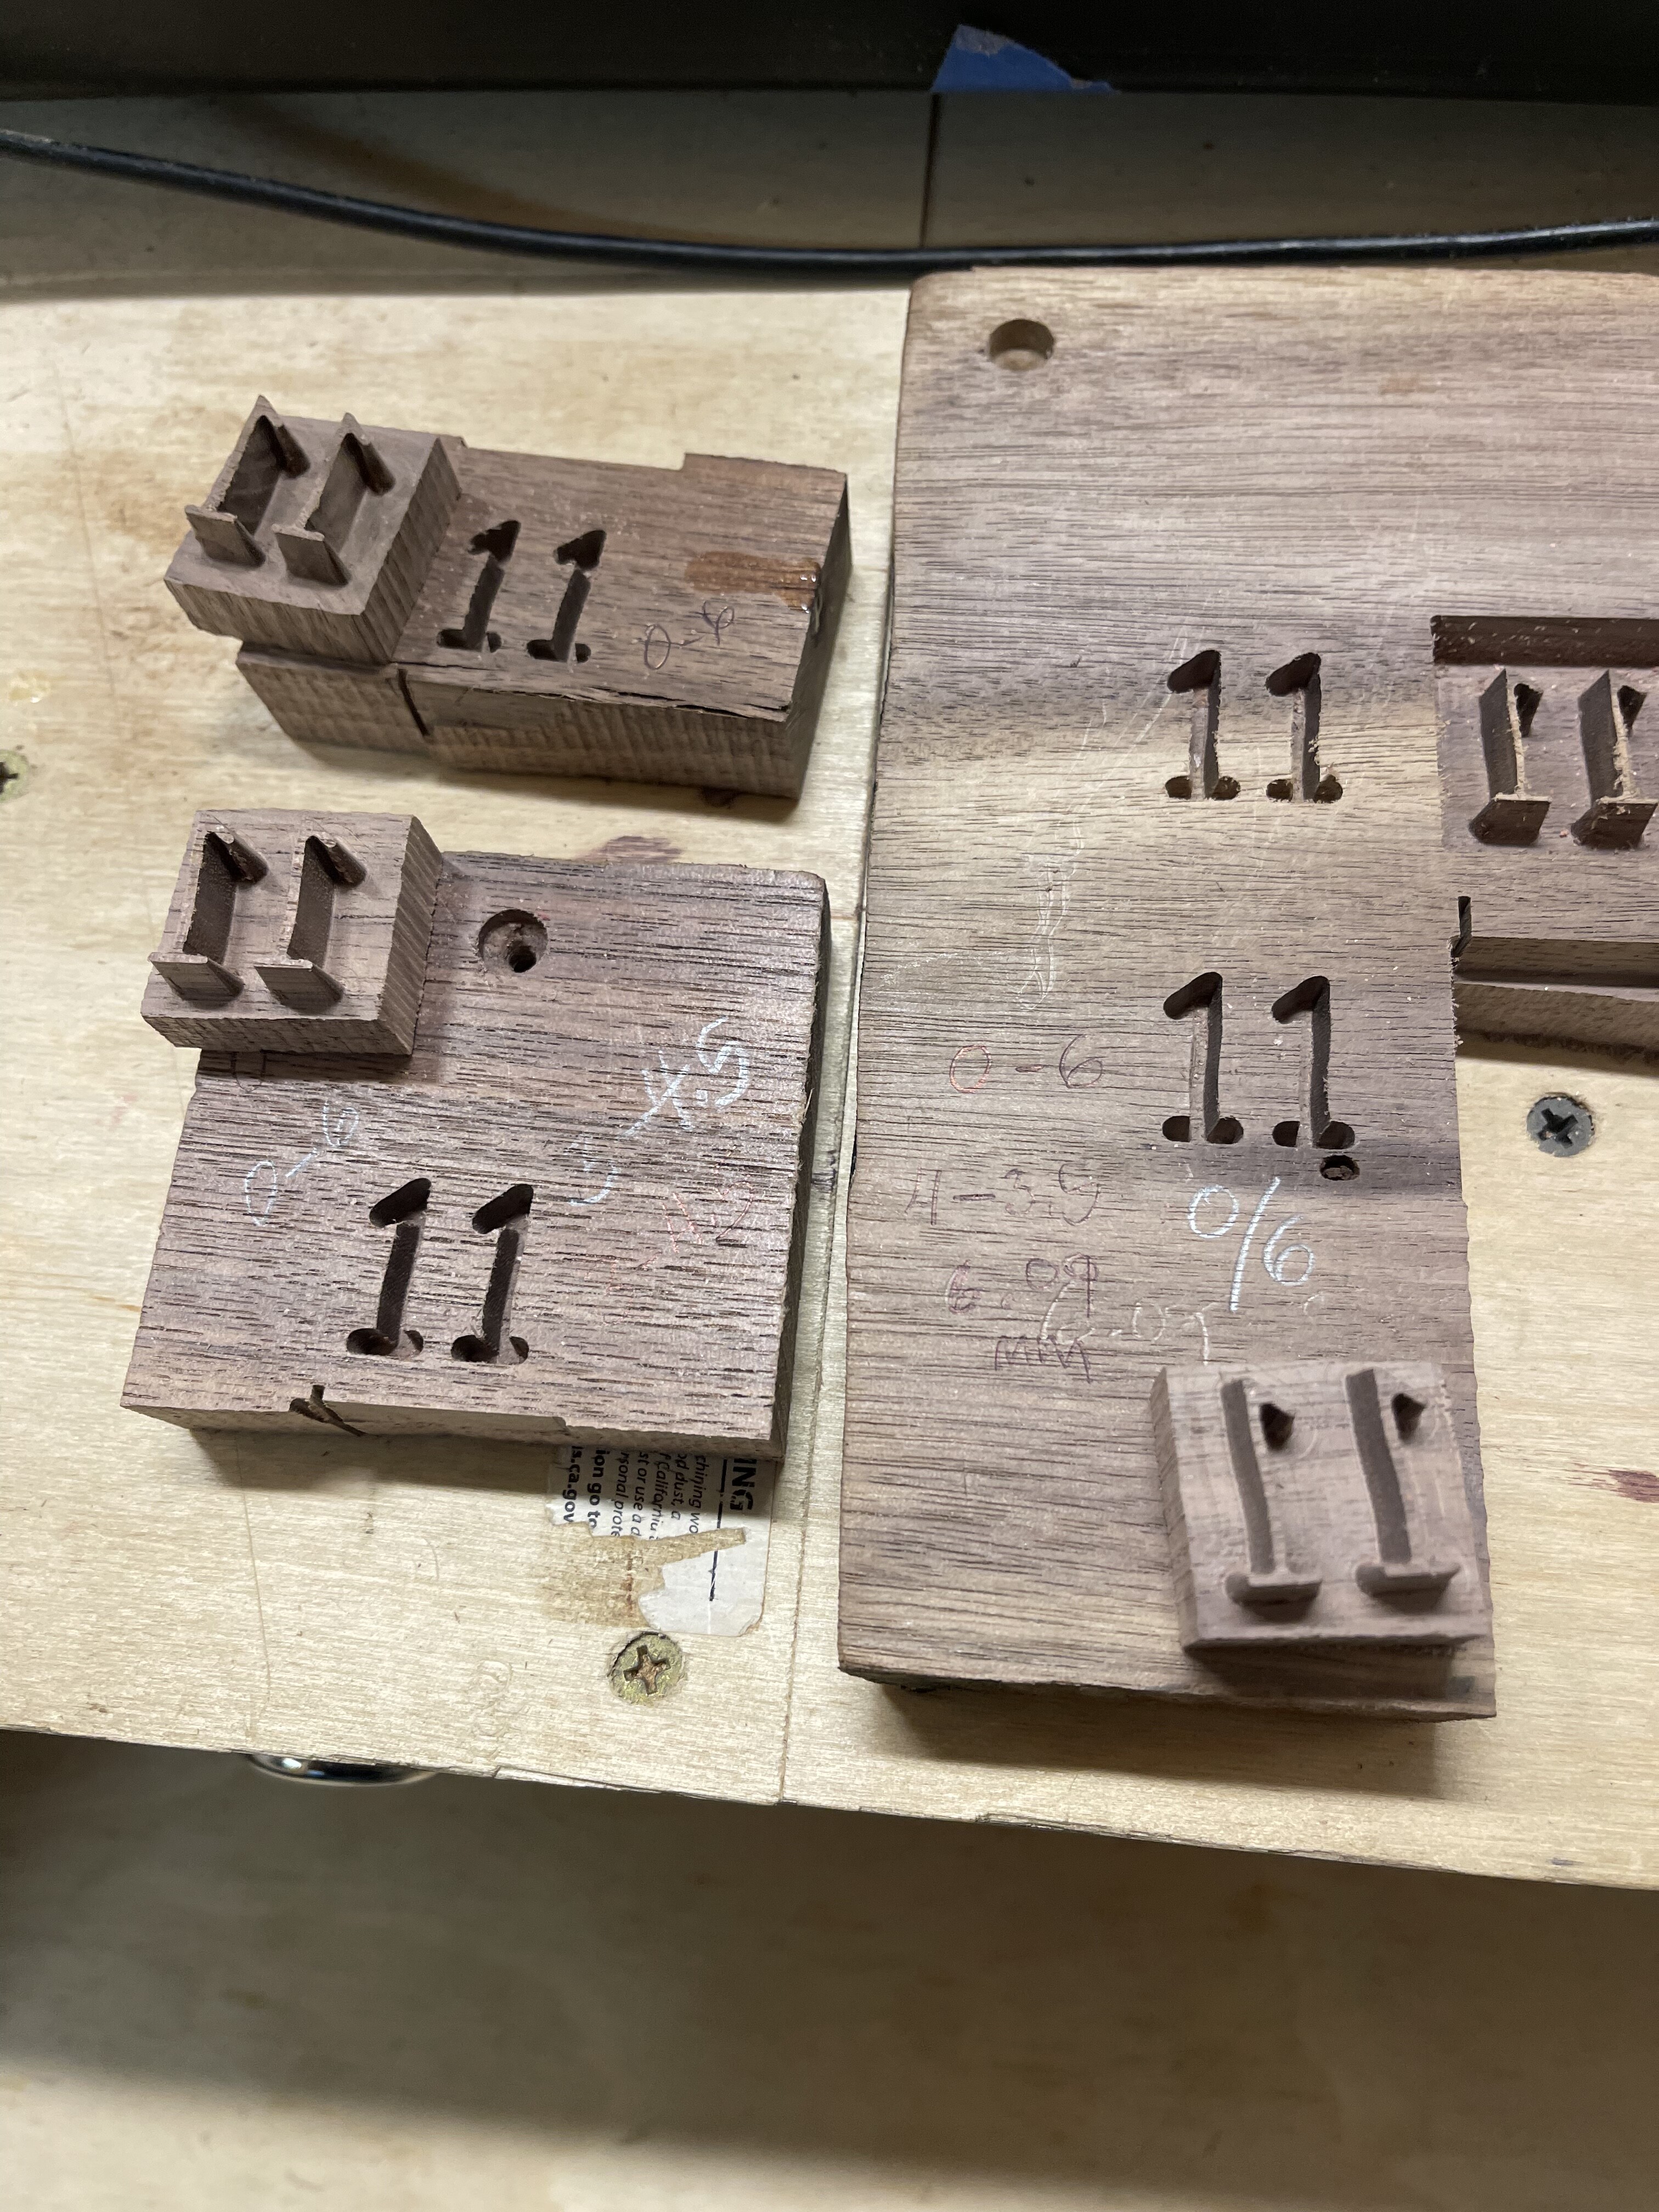
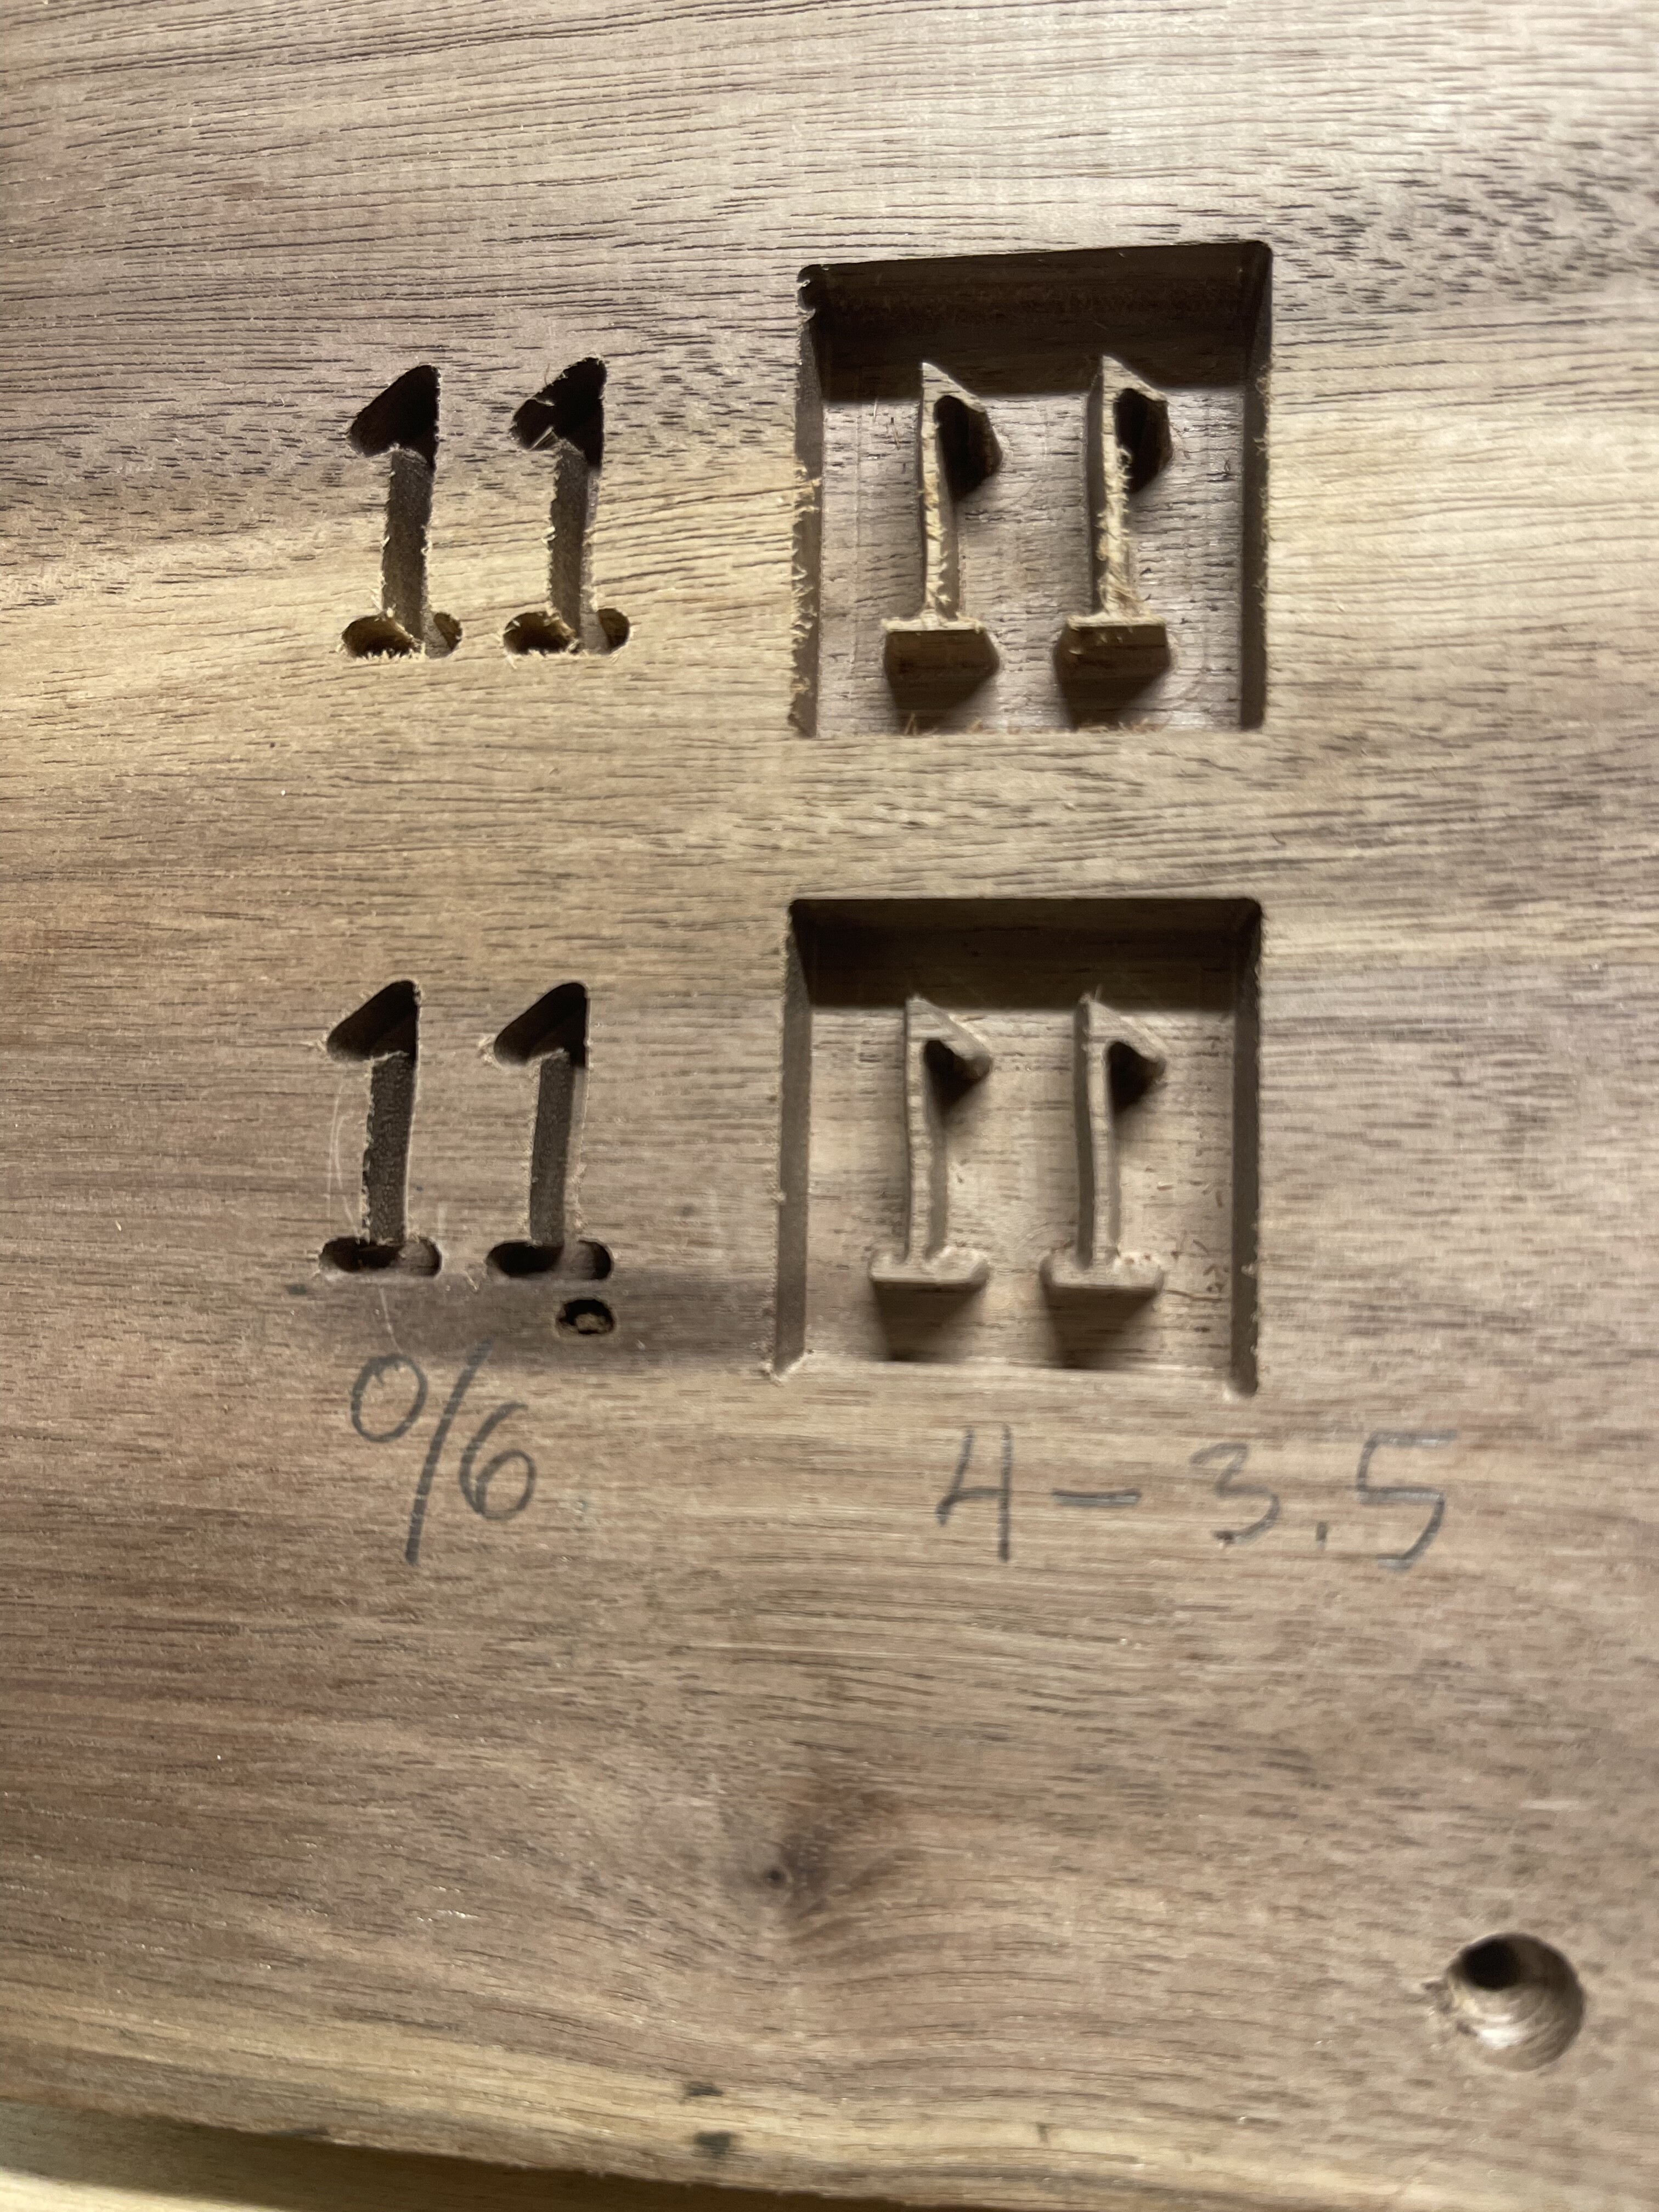
All the test cut depths are accurate but the male plug portions are all loose, they insert but they are all to thin.
The tool is entered as a dimensionally accurate V bit
At 12.4 degrees.
Even using it entered as sn engraving bit with the 6.2 degree side and tip radius it is still cutting the plugs to thin.
Any insight appreciated.
Picture attached.
When The plugs are inserted you can rotate them.
Im about to run the tests on my other machine to see if it does the same thing. Which it shouldn’t
The SS3 XXL / HDZ. Is square the tram isn’t perfect but very close…
Curious as to why the pockets/plugs are cutting thinner then the pocket
I have had success with inlay using vee bits. I have not used ball nosed bits and the tapered variety are not supported by C3d.
That said most inlays have the female pocket start at the top of material. The male inlay starts at a depth of .1". The reason is when the female and male parts start at the top of material they are the same size and male plug will not go very far down into the female pocket. When you start the male plus at a depth of .1" then the male plug is slightly smaller and allows you to seat the male plug fruther into the female pocket giving you good glue surface. Many like to have a space at the bottom of the female pocket to give a place for excess glue a place to escape to.
So if your male inlay are too small what is your starting depth? Secondly why are you using a tapered ball nose endmill? What is the purpose for using that?
Post your file and maybe the forum can figure it out.
Im using ASPIRE.Vectric ltd. Software
6.2 degree tapered ball nose is essentially a 12.4 degree V bit with 3 flutes and is stronger then any V bit
Plus the 6.2 deg. Included angle or full dimension angle of 12.4 allows you to go deep for more stability…
This tapered nose end mill is used by numerous people with incredible success…
the strength allows a full plunge on the male plug without adding other tool paths to work your way down to the 6mm.
Trying to figure out why when im follow the ssme steps my plug is too small🤷♂️
The point on this end mill is 1/64 basically a needle point
So the pocket
FEMALE START depth is 0 and final depth is 6mm or .236”
the plug test cuts I start at : SD 4mm and a FD 3.5
1.5 should be left at the top for room to cut thebplug off
And the glue gap should be your female pocket
Minus your start depth of 4mm.
even if I enter the tool as an engraving bit with the included angle 6.2 degrees and tip radius. It now nose what the point is but still cuts the pocket/plug male to thin
Ill post it when I can…
Back in the shop tomorrow
Much appreciated.
Quick tool path check when doing male plug. If I switch the settings.
Meaning SD @ just for example: .020” and FD @ 1.800” (inches)
The simulation looks perfect and the plug the right width.
But from everything ive read and studied says the settings should be opposite?
Flat depth on female .200”
Then male plug. SD .180”
FD .020”
Which should give a .020 glue gap?
You need to remember that on the male inlay, the party should be the correct width near the bottom of the carve, not on the surface. That’s your start depth.