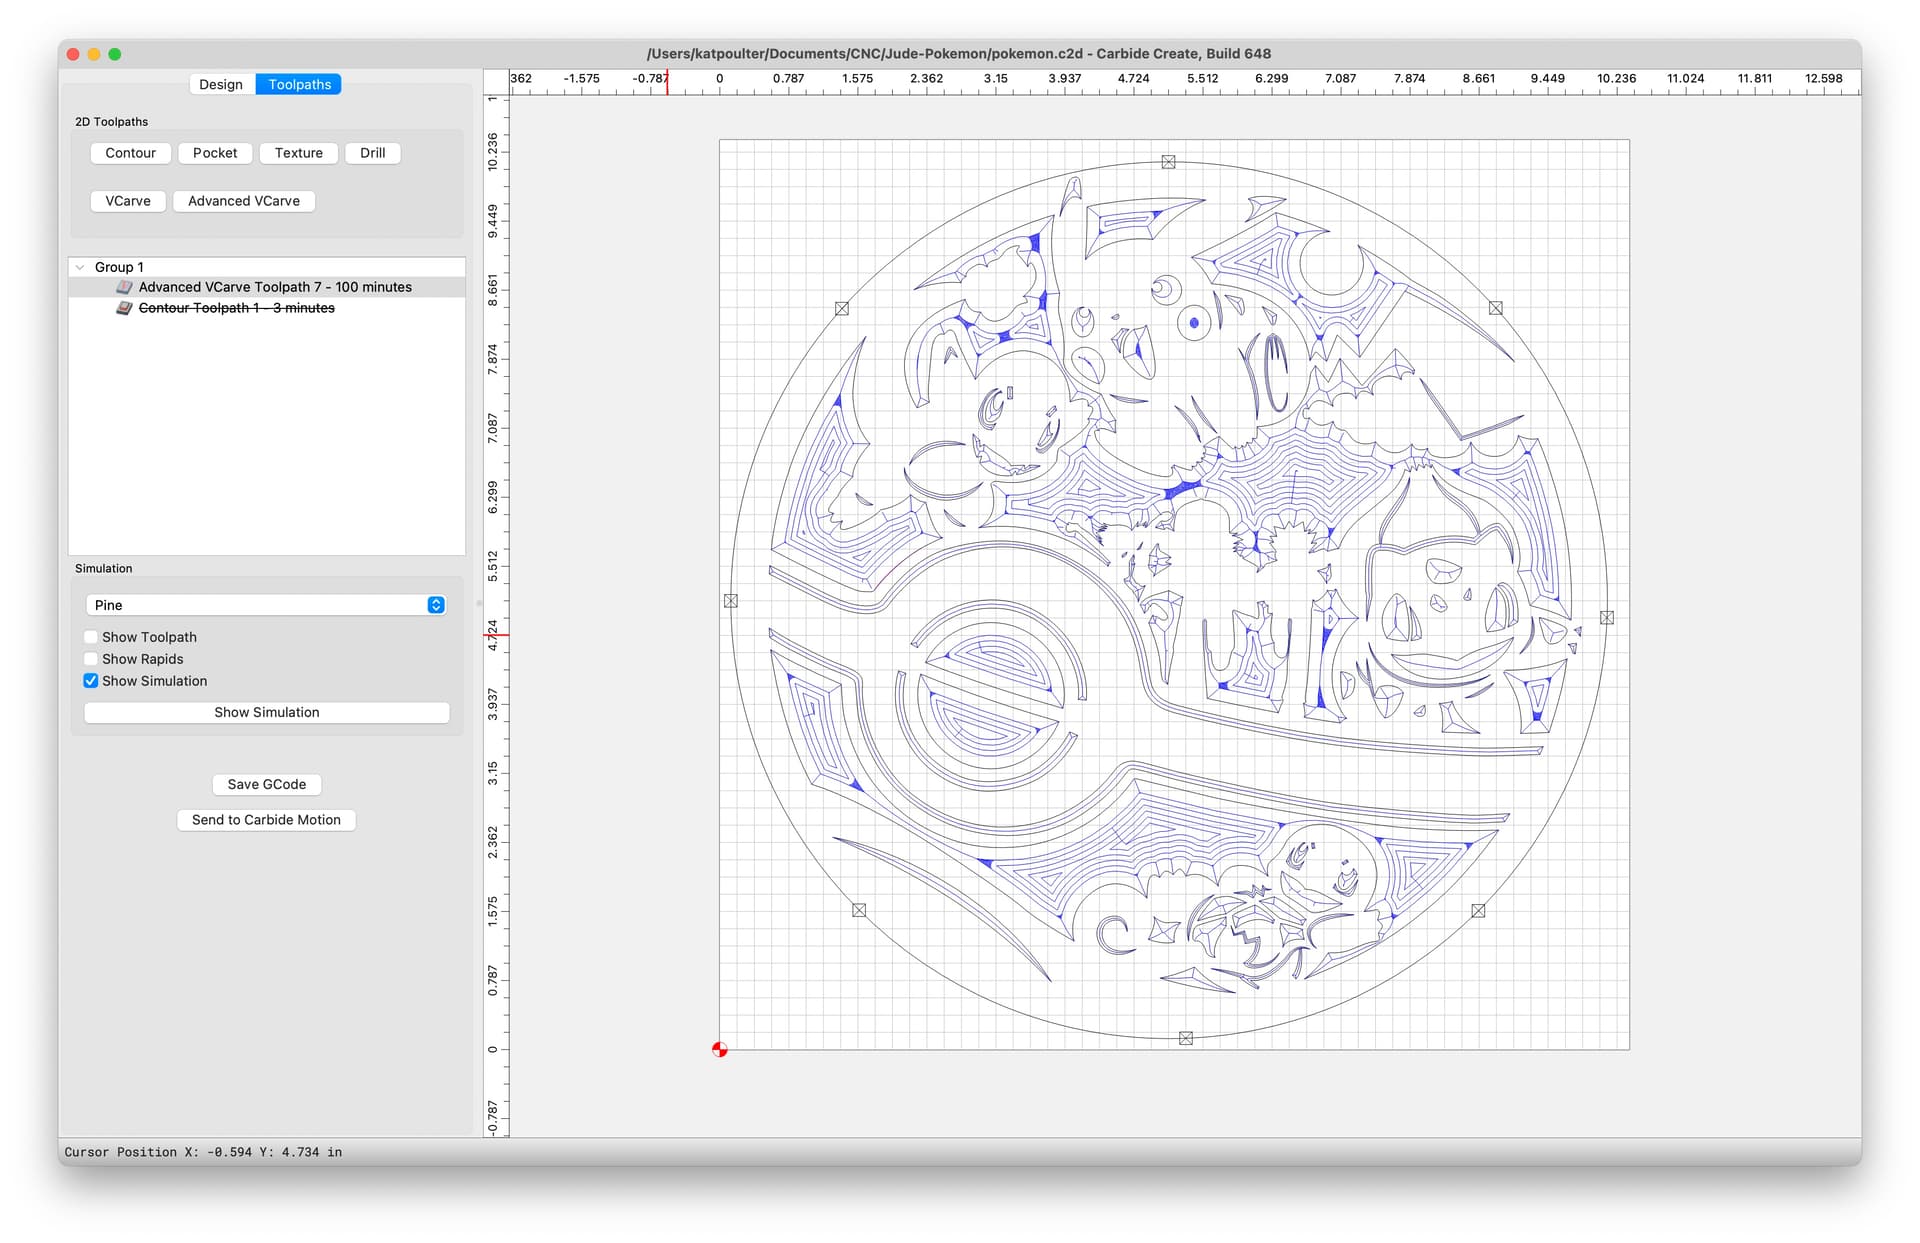
I’m using advanced vcarve in carbide create on my shapeokoe 3 xxl, and ended up with ridges inside the pockets. I recently squared my machine, so I wouldn’t assume it’s a machine related issue, but maybe I’m wrong. Could it be a CC thing? Even if I adjust step over, still seems like it would happen.
Anyone else seen this before? Any suggestions for how to resolve this?
If a cut doesn’t match the 3D preview, it’s usually a mechanical or electronic issue — please check the machine mechanically. Per the machine operating checklist: Machine Operating Checklist - Carbide 3D , the basic points of adjustment for a machine are:
Pulley set screws: Checking Pulley Set Screws - Carbide 3D — be sure to check all axes/pulleys (including Z on machines w/ belt-drive Z-axis, for an HDZ, check both coupler screws).
Belt tension (see the relevant step in your instruction manual, e.g., Step 5 Belting - Carbide 3D) Note that the X-axis motor is held in place on standoffs and if those bolts are loose this can cause belt tension issues. Also, belt tension for the Y-axis stepper motors needs to be even/equivalent on each side — a significant difference can cause skipping on one side eventually resulting in lost steps on both. Measuring belt tension, squaring and calibration
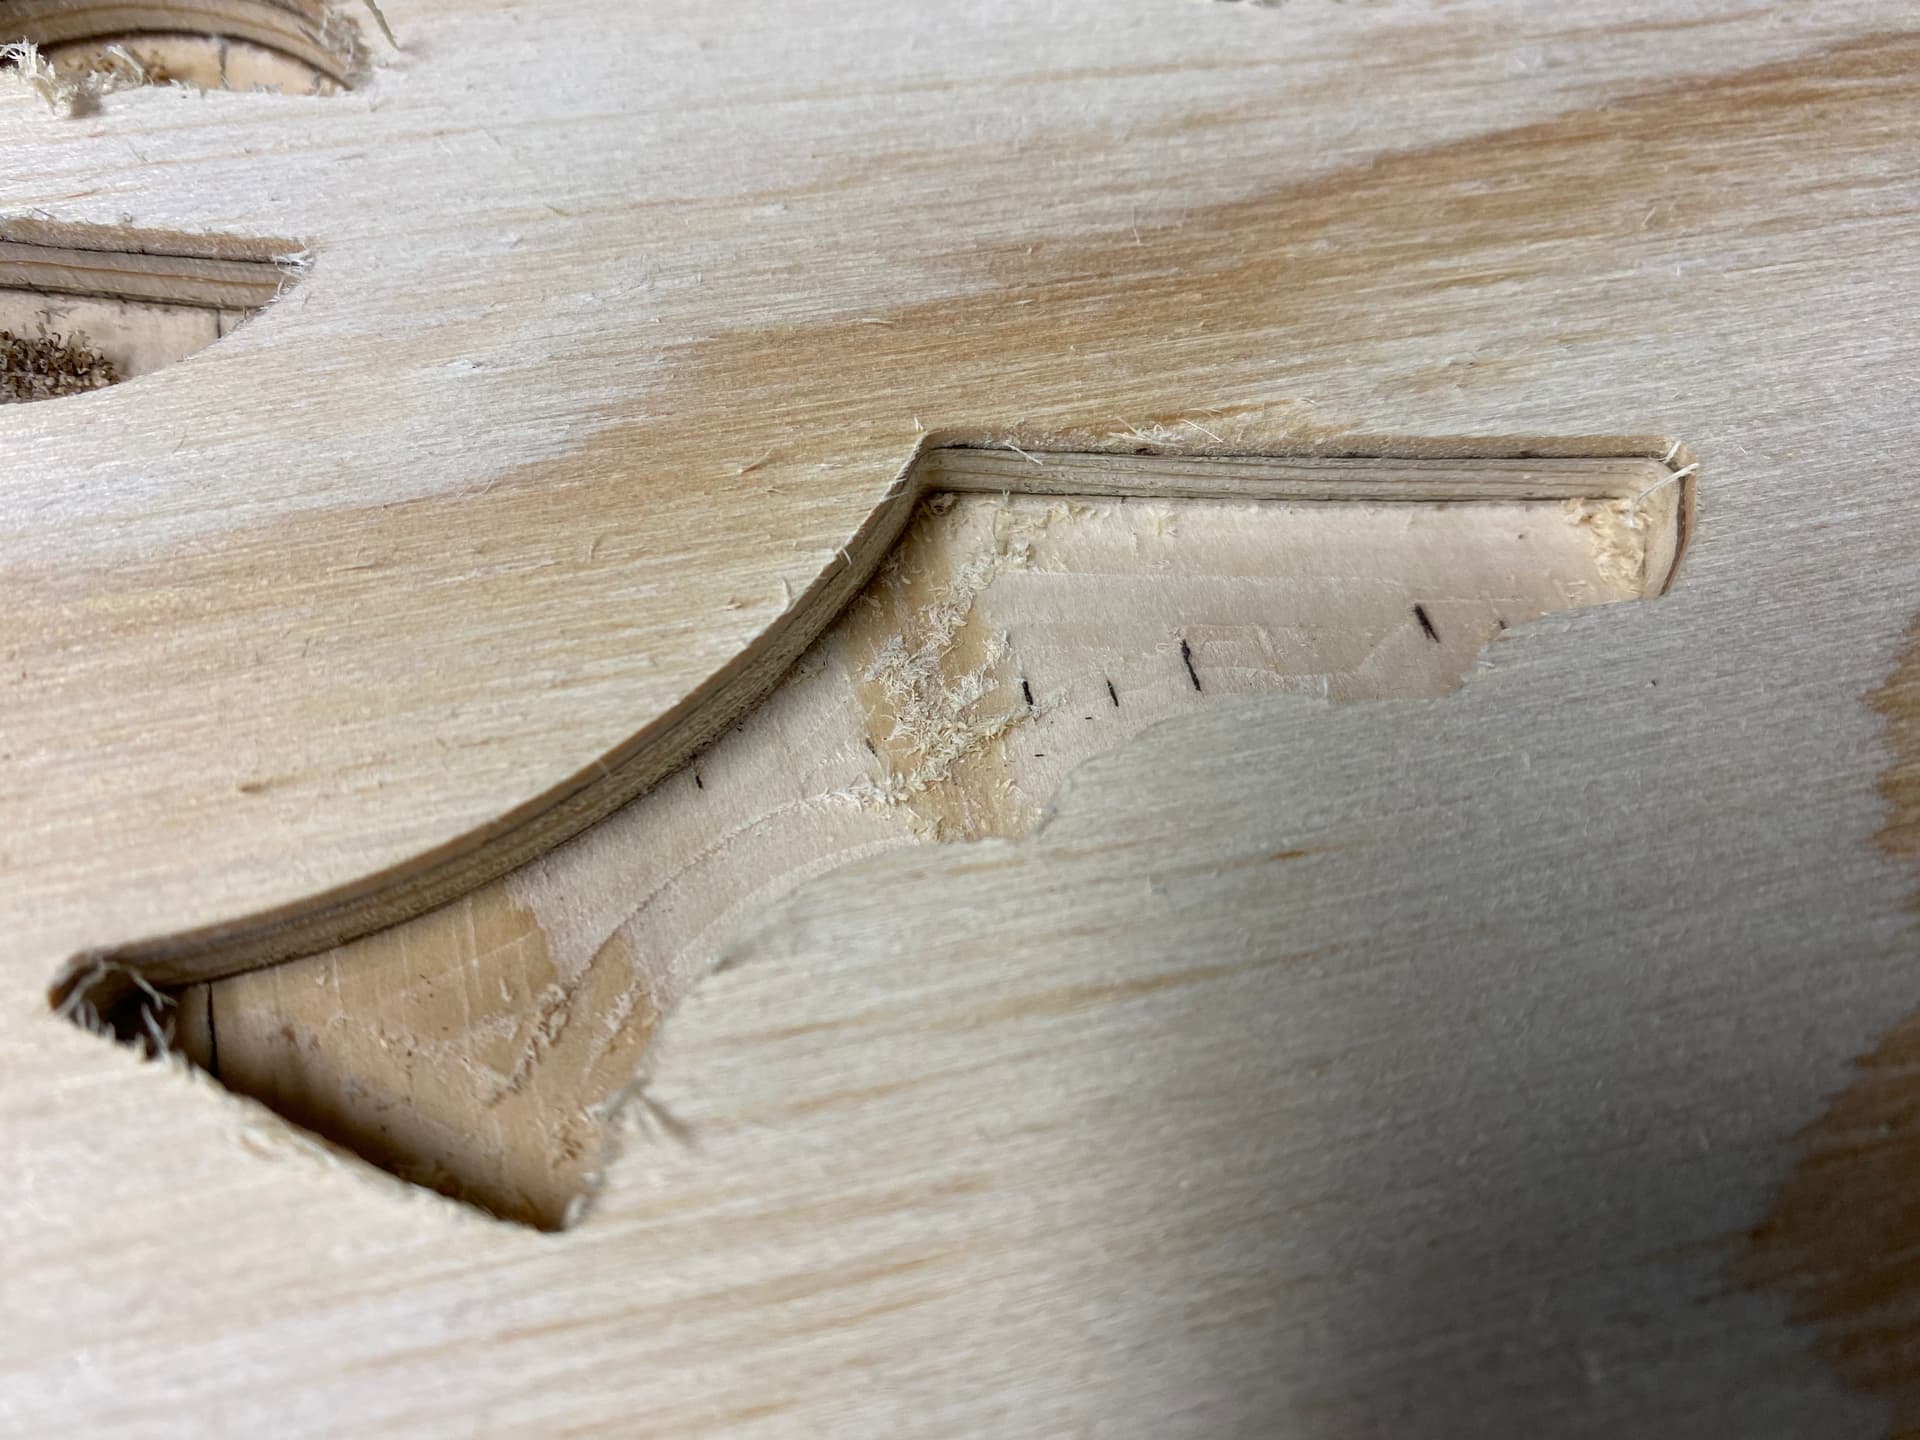
Anyone have insight into what the specific issue/resolution in the image might be caused by? Would love to build up my knowledge of what patterns are caused by what specific machine issues.
Thanks Will! Got it, okay, will start with that. I believe that I did have trouble tramming it the last time. I followed this process from Winston (How to Tram Your Shapeoko - YouTube), but think I ran into the issue of: you check it, have to dismount it (it might move as you do this), and then tightening it might mess it up too, and then you have to check it, etc… Any suggestions on the best way to tram? Didn’t see any links in the previous list…
Are you by chance using a dust shoe that moves down with the router? I had a similar looking issue when I used a dust shoe with ~1.5" long bristles, and it was attached directly to the router, so when the router moved down far enough, the brushes hit the cutting surface, and as it moved around, the bristles exerted enough force to push up the router a bit and caused the bottoms of pockets to look like that.
Believe it or not, the bristles of the dust shoe can exert a surprisingly large force on the spindle/router as the bristles move around. There can be situations where the bristles are touching the cutting surface, and if the router is moving in one direction, all of the bristles are angled one way, and it takes very little force to keep pushing them down further.
However, there can be situations where the router is making small enough movements (like, less than 1/3 of the length of the bristles) where the bristles are now moving back and forth in such a way that they are changing the direction in which they lay, and when they try to switch lay directions, and are nearly vertical, they can apply enough force to move the router upward just enough to give that uneven surface on the pocket bottom.
You can test this by taking your dust shoe off and putting it on a surface, preferably one with some small pockets like above. Apply a bit of force downward and move the dust shoe in one direction to get the bristled to all lay in one direction. Now, move the dust shoe and try to make the bristles lay the other direction, specifically so that the bristles have to stand straight up as they transition from one direction to the other. If you have stiff bristles, or short ones, the force to keep the dust shoe at that same height will be quite high. If you are running v-wheels, that force is enough to cause 0.01" deflection, which in wood, is enough to give an uneven surface.
I do, I have the Sweepy v1. Wow, really gtk. I’ll give that a try–thank you so much! I really appreciate the thorough explanation about why and how to test it.
Given this, do you just keep the dust boot higher, or remove it in certain situations? Especially when working with MDF, I’d love to avoid ever removing it, but definitely want to maintain a high level of quality!
I have a Suckit dust shoe that I bought before they stopped making them for any machines besides their own. It allows height adjustment independent of the spindle height. There are other dust shoe setups out there besides the Suckit that are independent of the spindle height.
Here is a link to the “Hall of Dust Shoes” thread. I’d peruse through that thread, but the independent height dust shoes will be towards the end of the thread.