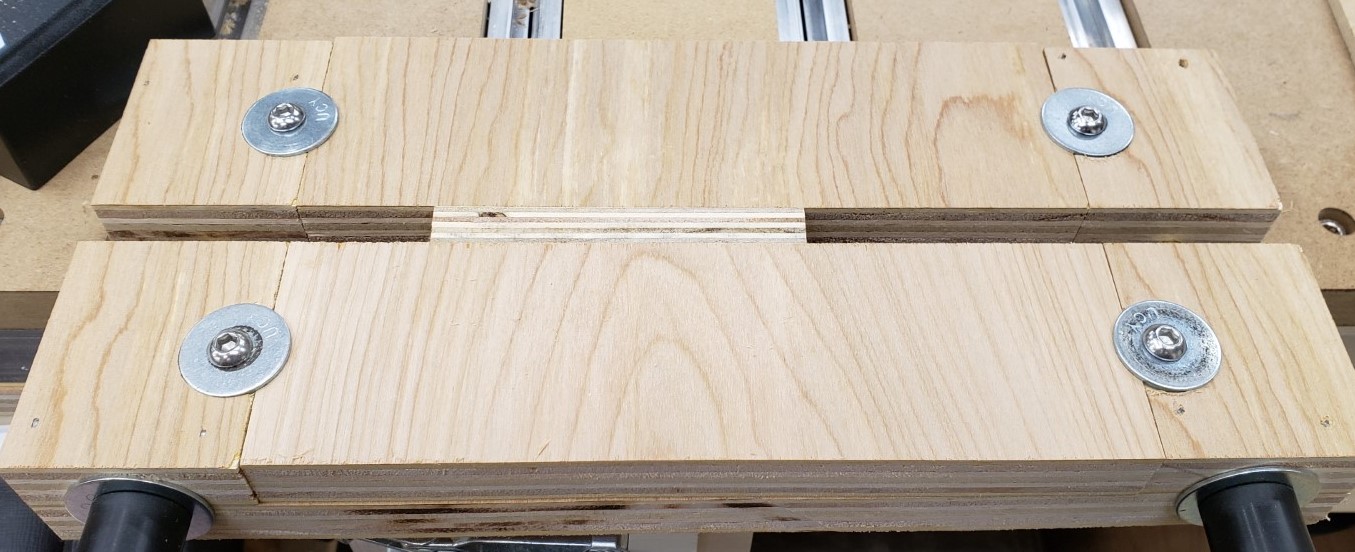
After a bit of trial and error I came up with a joinery jig that helps keep boards clamped vertically over the end of the table. It clamps well enough that no other mechanisms are needed. There are destaco cam clamps in some of the pictures from an earlier version, I never ended up needing them. Aligning the wood to the top of the jig is easy, as you can feel when it is flush, and the two sacrificial waste boards back all of your cuts so there is no blowout.
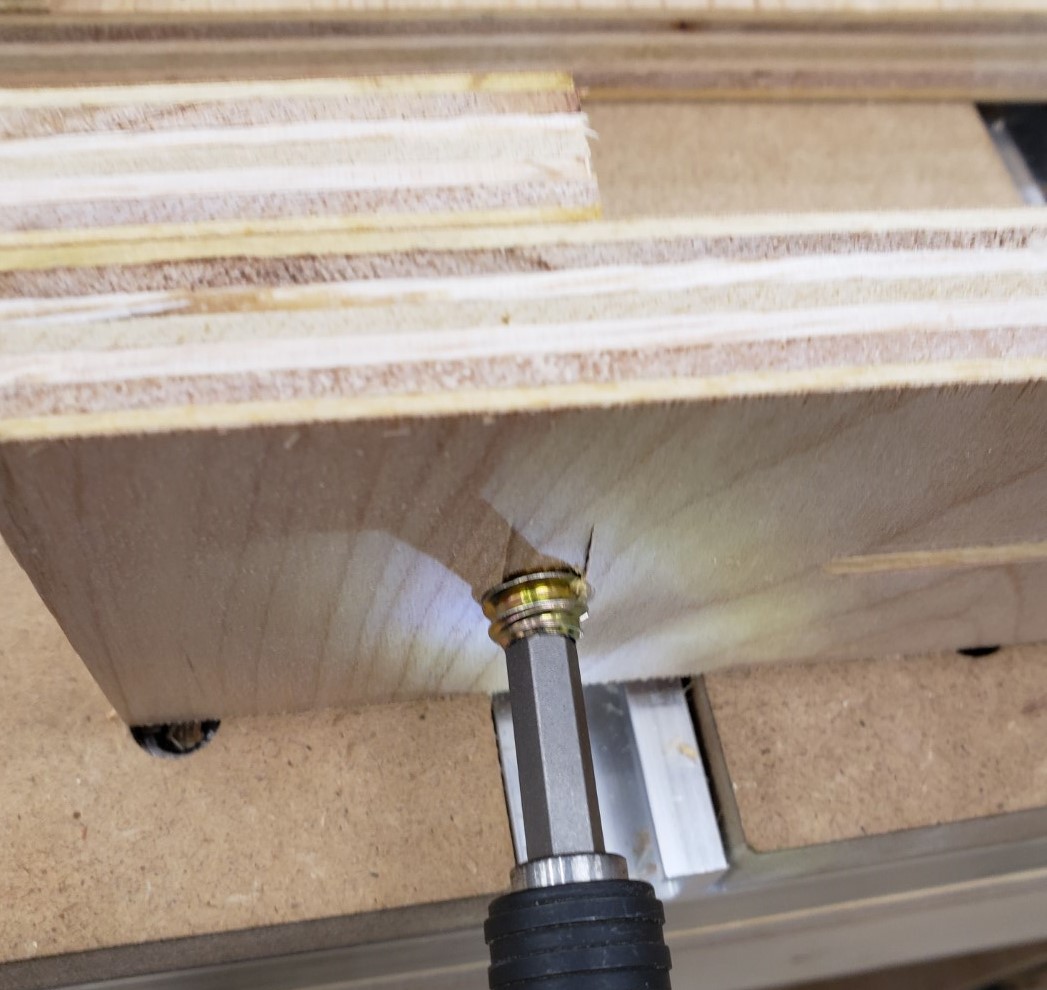
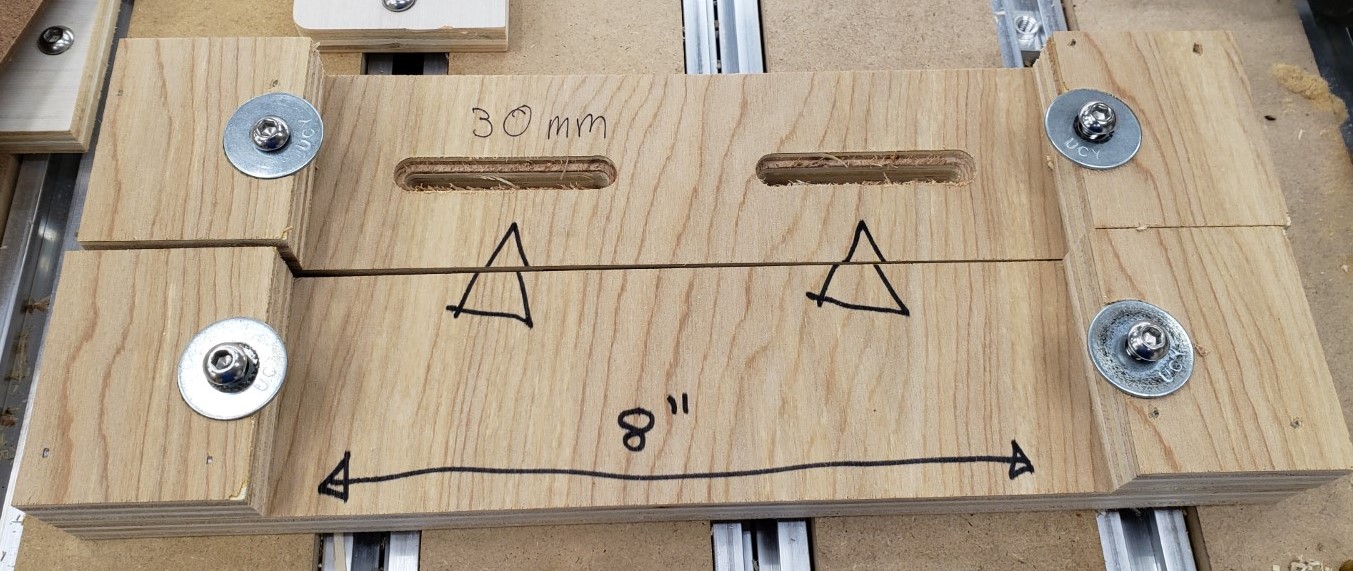
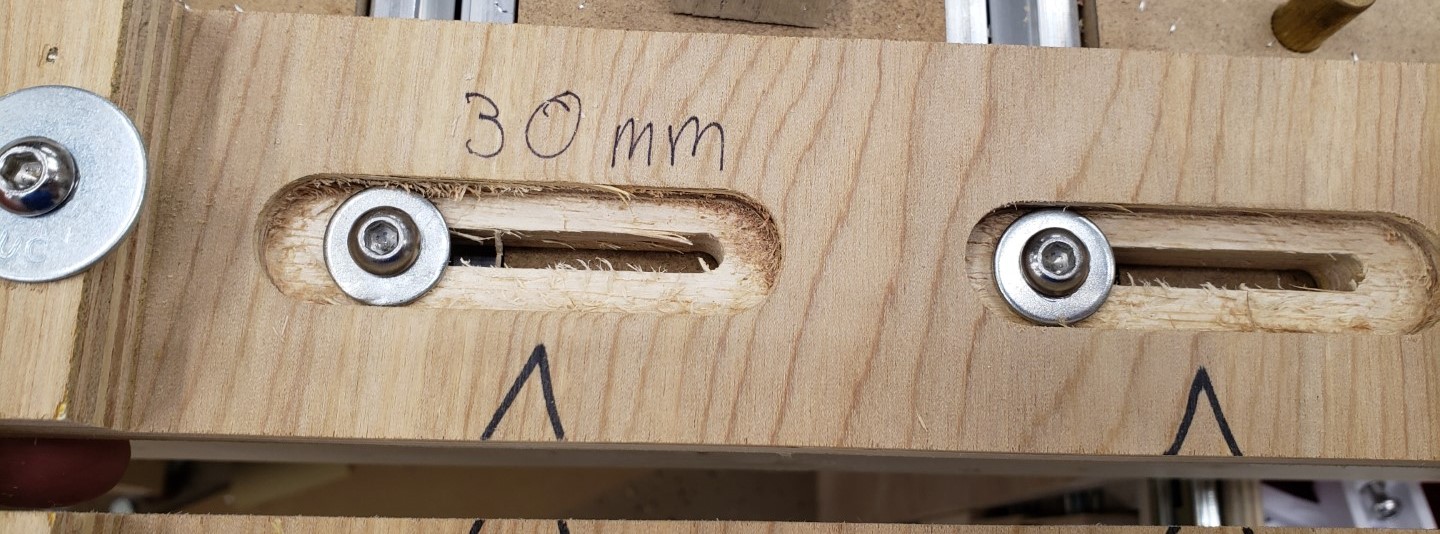
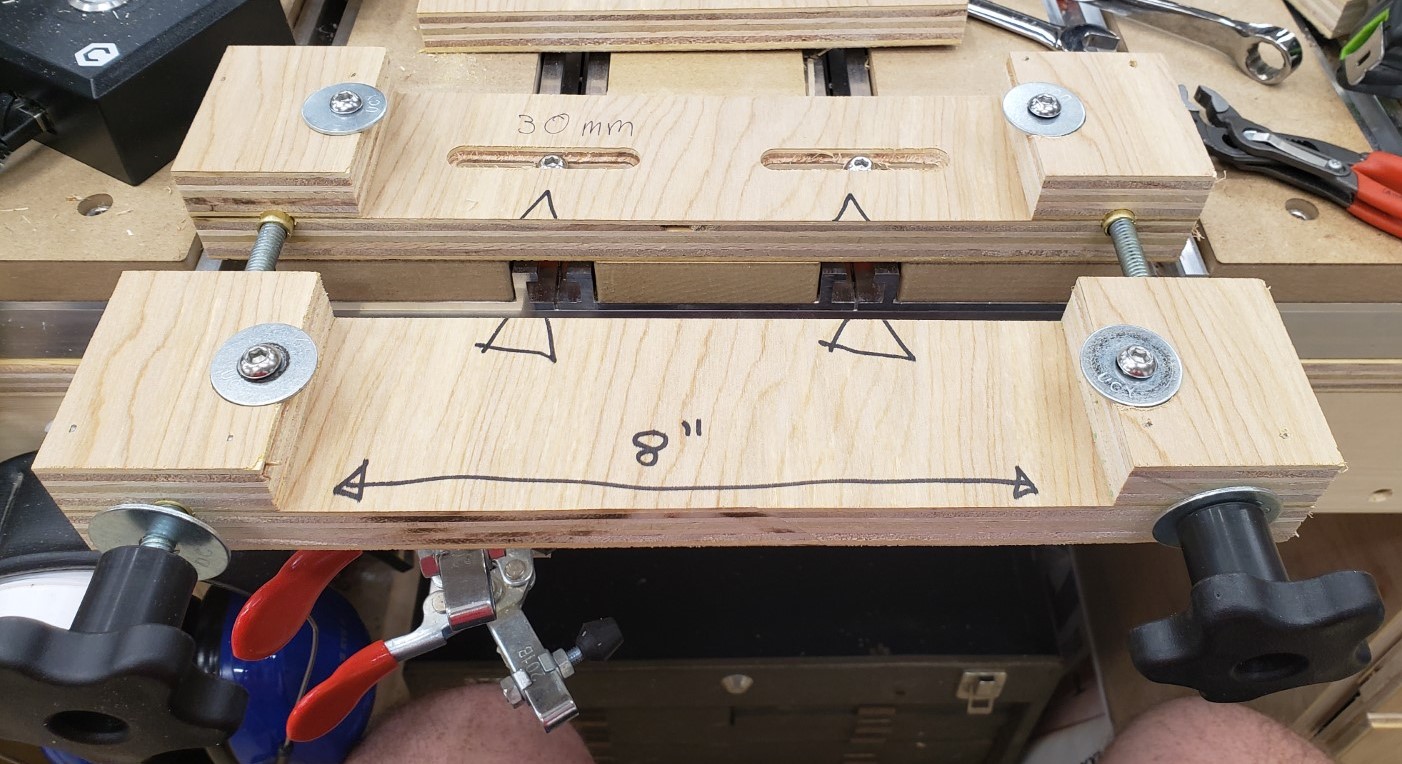
I attached two strips of plywood to a bigger base with glue and brads, then got to machining. The through holes and large counterbores hold M6 screws and fender washers to clamp the waste boards in place. Threaded inserts in the bottom for those M6 screws. I started with two slots 50mm wide and 100mm apart to let me slide this jig to any position on the table. Only using the screw head as a clamp compressed the wood and let the jig slide. I eventually went back and widened/deepend that counterbore slot to allow for washers. Once the milling was done I cut it in half on the table saw. You could mill it in half if you wanted. For the clamping portion I drilled through both halves, hammered a t-nut in the back, and used brass tubing to act like a bushing for the 5/16" threaded rod. The moving jaw slides pretty easily on the tubing and racking isn’t a problem if you watch the gap close as you clamp the board.
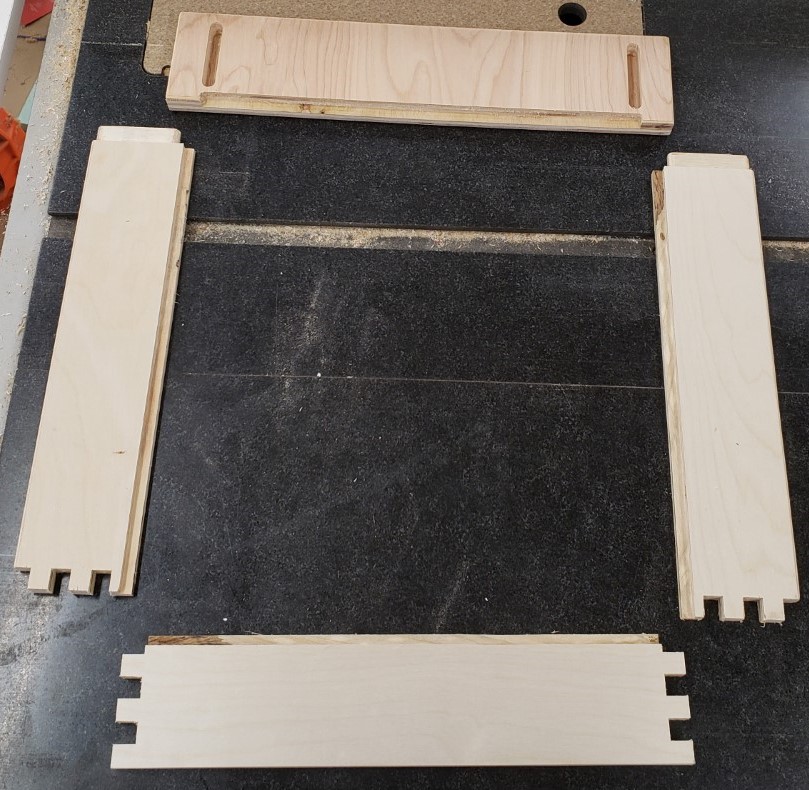
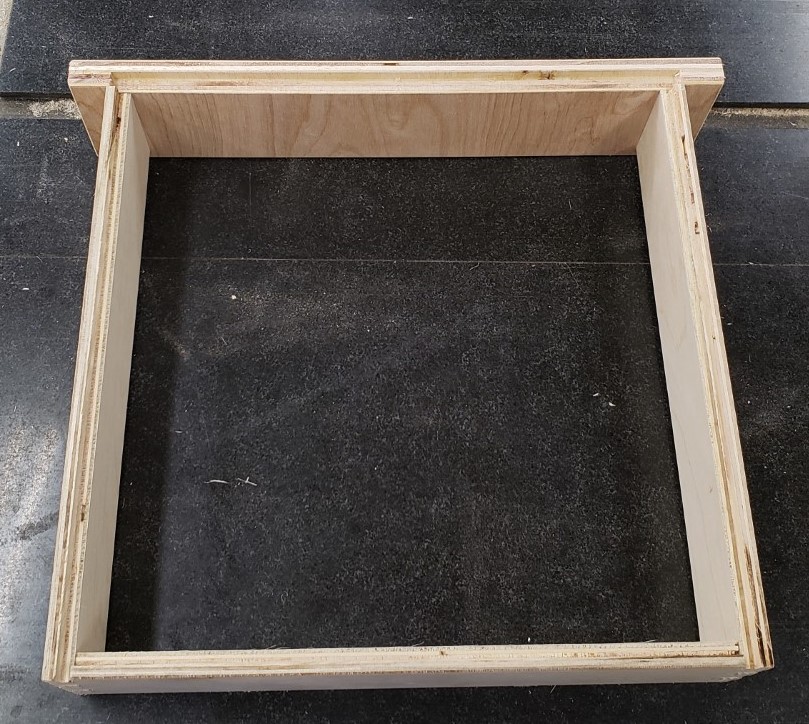
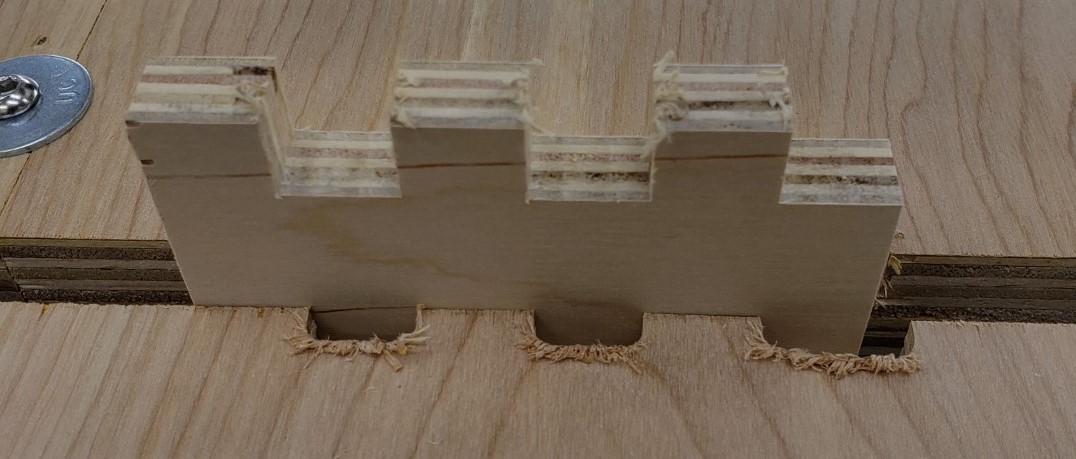
I have made a lot of finger joints and cut tenons into the ends of my drawer sides with this jig. It took a few iterations and modifications, but I love it! You could make a wider or narrower version depending on your needs. You could make dovetails I bet, though you might need a clearing operation with a normal bit so the dovetail bit doesn’t have to plunge anything out.
Original milling steps.

Cut in half with notes added.
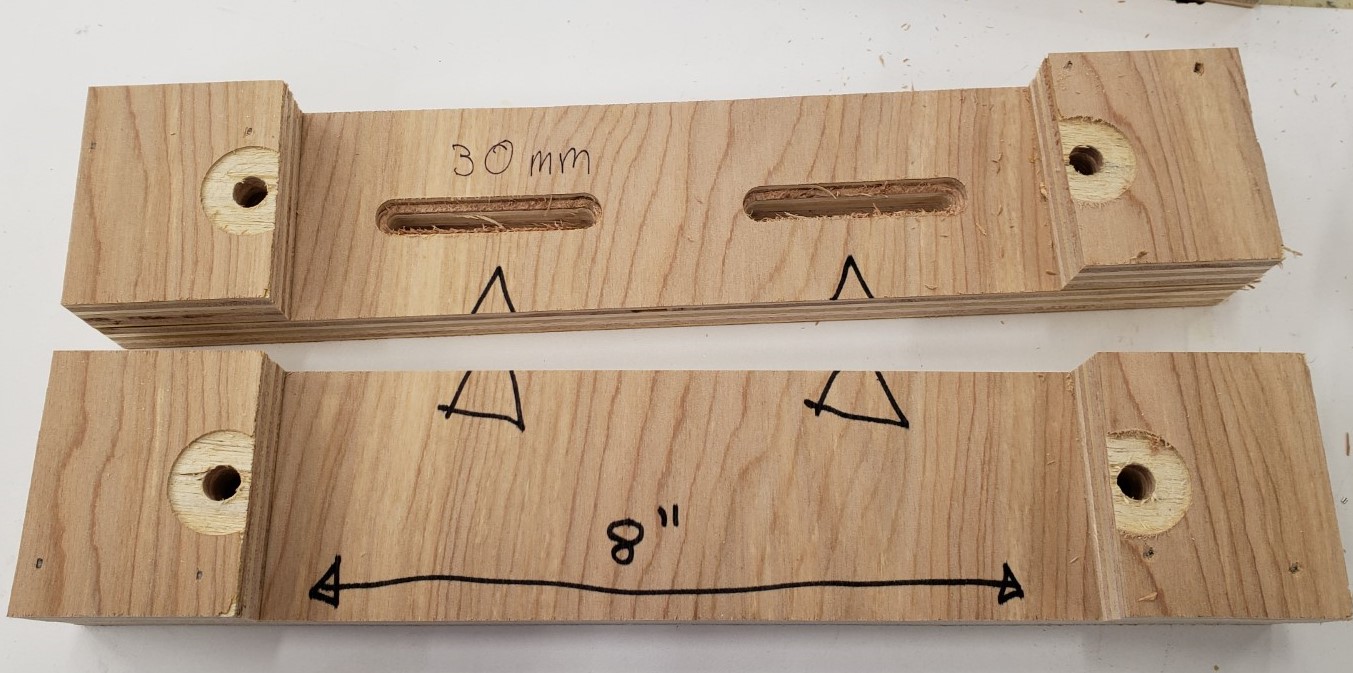
M6 threaded insert under each waste board clamp screw
Waste board clamp screws installed with washers
Later shot of the wider deeper counterbores for clamping it to the table. This was a good move, ignore this feature in all the other shots.
Brass tubing acts as a bushing/slide for the threaded rod.

Jig assembled, clamped to the table, threaded rod installed.
Waste boards in place, drawer side clamped.
Milling operation complete on this joint
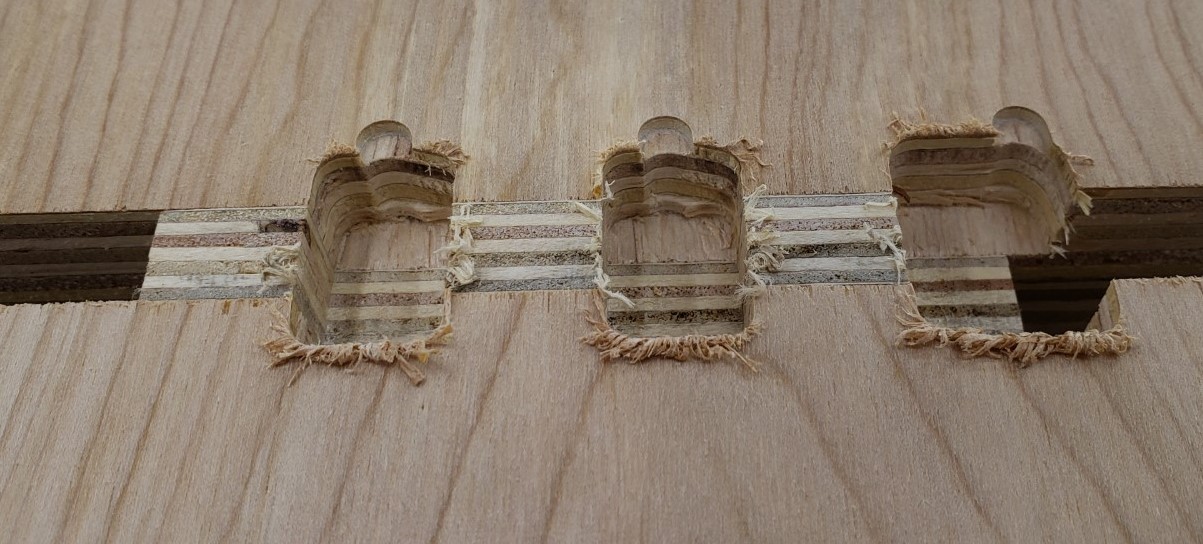
A few fuzzies on the top, but the sides are crisp
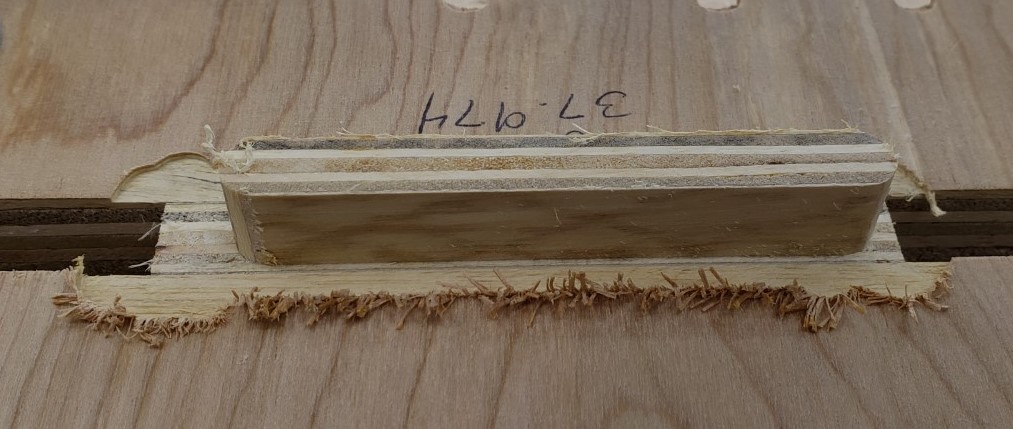
Milling a tenon into the end of the board.
Last but not least, here is what one of the drawers looks like with these joints.