Our newest video covers the complete assembly process of our Shapeoko 5 Pro machine. From Boxes to Built and Beyond to Initialization, I take you through the full setup. The most powerful and easiest to assembly Shapeoko in history.
Assembly - Shapeoko 5 Pro - Video 8 (UPDATED)
Do have any recommended torque ranges for all various screws or is “good and tight” good enough? As a former bike mechanic having a torque value was required on pretty much everything, so i’m always paranoid about it, especially when in aluminum.
I can’t wait to start assembling it tomorrow, but by the looks of things it couldn’t be a whole lot easier. Especially when comparing it to the SO3. I love that you used different sized connectors on the cable harnesses to make it impossible to mess up. That has always been a good indicator of the people who designed it actually know what they are doing and how the product will be used.
I’ll talk to Winston about torque values on Monday. I went “T-Handle tight” on all the big parts. This versus “Long end of large hex key” tight. That I think would be too much. Something to be talked about.
What you could do is tighten one screw down to what feels like thoroughly tight, test that value and then use it as your basis torque value.
Yes, those that built a 3, me included, will find this to be an absolute joy to assemble. You’ll like running it even more.
Kevin,
I also liked that you described lifting the router up off the carrier prior to tightening. As with @Sarge013 , this is where the torque would be critical. One could over tighten here and cause damage to the router spindle bearings.
We include the needed tools. In most cases, I prefer a T-Handle to the standard hex keys. There are some situations in which the hex keys are superior.
Here’s hoping your assembly was clean and you are up and running.
I spoke with Winston today regarding the torque values. We do not have specific recommendations.
We both like “T-Handle” tight because it allows a significant force without regularly providing enough to strip connections.
Use your best judgement and feel from your bike mechanic years.
Just remember your machine is not bombing gnarly single track
That is actually exactly what I ended up doing, I was using a set of Eklind T handles and based on my “finely tuned” hand it felt like just the right amount of torque for everything.
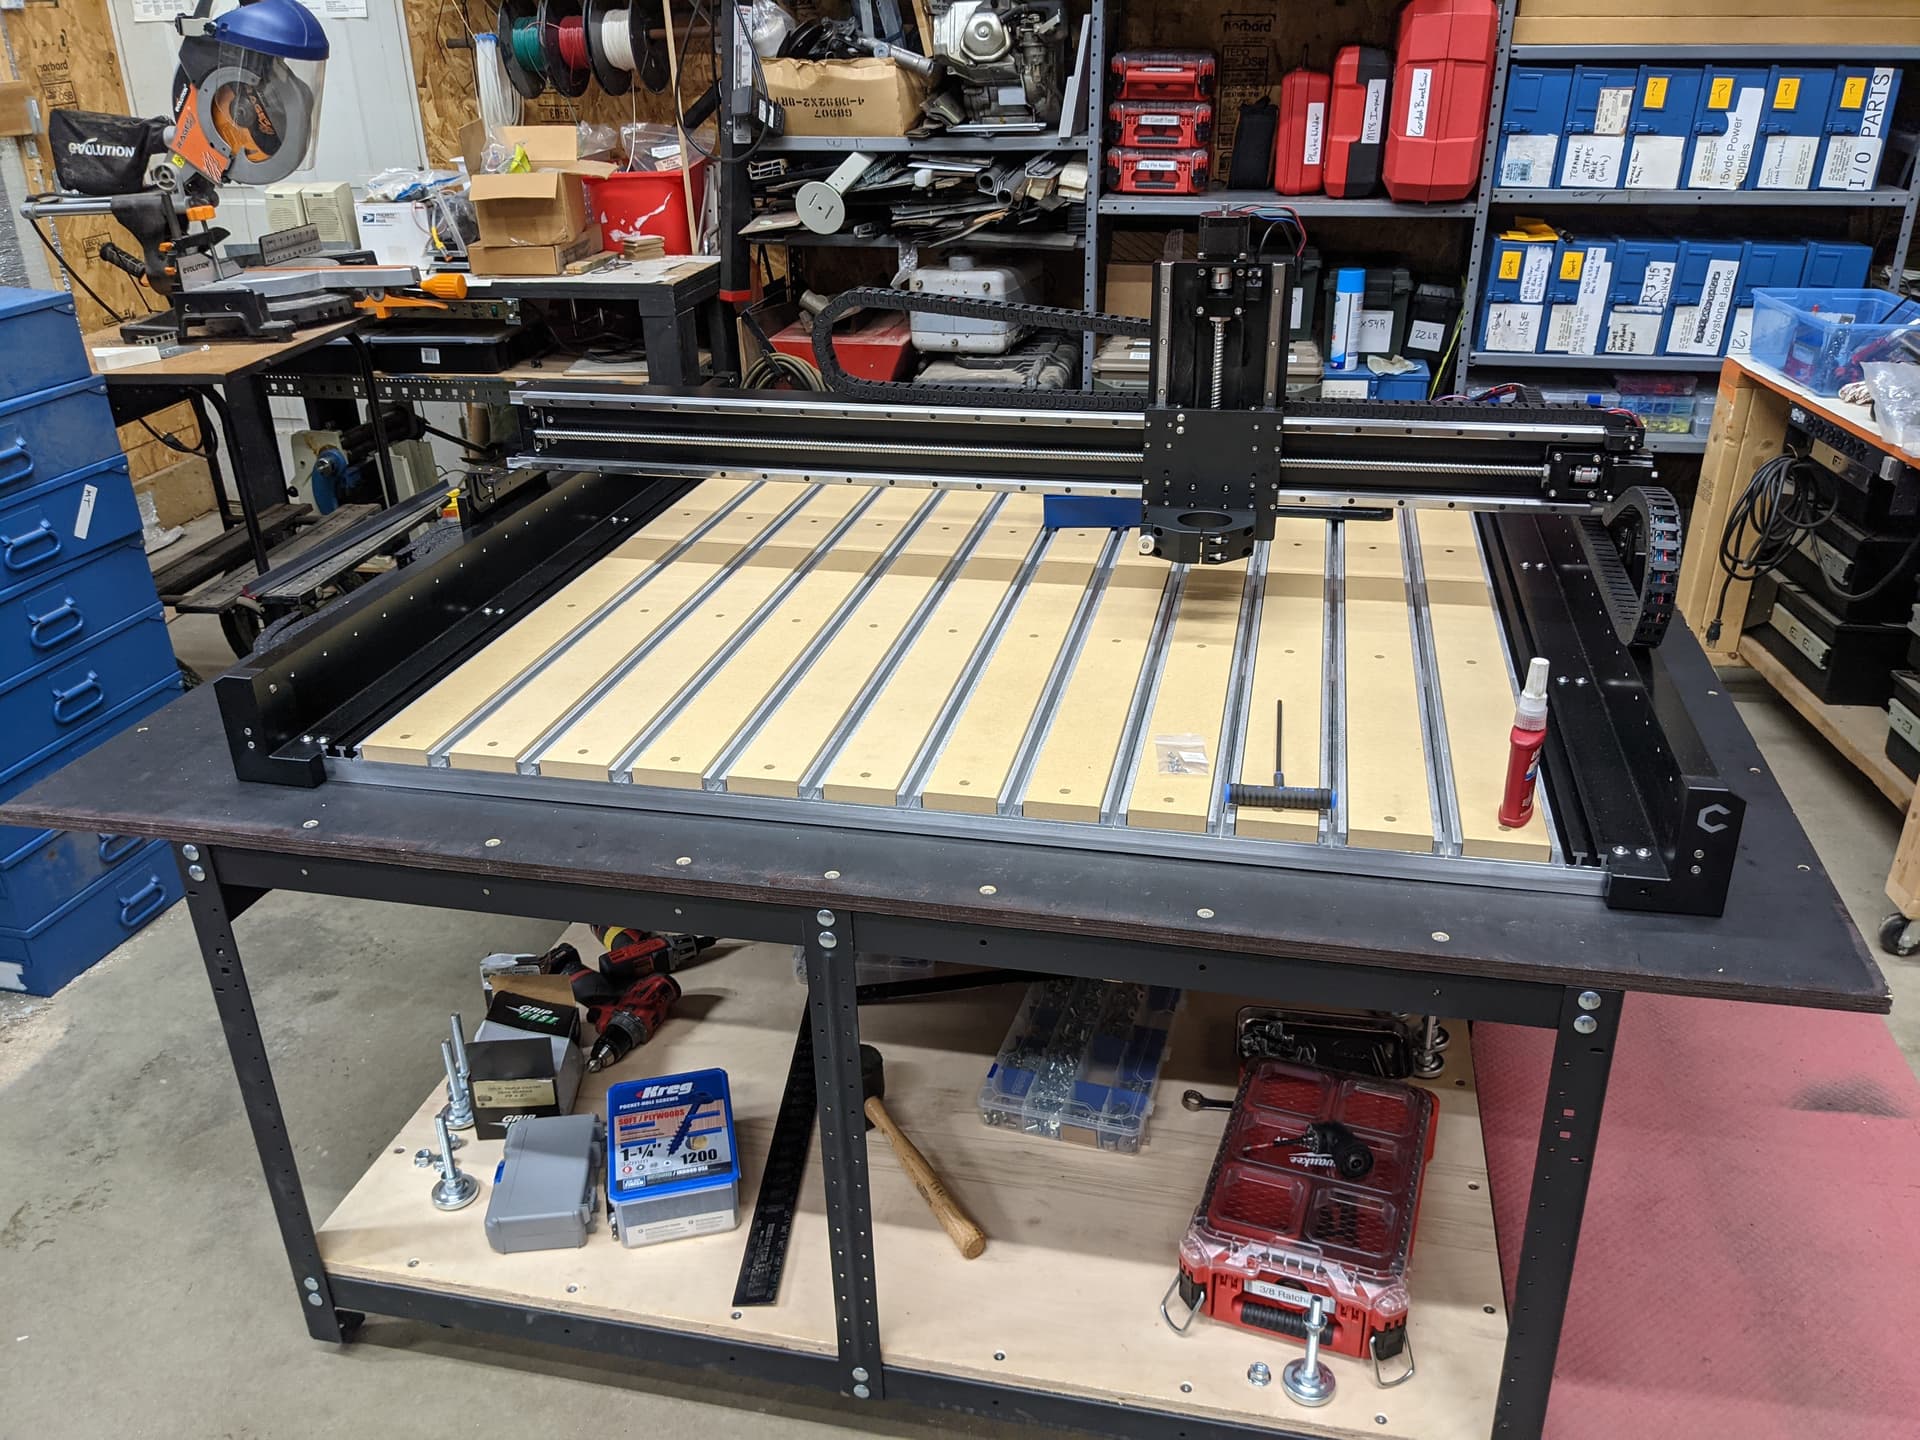
Just ignore the mess all around in the photo, as far as assembly goes it is a cake walk. You guys did all the heavy lifting preassembling the x/y rails. Building the table it sits on took way longer then actually assembling the SO5.
Love the video—it was really useful during my assembly. Quick question: in the manual, on page 13, the rotary mount is shown in the “low position” (aligned with the bottom edge of the HDZ)—and that’s how my unit came assembled. Your video shows the unit mounted in what I think is the “medium position”. This is my first CNC so not sure why I would prefer one over the other. Any guidance?
Where the router/spindle is mounted depends on the length of tools you will be using, and what sort of dust collection system you have and how deeply you need to cut.
I would suggest mounting the shortest endmill you intend to use, and lowering the router so that that tool can reach as deeply as you need to at the lowest movement of the Z-axis so long as that is deep enough to allow the dust collection to be mounted as desired.
Bryan, so happy to hear the video was helpful.
Good eye catching the original position of the carrier.
The guys here are one top it.
We ended up moving it down for the router to have the appropriate reach.
Now, equipped with the VFD, we could be in the middle position. Just one more option the VFD provides.
If you were surfacing a thick slab I could see moving the carrier up even with the router. As the guys mentioned it has to do with tools, reach, project and spindle.
")