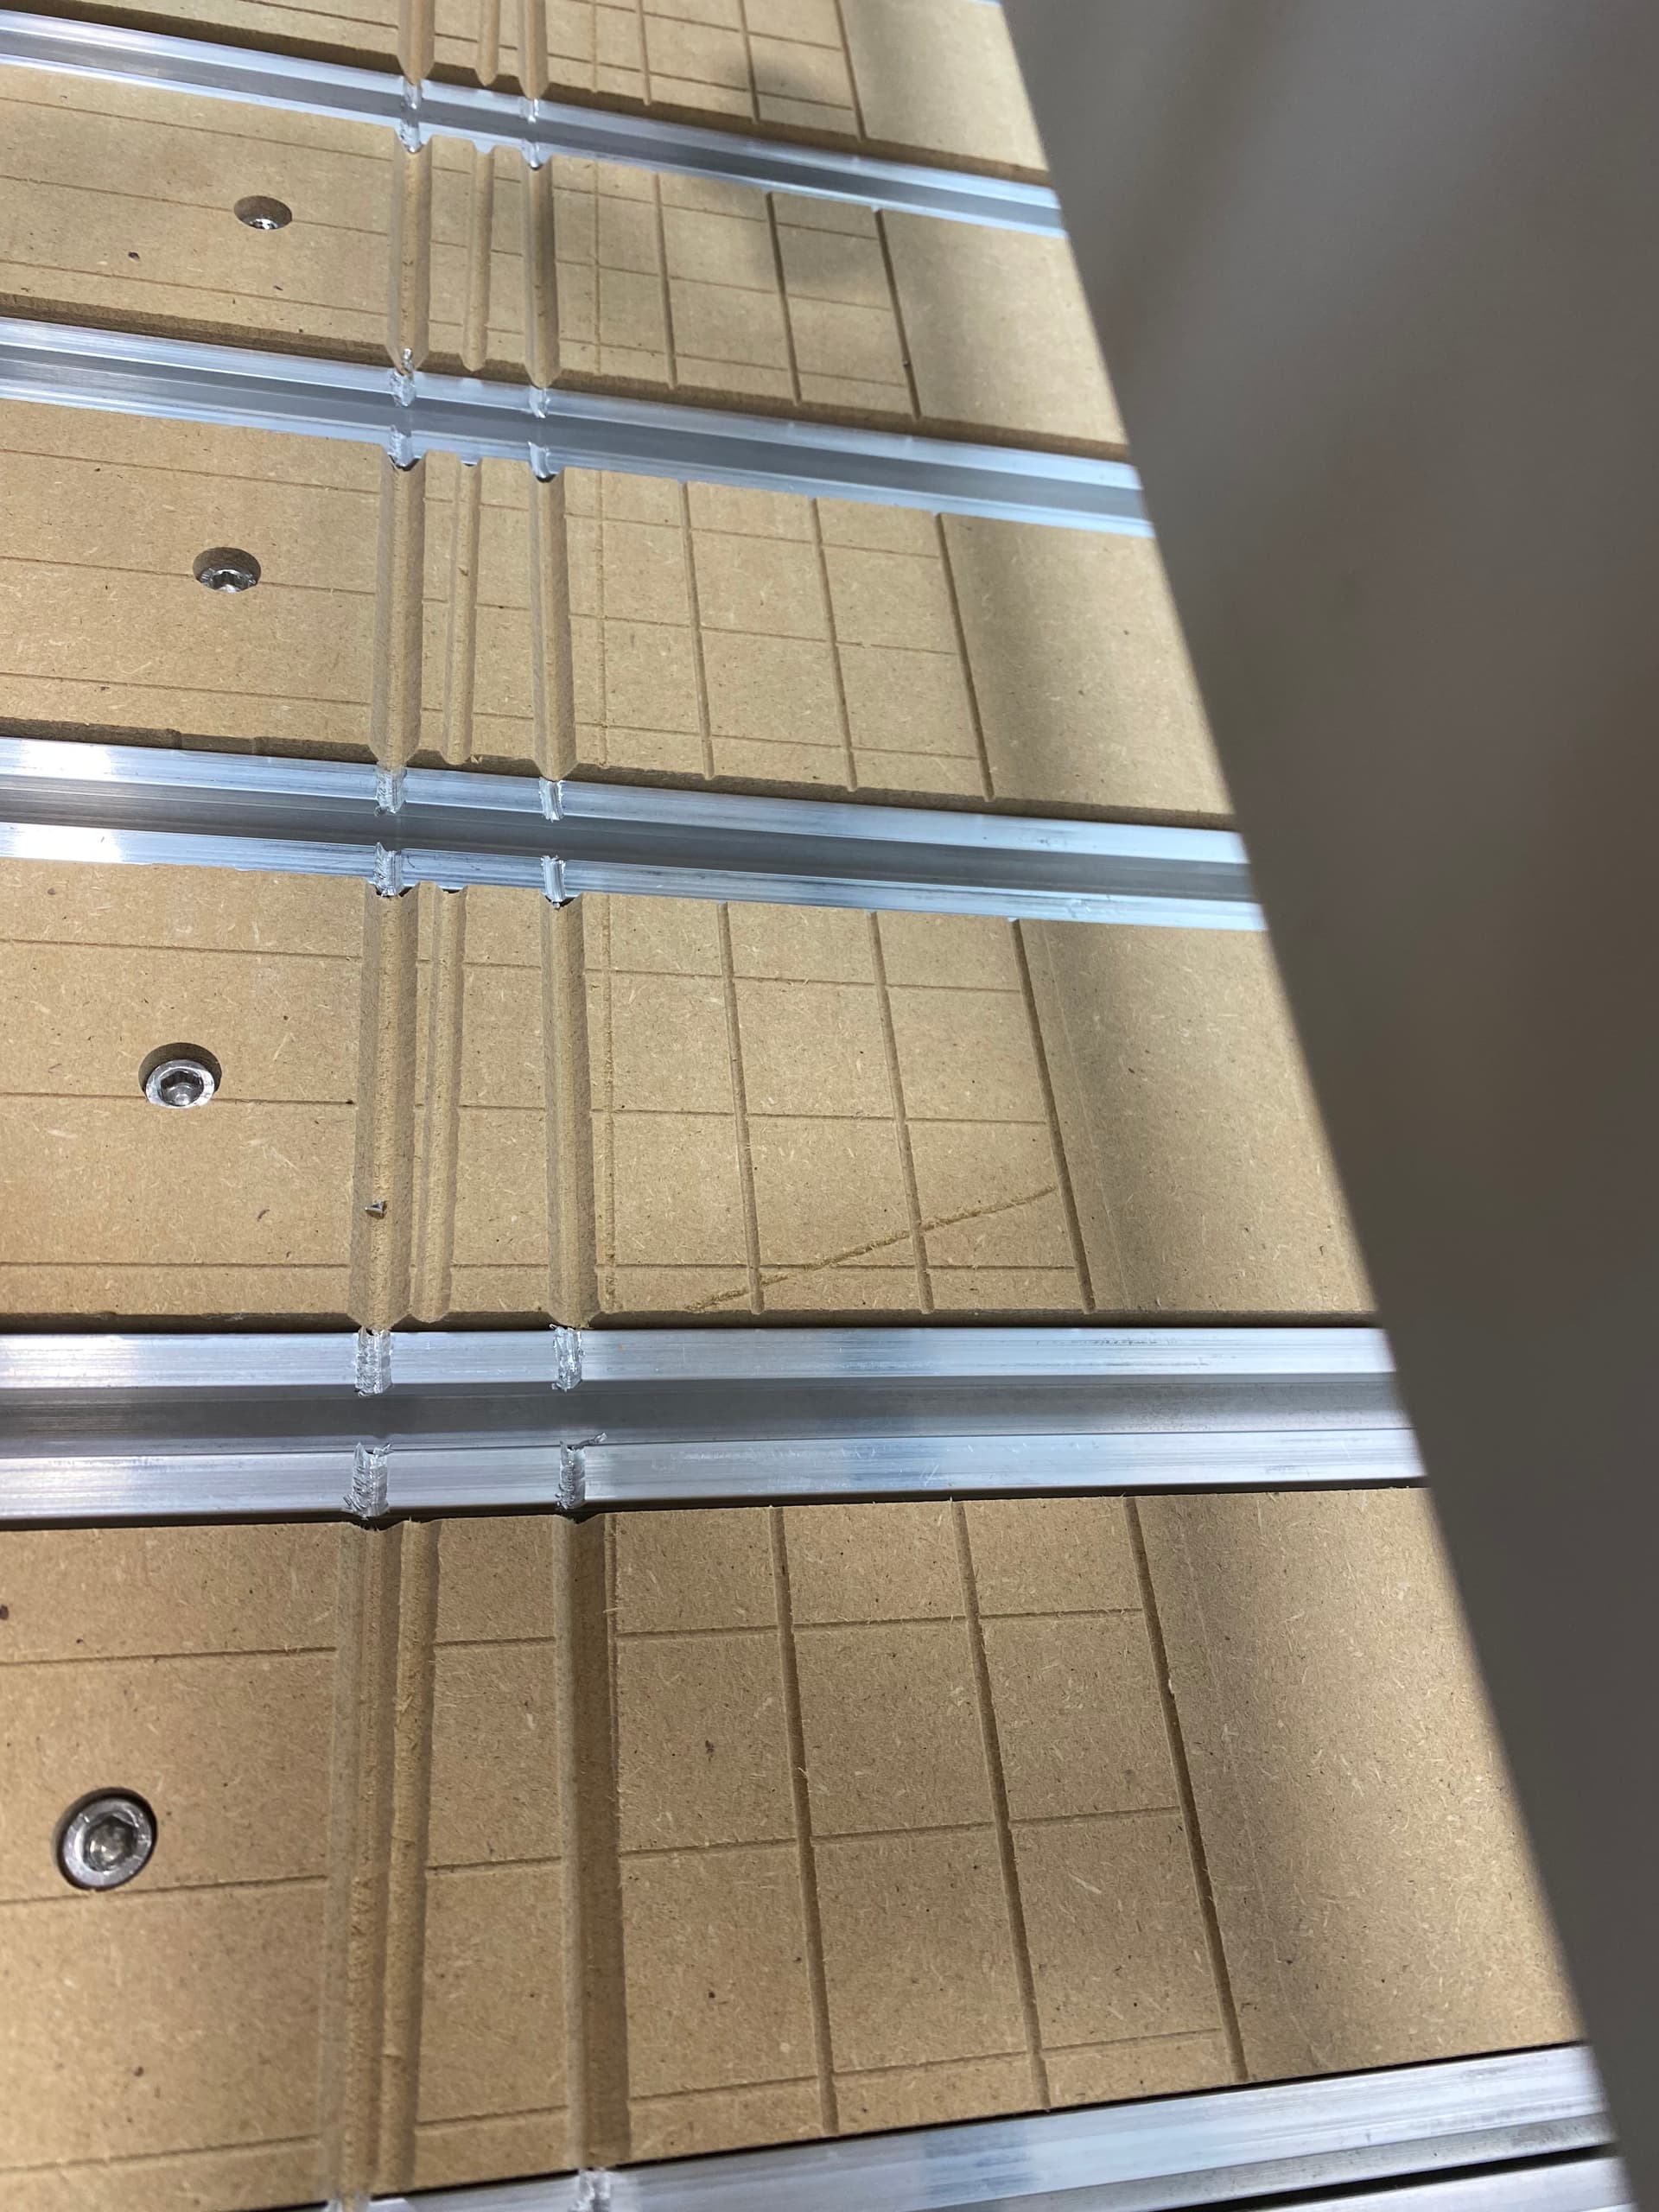
I have a Shapeoko 4 XL with the Z-plus for my z-axis. I went to run a simple gridline job on my wasteboard that I created to help act as a quick ruler and alignment tool. I followed the process in this post. I am using carbide motion as my CAM. Everything was going just fine on my job as I was watching it and it made it through just about all the vertical lines. I then made the mistake and went inside to use the bathroom (I know, I know) thinking what is the worst that can happen with such a simple job and small cut depth. I think I found out for the most part because as you can see in the attached photos when it got to horizontal lines it started to cut slightly deeper and then super deep completely destroying my Amana 60 degree v bit and tearing through my wasteboard and some of the hybrid table metal slats as well. The machine overall seems to be intact and I ran basic tests after hitting E-stop when I noticed it. I have attached the CC file and the g code. I can not see the issue and I looked at the g-code and it doesn’t look like it was the issue but I am also very new at this and reading g-code. I contacted support but if someone wants to take a look at the gcode and/or file for me and see if there was a blatant user error I would appreciate it!
No the collet was in there tight for sure and showed no signs of being loose. Not saying I’m immune to an error like tightening the collet enough but I will say I probably go tighter than I should most of the time instead of not tight enough. Also, it would be amazing for it to somehow tighten the collet nut again after being loose and dropping down
Probably too late, but next time right after this occurs you might want to check that your zero is where you expect it to be (yes the slipring of the bit has happened to me numerous times).
Thanks, zero was for sure correct because it was not an issue until later in the job. Also, everyone keeps going to it being bit slippage but I find it hard to believe this is the case as I generally go what most would consider overboard when tightening the collet and the collet was still very tight afterwards. I feel as though it is an issue elsewhere like possibly my Z-axis as I have another post where it was freaking out and making horrible noises and then out of nowhere it worked again.
I would tend to agree…intermittent glitch on the wiring during a second or two could have produced a temporary erroneous Z movement. Of course there is no way to prove it, but it checks out with your earlier issue. Did support come back to you on this yet ?
not yet, I am waiting to hear from them in the meantime and have put projects on hold as I clean up this mess. I do think it could have something to do with the wiring like you previously said as that is more likely than the Z-plus slipping but outside of my visual inspection and tug test on the wires I do not know how to troubleshoot them further.
There were lots of posts when the 4 and Pro came out about wiring that was arguably sub-standard, with bad crimping and some wires in the wrong positions. The latter is probably not what you’ve got, but the former is possible and would not be unique.
If the control box is mounted to the machine then all the wiring is subject to the vibrations of the machine. If possible long term, you might be better off make the control box free-standing or connected to your enclosure.
This past weekend, I eliminated all of the Z motor connectors, with the exception to the one on the board, for my Pro 4 XXL. Too early to say, as I’ve only cut a couple of projects, but I haven’t had an issue since with my Z axis.
Posting this should alert Murphy that he’s been slacking off, and he’ll now release his gremlins to terrorize my Shapeoko when I fire it up tonight.
Yes, support just got back with me and agrees it is likely the wiring and is sending replacement. I do have my control box mounted separate from the machine outside of my enclosure as well
When you say eliminated do you mean you hardwired them? If so did you just cut and splice the wires and did you solder directly to the board or what was the process?
I left the connector alone on the board, as it doesn’t move. All of the other Z motor wiring I soldered and heatshrinked. The other axis s haven’t given me a problem, so I have left them alone.
Looks like the Z-Axis connector problem I had. Carbide sent me replacement cables twice, but hardwiring was what fixed it. You will not be able to trust your machine until you get this sorted out.