Just ordered a S03 XXL, and am now patiently waiting on it to arrive. Having been through the gamut of all the different machines out there before deciding on the S03 I was wondering what everyone was doing for a base for their machines? The XXL in particular has a fairly large footprint, are you guys just putting them on workbenches etc?
I’m probably going to build a base specifically for the machine and was curious to see what everyone else is using!
I just bring my XXL down when I need it and then reel it back up when not in use. Works out great so I can keep it from taking up valuable shop floor space.
I have an XL, and just have it on a yoga mat on a sheet of Baltic Birch plywood on a folding table my father made (I’m probably going to eventually put it on a hand truck — I think it’ll fit okay and just zip tie it in place somehow) — can’t recall that there have been any especially cool options suggested for the XL or XXL. Some 2x4 workbench from a big box store was the closest thing. Kind of surprised that no one has suggested anything from Ikea.
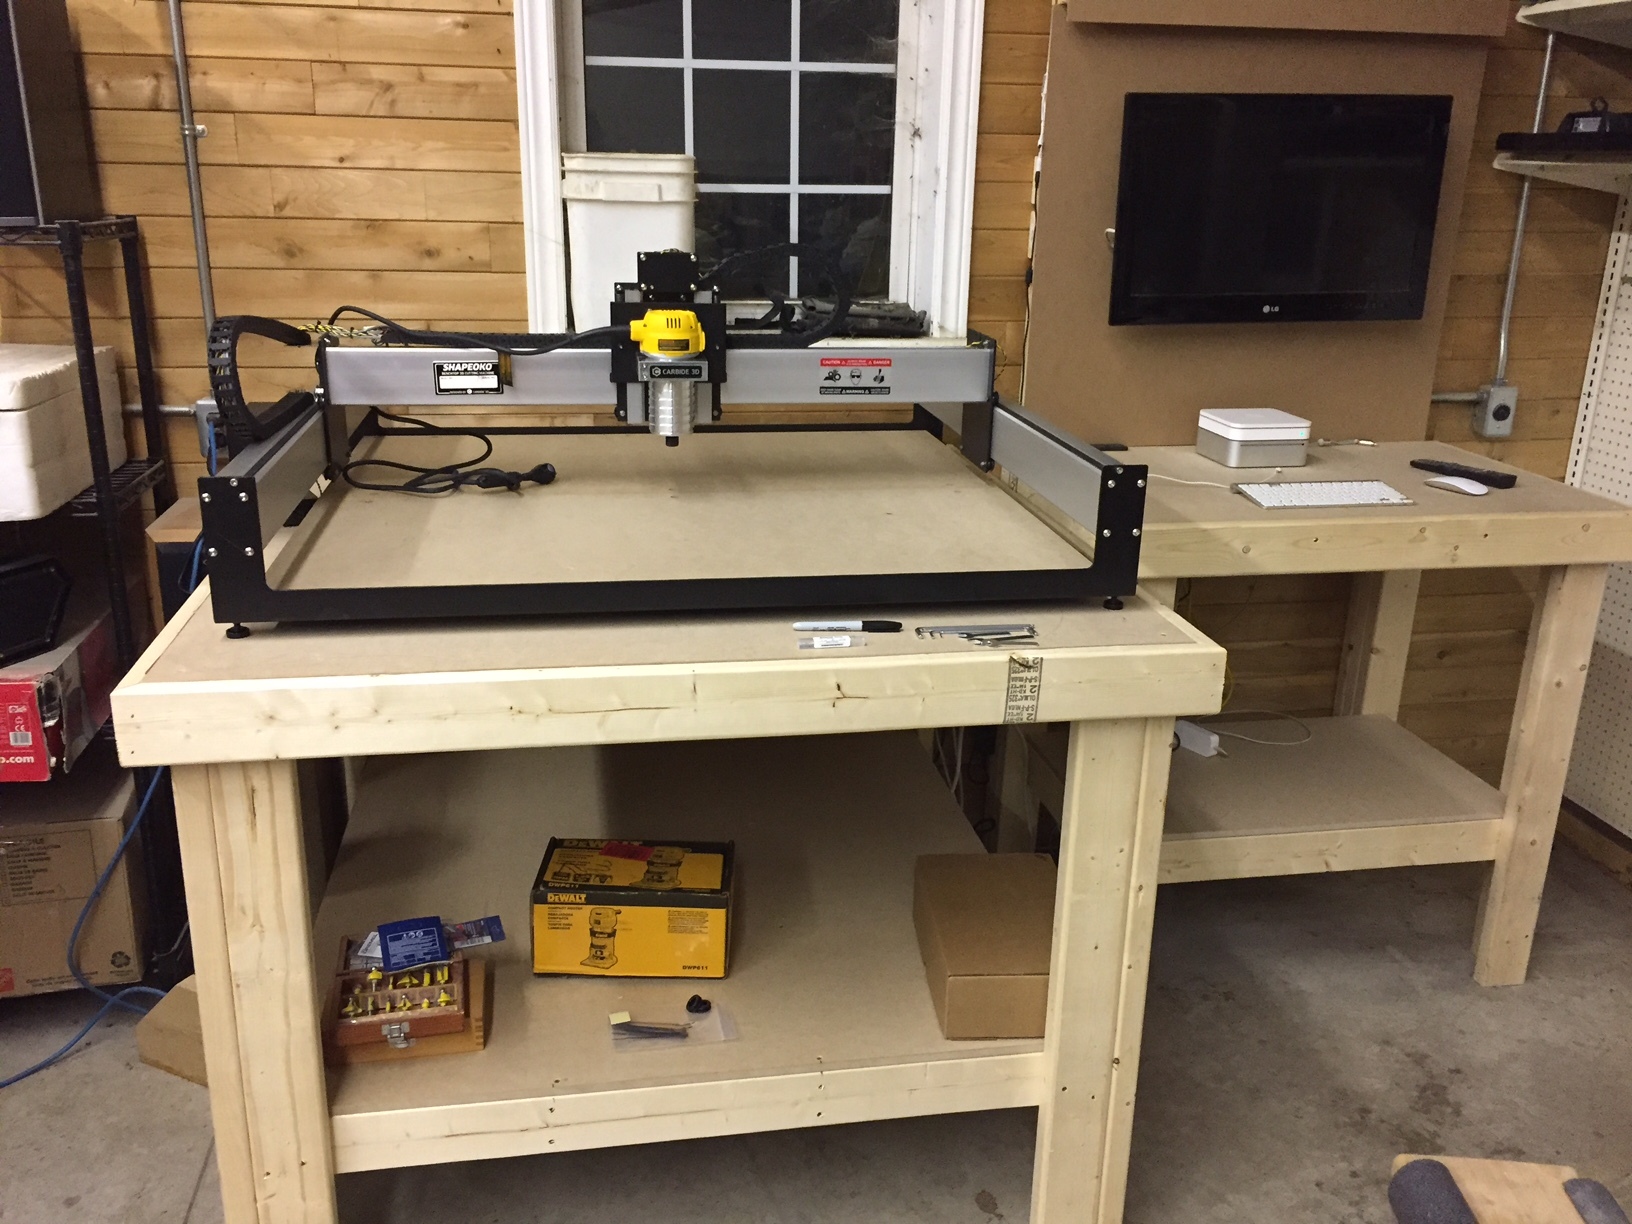
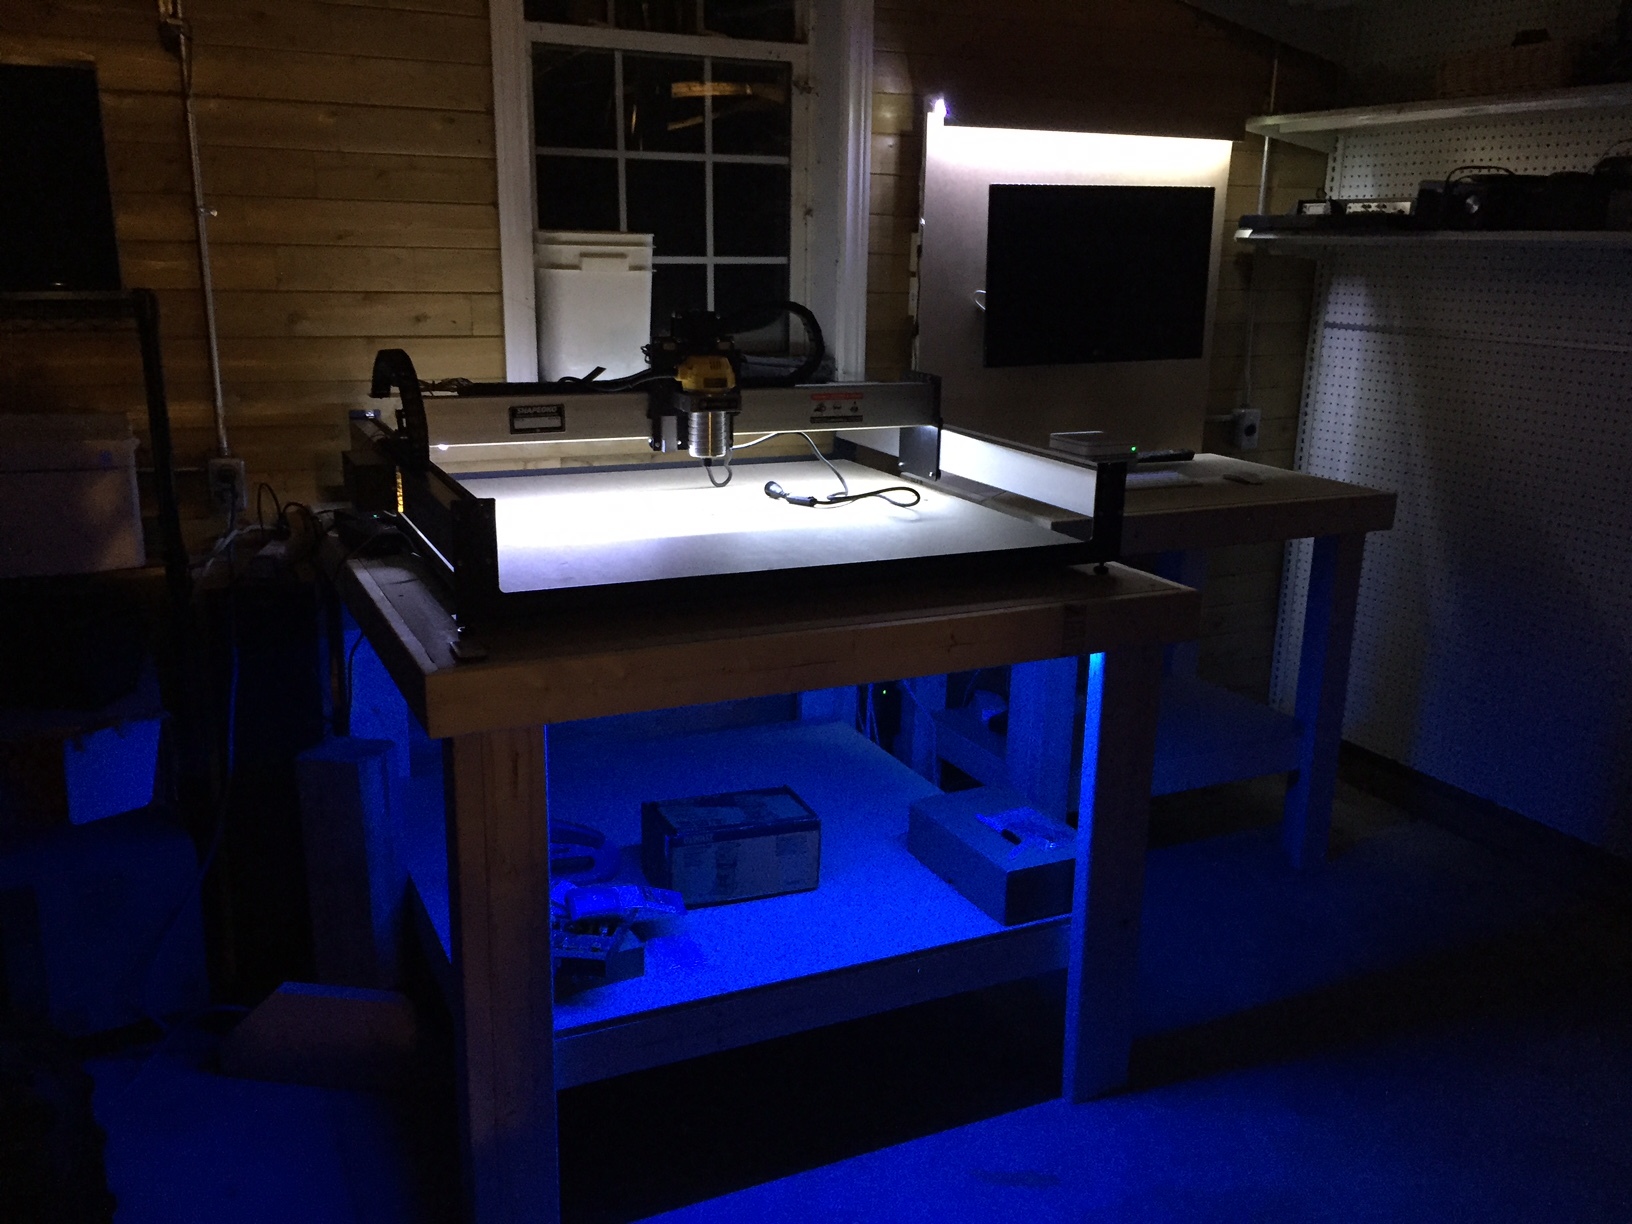
I made a 4ft x 4ft table for my new XXL out of 2x4’s and 3/4" MDF. I made a separate bench for my notebook computer: ( I got carried away with some spare LED light strips while waiting for my machine to arrive! but the lights running the entire length of the X-axis really do help when out in my shop in the evenings!)
I just recently got my first CNC, an XL. I built a workbench for it out of 2x4’s, MDF and luaun. I tucked it into a back corner of the shop that wasn’t getting much use.
It was great until I realized that it was better to overhang work from the front and back rather than the sides. So now I’m working on something smaller with casters that I can move around. I’ll mount the monitor on the wall and put up a small folding desk for the keyboard and mouse. I’ll post another pic when it’s complete.
Those look like some nice tables. Nice and overbuilt! I can’t say much I have a workbench that I haven’t even finished the drawers on because they need some huge slides.
I have another piece of angle iron with the same adjuster set up. unfortunately I added it as an after thought and my double thick waste board “Sagged” ooo so slightly. Not a big deal, I have an 1 1/4" fly cutter that I level the waste board with. Ray
Thanks, Ray… so you added another adjuster/angle-iron section it sounds like… XXL’s have natural sag, so I am just wondering where it was added and what effect it had on your overall machine leveling? This notion of trussing the wasteboard frame vs. tramming the wasteboard is yet another exercise on my long list of TO-DO’s for my Shapeoko.
What I desire to avoid is a pocketed primary wasteboard/base surface, as I want to mill “larger-than-my-cutting-area-stock”, and pocketing seems to be counterproductive to that notion.
Griff
(Well crap, my hypometric precursor device is blown…)
14
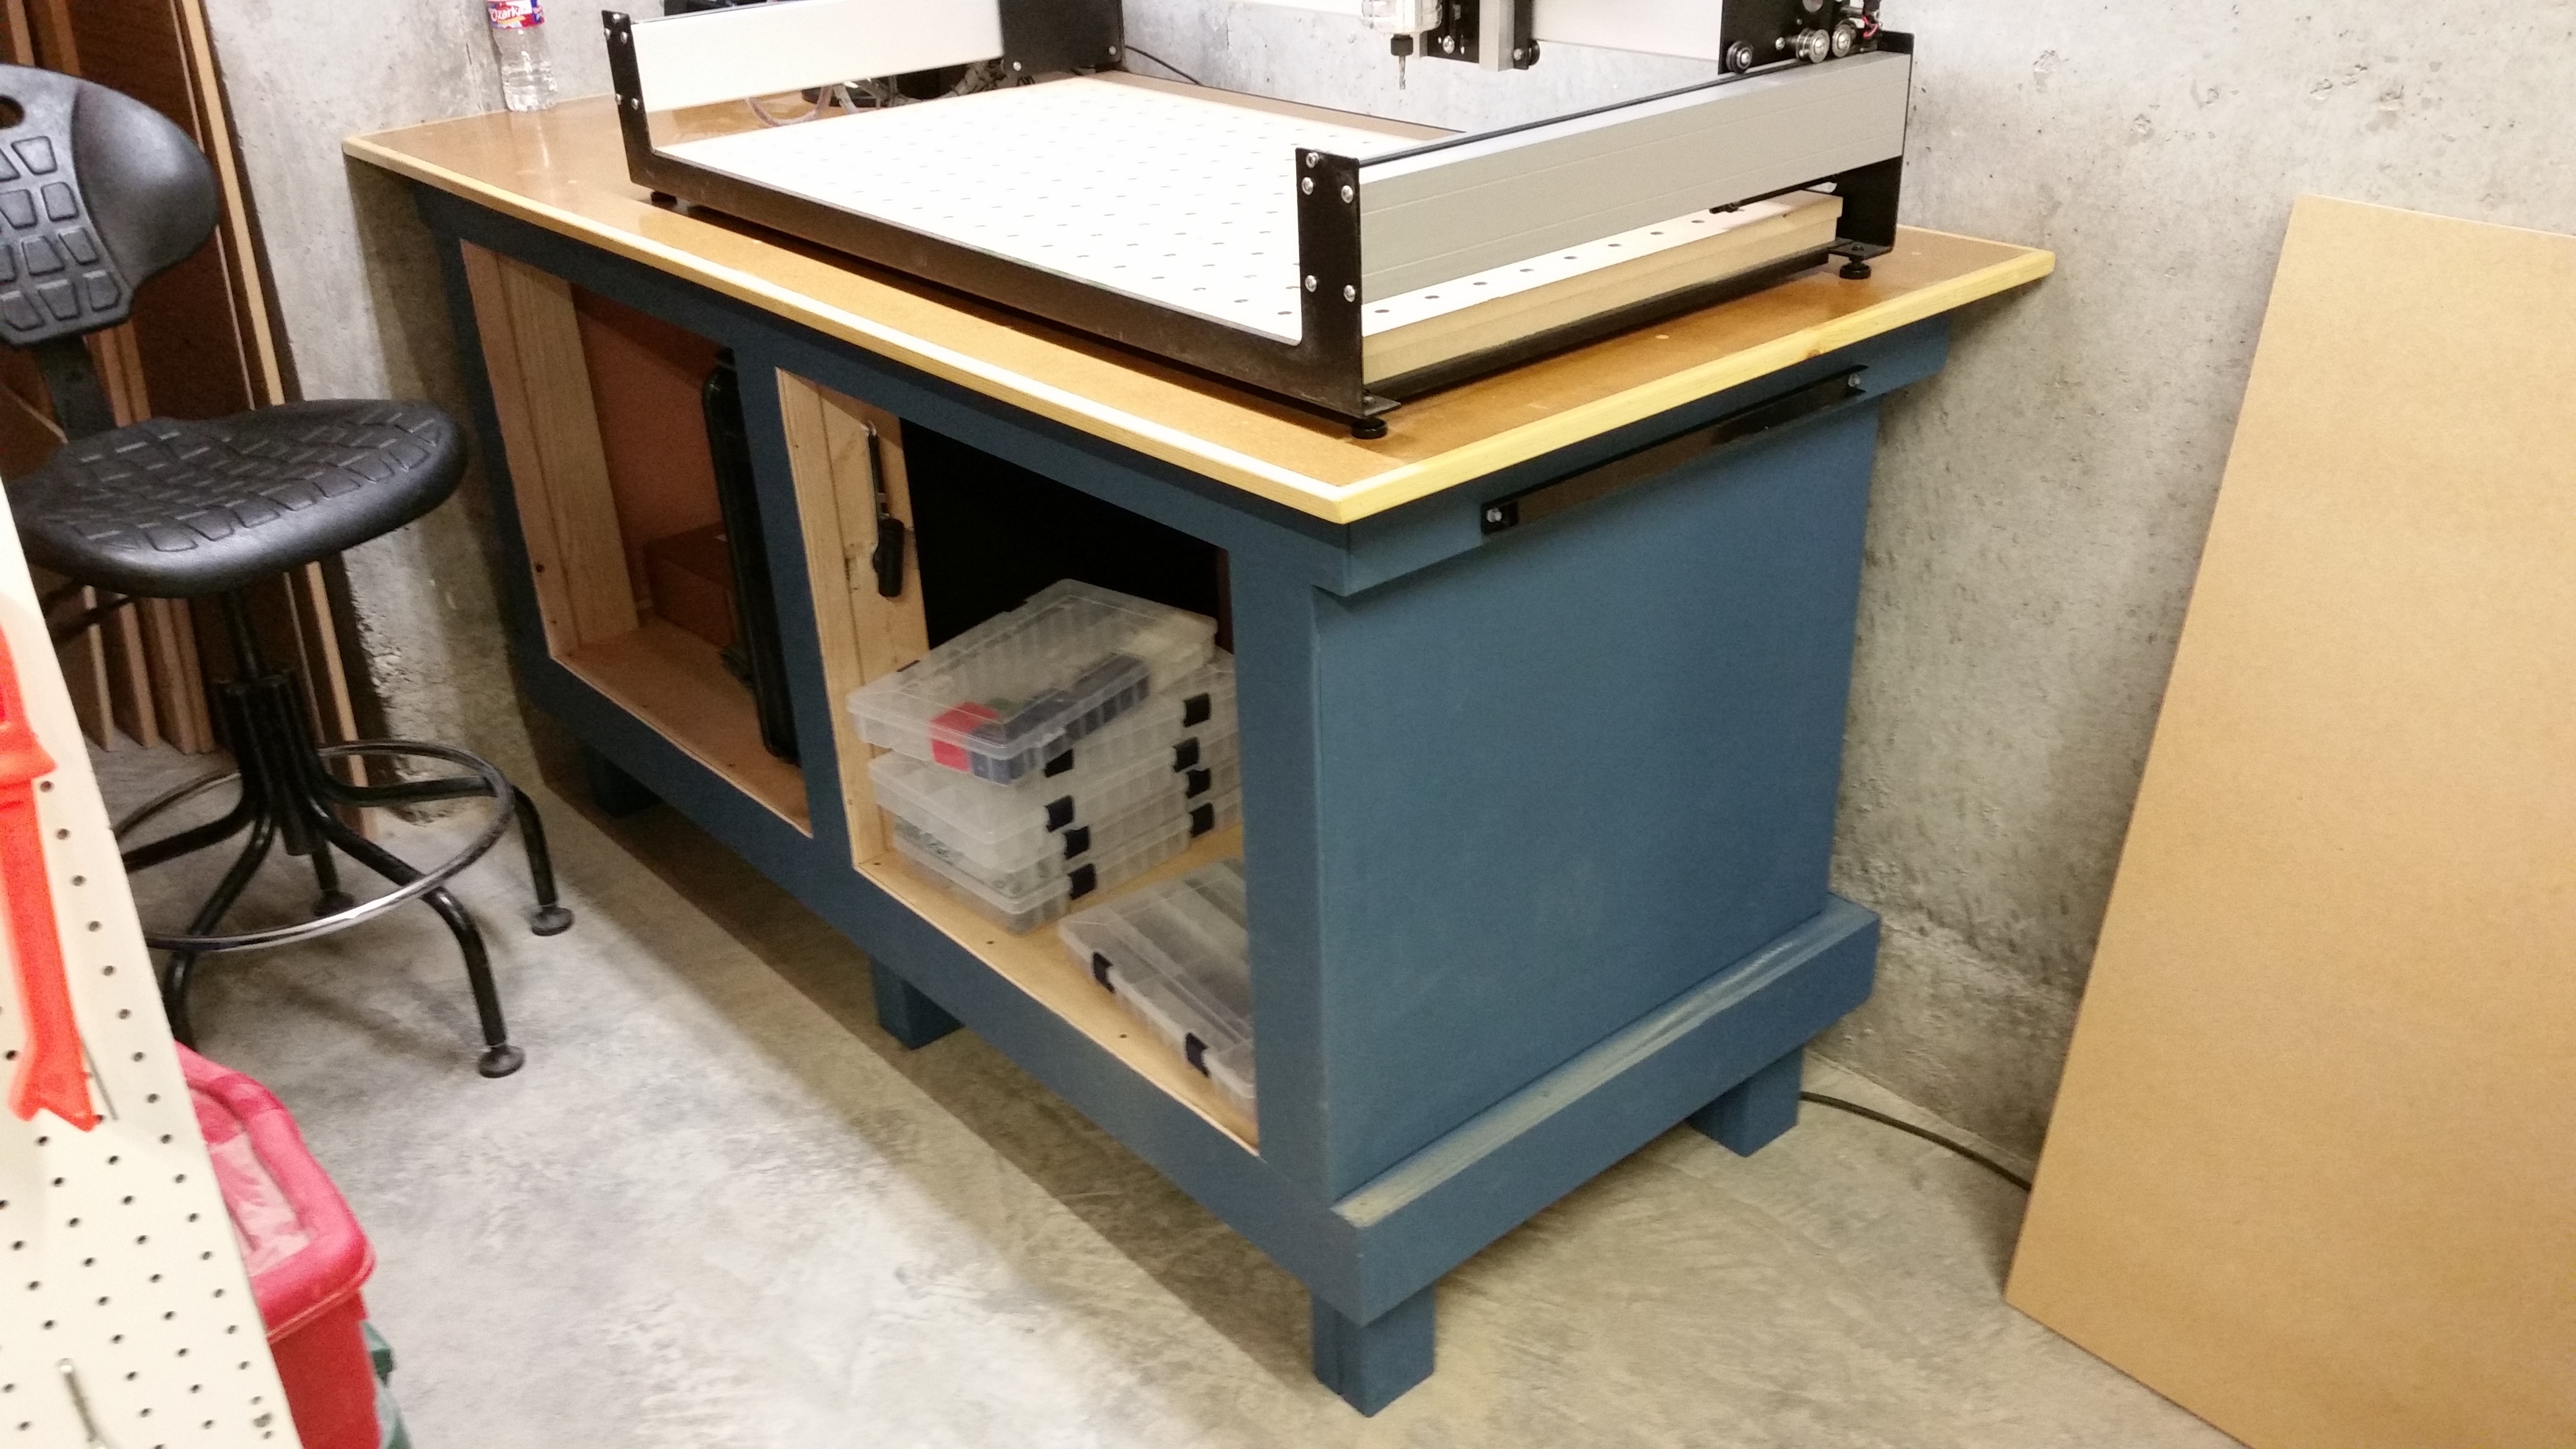
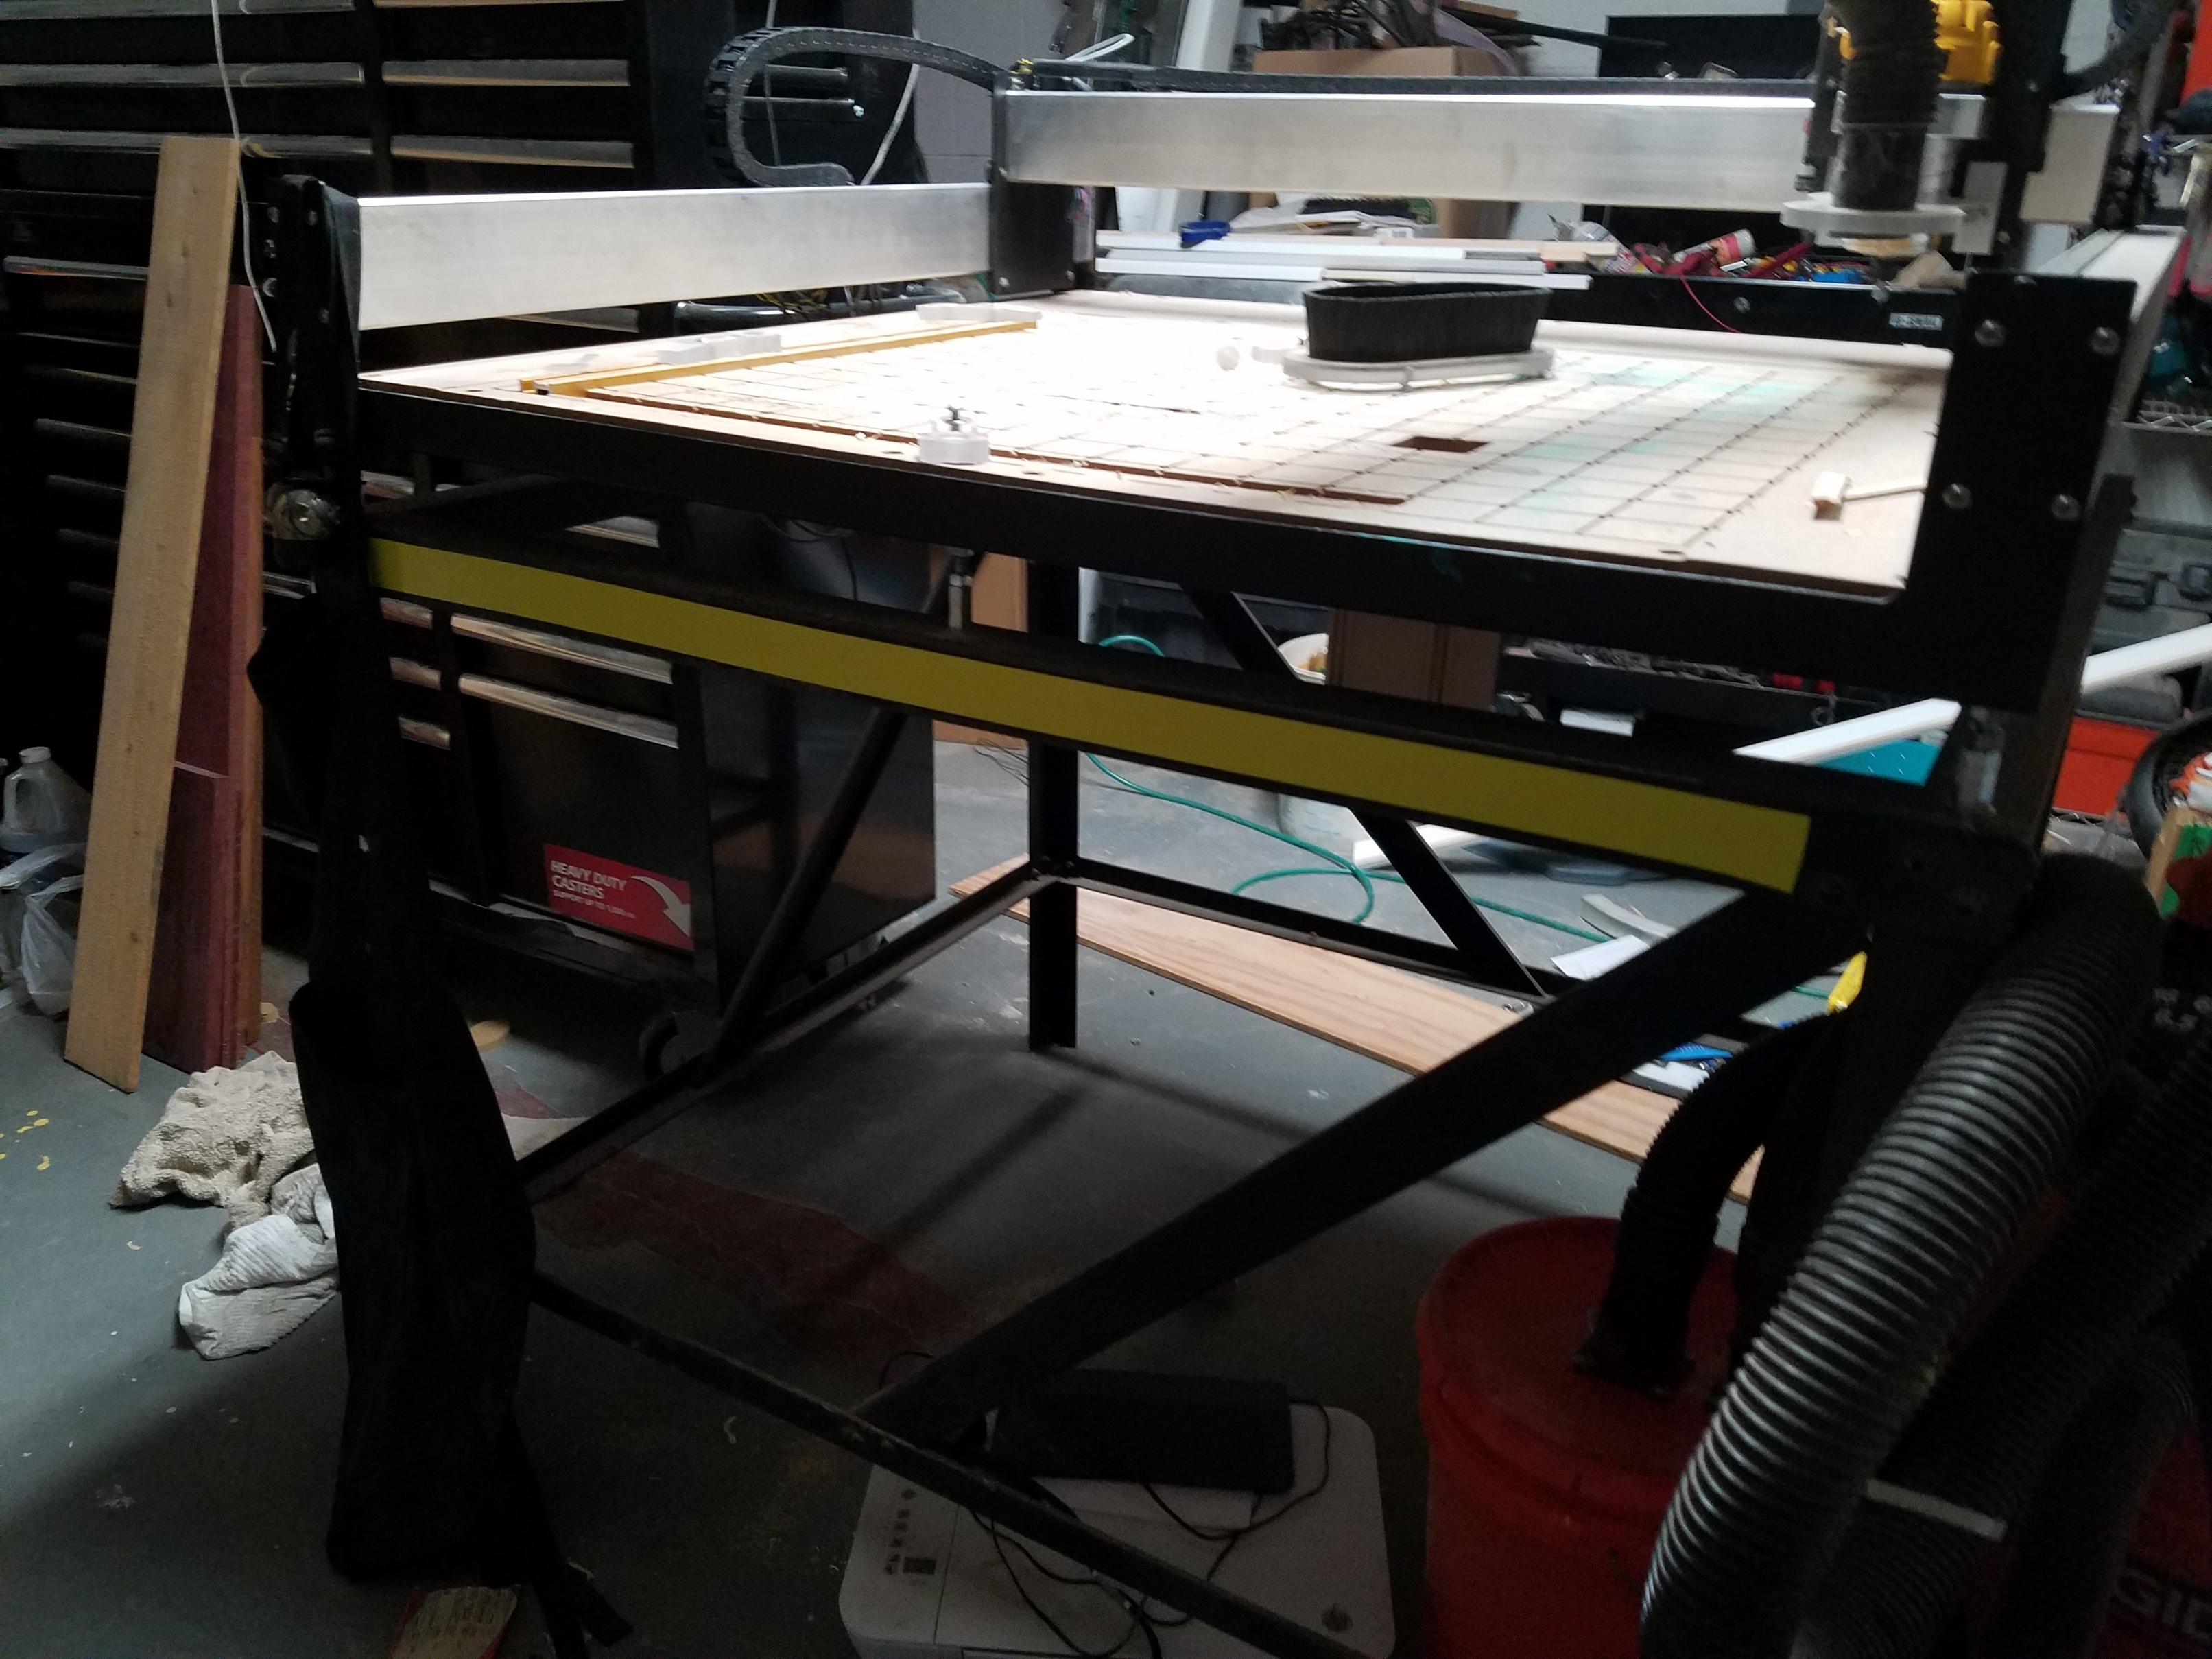
After a year or so with a SO3 with a sea of holes wasteboard I started running into various limits.
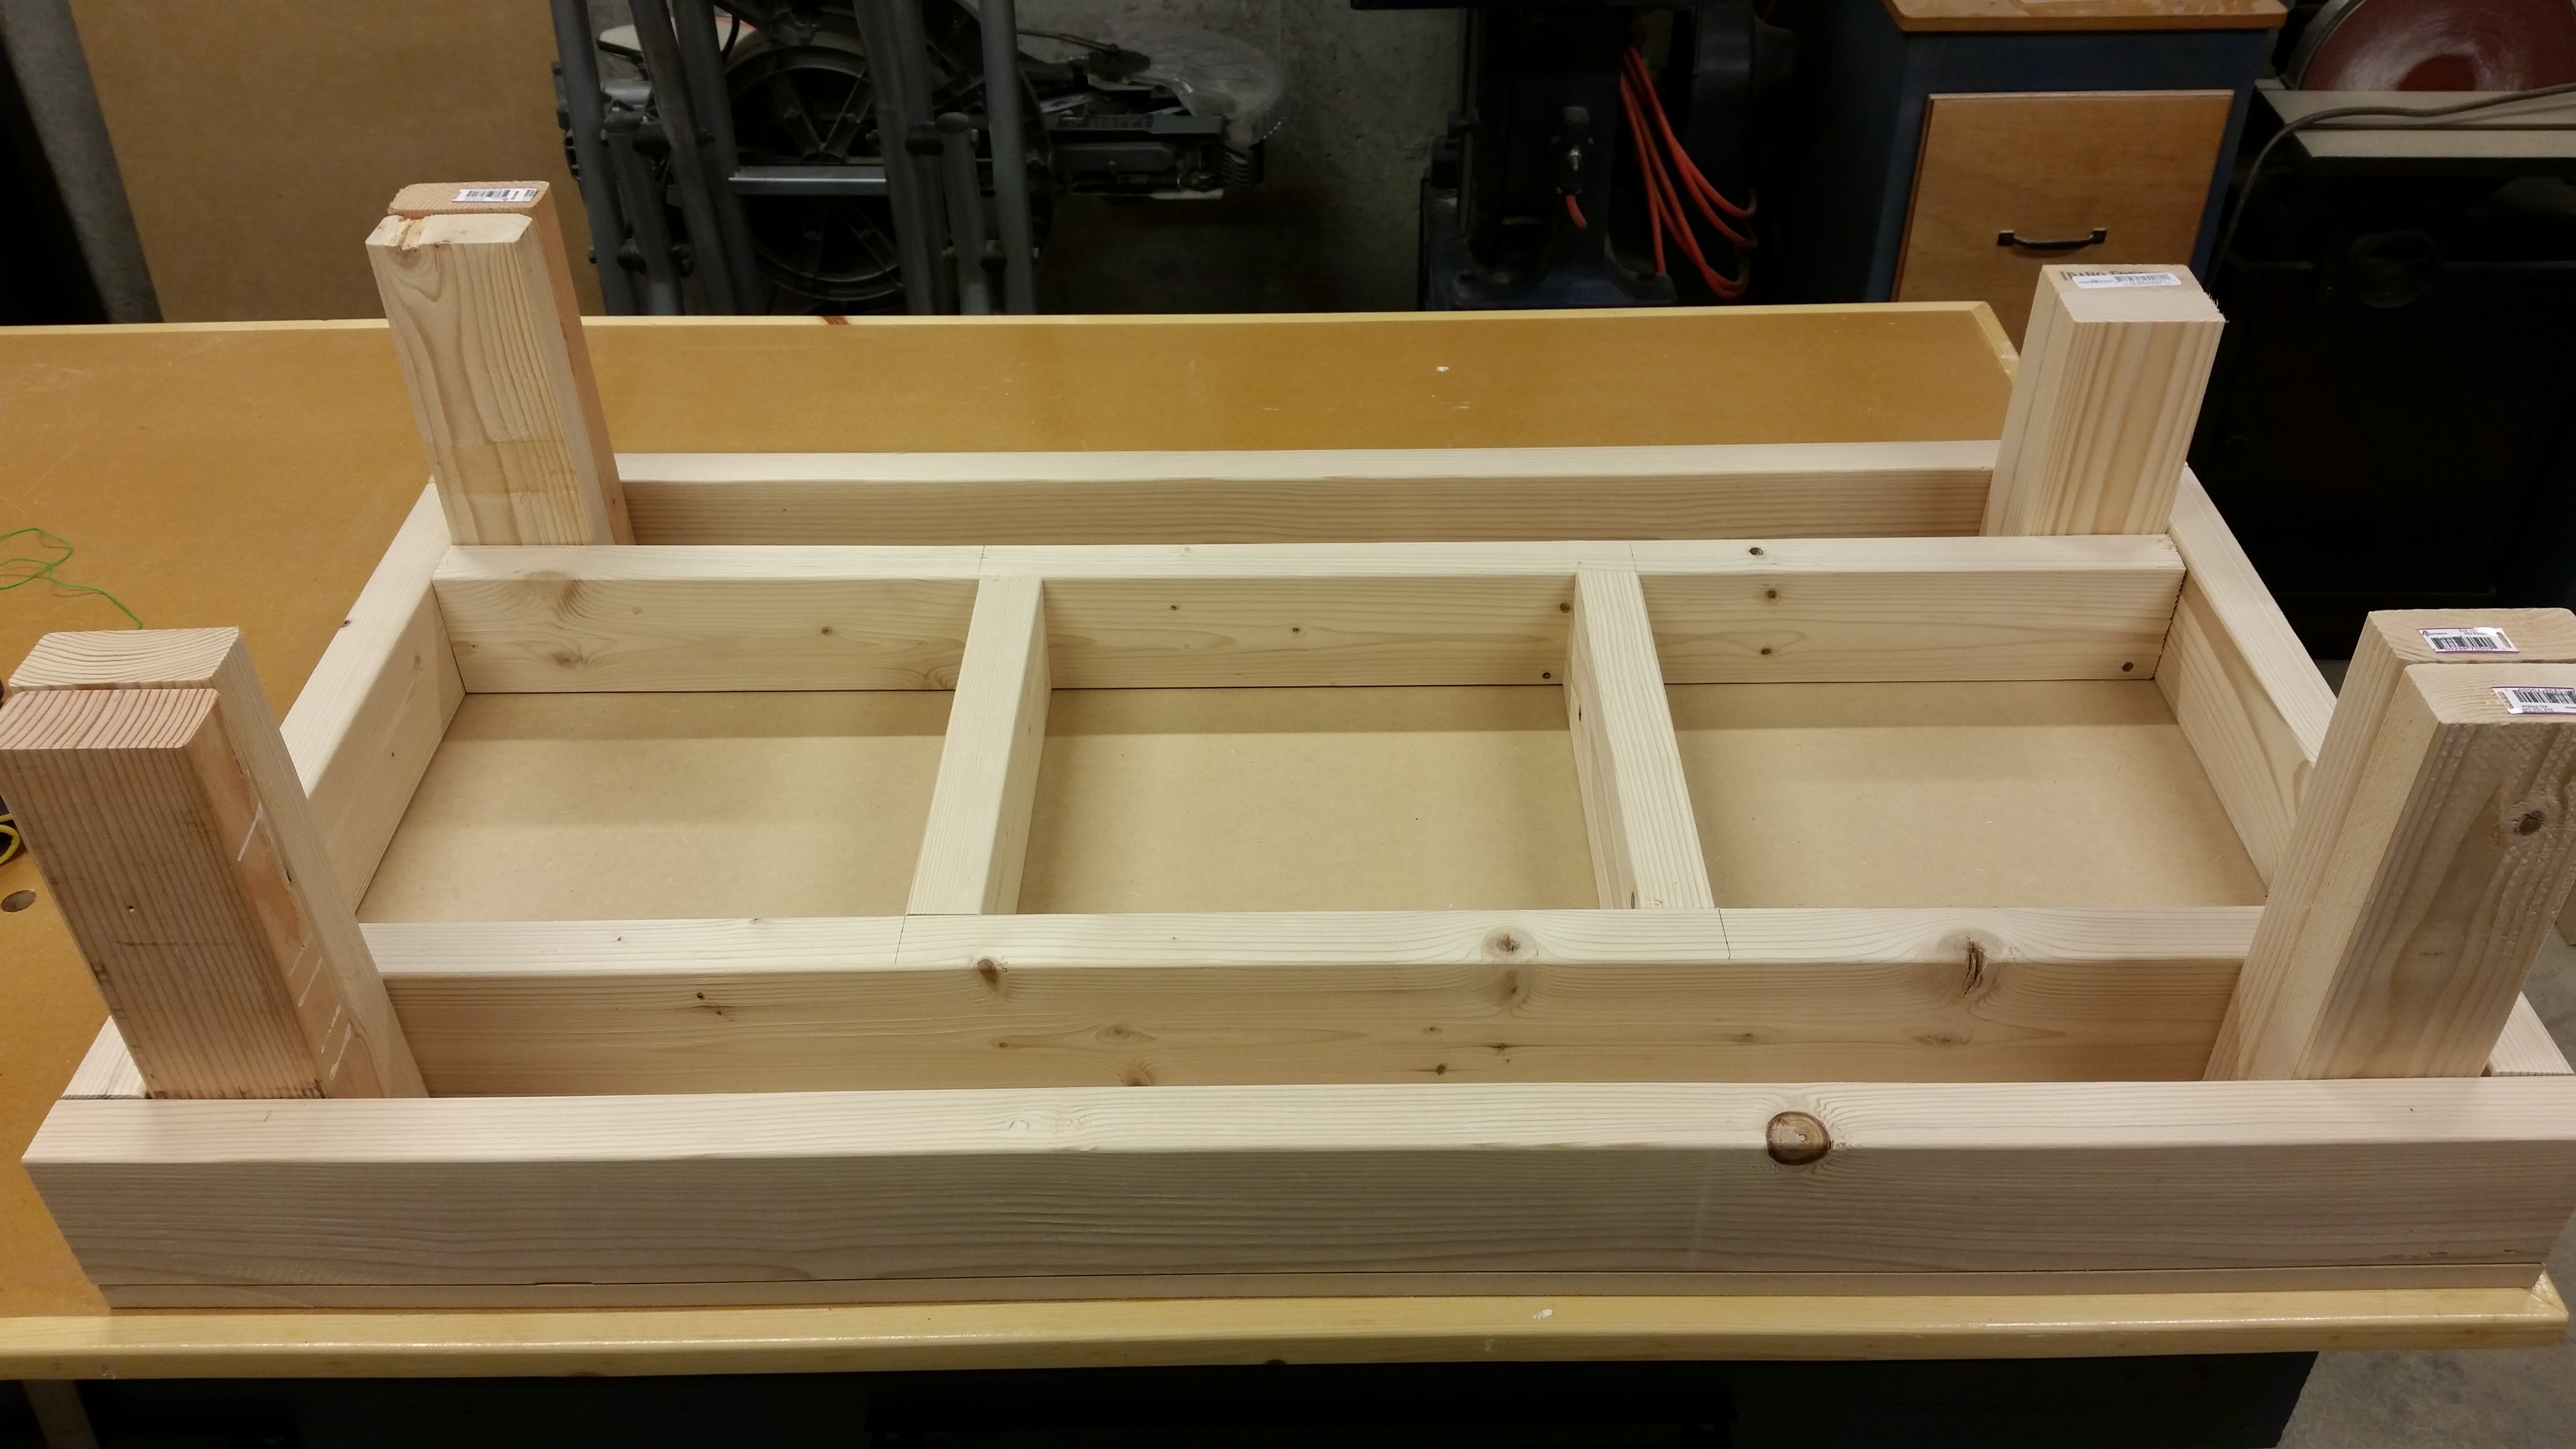
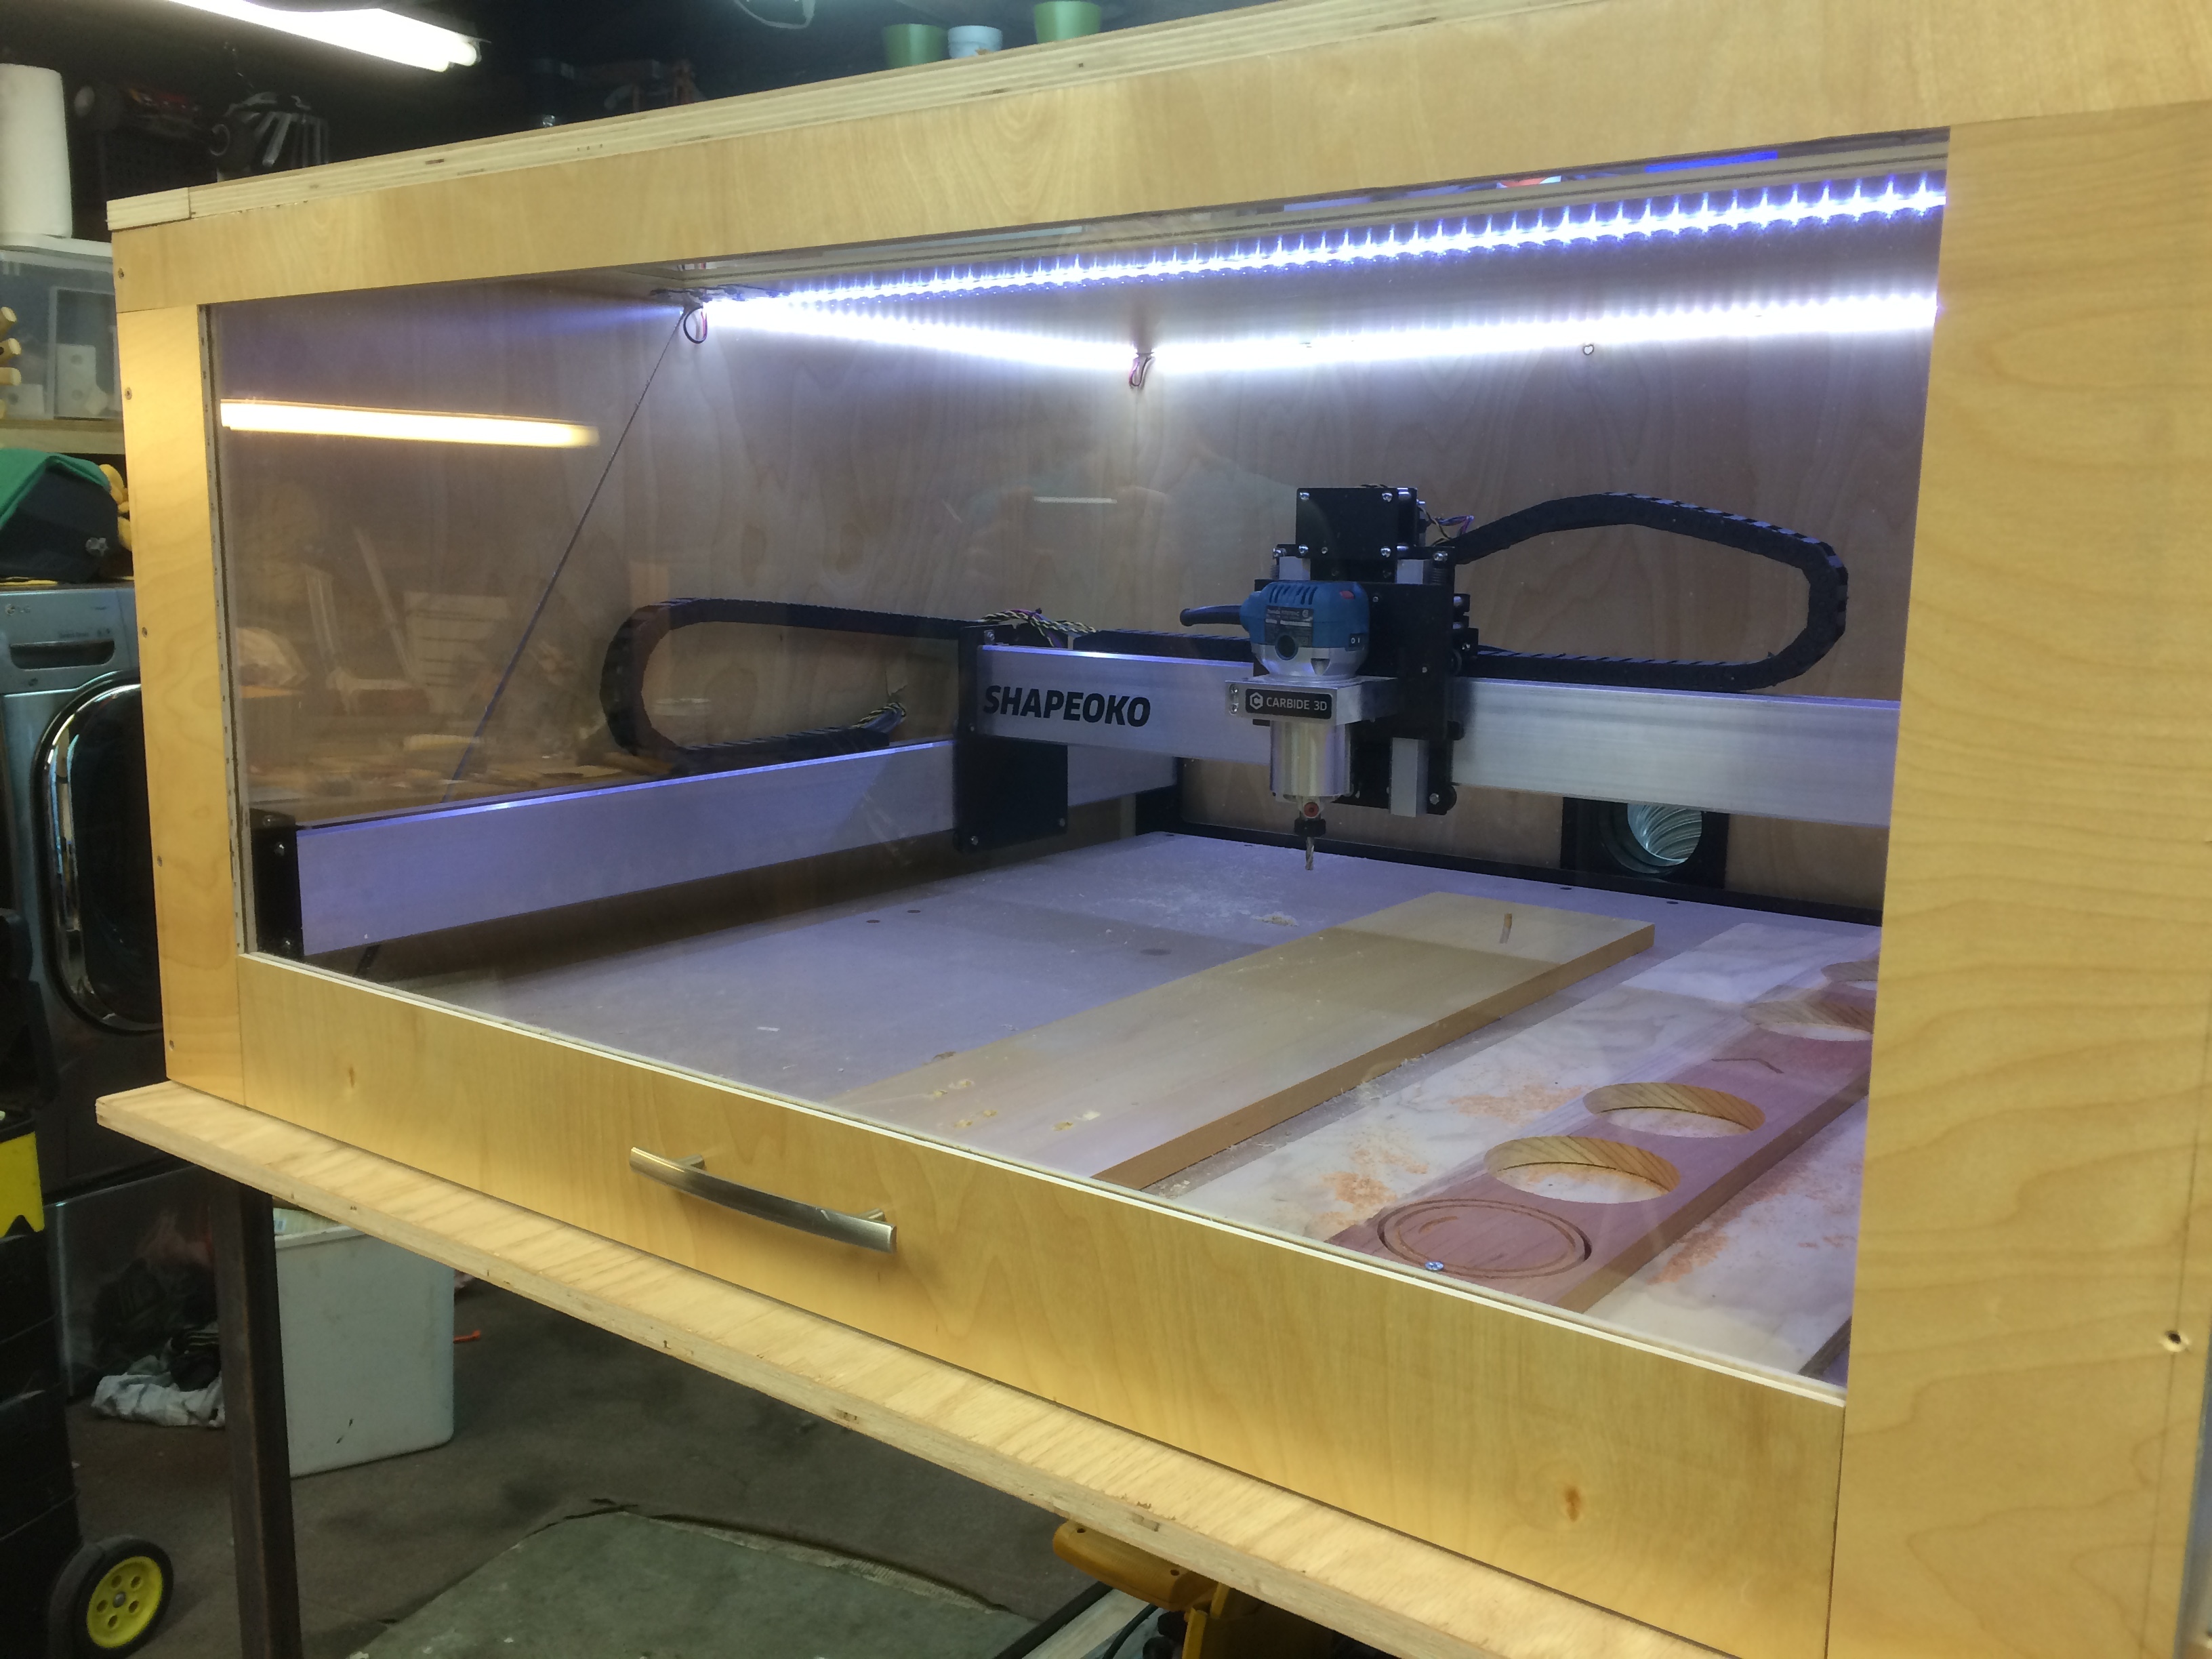
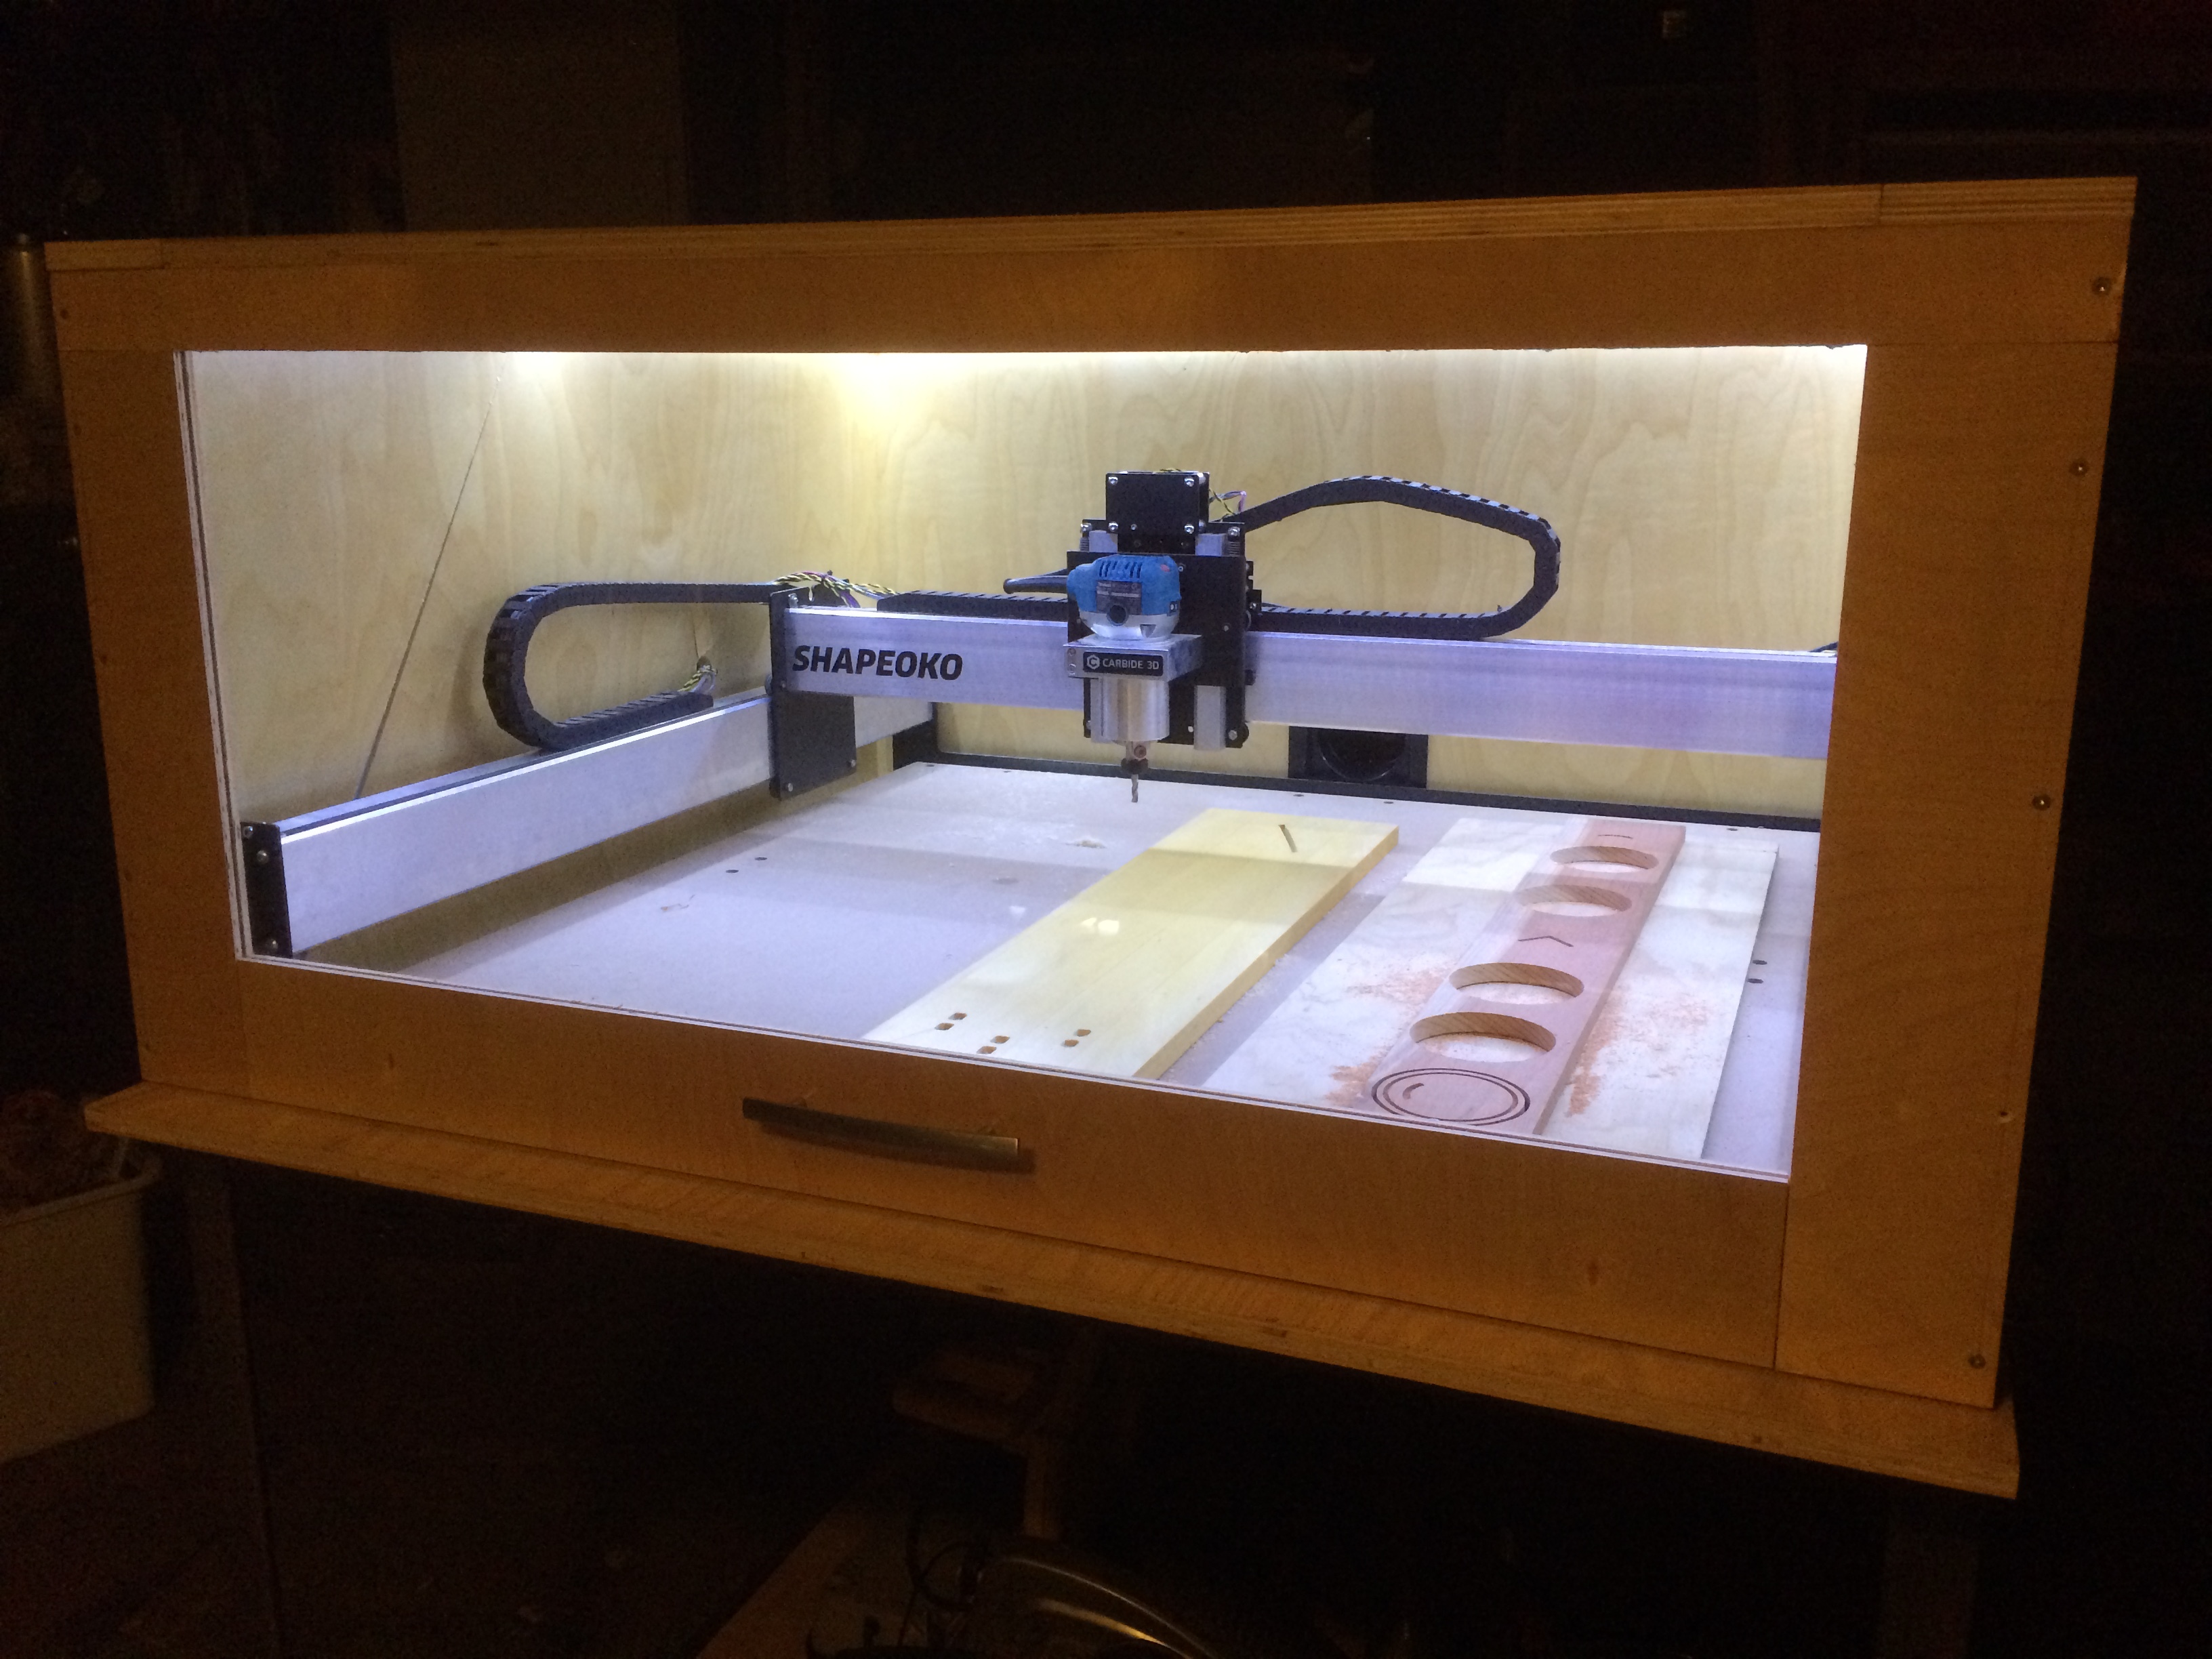
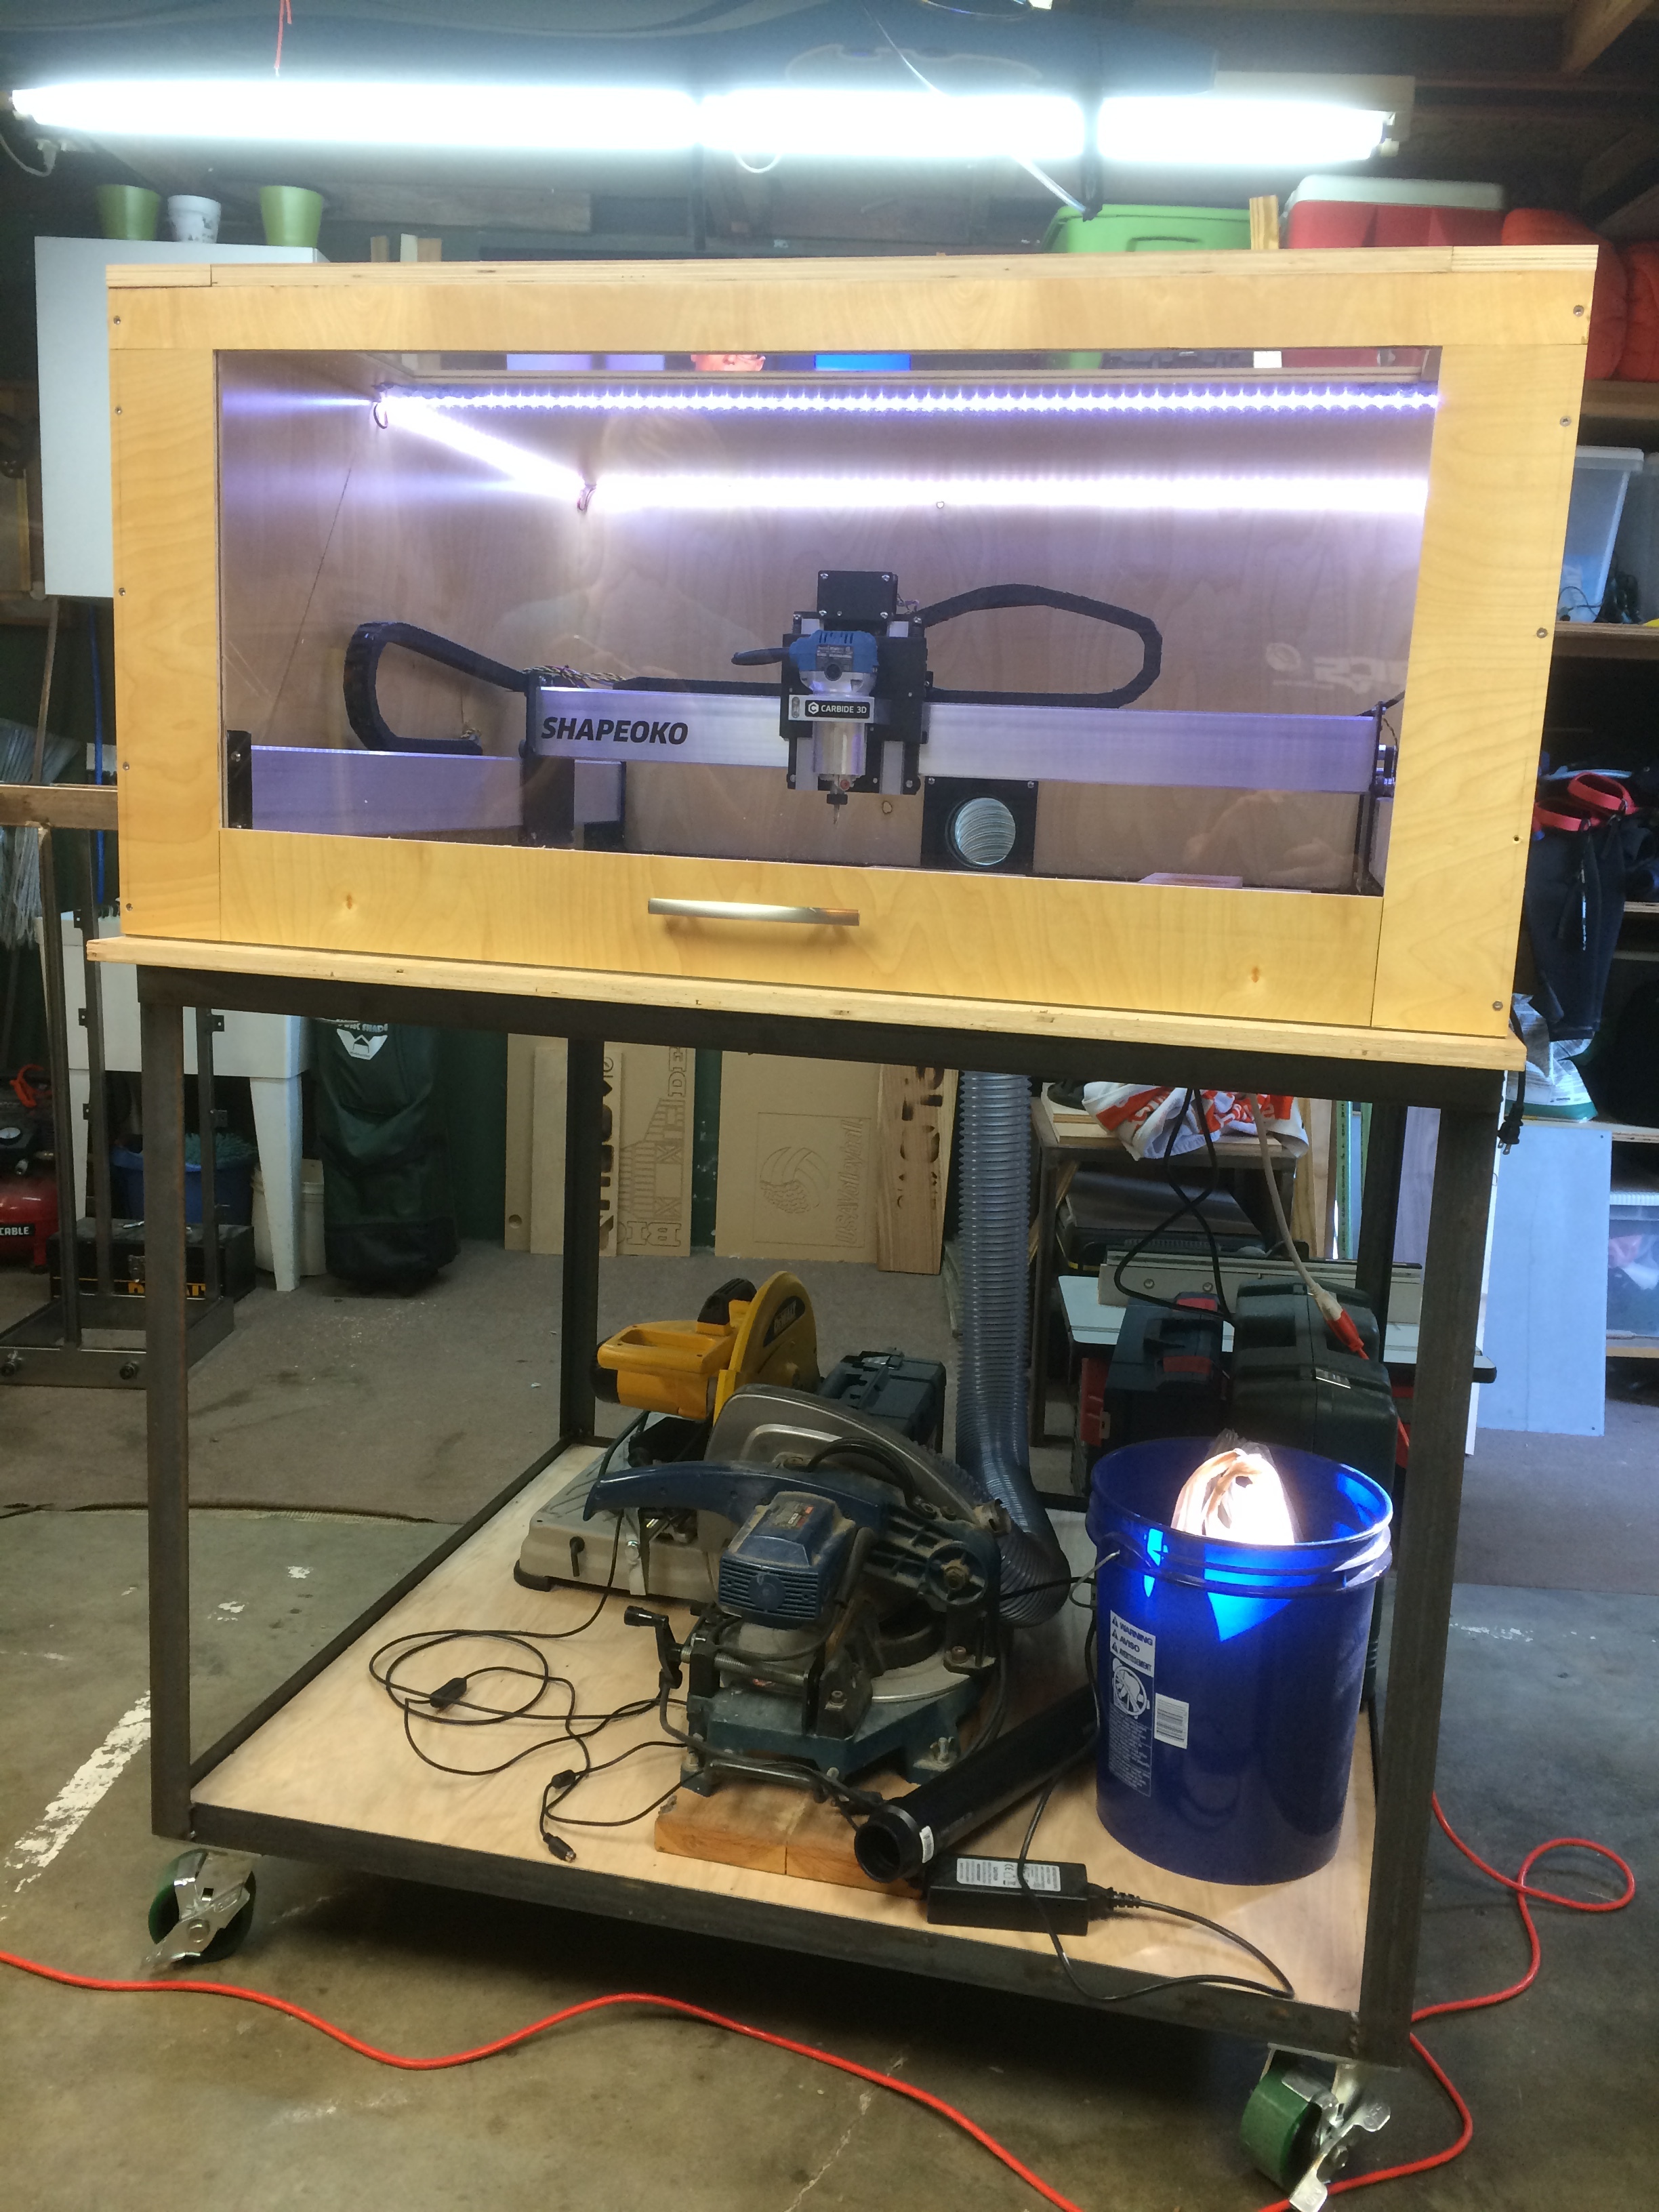
So, I got the XL upgrade kit and built a torsion box. Then a rolling cabinet to put it on. It’s still a work in progress but I’m real happy with the increased y axis clearance and multiple work holding options.
I have two locking wheels on the cart. The other two are standard. In retrospect I would have gone with all four locking. I do like being able to move it into the middle of the shop if needed.
I also used angle iron and will not do that again. Better to just use square tubing.
I’m still working on proper dust control. I installed a 4" outlet in the back with hose and a high power shopvac. This seals the door shut so tight it cannot be opened while in operation, but doesn’t pull the dust out. It just piles in the corners.
Your shopvac needs to pull air from somewhere otherwise it’s starved. Even when you fit a dustboot you will need to let air into the enclosure for it to work properly. If the air cannot get into the enclosure the vac can’t suck air (and the dust) out. How to let the air in and keep the noise from getting out is a problem you have to figure out.