What did you cut on your Shapeoko/ Nomad today?

need to sharpen my 1/8" O-Flute. It’s in the bilge of my boat, so doesn’t need to look pretty :slight_smile:
It’s nylon. cloth ain’t gonna do it. :wink:

Nice! What tutorial did you use?

COOL! I may have missed it while reading through, but what material are the round logos made of, and how big are those pictured?

My Mom asked for an Item she saw on Etsy.
This is my first attempt at Tiling my toolpath. It’s not perfect but I am super stoked since it’s my first try.

This is what she wanted but in RWB.

This is my attempt (1/2 way done).


13 Likes

Thanks. They are aluminium, powder-coated in black gloss.
100mm (4 inch) diameter, 8mm (3/8") thick.

1 Like

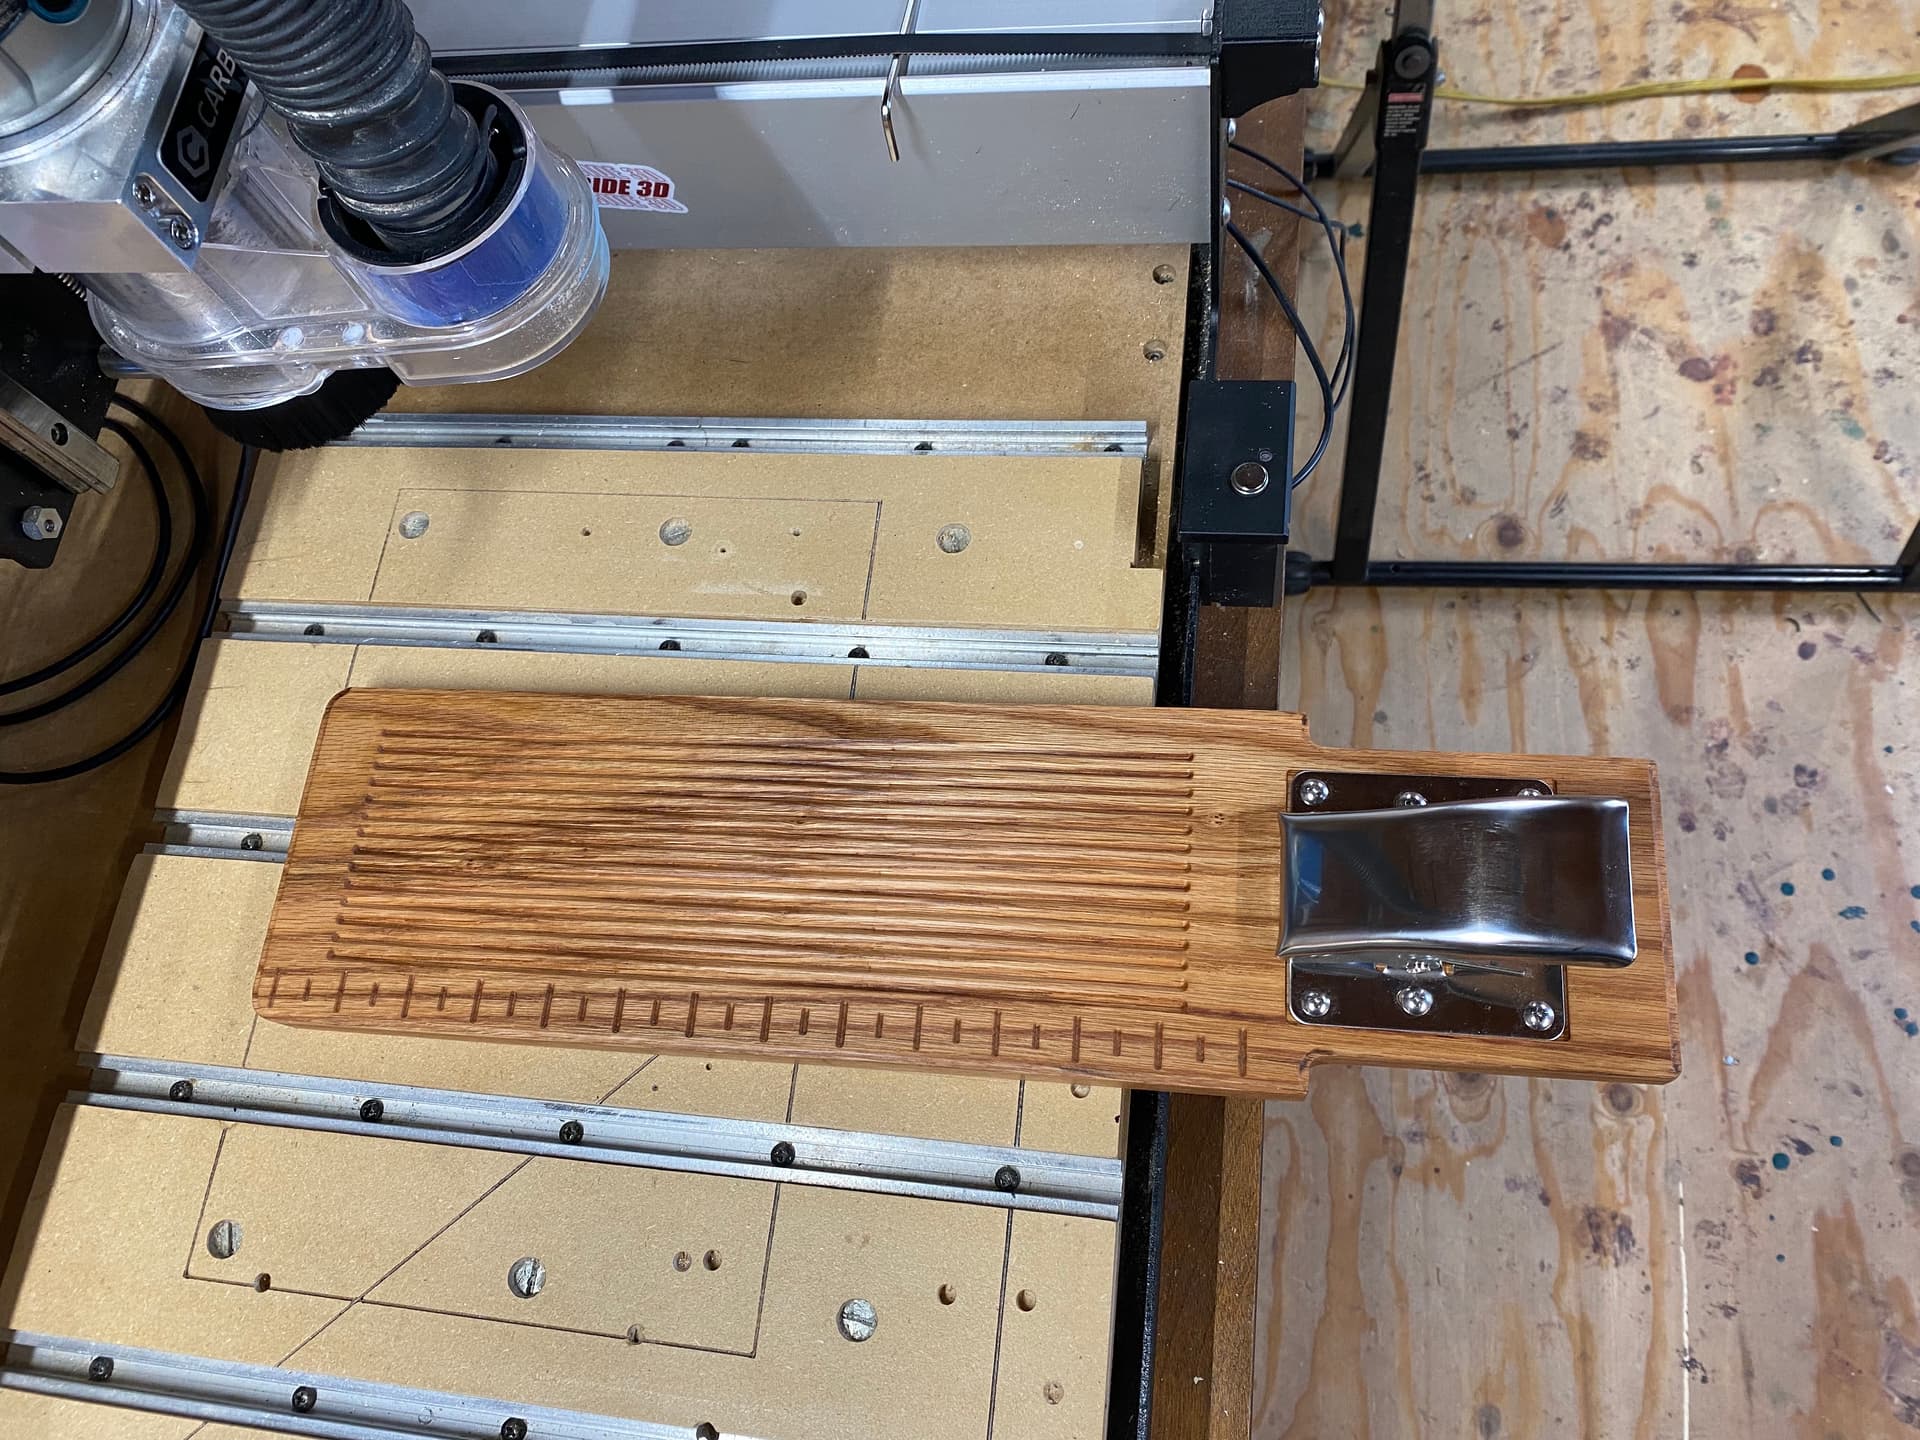
My fish filleting board didn’t make it back to the boat launch ramp last fishing trip, Shapeoko3 to the rescue. This turned out to be a two tile job.

8 Likes

Hello, I feel your pain. Using acrylic myself, using a Carbine3d 90 degree diamond drag, spring loaded.
Link:
Carbine3D Diamond Drag

Found that it was so much the diamond drag bit as much as it was the spoil board, once i resurface the spoilboard it looked great. Testing it using a motion sensor LED strip.

12 Likes

That’s looking great, I’ll give the suggestion a shot next time around :slight_smile:

Tidy,

Was that just two sides setup and milling?

Tried the “aloha” method(milling instead of etching) for my second acrylic piece in the edgelit display kit.

Depth was .05" and the tool has a 1.5mm diameter. Took about 20 minutes and yes I mix metric and imperial all the time :smiling_imp:

All in all i like the milled look better. Those lines are just so crisp.
This logo is almost symmetrical so i could also test the look of removing material from the front vs the back. The smooth front is my favorite, it feels more premium.


19 Likes

Thanks, Liam. I cut another piece, like a core that fit inside of the cavity to use as a jig for the 2nd side.

8 Likes

How’d you drill the holes? I’ve been wanting to do a cribbage board, but the peck method is slow and AIUI you shouldn’t just plunge the whole way down. (This is assuming you designed on CC.)

Either way, looks great.

That looks awesome. I love the inlay more than the raised islands I did on a tray a while ago.

I liked the idea, but it ended up not looking as cool as I thought it would.

9 Likes

Are you serious? That looks amazing! I hadn’t seen or thought of a raised inlay like that, but that’s a fantastic idea.

1 Like

Not too bad for my first Tiling tool path.
All that’s left is the final Profile Cut and some Clear Coat.


2 Likes

Hah, thanks! I like the idea, I just think the two times I’ve done it the color combo could’ve been better.
I also did New Zealand, which someone jokingly suggested looks like poo

5 Likes

I bet if you inverted the colors it’d pop more. Still, it’s also great. Every project is a little better than the one before.

1 Like

The couch in my wife’s office has wooden arms. They are flat with a very shallow curve. This makes it deceptively terrible for placing cups on them.

I had a piece of 4"x5"x.25" hdpe laying around so i knocked together a quick “cup holder” (really just a safe place to put a cup)
A bit of thermo-forming to match the curve of the arm should make it sit nicely. A very thin layer of soft silicone should self level to provide a level surface for the cup and a bit more stiction than straight hdpe. Glow in the dark silicone because why not…


7 Likes

I bought some high speed drill bits and use those with the peck tool path. It is slow but a lot faster than doing it by hand or by milling with a smaller bit. I have the router dropped to the slowest speed and set the feeds to the following. Estimated time on the holes is about 20 minutes. Have not timed the actual time it takes but that is not too far off. The v-carve for the lacing takes way longer.

It turned out great.
Just a little bit of an error on the alignment for the 2nd tile, but not too bad.

10 Likes