What did you cut on your Shapeoko/ Nomad today?

I’m still waiting for @KevBarn14 to stop by with some more insights on making cabinets on the SO5. It’s something I regularly saw on the industrial CNCs, so it’s nice to see it’s doable on the smaller ones. Once you get the dimensions down pat, you could bang out a lot, IKEA style. The latest youtube vid was fun to watch, because it was like watching myself work through iterations until I got it right.

2 Likes

Nice work. Can you tell me what depth of cut the overall project is? Is that a 2 or 3" thick wood base?

Thanks

How’d you make the pieces?

That’s the main thing that keeps kicking a chess board to the bottom of my list. Love the game, but not committing to the lathe.

It’s pretty workable to make chess pieces using 2-sided machining and a suitable flip jig — most these days are injection-molded after all.

Another crazy option, for the turned part of the pieces, would be to use your mill as a lathe.
Chuck your pieces of wood in the spindle, and clamp a tool in a vise or fixture on the table.
Then move the workpiece in the spindle to achieve the desired shape.

The blanks need to be balanced very well before spinning them at 9000+ rpms.
You need a way to chuck the workpiece in the spindle. A 1/4" threaded stud would be ideal.
You need CAM software that can program in XZ, or you would need to edit G-Code file to change Y to Z to get the proper profile. You’d also need to mirror the geometry since you’re moving the workpiece instead of the cutter. But it is possible. :wink:

This is a much simpler example of me turning the bottom face of my sanding disc using a fly-cutter in the vise, and passing the disc over the cutter.

IMG_0692_sm

1 Like

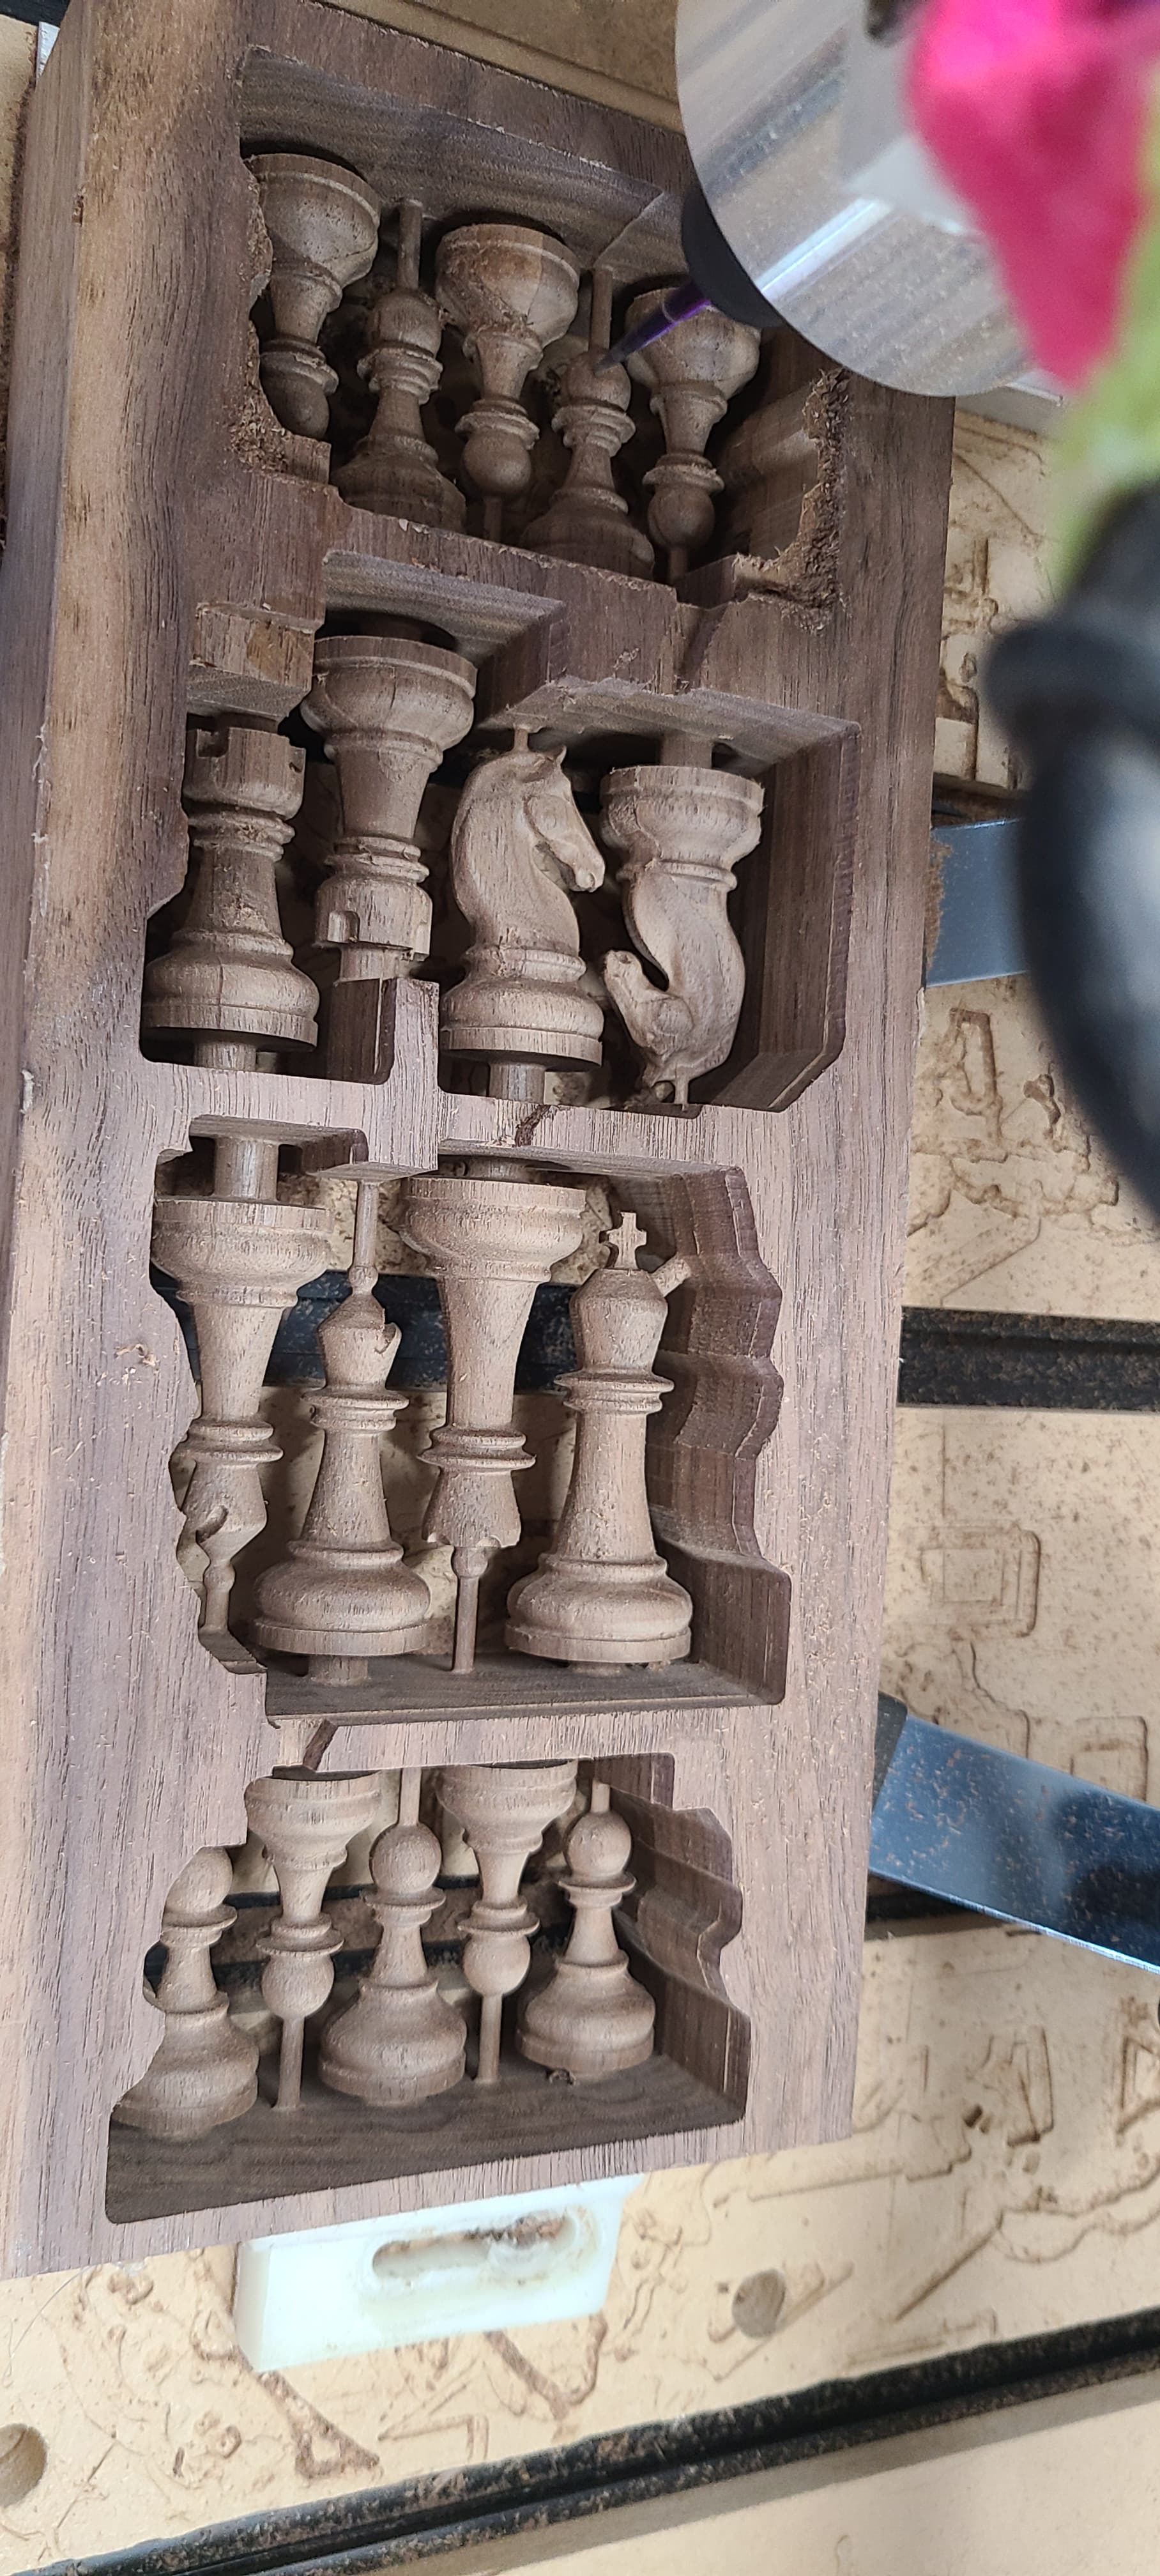
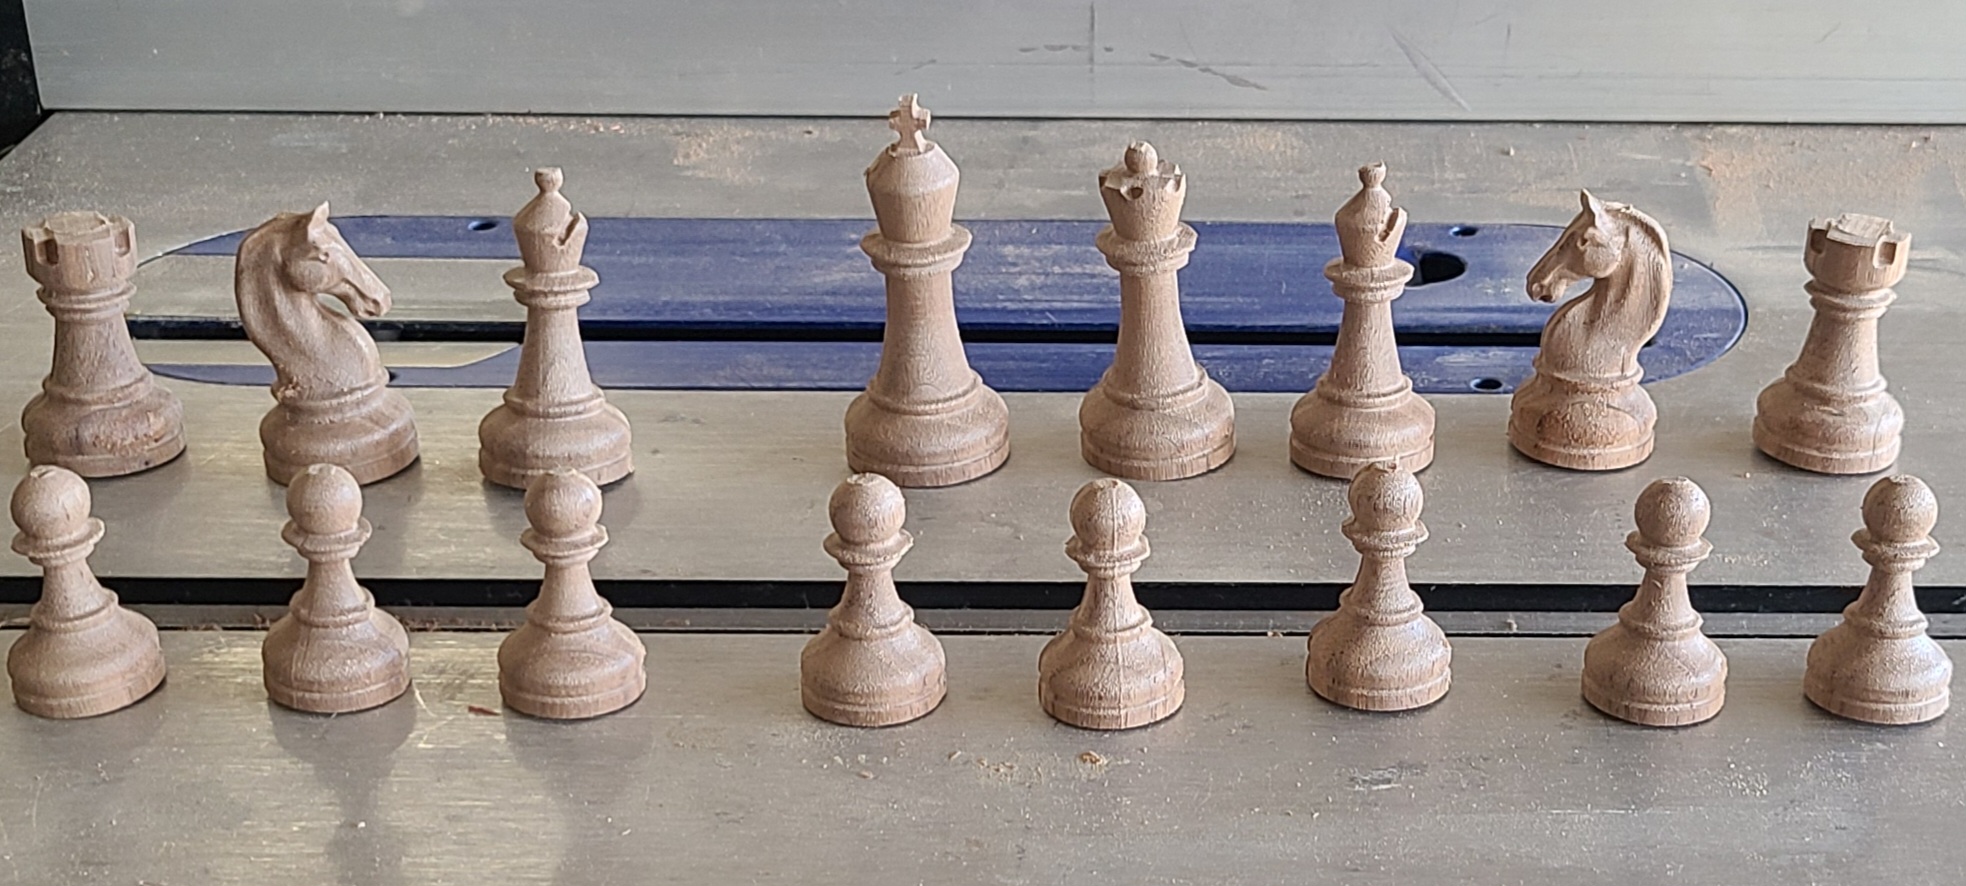
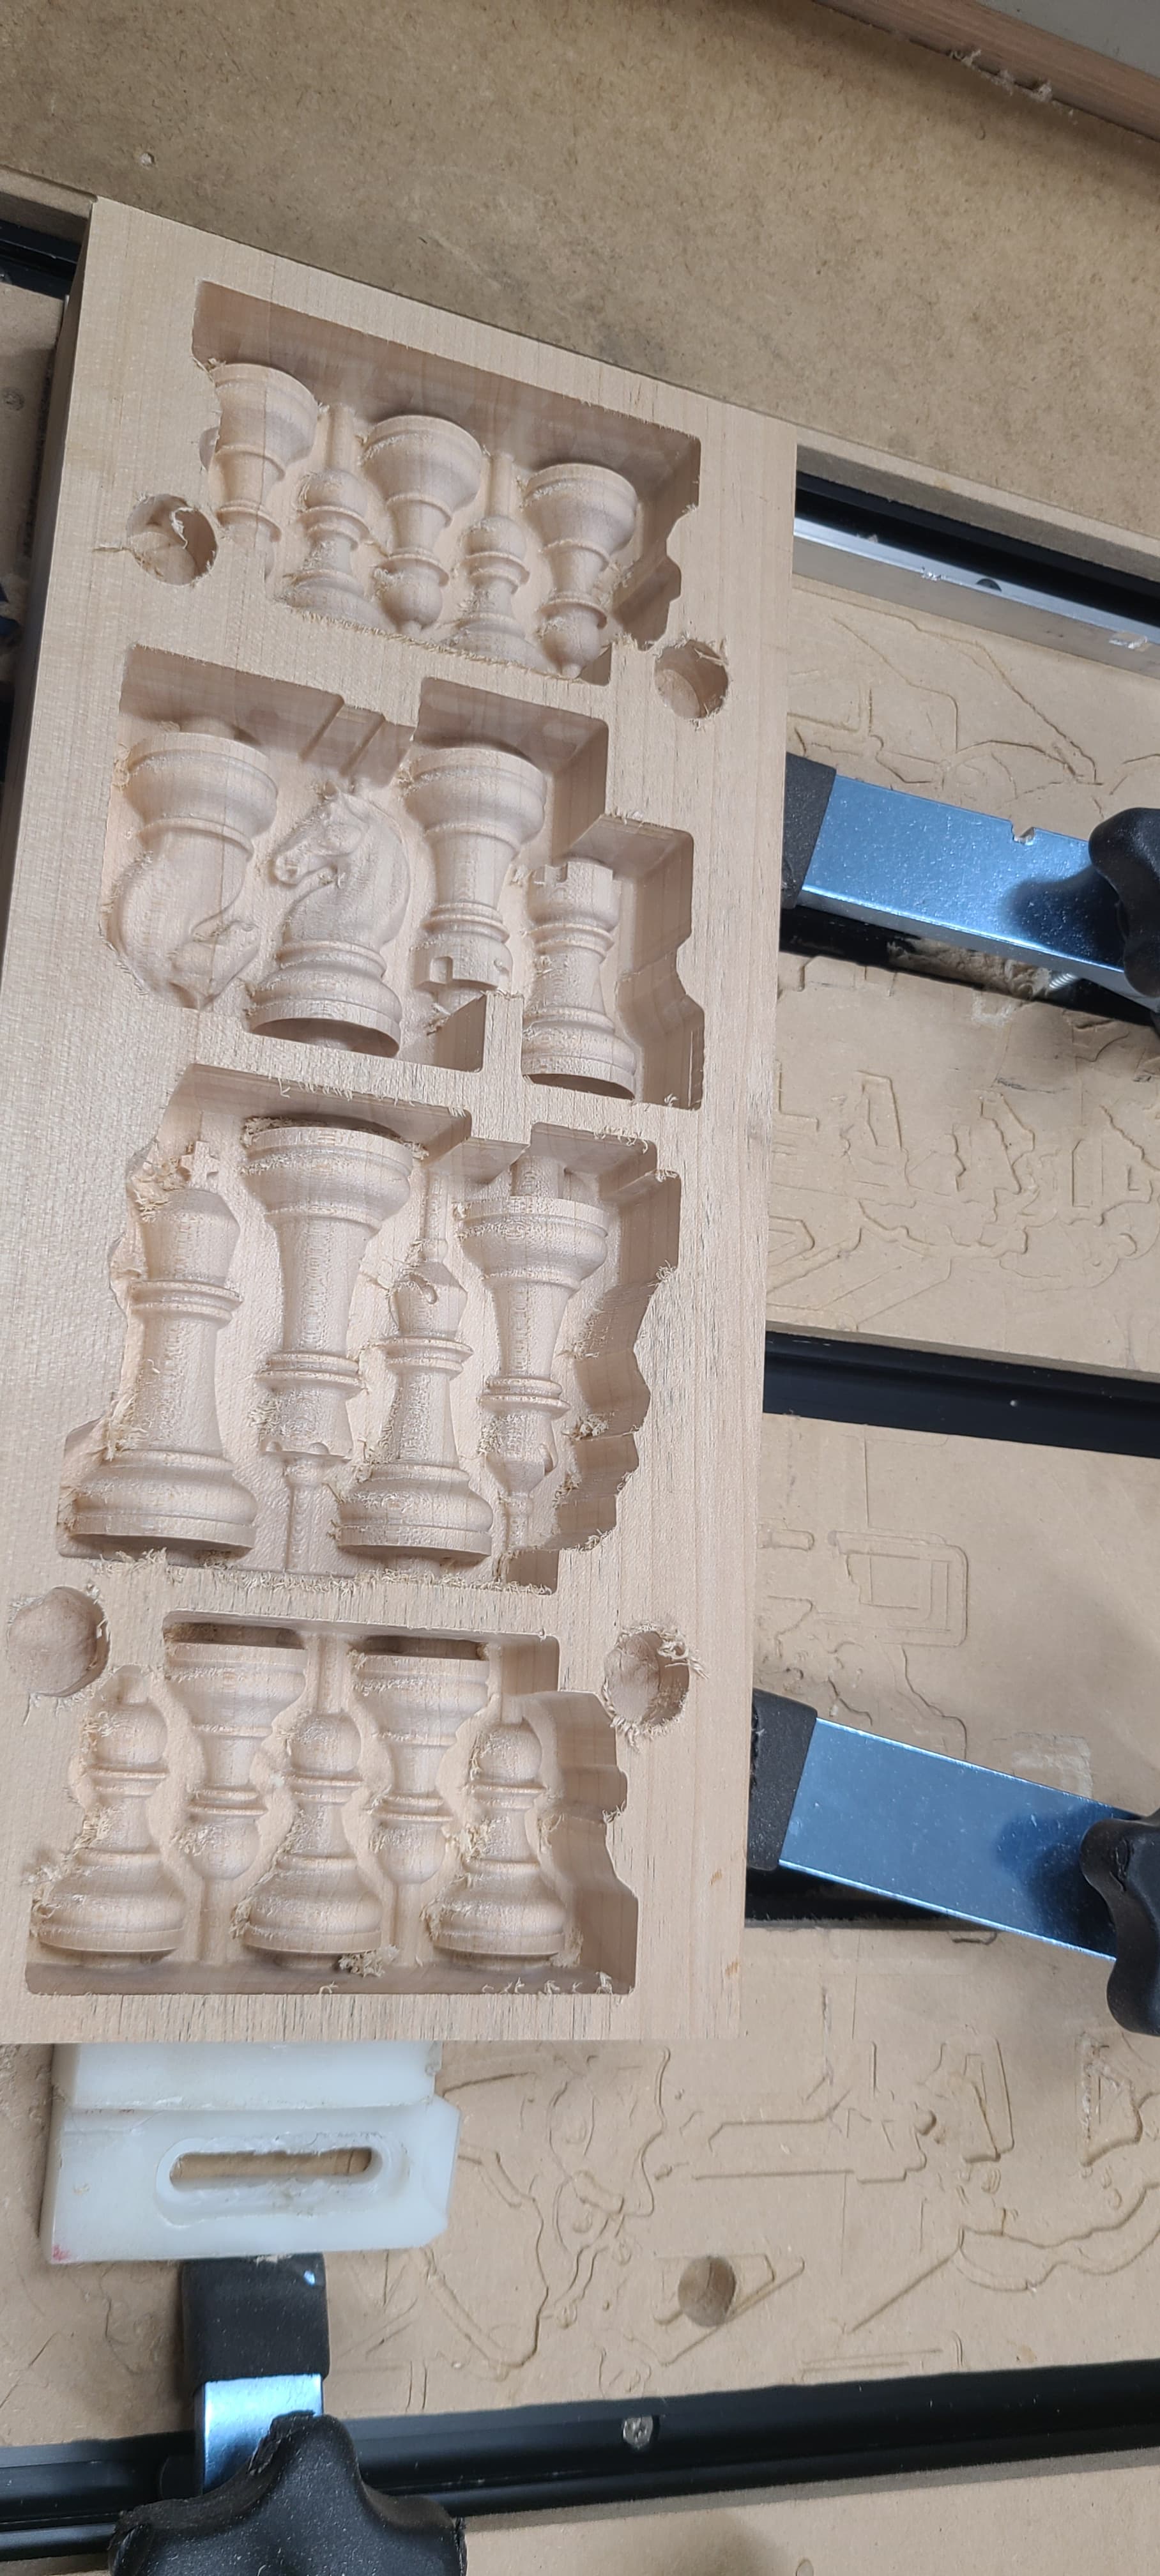
I made them with the shapeoko xxl stock everything with belts.


Here is the article where we talked about it.

30 Likes

@MarkE as @WillAdams mentioned all done on the machine I do not use a flip jig though just referencing pins.

2 Likes

That is about the biggest understatement I’ve ever read on this forum. Lathes don’t turn all that fast to cut parts. Shrapnel is not your friend. :dizzy_face:

5 Likes

I will keep doing pens on the lathe and use the Shapeoko for chess pieces, pens blowing up is bad enough on the lathe I cant imagine on the router @Tod1d LOL. I am making Egyptian chess pieces now @MarkE this is my run with some old 2"cedar for practice. 1/16" TBN could go smaller for more detail.


10 Likes

To those in the Community,

I want to open an avenue of discussion about making things. I’m making things here, at HQ, every week. Let’s talk projects, processes, materials, designing, selling, finishing and anything else you think of or have questions about.
I will be posting these lightly produced videos full of information and my thoughts.
Ask me project questions / Post your ideas on how to take these projects to the next level

Let’s get everyone going on projects, learning and getting wins with their builds.

Per the suggestions below I have started a new thread for this purpose. Subscribe to the thread, chime in and let’s build some terrific stuff: Projects and Learning with Kevin of Carbide 3D

Here’s #1, a birthday gift for a friend. Made and Given on the same day: Community Project Video: Skate Earrings on Vimeo

23 Likes

Good idea Kev, but it should have its own thread. It will get lost here I think.

3 Likes

I really like that idea but I agree that it may get lost in this post. Maybe a sticky in the gallery?

Where did you get the files for the chess pieces? I have made several using a lathe duplicator and a modern (Squarish) set but have always wanted to make a Staunton set.

This was primarily a table saw project. I used the Shapeoko to carve the crown on the drawer front. I also included a set of checkers. I made the chess board by first gluing up alternating strips of oak and mahagoney, then cutting that into squares and then gluing the alternating strips into the chess board on a plywood base and finished by making the mahagoney border. The box was a simple two pieces pocket screwed to the bottom of the board and the 2 drawers on wooden rails with stops in the back.

This almost complete set was made with a PSI duplicator tool with steel templates. My lathe is a Jet 12-21 VS with the PSI duplicator. They still sell the duplicator but have reduced the available templates but still have the chess templates. The Knights are not shows because at the time I had not finished them. You cut them round and then apply a paper template and finish cutting the Knight on a scroll saw to get the horse outline.

Nice set you carved.

9 Likes

There is a set on Thingiverse:

Per the suggestions above I have started a new thread for this purpose. Subscribe to the thread, chime in and let’s build some terrific stuff: Projects and Learning with Kevin of Carbide 3D

3 Likes

Will I downloaded the files from thingverse.com and opened them in the PC application 3d Model (MS). How would you suggest converting them so I can carve them with CC Pro.

I bought them from ETSY both the Egypt and the standard pieces, here is the link, also the seller Federico is awesome will walk through with you if you want and answer any questions you may have. He is in Rome so there is a time difference but I have struck up a friendship with him. So tell him I sent you! CHESS / Cnc Chess / 3d Chess / Chess File / Router Chess Set / - Etsy

1 Like

I love PSI for my pen needs and have bought from them. Your set is awesome and i made my board by cutting the squares out of walnut and sycamore, then used the Shapeoko to cut pockets into a larger piece of walnut and sycamore then set my squares in the pockets after embedding magnets and ran through the planer. After i went back to the back of the board in the other squares to embed magnets. If that makes sense?


5 Likes

You will need a 3D CAM tool such as MeshCAM, or you could use Carbide Create Pro.

No, .82" thick cherry