What did you cut on your Shapeoko/ Nomad today?

Helped a buddy make a cutting board that’s a little different. It’s meant to catch drippings.

I realize now I don’t have a finished photo. I’ll try to grab one once he finishes it.

13 Likes

Finished a set of coasters that have taken a while. For those of you that know the logo, yes I went too dark on the blue. It looks pretty much black.

The two upper ones have a couple of issues but the two bottom look good and the lady only asked for one so it’s a bonus.

I was sweating that tiny line between the eye and the upper “blue” but it worked ok. I cut and poured the blue and the gold first. Then cut the pocket for the white and poured it. Finished with about 5 coats of lacquer.

The gold looked really cool when I first poured it but the metallic bits must have sunk to the bottom.

10 Likes

Absolutely amazing! So many questions. What software did you use? How did you determine the depth of cut to achieve the image?

Nicely done! I find whenever I pour epoxy on a dark wood, like walnut, it’s best to give it a quick blast of white spray paint first before you pour. This allows the wood to seal and the colour to come out as intended otherwise it definitely gets darker.

3 Likes

That’s a good idea. I did hit it with shellac to seal the wood. The white background may have helped here but I knew before I poured it that I went a little too far. I could have tried to mix in a couple of drops of white dye to tone it down.

The blue and white were liquid dye and the gold was mica powder. I didn’t want the uneven color in the white and blue that powder would have caused.

Another thing to try (another time) would be to pour the gold about 1/2 - 3/4 of the way with the solid gold, let that firm up and then top up with thin mix of the gold mica

I did these earlier this year and needed different shades of gold and having the under layer helped.

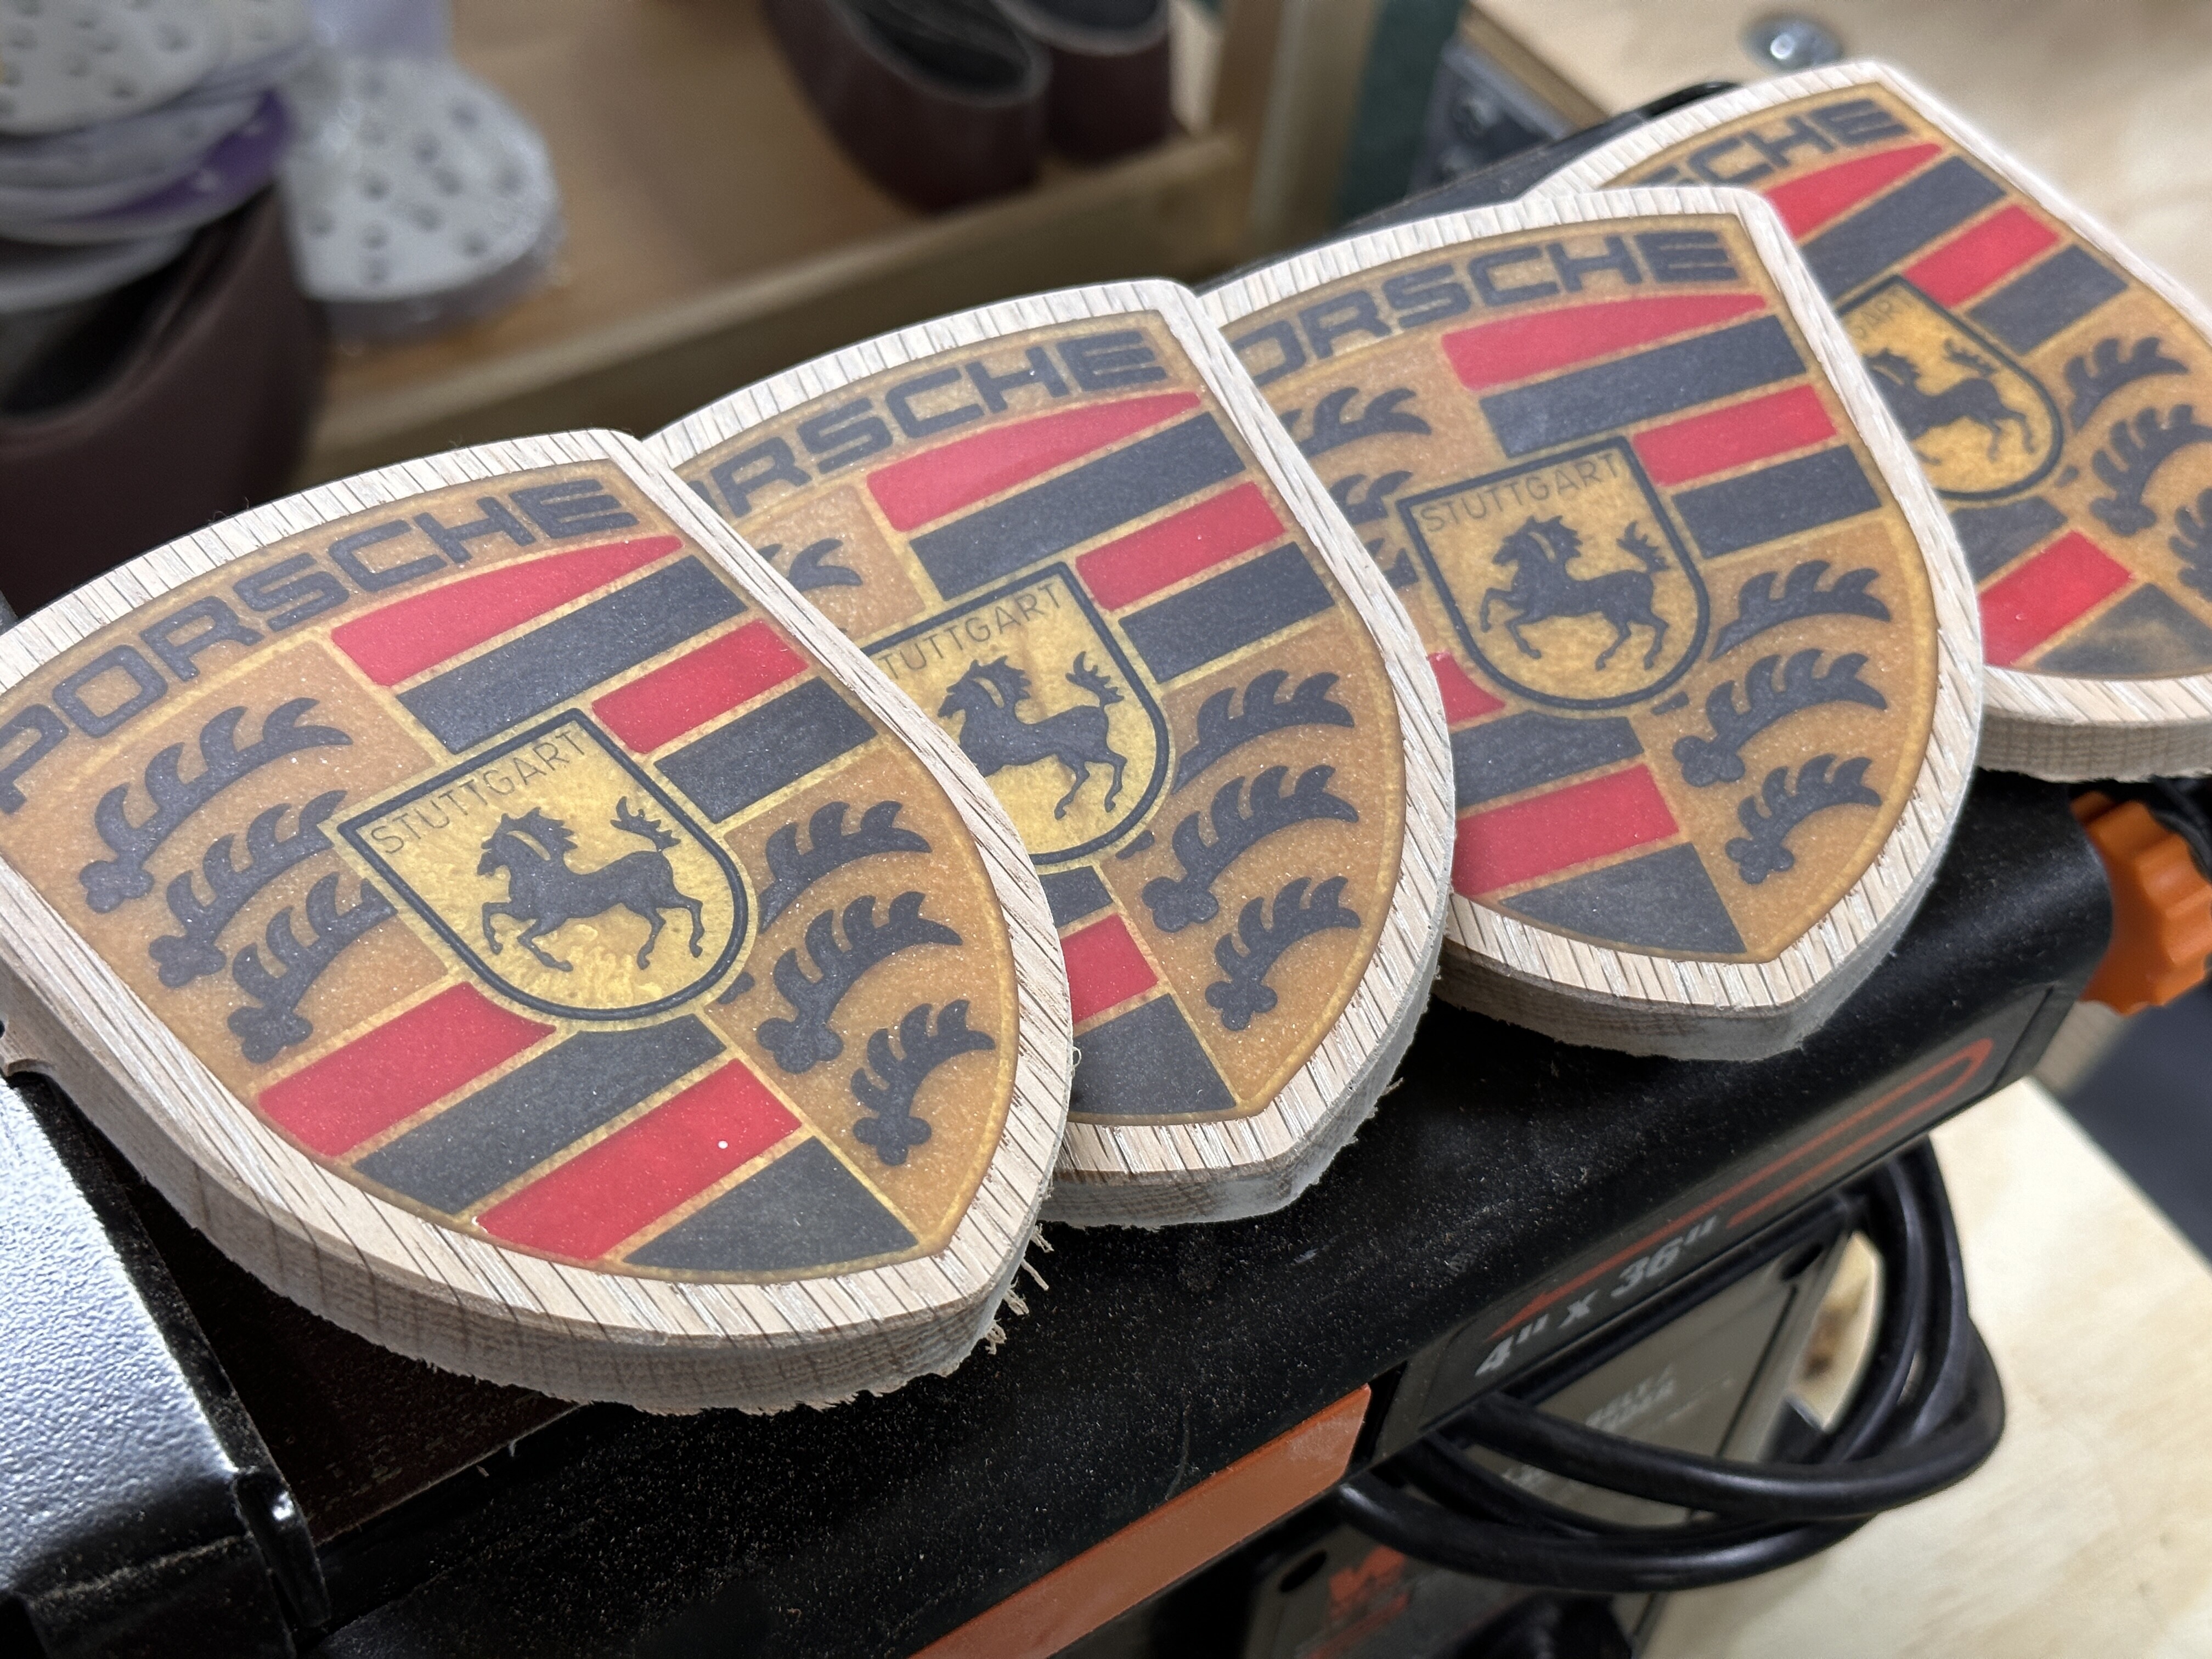
I had a few other issues with these that made them unsatisfactory, but getting the result I wanted with the layering was a good learning experience.

13 Likes

By solid you mean the liquid dye? I didn’t have any gold on hand but may order some for next time.

I did order some if that UV activated resin which should be in this weekend. If that stuff pans out this could have been a day project instead of over a week. Really it took 2-3 weeks because of other projects in the way and dreading the next step would mess it up. All in all I was happy and they will be delivered tomorrow.

EDIT: the UV resin would make layering more attractive if it really works.

That is a lot of overlapping detail you have in those. Were you able to do a single pour of each color minus the gold layering?

Yes, sorry, I meant to use the color you have as a base and then on top of that add a thin-ish layer of mica-colored resin. That could be mostly clear with some gold mica mixed in so the under color comes through or it could be a mix of mica and the under color, but you could again suffer from the mica settling at the bottom.

Either way, don’t stop short on mixing in the color. I’ve found that after it looks mixed if I double that time and keep mixing it comes out much better, especially the micas.

With the resin I have I typically stir for 5 minutes and then add the color and stir for 5 more. I will try some more experimenting though. If the UV stuff works maybe it will cure before the flakes can settle.

With that type they do recommend thin layers on darker colors since the light can’t penetrate as well. I am am not sure what “thin” means to them so that too wil take some experimenting.

That sounds about right and maybe a little longer than I give it, although it depends on how much you’re mixing at once.

Every different application seems to take some experimenting.

Coasters look great! Good luck on the next version.

(I had posted this in another feed with questions on how to with HDPE, so i apologize for the overlap for some but you never know what may inspire :slight_smile: )

New stereo bluetooth/wifi speaker system. There was no isolation for each speaker, they all just play. Nothing wrong with that but i had other plans. I wanted to isolate each speaker so i could have 4 rooms with sound. The pad controls the main control however anyone with a device can tap into the bluetooth and control the play. I wanted the pad included so my phone isnt draining battery all day. Also, some visitors always seem to want to control my music so have at it:) )

(Temporary 12V supply provided to main control…there is a 12v wire in the back to wire …someday)


15 Likes

ok its been a couple weeks but I’m finally done this years awards. I used the box method and I used 1/4" maple plywood (next time I want some with a much thicker veneer. cut out the box pieces nested with the 90deg v bit not cutting all the way through the bottom veneer. backed with masking tape and folded away. The LED is a new thing I learned about called COB (Chip on Board) 3V LEDs. they are flexible and battery powered. pretty neat.

image

Workholding was interesting, what I found worked for me was since the top needed two holes for the brass standoffs I drilled those first and then drove screws threw into the spoilboard. Ensuring the paths werent passing over them of course! Made 24 of them, it was intense.

20 Likes

Not cut yet. Here is an SVG for the star gazers among us. I plan on making this (but I tend to draw alot and not make alot) for a bright fifth grader who recognizes Orion and thinks she wants to be an astronomer. Probably white on dark stained cherry. 30 degree v carves and contours. Orion in the winter sky: For some reason, is worth looking at on a clear, cold night. Right click. Save image as .svg. Import into CC.
orion the hunter

Cheers and shivers.

10 Likes

Sometimes the wood stock dictates the design. 18" x 12" x 1 1/4"
Double sided moulding cut in Ash.
More from the log pile.

30 Likes

Made this little puzzle for my little nephew on the little Nomad.


25 Likes

As always, the finish becomes the project! +1. (⅓ design, ⅓ cutting, ⅓ finishing)

2 Likes

I made this LED sign for our grandsons mother,he has just passed his commercial pilot’s license in a helicopter.
6 mm Cast Acrylic
120 degree MC Etcher
This is as it came of the Shapeoko.

22 Likes

I have recently purchased an etcher and some acrylic. Would you mind explaining your process please.

I wrote a bit about this at:

Note that if you have Carbide Create Pro you’ll probably want to use the new Engraving toolpath.

2 Likes

Where did you get the flexible LEDs?