What did you cut on your Shapeoko/ Nomad today?

I made a couple of ornaments for my boys to give to their elementary school teaches (two at the top). It was something quick and easy.

My daughter saw them and decided she wanted some for her middle school teachers. Of course she couldn’t make it easy, every teacher needed a different shape.

That’s likely the only snowball we will get in south GA.

I had high hopes for the UV activated resin but did some tests and when adding the black dye I couldn’t get it to harden if it was more than .04” thick and given the narrow lines here there is really no way to layer it. So, I used black CA glue and some activator so that I could do them faster. All except for the top 2 were vcarved, filled, sanded and cut yesterday afternoon and then the laquer was added today.

There was a little bleeding of the CA even though I sprayed with shellac first but for a quick and dirty it’s ok. The lines on the logo for the lower ones turned out better than I feared.

Looks like on a couple I must not have had the design perfectly centered as the cutout is a like close on the right side when viewed from the back. I thought I had that all dealt with but with so many and 3 files each it was easy to lose track. I did a separate file for the cutouts so that I could keep the same bit in for all the carving front and back. Each piece was cut from a 5” square rather than ganging them together.

Front:

Back:

13 Likes

That is a honey of a first project. It Bee good!!!

1 Like

Ho Ho Ho. Nice ornaments. The season is upon us ready or not. I bought a silly hat this week and have been wearing it.

Ho Ho Ho

15 Likes

Santa!!!

+20 characters

Just a prototype for fit and angles for a stand for my eurorack in MDF. I plan on improving the design a bit and want to figure out some Vcarve designs for the side :). I will likely do the side in walnut.


17 Likes

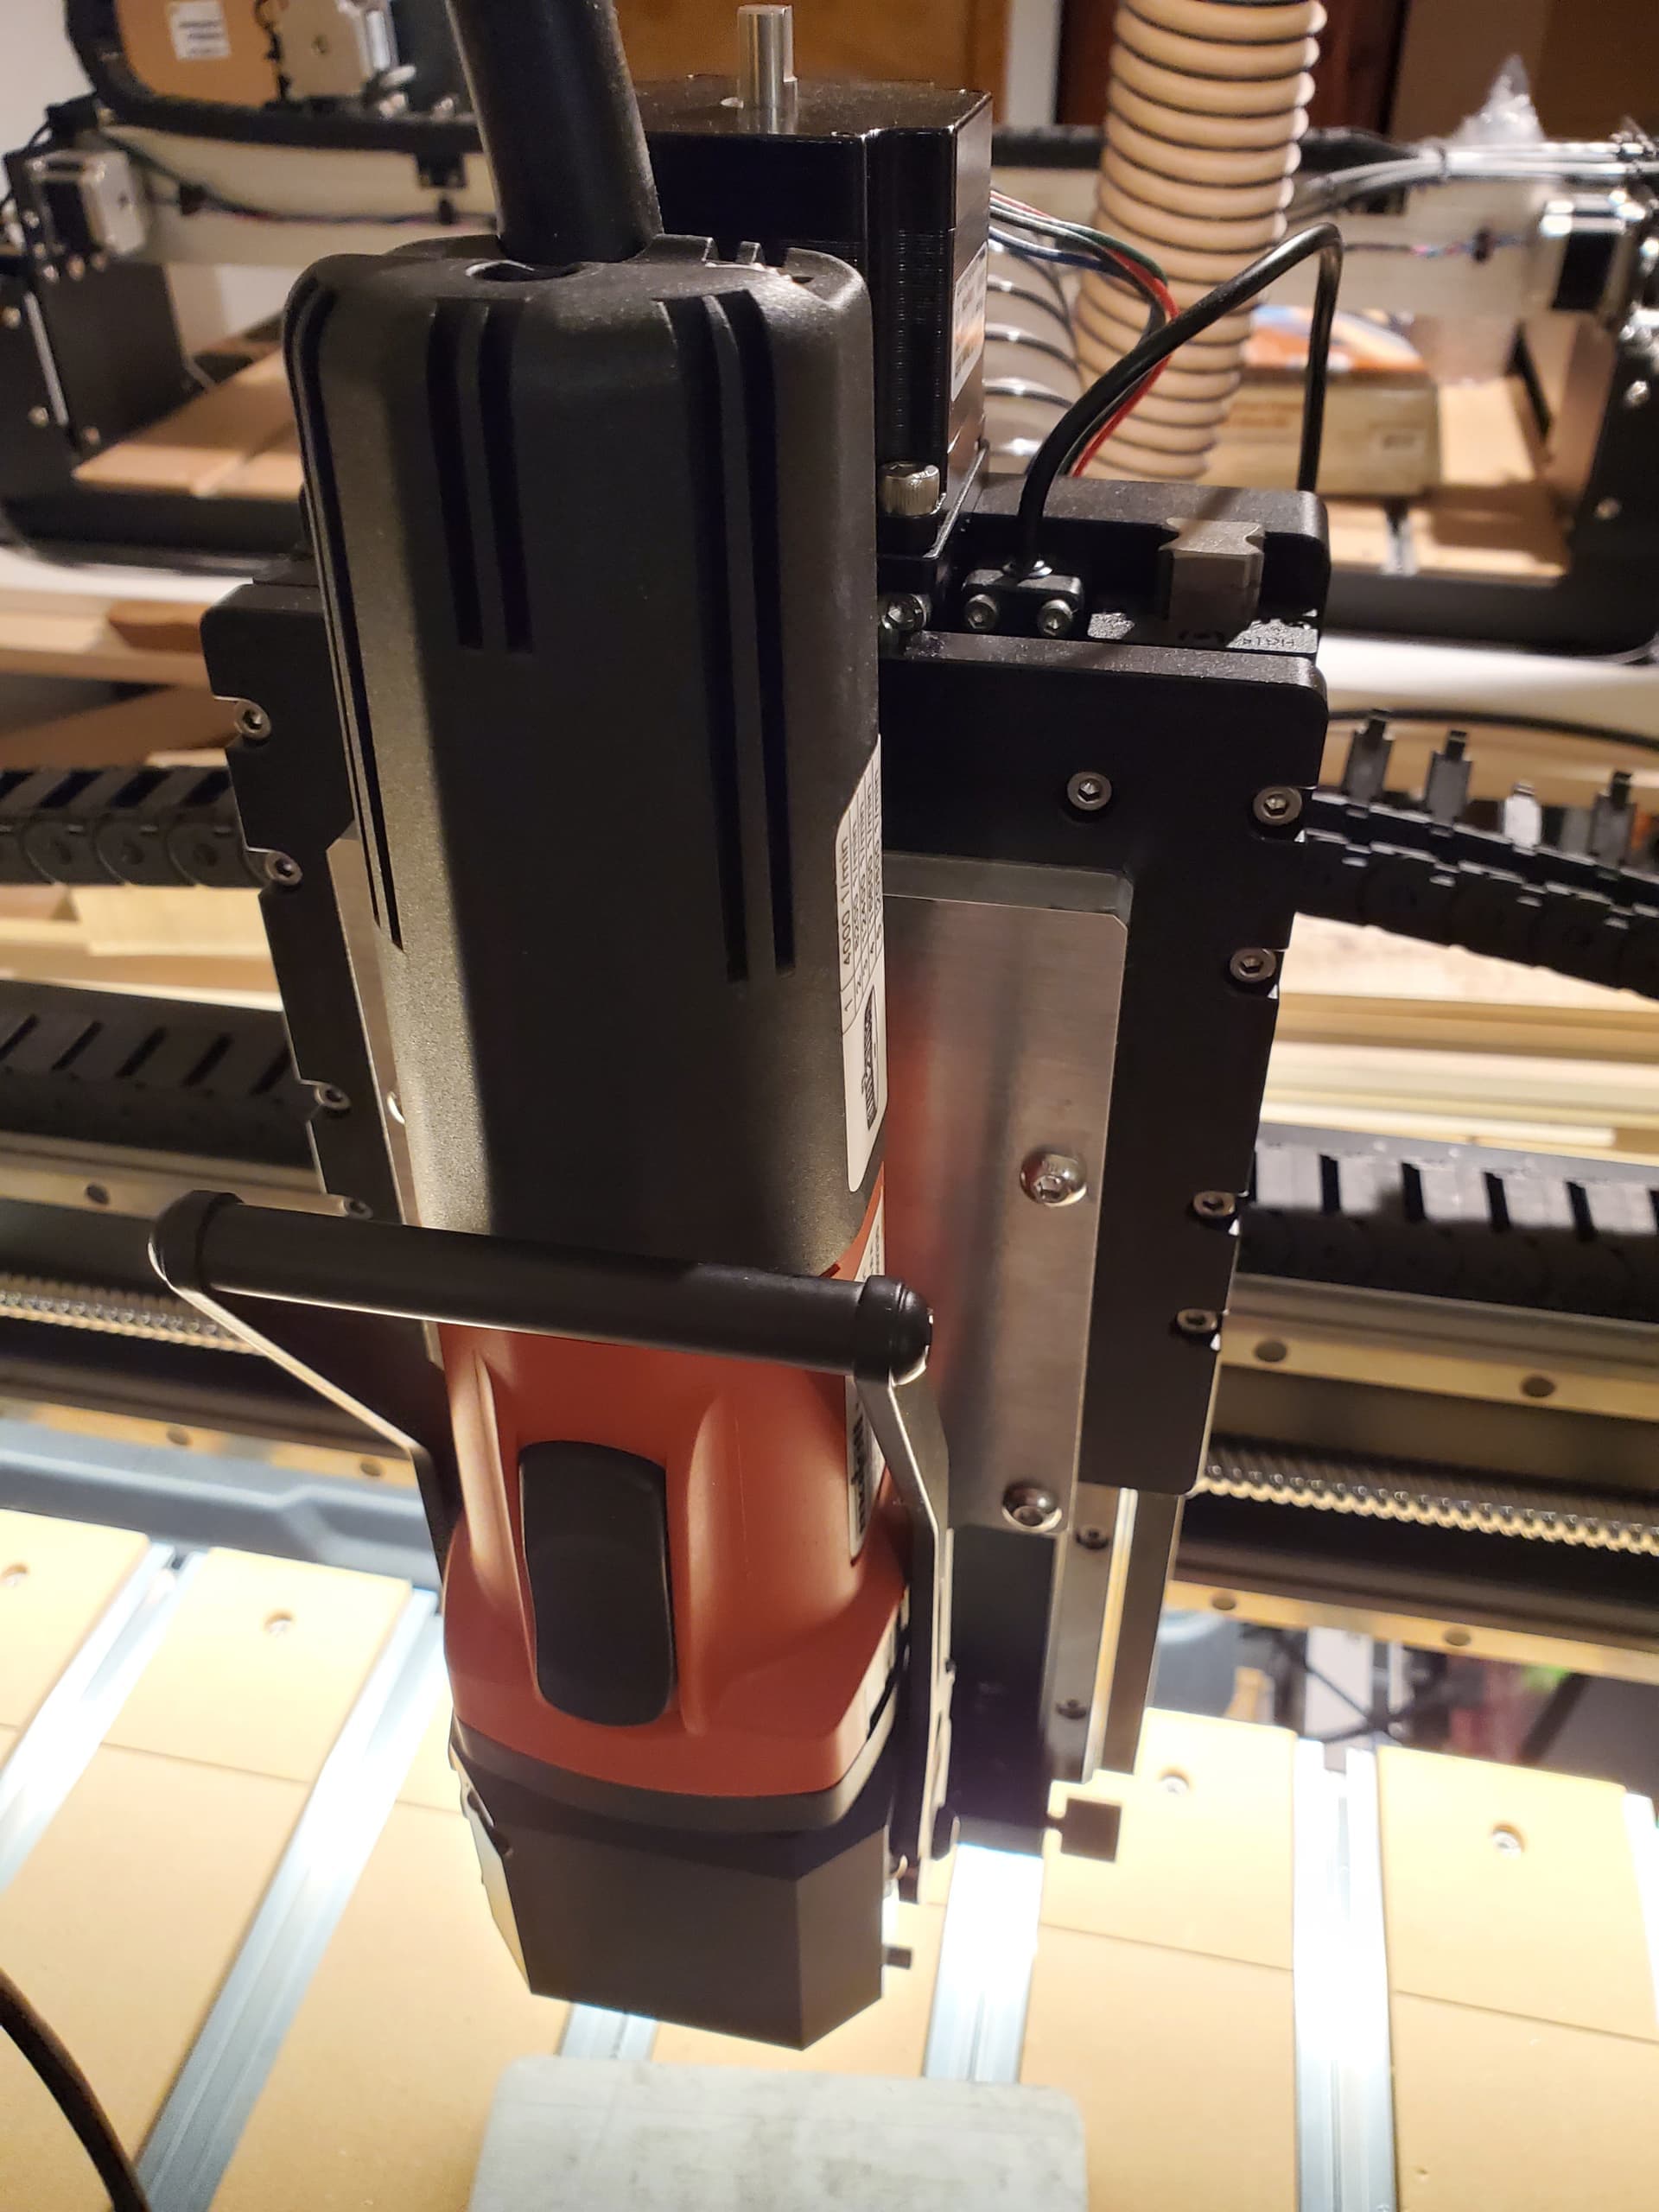
Finally cut an adapter plate for my Mafell FM 1000 WS so it could be transferred to my Shapeoko 5 Pro:

16 Likes

Looks fun. Is that an ancient switchboard for connecting long distance calls?

It is a eurorack modular synthesizer. Rather than having a pre built system you buy the modules you like/want to produce sound, effects etc.

7 Likes

So3 doesn’t disappoint again. Machined a new aluminum sprocket cover for my bike. This time I used a 3d printed jig for the 2nd op. Lately I’ve been experimenting with more textured look on my aluminum parts. Slanted walls machined with a ball nose endmill at 1mm step over (step down). Pockets with 0.5mm stepover. I am yet to powder coat the cover but really enjoying the shine for now.


36 Likes

Incredible stuff!!!

2 Likes

Needed to replace a side table that the dog chewed on when he was a puppy. Decided to pretty much totally wing it into furniture building. Used some leftover walnut from another project and because I don’t have many woodworking tools, I used the Shapeoko to make edge joints, glued it up for the top, went back to the Shapeoko to plane it down with a McFly, and cut out the top circle. Ran a trim router around that for the chamfer. Back to the Shapeoko to cut out the legs and a hexagon piece that I would use in the center. Attached everything together with the M6 bolts and M6 threaded inserts I ordered with the machine. The top is 16" and it’s about 20" tall.


Looks like a table, fits in with well enough with the other furniture, sturdy enough to sit on, so mission accomplished in my book. Next time I do a furniture project I’ll try to expand on some skills though because even this is better than all the crappy flat packed, veneered particle board furniture we have.

15 Likes

Hi! Long time lurker on the forums. I love seeing all of the incredible things people are making on the Shapeoko. It’s inspiring!

I finished my first epoxy project. It’s an 18” round table for a good friend of mine. The wood is from a cedar tree that fell on their property here in North Carolina after a hurricane 3-4 years ago. The cedar had finally dried enough to work with. My original plan was to simply flatten the cedar stump and slap some legs on it, but once I got into it i realized that the stump was cracked in many places and it was clear it wouldn’t stand well on its own.

I used my Shapeoko to flatten the stump, to cut it into several sections, and to cut the melamine board to serve as the base of the epoxy mold. Once the epoxy had cured, I used the Shapeoko again to surface the table top. I epoxied threaded inserts into the underside of the table, hopefully they hold up well over time.

I’m super happy with the end product. It sort of looks like a globe. :slight_smile:

Have a great day!
-Rob


47 Likes

That looks super!
I have been wanting to do something to replace the crappy TV tray in our den. I will add something like this to my bucket list.

1 Like

Yes sir! Nice, solid little project you did.

Anything is better then the crap furniture most all of us live with now. Not me. I love building furniture and it’s always a kick when guests admire an oil finish and remark on how heavy the piece is.

Hope to see you back here with some other pieces.

2 Likes

Warms my heart to see folks still using their SO3’s for impressive metal work!

2 Likes

This looks fantastic! I love the idea of “reversing” the direction of the end grain within in the circular pattern. I definitely gives it a globe vibe.

2 Likes

Finally, the Brian Law Clock 23 is coming together.

A couple of gear trains assembled.

24 Likes

Made some new steamed bent wood fly fishing net forms for our local fishing club. Designed the forms using Inkscape. Inkscape is powerful but ugg, steep learning curve for engineering type work. I have a Shapeoko 4 Pro and it worked great. I did have a year of intermittent wire harness issues but customer service sent new ones and it has been working fine since.


32 Likes

Made a cookbook stand for my wife. Found Champagne flutes in the CC


library and modified them a little. The text is S&L (Sue and Lee) Est. 1991. It is made with black walnut and it is unfinished in this picture. I added a toolpath simulation so you can see the details better. I used an advanced Vcarve 60deg V bit with a depth of .08 inches. I was surprised how well it came out.

I finished it with Odies Oil gun stock wipe on finish.

Cheers,

Lee

14 Likes

I like the adjustable page holder. That’s a cool idea.