I like the adjustable page holder. That’s a cool idea.
What stain did you use for this table or is it the clear coat epoxy giving the color?
that looks amazing! what was your final finish? Odies? Tung? Acrylic resin? great looking table! I do a lot of acrylic resin in my woodworking, all of which must be food safe so I have not messed with high gloss finish’s yet. TIA
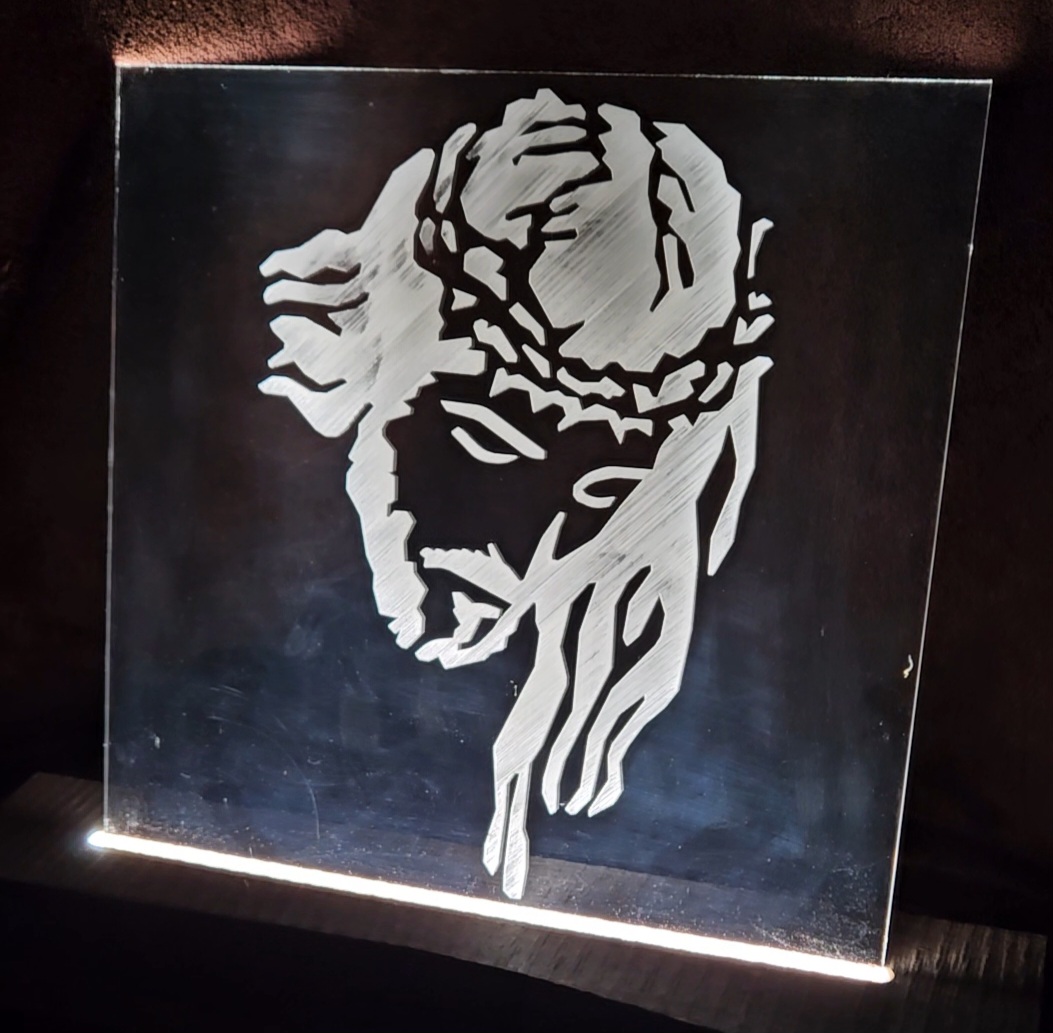
That cover looks fantastic!!! Great job!
You should ‘make’ a gear sprocket display stand that will accept the gear in an upright position using a slot in the base. I made my gear out of 1/4" plywood. It was rained on when I left it on a block to dry from the Silver paint. Had to un-warp it and paint again.
That was a challenge to a group of us from one of those wizened little ol CNCers in our group. Milling that is also a good project. I was the only one in the group to try it. When I took it to the next meeting most of the guys thought it was an actual gear sproket.
I used Birchwood “Tru-oil” gun stock finish. Amazon.com . Wipe on a even coat with your gloved hand and let dry overnight. After a couple of coats lightly buff with a white 3M pad or steel wool. On black walnut it came out fantastic.
1 Like
Just the clear from the epoxy gave the cedar a really nice deep red color. I like how the color turned out !
1 Like
Thanks for the feedback! I didn’t use a stain on the cedar. For the final coat I used a clear bartop epoxy resin, I used the brand UltraClear. I had some Total Boat, but not quite enough to handle doing a flood coat, and it’s definitely expensive! UltraClear was reasonably priced. Allegedly it’s UV and scratch resistant, I suppose my friend will find out how well it holds up over the years.
2 Likes
Last year a friend brought a strange gift to our annual chili cookoff, so I decided to make it the trophy…
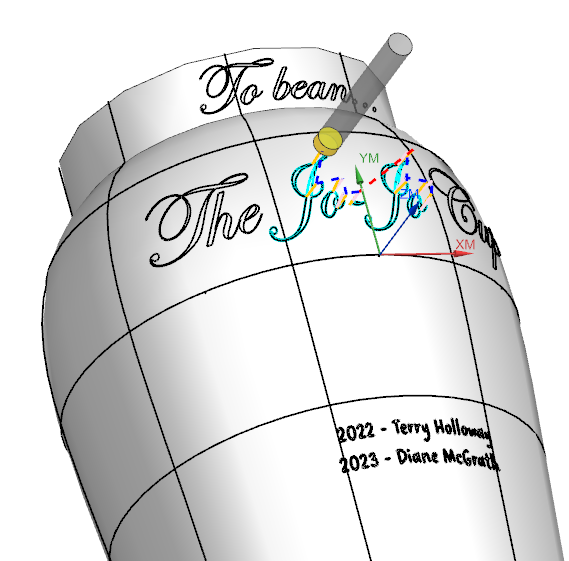
A little wizardry with the MC Etcher, and a bunch of Z depth adjustments…

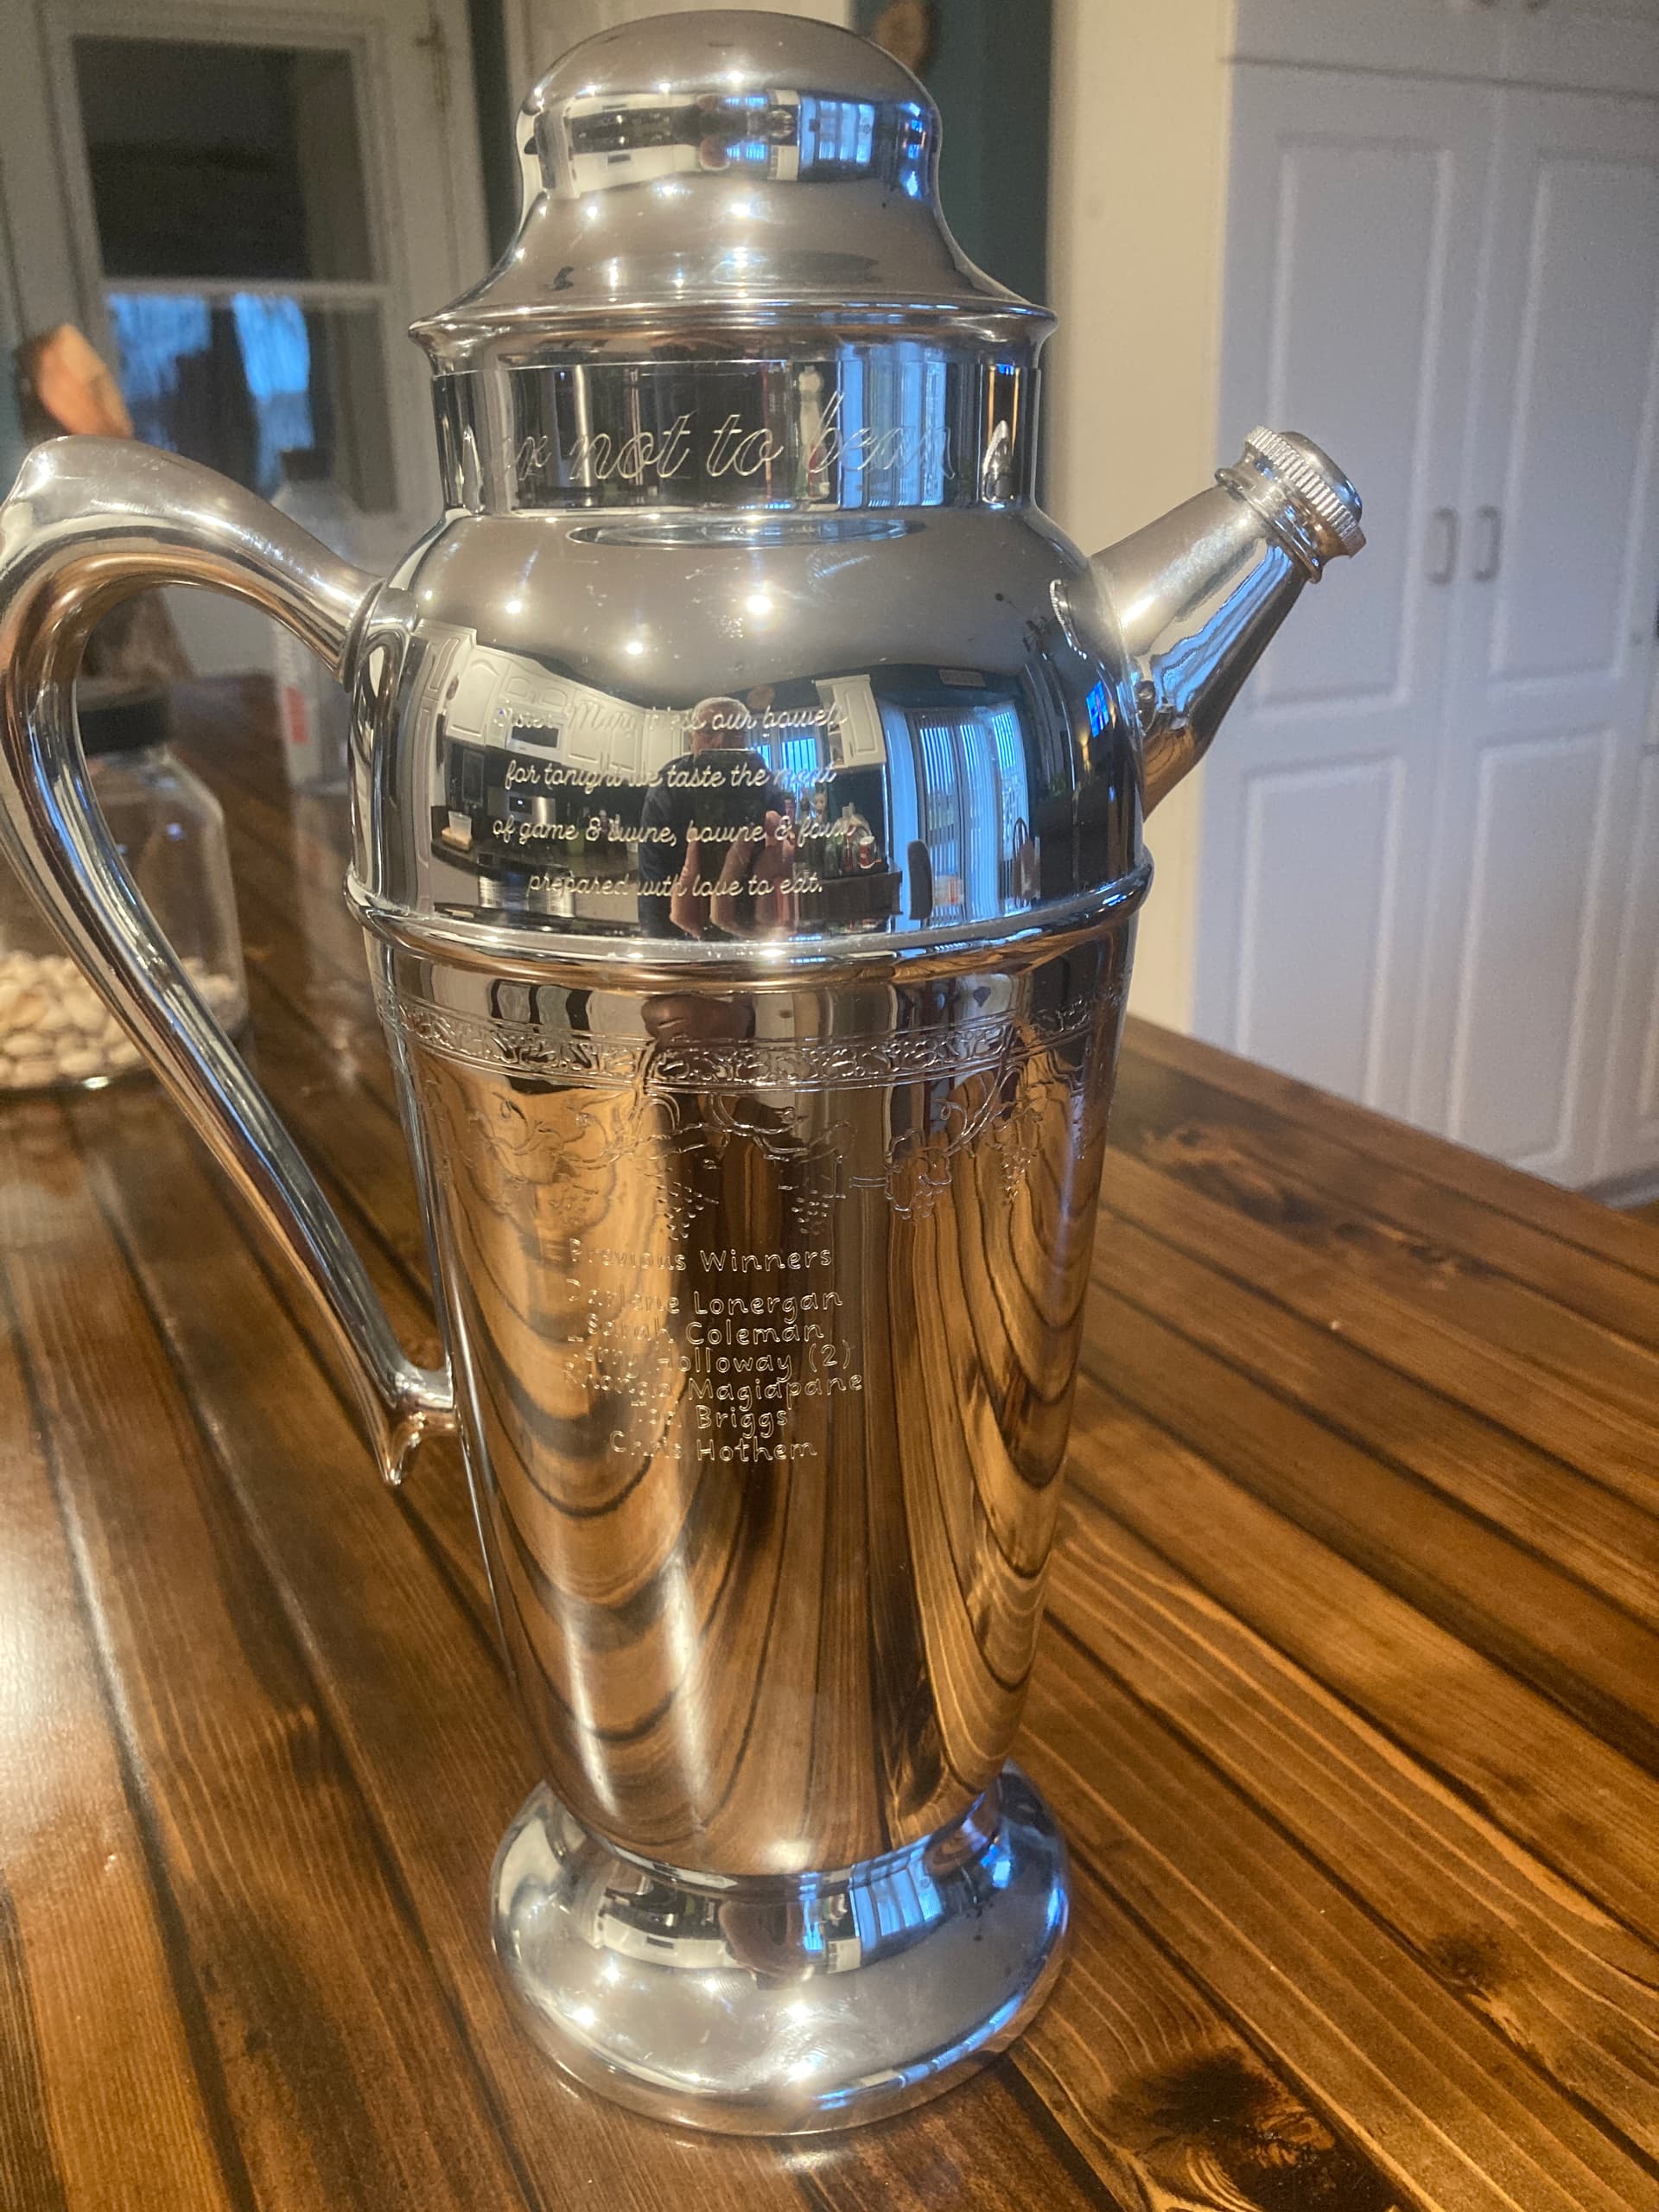
17 Likes
Wow!! You are a wizard with your design skills. Those Z depths would of been quite the challenge!
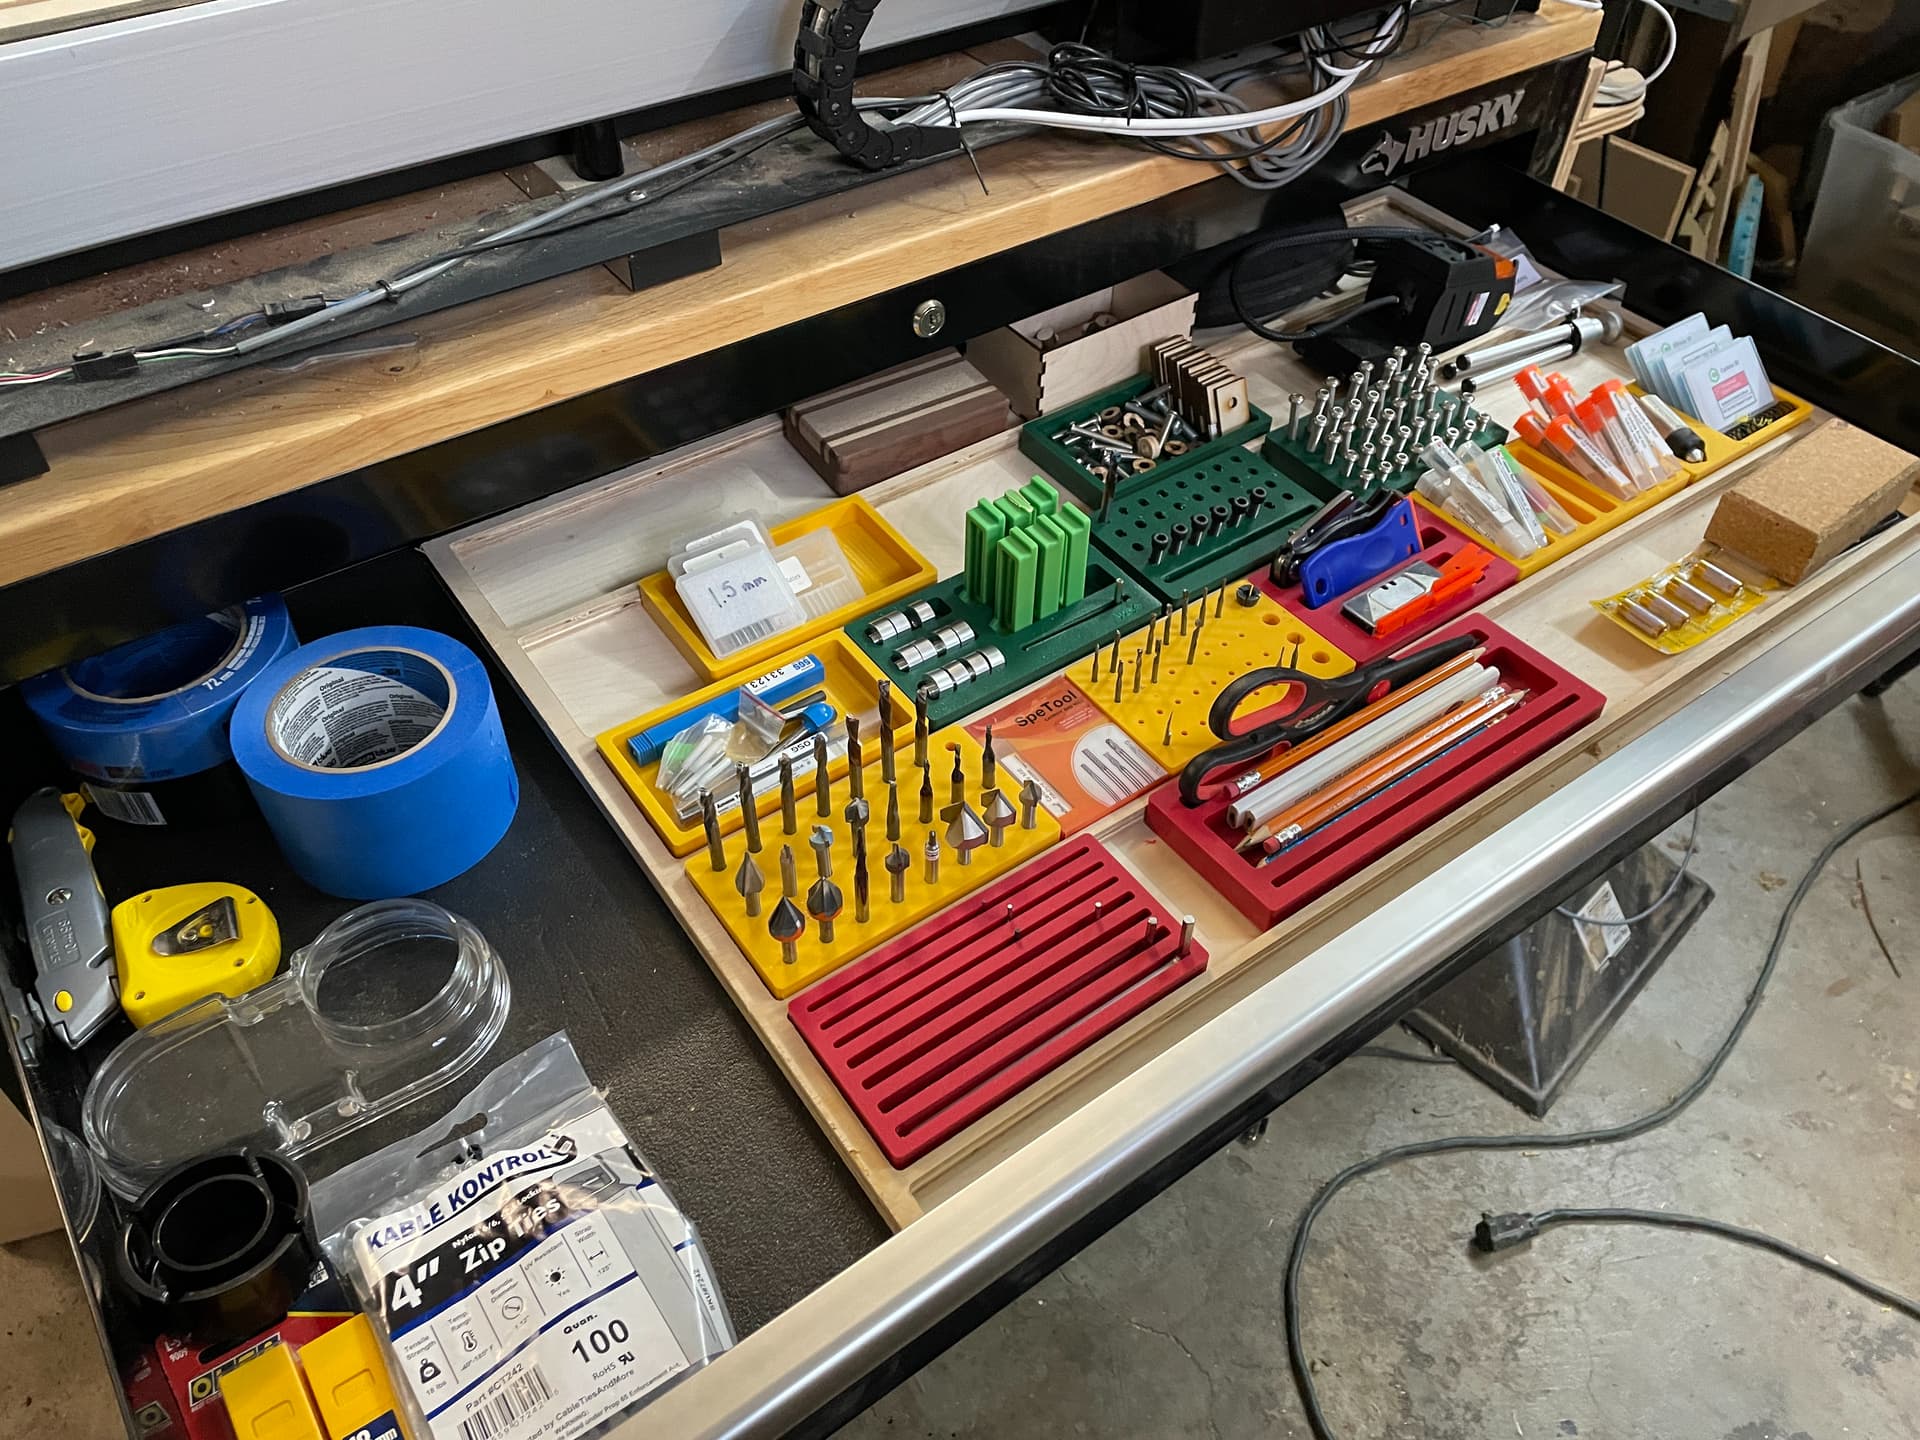
More clock parts.
Yet another nail biter finish, just a little wobble at the end but no shrapnel!

Plus the flutes on the end mill are too short.
Sometimes it’s good to be lucky.
19 Likes
Could you describe your work holding some? It looks like a 3-D printed jig, and you had to do a flip, but what is actually clamping the part?

Took the pictures only after I was done with the whole part that’s why clamping might not be so obvious. Jig is only used for the 2nd side. There are m5 threaded inserts in the jig, but I had to use metal clamps (similar to the ones visible in the picture) as well.
Firstly, I used threaded inserts to hold the piece in the jig and milled out the center part (half moon shaped). Once I was done, I used this area to secure the part to the bed.
Secondly, I removed the m5 bolts, surfaced the top of the part and machined the pocket for the yellow acrylic insert.
That’s basically the gist of it. I don’t fully trust the printed jig for holding the part, so the clamps had to be used even during the first step. The jig was mostly used to locate the part. Hope this makes it somewhat clearer.
1 Like
Even the rejects get used for something! I messed up the guitar body so it became a snack board gift…
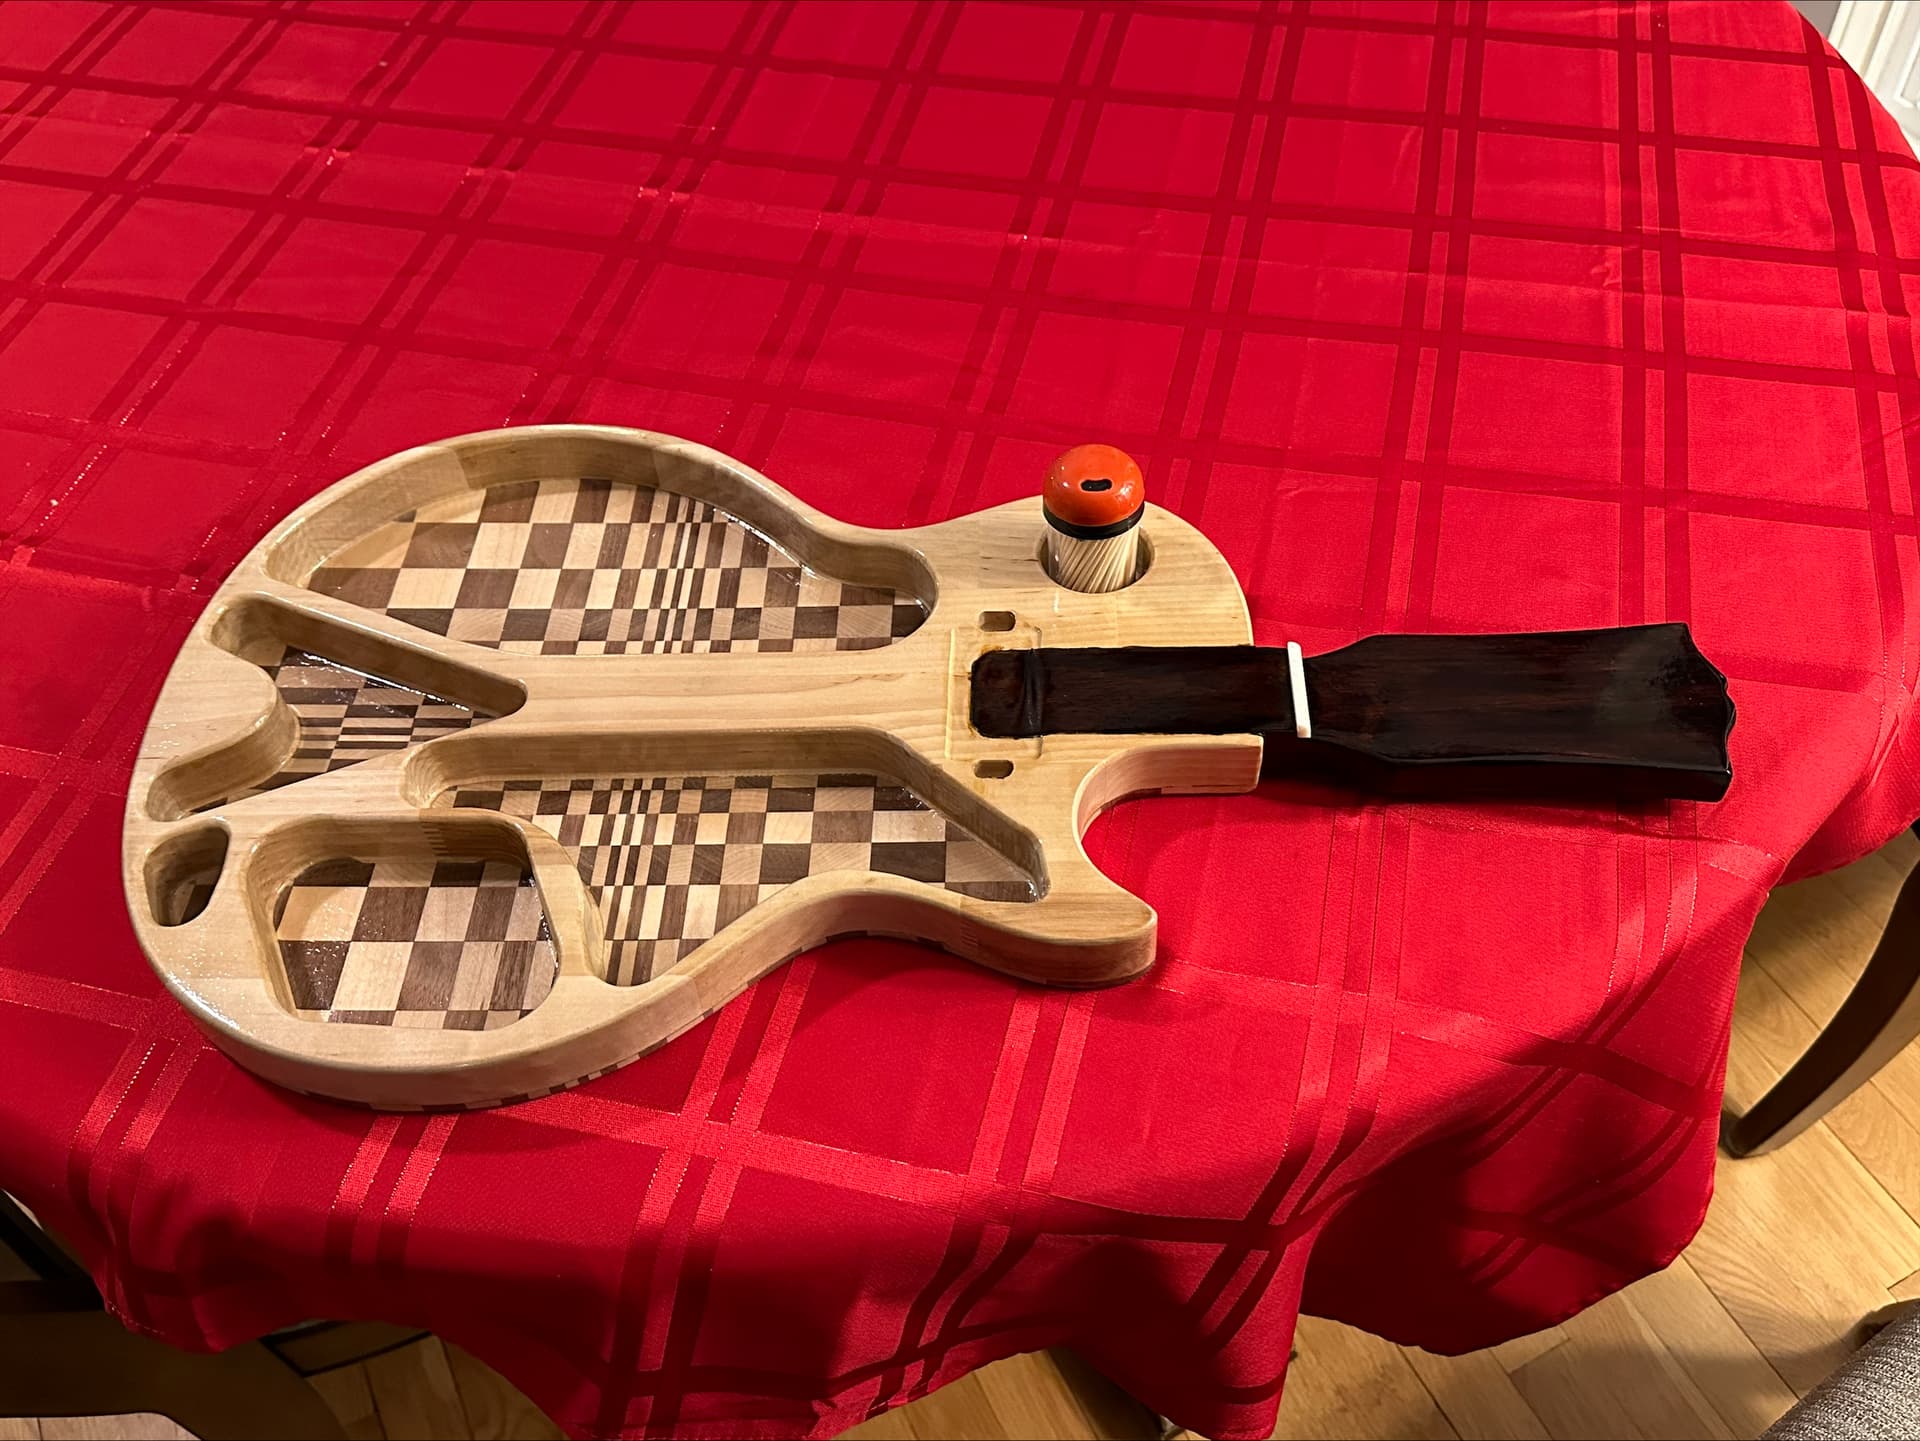

33 Likes
I made a gnome.
Related post here.

22 Likes
Text came out great! 60 degree V-bit? How deep? Awesome.

The horizontal text was done with a 30º bit, vertical text and under was done with a 60º. The metal plate was a 90º MCEtcher
1 Like