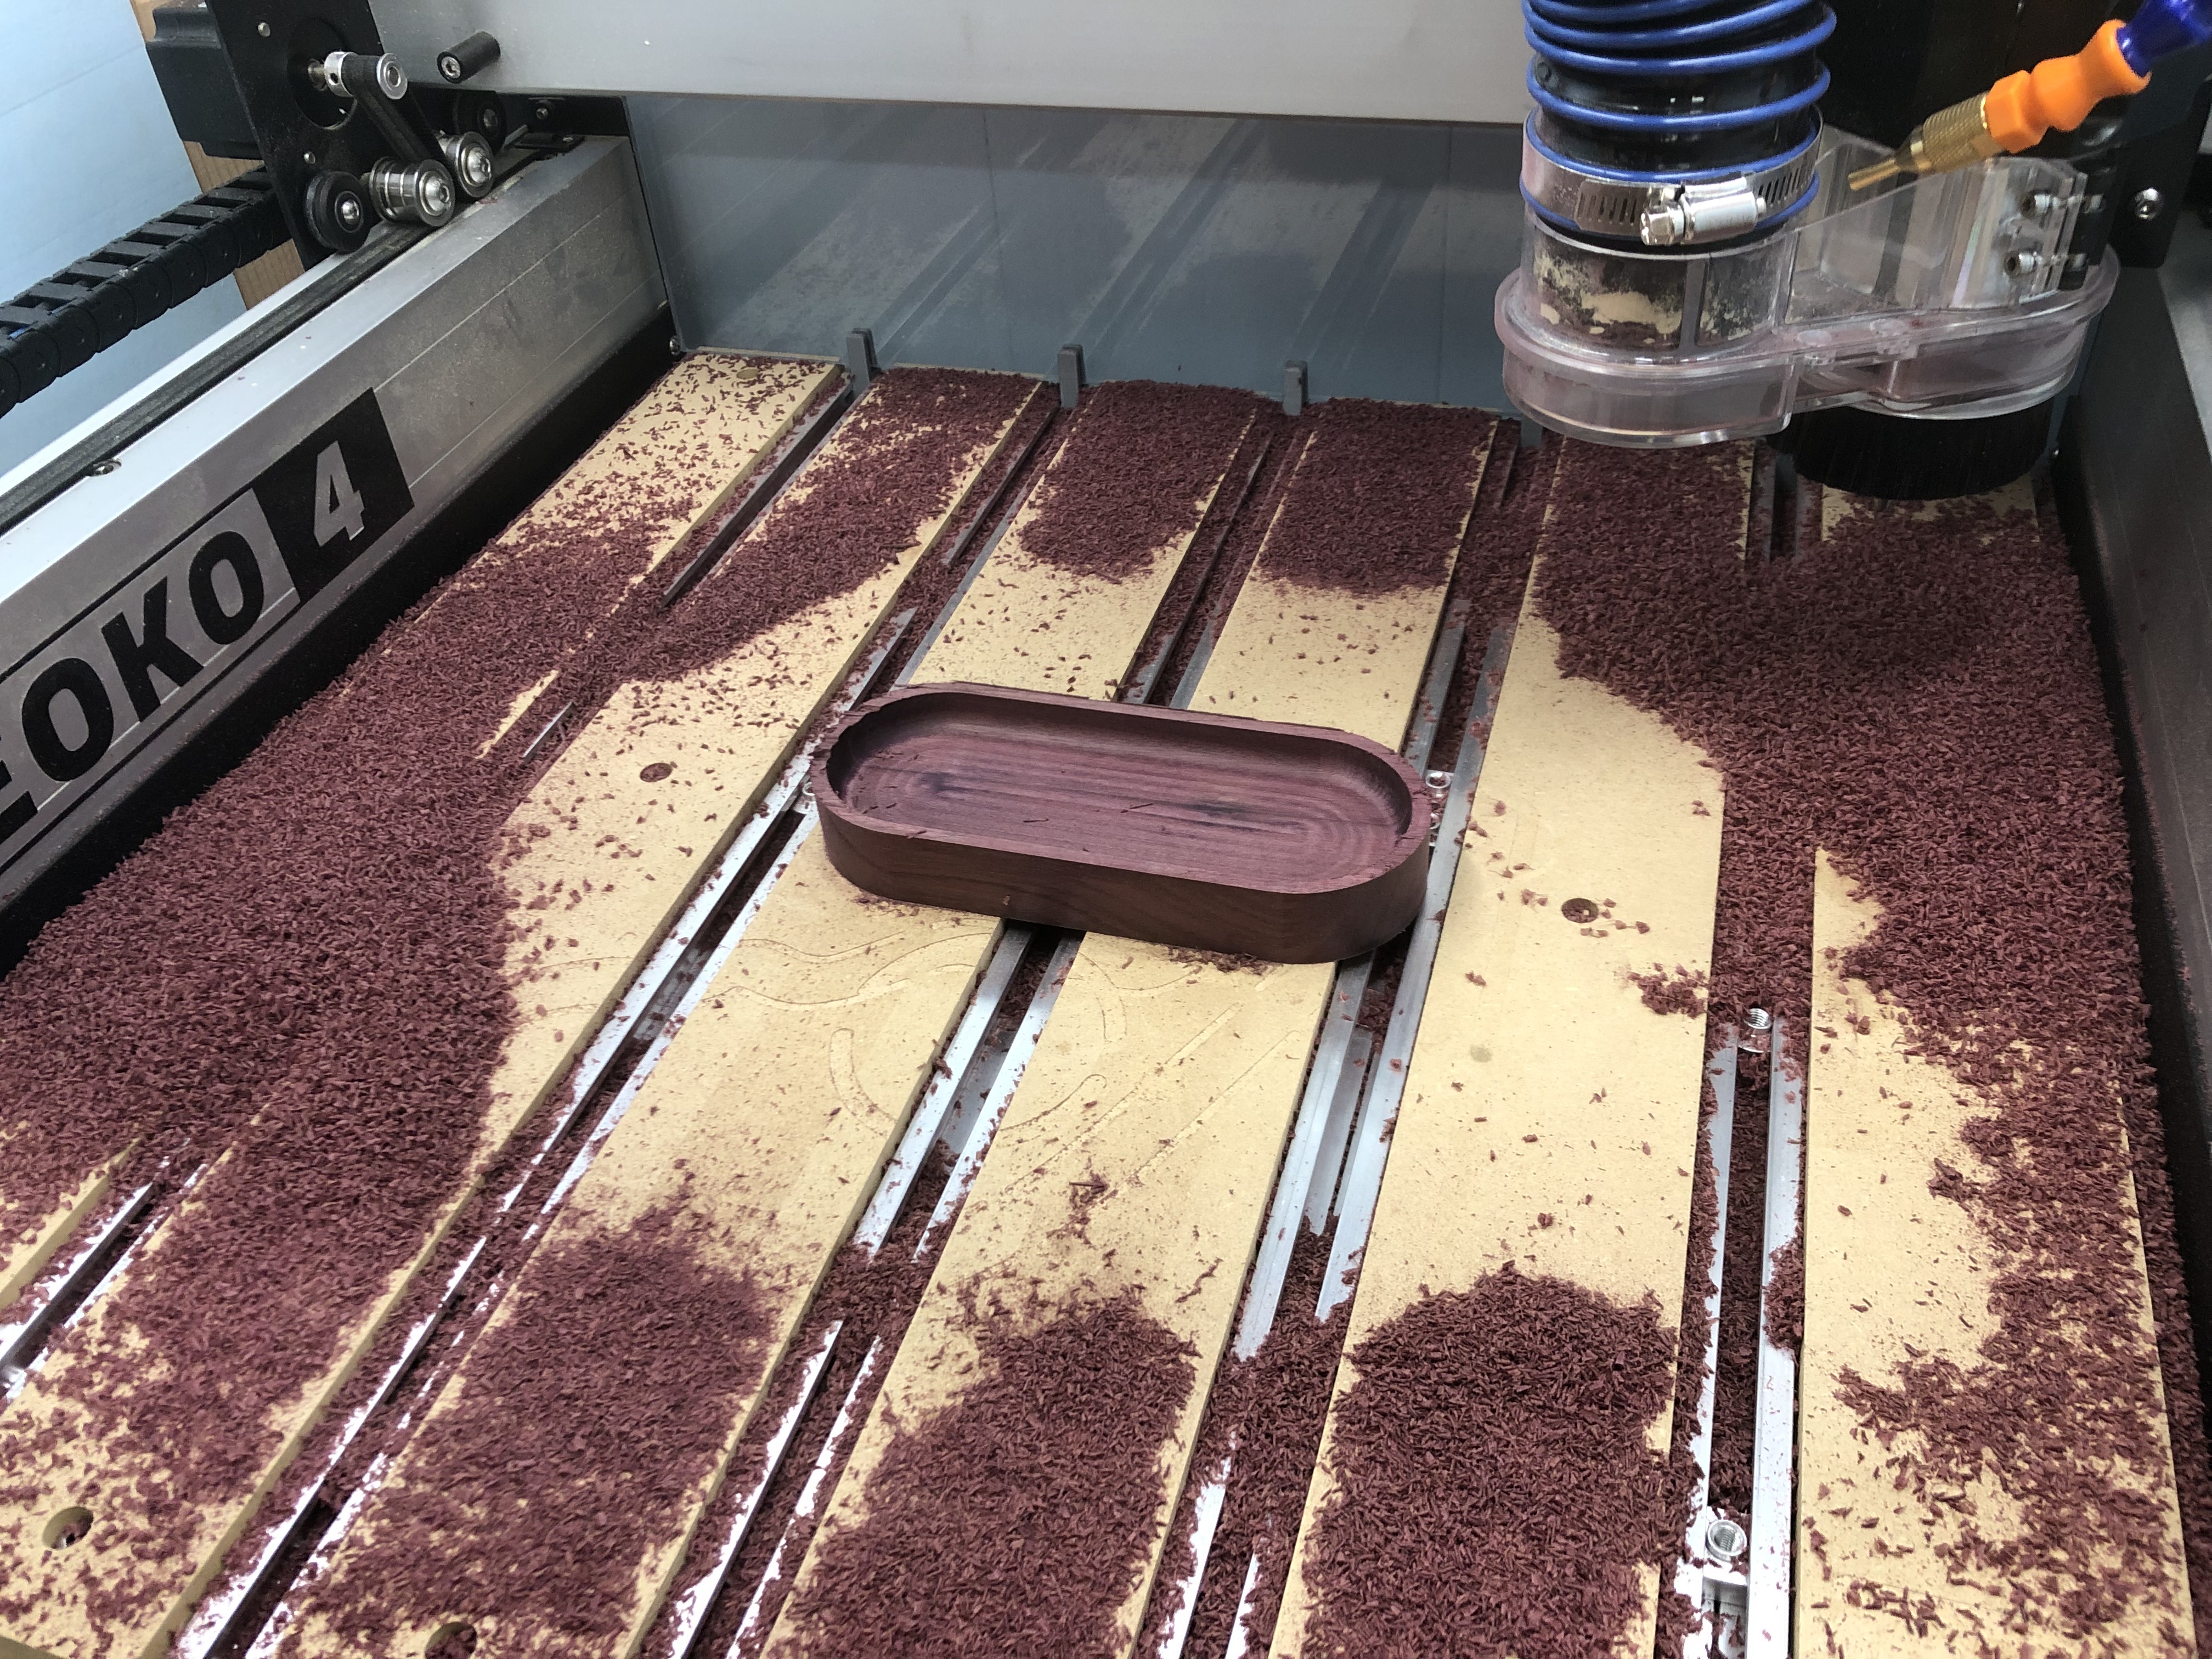
Purple Heart is some hard stuff, but managed to make some beautiful firewood.
11 Likes

Not only is it hard and oily I have gotten more splinters from purple heart than any other wood I have handled. Although I have been using some Rosewood on some plaques and I think it is even harder than purple heart. I was using my 3HP table saw to cut some 2" pieces and it did not bog down it was very hard to push through.
Nice job. What engraver did you use for it and at what settings?
I used a LMT-Onsrud 37-05, 60deg carbide engraver bit with the following settings:
RPM 10000
Feed 55ipm
Depth per pass .005
Depth of cut .015
The material was also extruded and not the preferred cast.
1 Like
Nice job for sure. Thanks for the info. background.
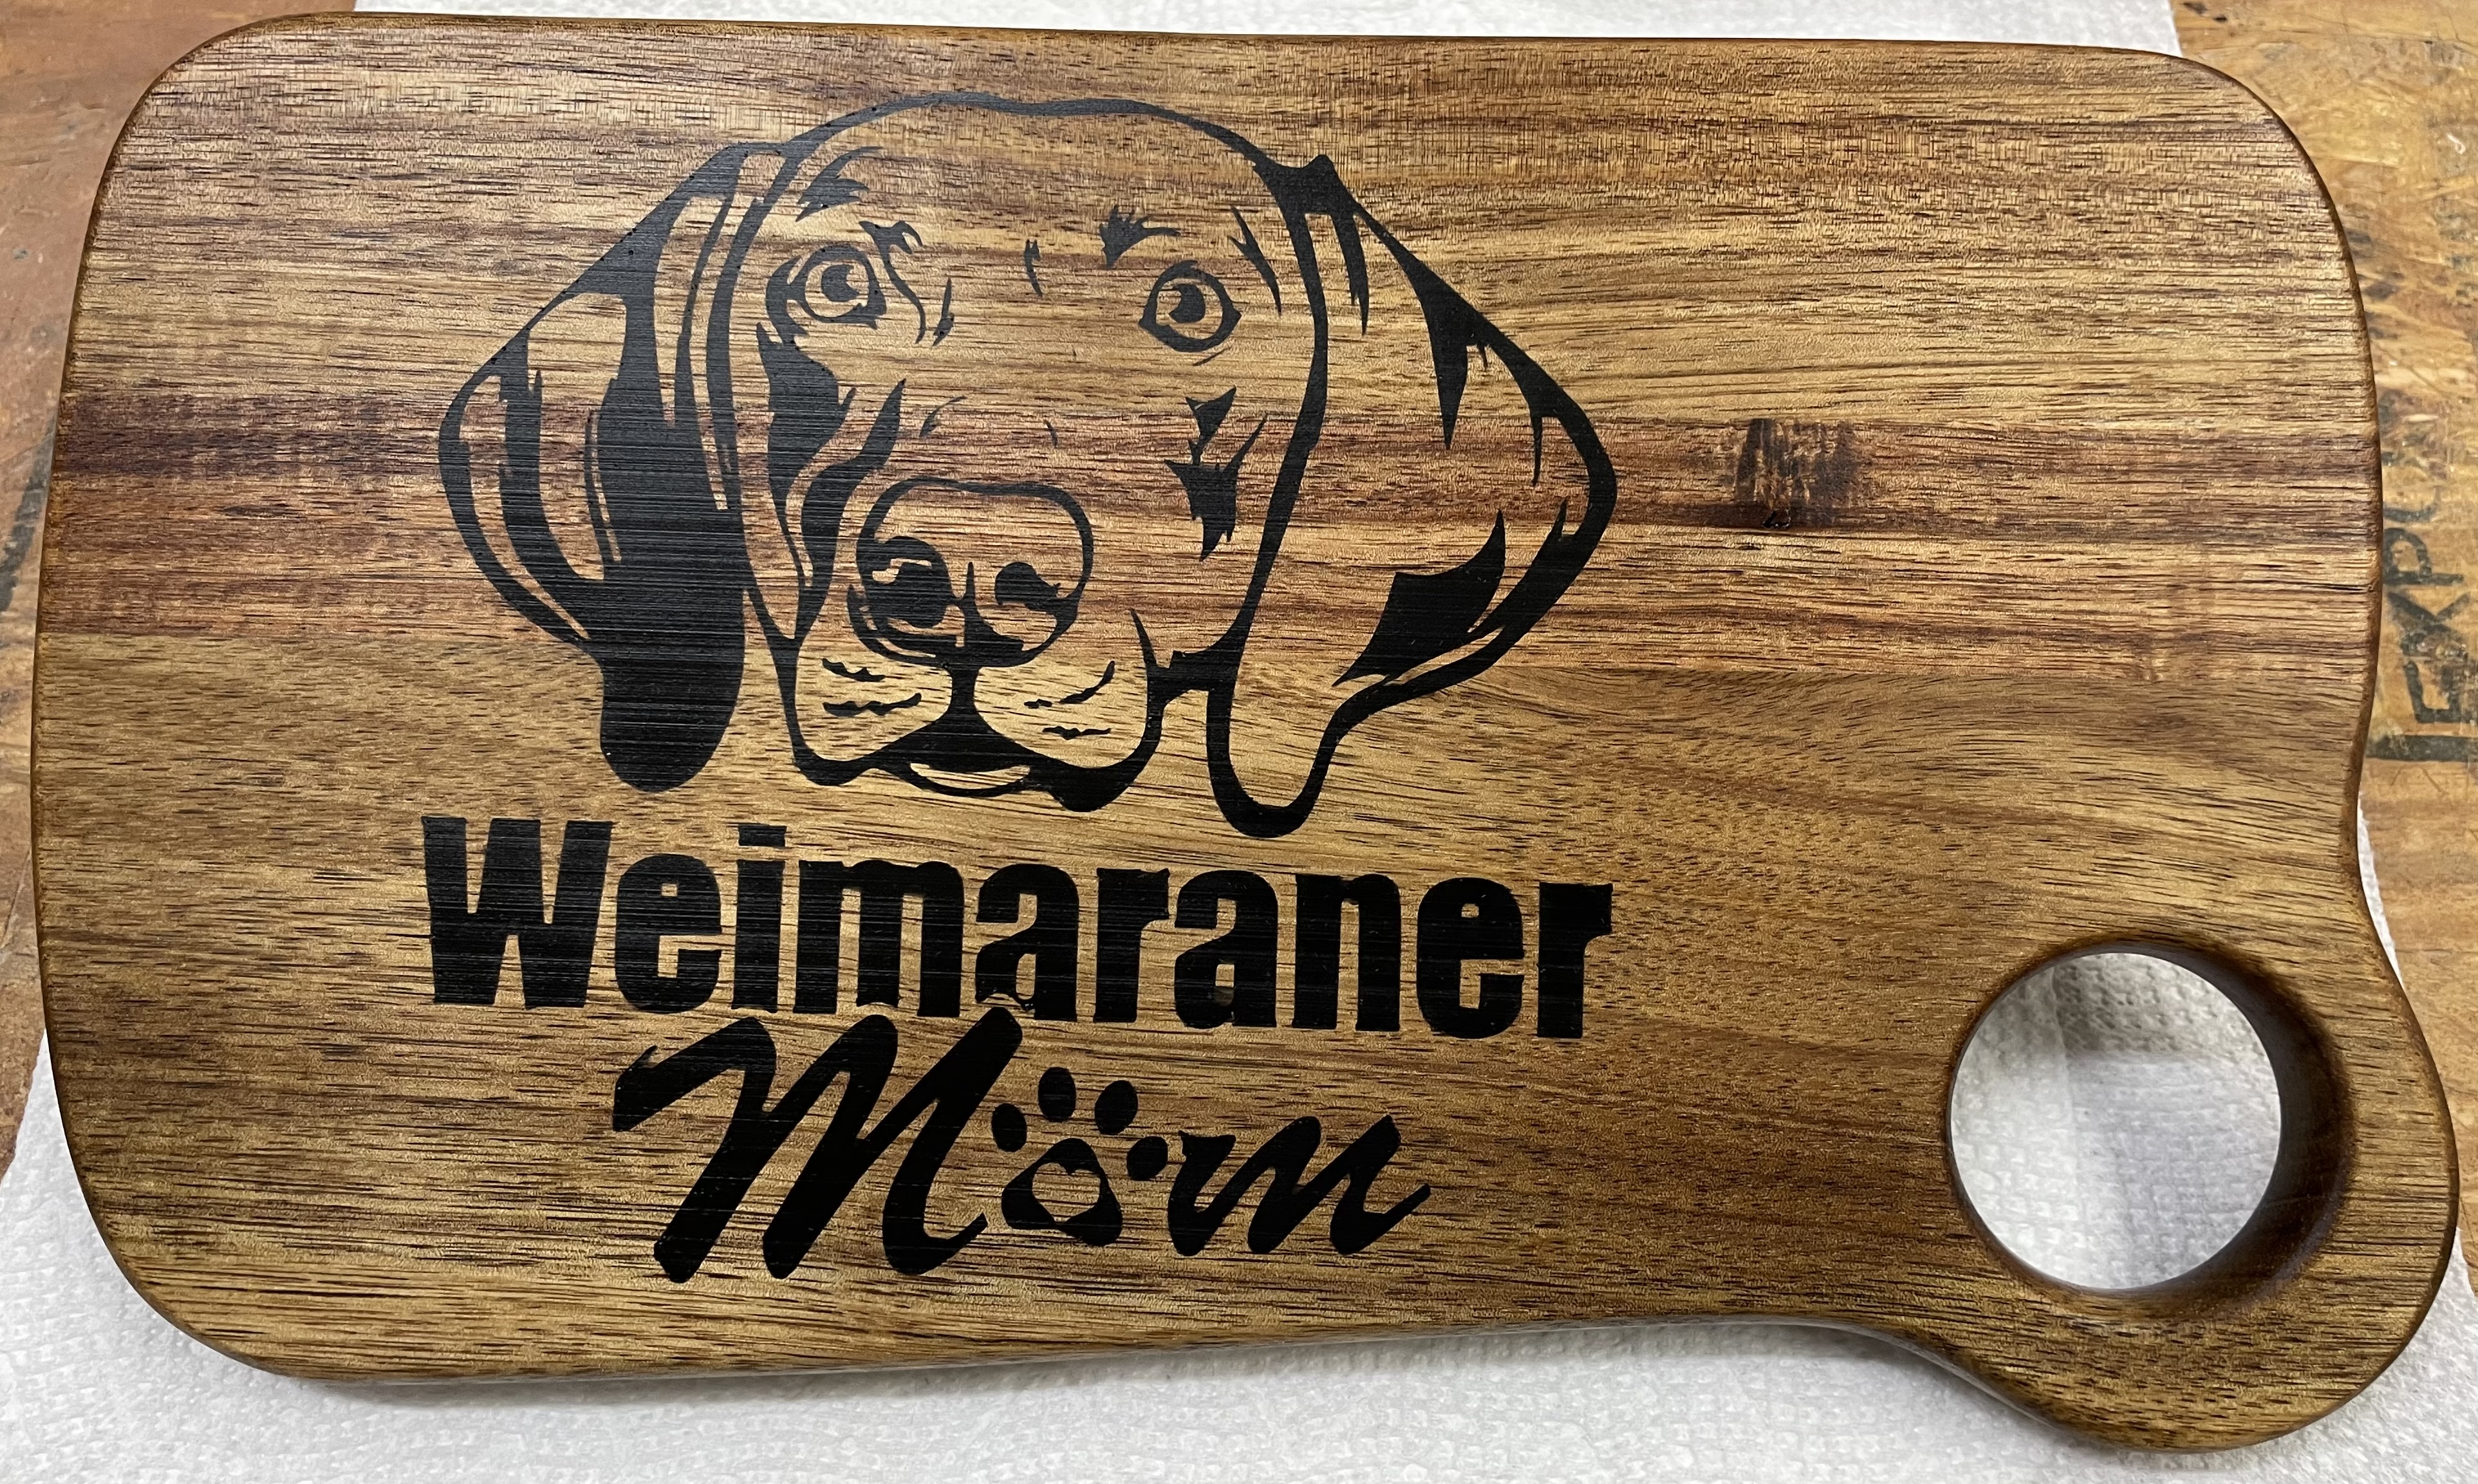
I did a last minute gift. I cut the design in a premade serving board yesterday and filled with epoxy. I was able to accelerate the curing by putting it in the sun with a plastic bin for a cover and then under a bright lamp overnight.
The board warped a bit so when I went to flatten the epoxy out I dug into the wood at the top slightly. A few passes in the drum sander cleaned things up and flattened the board after that. I am glad now that I pocketed deeper than I thought necessary.
12 Likes
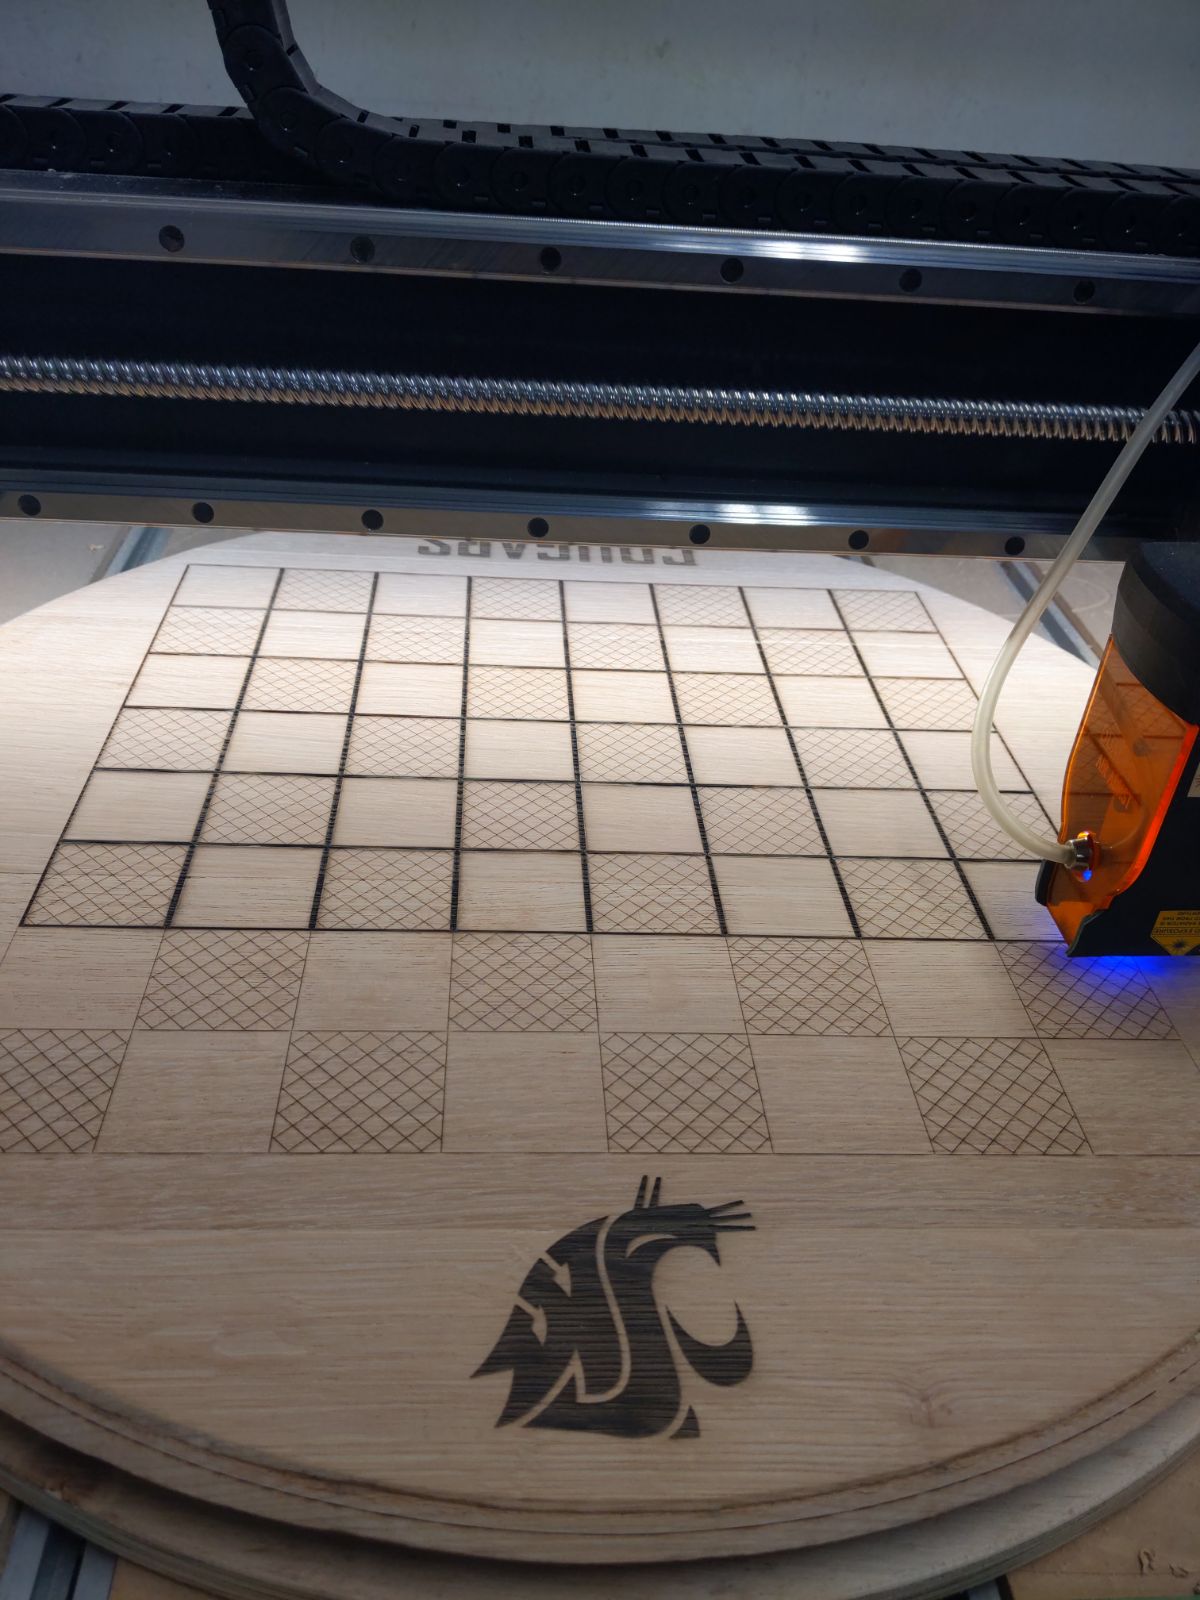
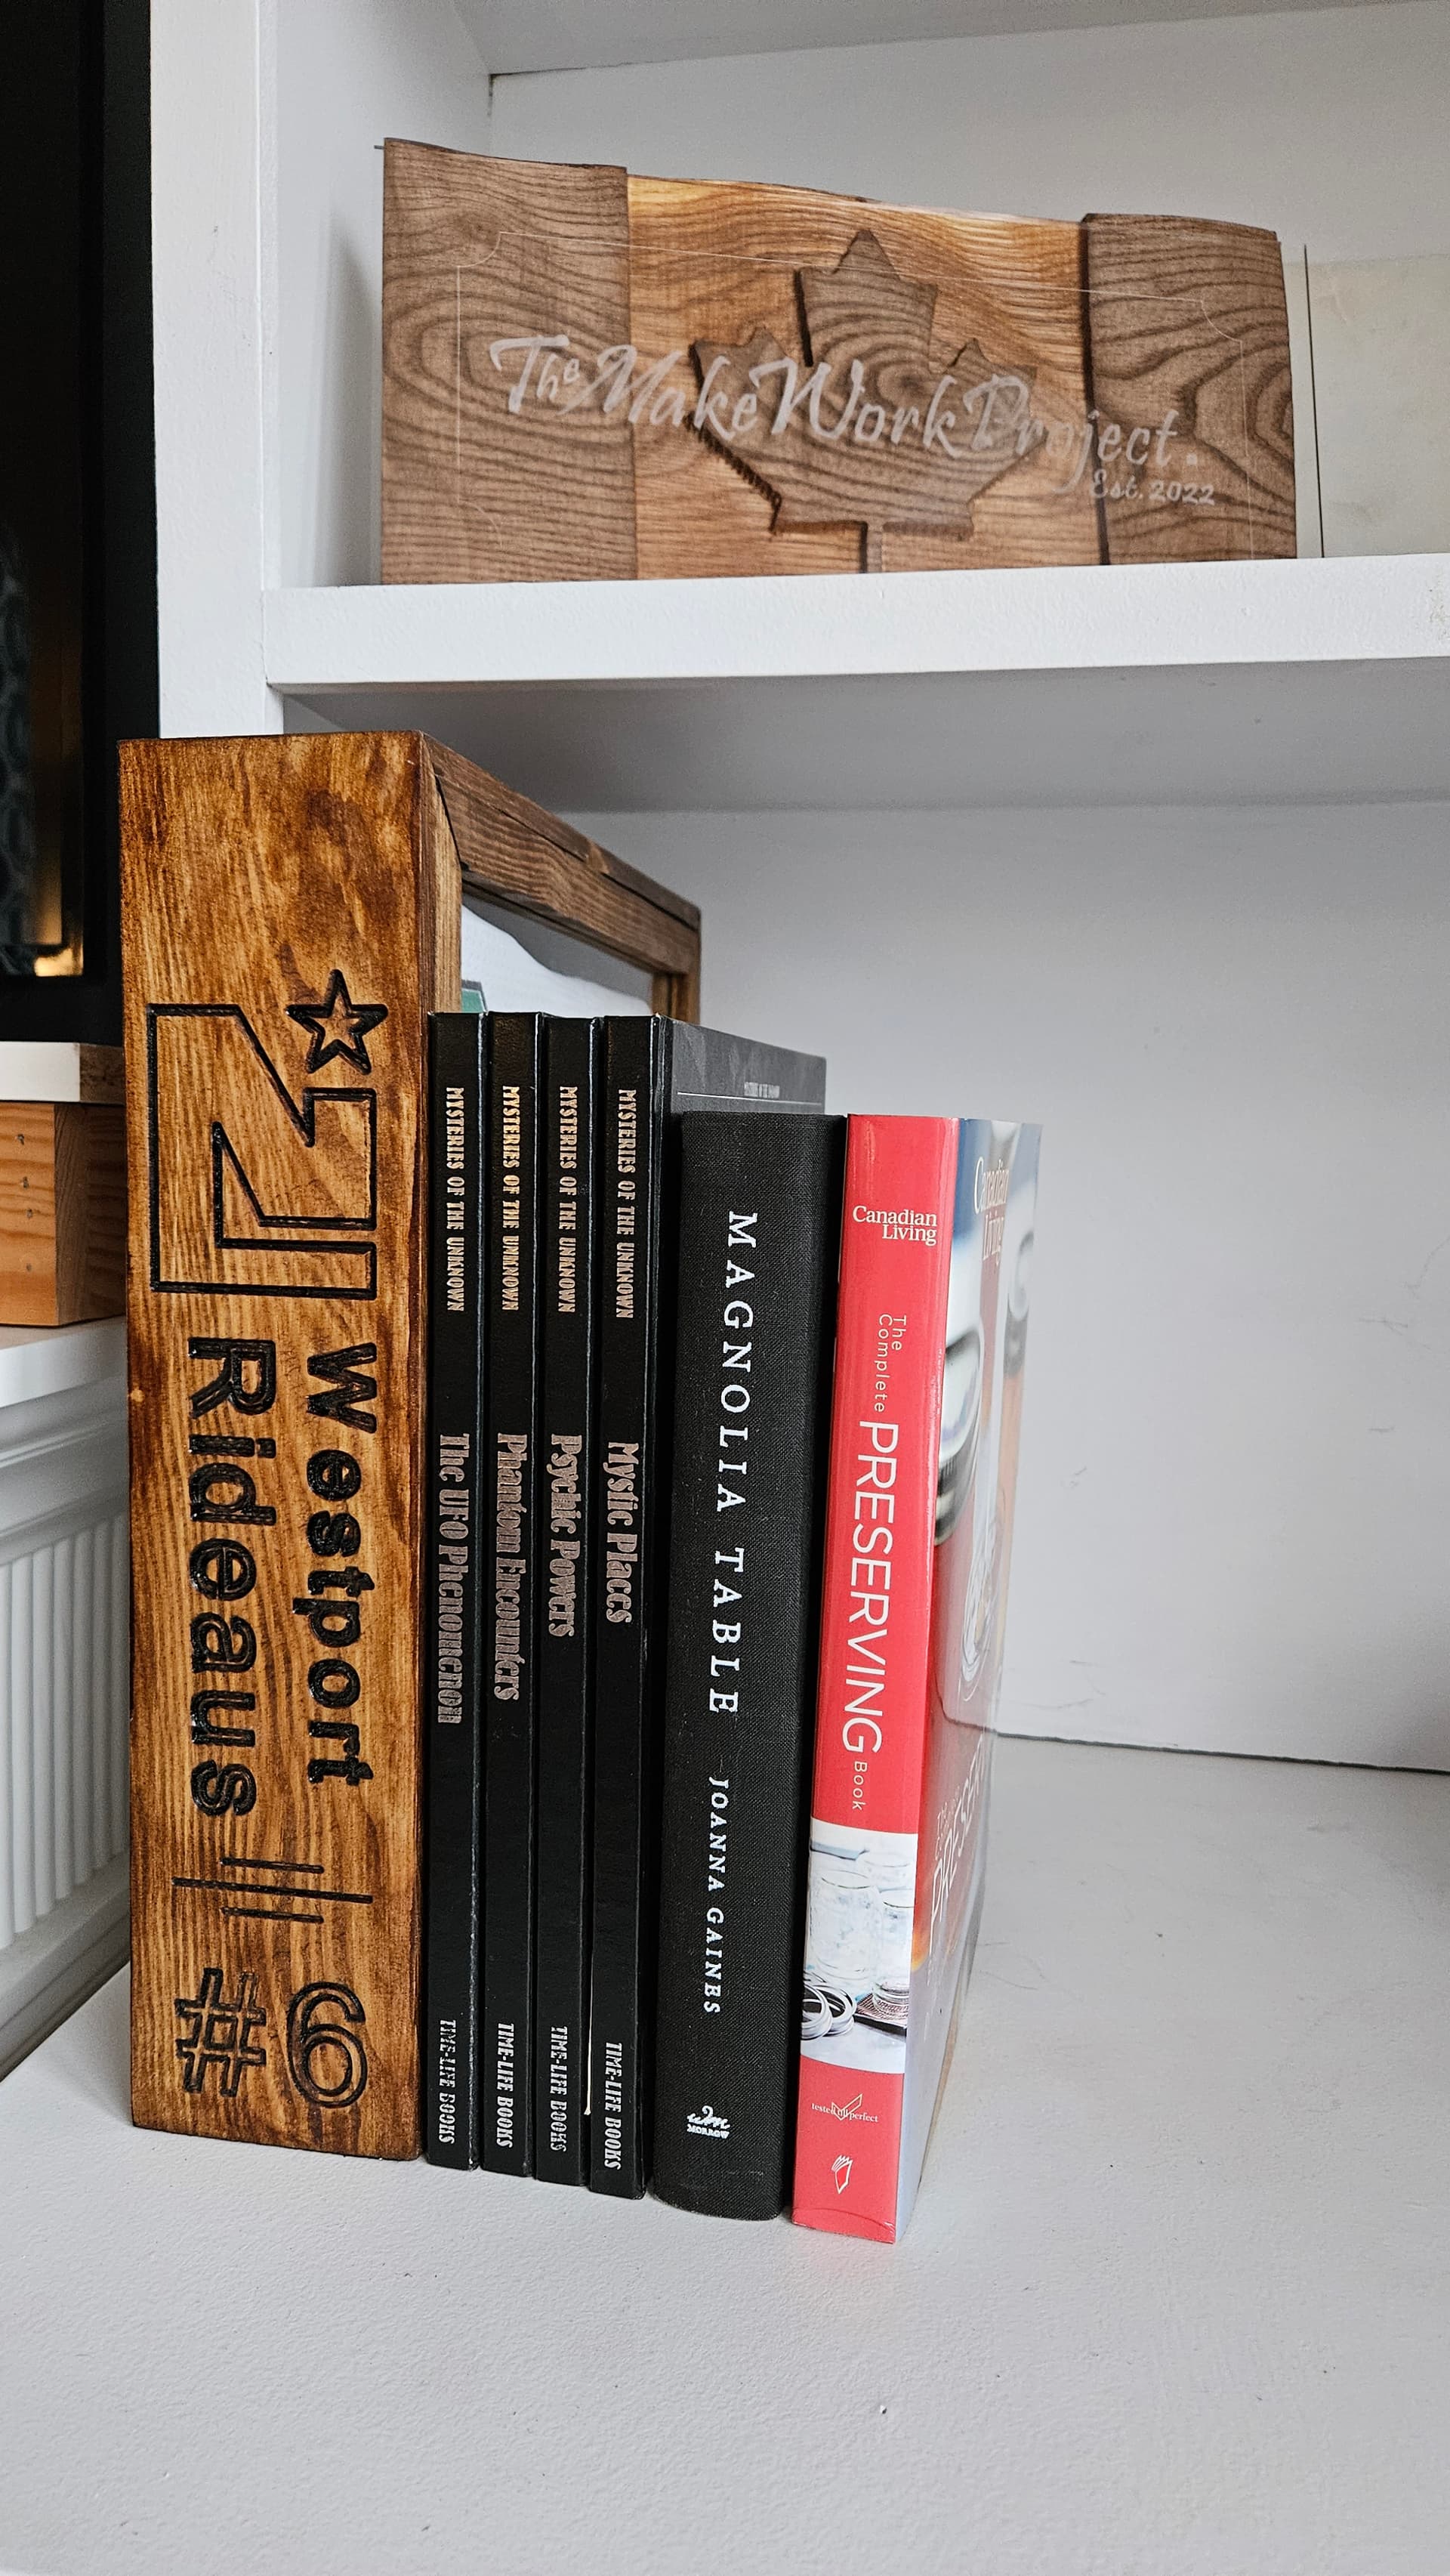
Just finished this today. It will be an auction item for our school’s tuition aide fund raiser. Some cnc routering, jtech lasering, welding, and woodworking elbow grease. I live inn Coug country so it should go well.


34 Likes
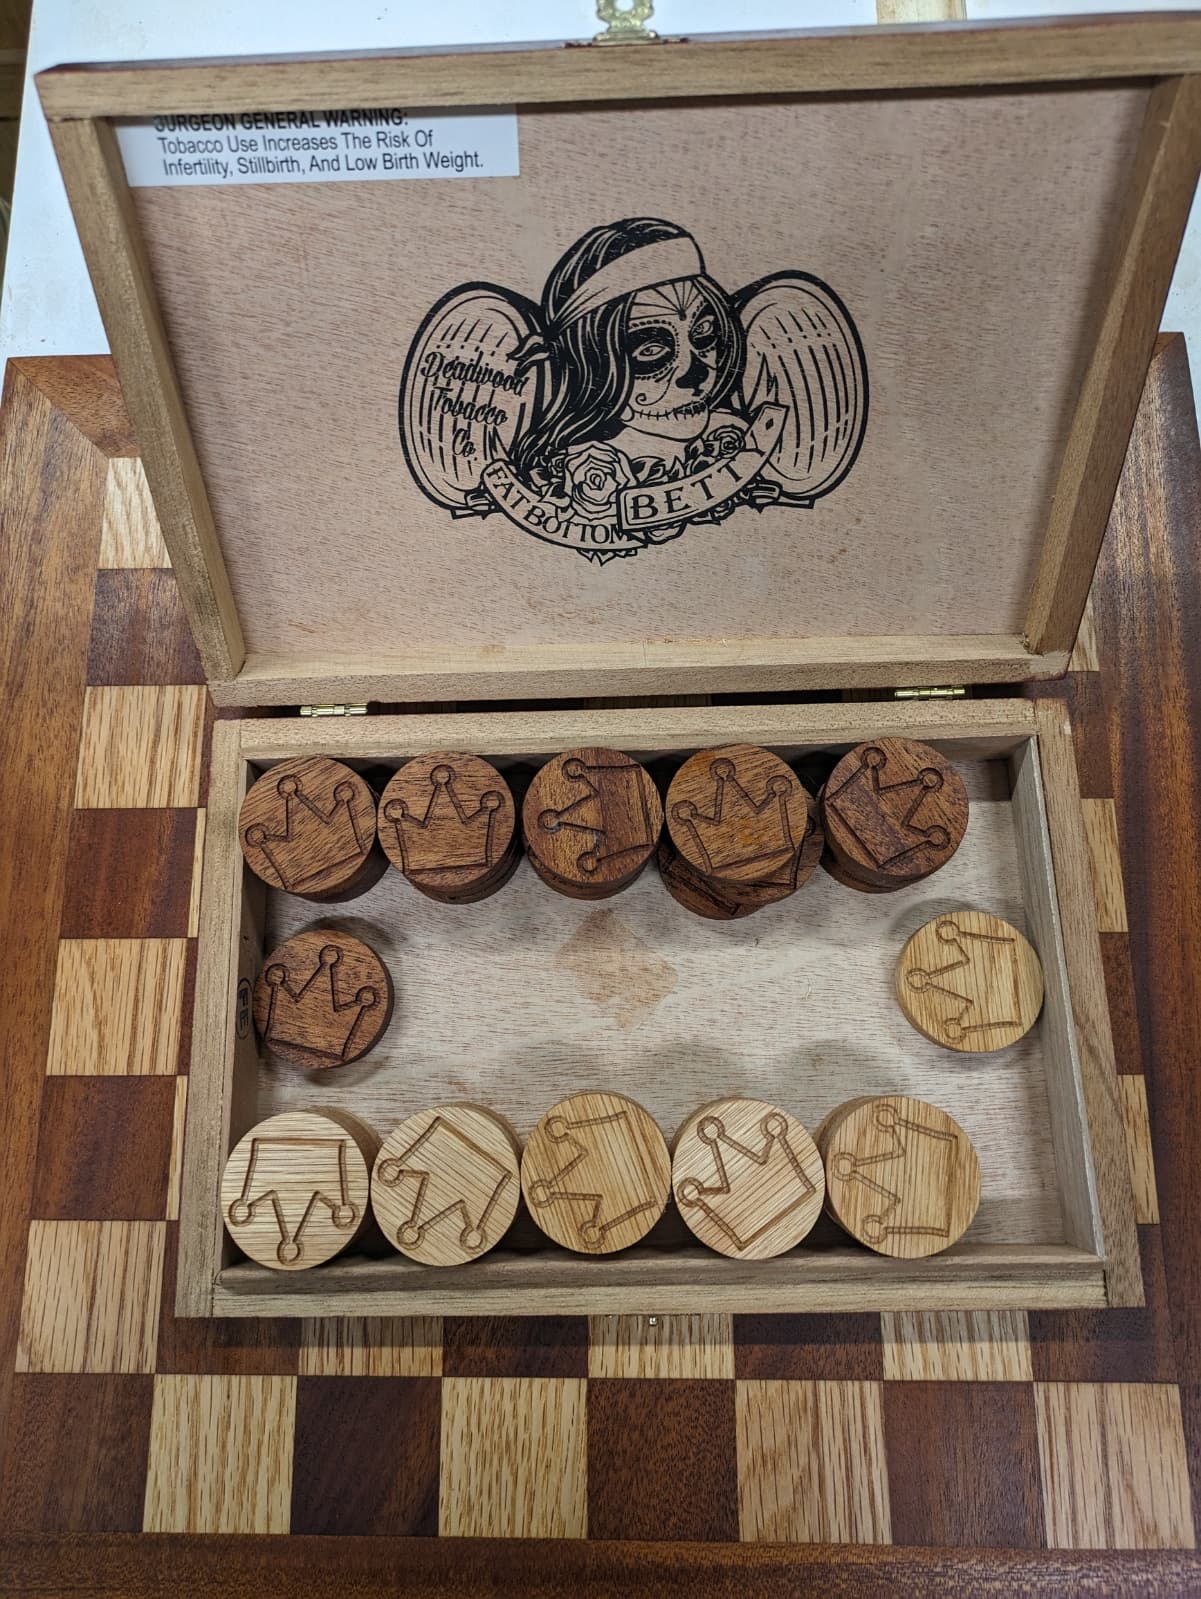
Very nice piece. Hopefully it will raise money for your charity. I recently made a checker board and cut the checkers on the Shapeoko. Mine are flat with the crown on the bottom so you can turn them over after being crowned.
I had a cigar box to store the checkers in an made 4 extra of each color because the checkers always seem to get lost.
10 Likes
I didn’t use the machine for much on this project however, what it did do, made all the difference! 60d vee bit at 0.03" contour.
I was tempted to use MC Etcher on the acrylic and decided against it.
Magnets used for closure on a framed 12x12 acrylic blank.

11 Likes
Couple last minute projects for some special ladies in my life, my 101yr old Grandma and my mom.
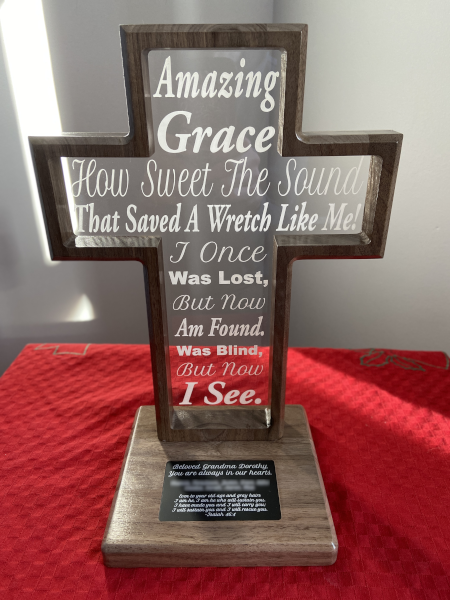
I could have used the CNC for the acrylic, but it was faster and cleaner in the laser. Grandma loved it, couldn’t get over that I actually made it. We’ll see what mom says.

17 Likes
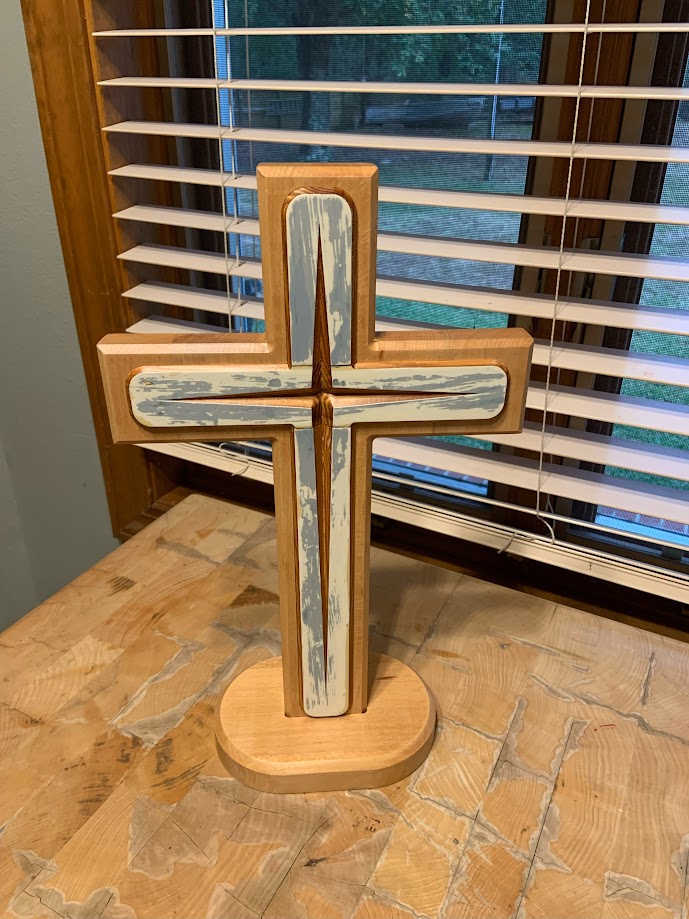
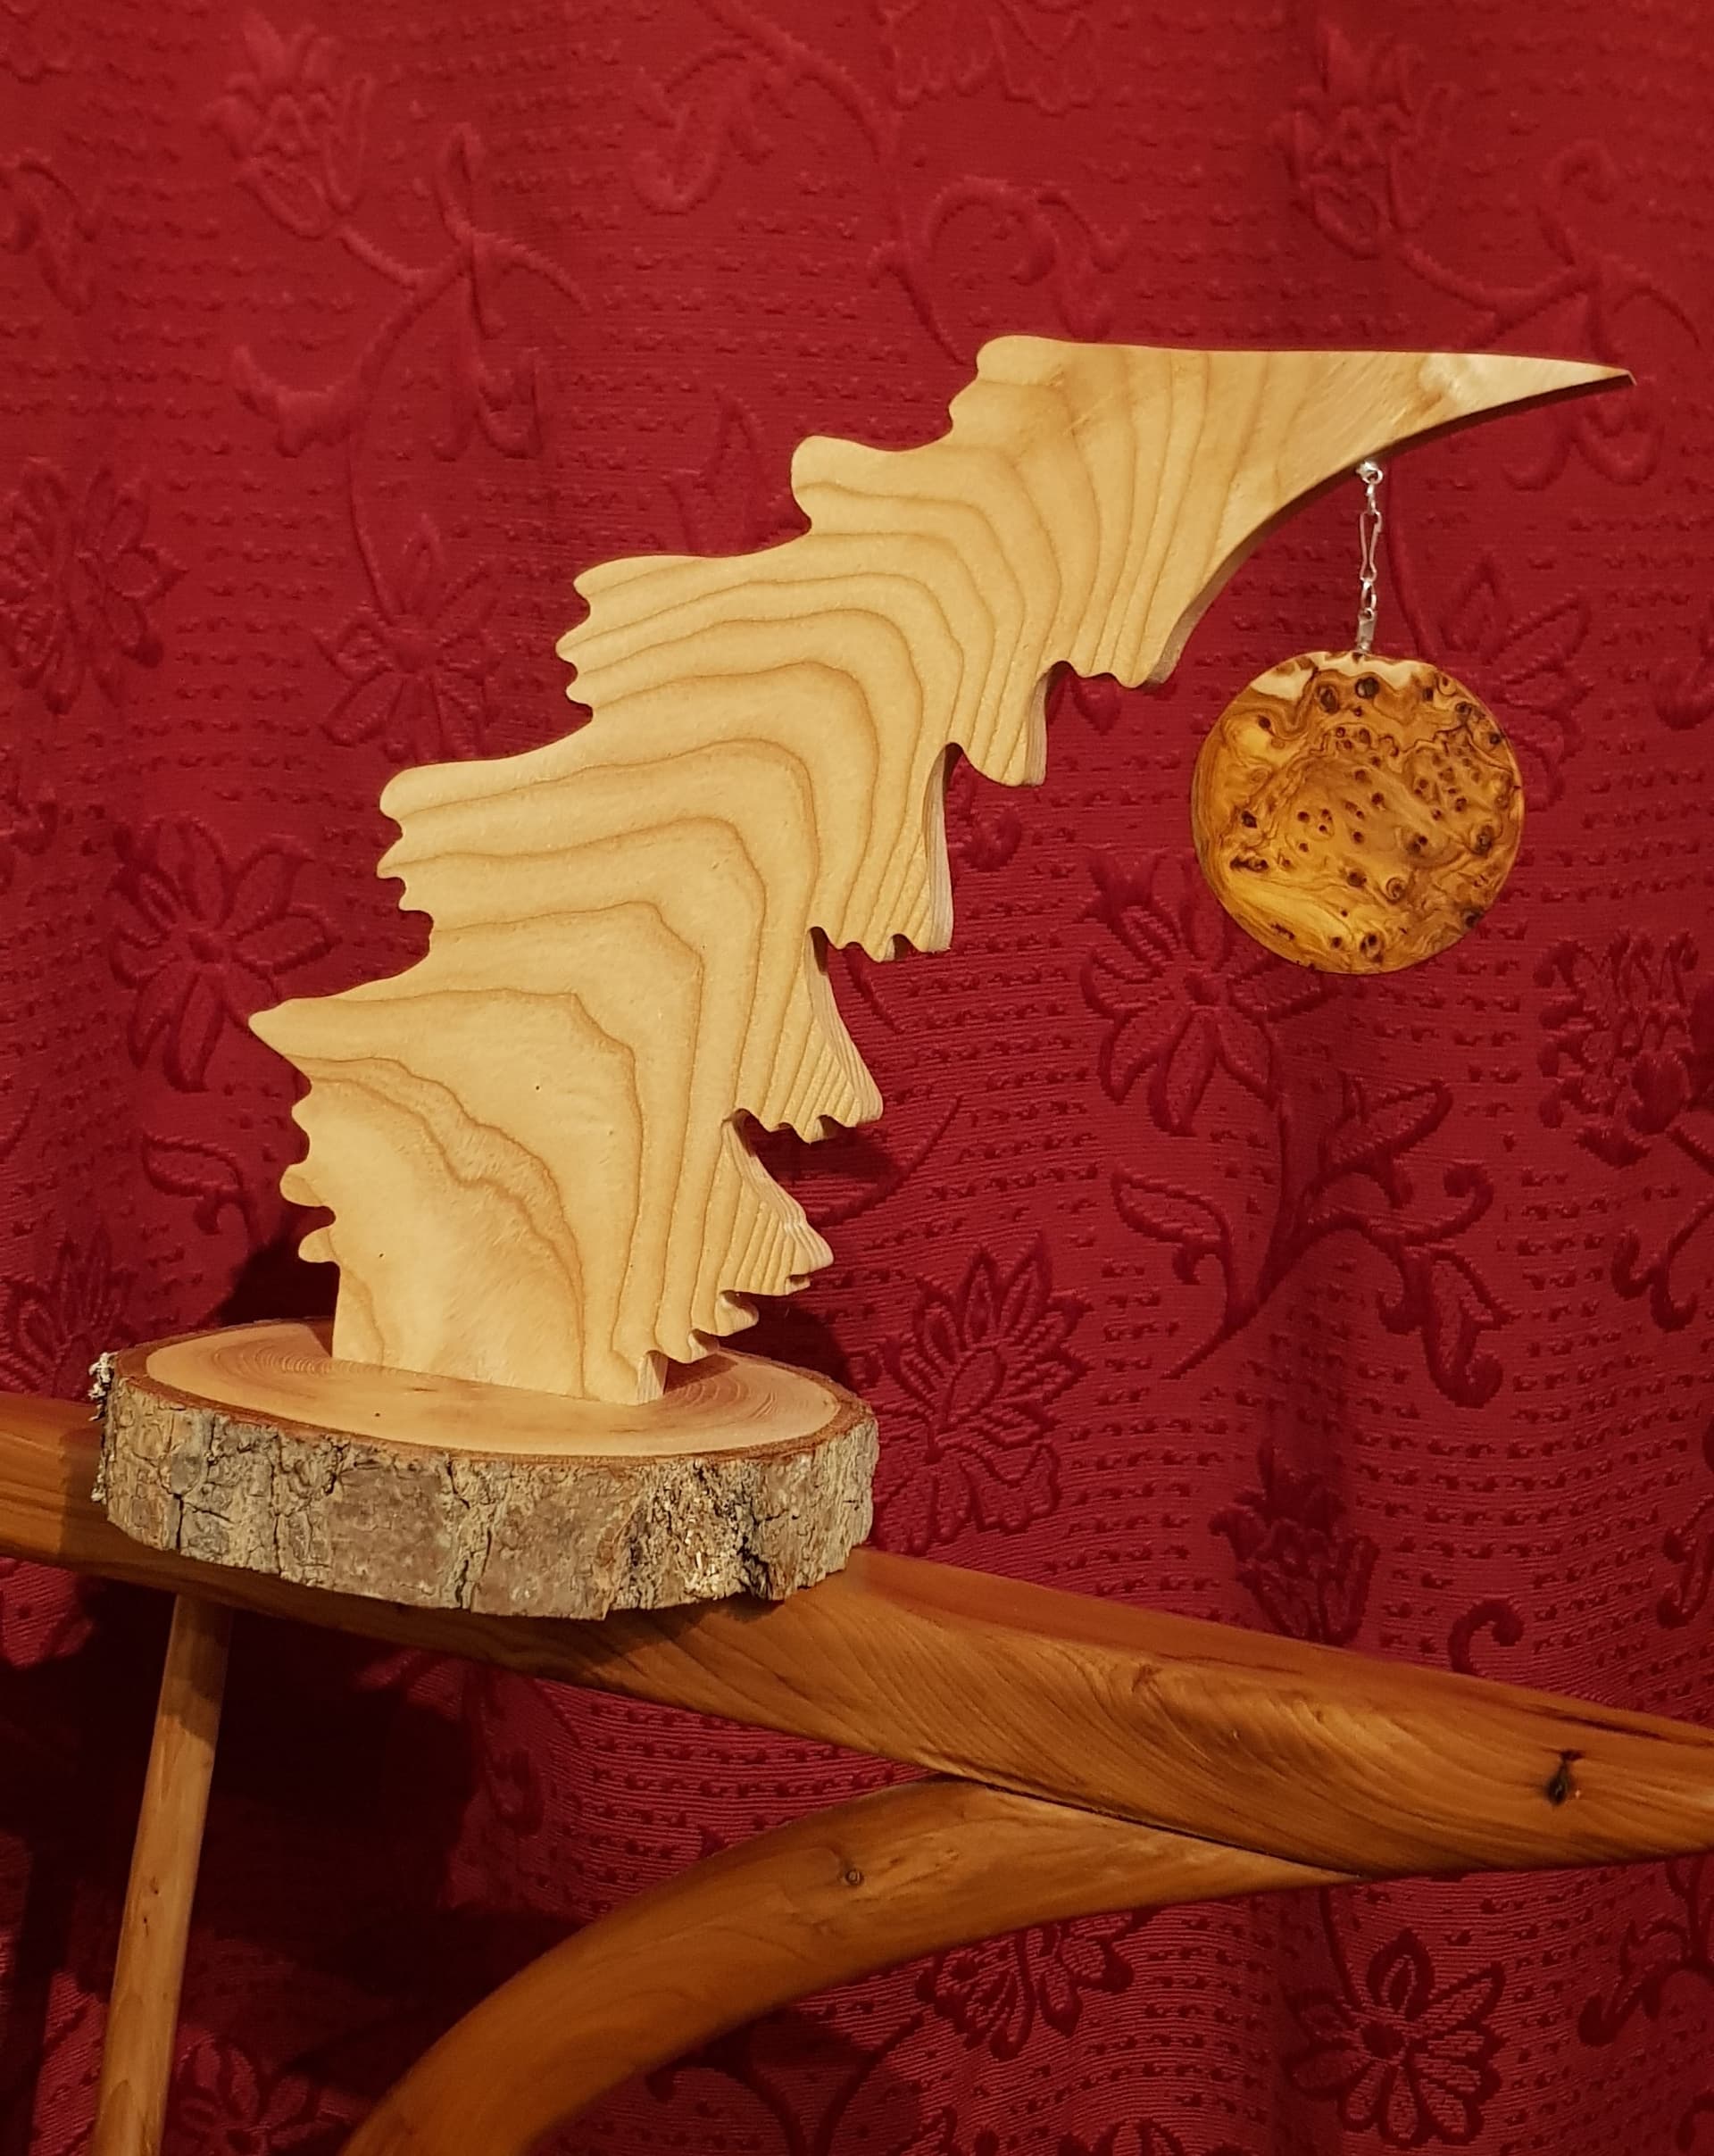
Another Recycled Wood Project
I made this cross for a family friend of ours. The base is from some chairs out an ice cream shop being remodeled and the inserts are from window trim on a 110 year old that was being renovated with new windows. The windows trim was painted with several coats and colors of paint and i tried to sand through them to expose some different colors. I have material for making a few more and was thinking about putting them in a local arts craft show and was wanting input on what i could charge for these. Tell me what you think! I’m making them so they can stand in the base or hang on the wall. Thanks for any input!!

10 Likes
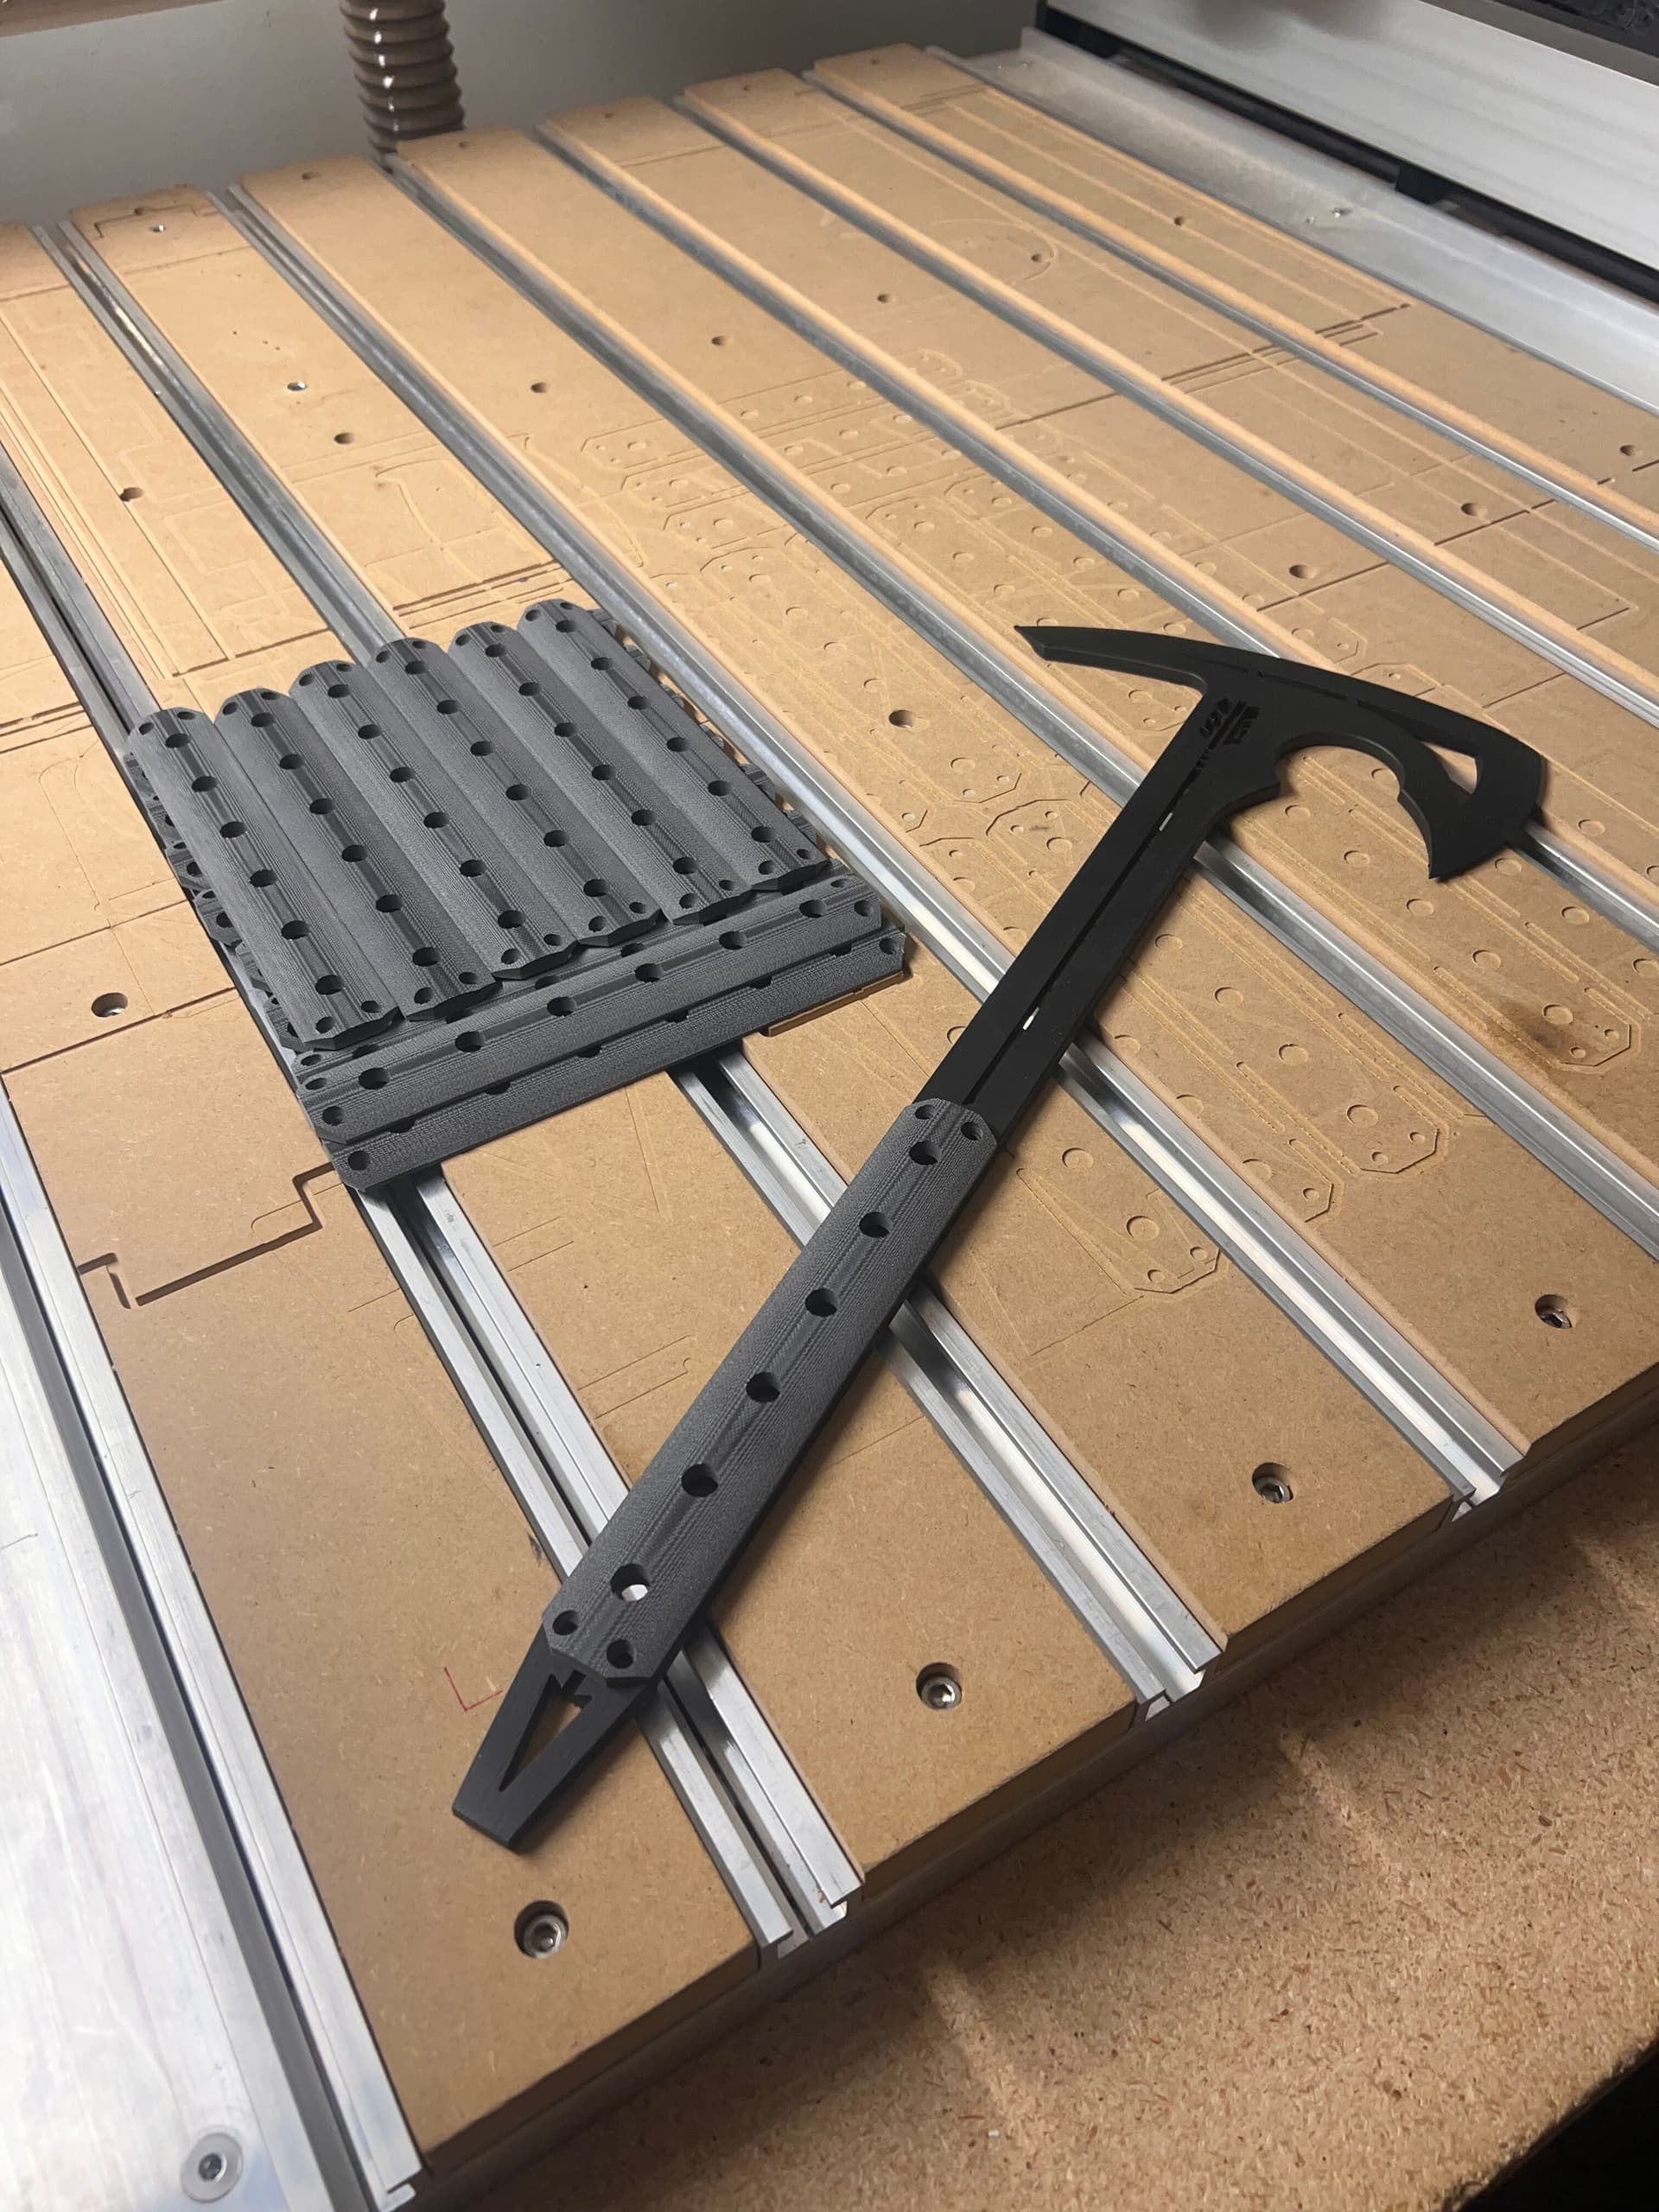
Long time lurker around here. Figured I would share this cool project I recently finished. I run waterjet and plasma machines by day and when one of my customers had me make these axes he asked if I could make some g10 handles for them as well. Figured it would be a good and challenging project for the shapeoko. Lots of tweaking and experimenting later and the result was perfect. Minimal post processing work and a guaranteed fit.

22 Likes
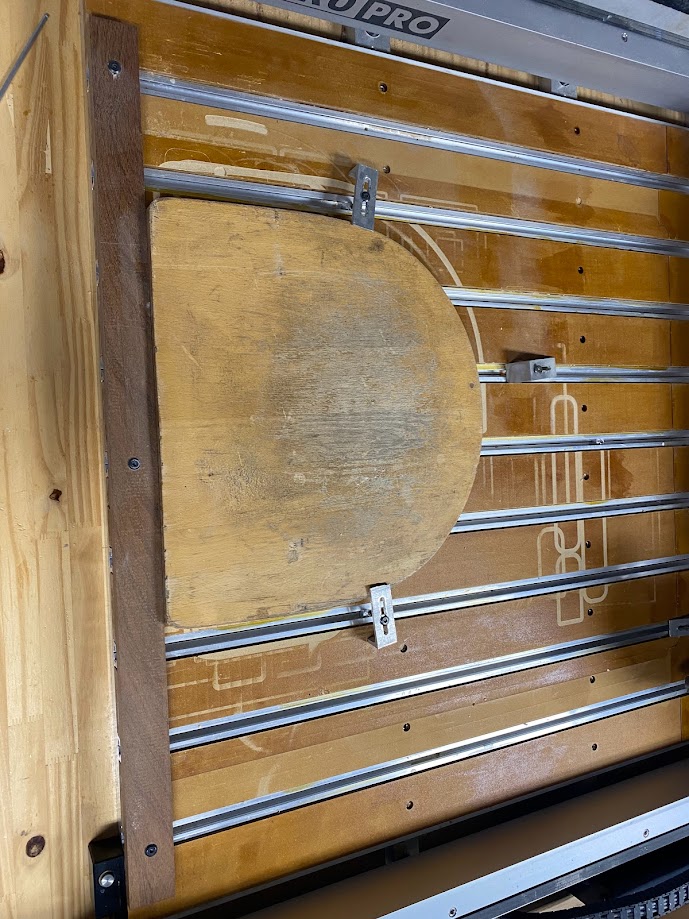
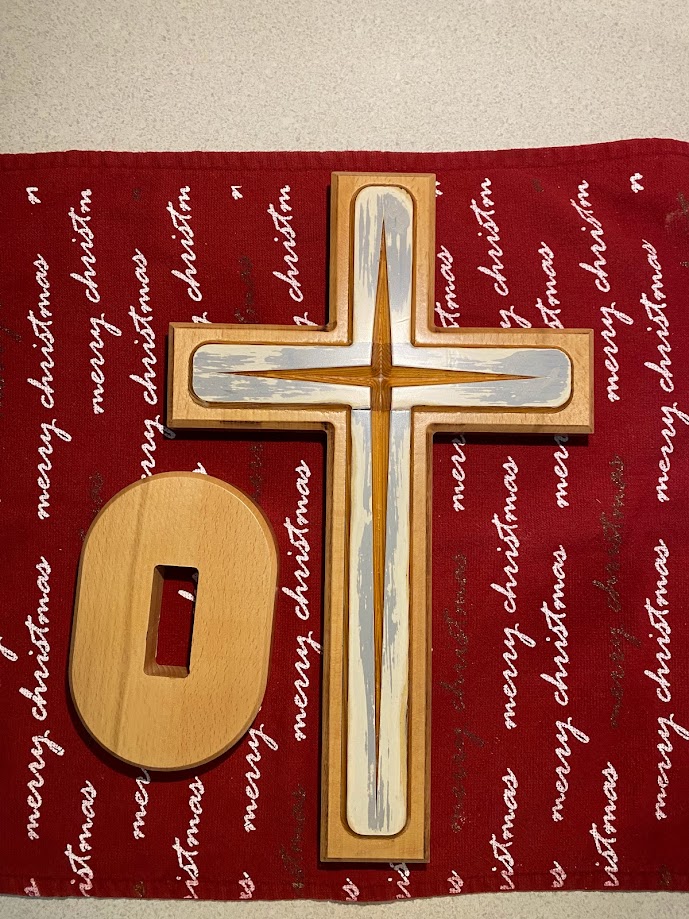
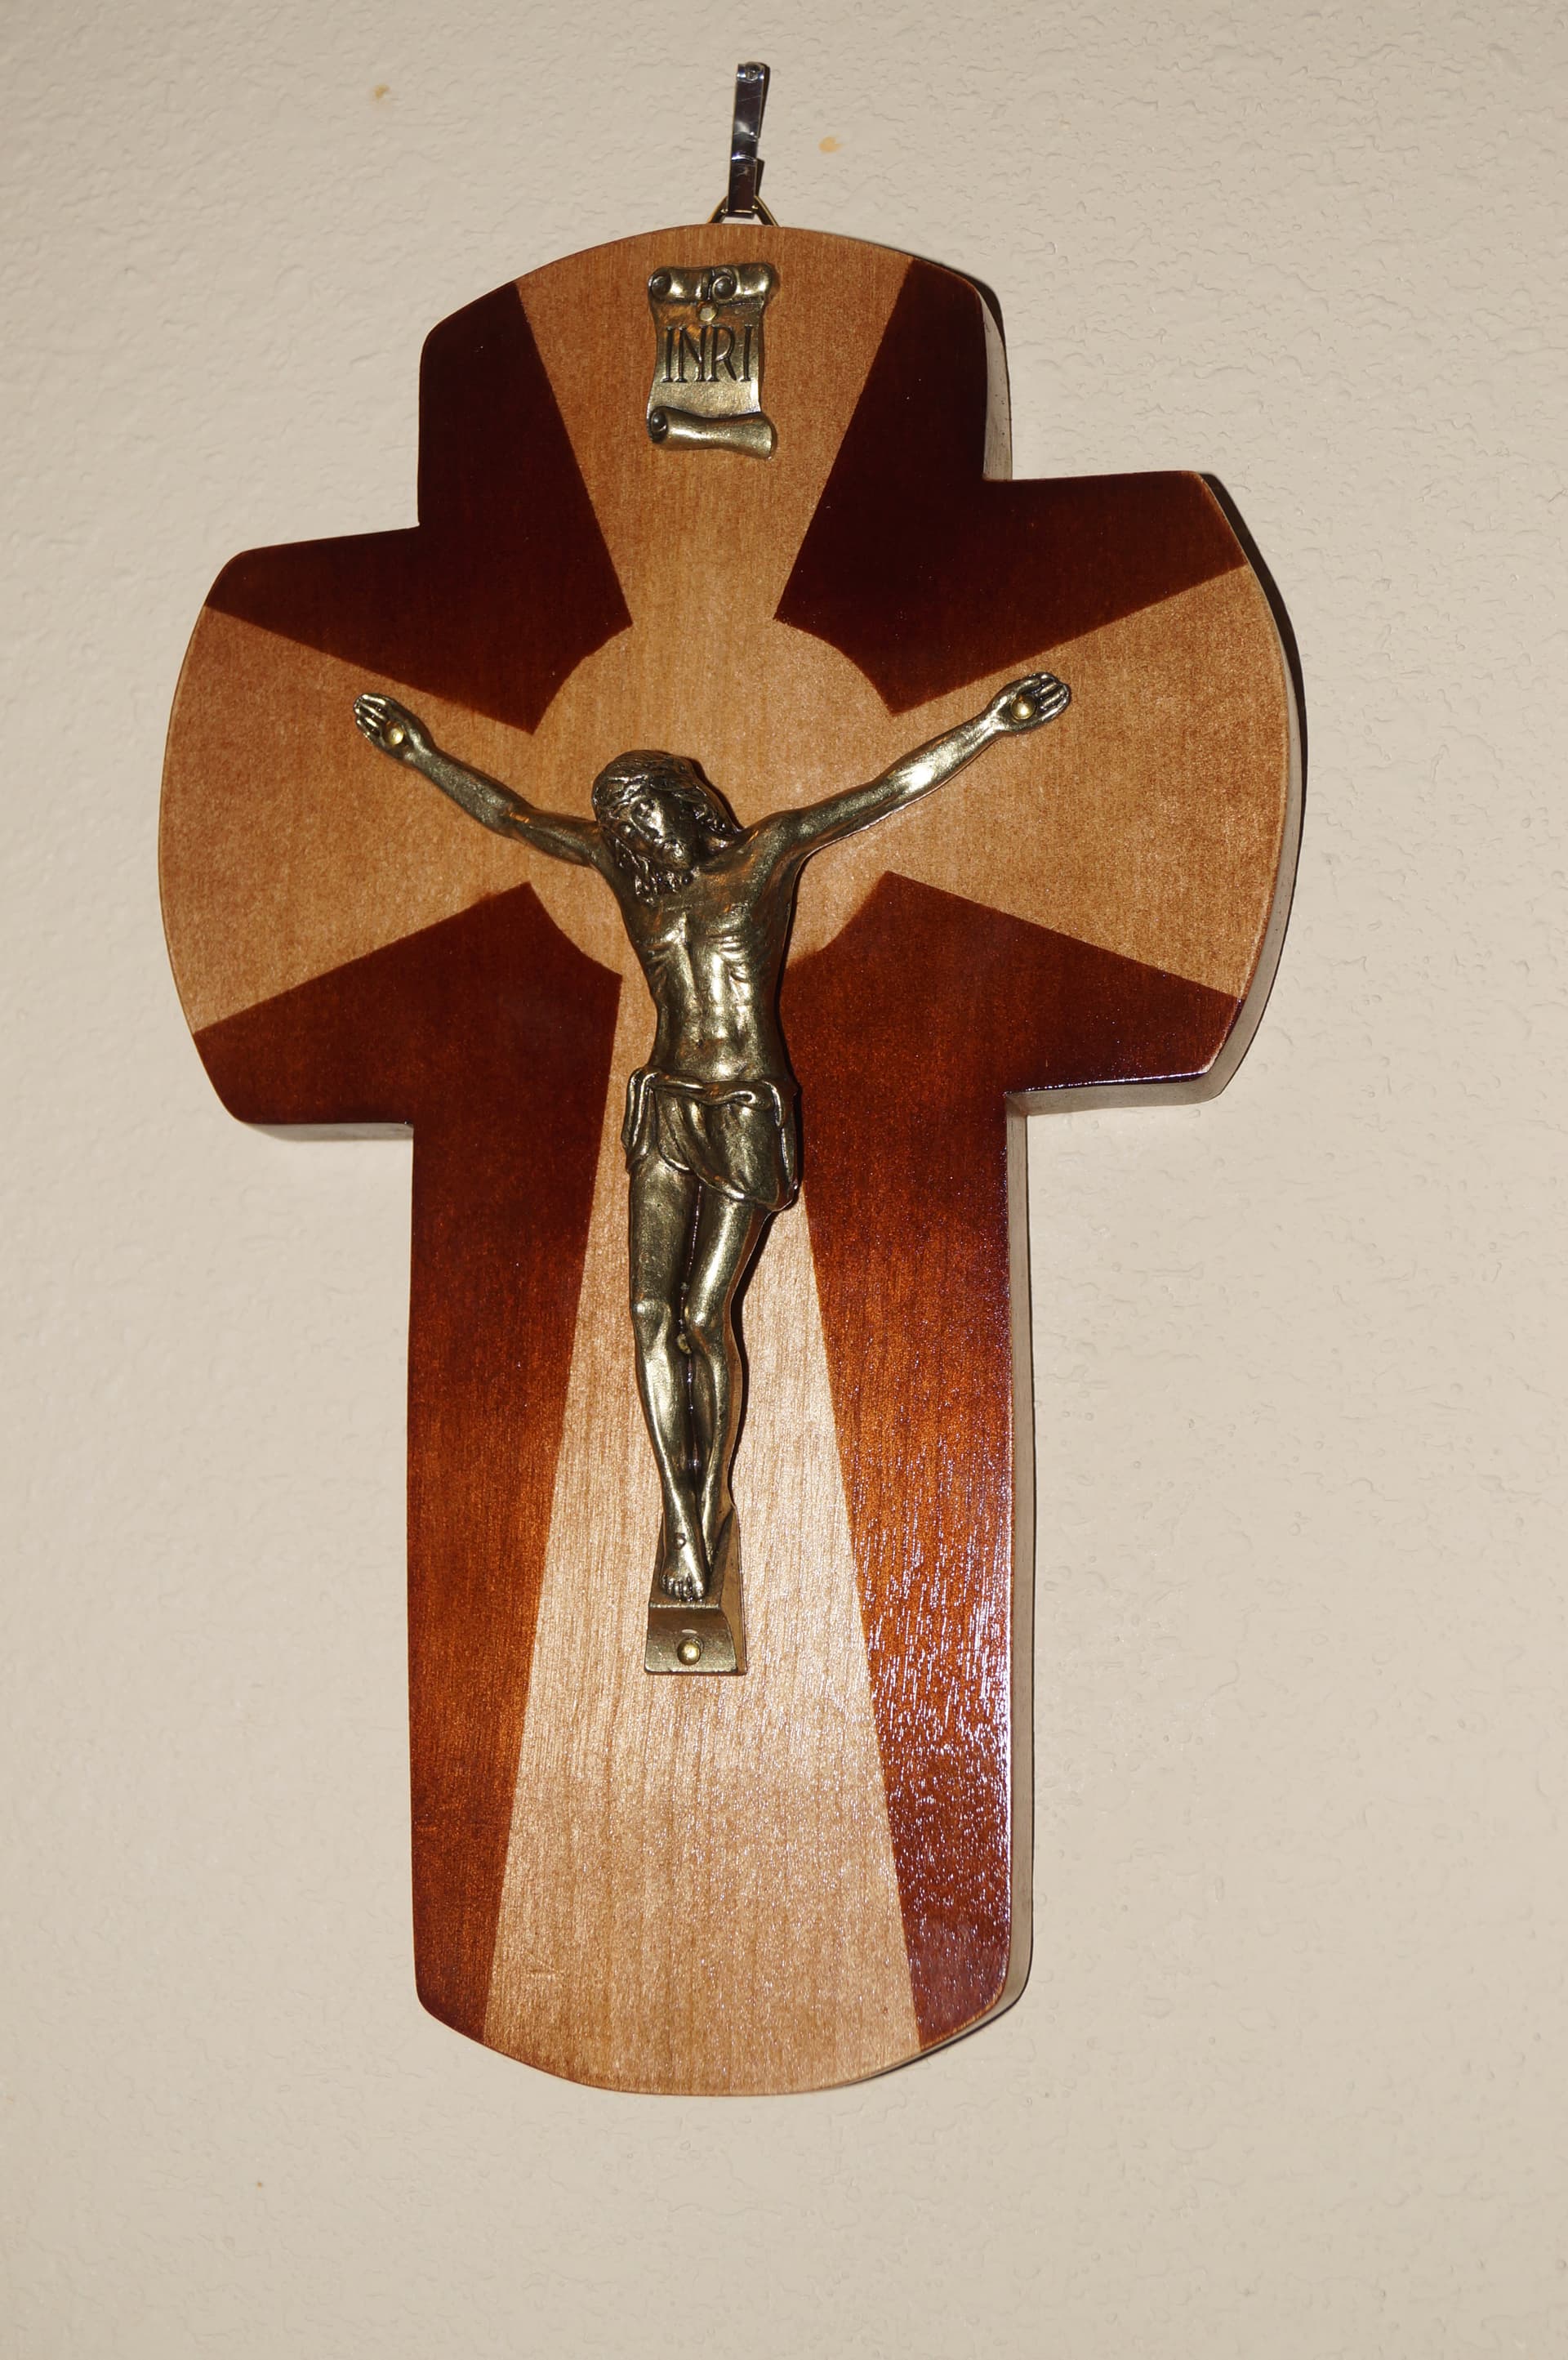
Very nice cross. I made 3 of these for some Catholic friends. I found the original in a resale shop and liked it so good I bought it. I bought the Christ from a Catholic online shop and cut the cross out of maple and two are oak. I applied a mask and applied guitar toner. One of these was given to my Indian neighbor’s father who took it back to India and still displays it. Whoever came up with the original design was a real artist and I thought it was quite dramatic.
The hardest part of this project was putting the nails in Christ’s hands.
Here is one of the ones I made.

Here is the original and it is quite beat up.

9 Likes
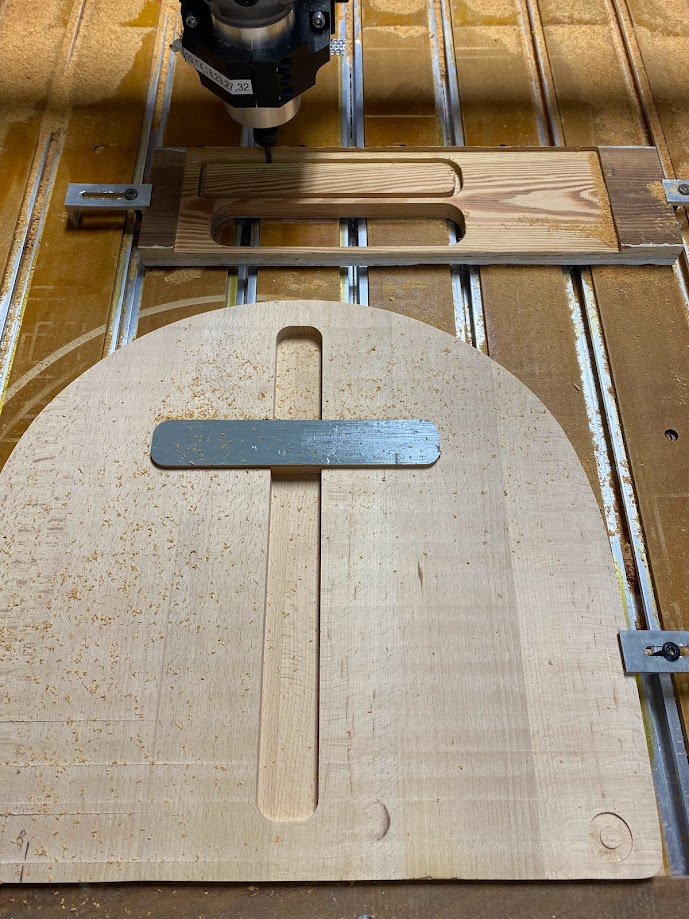
Guy, how did you cut the mask shape?
I used a paper template that I used a low strength adhesive to glue it down to the cross.
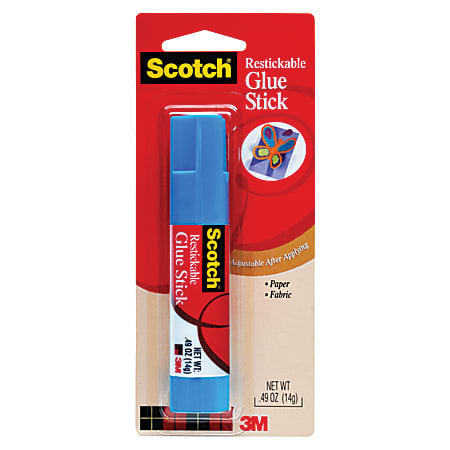
That stuff leaves no residue behind. I just traced around the edges and stuck it on and then peeled it off. Typically I use 3M 77 adhesive but that leaves a residue behind you have to clean off with mineral spirits and that could have removed the lacquer guitar toner.
3 Likes
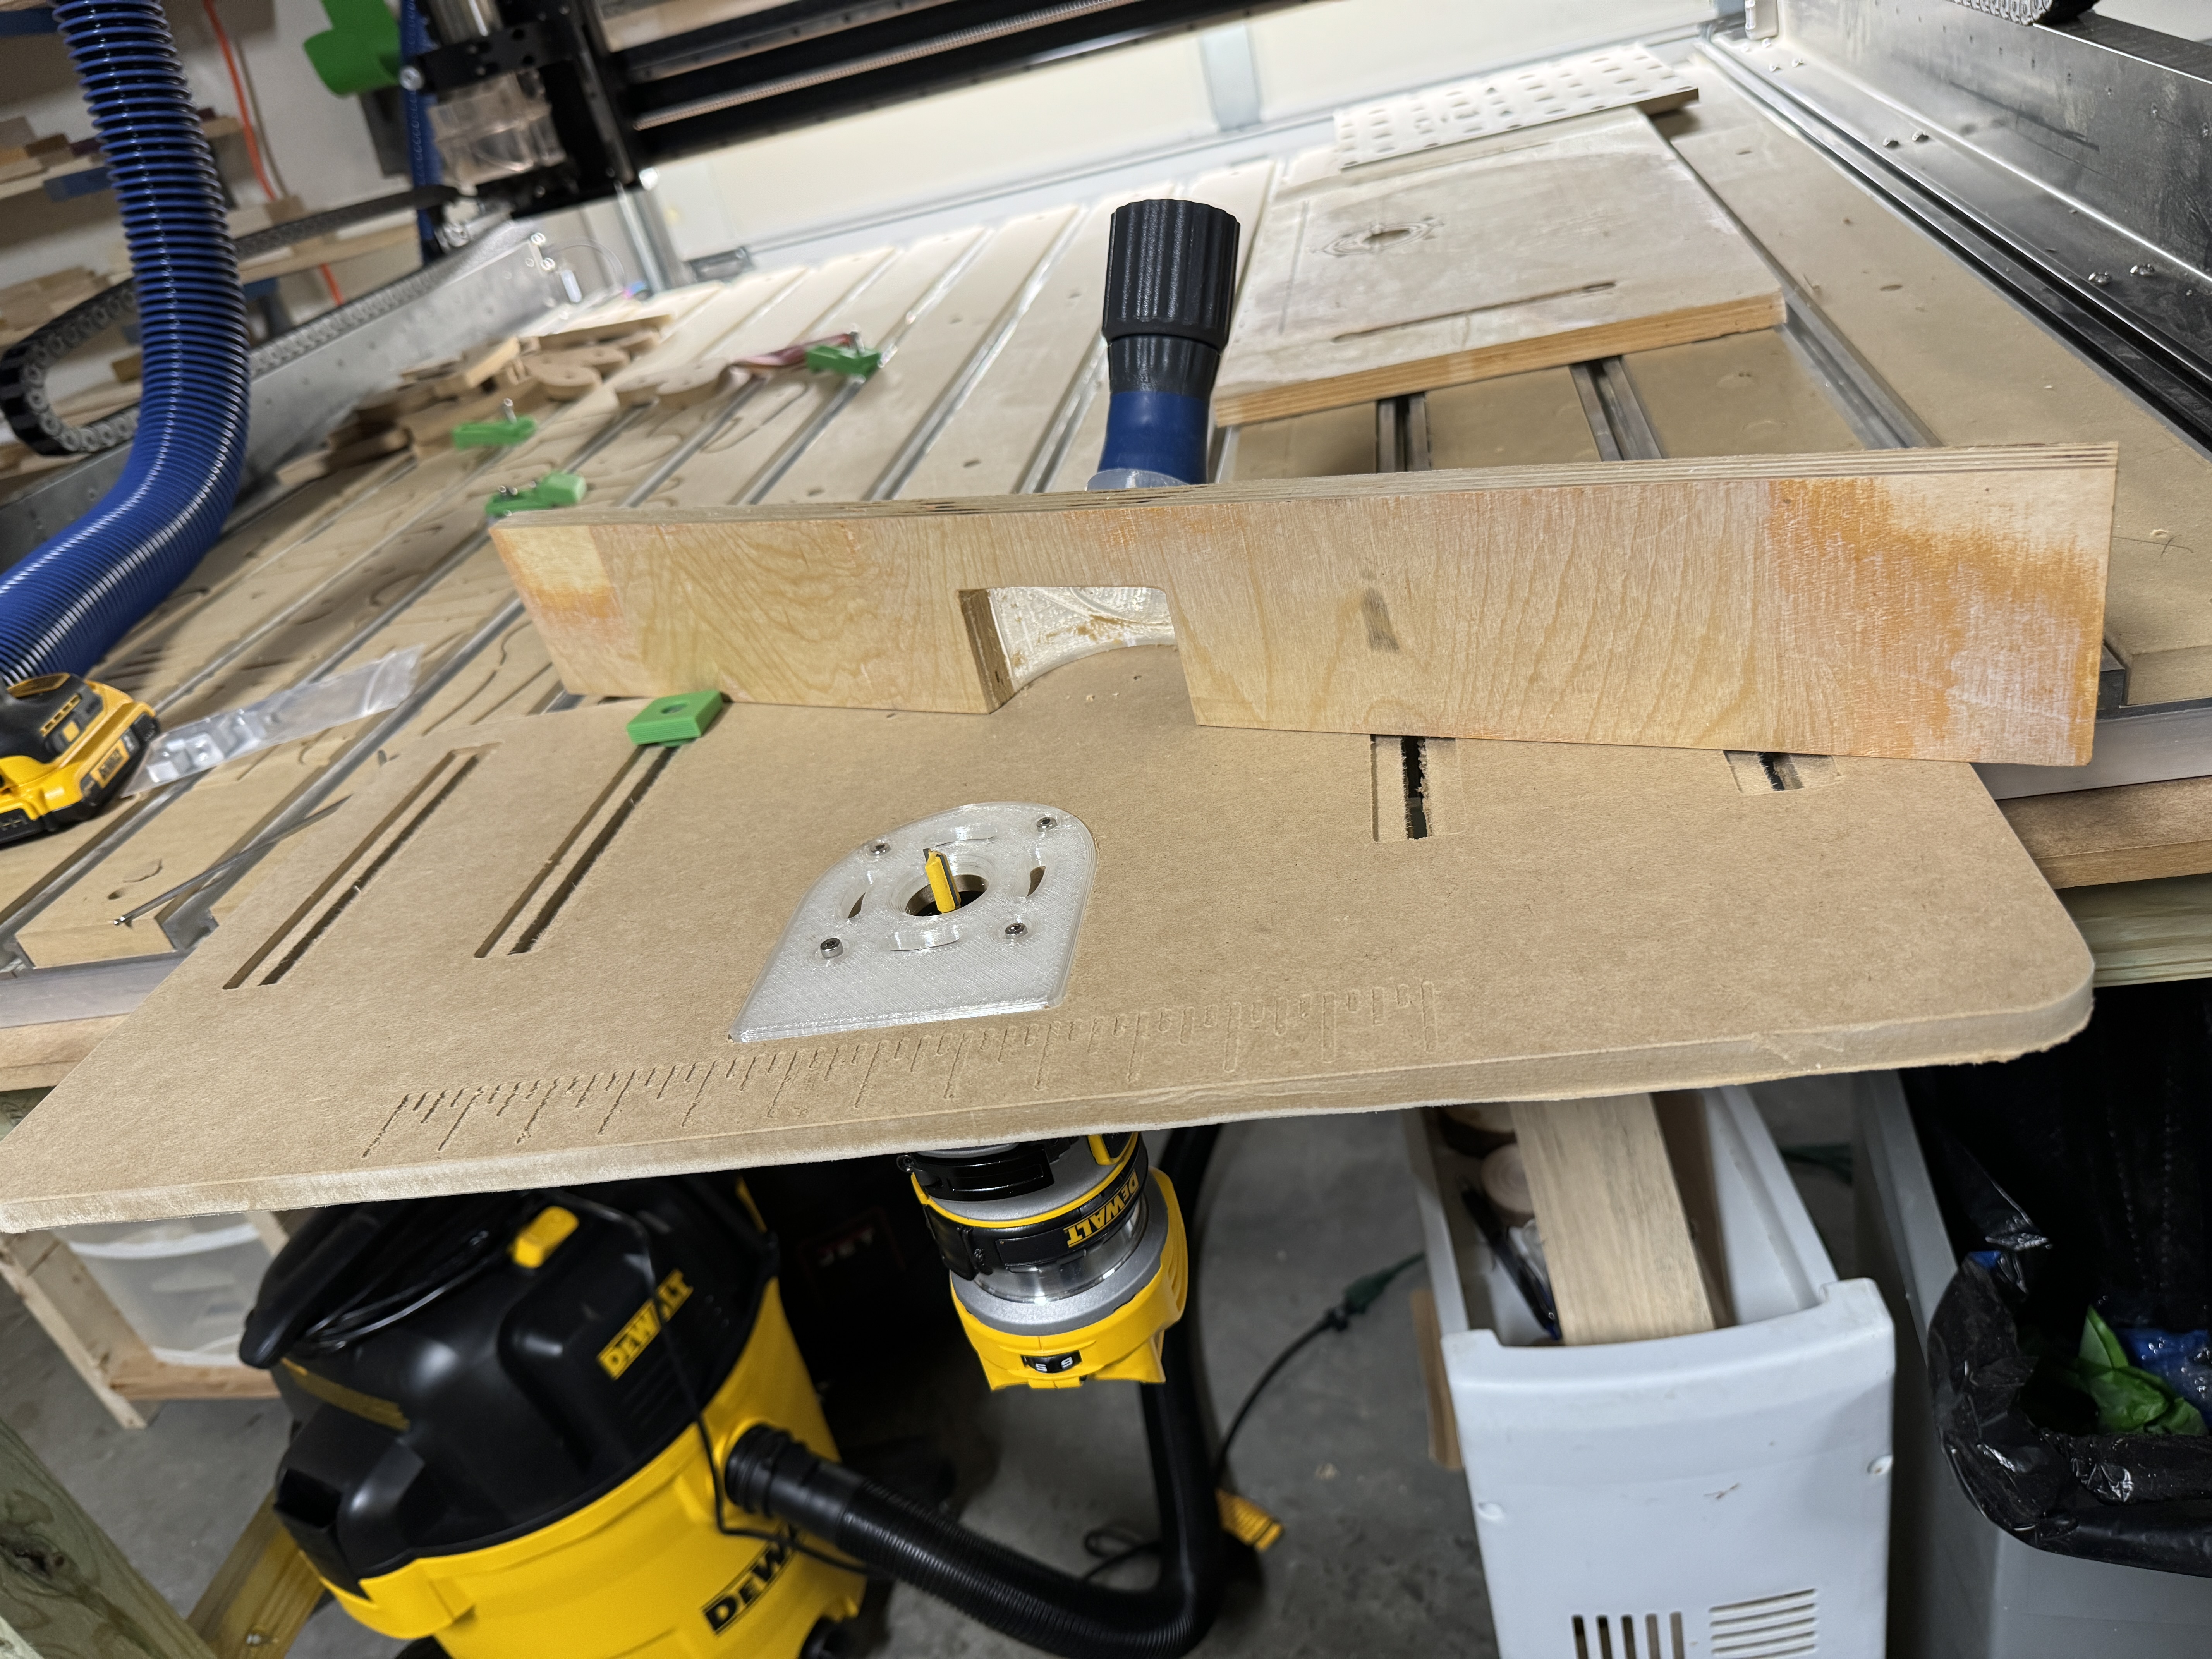
Made a table top clamp for palm router a while back. Now with a hybrid table remaking it so the fence and top itself can bolt down was on the list. Made this out of mdf to test. Think I’m on the right track.
11 Likes
I open this topic once a month, and I am never disappointed. Everyone in here is so inspiring!
Any who I’ve been making cribbage boards, and cigar ashtray/coasters…
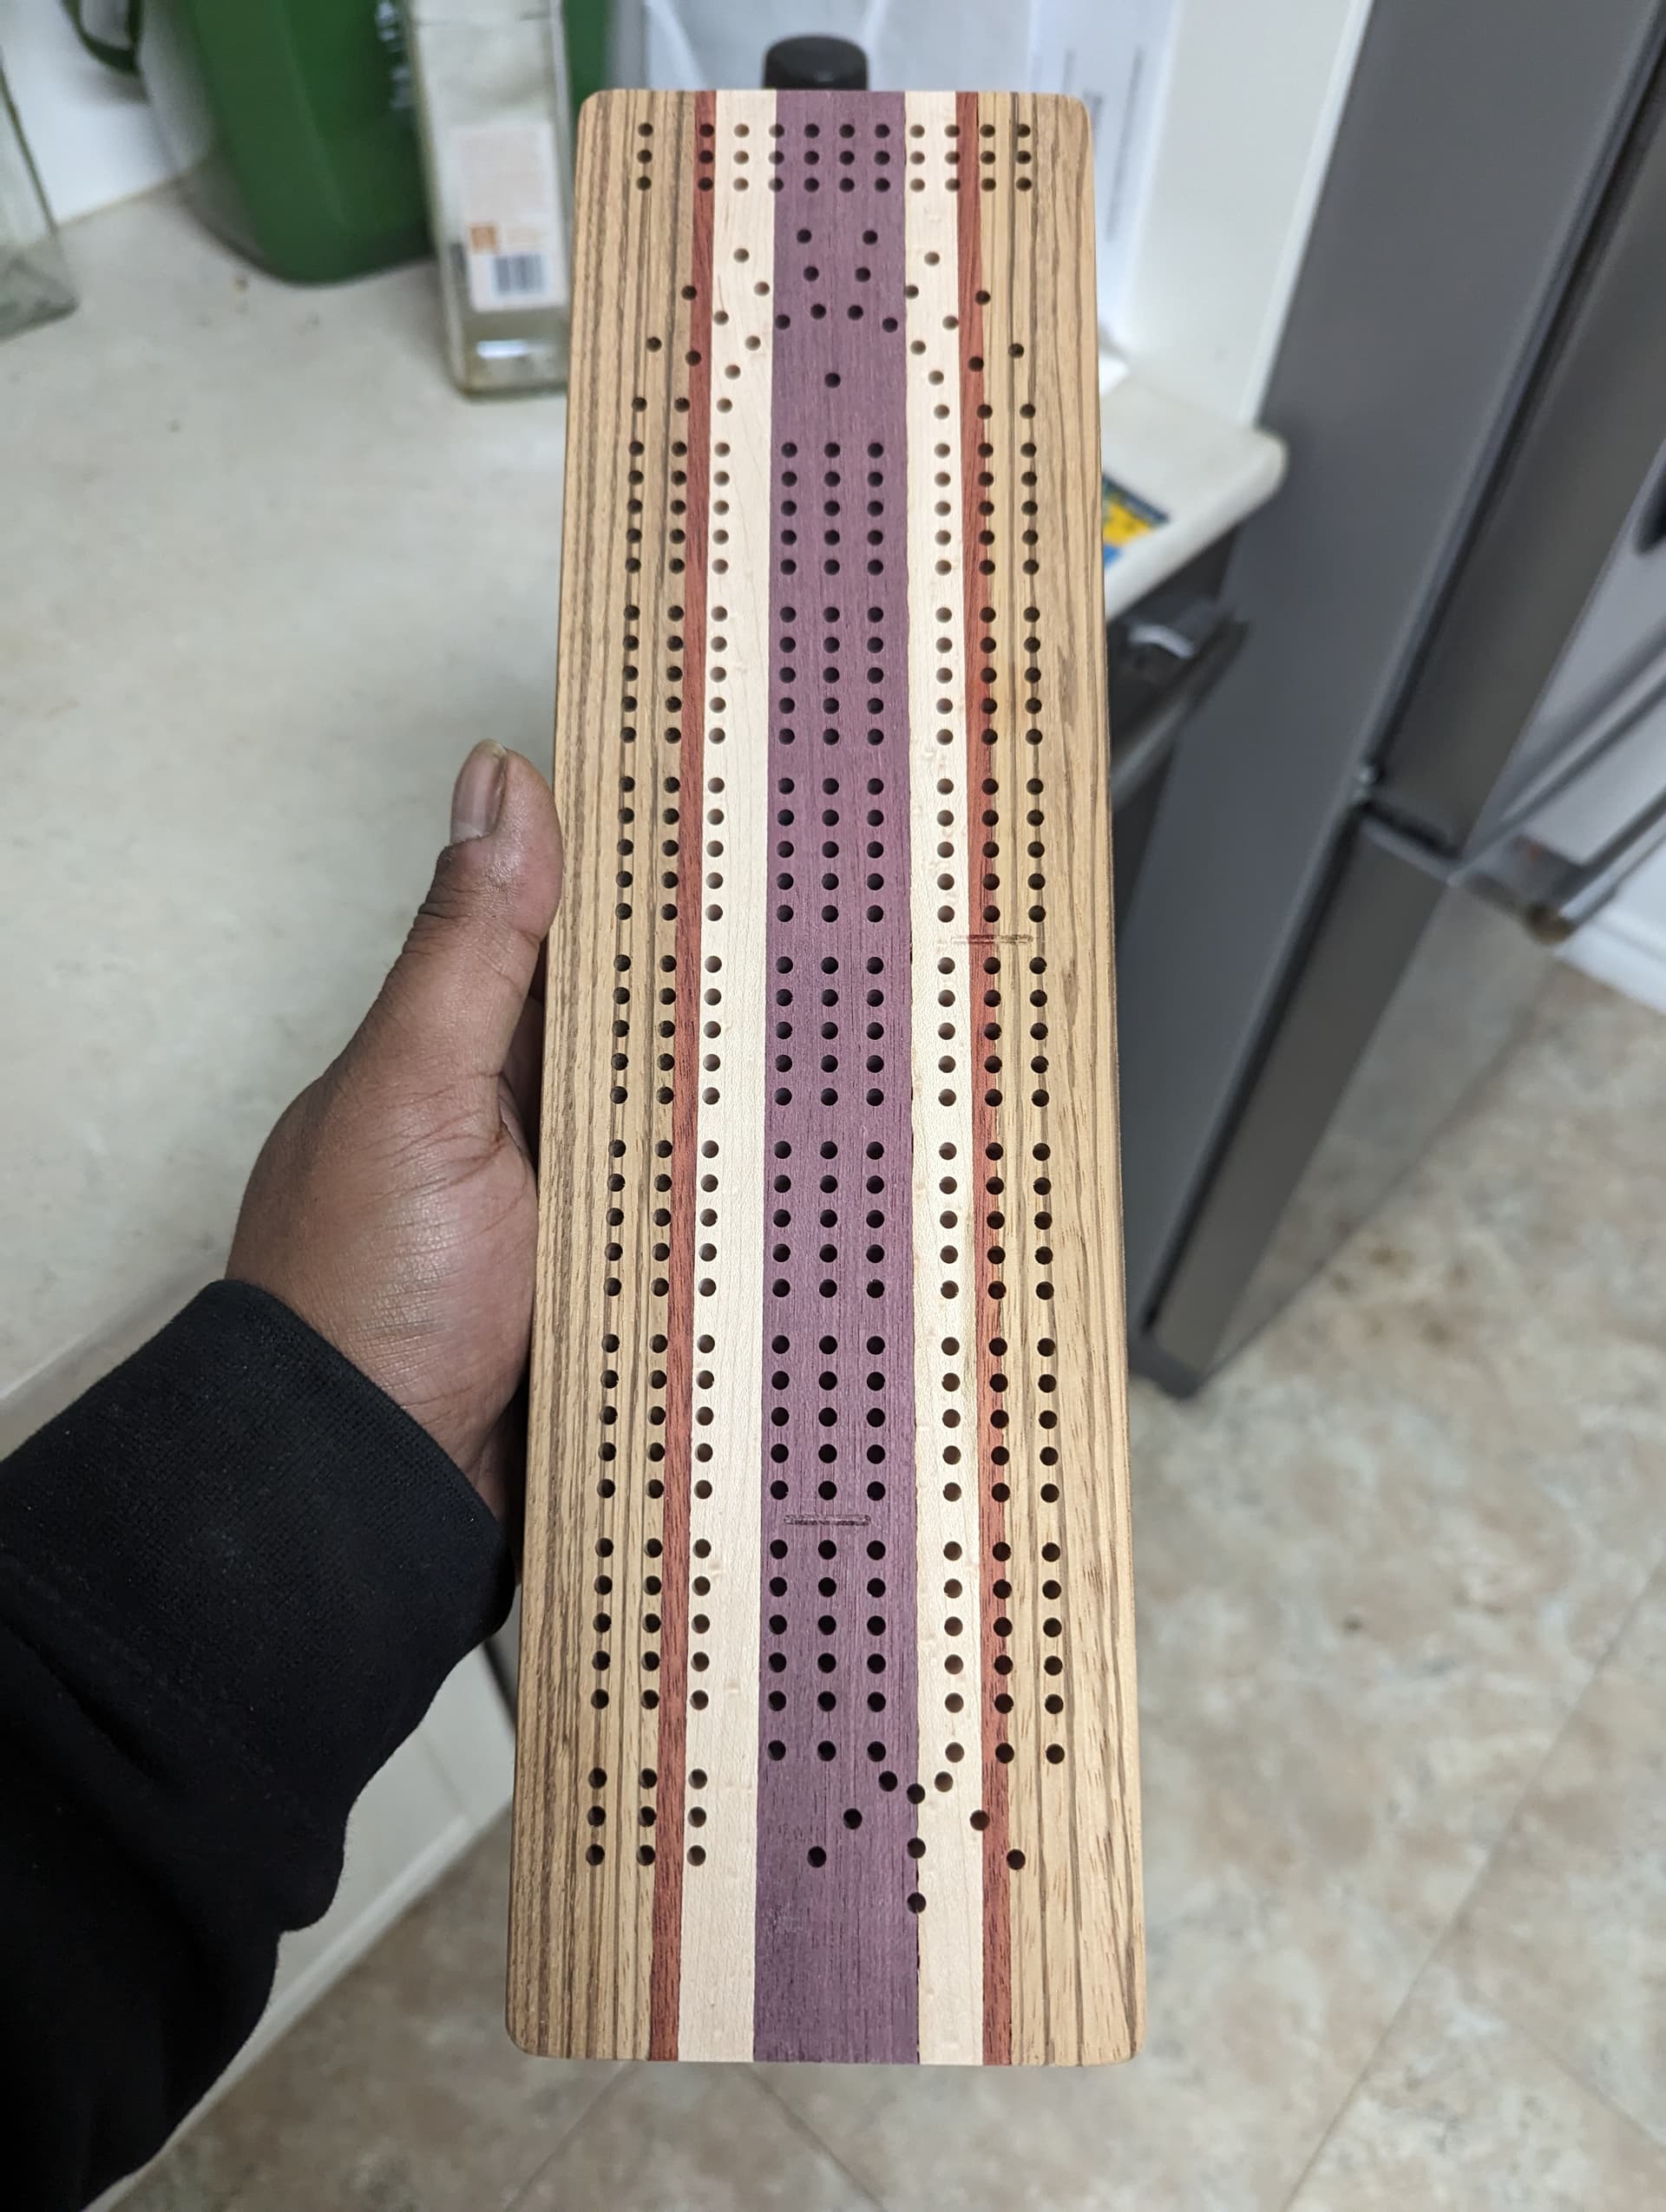
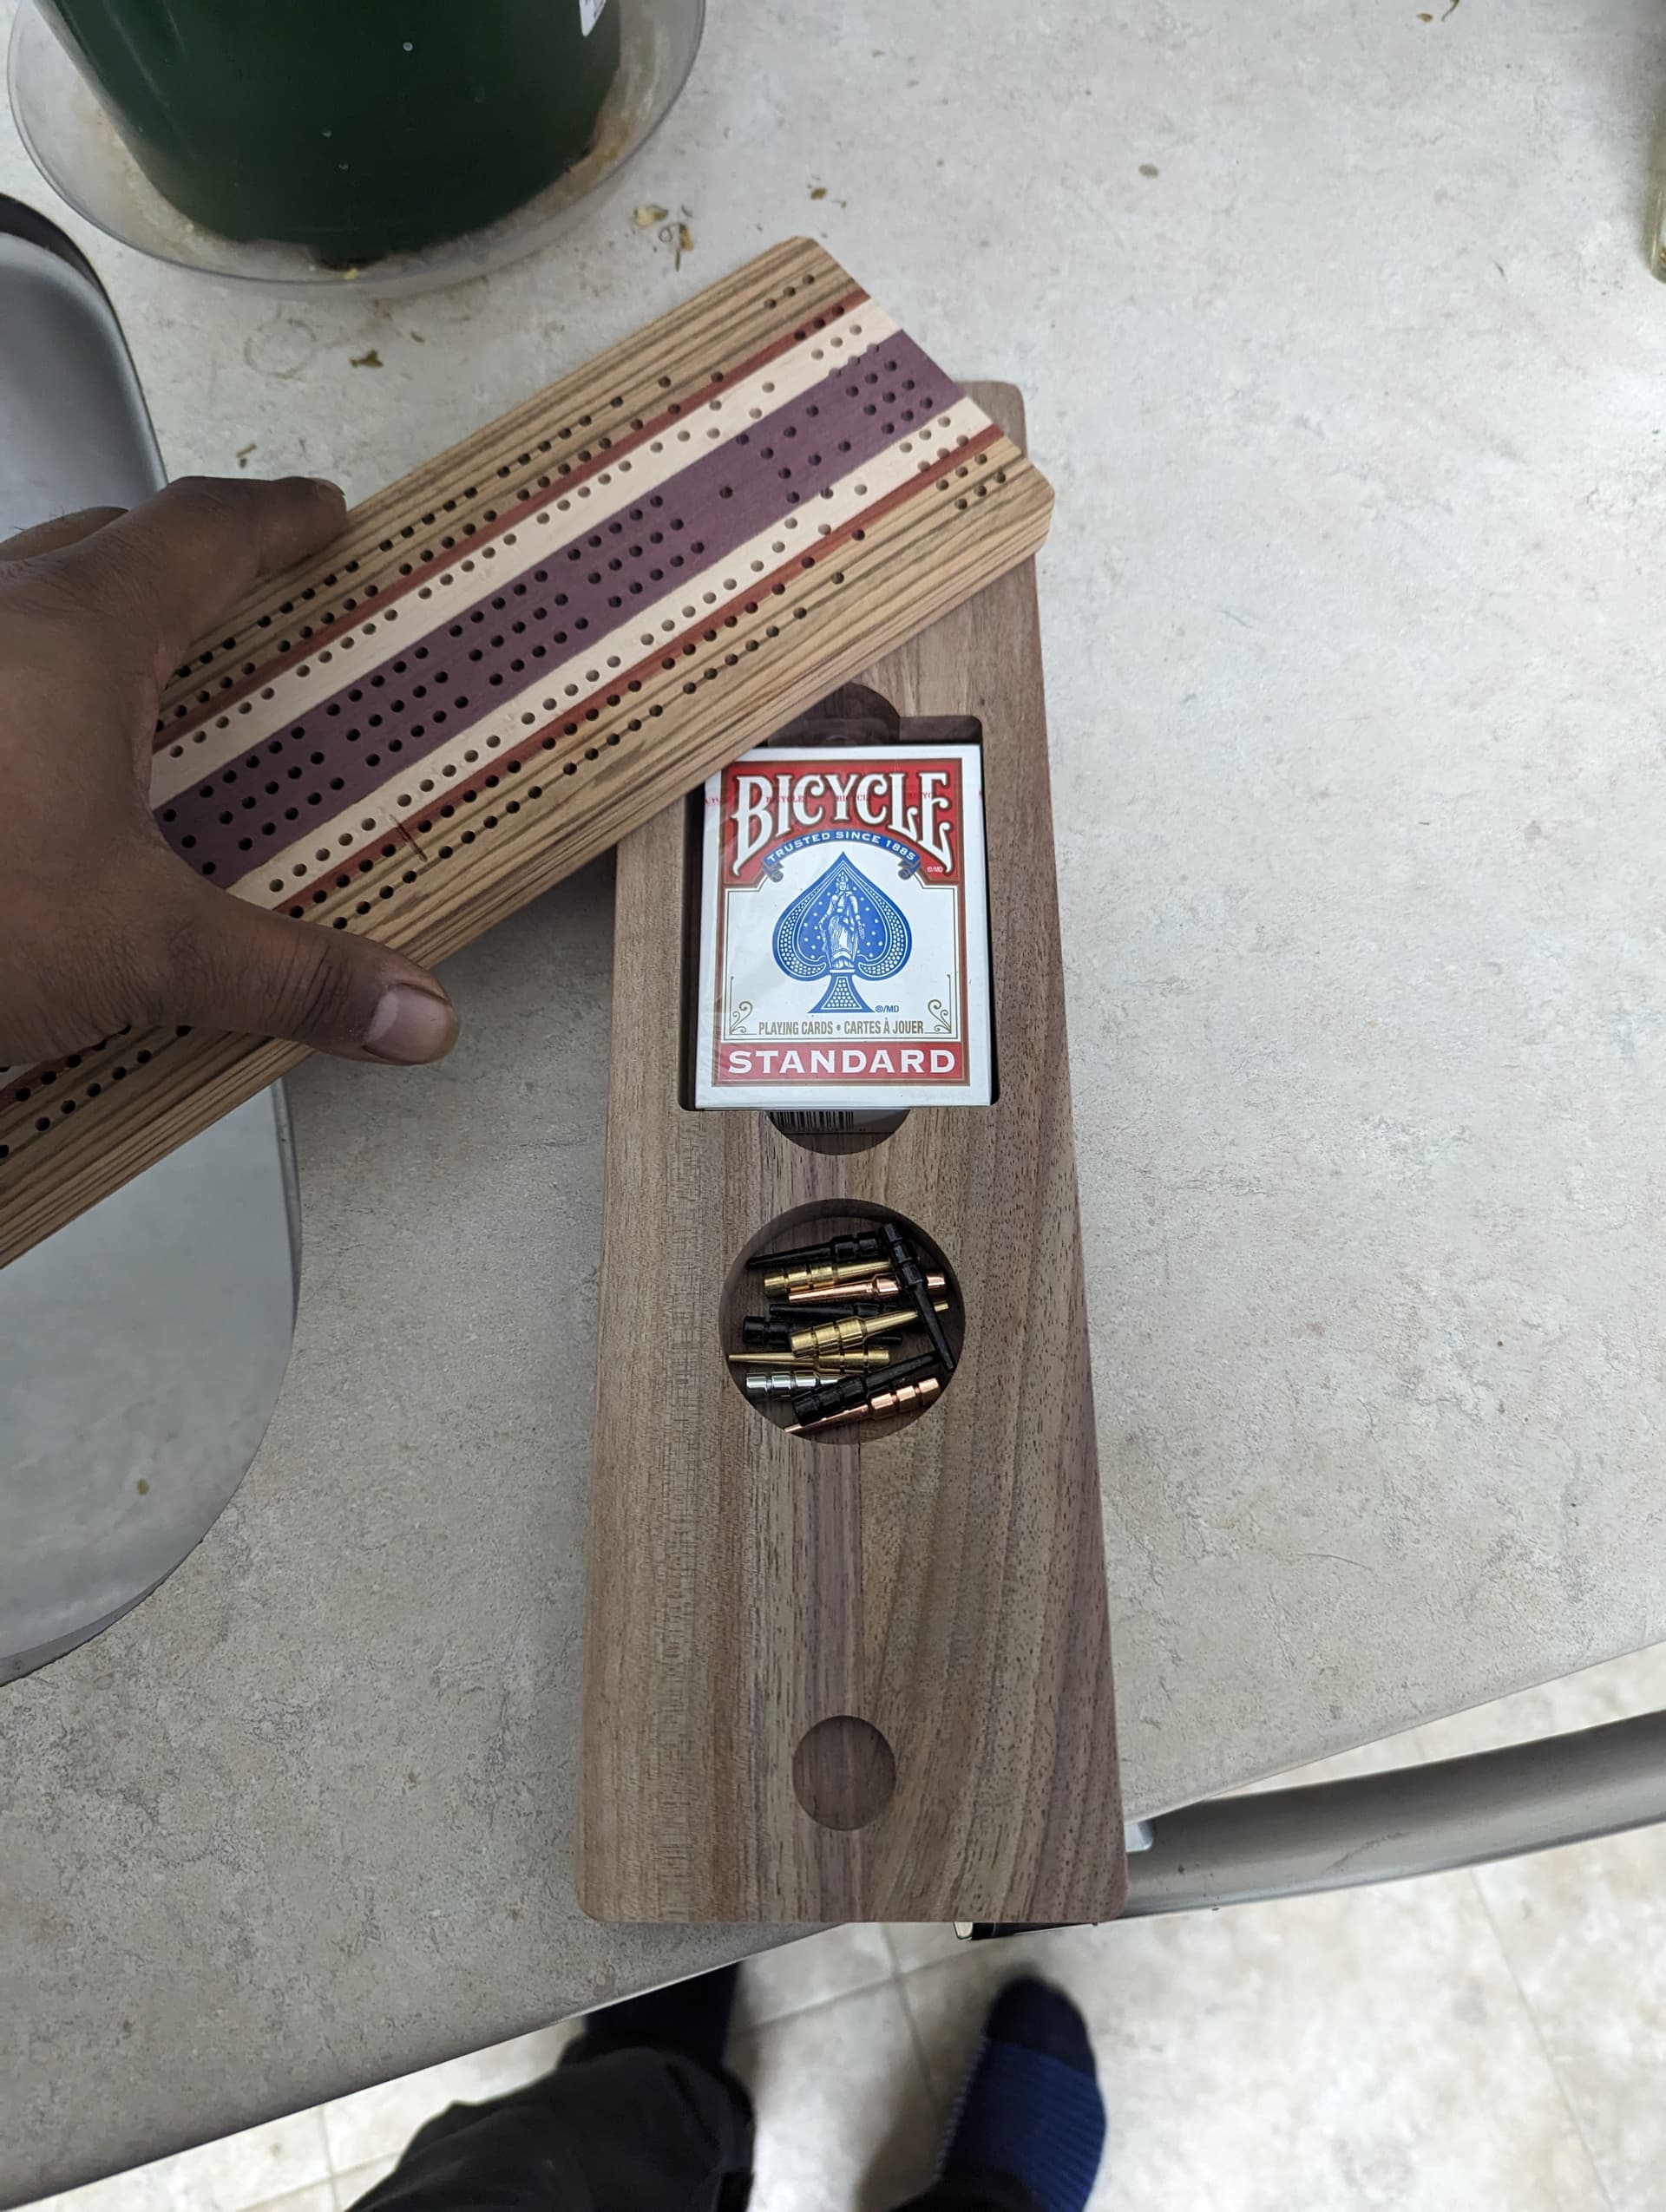
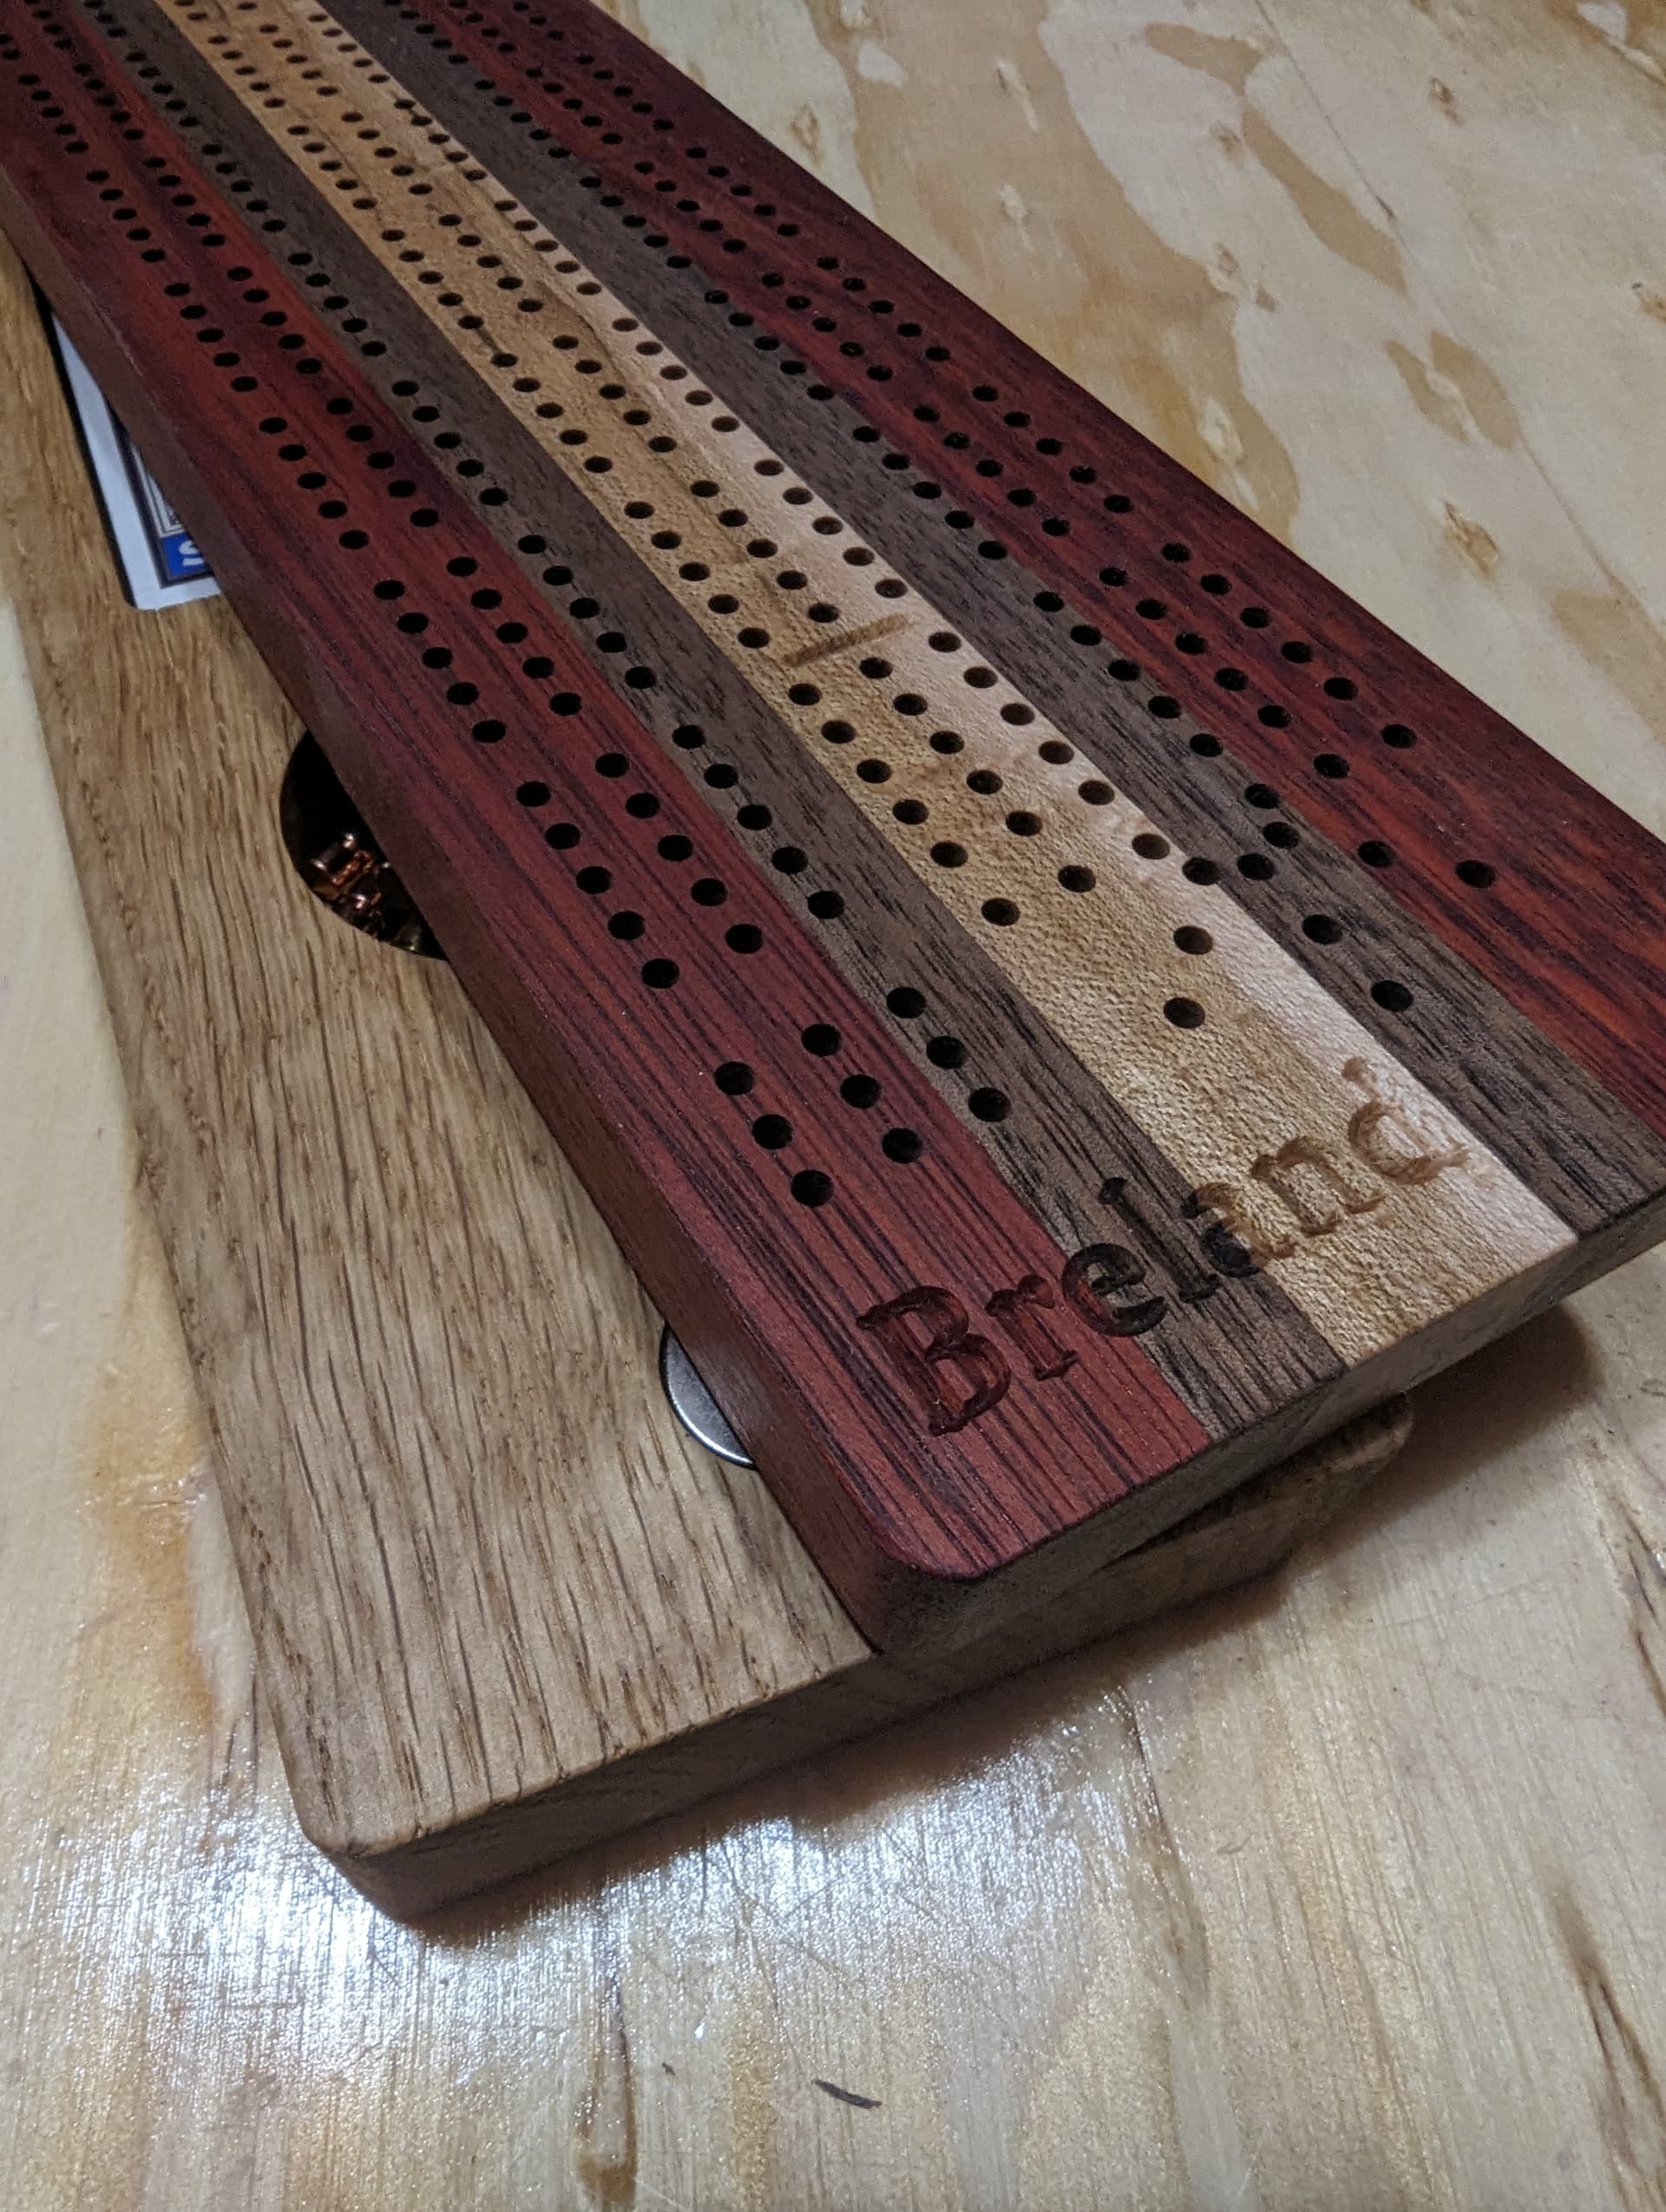

18 Likes
When you make your fence I suggest that it be in 3 parts. The first is the backing with the L bracket so you can bolt it to the table top. The second third parts is a split fence. The advantage of a split fence is you can pull them apart for wider bits like rabbeting, sloting or lock miter bits or drawer bits. The additional benefit of a split fence is you can edge boards by shimming the out bound side and run a board’s edge across the inbound bench through the bit and over to the outbound side and get a nice jointed edge.
There are many advantages to having a split fence. Here is a commercial fence example.
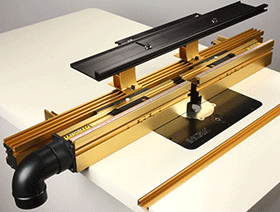
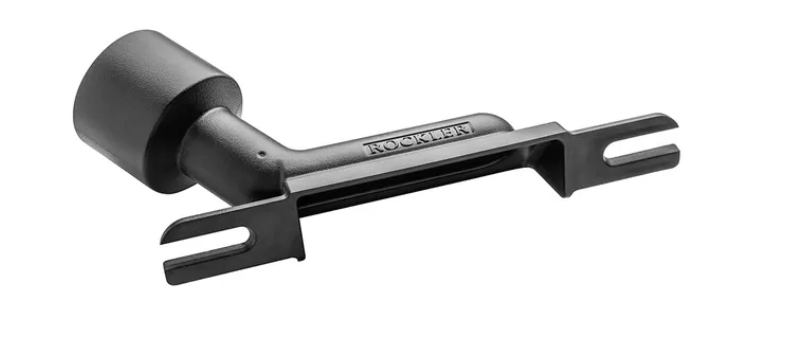
On the Incra Wonder Fence you have the fixed fence in the back and in the front is a split fence. Your Shapeoko makes a lot of dust but a router table maybe make more so some sort of dust collection on the fence would help. Rockler has one that goes on the back of the fence but they also have one for a drill press that would work just as well if not better because the dust port is off center.
Router Table Dust collection:
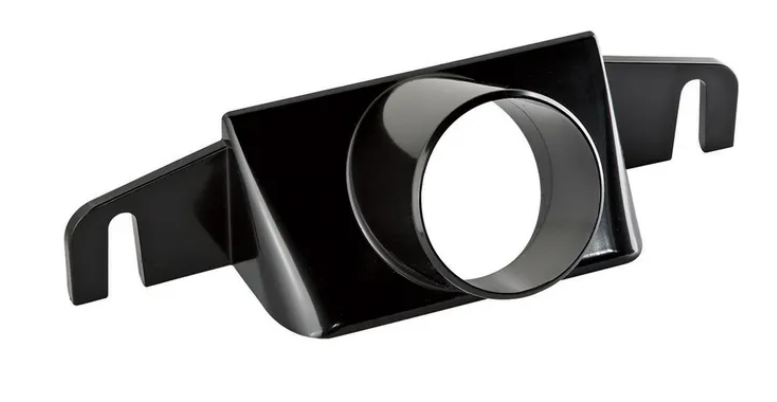
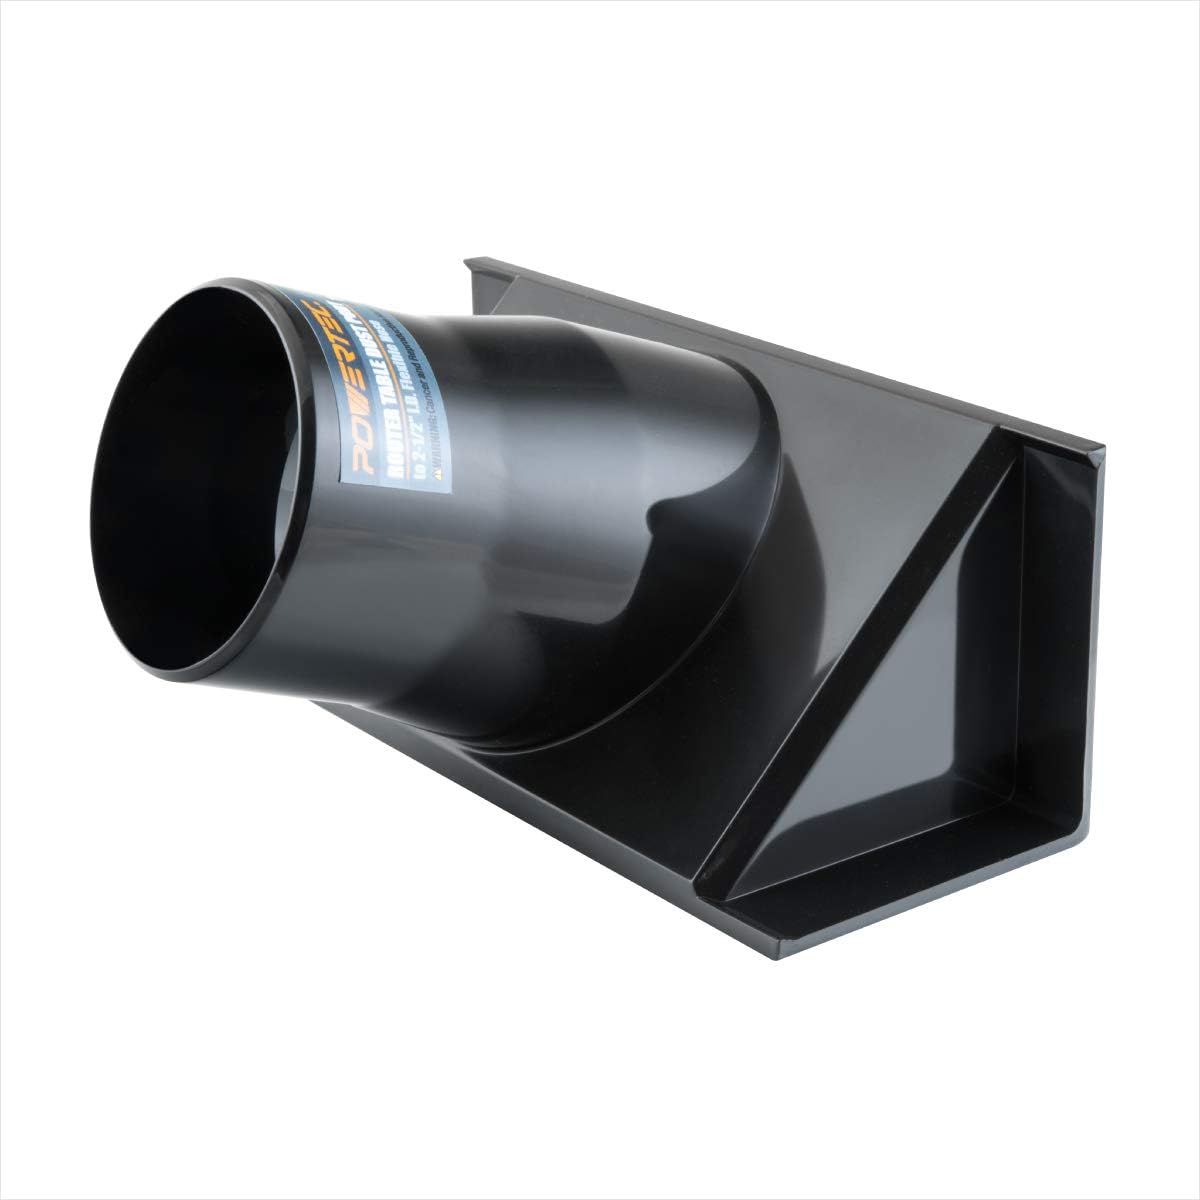
Drill Press Dust collection:
There are other dust ports available on places like amazon.com
4 Likes