What did you cut on your Shapeoko/ Nomad today?

My jewelry box above uses the golden ratio. :slightly_smiling_face:

3 Likes

Excellent Tutorial and video explanation! Thank you for posting

I think it tracks with the method from @WillAdams but explains it a little differently.

Thank you WillAdams for your input. I have been looking into trying to figure out the last stages of making the final programming layer of stacked text. I don’t want to just stack text. I want to be able to put pictures behind or above text, or pictures above pictures under the layer parts.

I havent looked at what you have posted yet, but am heading over there now to see what you might have given me to research more into. I thank you in advance for helping me along my journey towards understanding layers and working towards making more in-depth carvings from CC Pro.

Interesting and clever, thanks for explaining. I am impressed and couldn’t conceive how it could have been done otherwise!

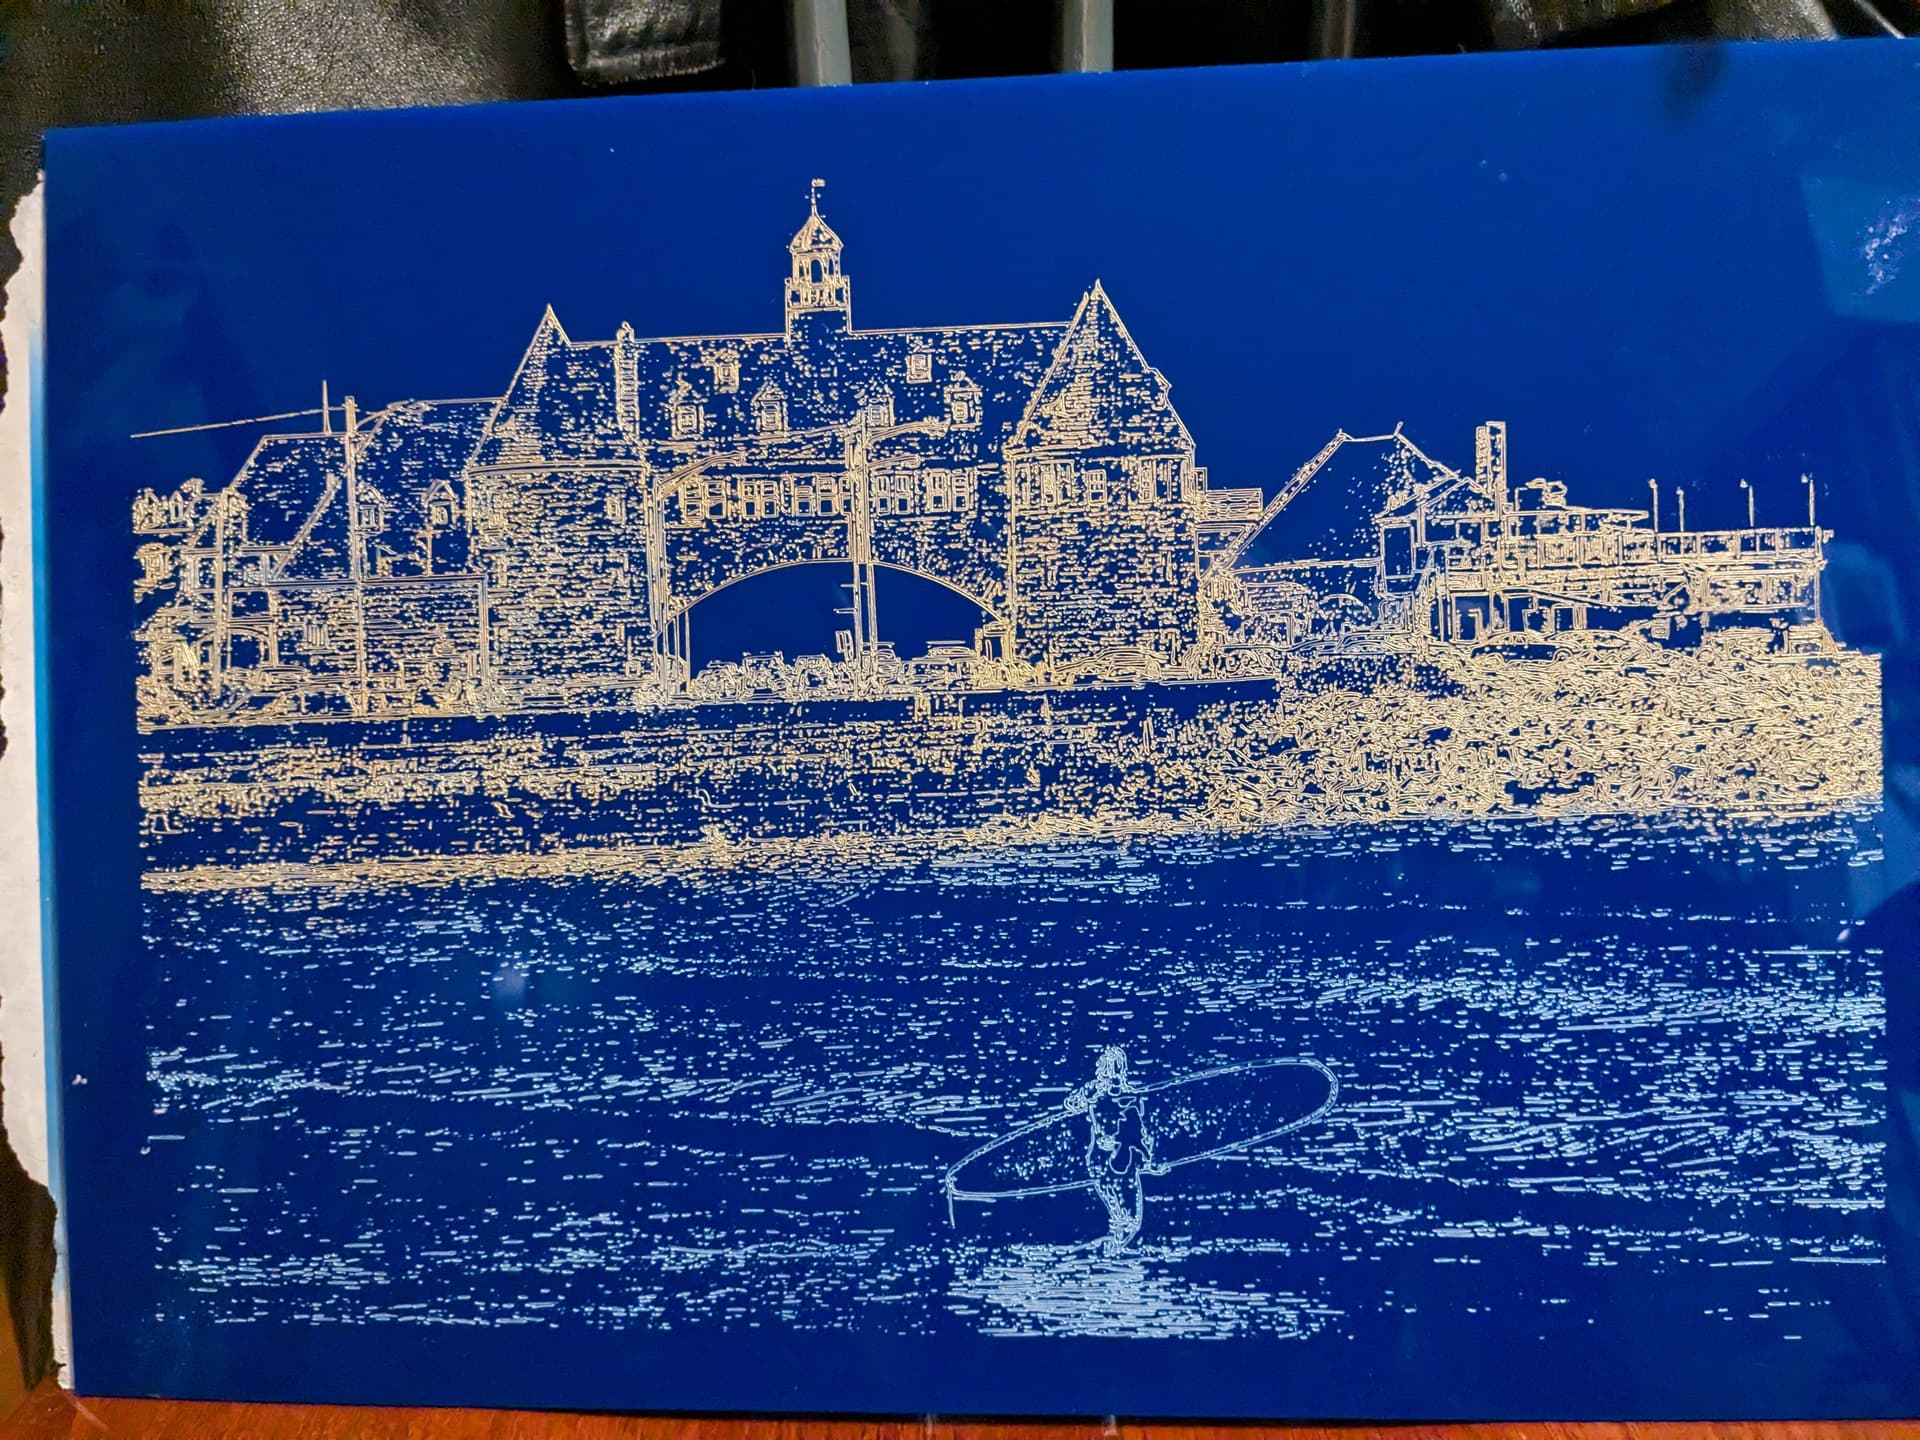
A gift for my daughter

8 Likes

I love what you have done. What did you use for a power supply for the lights?
Thanks,

Thanks so much. It’s a 5v 10amp power supply from AliExpress:
https://www.aliexpress.us/item/2255800224457590.html

1 Like

Made some lead weight molds for a fisherman coworker who dives for lost lead weights and then melts them into the particular flat bank sinker he uses when fishing. I work for fish :hugs: :sushi:
he wanted some custom molds. This is the first one with 2x 8 ounce flat bank sinkers. The harder ones I’ll take on next. Took maybe 3 hours to design on fusion 360 CAD and CAM. Took 2.5 hours to cut on the nomad 3. I stopped a lot to vacuum up aluminum chips. I used a blank mold they sell on the Do-it mold website so I wouldn’t have to start from scratch. $50 for the blank mold. I used some isopropyl to help keep it cool.


19 Likes

A tool tray:

tooltray.c2d (1.5 MB)

14 Likes

Guy,made the mistake of showing the grandson and guess what he wants one.Looked on google and can not get to anything near funky gear for this,could you point me in the right direction,thanks

I’m not @gdon_2003, but here’s the link. I too had a hard time finding it.

3 Likes

Thanks Steven,will try now

Sorry spelt your name wrong Steven

It was Guy’s post, so you got it right! :joy:

@Graham @Brew @gdon_2003 i have been subscribed to Steve for years, solid plans and templates and fantastic guy that gives back to the community scroll saws but we can use them on the CNC. Enjoy

1 Like

I’ve since bookmark the site. Definitely a lot of great stuff there.

1 Like

I have made a few cutting boards and charcuterie boards on my machine. Last year, my wife asked me to make a 24" x 24" heart-shaped cutting board. At first, I was like, “Yeah, not a problem.” I bought some wood, glued it up, and cut it out… Well… She didn’t like it. She then said I want it made from one piece of wood. I went to the local “Slab” wood vendor, and everything they had was glued together as a panel or $1500.00. No way was I going to spend $1500 on a whole slab just to cut it into a cutting board.

After some searching, I found a vendor about 400 miles away. He sent me a photo of a small slab he had. It was perfect. 8/4th Walnut with only a small crack in it. He cut it to 24" x 24" for me and sent it.

I opened the packaging and let the piece rest in my shop for about four weeks. It was coming from NorCal, and I live in SoCal. I didn’t want the piece to warp after I carved it.

Long story Long. The Cutting Board turned out FANTASTIC. I finished it with some Mineral Oil and BeesWax. Wow.


16 Likes

That’s a really interesting piece. Cool to look at and serves a learning purpose.

I’m old, so “nifty” is the word… lol

Cheers,

M

Very Nice! Well Done!