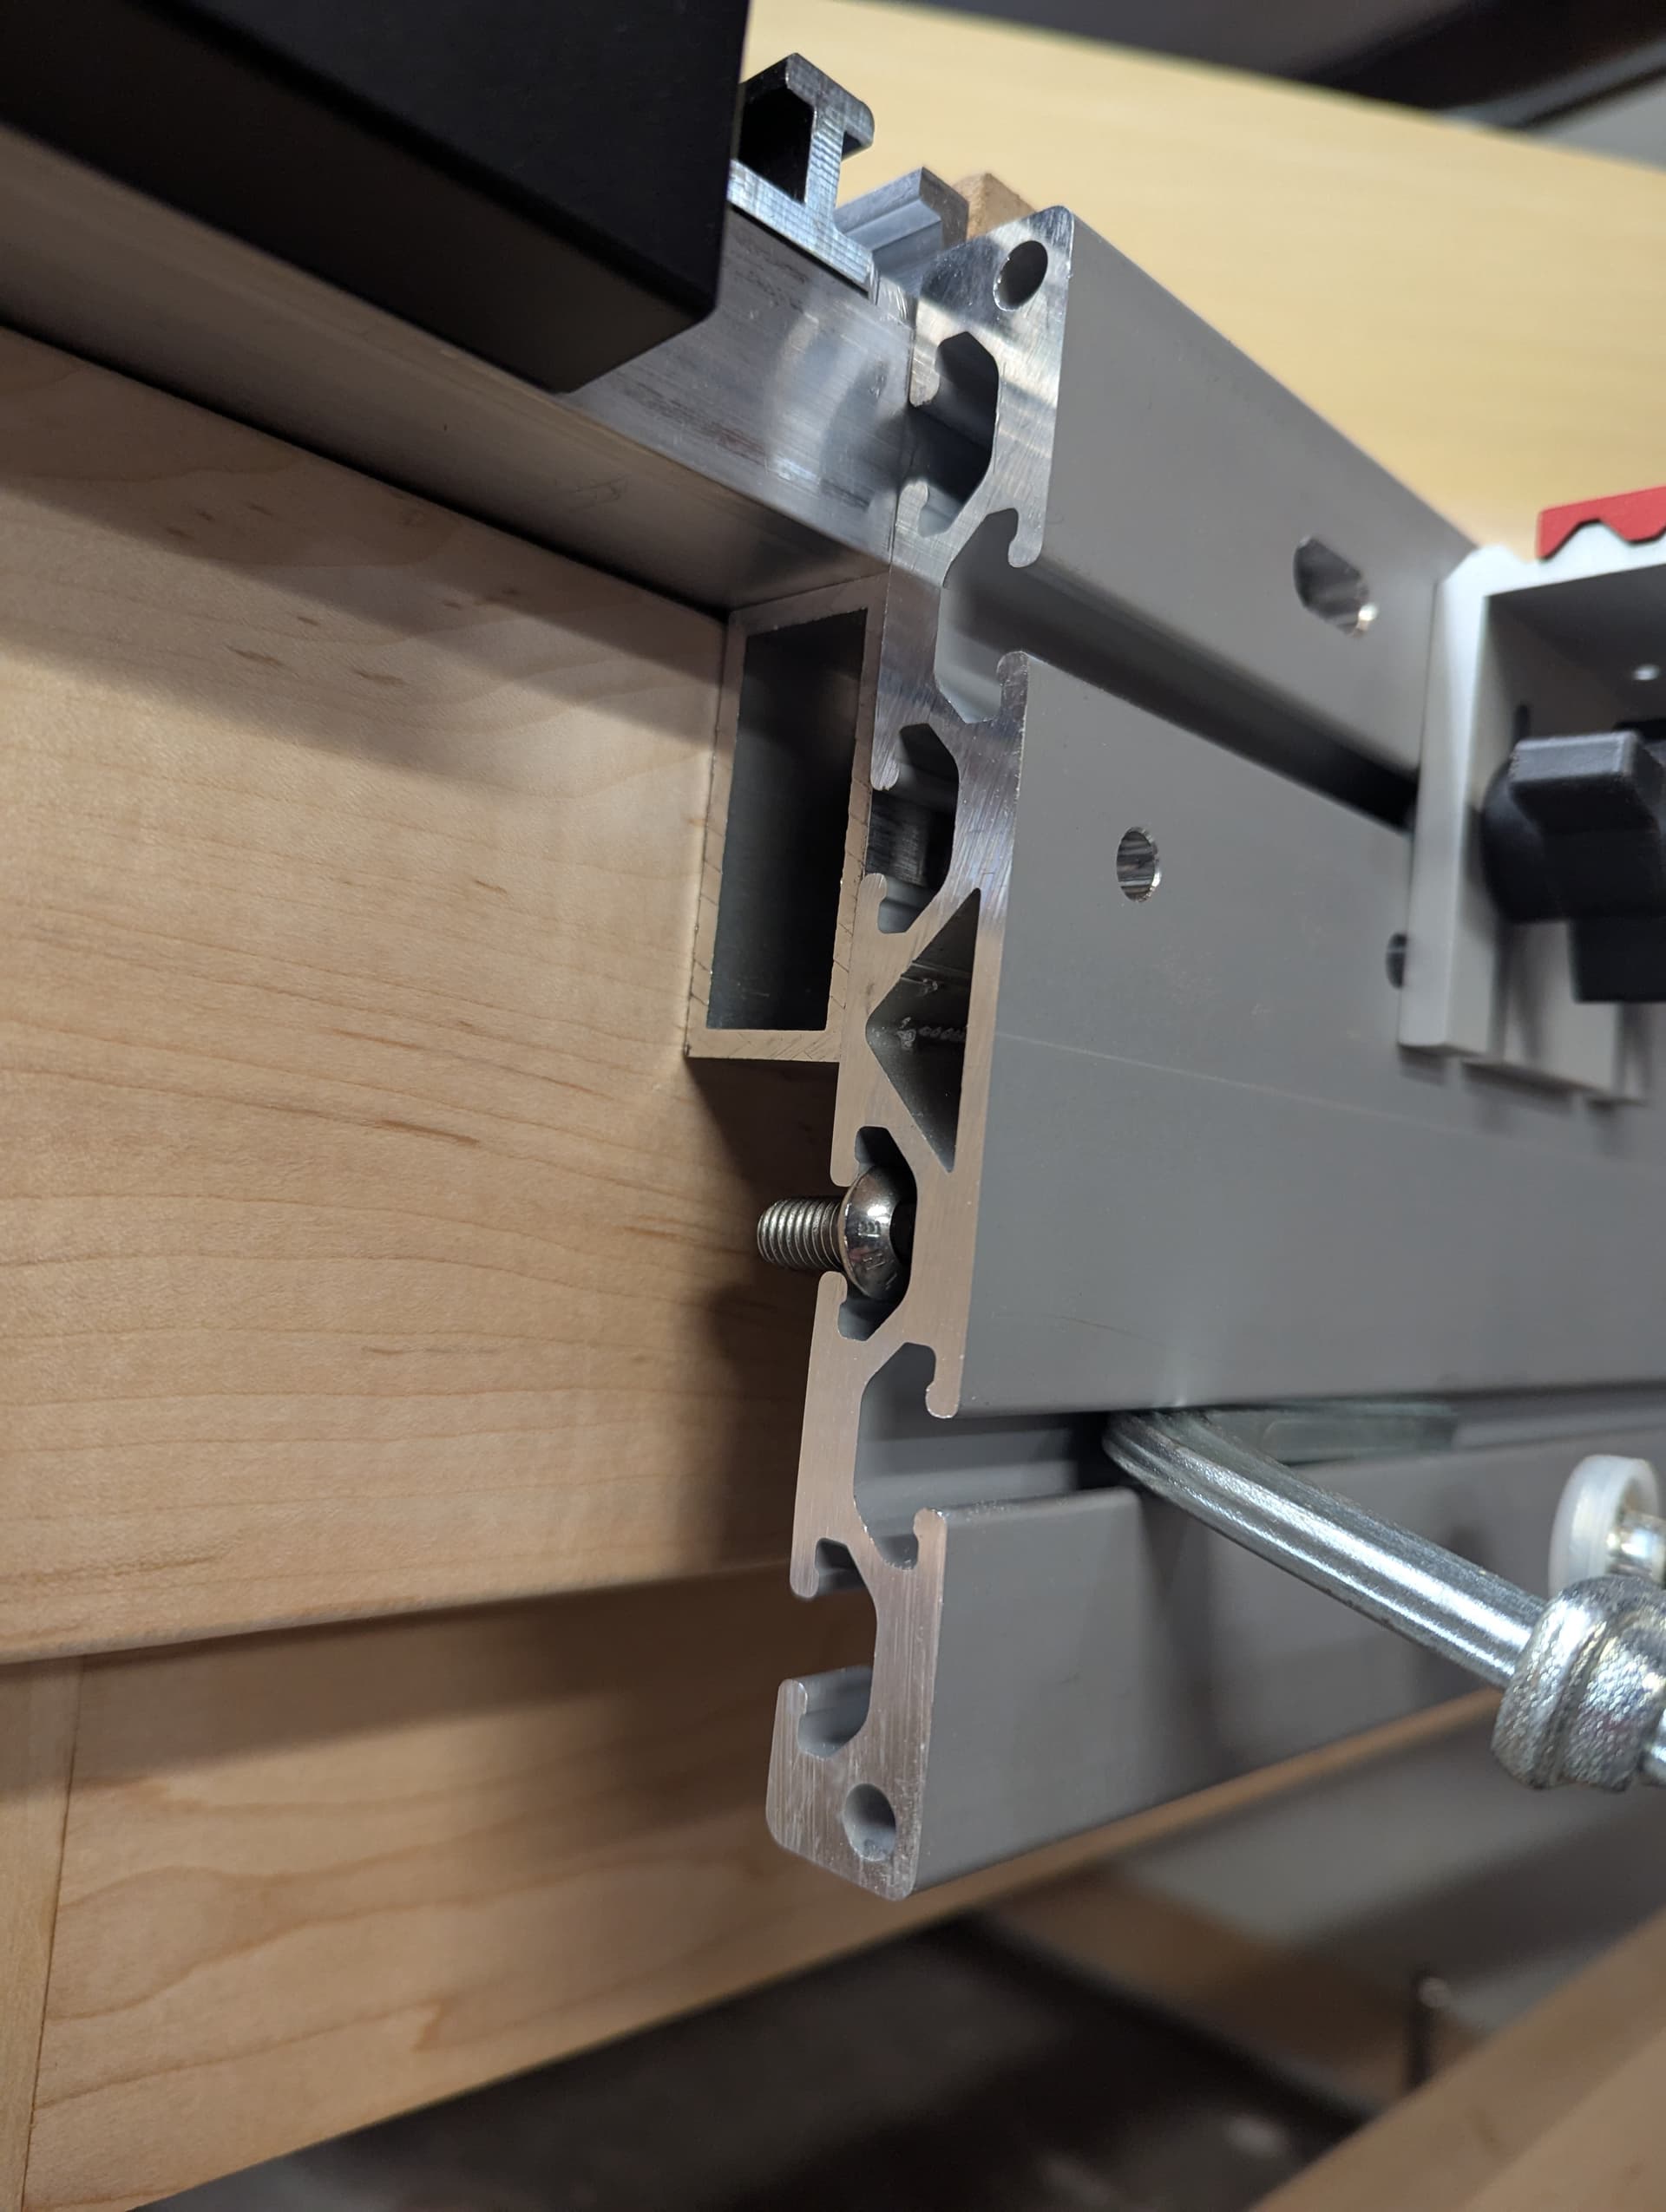
I am definitely the new guy here, so, I don’t really know what I am doing. This was like the 4th thing I made on the Shapeoko. In any case, I really do like the extrusion and how rigidly it’s coupled to the machine; here is a closeup of the assembly.
I removed the front Shapeoko 1x2 bed support, drilled and tapped a series of holes for m8 button head hex bolts in the front face and the bottom. I put a bolt in the unused track for example on how it attaches. I used a new 1x2 rectangular tube from online metals to provide extra support. This tube is attached both to the Shapeoko and the 80/20 extrusion. The holes in the 80/20 are just there to tighten the button head bolts.
There are some things I might do differently:
The extrusion is slightly too high to allow insertion of the teez nuts.
I used way too many holes.
I probably should have faced the new 1x2 aluminium tube?
I may flip the extrusion to get four T tracks in the front.
I hope this is helpful and let me know if anybody has any suggestions for improvements.
Cheers