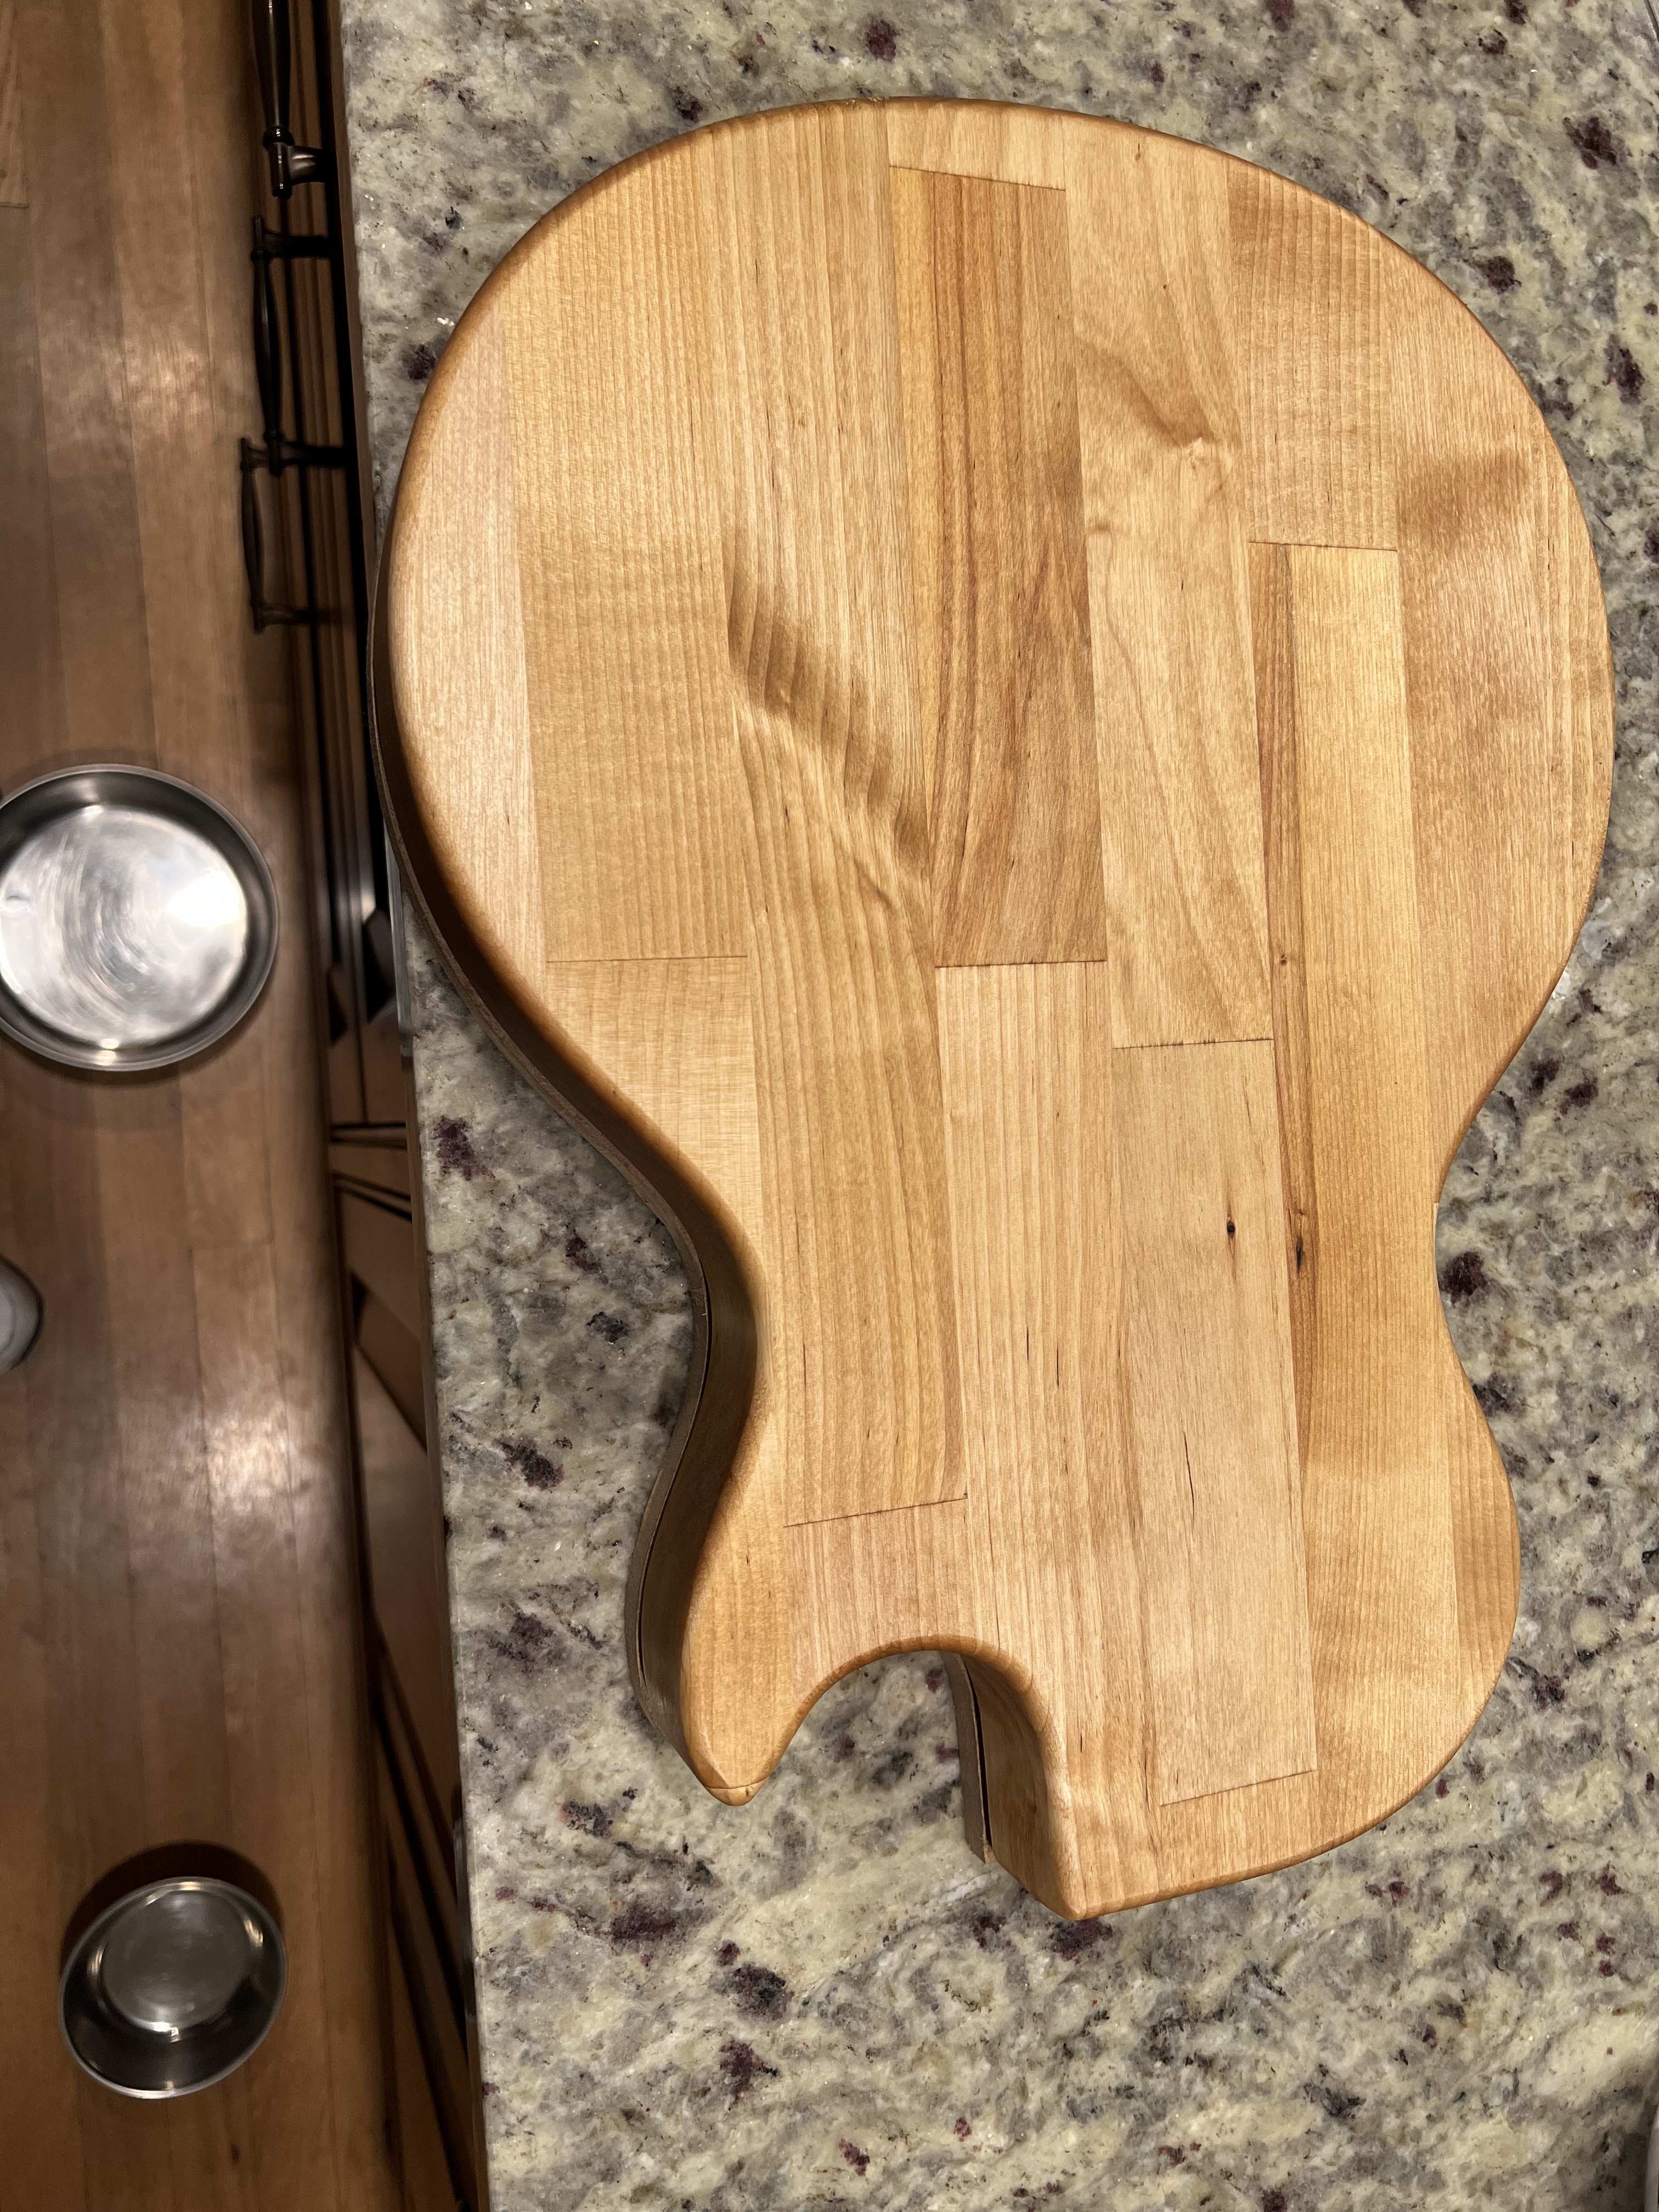
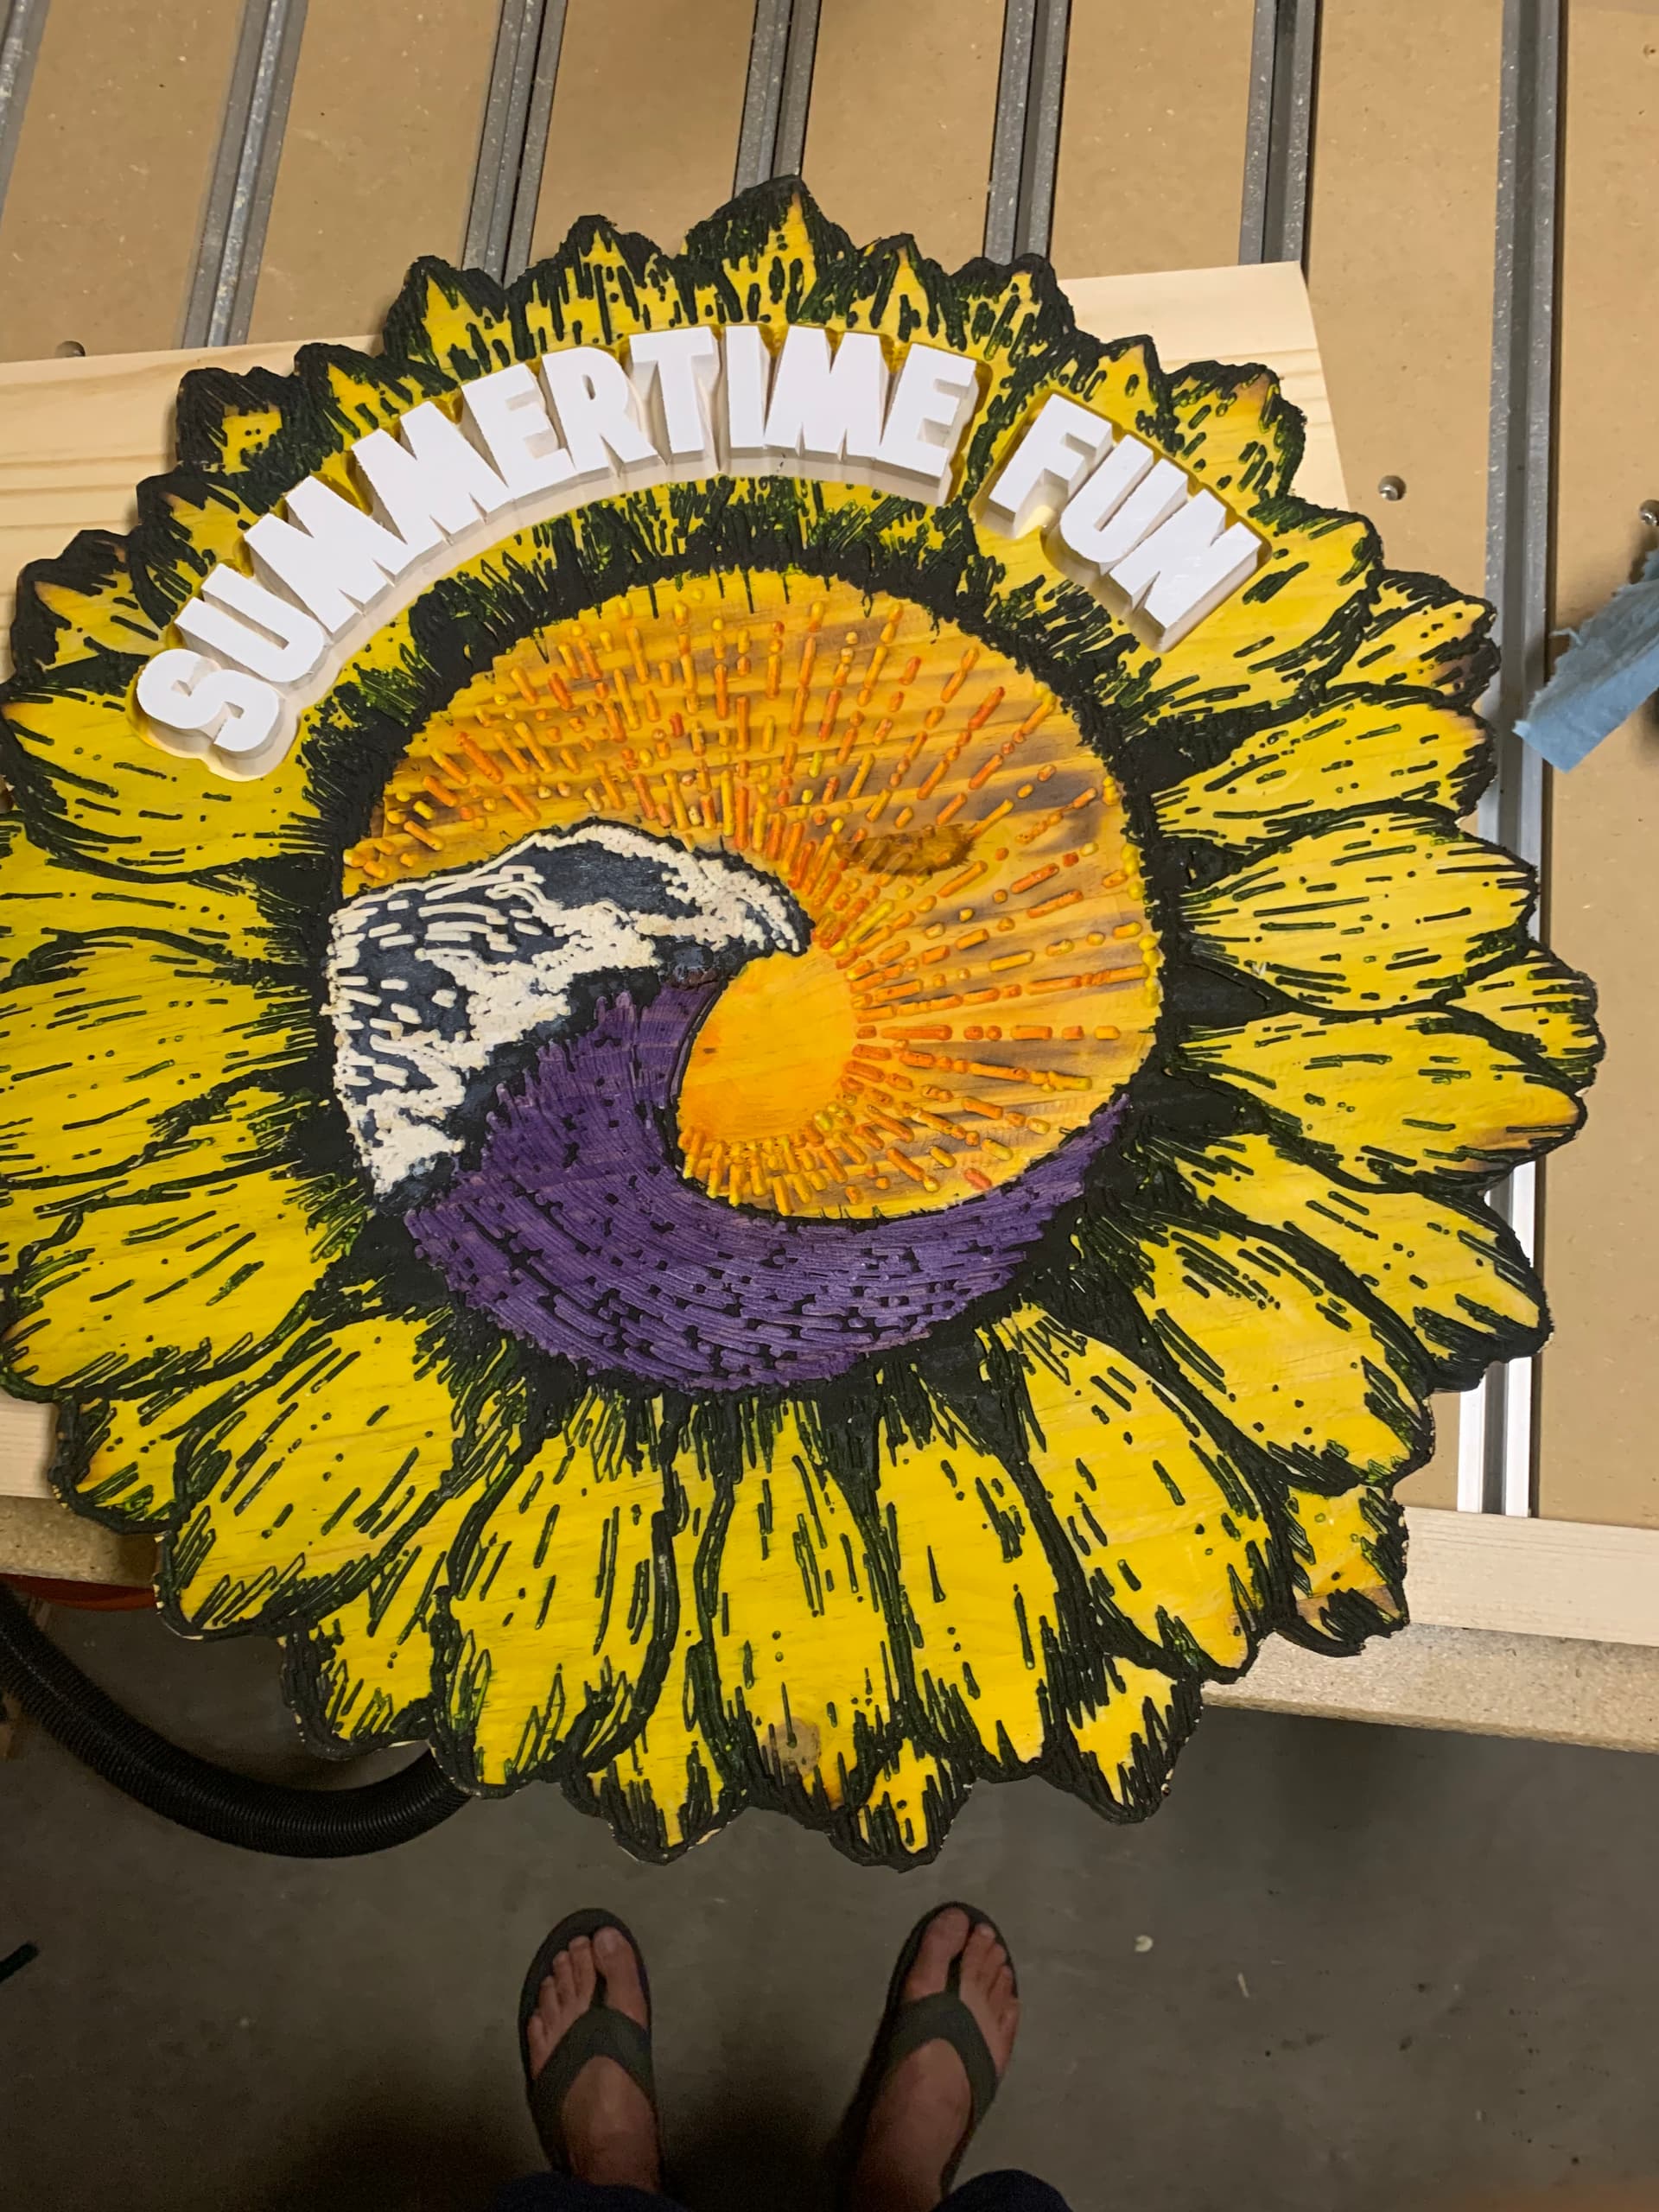
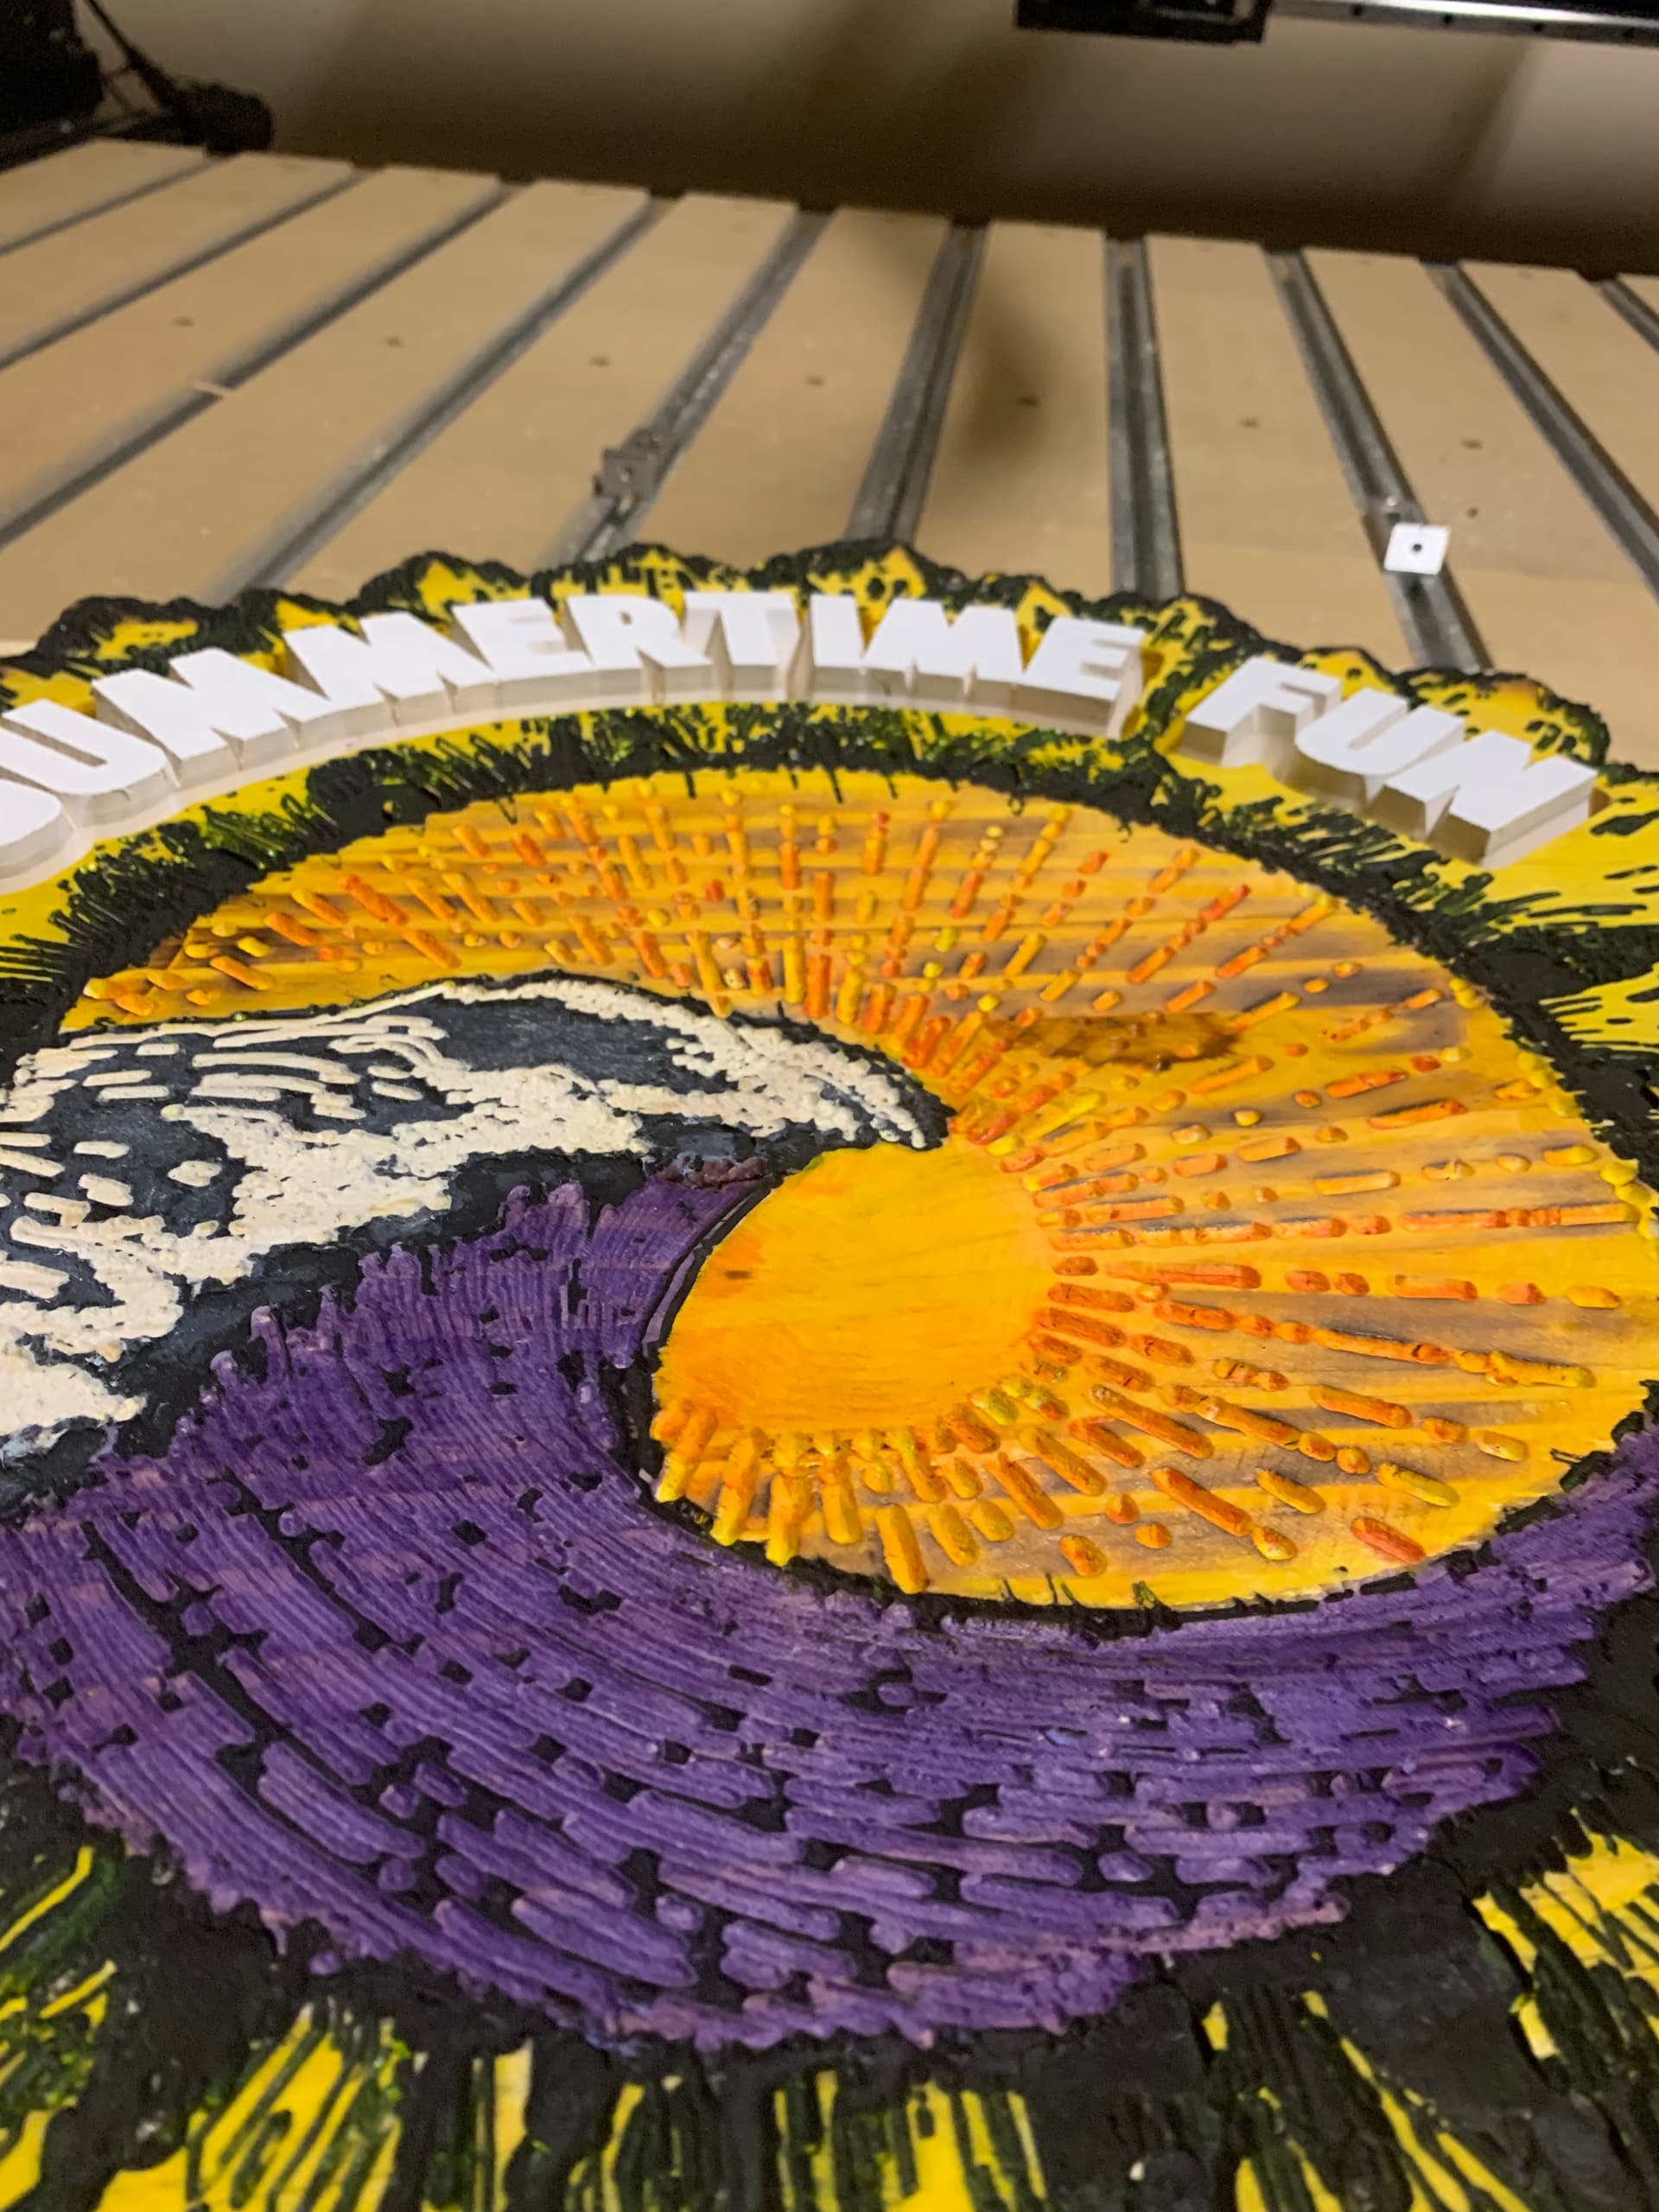
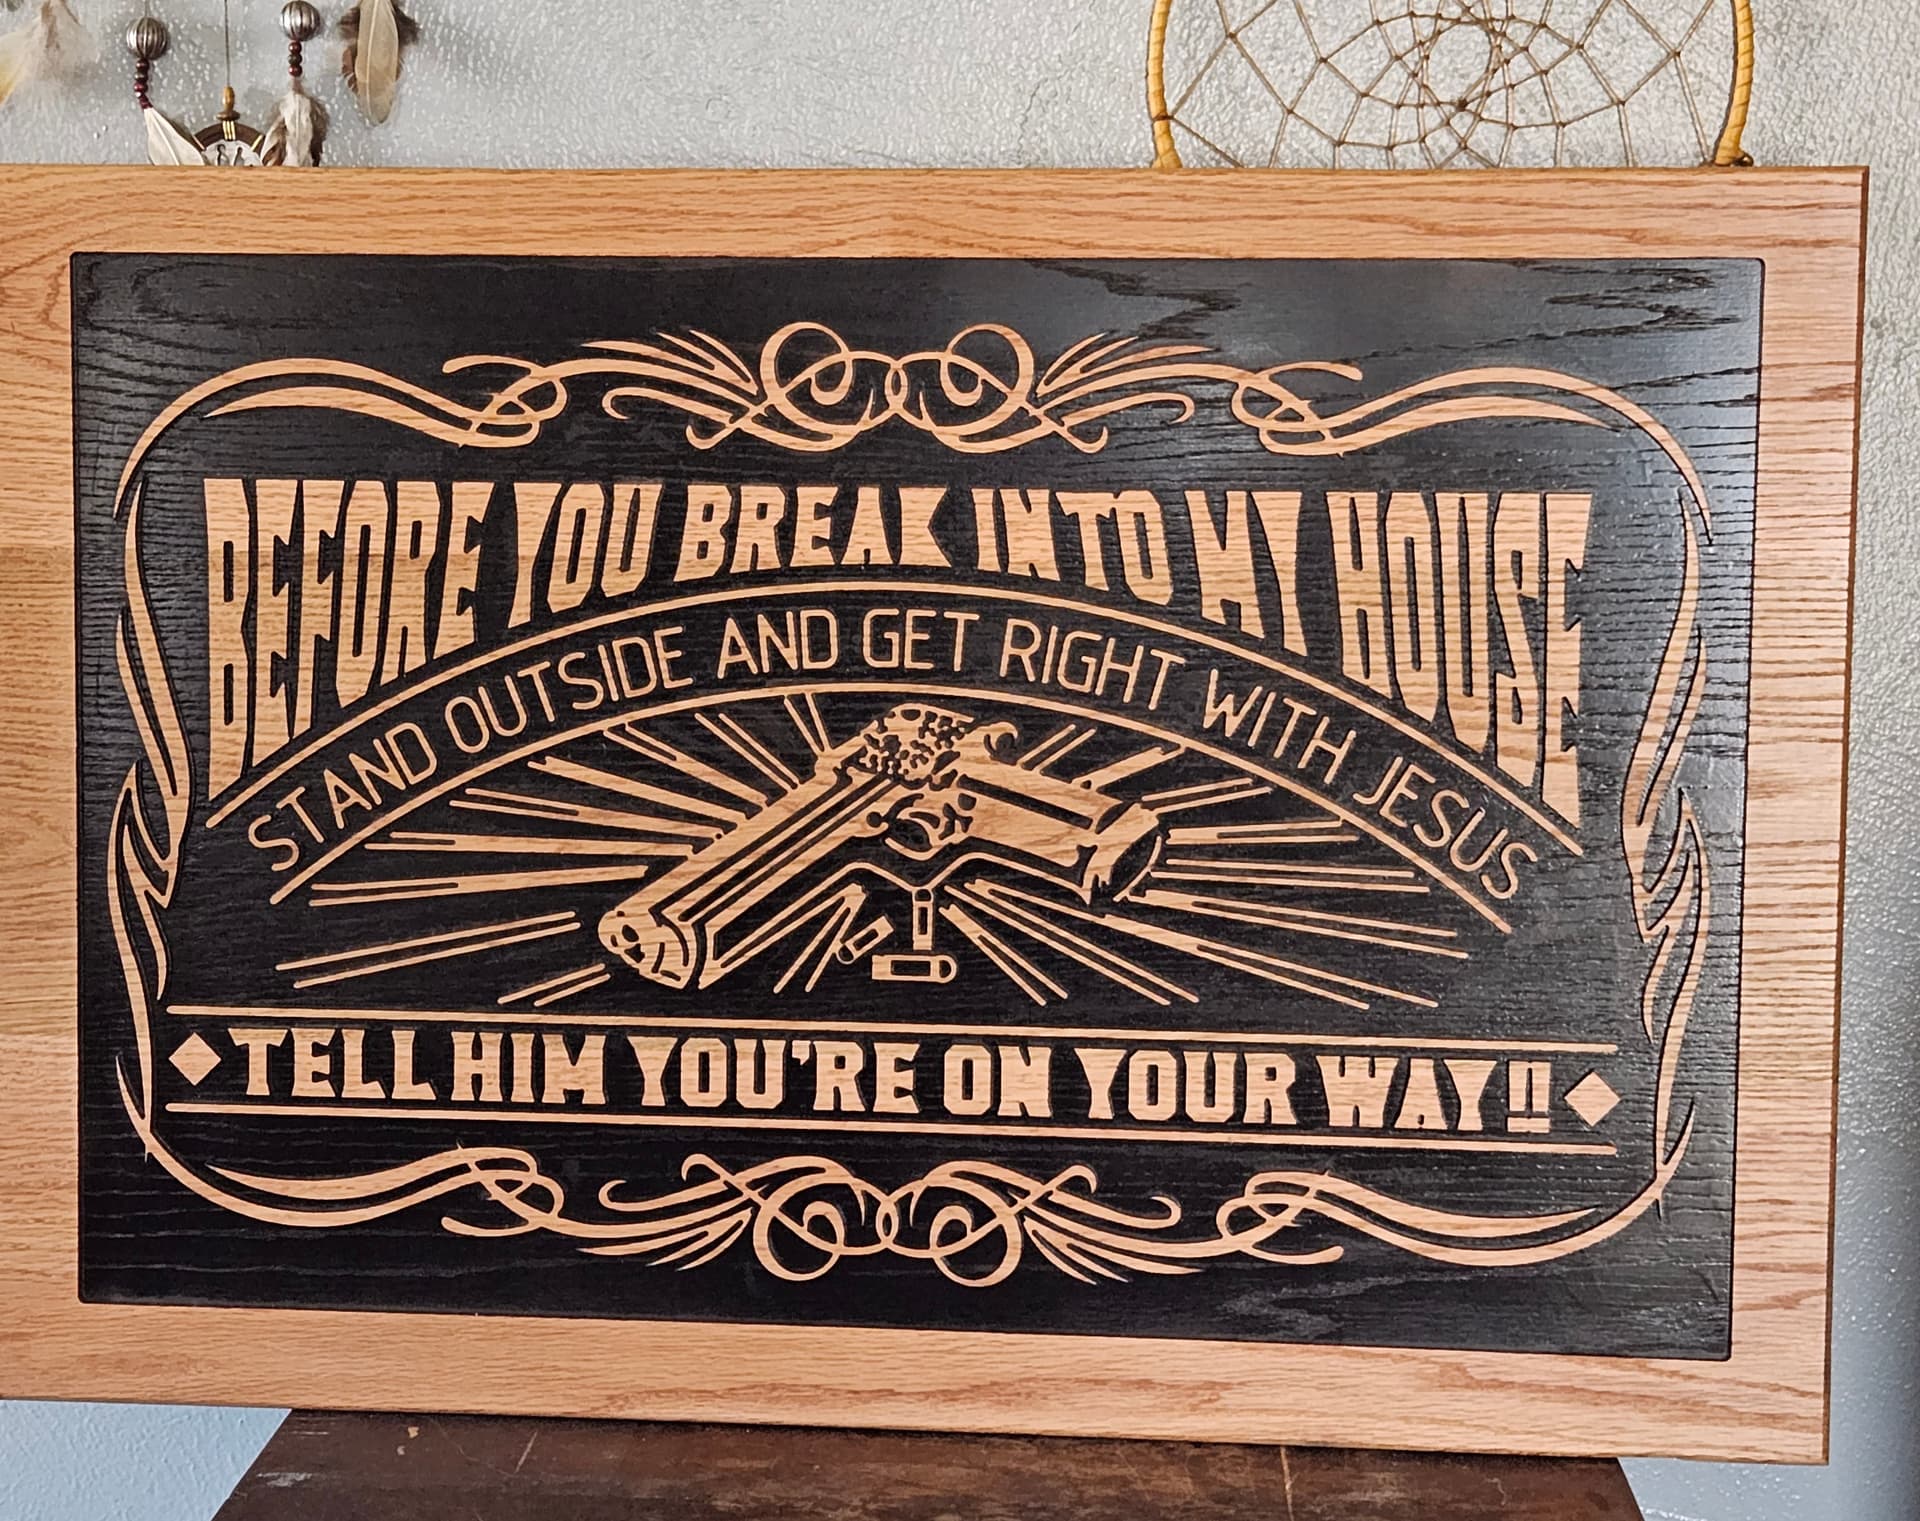
Thanks. The files came from someone on Etsy. They had a number of music-related designs with good ratings so I tried the LP because of the challenge of the arched top. The vendor was String Pluckery. I first cut an outline of the body and gave it to my son for a cutting board… then the top was the first attempt at a top with some waste countertop pieces…
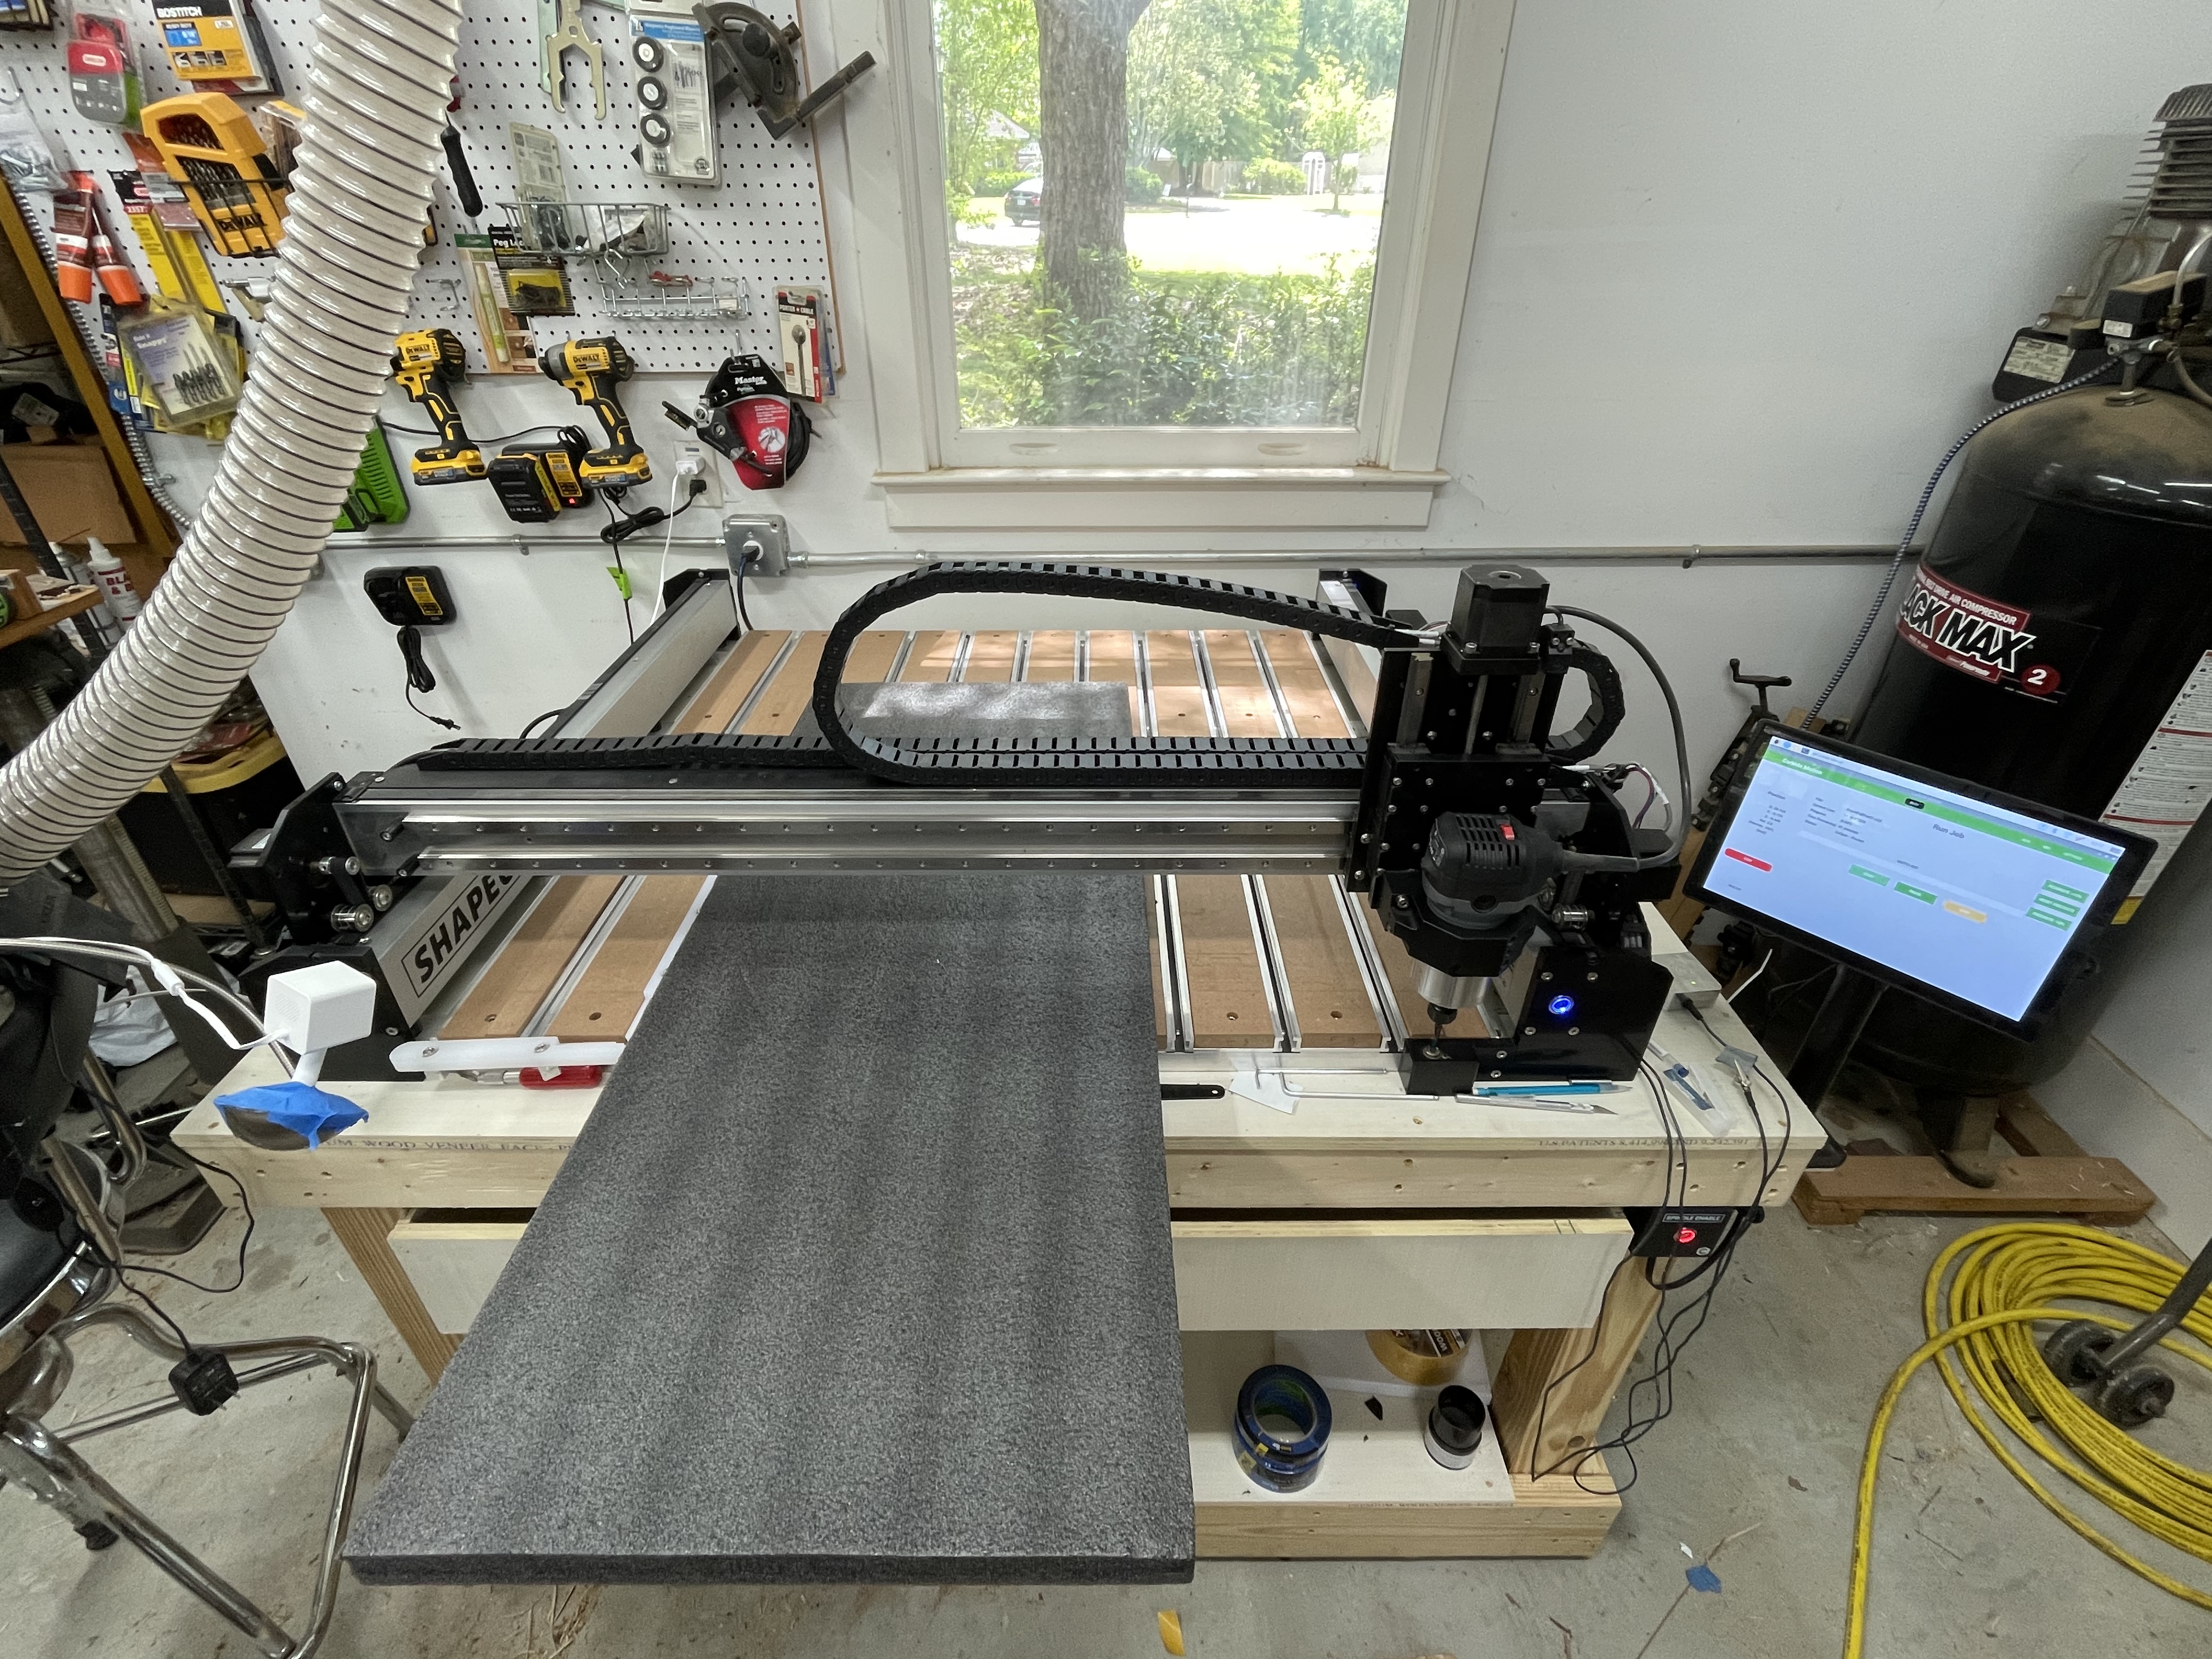
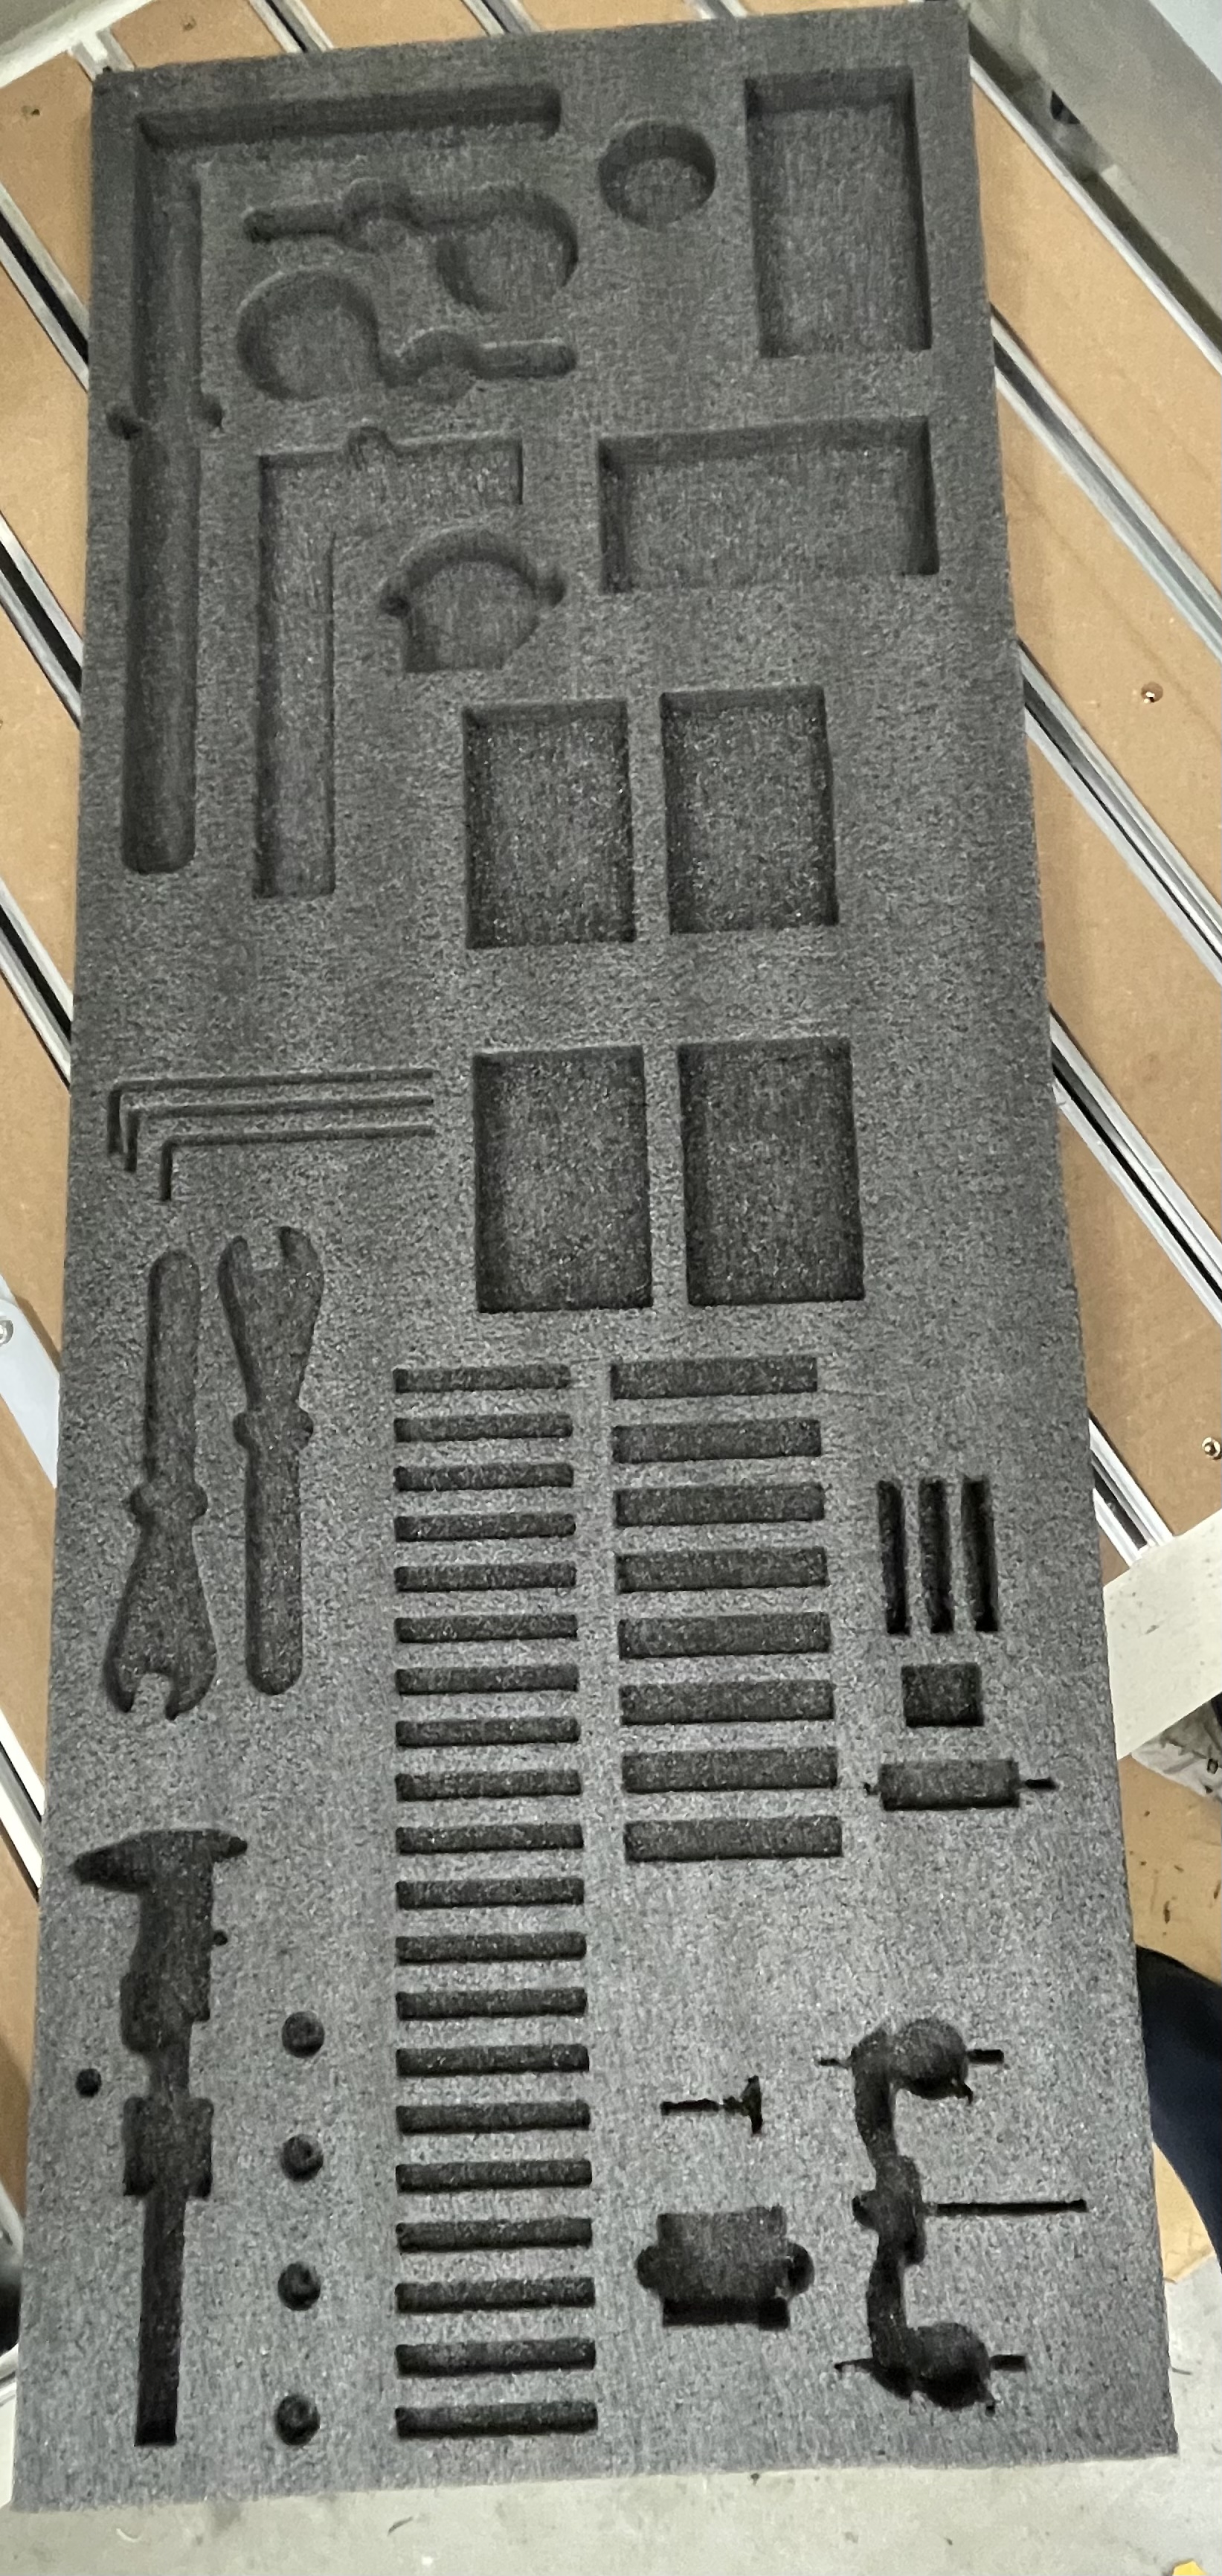
I finally cut the foam insert I bought for the drawer I added under the machine. The foam is 18x45+ so too long to cut in one section. I didn’t want to pull the machine away from the wall so I did a poor man’s tiling job.
I designed the whole layout in a single file and then picked a spot to split it. Created 2 smaller sections and rotated one 90 degrees and the other -90. Then loaded the material and let it hang out.
It turned out nice but I had to pause the jobs a million times to clear the bit. I removed the sweepy and held the dust collection near the router but I still ended up with foam wrapped around the bit a lot. It was worth the effort though. I was tired of digging for bits in a ziploc bag.
Tomorrow’s project is remaking the HDPE angles to be a bit wider so that the piece parallel to the Y axis doesn’t fit between the MDF slats.
Thanks for the referral to String Pluckery for the Les Paul digital files. I bought them from their web site and got amazing personal service along the way. The files are accurate and well done.
Even if it takes new parts to replace the old it is great to see some of the old machines kept in working order. In college we had basically a Video semester of tools and machines piggy-backing off of one another. Someone would take the old idea (machine) and make something else using the old technology in some newer machine that might or might not have the same processes and results.
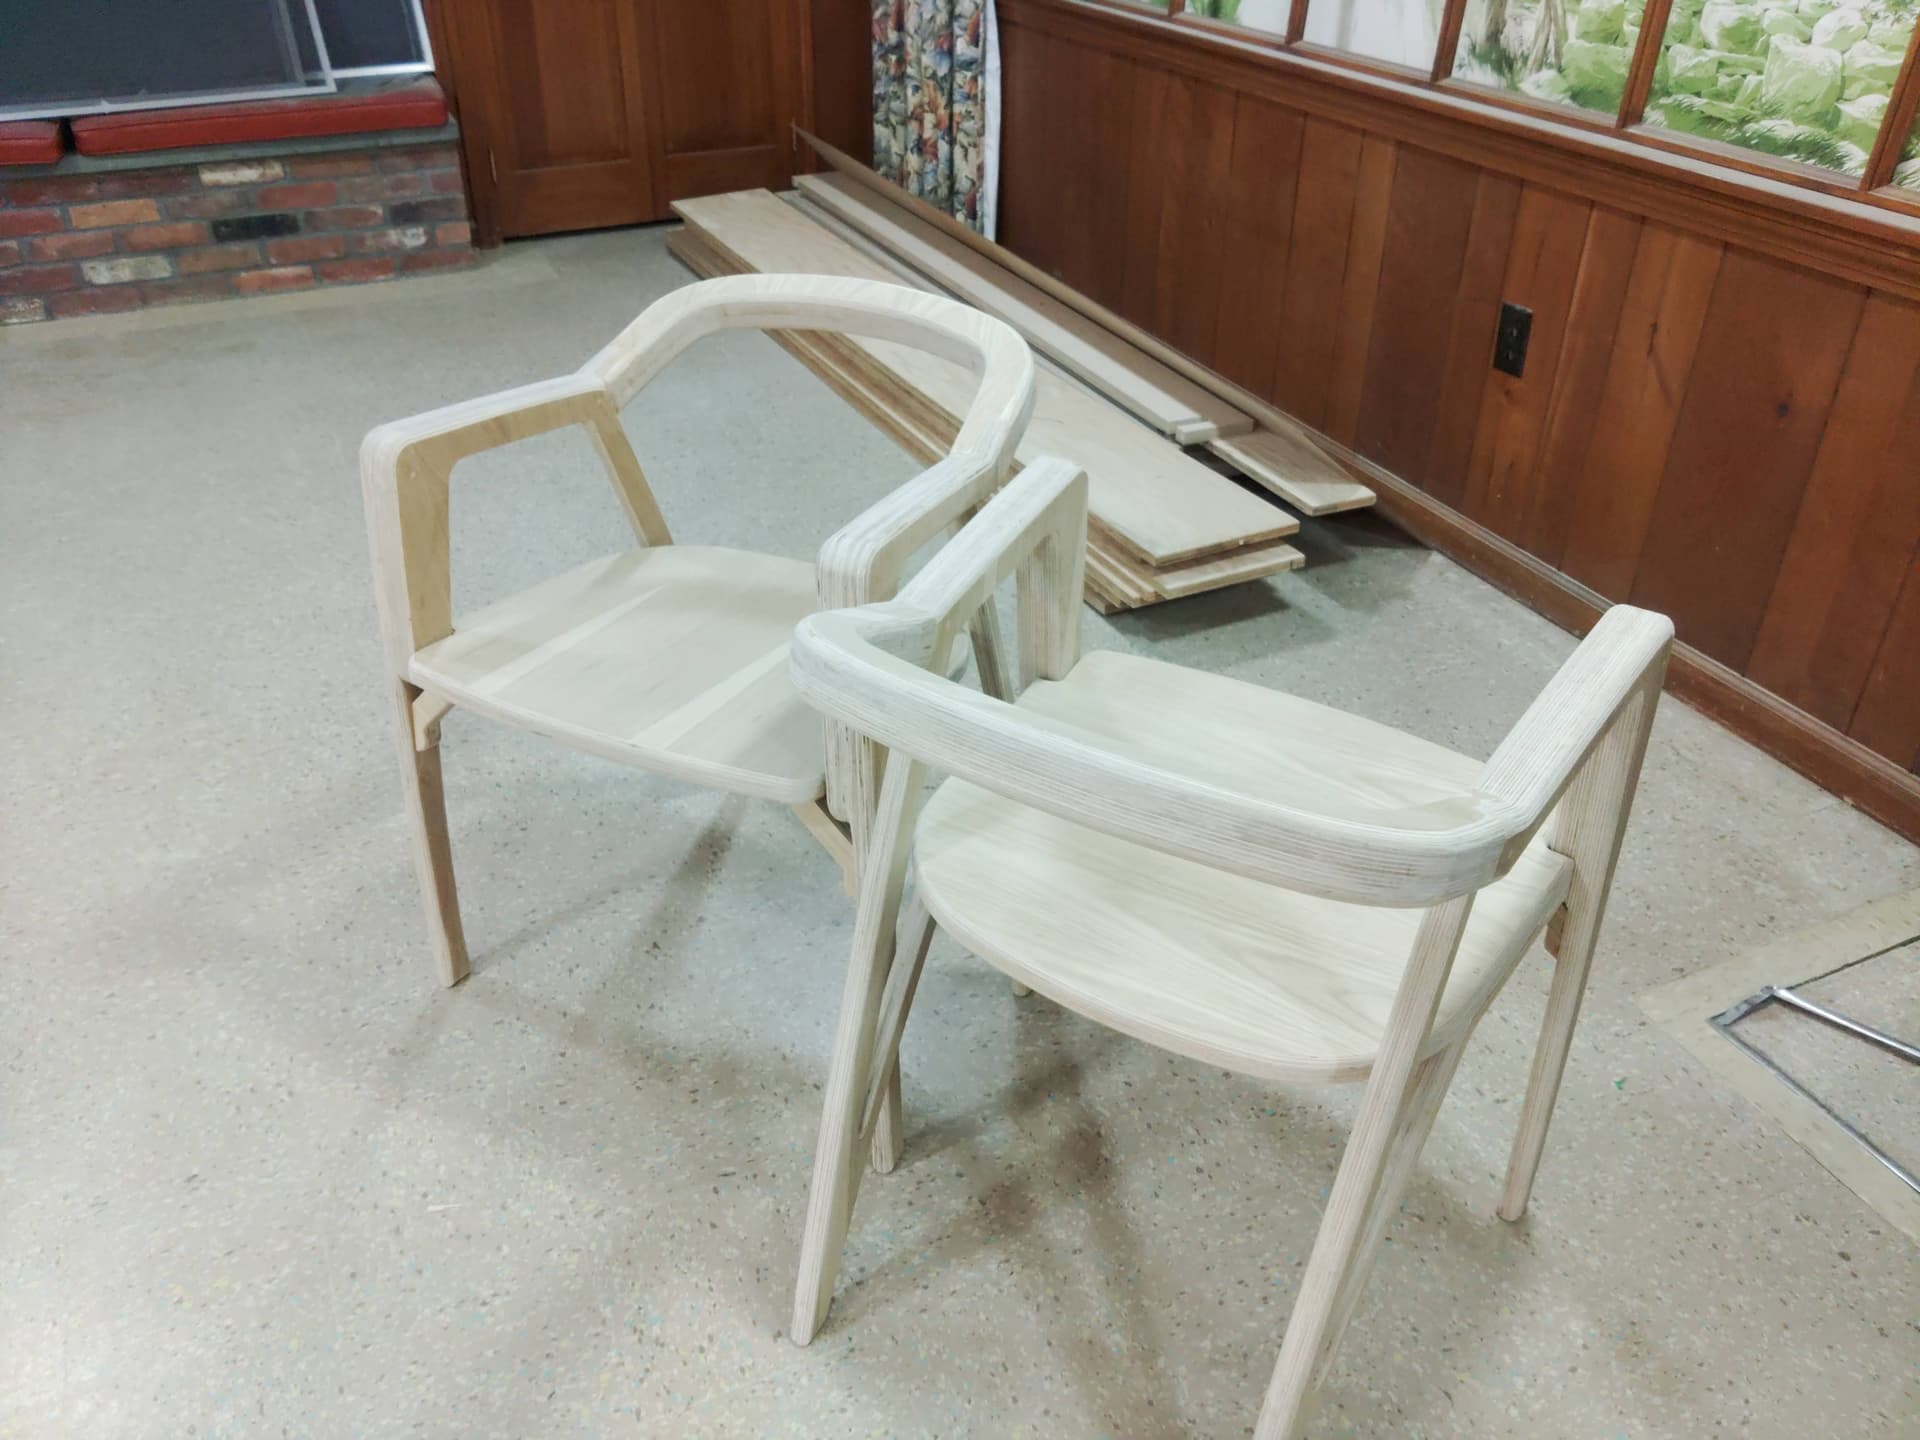
chairs waiting for finish. Not my project, so I legally cannot post the files. Bought it from Etsy, needed some improvement, but I think it came out nicely. Will post a pic when the wipe on poly is done.
Made from 1" oak ApplePly. Must be careful with sanding: the surface veneer is really thin, the rest is just russian plywood, has some flaws on the edges. But the idea of getting together plywood in different orientations to make a 3d-thing from 2d-material is fascinating. ShaperTools first published images of such a chair, I think the project I made was designed after that, but ShaperTools never published their files. However: happy with that, thats why I post it here.
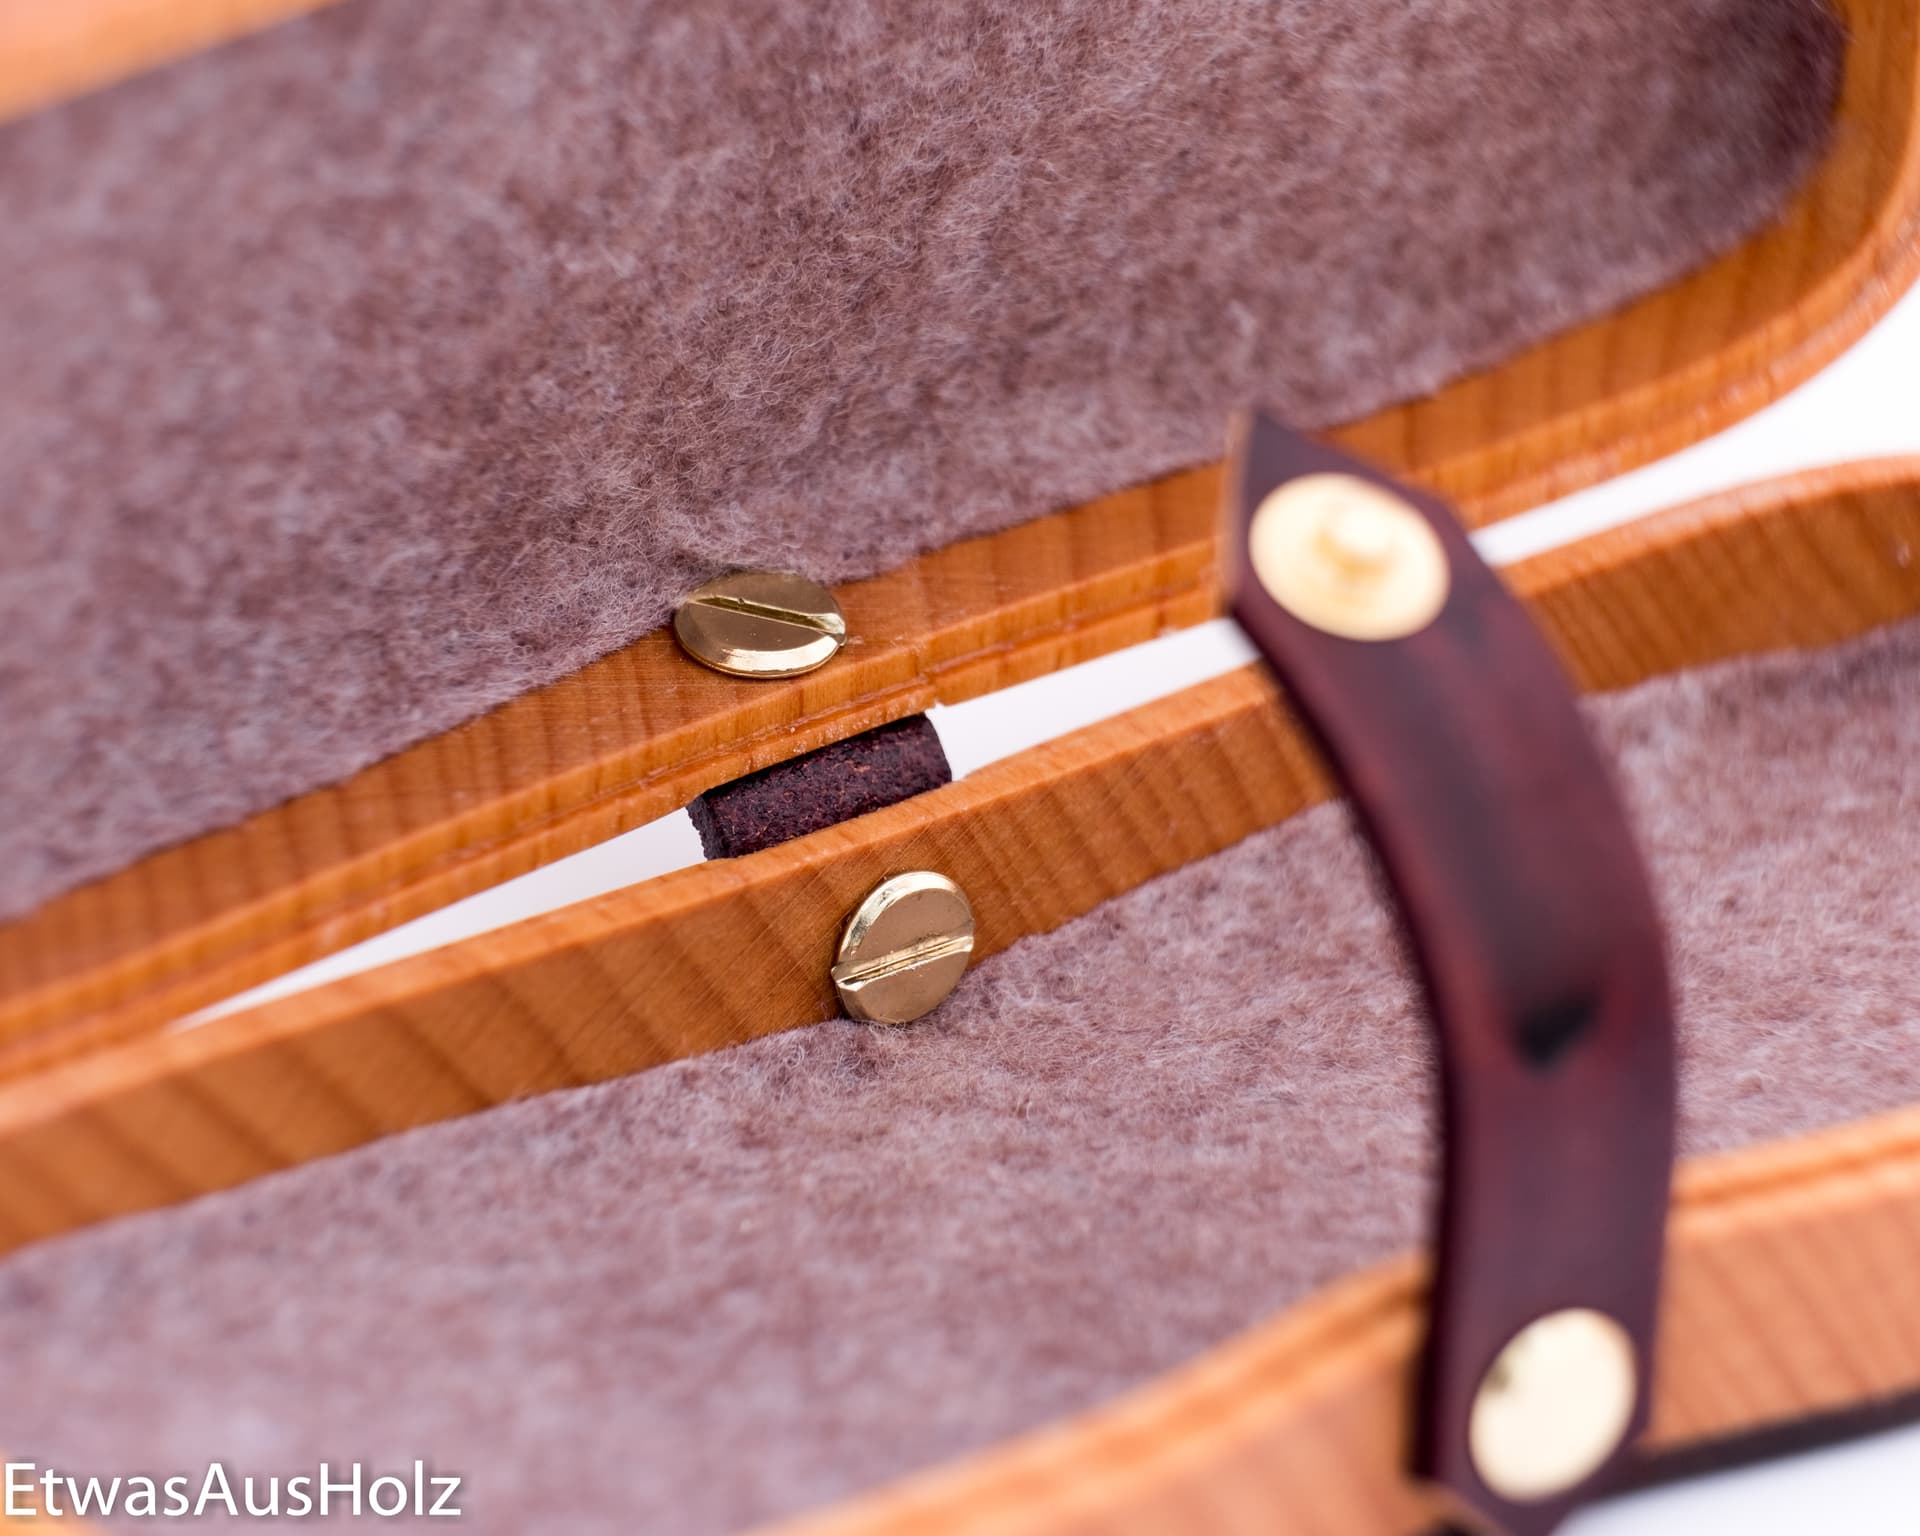
Very nice item! What hinges did you use? Did you cut the felt with the CNC too, and what settings? I once made a ring holder and used leather as inside cover, cutting went well, felt always wrapped around the router bit, desaster, gave up.
The surface / finishing looks excellent! How (how long) did you sand? I think sanding took double the time of the cutting, right?
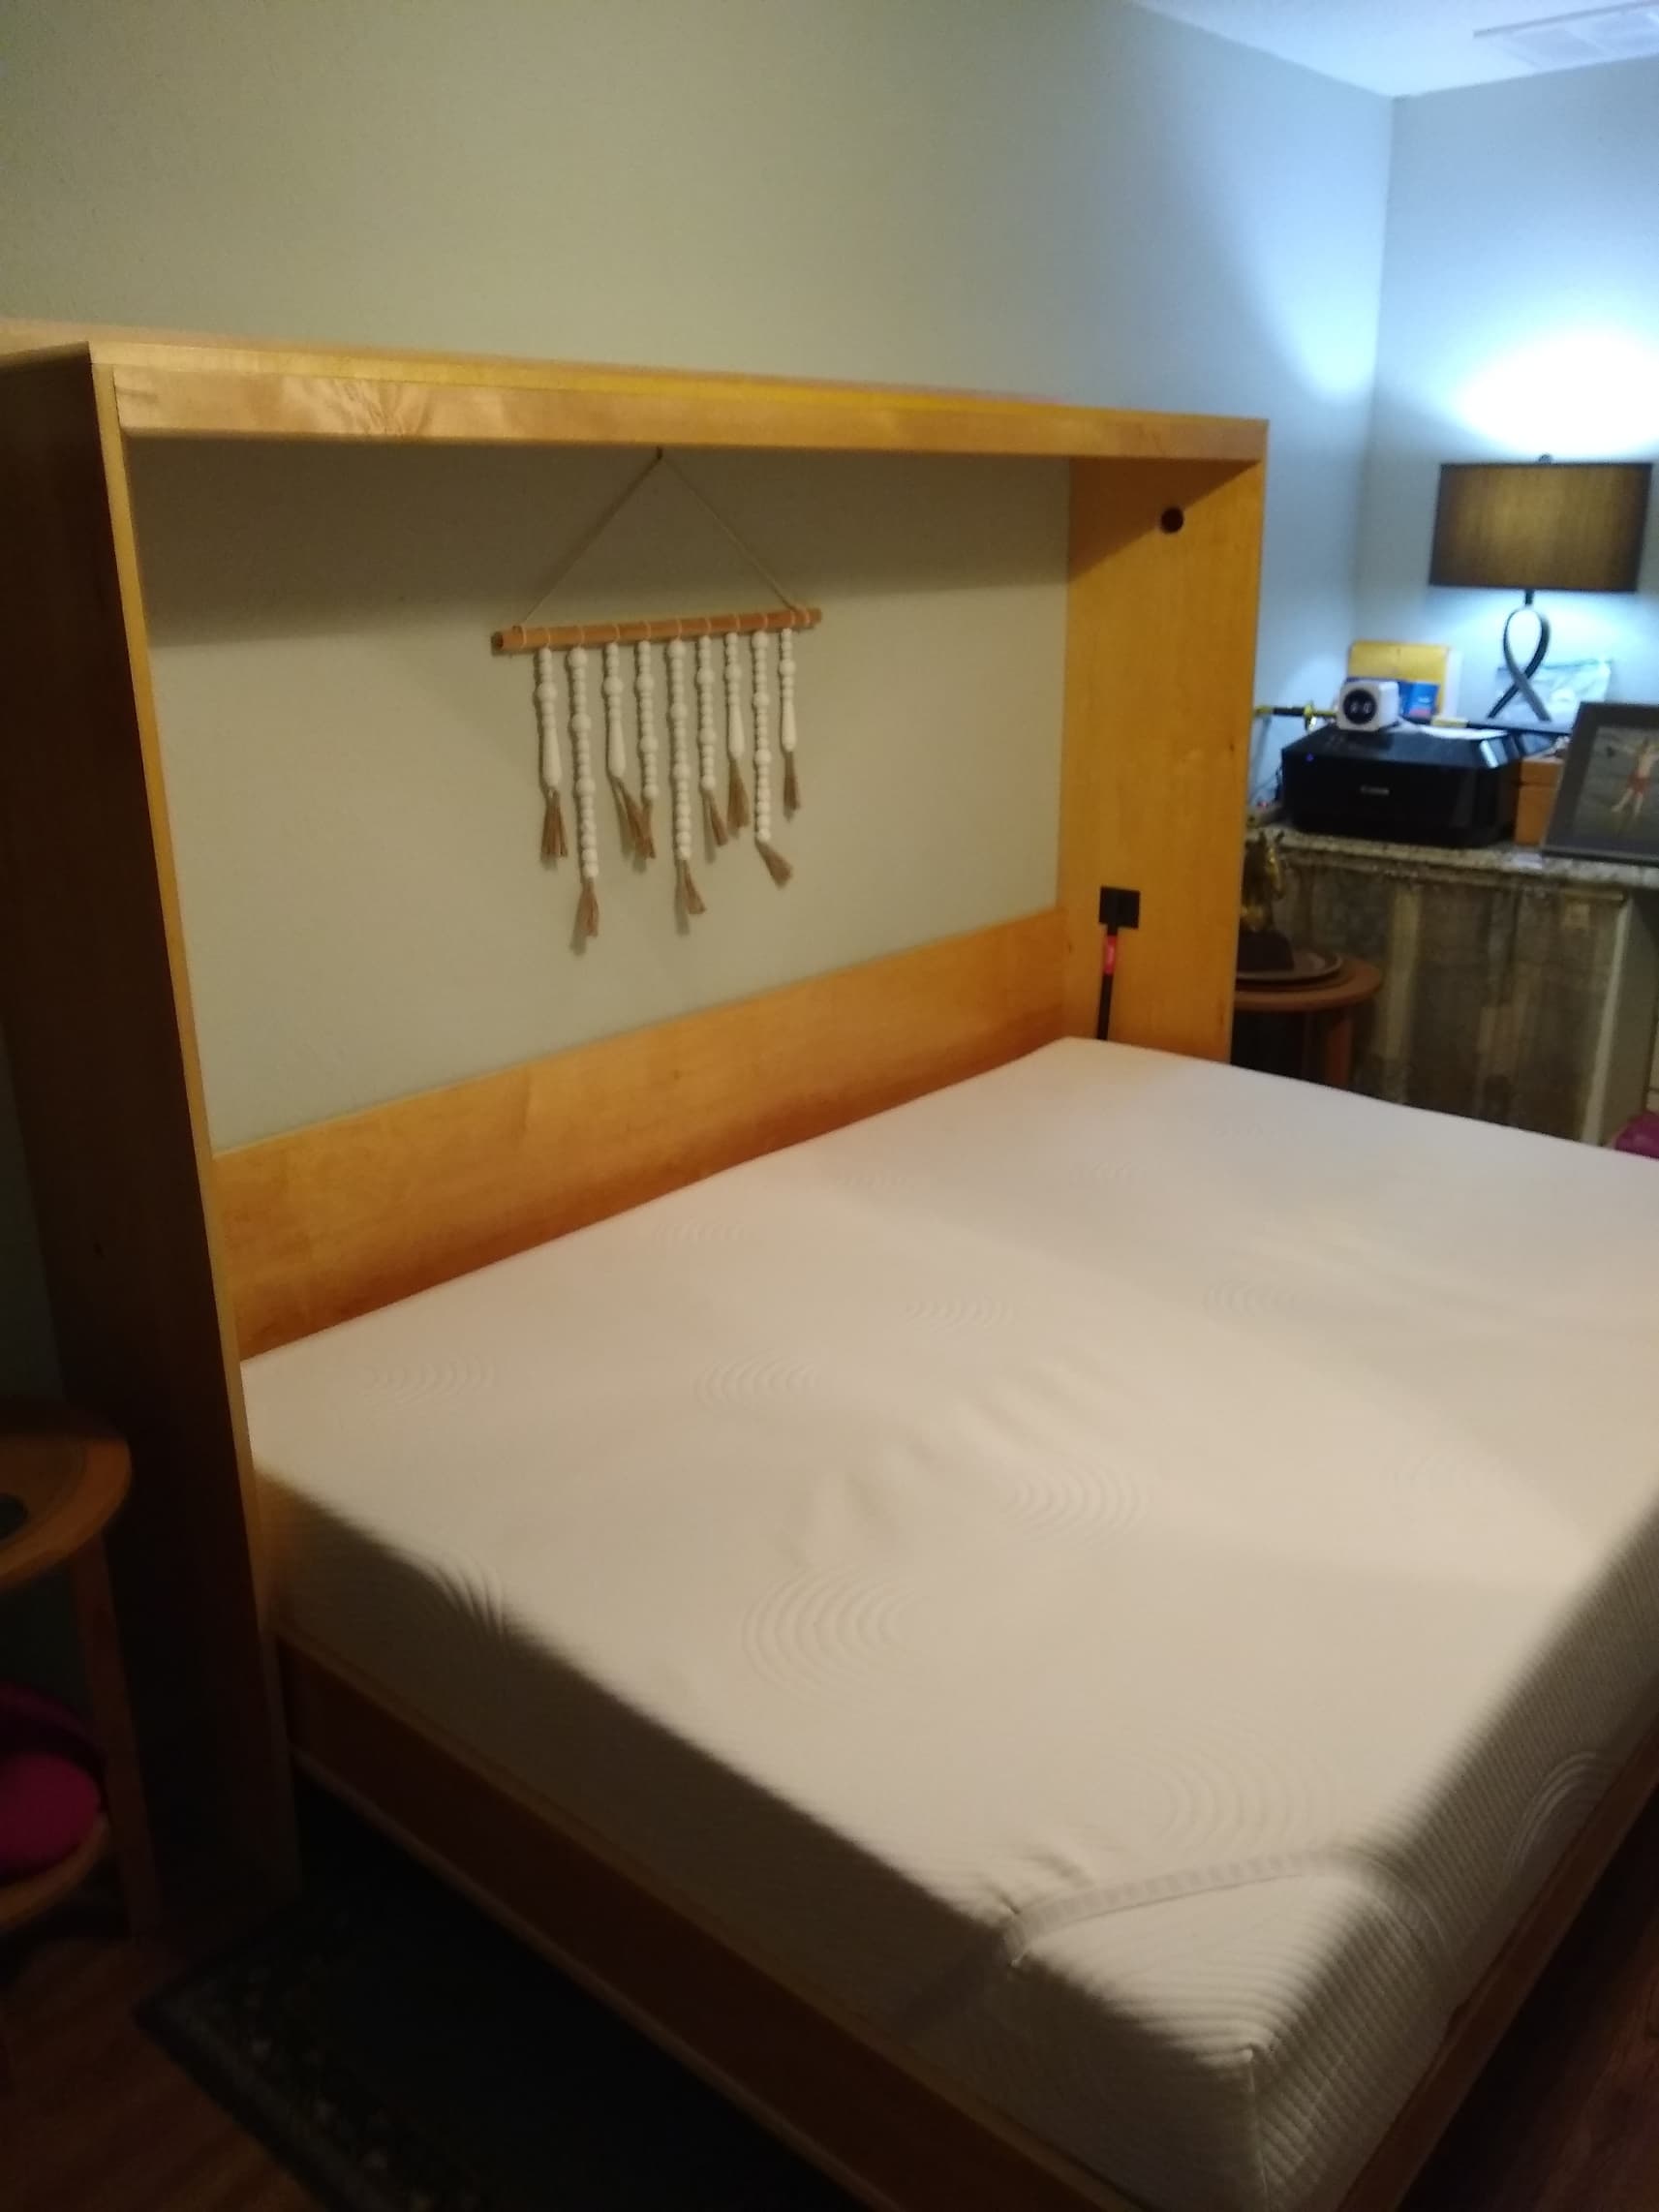
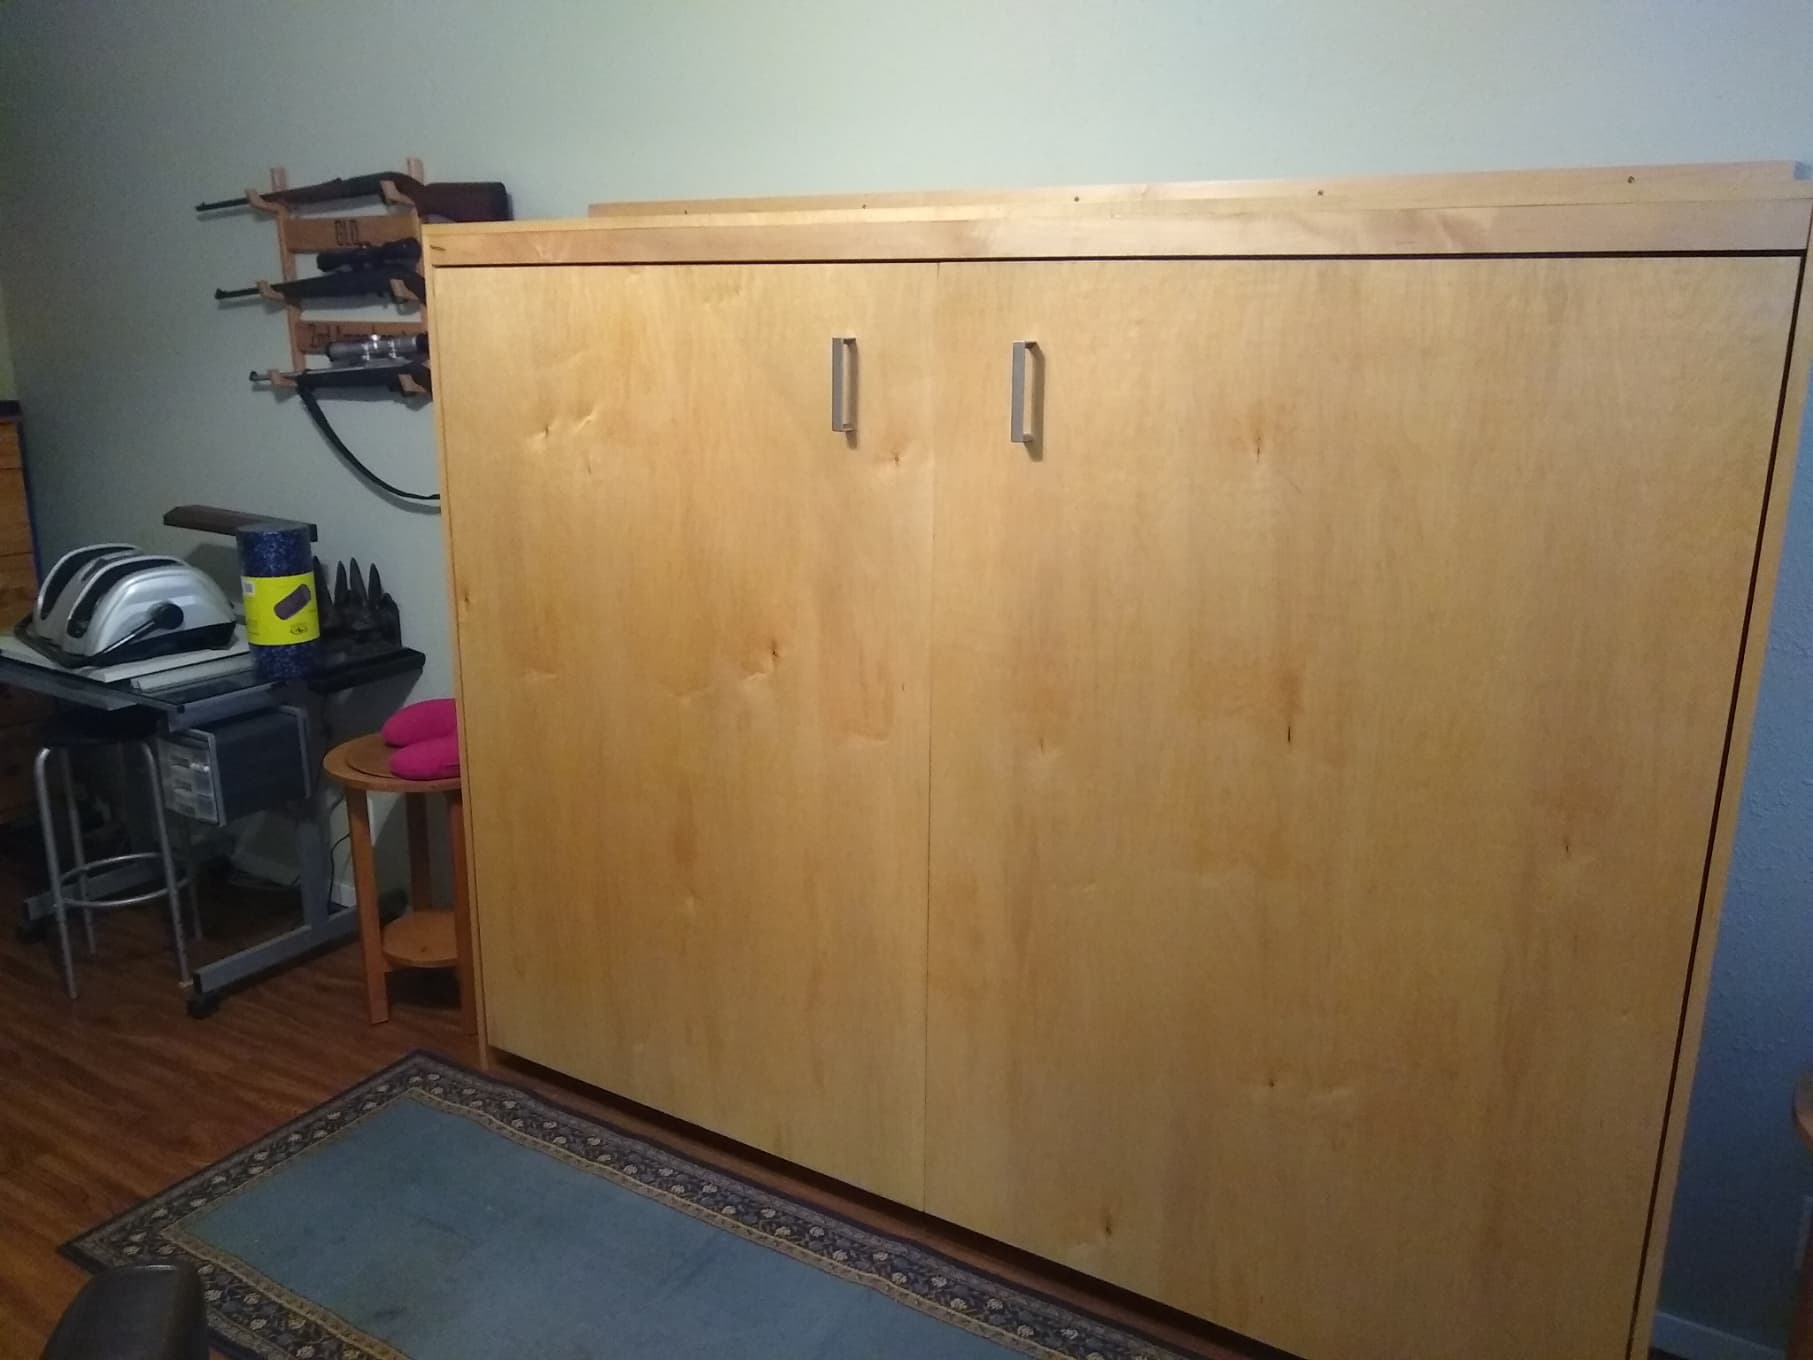
Very nice looking chairs. I recently made a murphy bed from maple plywood. I used iron on maple edge banding to cover the plywood edges. The plan was made by Create-a-Bed and I just followed their plan. The bed came out very nice. Although not a cnc project the edge banding might work to cover up unsightly plywood edges.
There are a few solid maple pieces but the majority is plywood with edge banding.
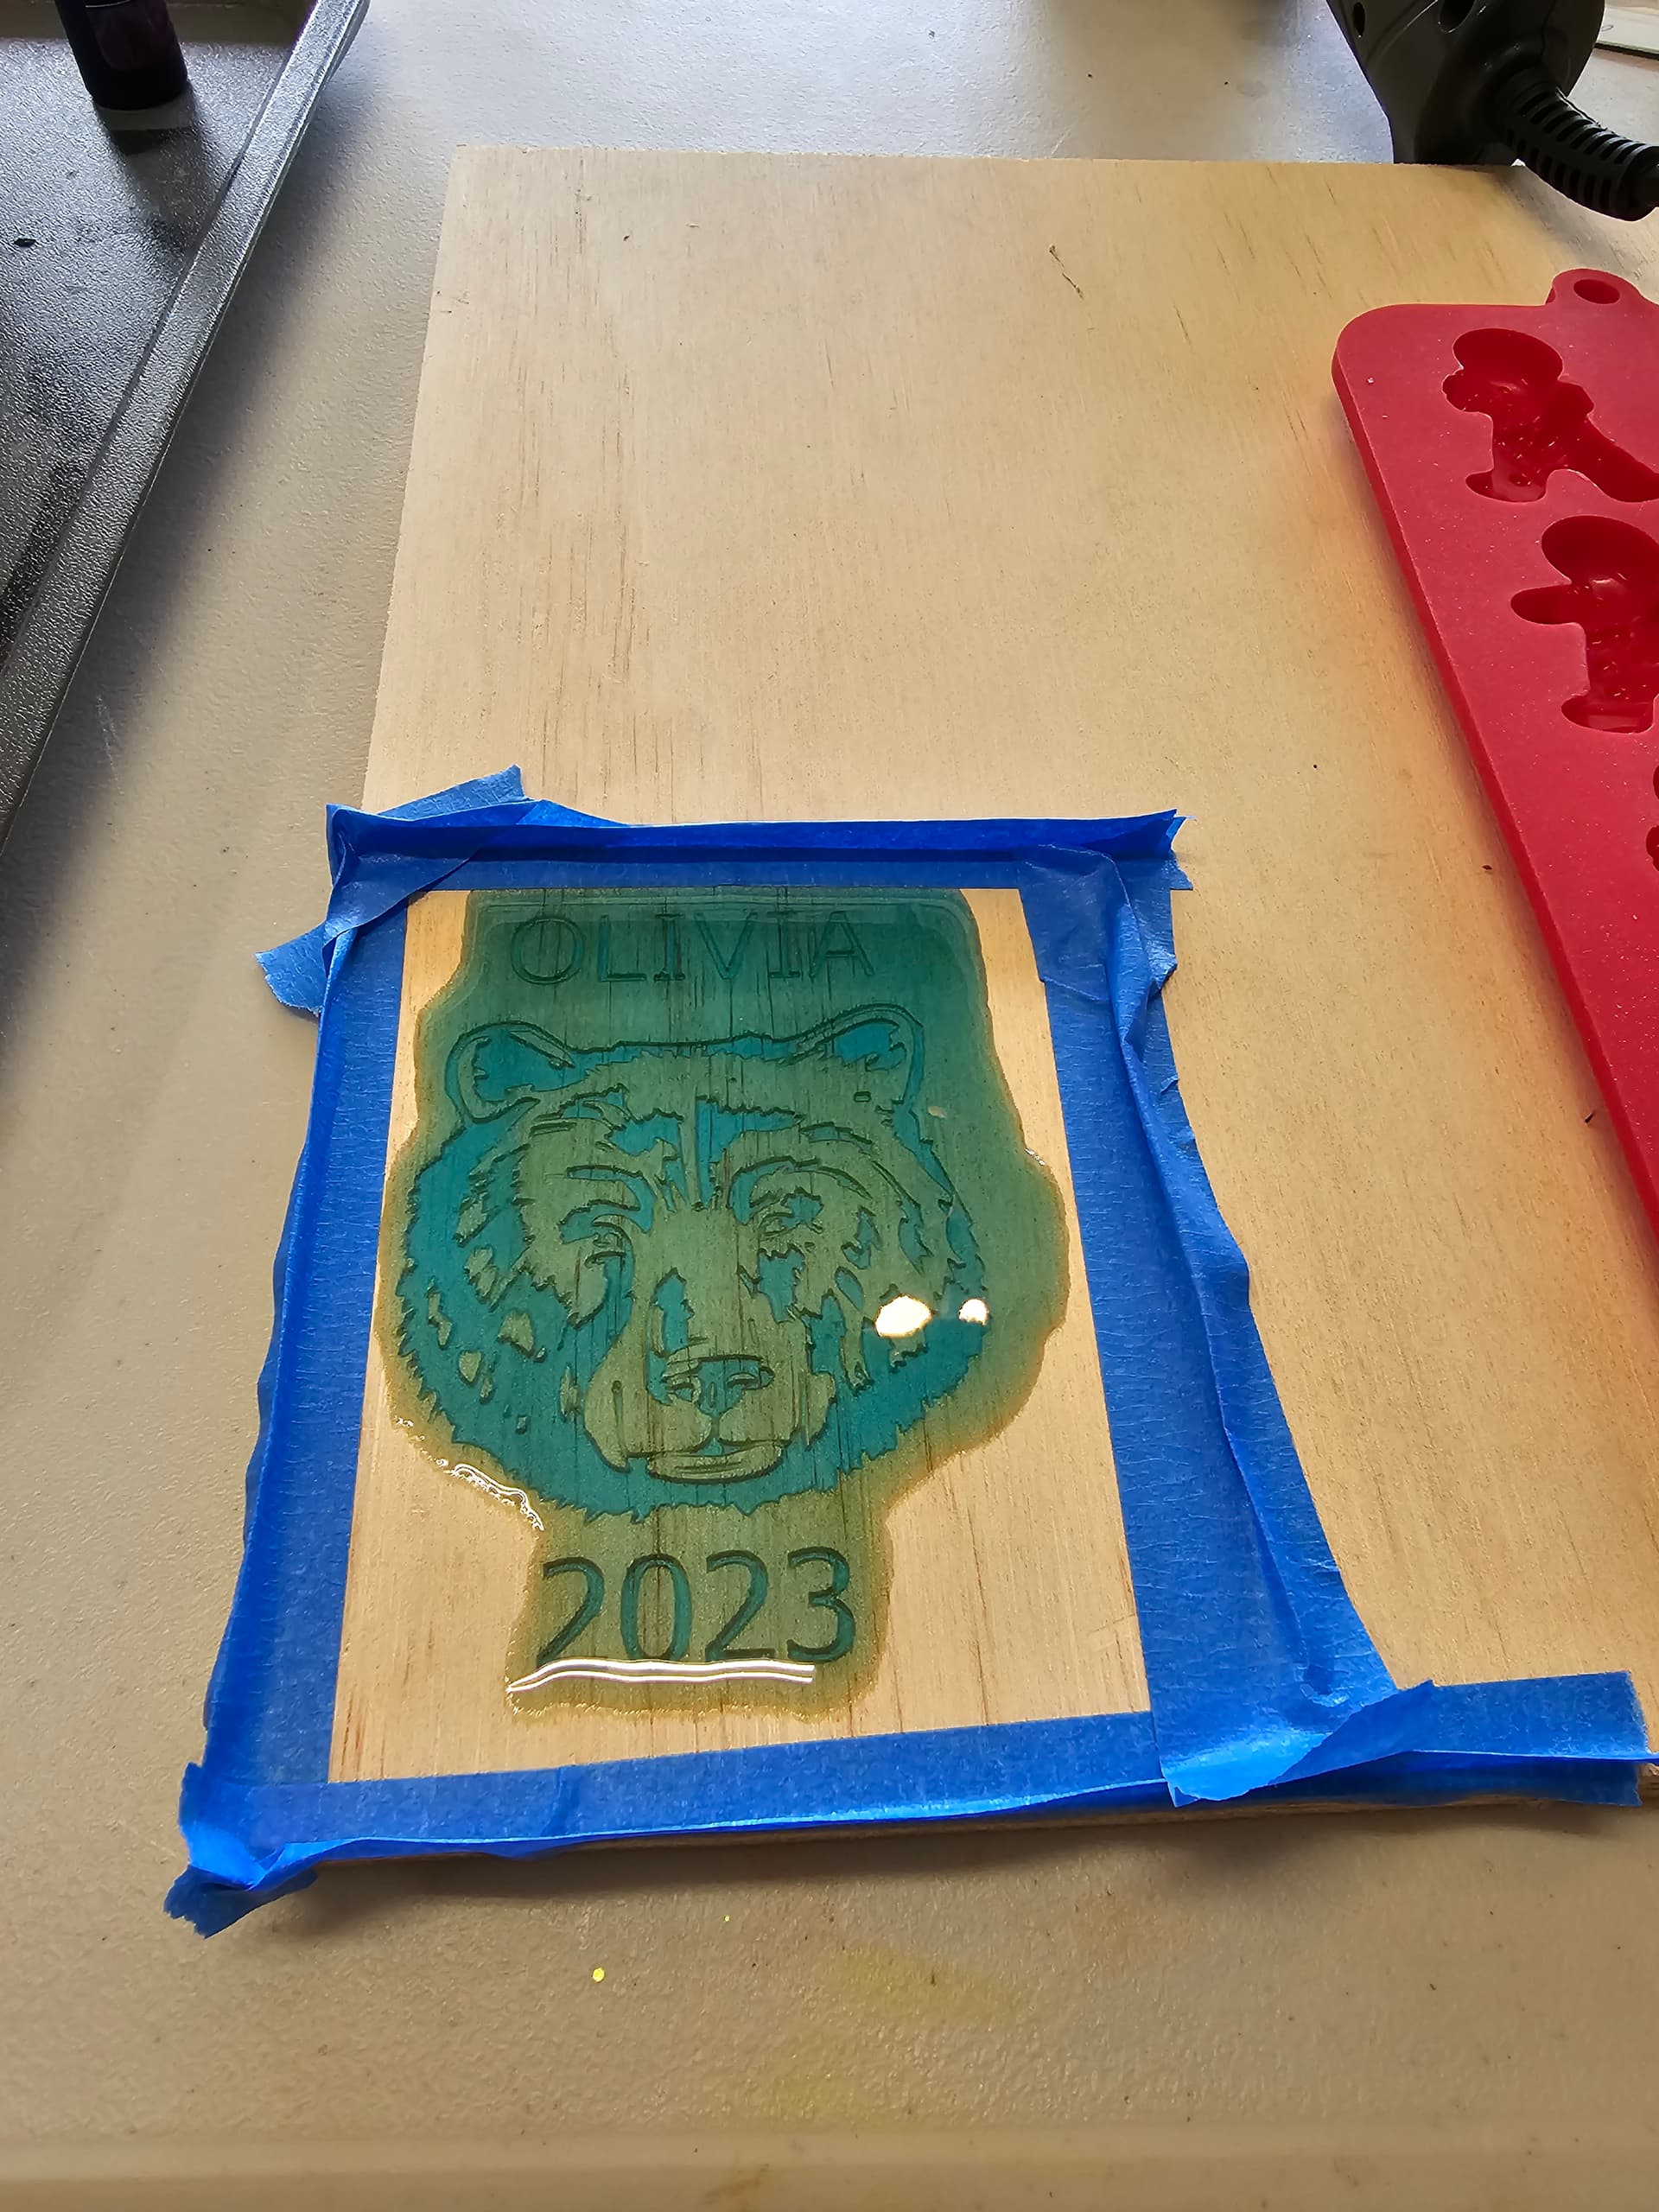
Used the hard foam from SO packing box to make a case insert for bitsetter. It didn’t cut very well. And I have no idea what I’m doing. 201 1/4” bit, 12k rpm, 90ipm, .125 doc, made a lot of long strips the vac sucked off. Hesitate to even post this nonsense but it’s pretty much the first thing I’ve brought to fruition in fusion 360.
A single edged O-flute straight cutter may be what’s needed to cut foam like that better. The #201 spiral upcut endmill was probably pulling the strands upwards more than cutting them off cleanly. However, that packing foam is not very dense, so any cutter is going to have trouble with it.
I did a post 4 days ago in this thread about cutting foam. I used an Amana 51404-k bit. It cut really nice but I did have to pause to clean the bit a lot.
One thing I didn’t think about was that the foam would move a little so my pockets tended to leave a bit in the middle that I had to remove manually.
And where there are thin walls they move over a little as well.
And I can’t imagine putting my bitzero in a case. I would really get tired of opening and closing that thing. But mine is a V1 and was used at that and I have already pressed a bit into it so it isn’t that precious.
Word. I appreciate the feedback. Love that tool drawer insert you made - what kind of foam was that? That’s pretty much my goal with this stuff.
Forgot to mention, before cutting out final contour, I reran the pocket (2d adaptive) with a C3D 251 downcut and it cleaned up a lot. Blue tape/CA held down pretty well but it’s definitely wiggly stuff. I’ve got a ton more left, so maybe should get mitts on a specialized endmill.
… or, you might try a laser add-on like the one from JTech Photonics. In addition to the router, perhaps the laser would get that clean outline edge that’s needed.
(No photo because I’m still trying to find time to play.)
I bought a couple of 2x4 sheets several months ago when they were on special. Not it says they are unavailable. It is done in layers and you supposedly cut the perimeter and can then peel to your desired depth. I did a practice run of that in an off cut and it did not peel up as advertised so I used the CNC to do the full milling. I learned though to set the depth of cut so that it doesn’t land precisely on a layer boundary as the surface there isn’t as pretty with the glue residue.
I used the Xfasten tape instead of painters tape and glue, but basically the same thing.
The felt was cut manually, I didn’t dare trying on the shapeoko
I guess that sanding took about 20 minutes per item.
The surface looks pretty smooth because of the wool fat. But it takes really long to dry and you have to take care not to apply too much of it.