I tried a 30° v bit and it ended up having too much tear out. I resurfaced the top of the box again and then used a 60° v bit. The surface of the box had a stencil film on it while it was carved and then I airbrushed black into the lettering. Before putting the stencil film on the wood I always put a lacquer finish on the wood to prevent the paint from bleeding into the wood.
Did you make the design of the box? It looks great!
Tom, I don’t know if you have Vectric but here is the file. I created it after watching multiple Youtube videos. You would have to adjust the depth settings with the stock of wood you are using.
2 Likes
Thank You so much! ![]()
Thank you very much. That means a lot to me.
Nicely done! It sounds like you may have taught them some very valuable lessons and gave them an experience they likely will never forget.
1 Like
@Jonathan_Blank , thanks for the box file. I was looking at the vectors and toolpaths etc. I’m curious how you got the top and bottom to fit together since, on the drawing, the two dimensions are the same (e.g. 4.75")?
You must have done some fine sanding for the fit, but I’m curious how you did it.
1 Like
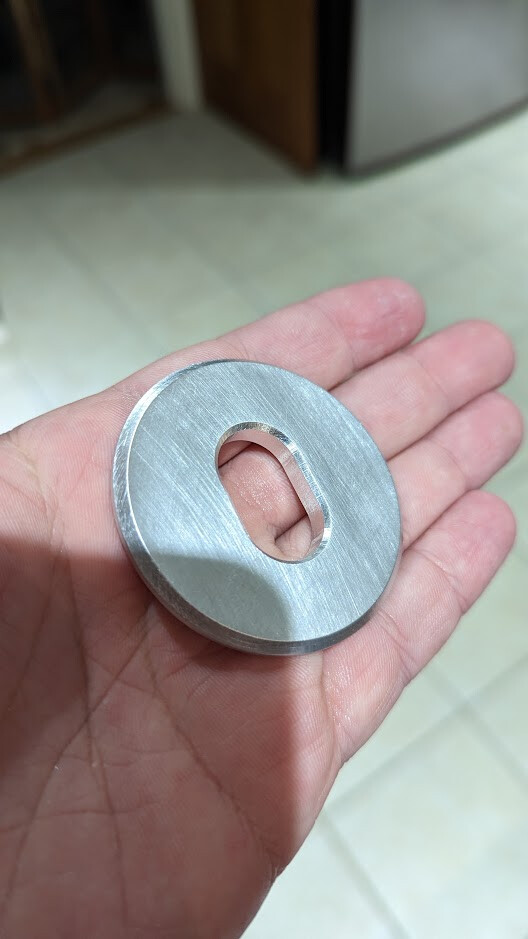
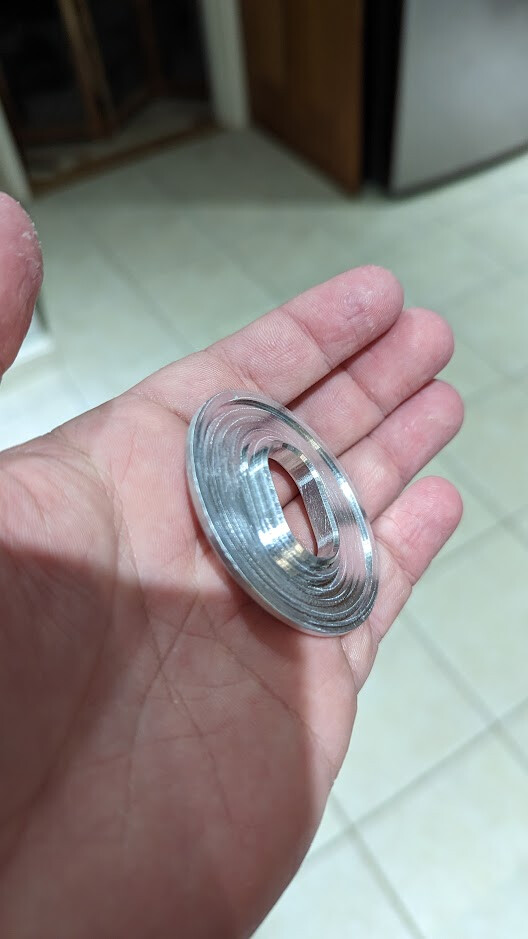
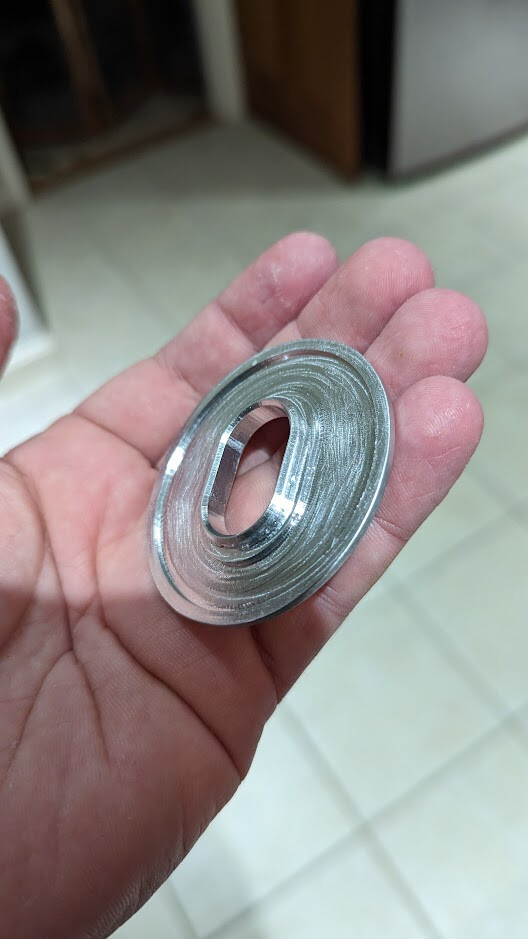
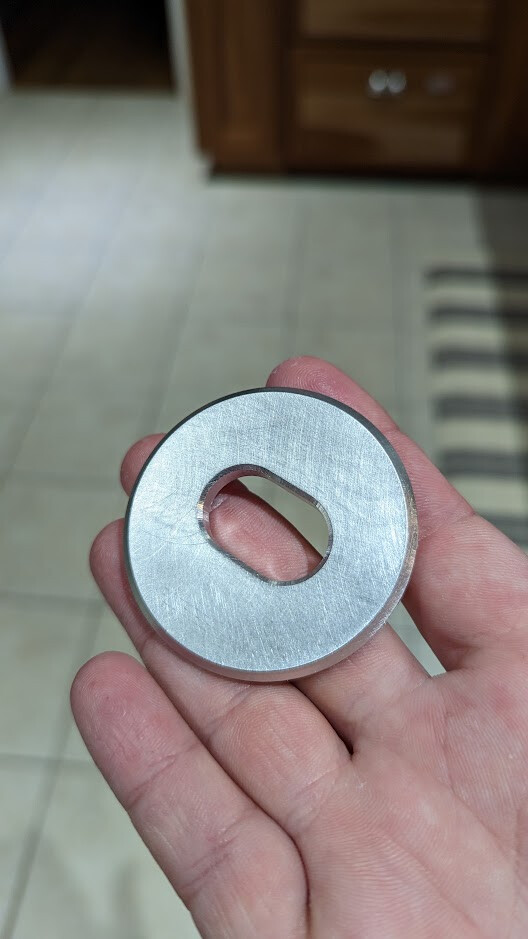
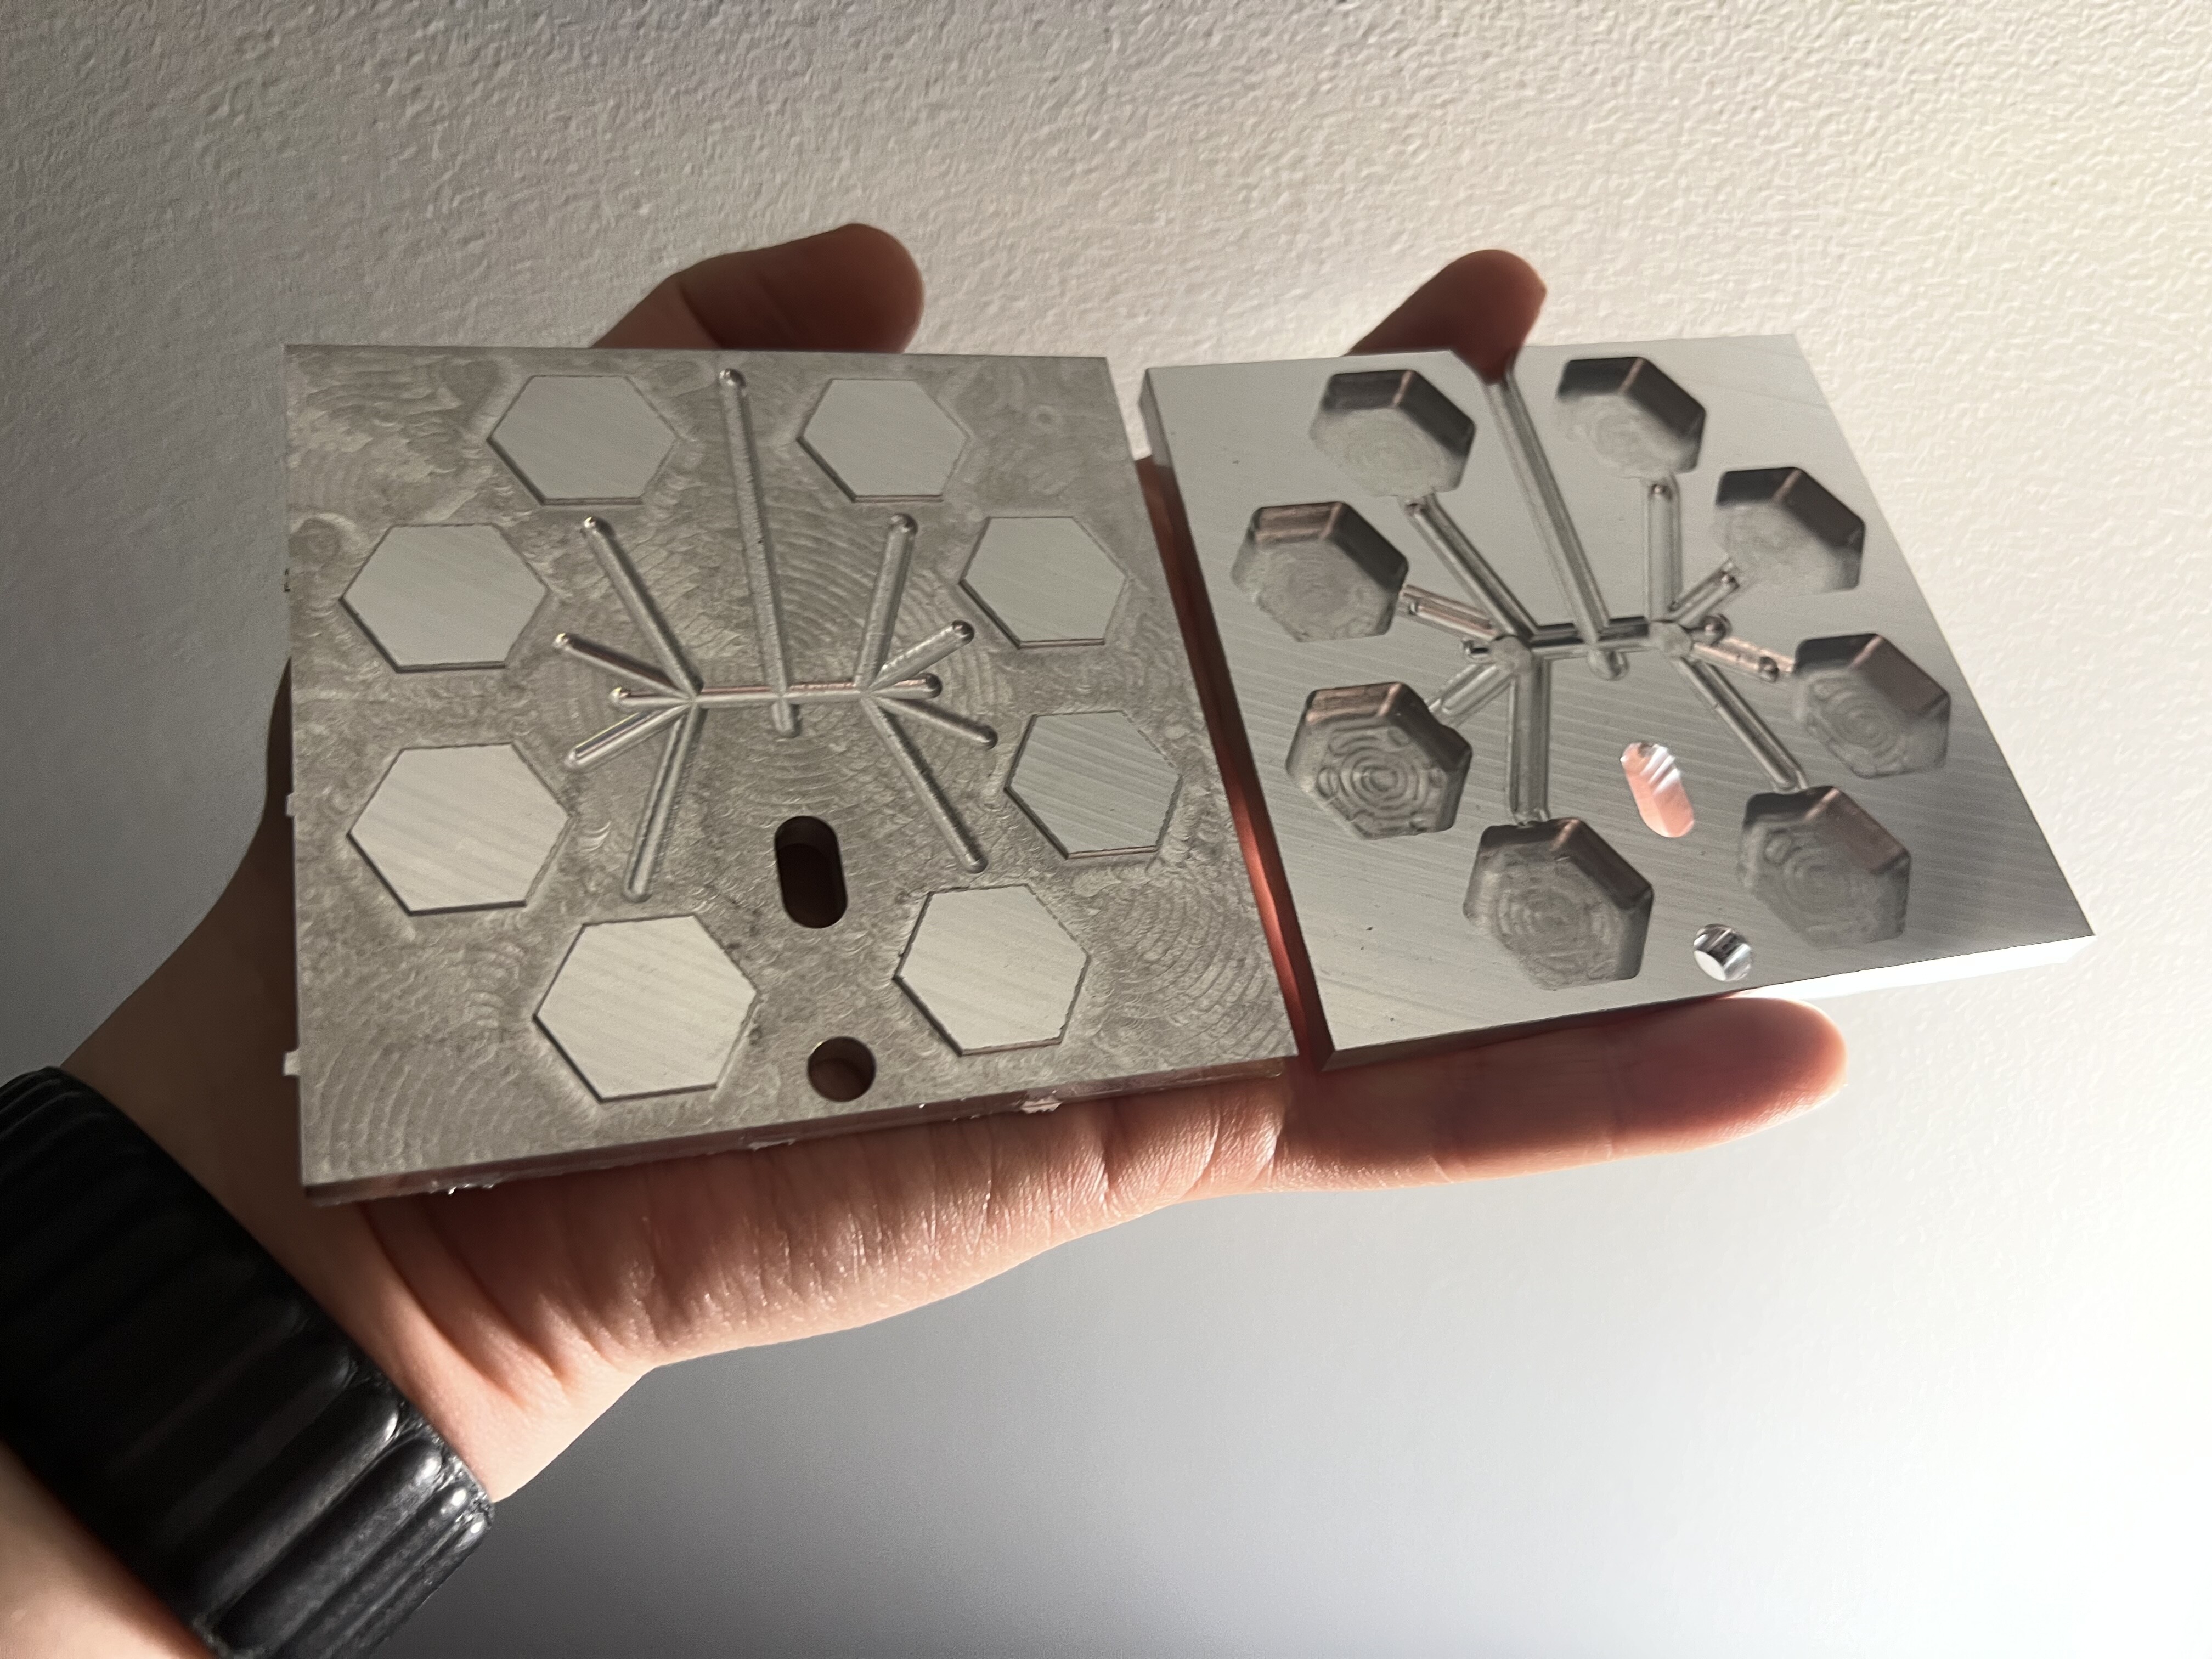
finished the top side of this buttress plate.
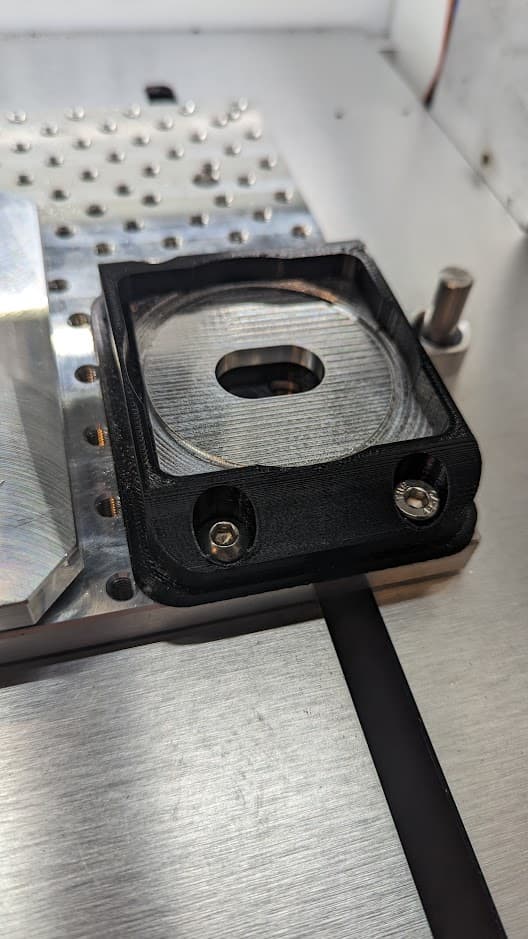
sketchy 3D printed fixture that worked, but I wont use again.
after finishing with 800, 1200 and then a green scrubby pad
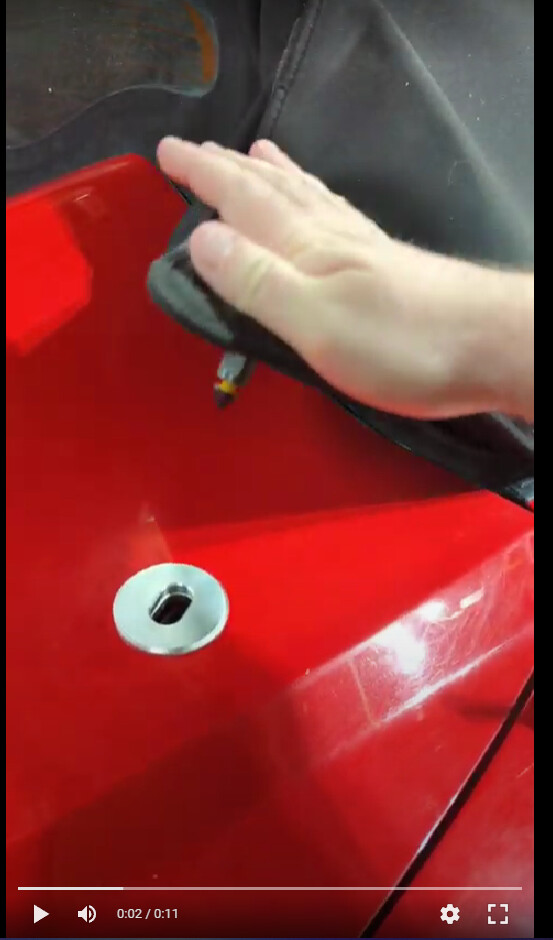
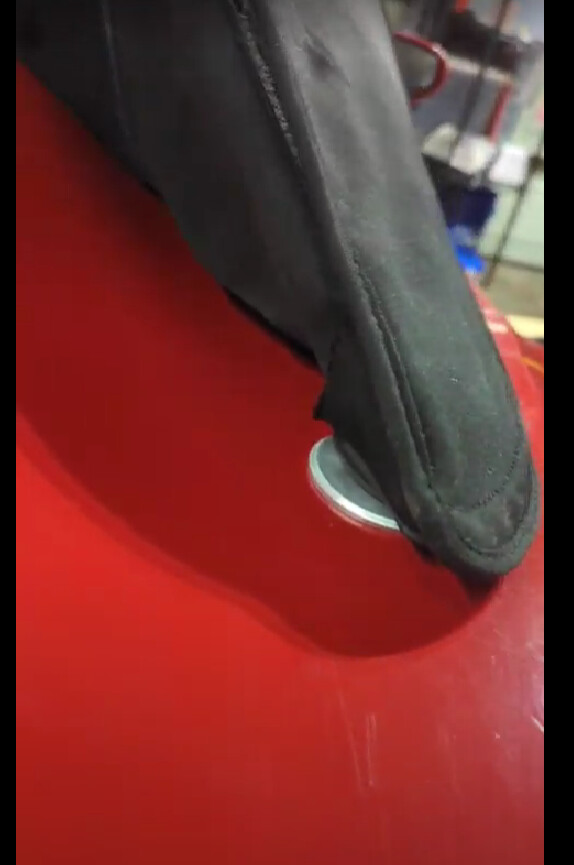
in place on the car.

terrible screen grab from a video i took of how it works.
instagram reel if you care to see more.
https://www.instagram.com/p/CrgBu-zNx00/
now, i just need to design a fixture & develop a process so I can make a pair all at once and not have to babysit the machine the whole time.
11 Likes
It needs an application of Mother’s Aluminum Polish, But that’s just me.
1 Like
if polished stuff is your jam for sure.
my personal set will be powdercoated black. all of the chrome or silver bits on this car have been either replaced with a powdercoated black part ive made, or wrapped in satin black.
1 Like
Saunders has dual sided hobby vises that work really well. I’m not sure of your part sizes, fitting two sides by side with the center vise may be too much for the nomads working area.
Worth looking into at least.
lol it is. I bought the dual station vise with that exact thought process in mind. for very thinner parts it would work, but for the size of these buttress plates, the nomad’s build area is just barely too small.
or at least using the square stock ive been using. i was debating trying to obtain a round bar, which would decrease my cycle time since i dont need to turn the corners into chips.
Some work in progress on a little benchtop injection mold.
It’s probably time to try out one of those fancy datron 4-in-1 single flute cutters, see if it makes a difference in my floor finish.
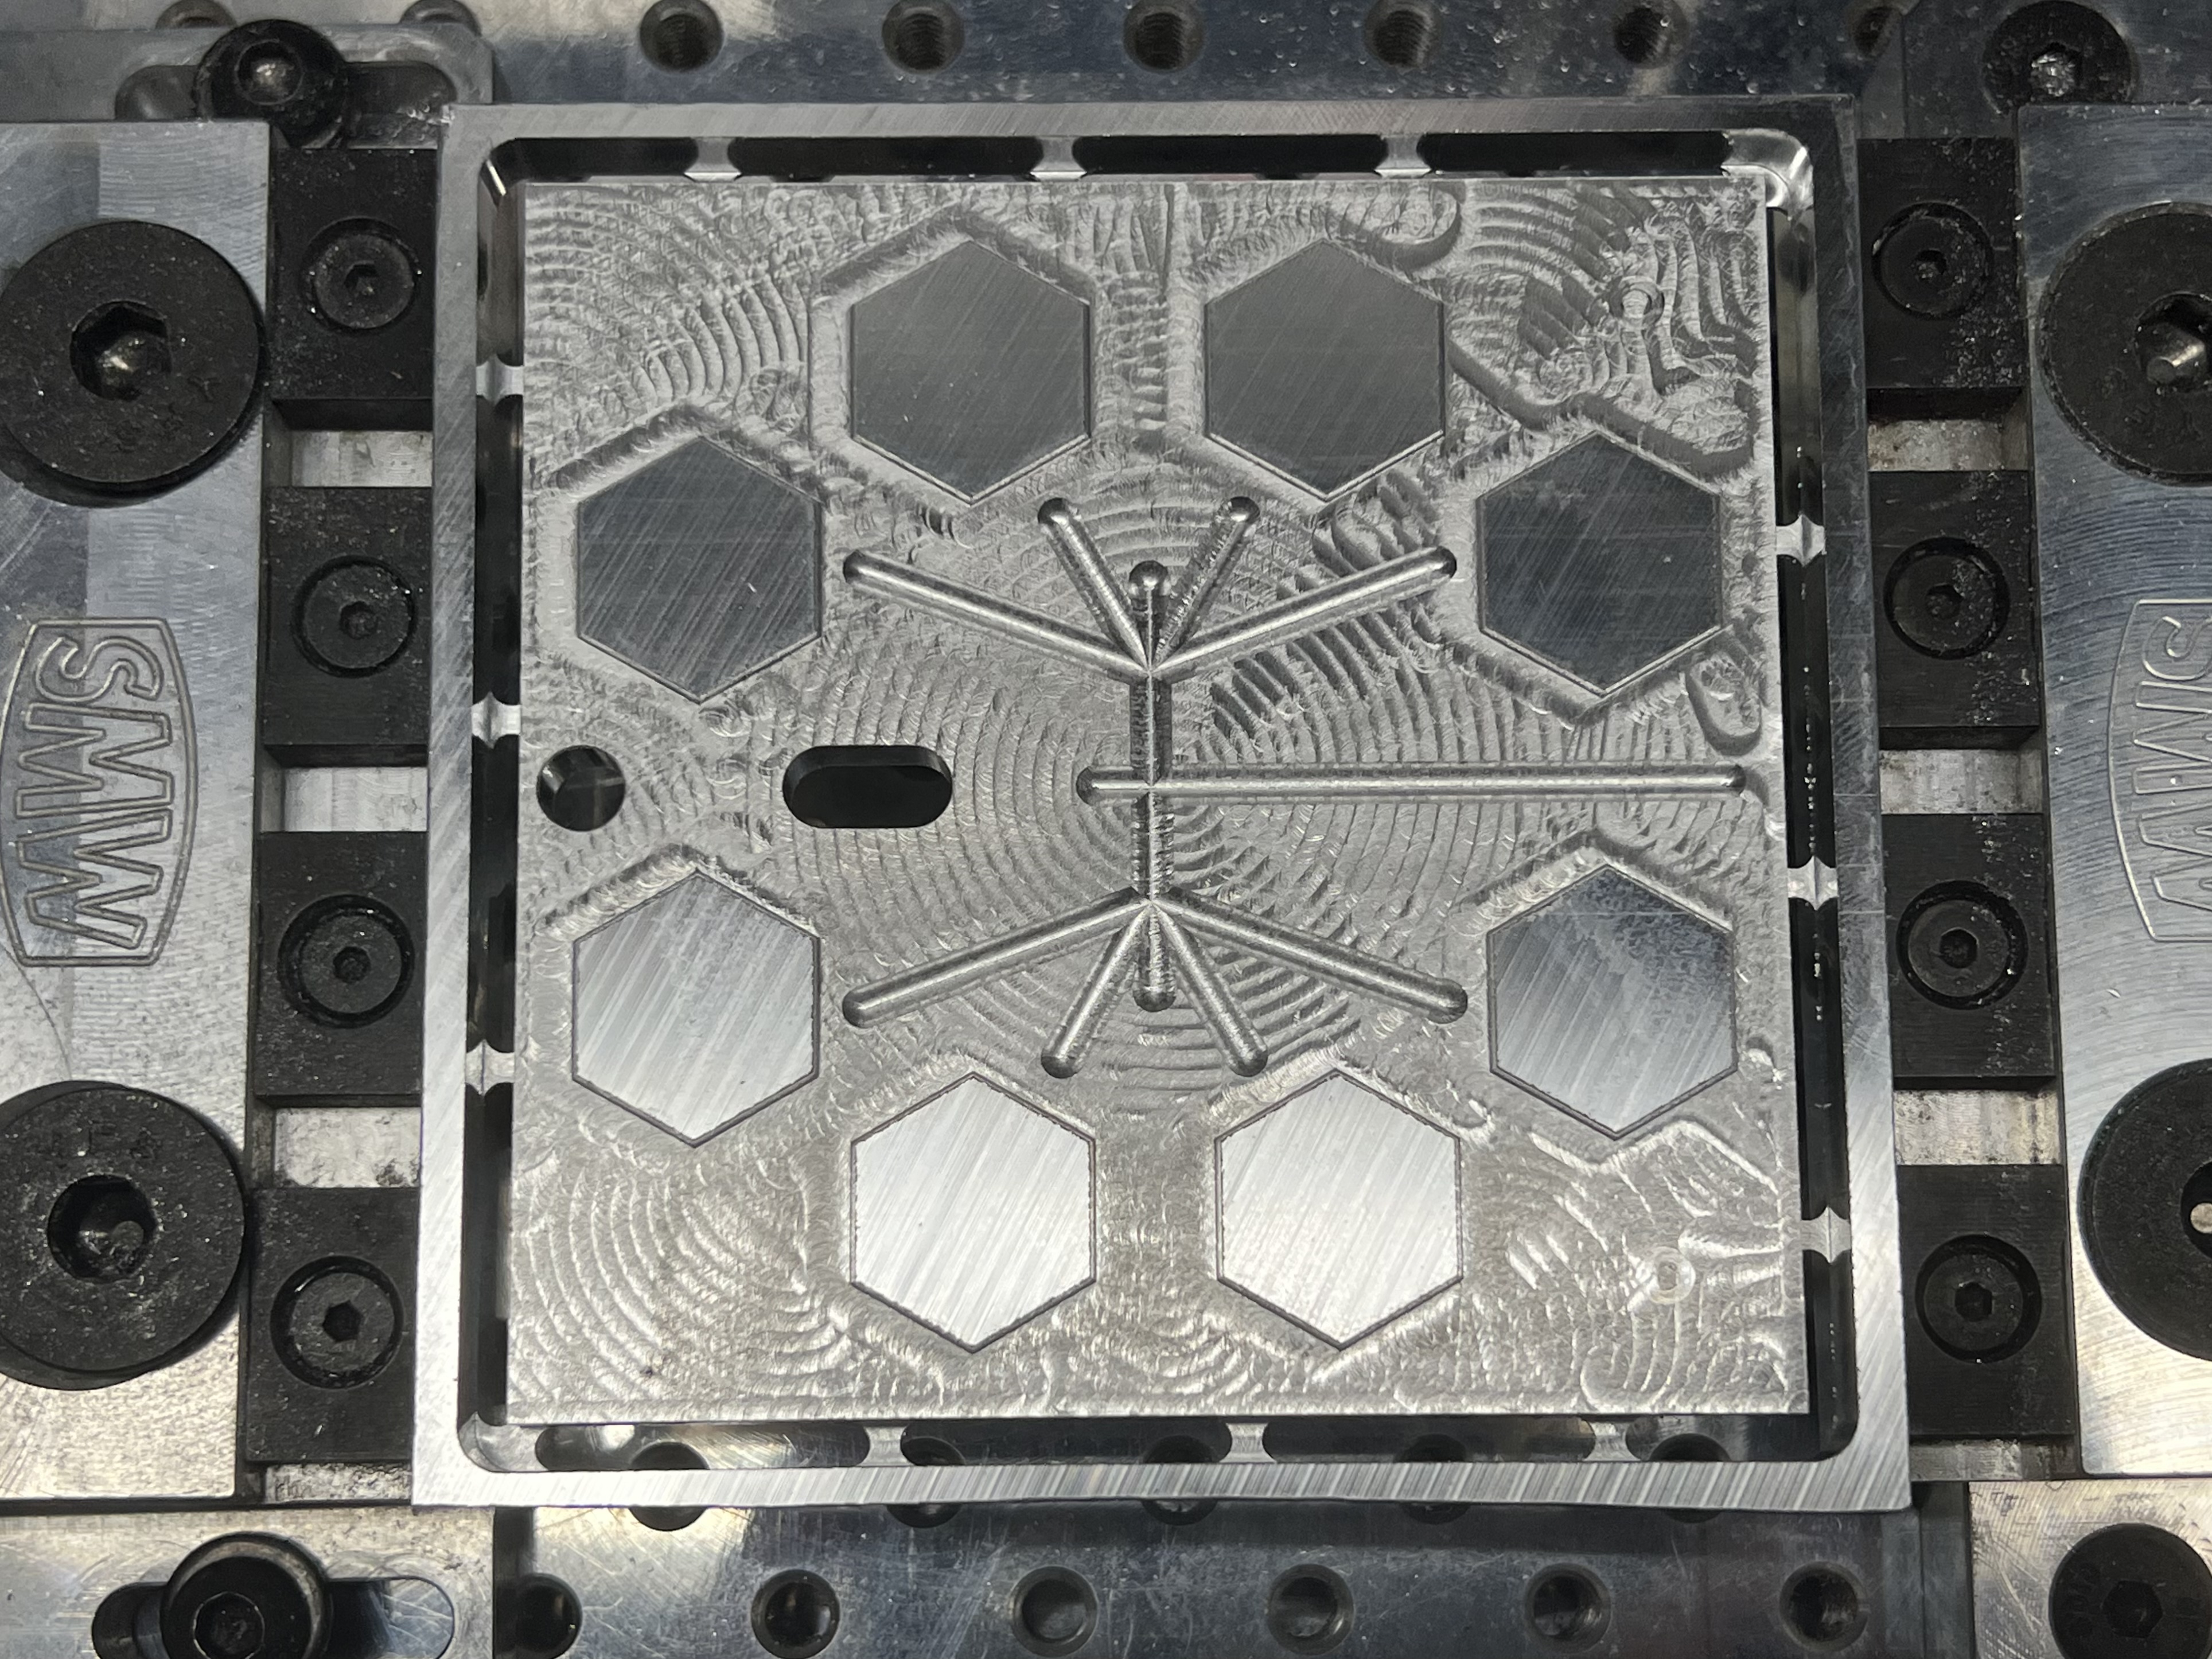
Lots of lessons learned so far ![]()
18 Likes
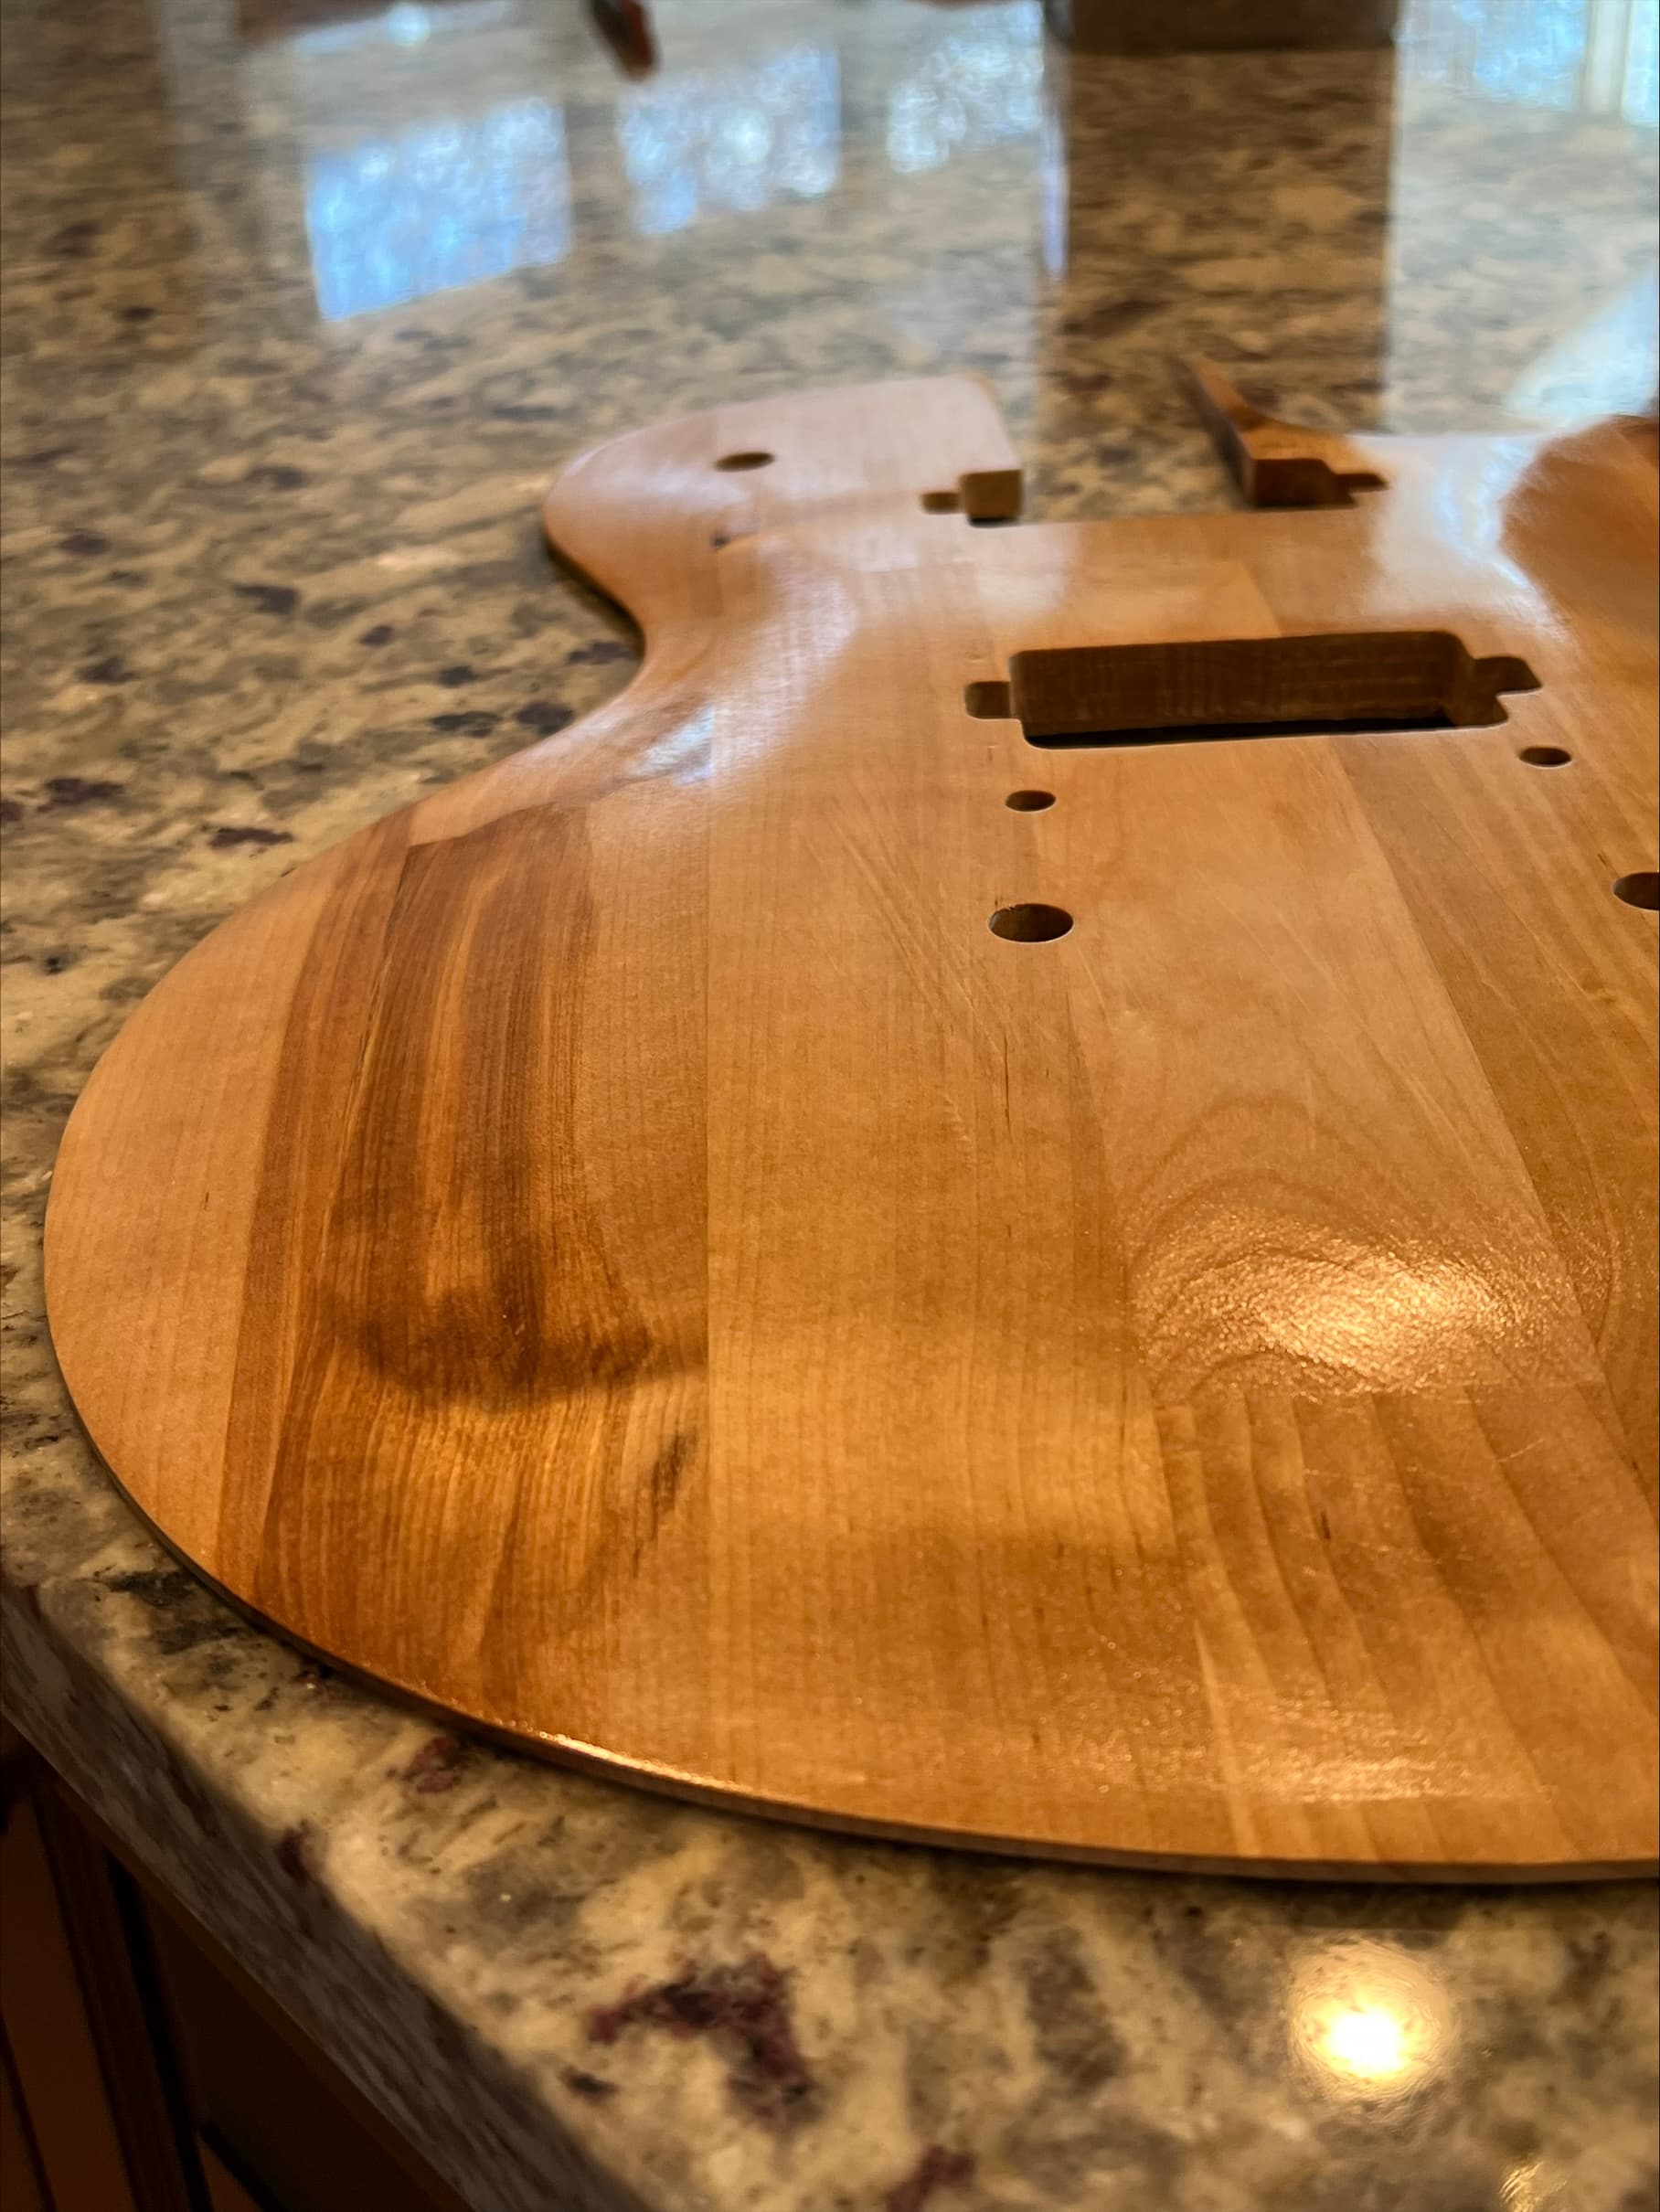
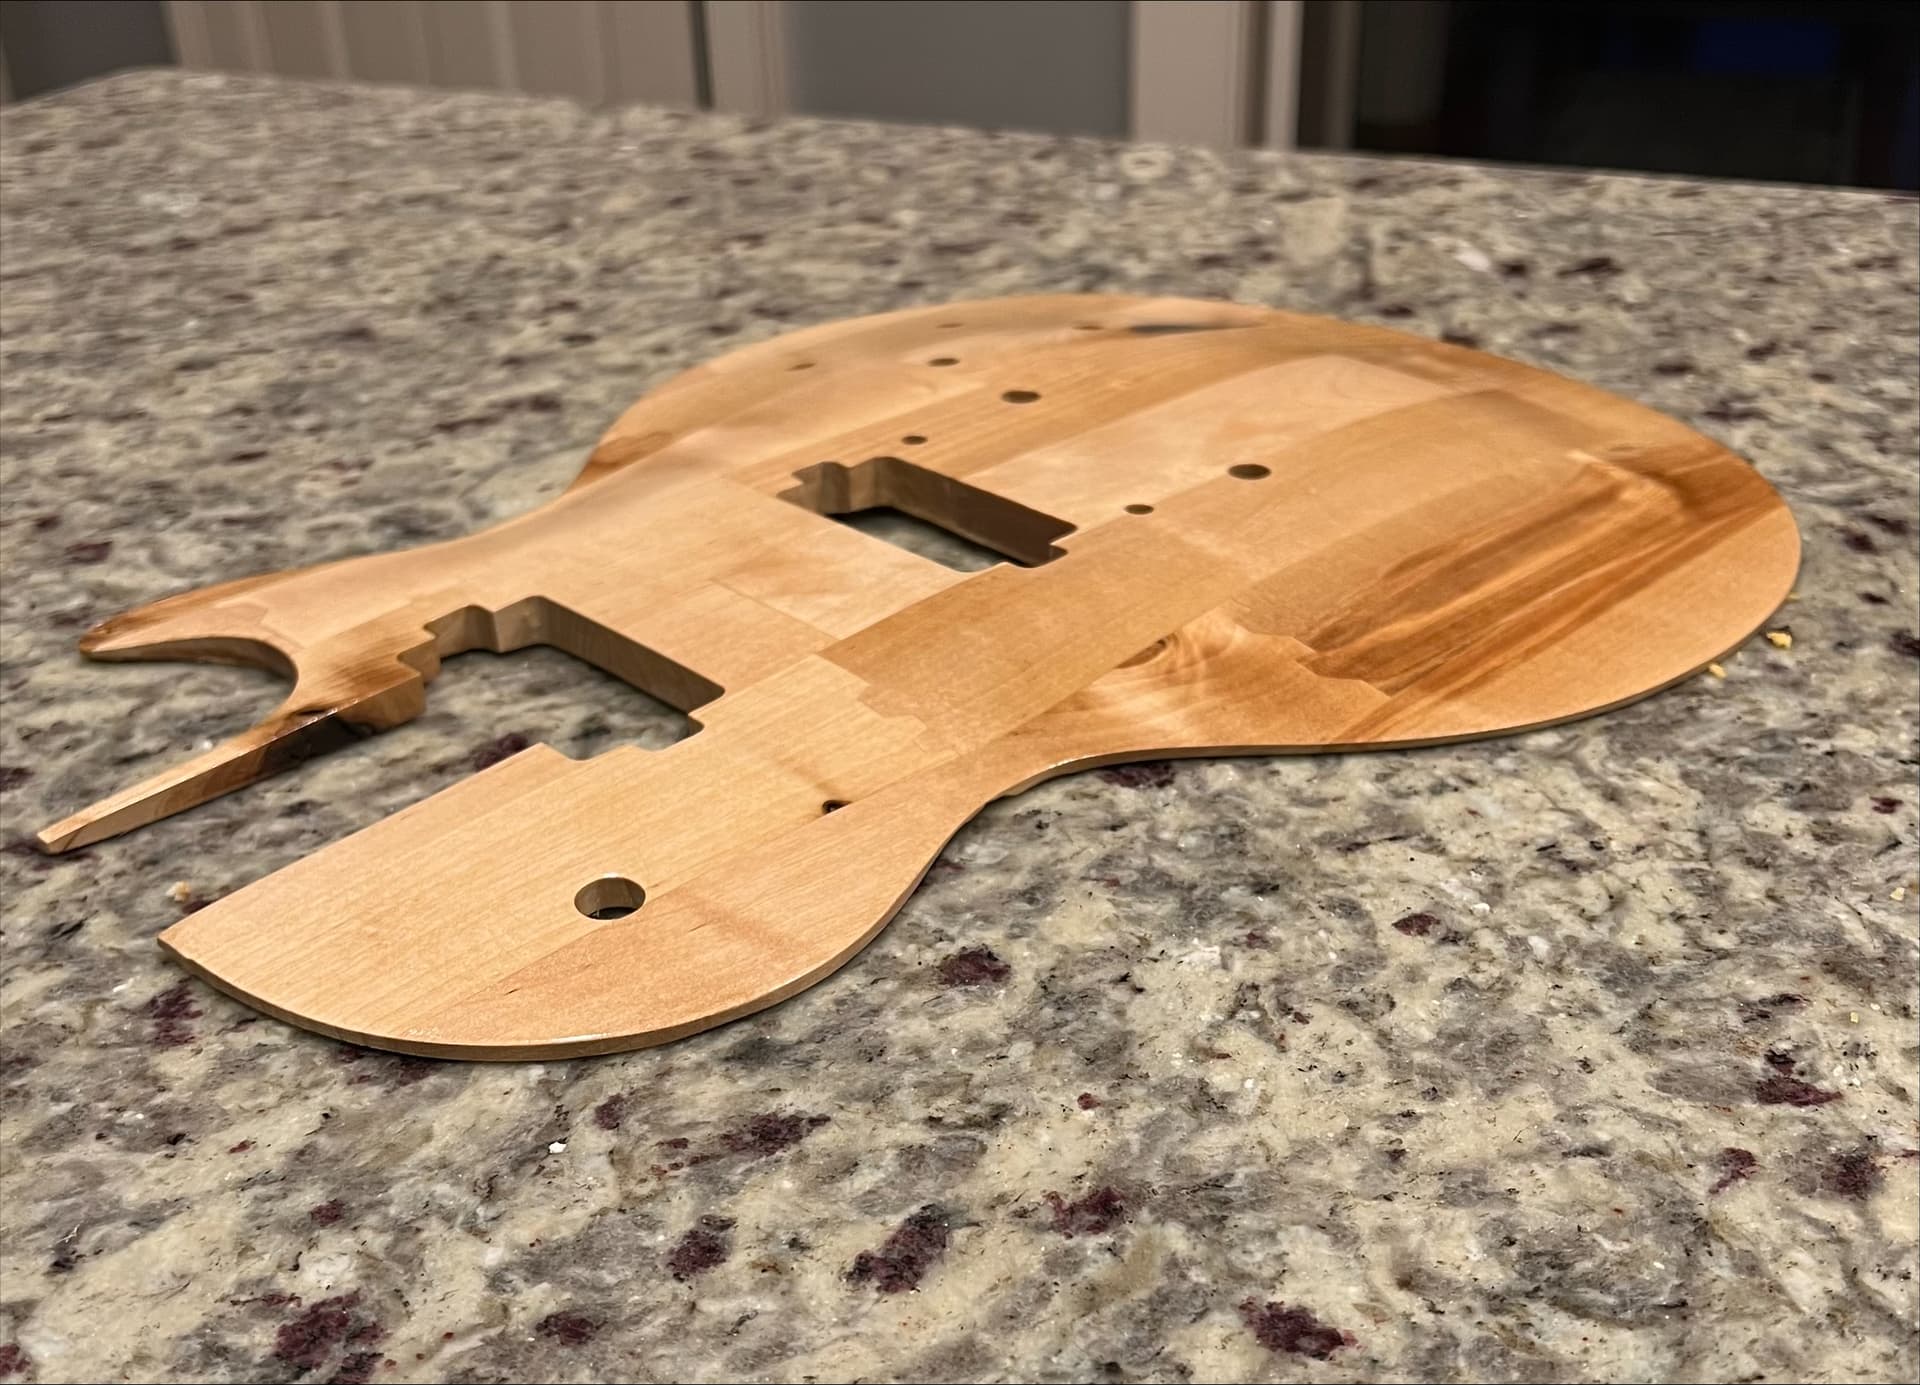
So here is a test run of a part of an upcoming project - building an LP style electric guitar. The pictures show the top part of the body and was cut (in essence) like a 3D relief. The piece is about 13" x 18" overall. I have a Shapeoko 4 XL and used a 1/4" end mill for the rough cut and contour, and a 1/4" ball nose for the finish work. I could not figure out how to correctly import STL files to create usable drill paths in Carbide Create V7 Pro so I purchased VCarve and that worked right out of box. Yeah, I know - I have the patience of a squirrel… ![]()
Anyway - fun project and I love the Shapeoko!

27 Likes
Great Story thanks for sharing!
3 Likes
Any cutter with a wiper flat similar to the 4-in-1 should give you a better floor along with a few drops of cutting fluid. Set your radial stock to leave to .001 when cleaning up the floor then come back and do a final contour of the hex with the axial stock to leave at .001 if you are not already doing it. It really helps the finish.
2 Likes
Hi Jeff, really nice job you did on the LP guitar top. Did you design the top curvatures yourself, or use a file from someone else? I have been looking for the LP top file for a while, but have not found it. Where did you get your design file? And in what format?
1 Like
just growing some cacti on the cnc bed

simple little slot in a wooden jar lid. had to modify the rectangle program and run it a few times to tweak the slot size by 0.15mm at a time to get a nice fit for the leather coasters. This is a cactus coaster I’ve been tinkering with.
19 Likes
Neat!
For folks who want to automate this sort of design work be sure to check out:
6 Likes
Nice idea. You might get a splinter but no needle sticking you. ![]()
1 Like