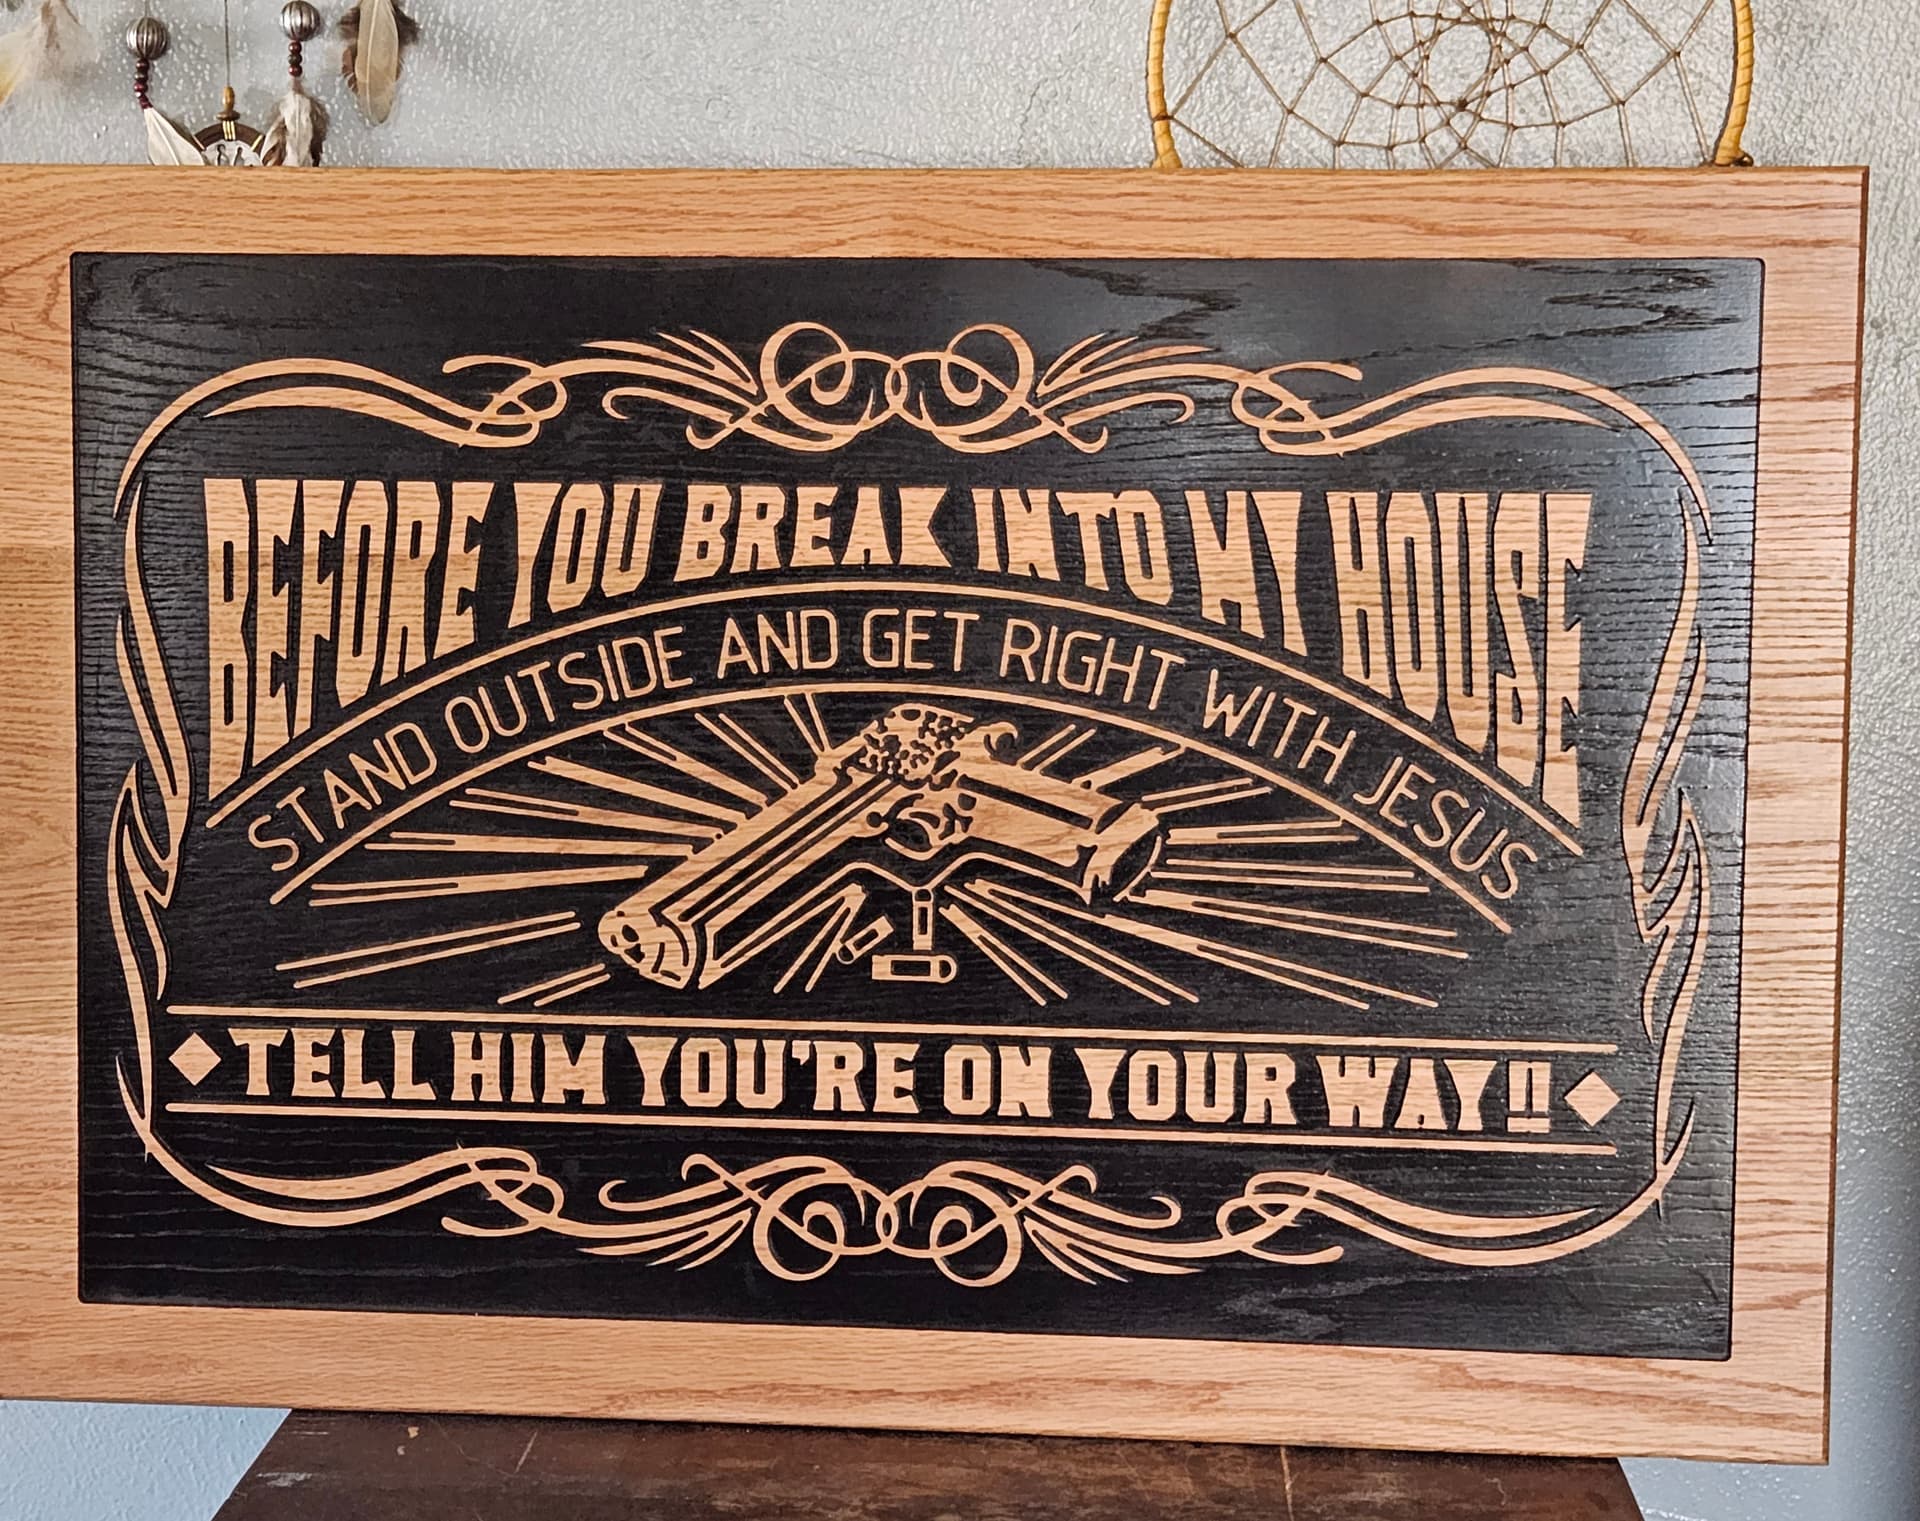
I completed a couple of these signs. Had to use small bits which took a lot of time but came out great!
19 Likes
Amazing work do you mind sharing the bits you used? Also welcome to the forum!
We’ve got so few micro machining photos.
Here’s the nomad 3 in action cutting sub 1mm slots in aluminum with a 0.7mm two flute.
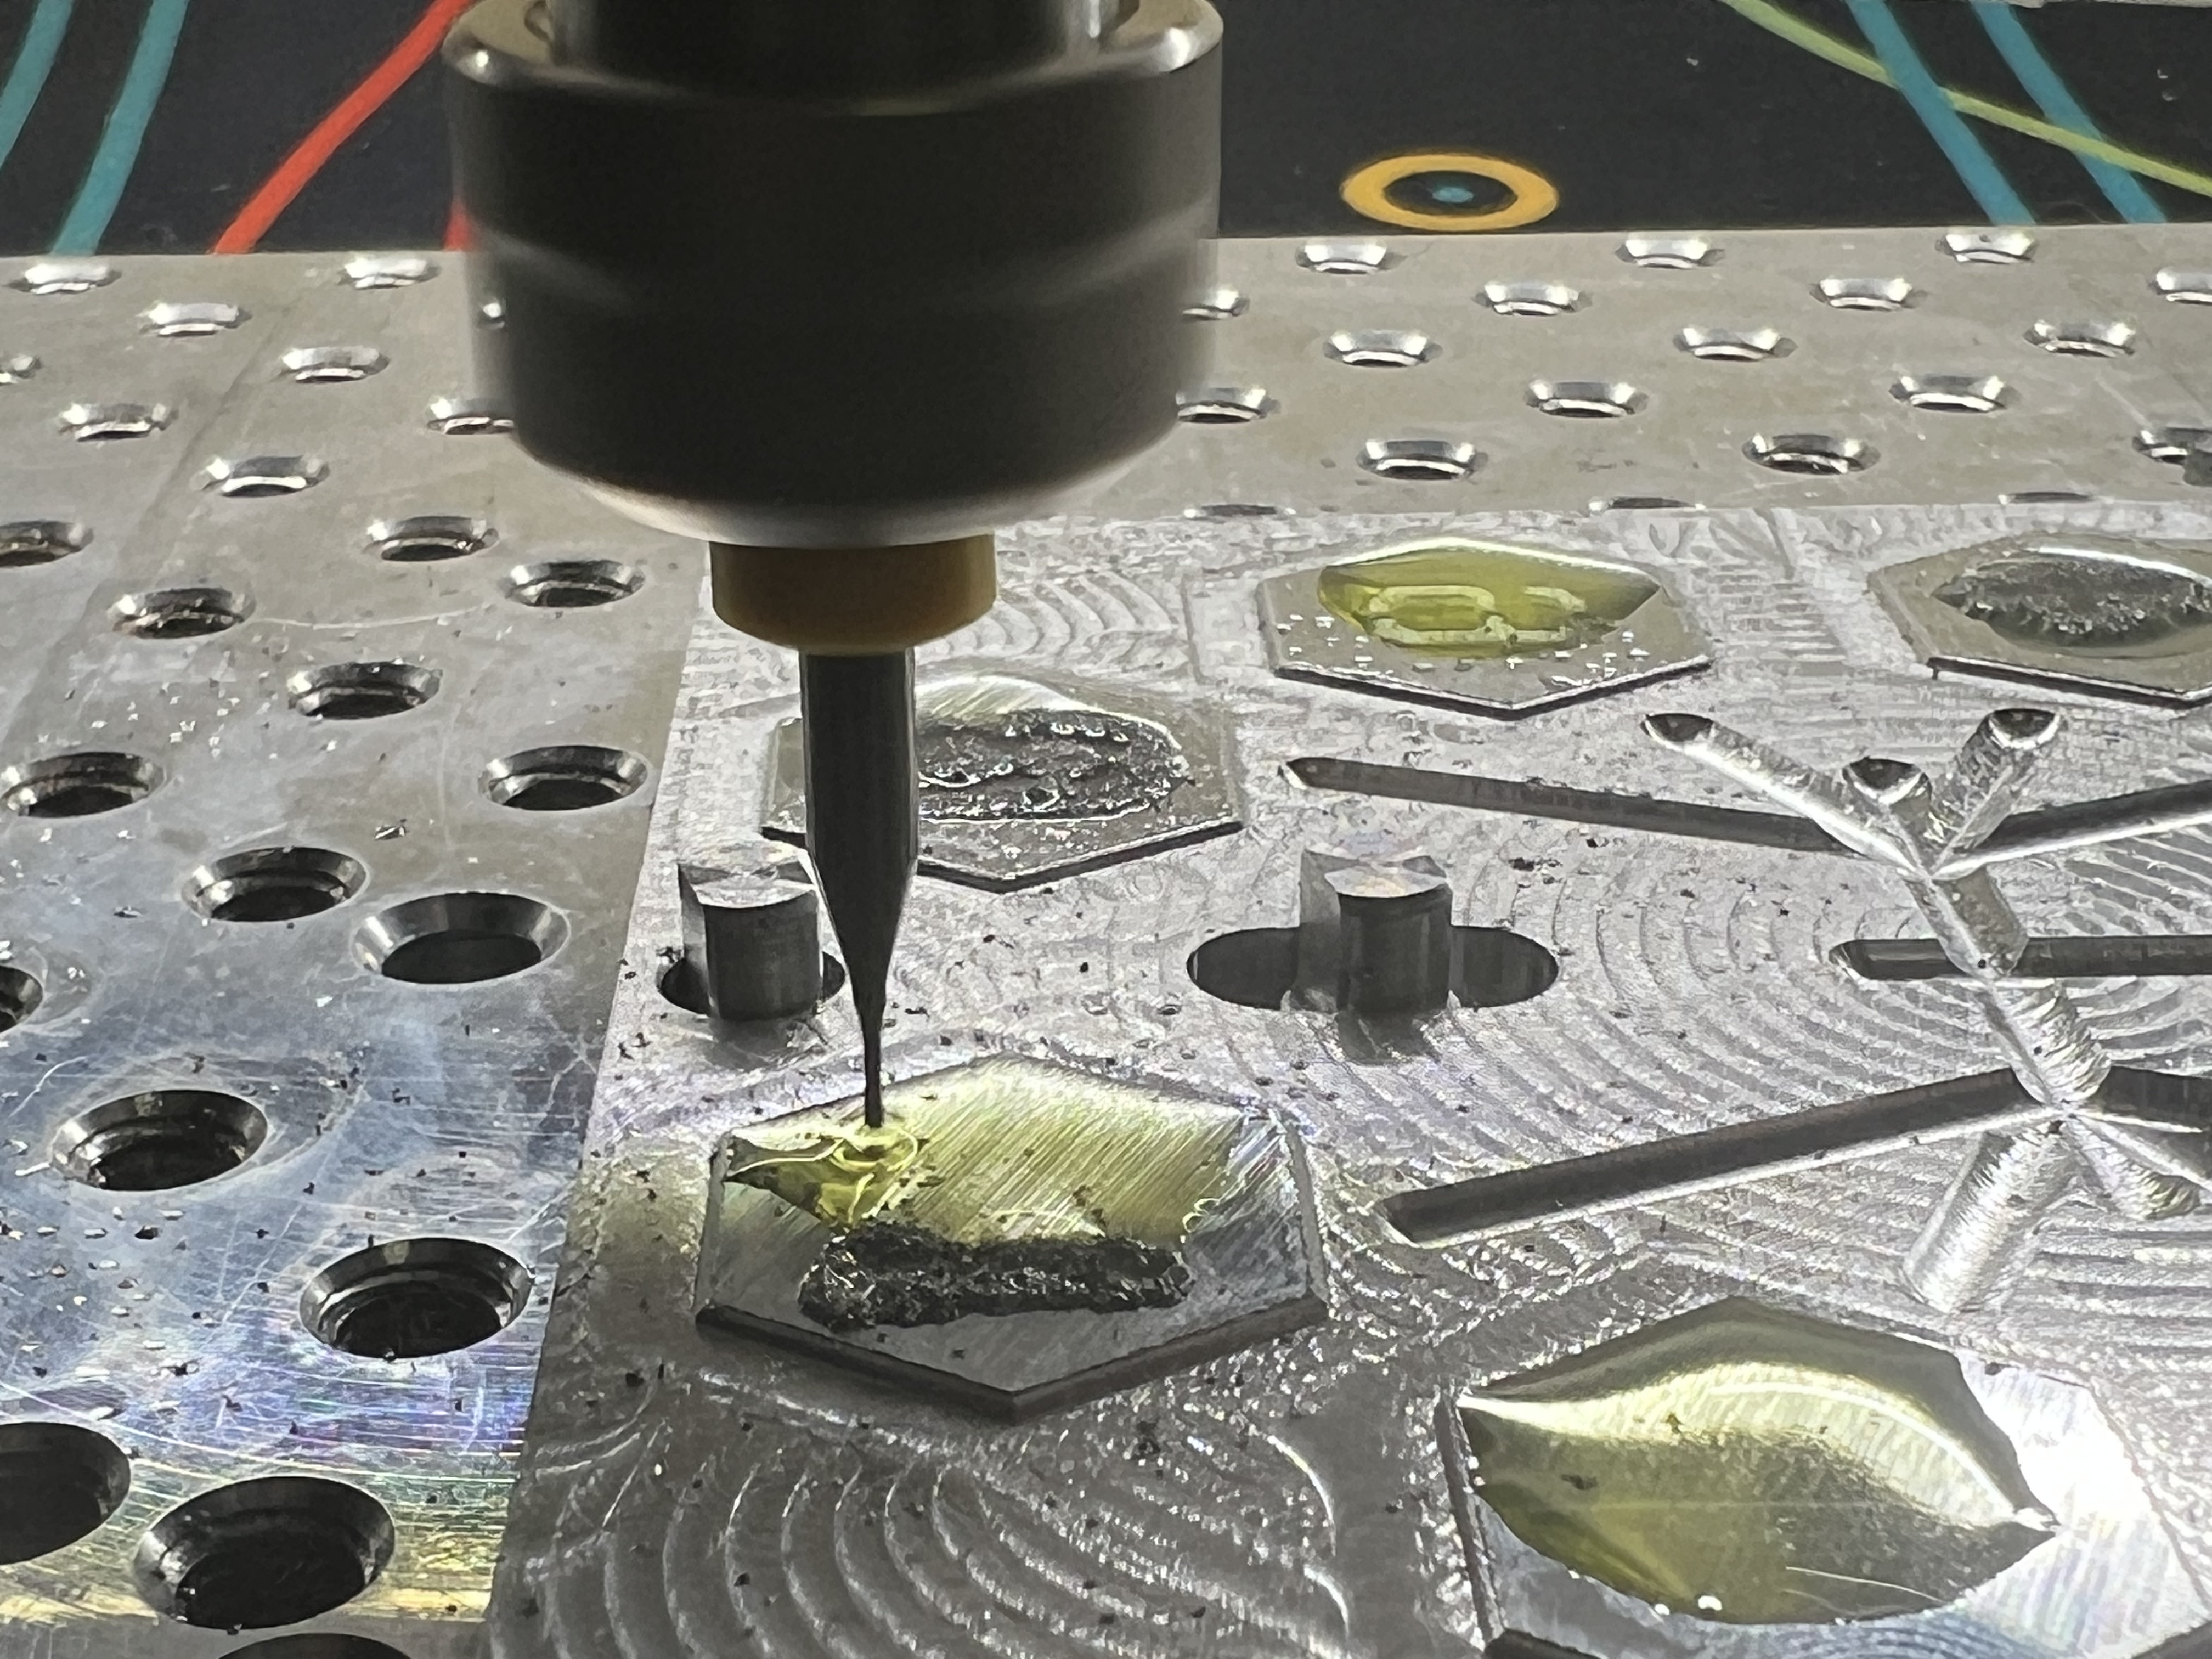
(I should probably be using air blast instead of oil just to get the chips out…i wanted to see if this would work. Seems fine so far ![]() )
)
Edit/Update:
Well i shoulda known better…sigh
Right after posting, the endmill touched down on a location that wasn’t fully flooded with cutting oil. The endmill immediately blew up when hitting the dry spot ![]()

7 Likes
Your sign is nicely done. However should you ever have to carry out what you are suggesting you can believe it will be used against you. I know that sounds upside down but in today’s climate maybe you should not show such a sign in public. Sad but true. I do agree with your sentiments.
What gun is that, looks a lot like a Dessert Eagle.
2 Likes
On this one I used a 3/32 end mill. It was 24" by 32" I believe. I did a smaller one 13" by 18" and i used a 1/16th end mill.Thank you for the welcome!
I believe that it is supposed to be a desert eagle. I believe that we are a little more conservative in Idaho, but I understand your concern.
1 Like
Is that an inlay? I can’t quite tell.
It is not an inlay. I put the masking film on the wood, pocket tool path around everything, painted the background, then peeled the vinyl and stained the wood.
2 Likes
I saw something similar a few days ago and that was my first, very sad thought. We live in a strange world. Thats great work, nice clean lines. Very well done.
Mark, would you mind sharing your file. I would like to make one for a friend of mine.
Thanks
Harold
Kitchen remodeling, continued.
Over the week-end I machined the largest part I ever had to deal with on my Shapeoko Pro XXL: the fridge door, which is 71" long. I had to plan for a three-tiles tiling job.
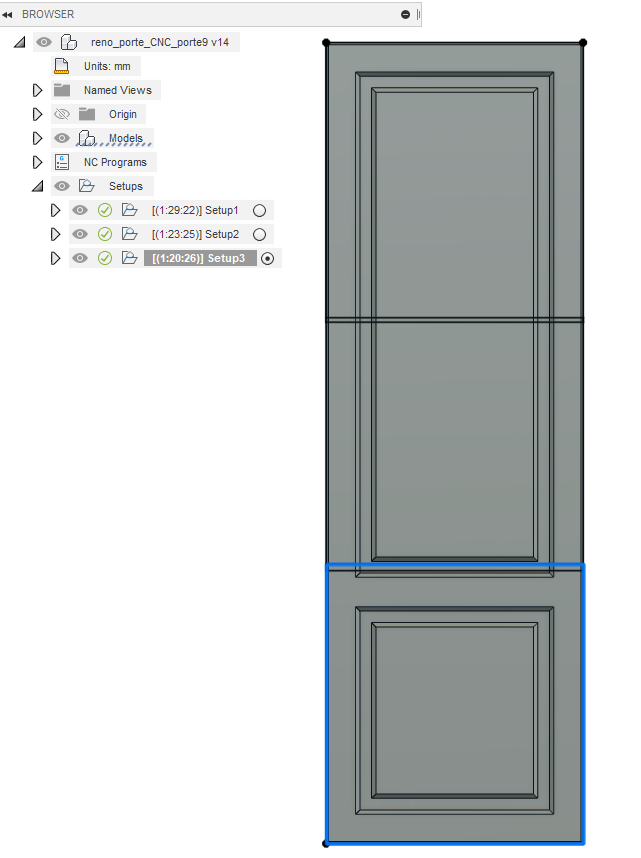
And since a) I needed full access to the top surface and b) I could not drill holes for dowels, I resorted to just using stops on the left side for perfect Y alignment, tape & glue workholding underneath the door, and eyeballing the postion after sliding the door for the second tile (which was not critical since I designed the tiles to overlap AND by carefully choosing where the tiles join, the job is tolerant to a small Y offset anyway)
The first two tiles were done with no issue (except that center panel in the second tile is lower than expected so the surfacing pass did not touch it, I sanded it manually)
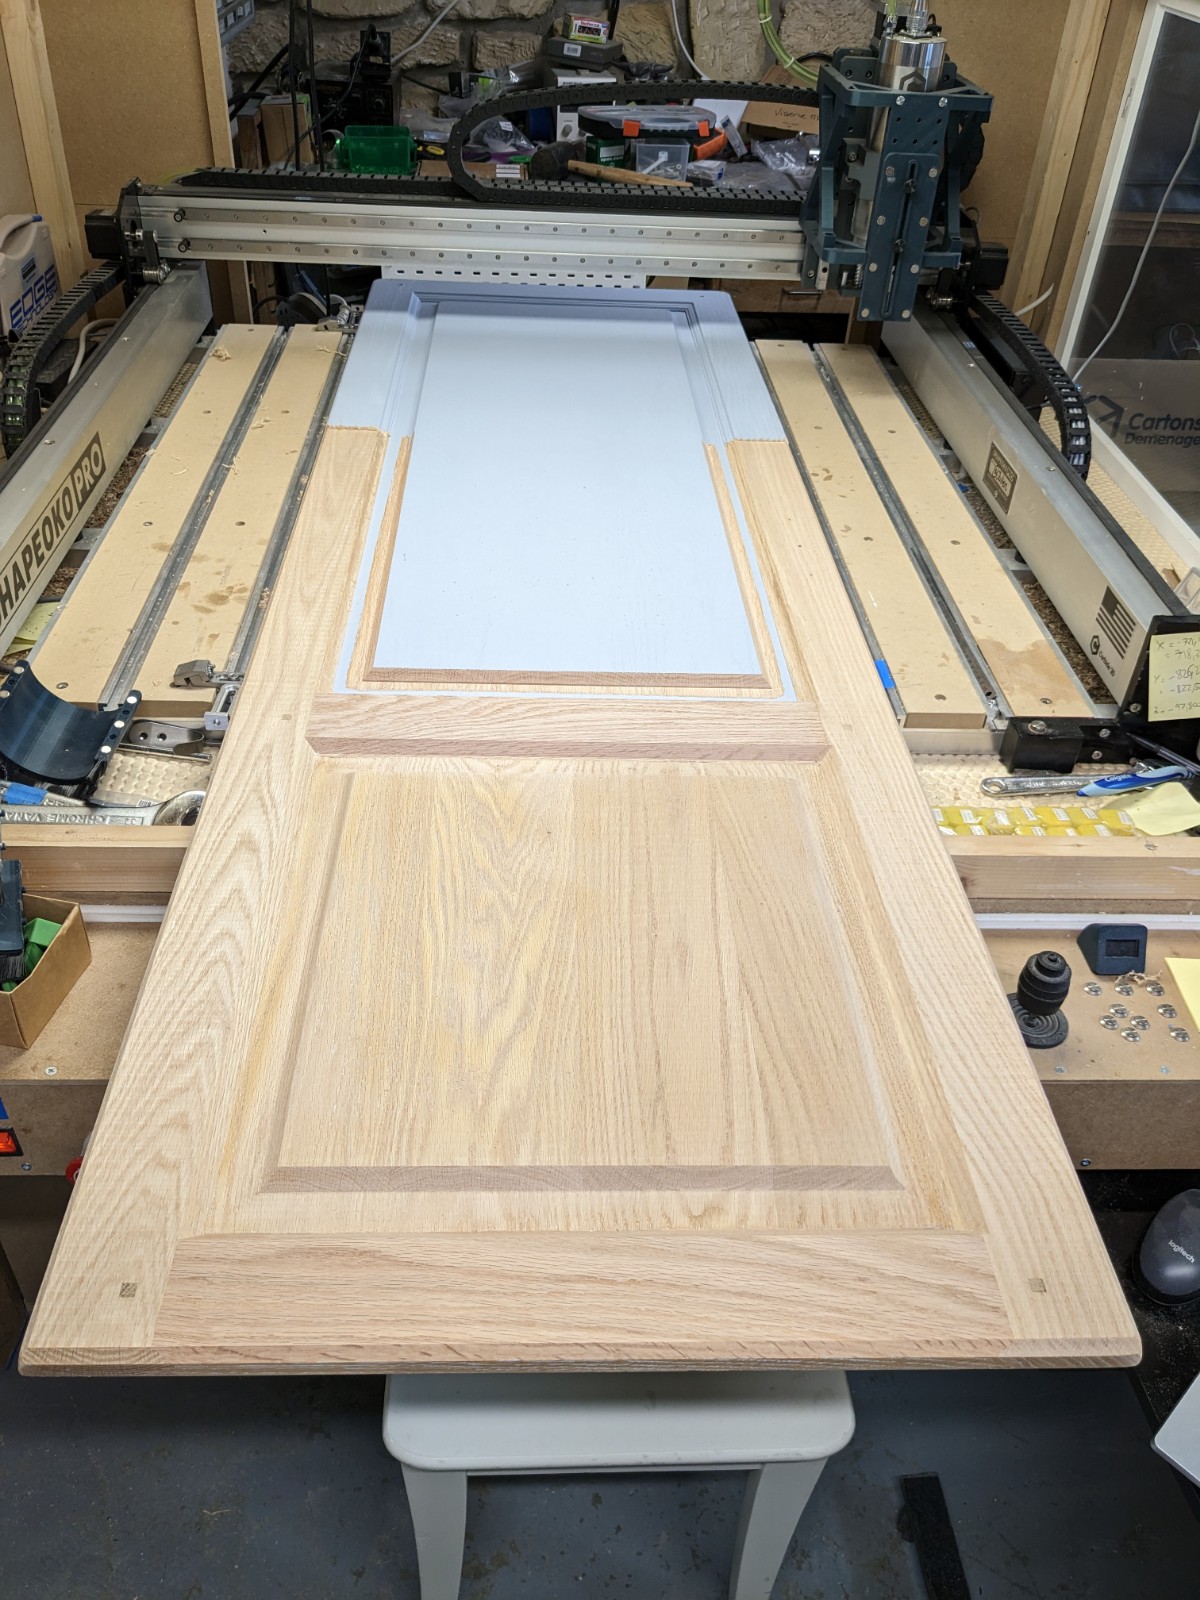
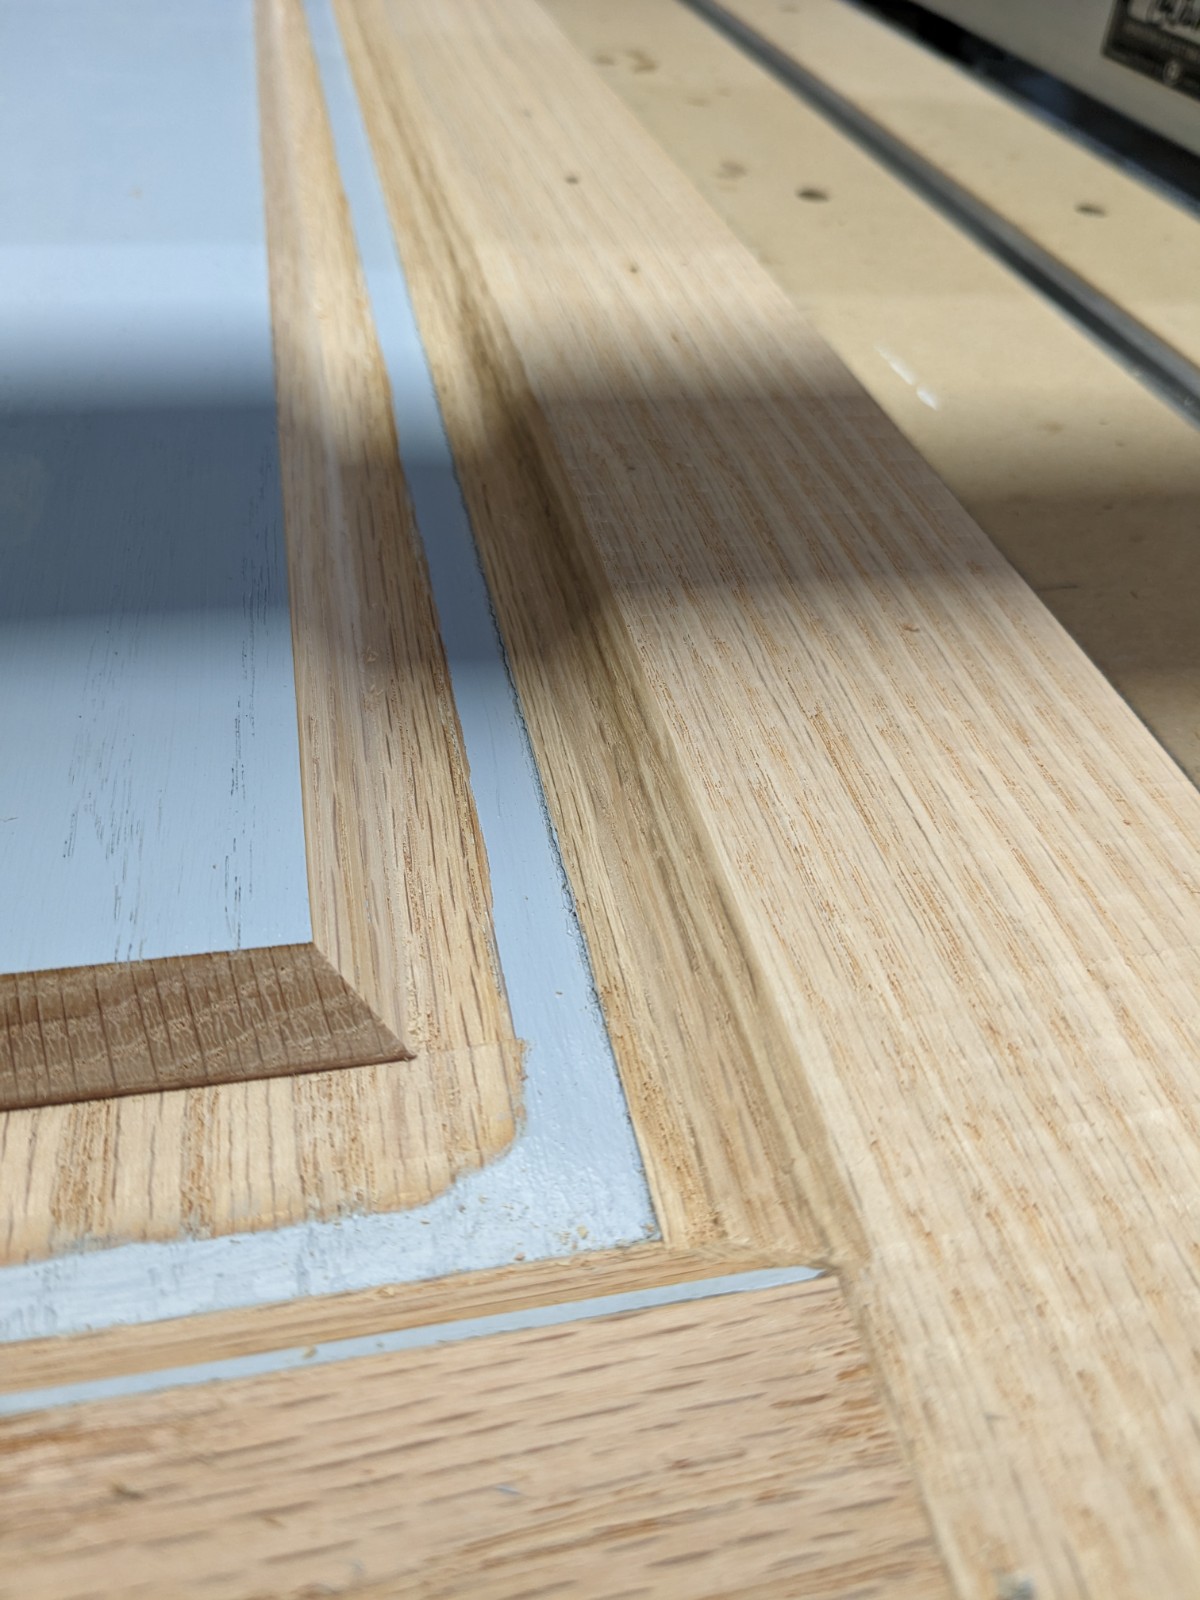
The stops worked wonderfully to get perfect X continuity between tiles, here the door after the first tile,

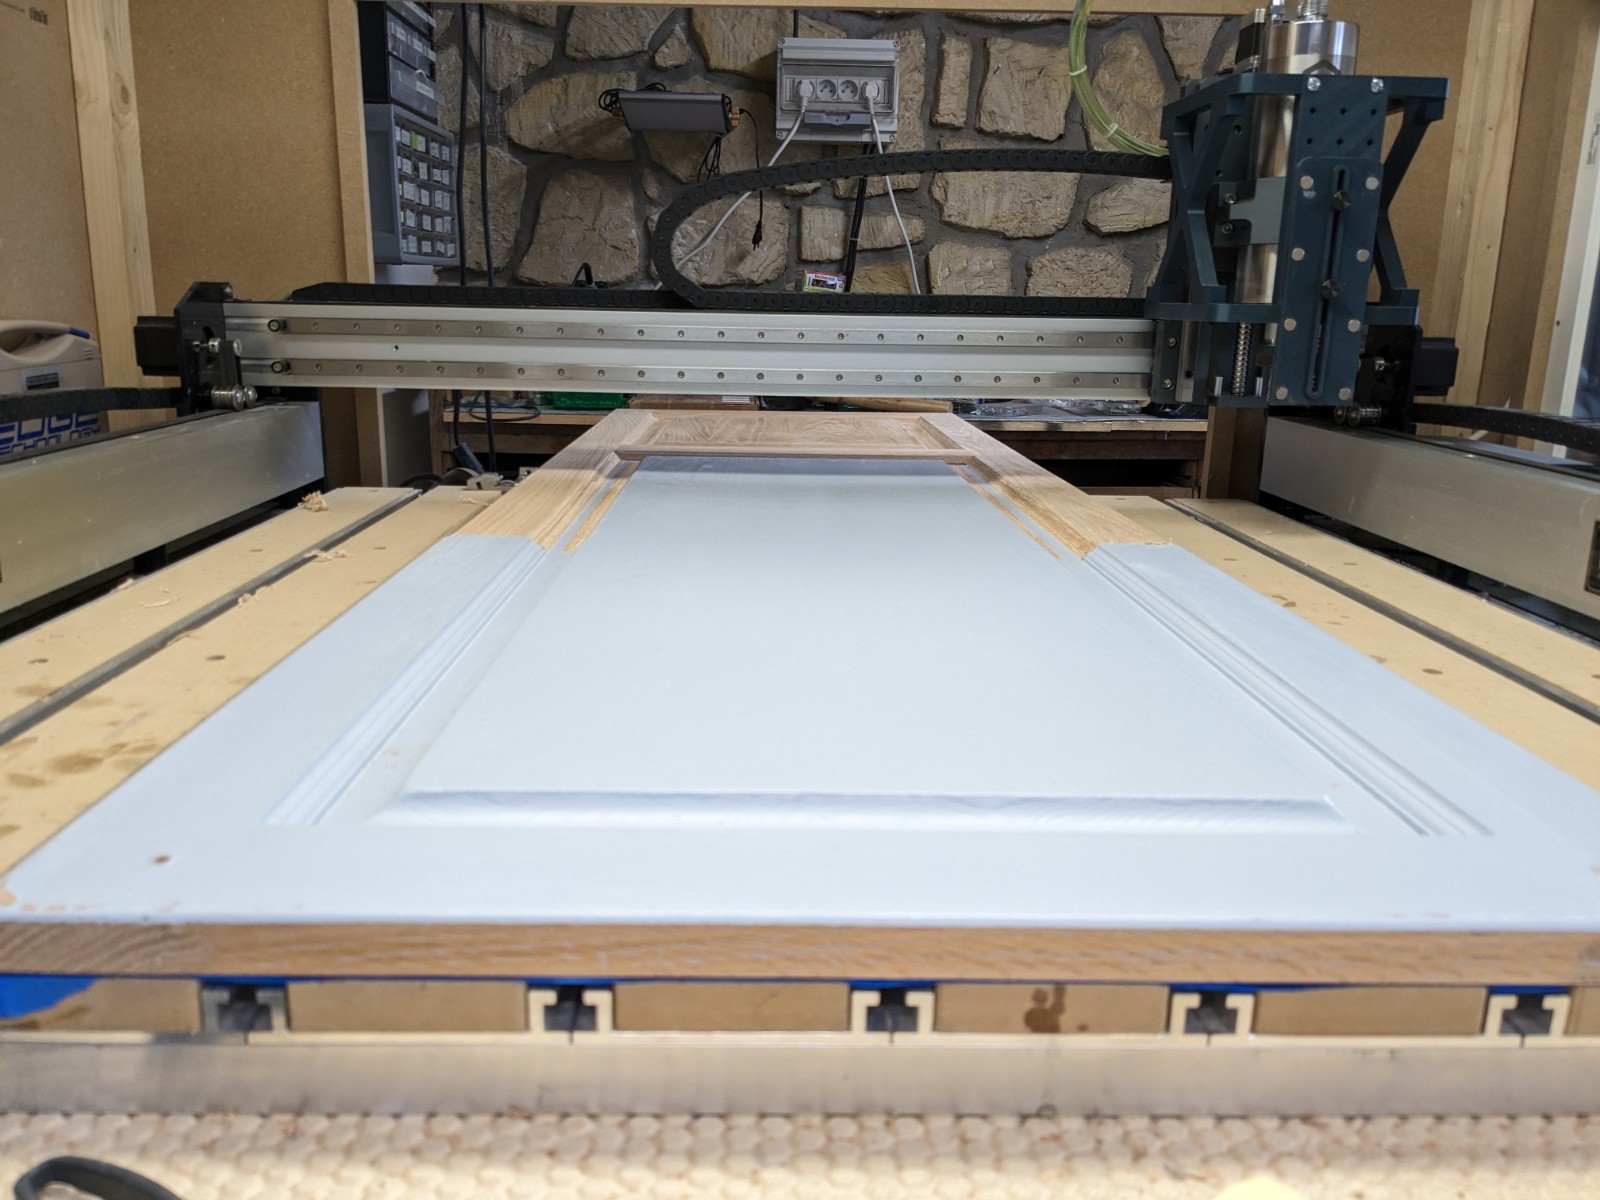
and here’s another shot after sliding and running the second tile, perfect alignment, yay:
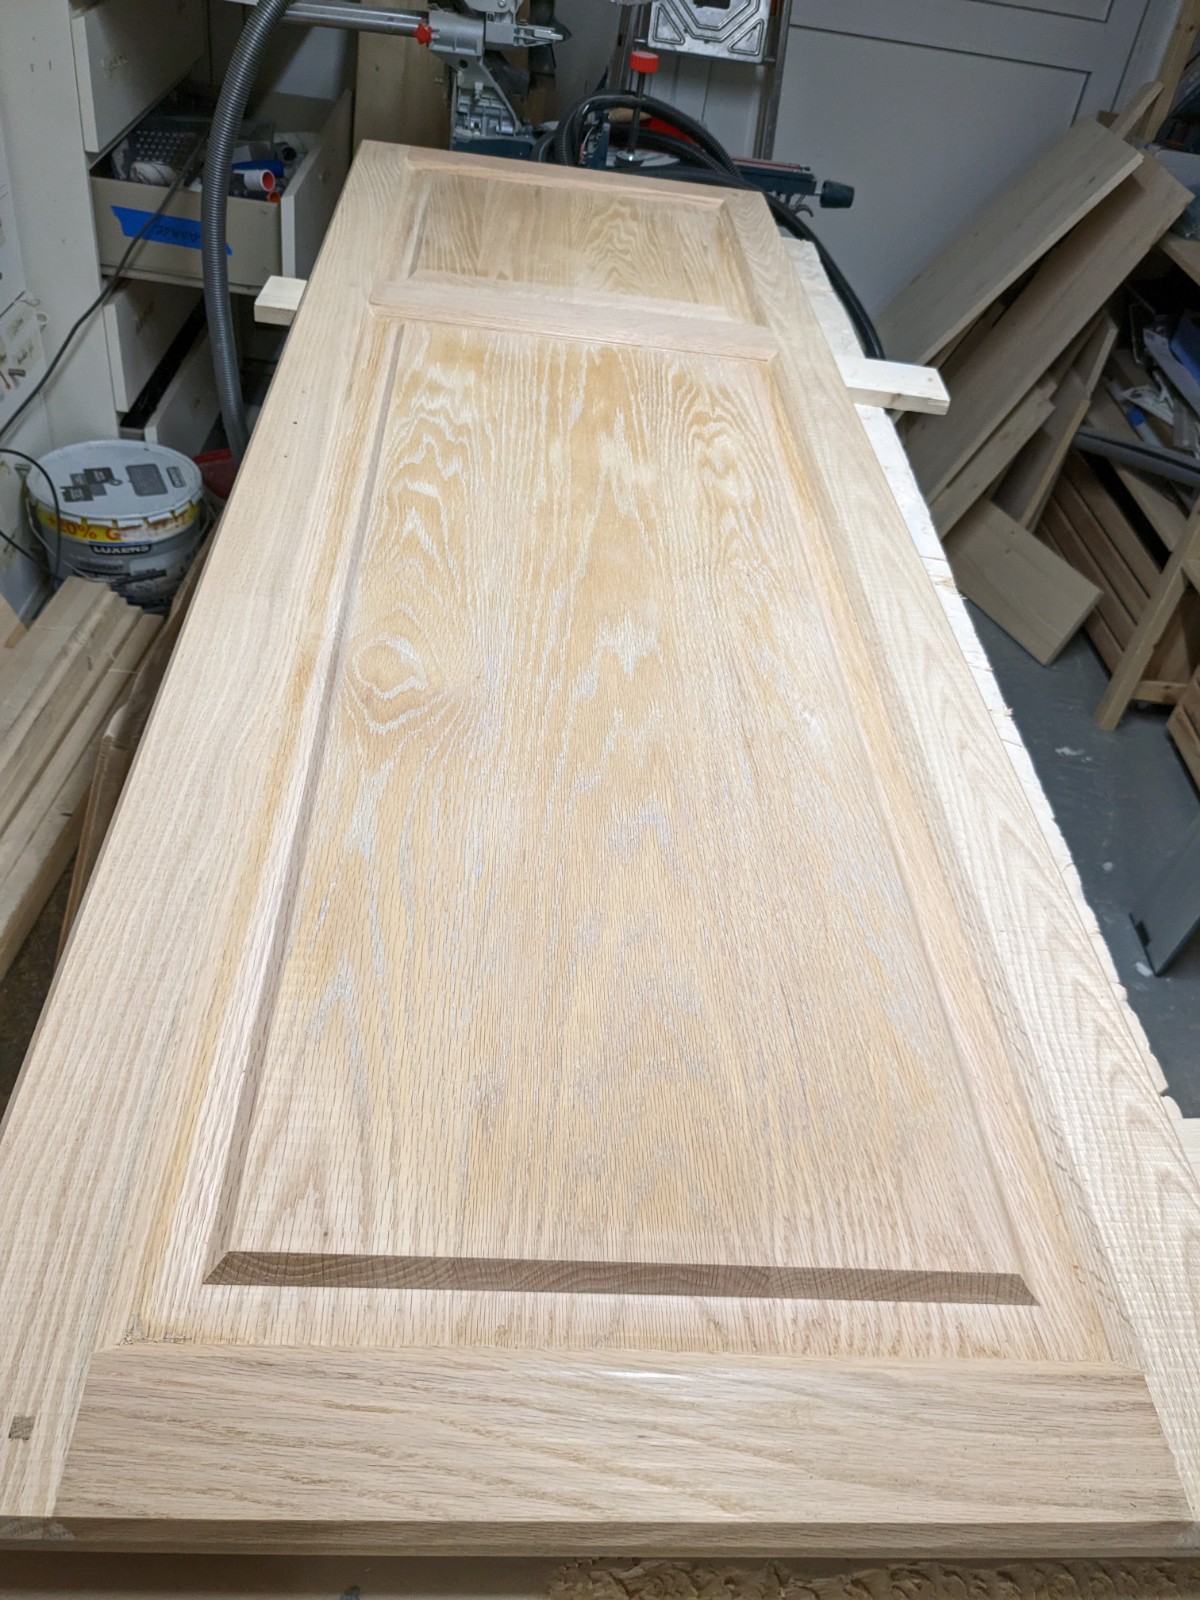
I then rotated the door 180°, and proceeded to machine the third tile (since it sounded more convenient than further sliding, which would have required supports outside the machine for two thirds of the door)
And done. Pfew, I had exactly one shot at this, renovating is stressful!
30 Likes
You are one tough hombre! +1
1 Like
Hi Harold, Let me look for the file for you. It wasn’t in the folder where I expected to find it but may be on my older laptop.
That is beautiful!!! Do you have a file for sale, by any chance?
Can I ask how you mounted the laser to the XXL?
I have a very custom 3D-printed frame around my spindle that I attach the laser module to. Very bespoke, so not helpful to anyone but myself I’m afraid.
Thanks! I attempted to reply to the notification email the forum sends out.
Terrific work Nils. We are proud to honor you with our “Hump Day Highlight” this week: Carbide 3D on Instagram: "HDH #7 - Two pieces per half / Glued together after machining / Producing a beautiful and functional object. Nils Lichtenberg finished this with linseed oil and wool fat. Notice the interlocking top and bottom. Outstanding work Nils. carbide3d #shapeoko #cncrouter #instamachinist #cncowners #creativity #inspiration #design #digitalmanufacturing #desktopcnc #manufacturing #madeintheusa #creativity #madeonshapeoko #shapeoko #digitalmachinist #shapeoko5pro #woodworking #glasses #glassescase #functionalbeauty"
12 Likes