Oh, I’ve done it before. Blue tape, copy paper with spray adhesive, plotter paper with spray adhesive, but now I usually just use oramask. I’ll give the shelf paper a whirl though. Started doing this with a CompuCarve (CarveWright) 15 years or so ago. I’ve weeded so many tiny mask pieces my hands hurt just thinking about it. This sign was just a test. ![]()
If I’d known that I wouldn’t have suggested anything at all. ![]()
1 Like
Made (and making) some coasters for our girls Cub Scout den. Not bad I think for my 3rd project on the shapeoko =) Ask me how I now know that just because you can make a toolpath doesn’t mean the router has enough travel to actually cut where you wanted it… Lesson learned with long pieces that go close to the edge. But I am happy with how they turned out given my first attempt with resin.

11 Likes
![]() No worries! Good suggestions anyway, and I will check out the shelf paper liner.
No worries! Good suggestions anyway, and I will check out the shelf paper liner.
1 Like
Love that. Planning to do something similar for my boys Cub Scout group. Also thinking of diving into 3D with some neckerchief slides.
WOW! That is amazing work!
1 Like
The detail is really nice on the lion and bear. What bit are you using for them?
I used a 60 degree v-bit. I wanted to make sure the fine lines were deep enough for the resin so figured a sharper angle for the v-bit would work well.
It looks great. I’m doing something similar with a 60 in pine, and am not getting close to that definition, even at .02" depth.
I forgot to mention that the size of the stock on Y (5.75") is important because the plan includes a pocket on the back to set in a cork pad. Of course one can delete that tool path, but if you want it you will need to make sure the measurement and alignment is true to x/y so the pocket will line up with the coaster.
See attached picture.
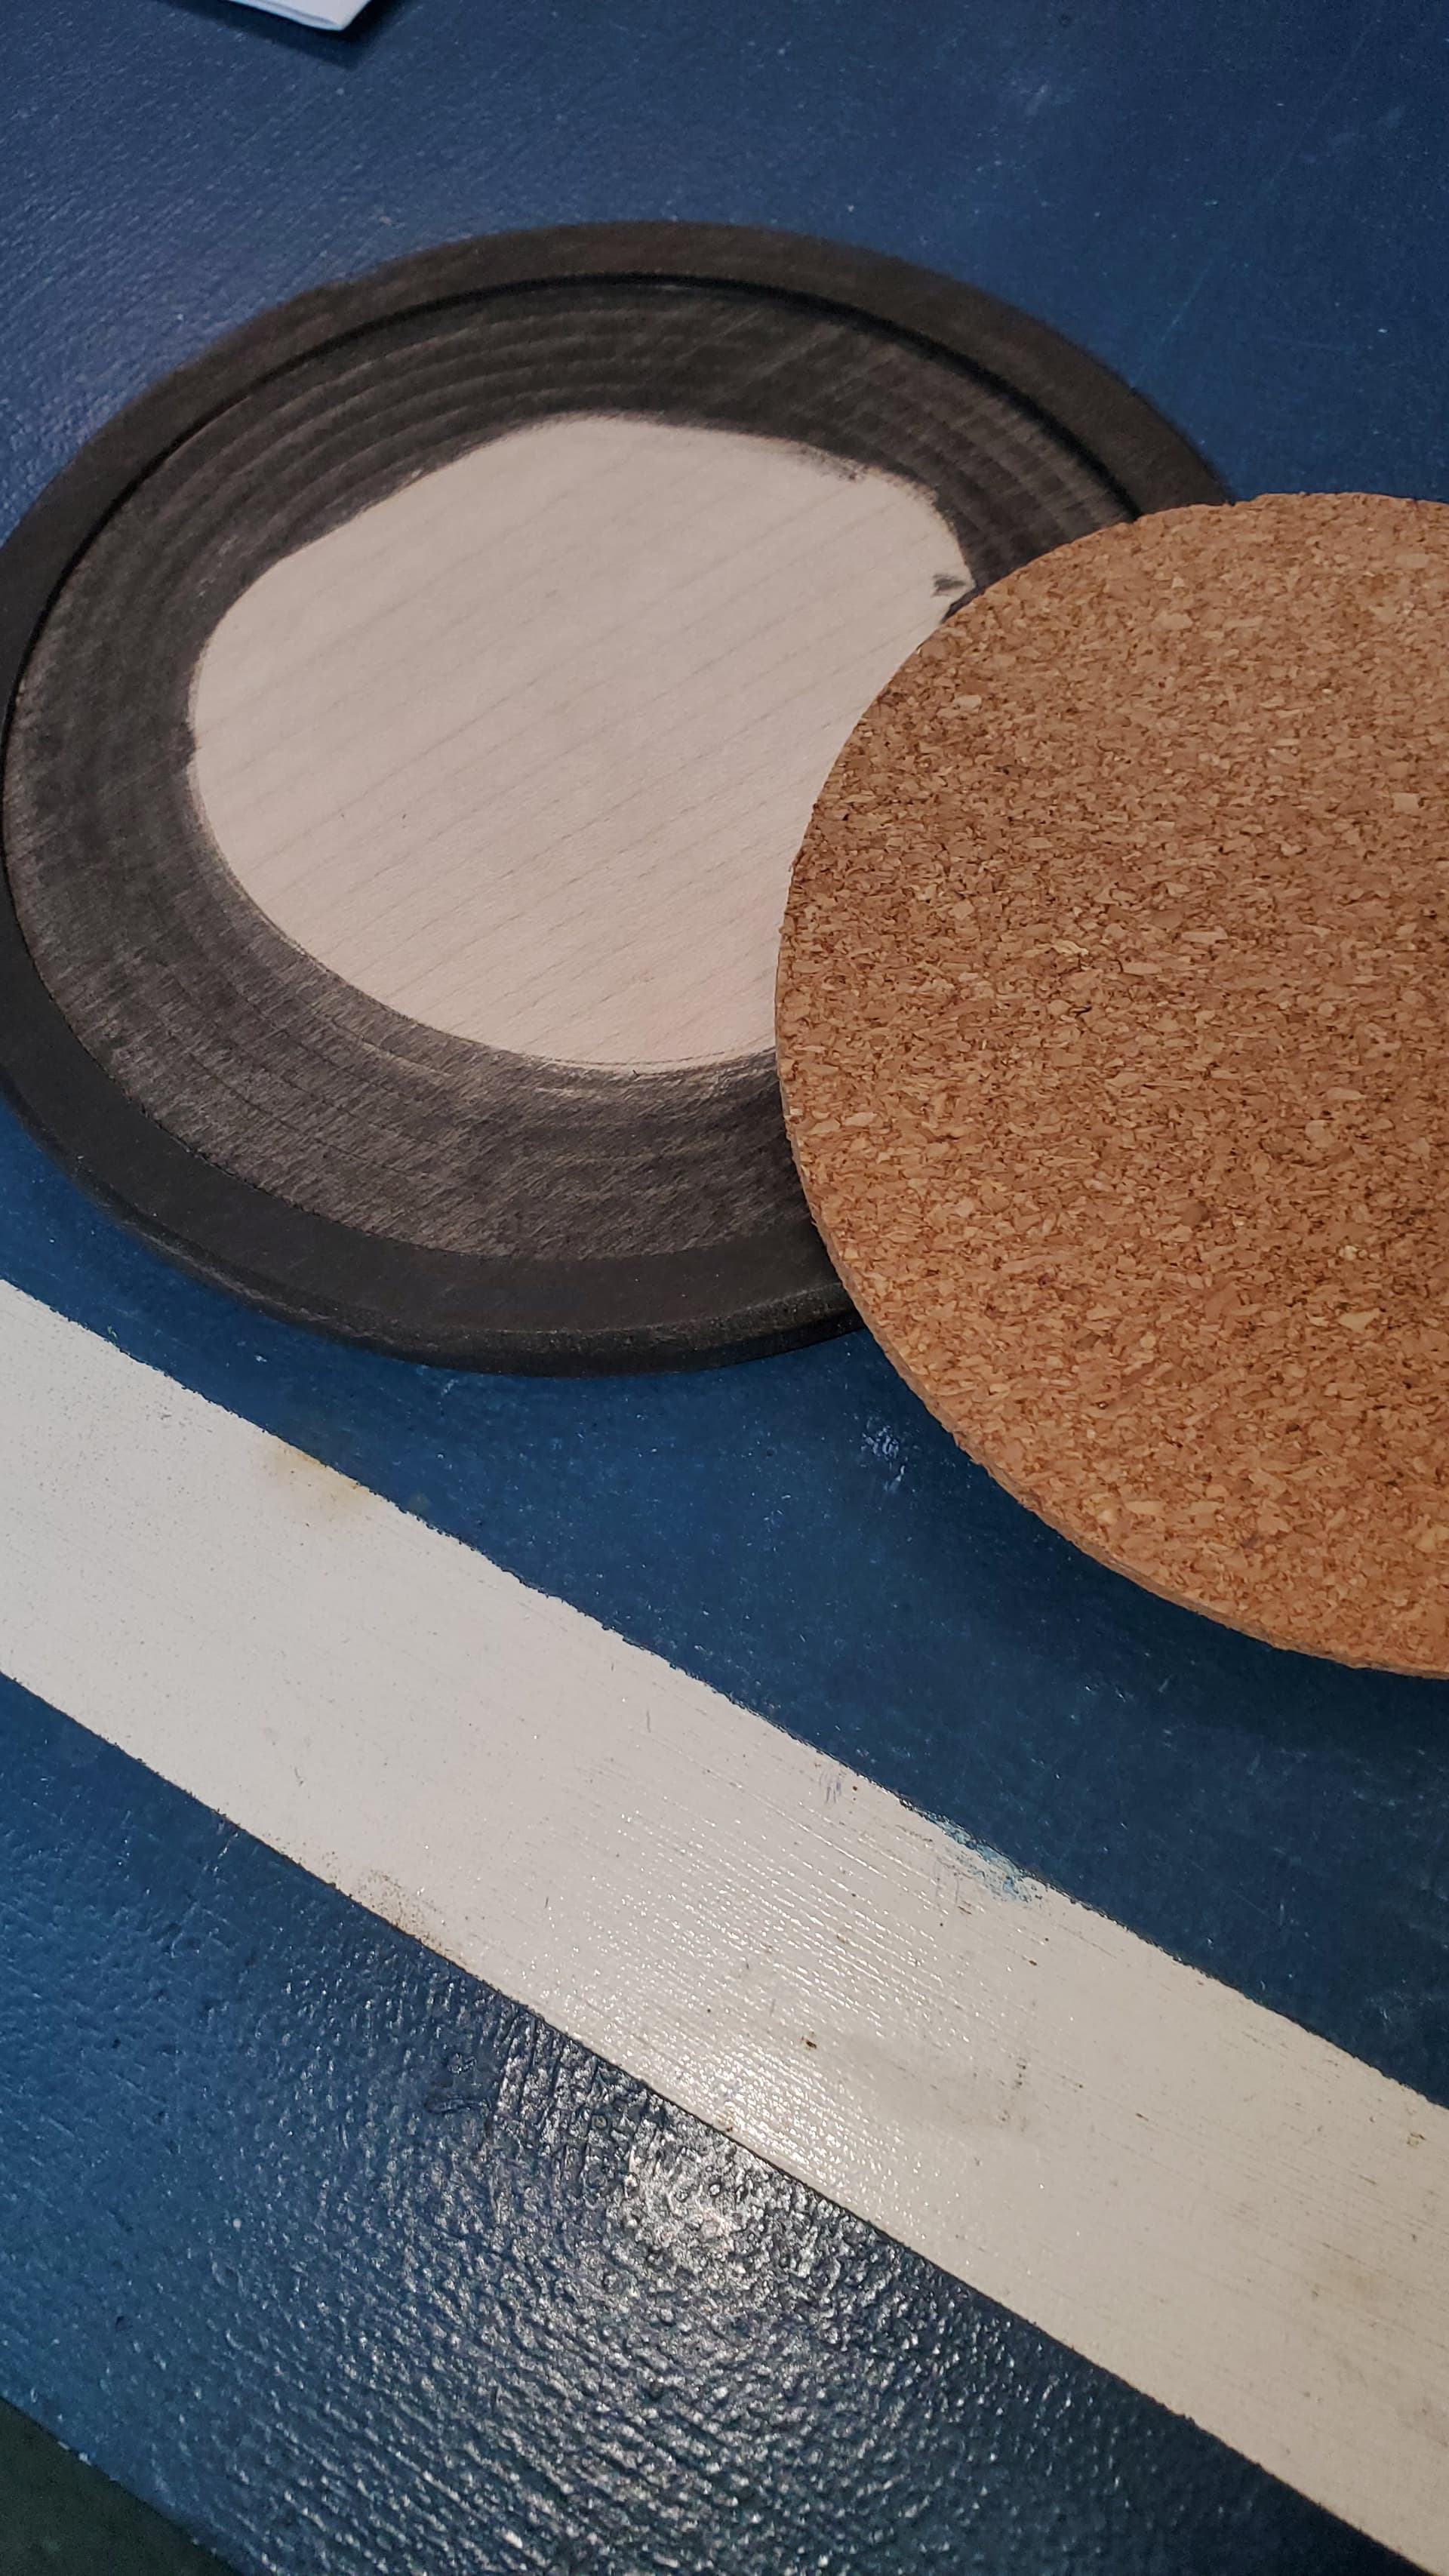
Probably overkill, but I inset the cork to help keep it from peeling off.
Best,
Mark
4 Likes
Interesting idea. I have been thinking of the cork as keeping the wood away from any moisture on the table and also helping prevent slippage on the surface. I assume you have it slightly protruding.
Got some laser cut parts from send cut send.
Went to add some extra geometry (having the laser do the bulk of the work is great, cost was just barely higher than raw material prices if I’d done it myself)
My nomad helpfully reminded me that I ordered 7075, not the 6061 I’m used to. It reminded me by screaming loudly when I started the cut ![]()
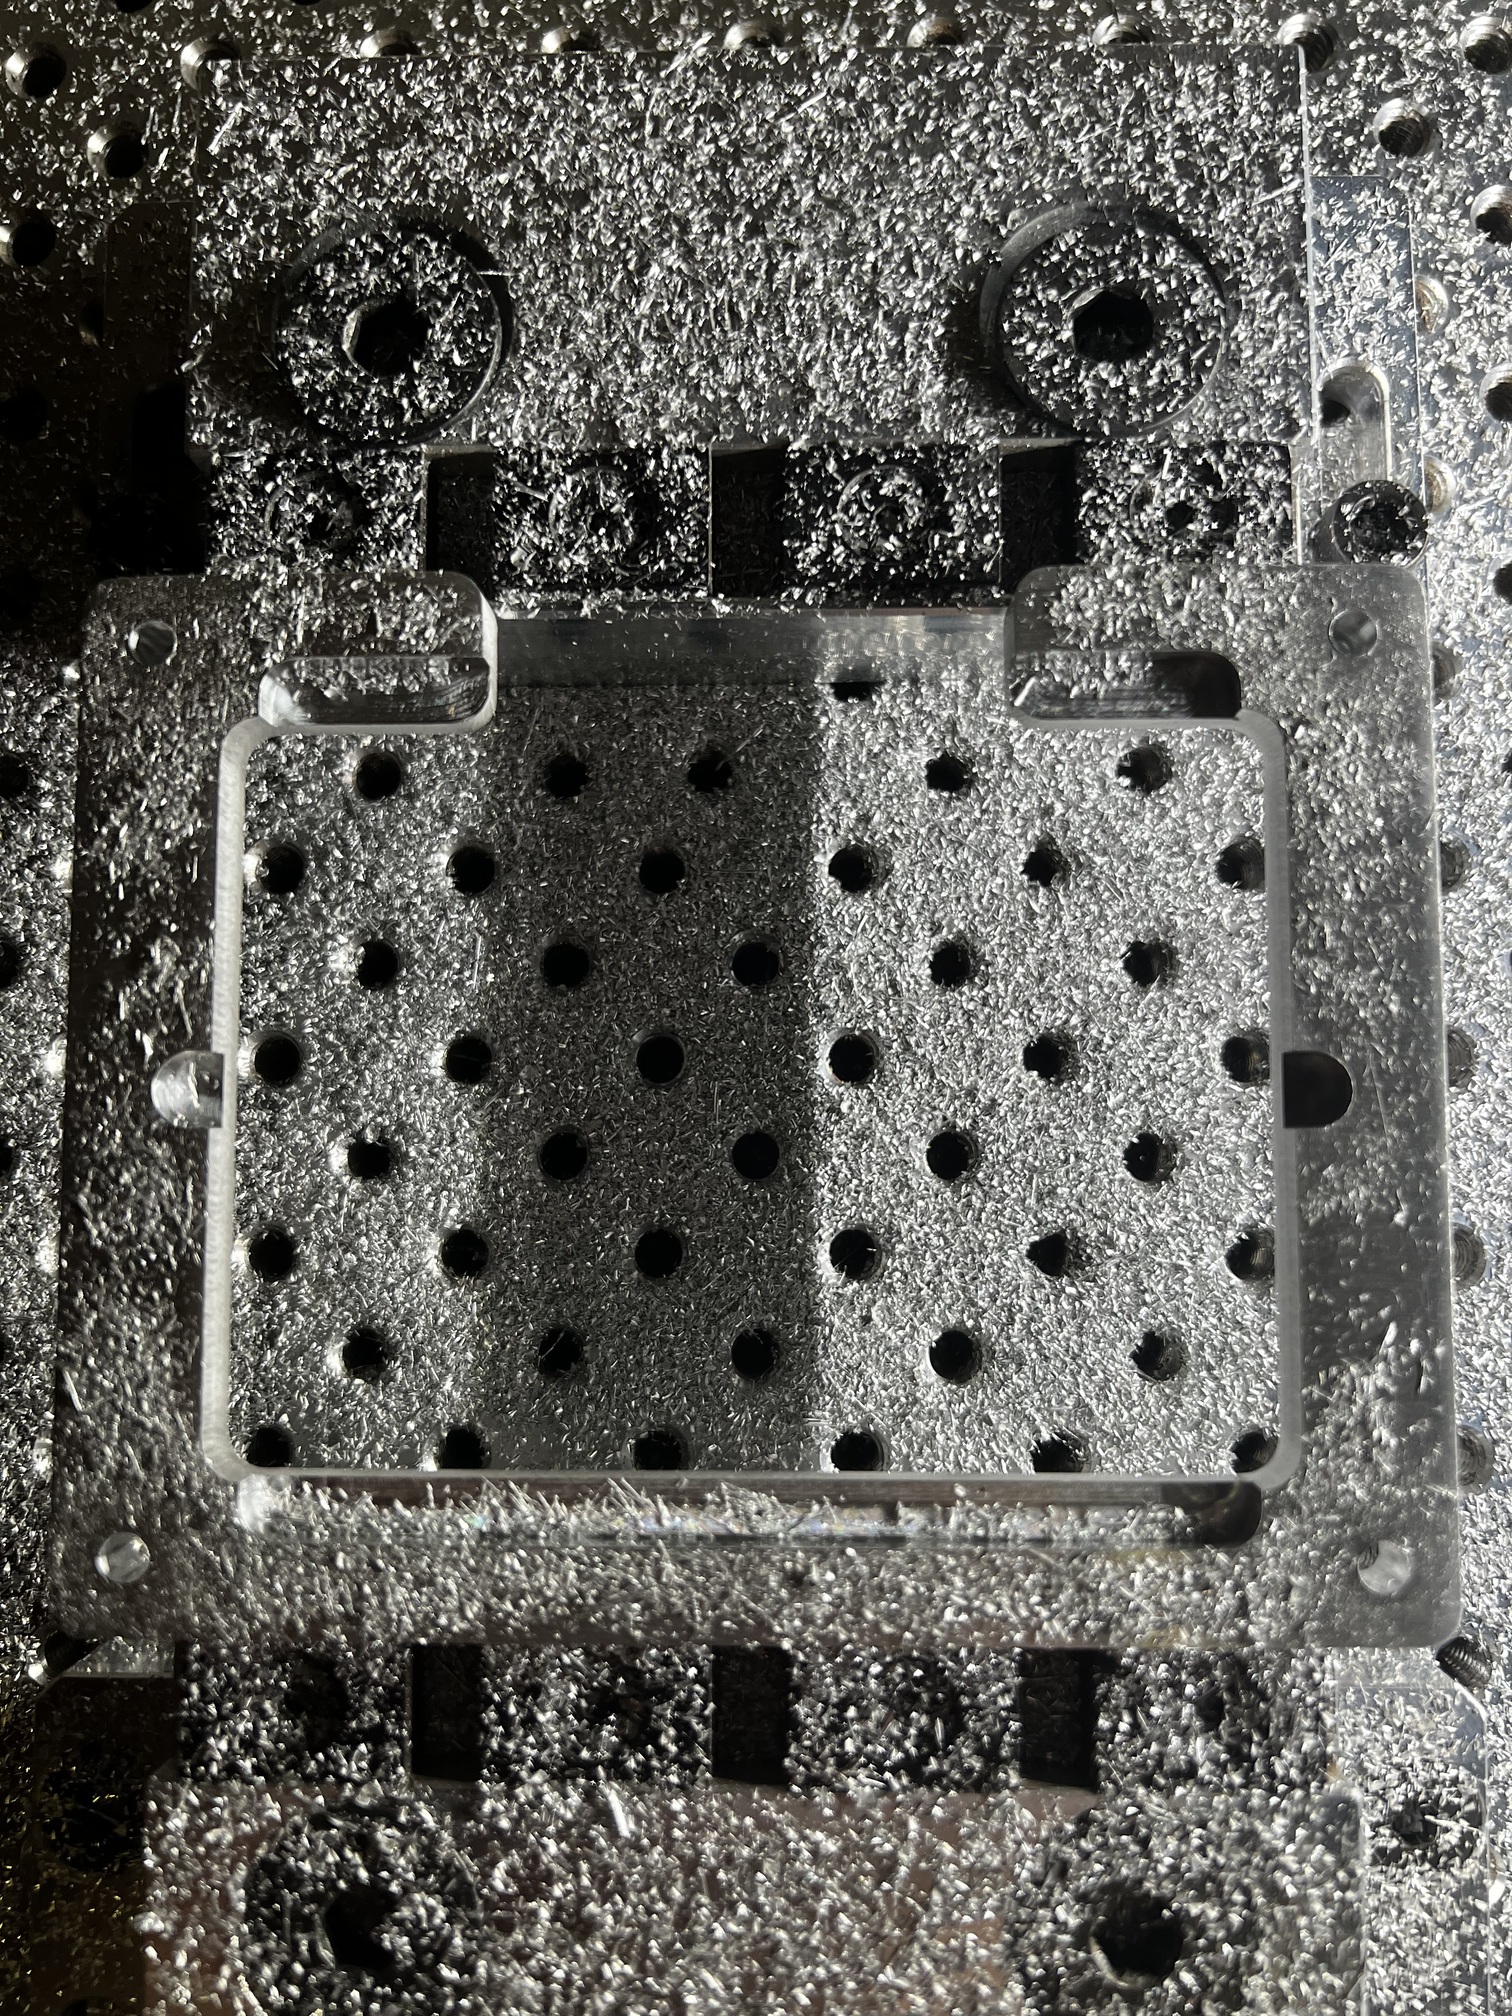

Great results? No, not quite…
Good enough though? Absolutely ![]()
13 Likes
Those are really clean lines in cedar. I have had very little luck in cedar. Its so soft, my lines are always pretty bad. Nice work! Semper Fi.
A friend sent me this link as a challenge for my next project. It’s pretty cool but I told her she would have to commission me to build it.
4 Likes
Absolutely would have to have commission for that and if I knew how to solder I would go for it myself!
I would never lose the remote again. I wonder what the build cost of that is. The labor is pretty big too.
I want to build this.
Quick check did not find anything that I can buy to cram into a table off the shelf.
.06" pocket, .125" cork coaster from Amazon…
1 Like
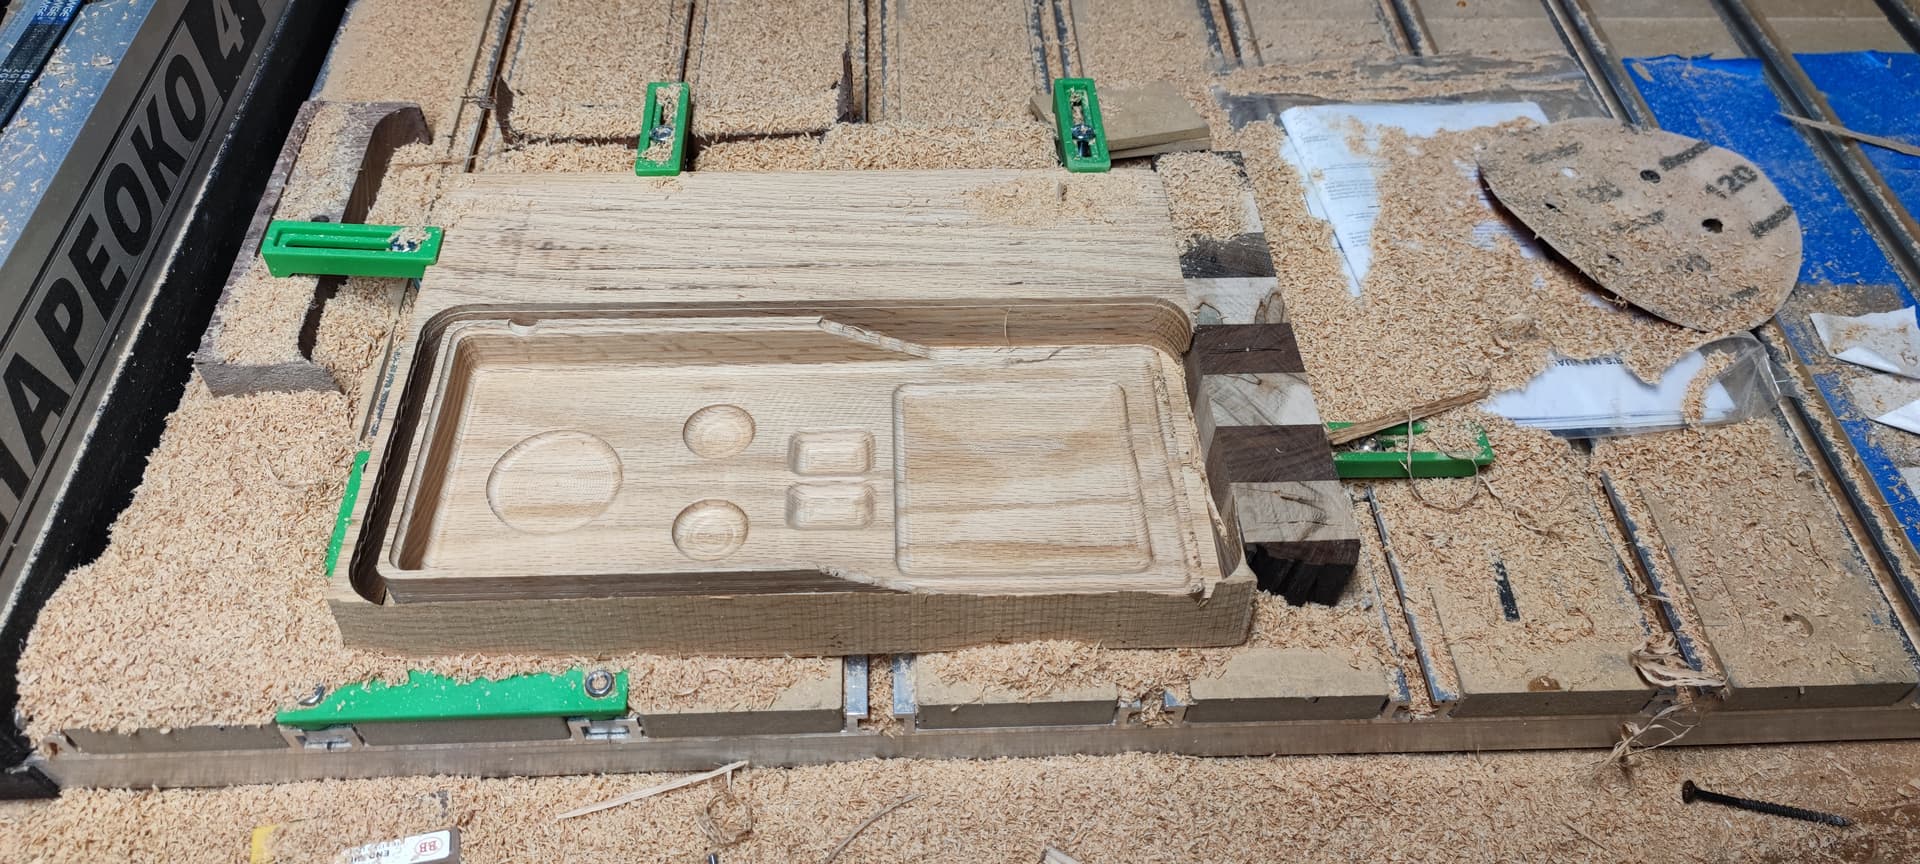
I made this bedside tray for my wife. It’s the second thing I’ve been able to get the F360 CAM good enough to actually get my shapeoko to make. It’s got a lot of details that didn’t come out like the model, but I’m proud enough of it to share.
I also don’t think I’ll be trying to remake this soon as it took about 4hours of cut time, which felt like forever. Especially with monitoring the machine to make sure it didn’t try and cut deeper than it could handle.
In use and without finish

Fresh after the cut. Thre draft angle walls weren’t as smooth as I would have liked.
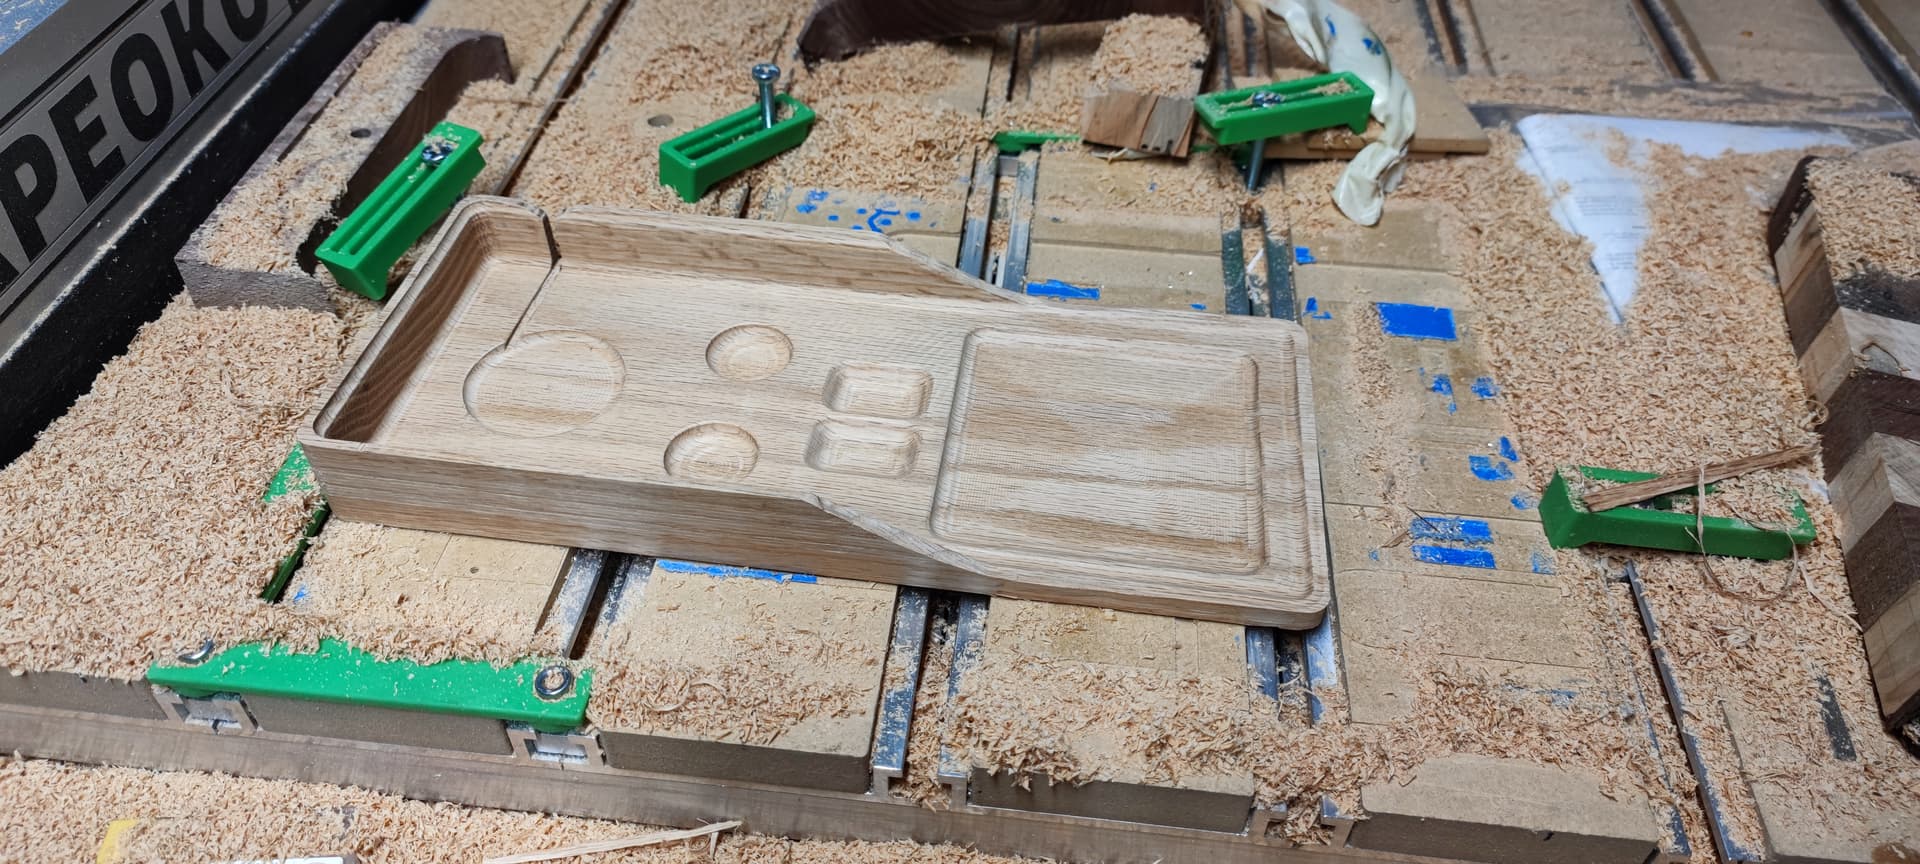
A better shot right after cutting
17 Likes
You know you’re in control, right? ![]()
In the last photo, I thought for sure that your machine took off from the middle to the side just as you were doing the last toolpath! ![]() Then it became clear the you were good enough to remember the power cord. +1
Then it became clear the you were good enough to remember the power cord. +1
3 Likes