Thanks! I’m glad with how it turned out. The slits in the brackets are the exact 1/2” as the plywood (12mm true) so I used a rubber hammer to wedge them and they fit tight. I also put wood glue before hammering. The brackets are screwed into the studs in the wall. I set it at a height I think it suited the corner. This is a little farther back, just to test it, and it holds weight well

16 Likes
Nice use of scraps. This could also be a cat walk. Just make a few more for the cat to jump up on and go to the next one.
3 Likes
Here is one of my latest projects. I made this as party favors to my club brothers that put their cars in a really large show in LA. This got them talking and started placing orders for other items. ![]()

Will be making more of my door props for show cars.

more desk signs

23 Likes
Great work and fantastic idea with the layered sheets.
I just finished this Boise State logo for a customer.

Here are the steps I took for those that are interested.
- Added 3/4 in ply to the back of the wine barrel end (glued and screwed) to stabilize the the work piece. I added screws to make sure all slats were screwed the the base.
- Added a rectangular piece of 1/2in ply to the back so I could have a constant reference point for the circular project because I would be having to pull off and on multiple times.
- Resurface
- Sand / Stain / Seal
- Vcarve for the blue resin first (This was the predominate color of the project.)
- Pour resin (cure for a couple of days)
- Vcarve for the red resin. Since the red part went to the edge of the wood and blue was currently in this spot I added an outside offset to the border vector of .02 to make sure I had a clean look and not have remnant blue between the red epoxy and the wood.
8)Vcarve for the white resin - Pour red resin and let cure
- Pour white resin and let cure
- Resurface the logo only using vcarve. In order to resurface using Vcarve you can’t have a zero depth so I added a depth of .002 and (using Vectric software) and that worked.
- After resurfacing the resin section only the logo was slightly recessed into the wood. I sanded the tool marks and then poured a final clear coat of epoxy resin.
- The wine barrel ring was cut at the rivited section so I could shorten the size. I cut down the ring and welded the ring so the weld would be hidden on the inside of the ring.
- Drilled and screwed the ring in place. Done.


22 Likes
My new red pickup truck has a “name tag” on its license plate holder. My first adventure in cutting HDPE.


16 Likes
Going to be dry camping at the Rocklahoma music fest. So I use plywood around the generator to help dampen the noise. Made a couple signs to use this year.

13 Likes
I live in Texas and they require a front license plate. I only live 1 mile from Louisiana where they do not require a front license plate. Your BIG RED Ford looks good. You might say super.
1 Like
My only concern about your noise dampening is you could overheat the generator. Looks like you have it on 2 sides so dont block the exhaust side. I live in the Arklatex so we get the Oklahoma weather in the southeast corner of Oklahoma and it has been as hot in Oklahoma as here in East Texas.
I do like your signs and the sentiments. Rock On!
I will have 3 sides covered, but it’s not boxed in, leaving the exhaust side open so there’s plenty of ventilation and air flow to the generator. The plywood pieces are just leaned up against it.
On a good note, the temps are going to be “cooler”. Instead of 100°-106°F it will only be in the low 90°’s! ![]()
I saw your post last night and I was watching a video today and I had a thought about your process. What about using resin instead of acrylic? So make a mold an inch or so larger than the desired dimensions and pour a layer of resin tinted one color, let it tack up and pour a second layer of another color and so on. you could make a rather large sheet with as many colors as you want and then cut it down to size for your maps. Just an idea… ![]()
1 Like
That is flippin’ gorgeous man!
I had considered two-part epoxy. I have done 3 table tops, 2 with multi-color (single pour) and it appeared to me that the pigment settled slighly after it was poured. That might not make a substantial difference and I have some left over resin and pigment so I may make a sample just to try. The other thing with two-part epoxy is the smell for several days and the minimum 3 day cure time after the final pour. With the acrylic I only had to wait about 20 minutes between laminating each layer and the whole stack was cured overnight, so it was less than a 24 hour process. Also, I only put the 5th and 6th layers where I knew the elevation data would reach into those layers in the highest peaks. The machine still did the rough cut pass over the whole layer even though there was nothing to machine in places, but that probably only wasted 20 minutes of machine time machining air and saved some material from turning into chips.
Thanks for the suggestion! I probably will make a sample just to see how it looks and machines.
Made templates then cut wood on bandsaw just to ensure it would all work had to make some corrections and nail down hole placement, however building the file in CC now as the machine is more accurate than I am!


With my 3xxl I would only have to tile one piece, or just cut one end with the bandsaw!

21 Likes
That’d make a cool rocking chair.
2 Likes
Nice. But you are
Missing the cup holders ![]()
I am getting ready to make some tall Adirondack chairs for the stable where my daughter takes lessons. I am thinking about using their logo or a horse head for the back.
I guess I could lay it up in CC and then put lines to split the design and create separate files for each board. Have to think about that gap in the bird though so that the design flows properly.
I was thinking the same thing or a glider.
Yeah that is why i wanted to do the .ock up and template layout as my vision couldnt picture the gap so didnt want to just go for it on the machine I fugure could probably set the whole thing out on the grid and use the grid as a tool to ensure top and picture layout would work!
Hey you stole my avatar. But that is ok because I stole it from someone else. Around here there is a salt water disposal company that has the punisher skull logo on their trucks and trailers but they but a cross in one eye. So I wear a punisher hat and people think I work for that company.

I saw a news story that the Punisher will be retired. So I went to Walmart the other day and they had a punisher hat so I bought it before they dont make them any more.
Nice lounging furniture.
About 2 years ago I bought some templates from Izzy Swan for modern adirondack chairs. The templates were not accurate so between the templates and the pdf for the project I drew it up in CC. The chairs were quite nice when I got done cutting them on the SO3 XXL.
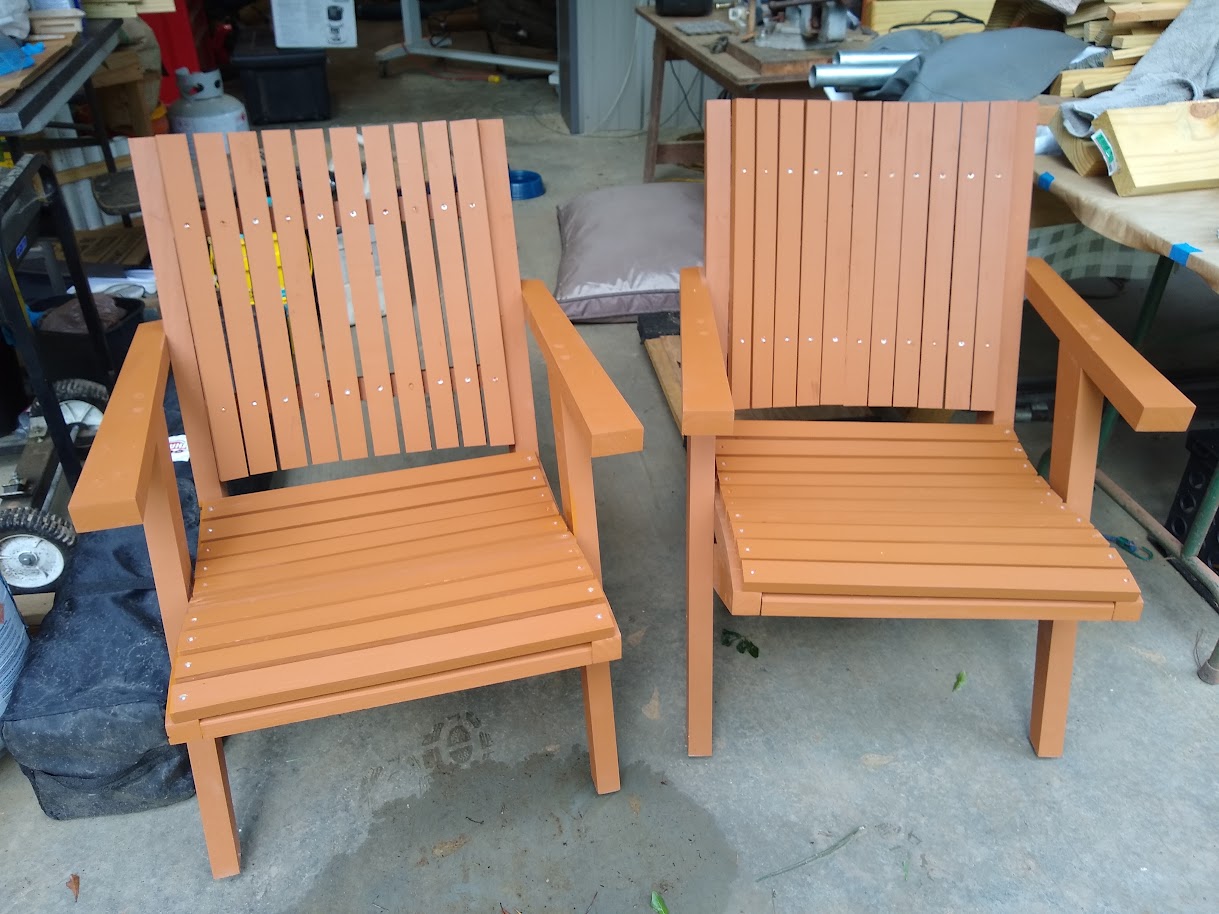
I used an opaque stain sprayed from a cheap Wagner sprayer.
2 Likes
I was about to order some templates from Rockler but maybe so will just make my own with the design I want. Not sure whether cutting all the boards on the CNC is effective time wise or maybe just use it to make templates and then cut on the bandsaw and router using the templates.
I will have to see what the toolpaths look like time wise. I have not selected any wood yet. Have to price it out but these are give aways so I don’t want to spend a ton.