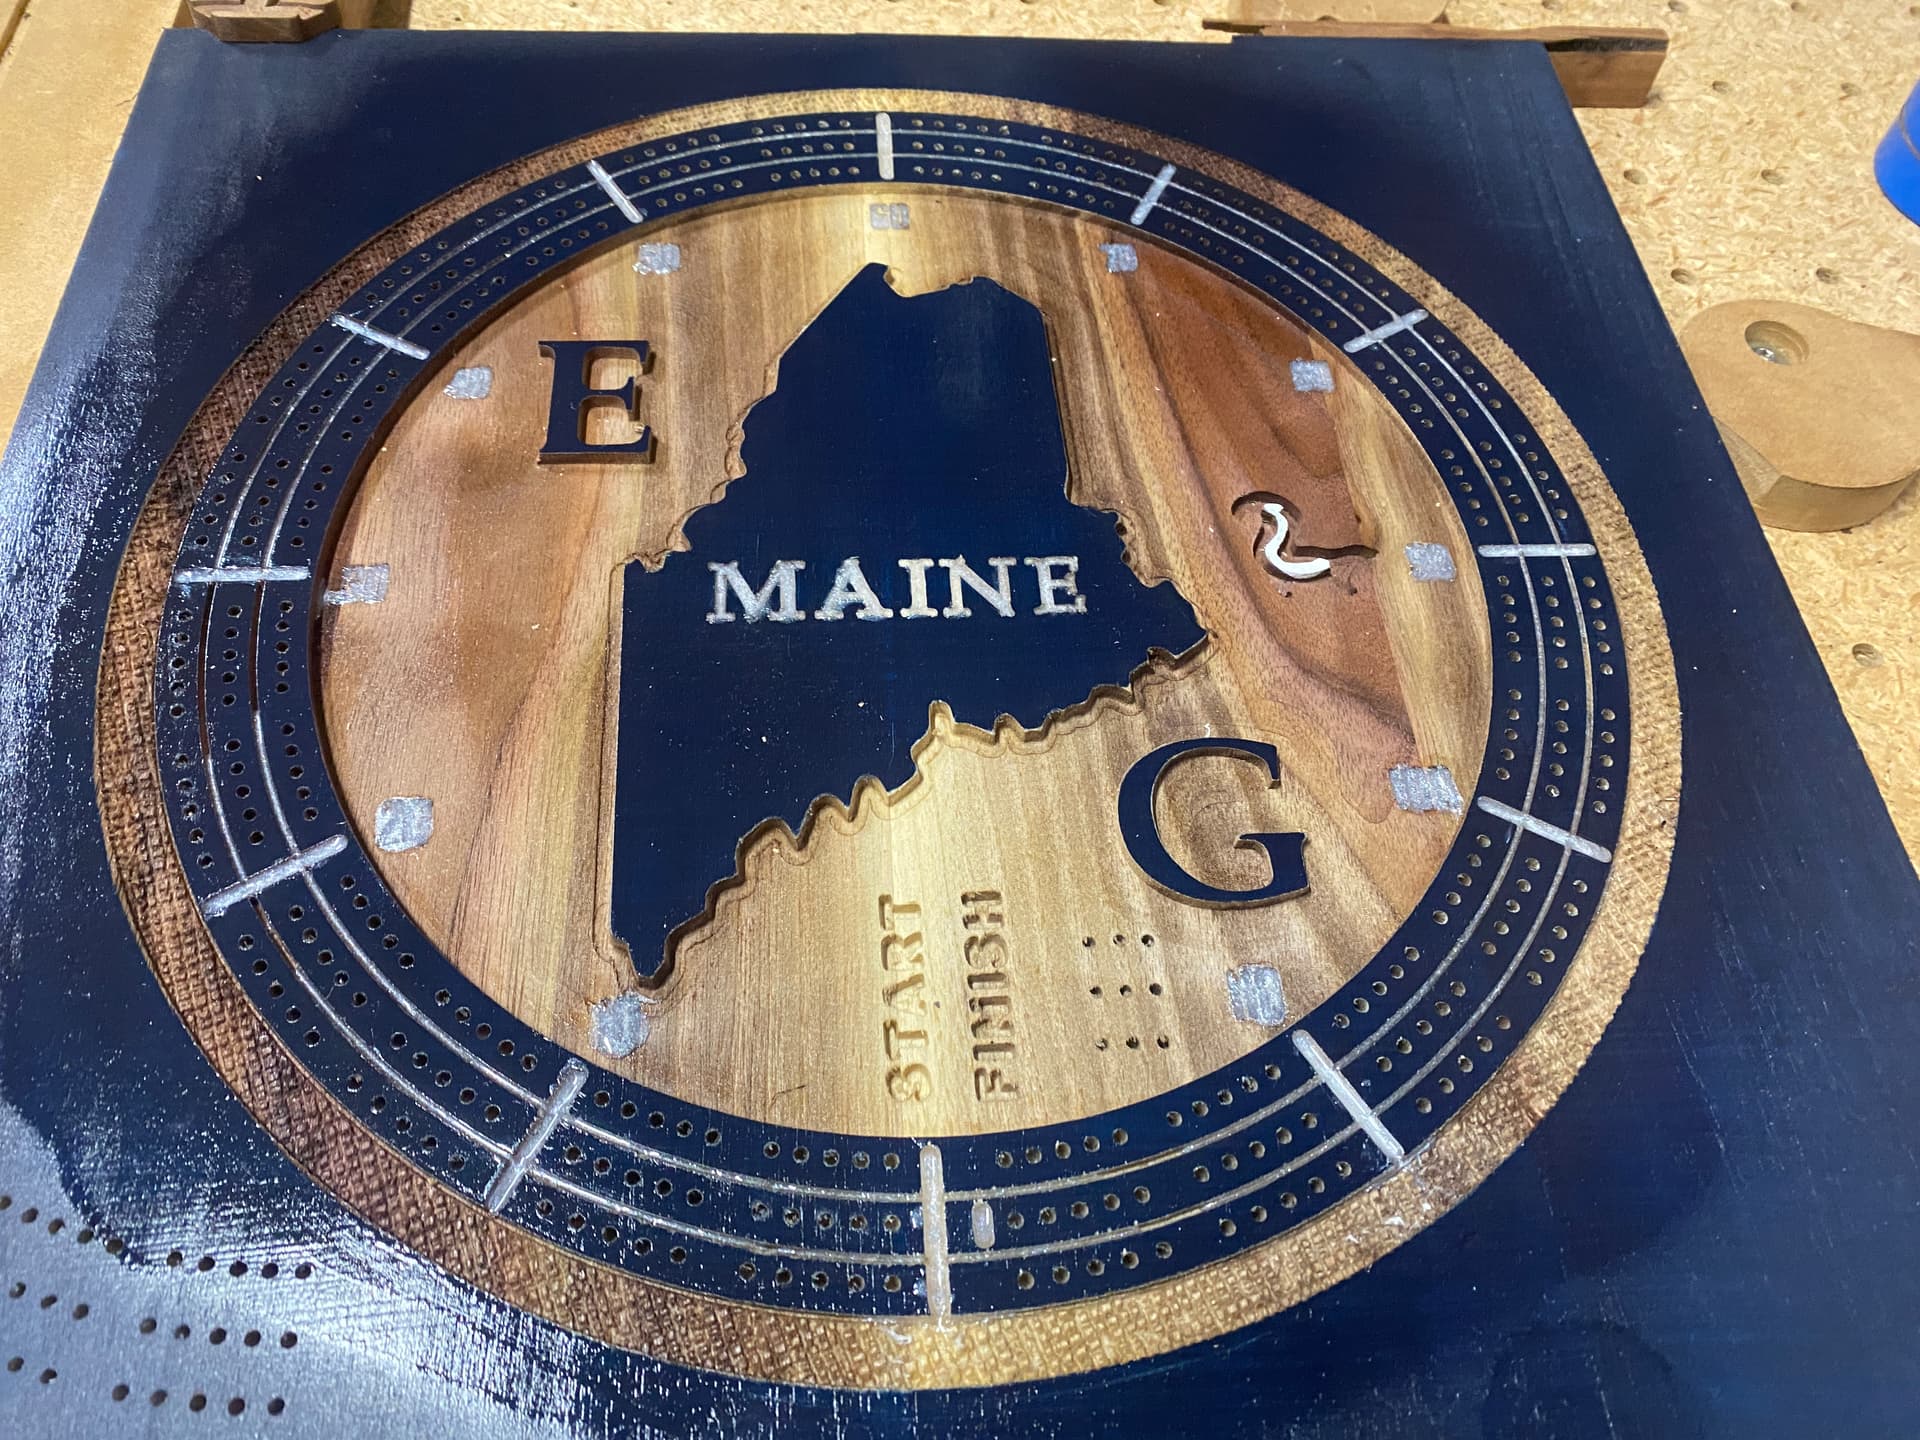
While having to give up on doing an inlay for this project, with the help and review by others (thank you), the cribbage board is coming along.
Next step is to cut down the epoxy and fill in the start and finish positions, and then cut it out.
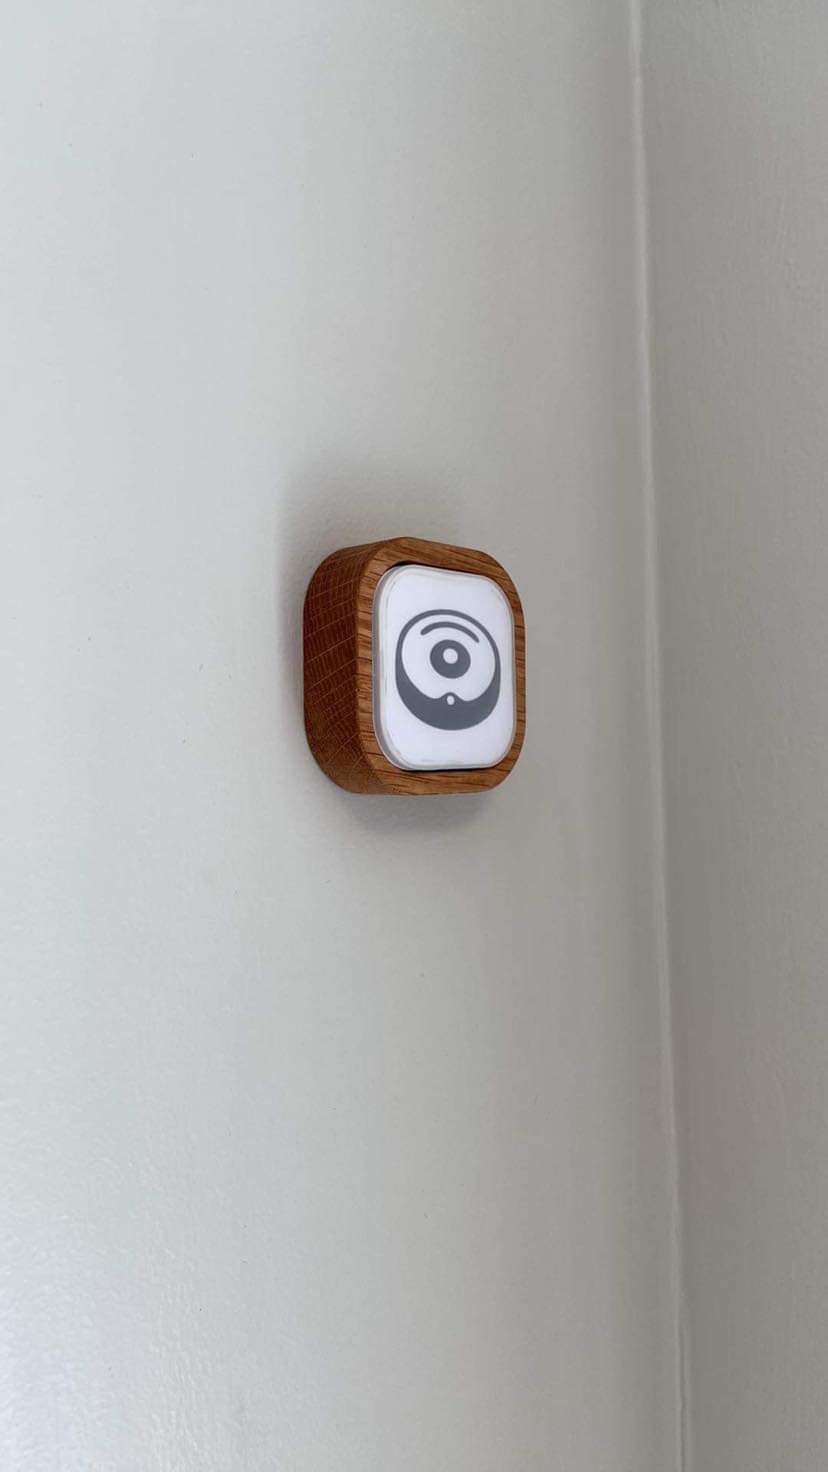
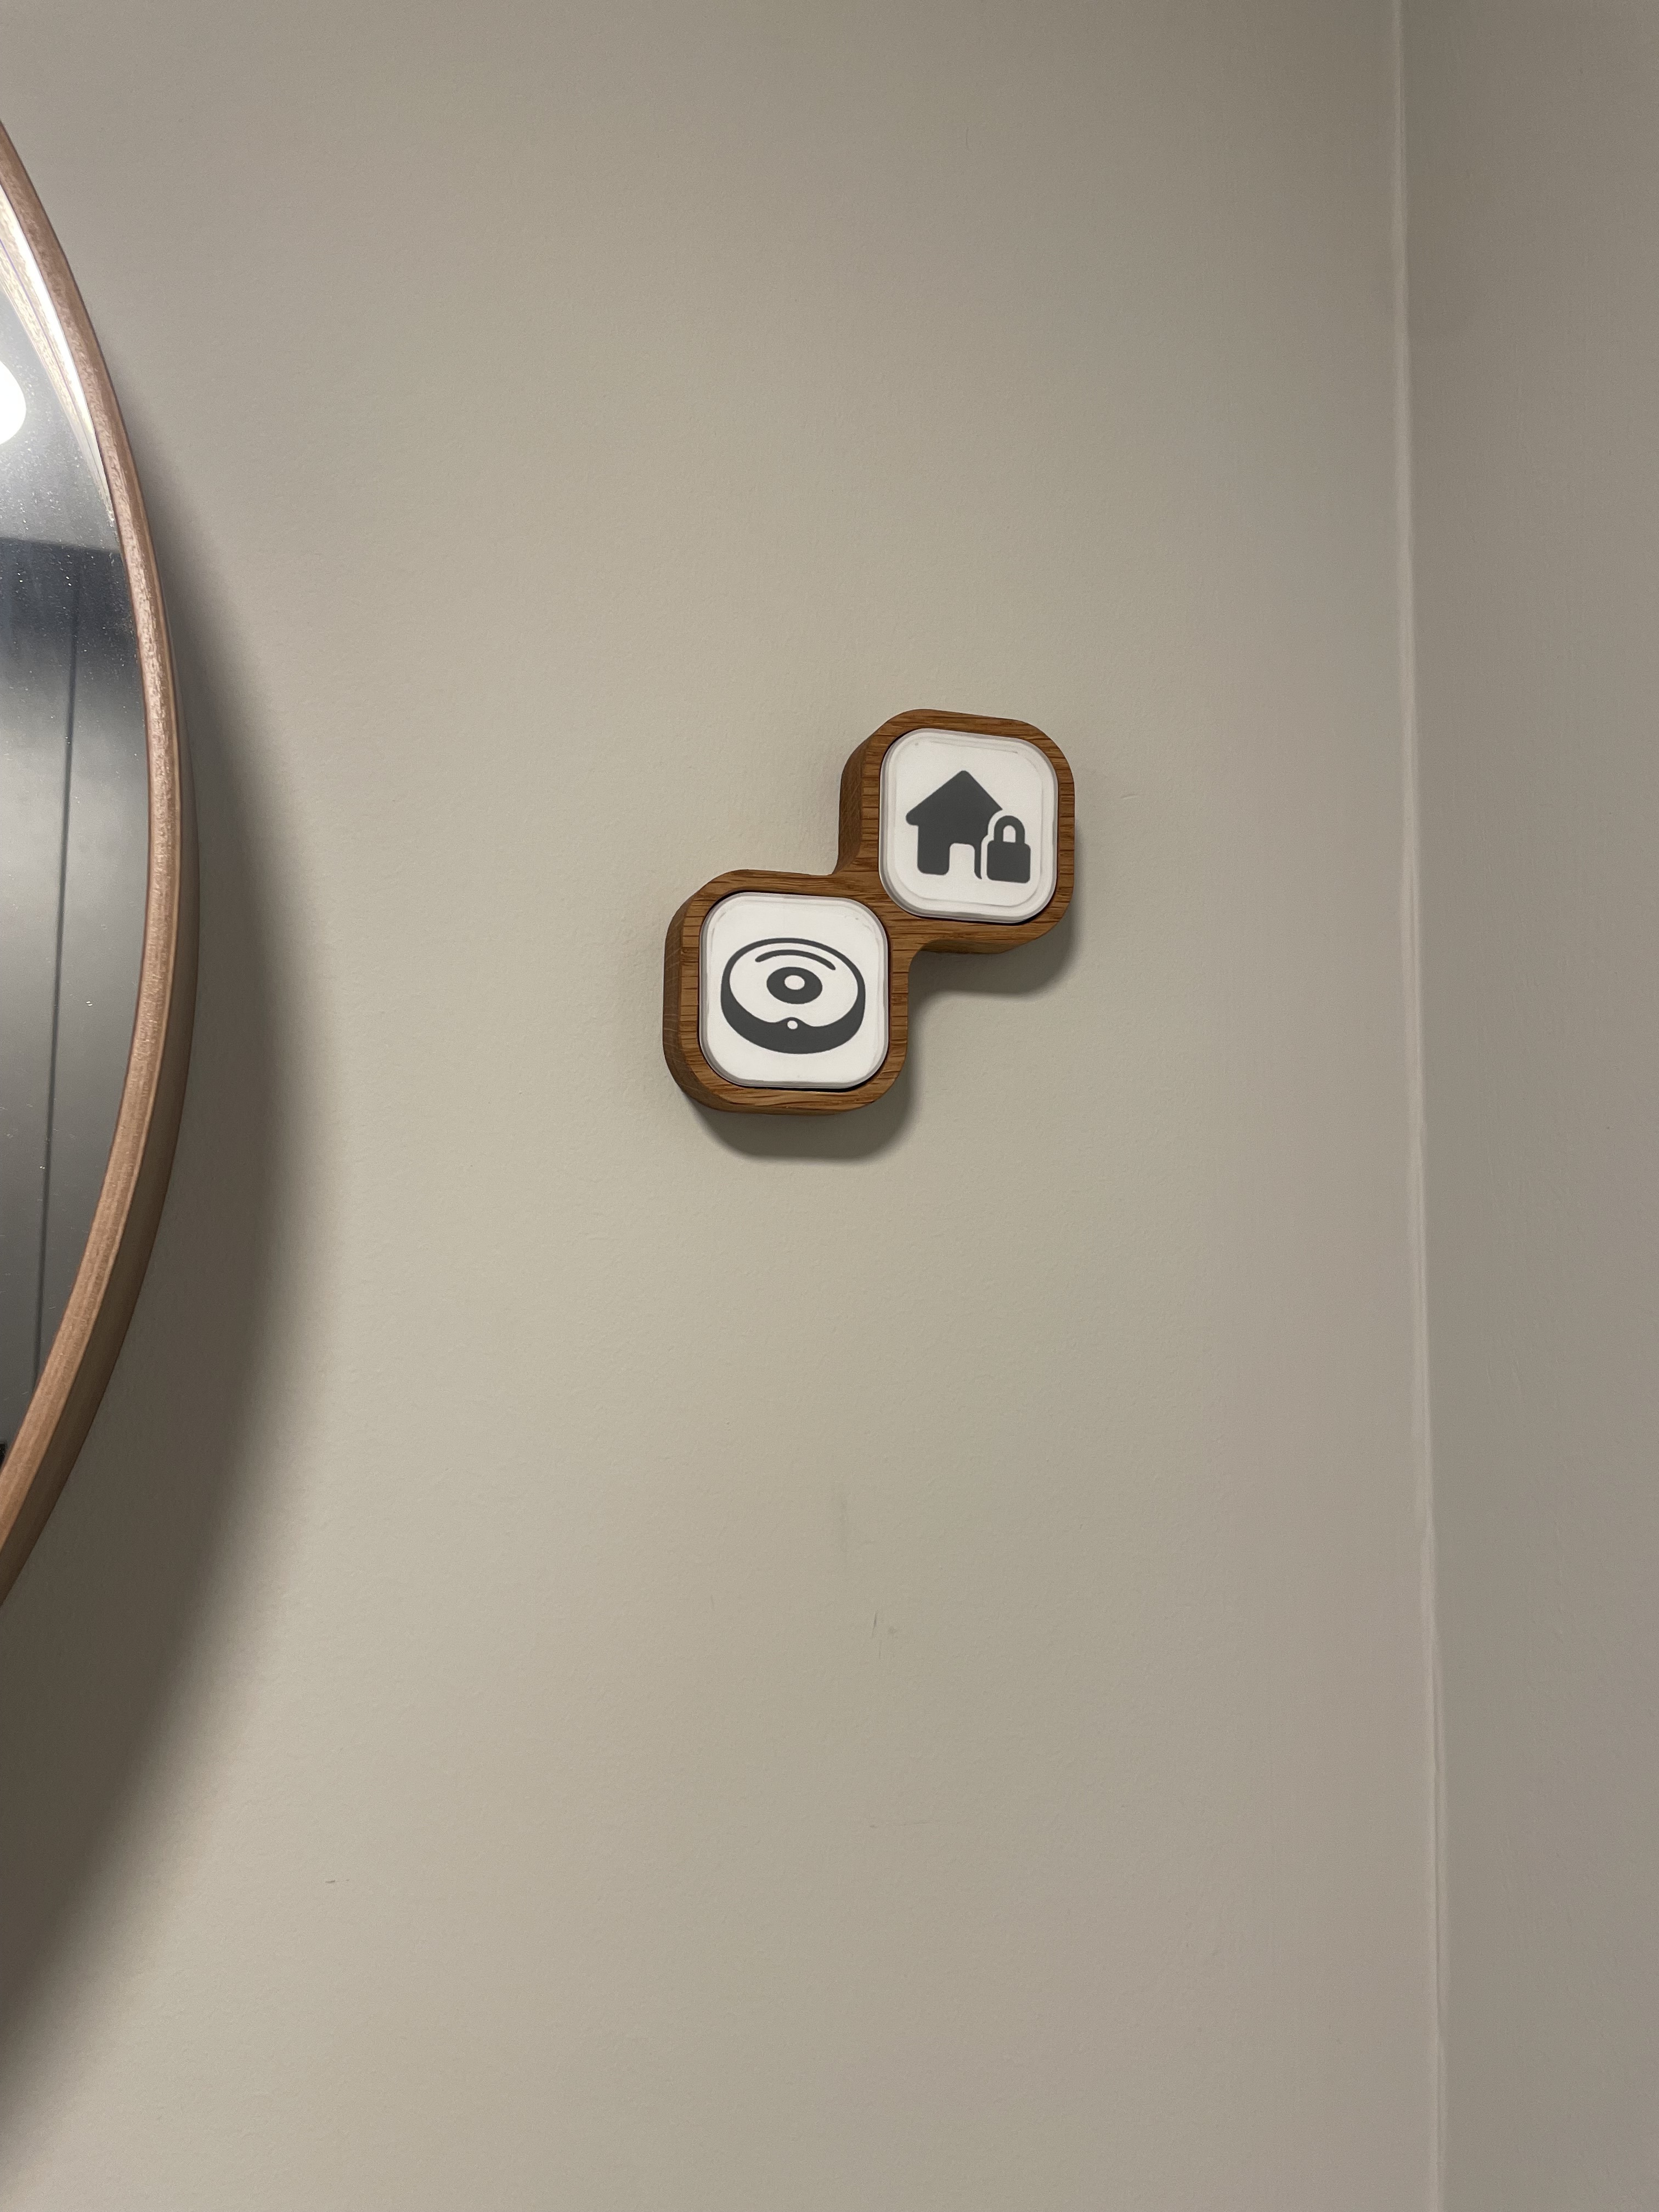
Replaced my previously shapeoko made single button frame to a double frame for the IKEA zigbee buttons.
This is for my home automation system.
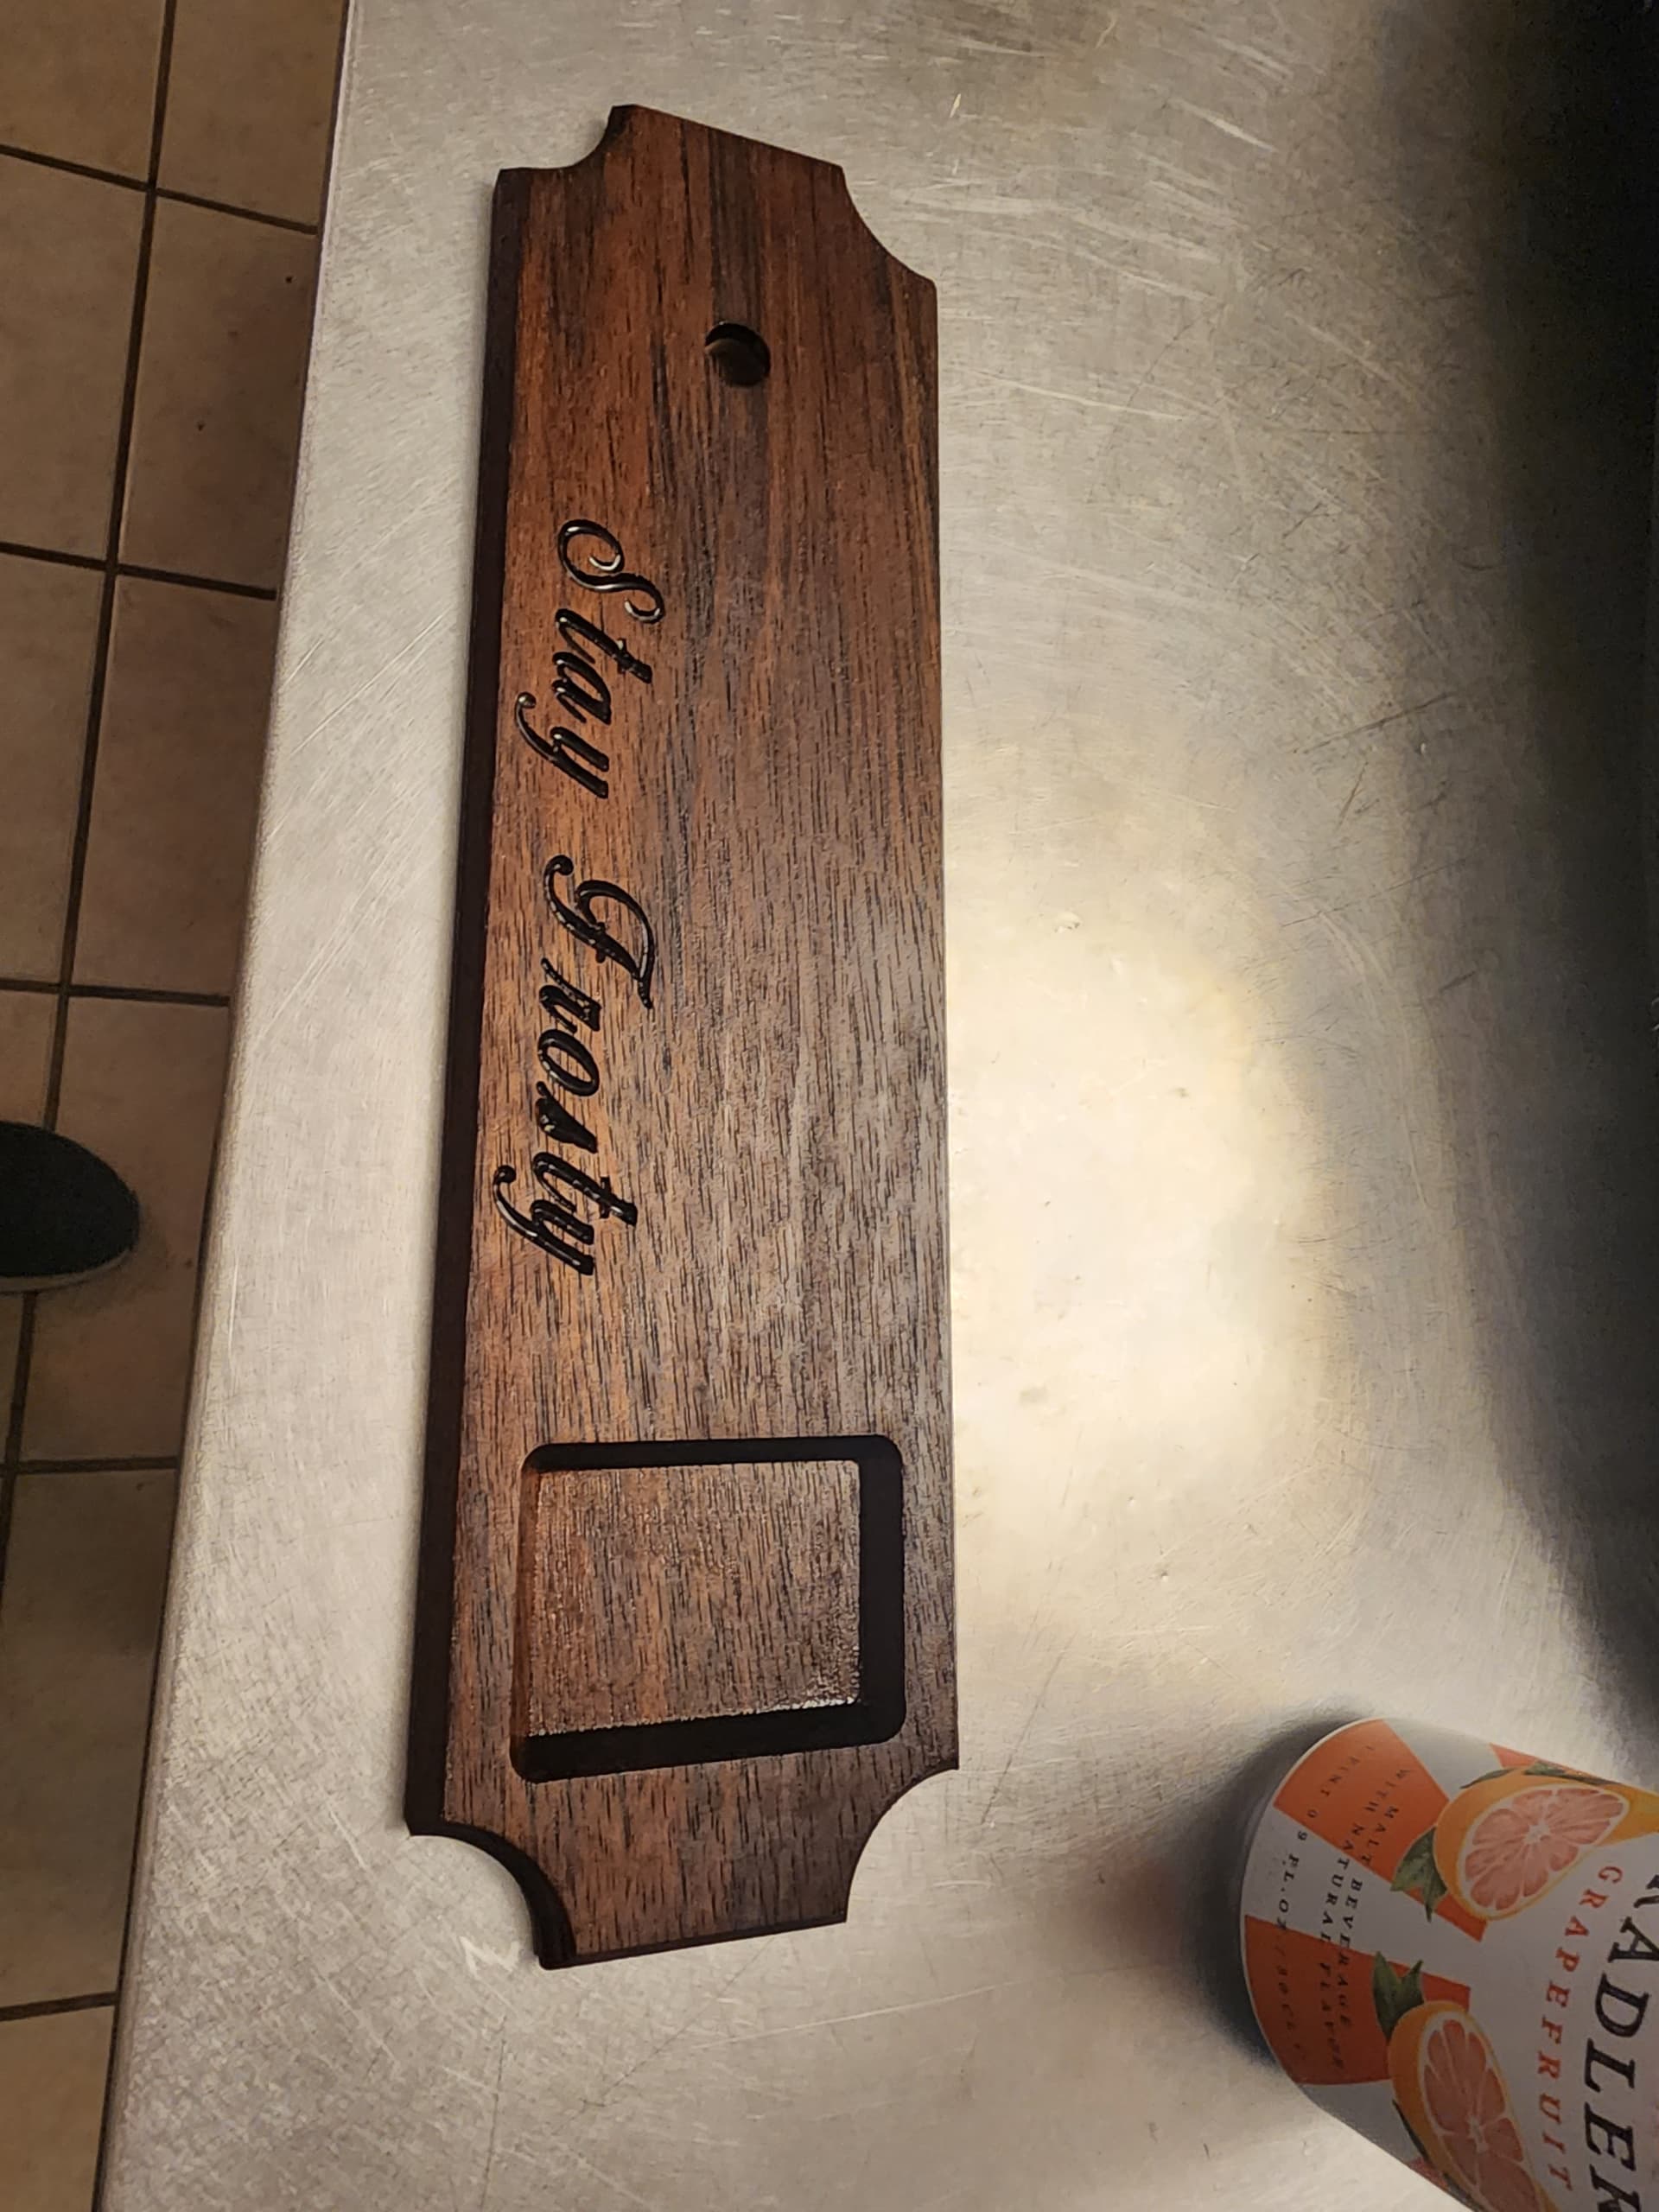
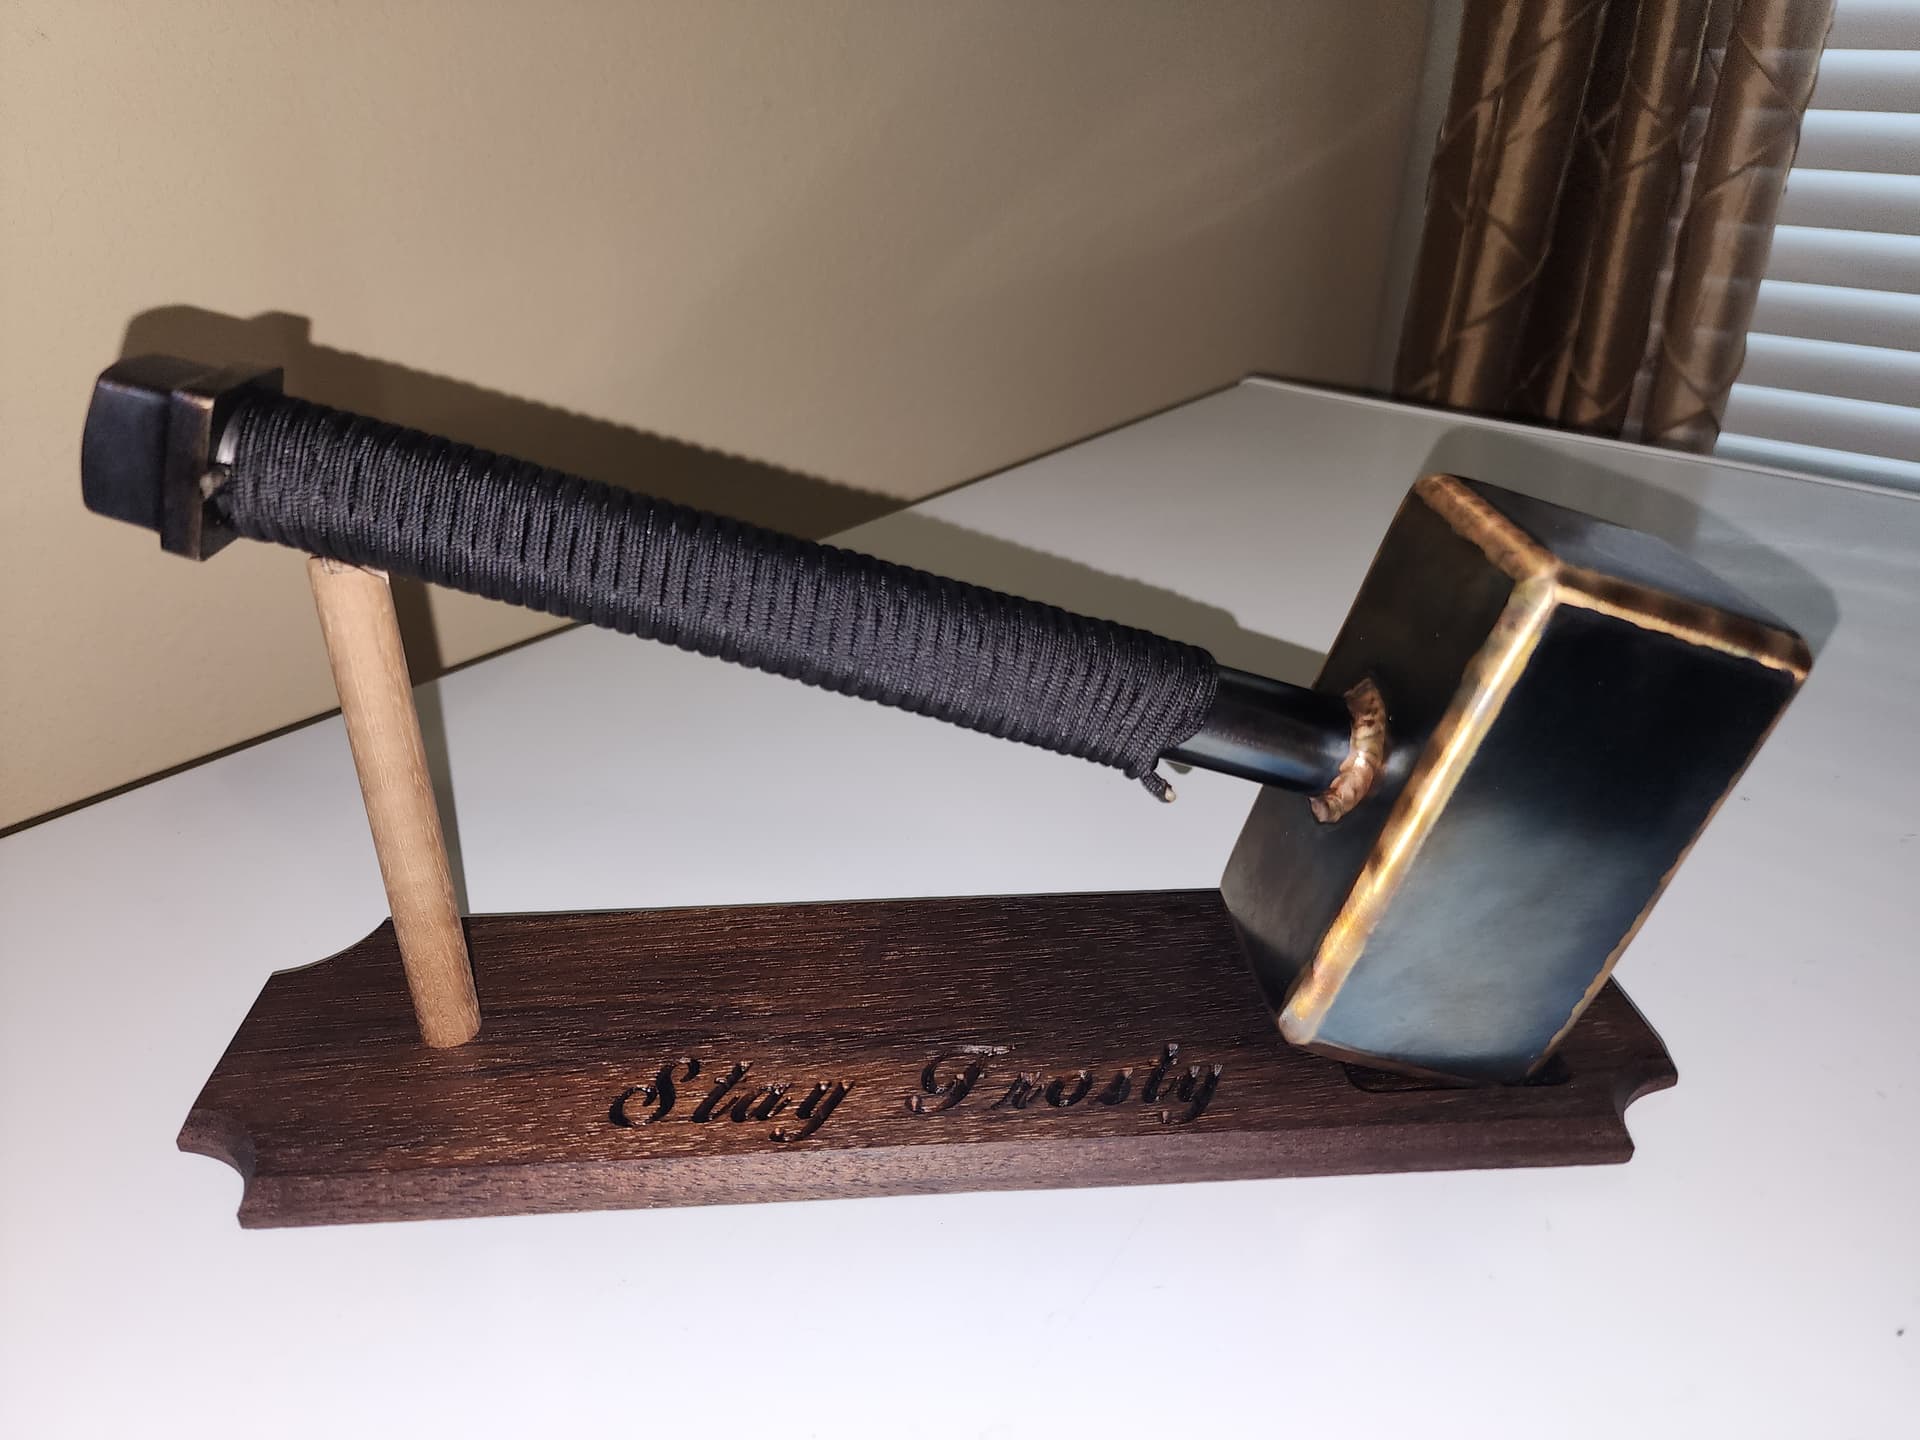
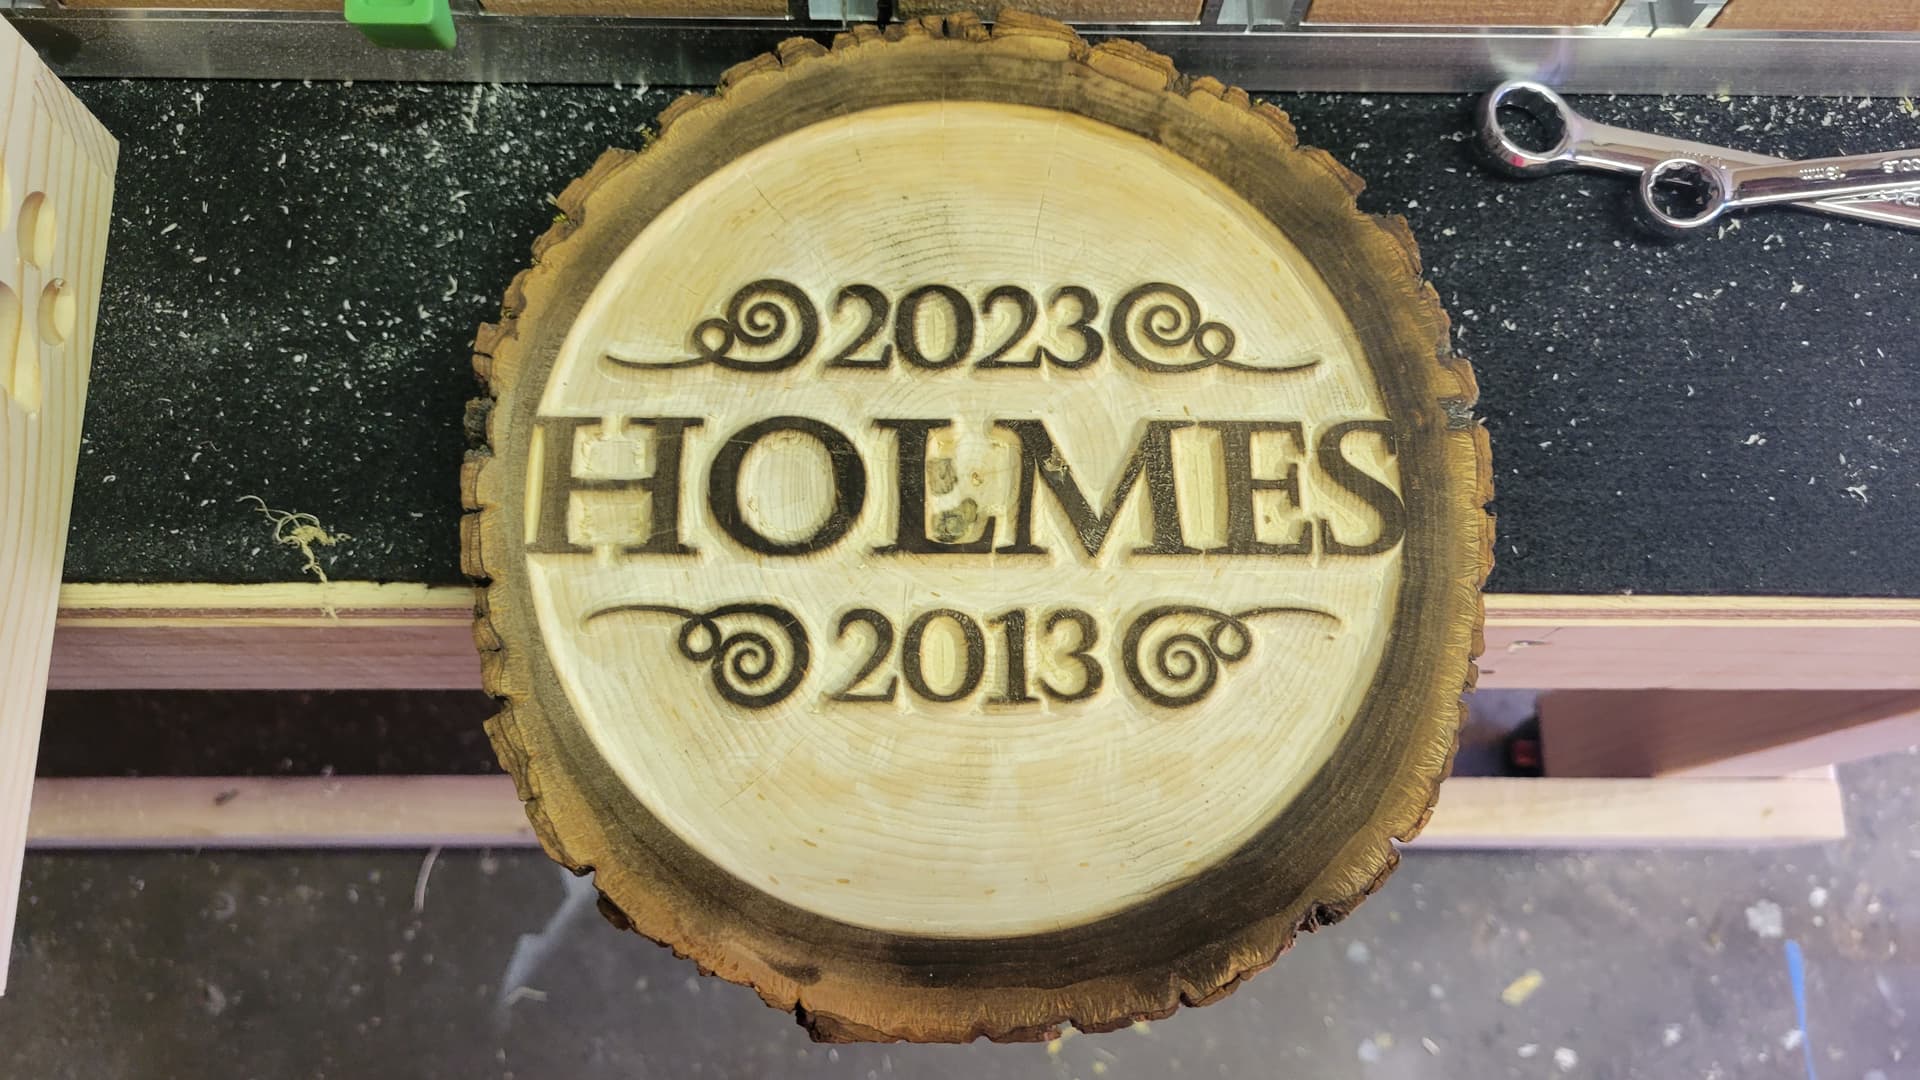
Drawn in fusion, made from oak, cut with the #201 and chamfered with a 90 deg V bit for the “finishing touch”
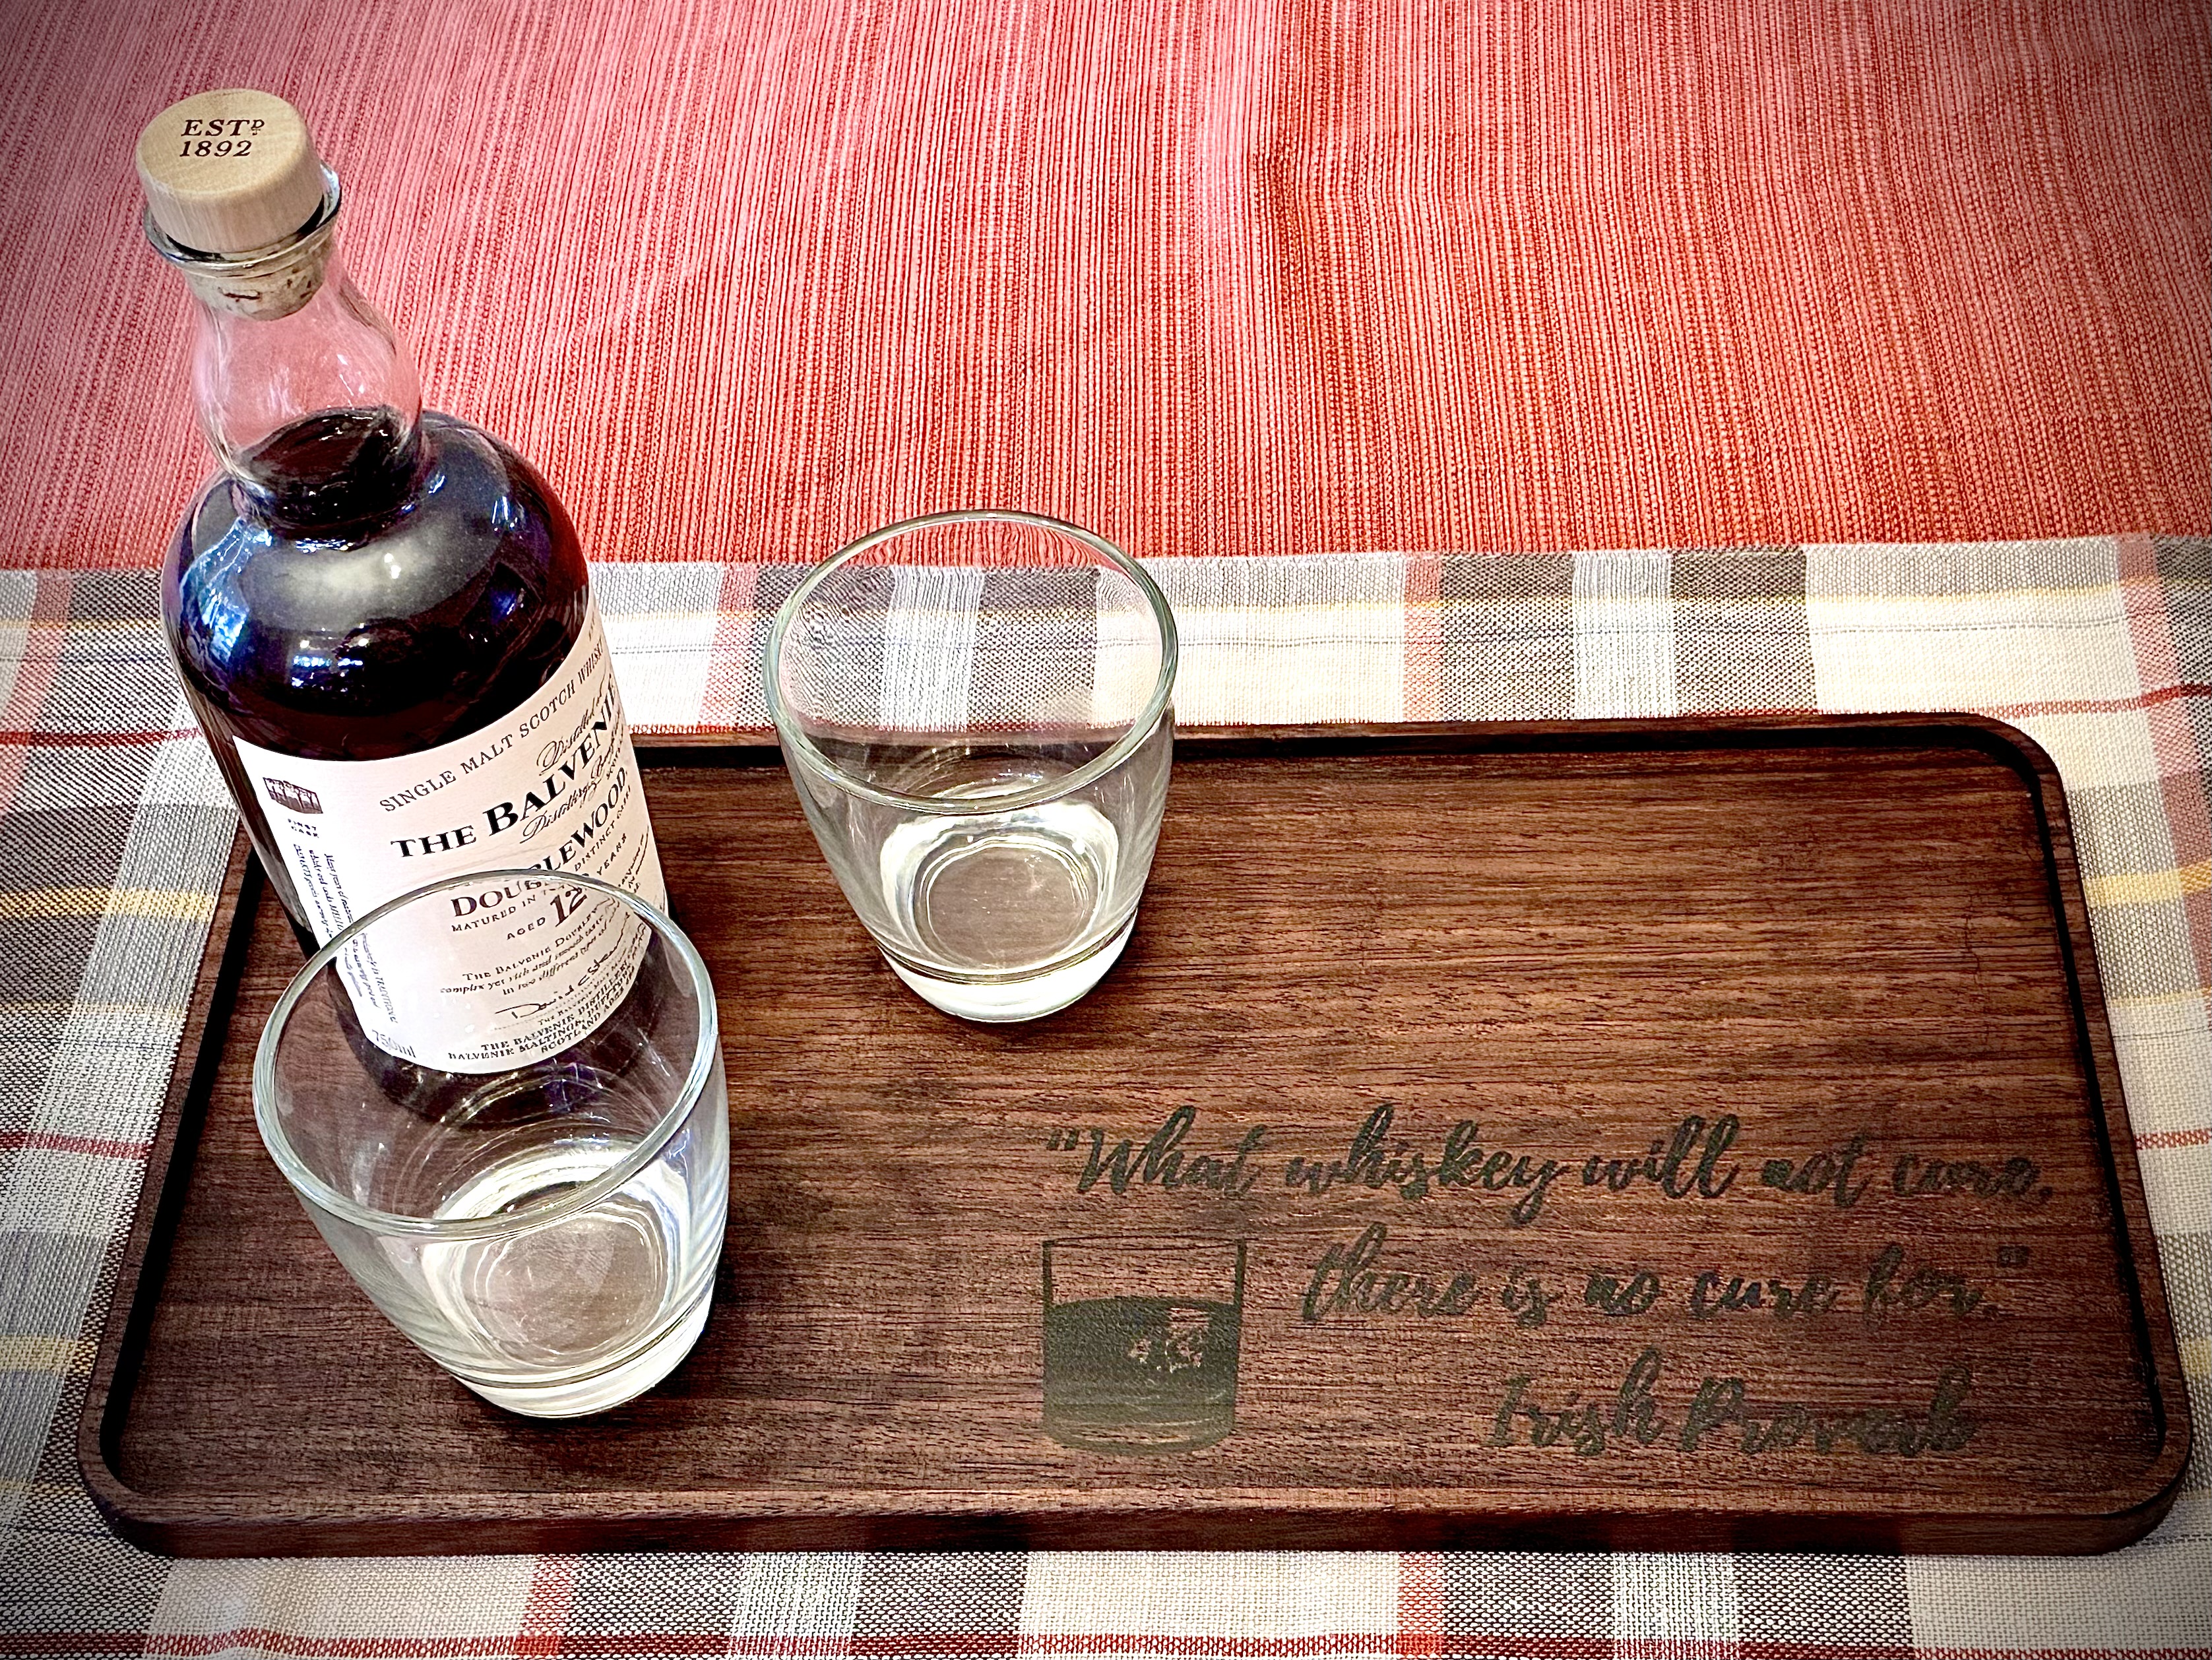
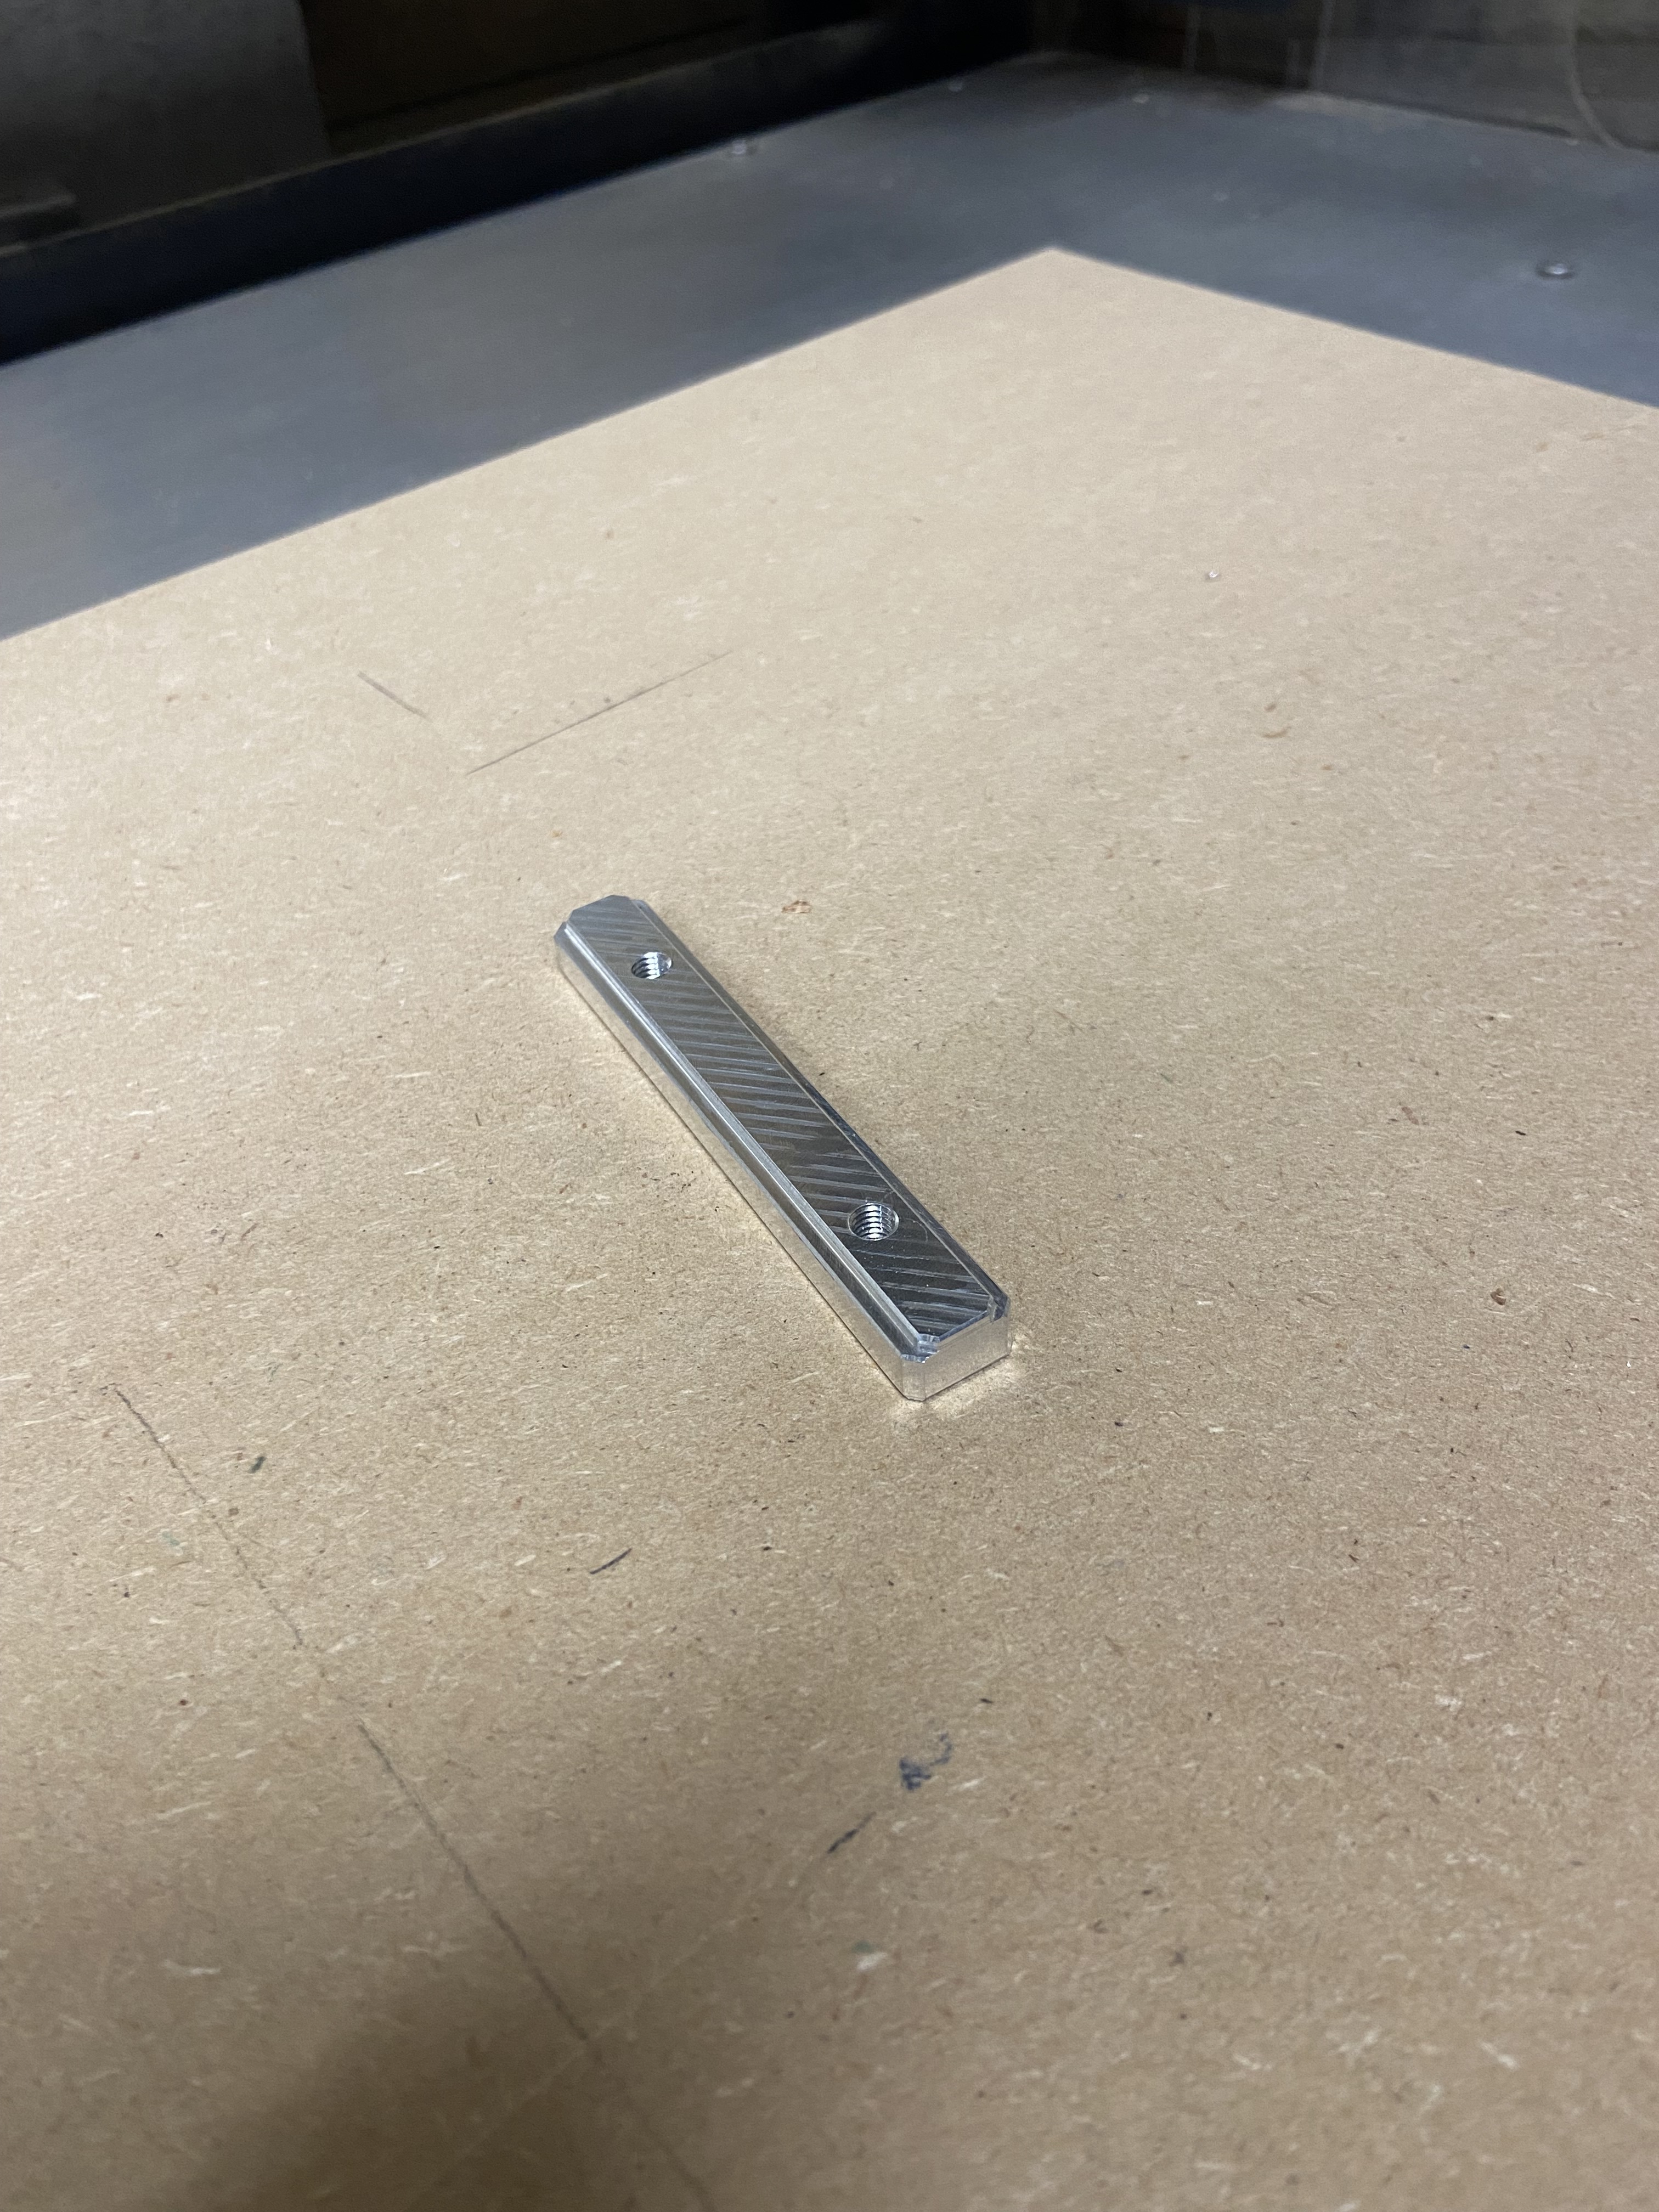
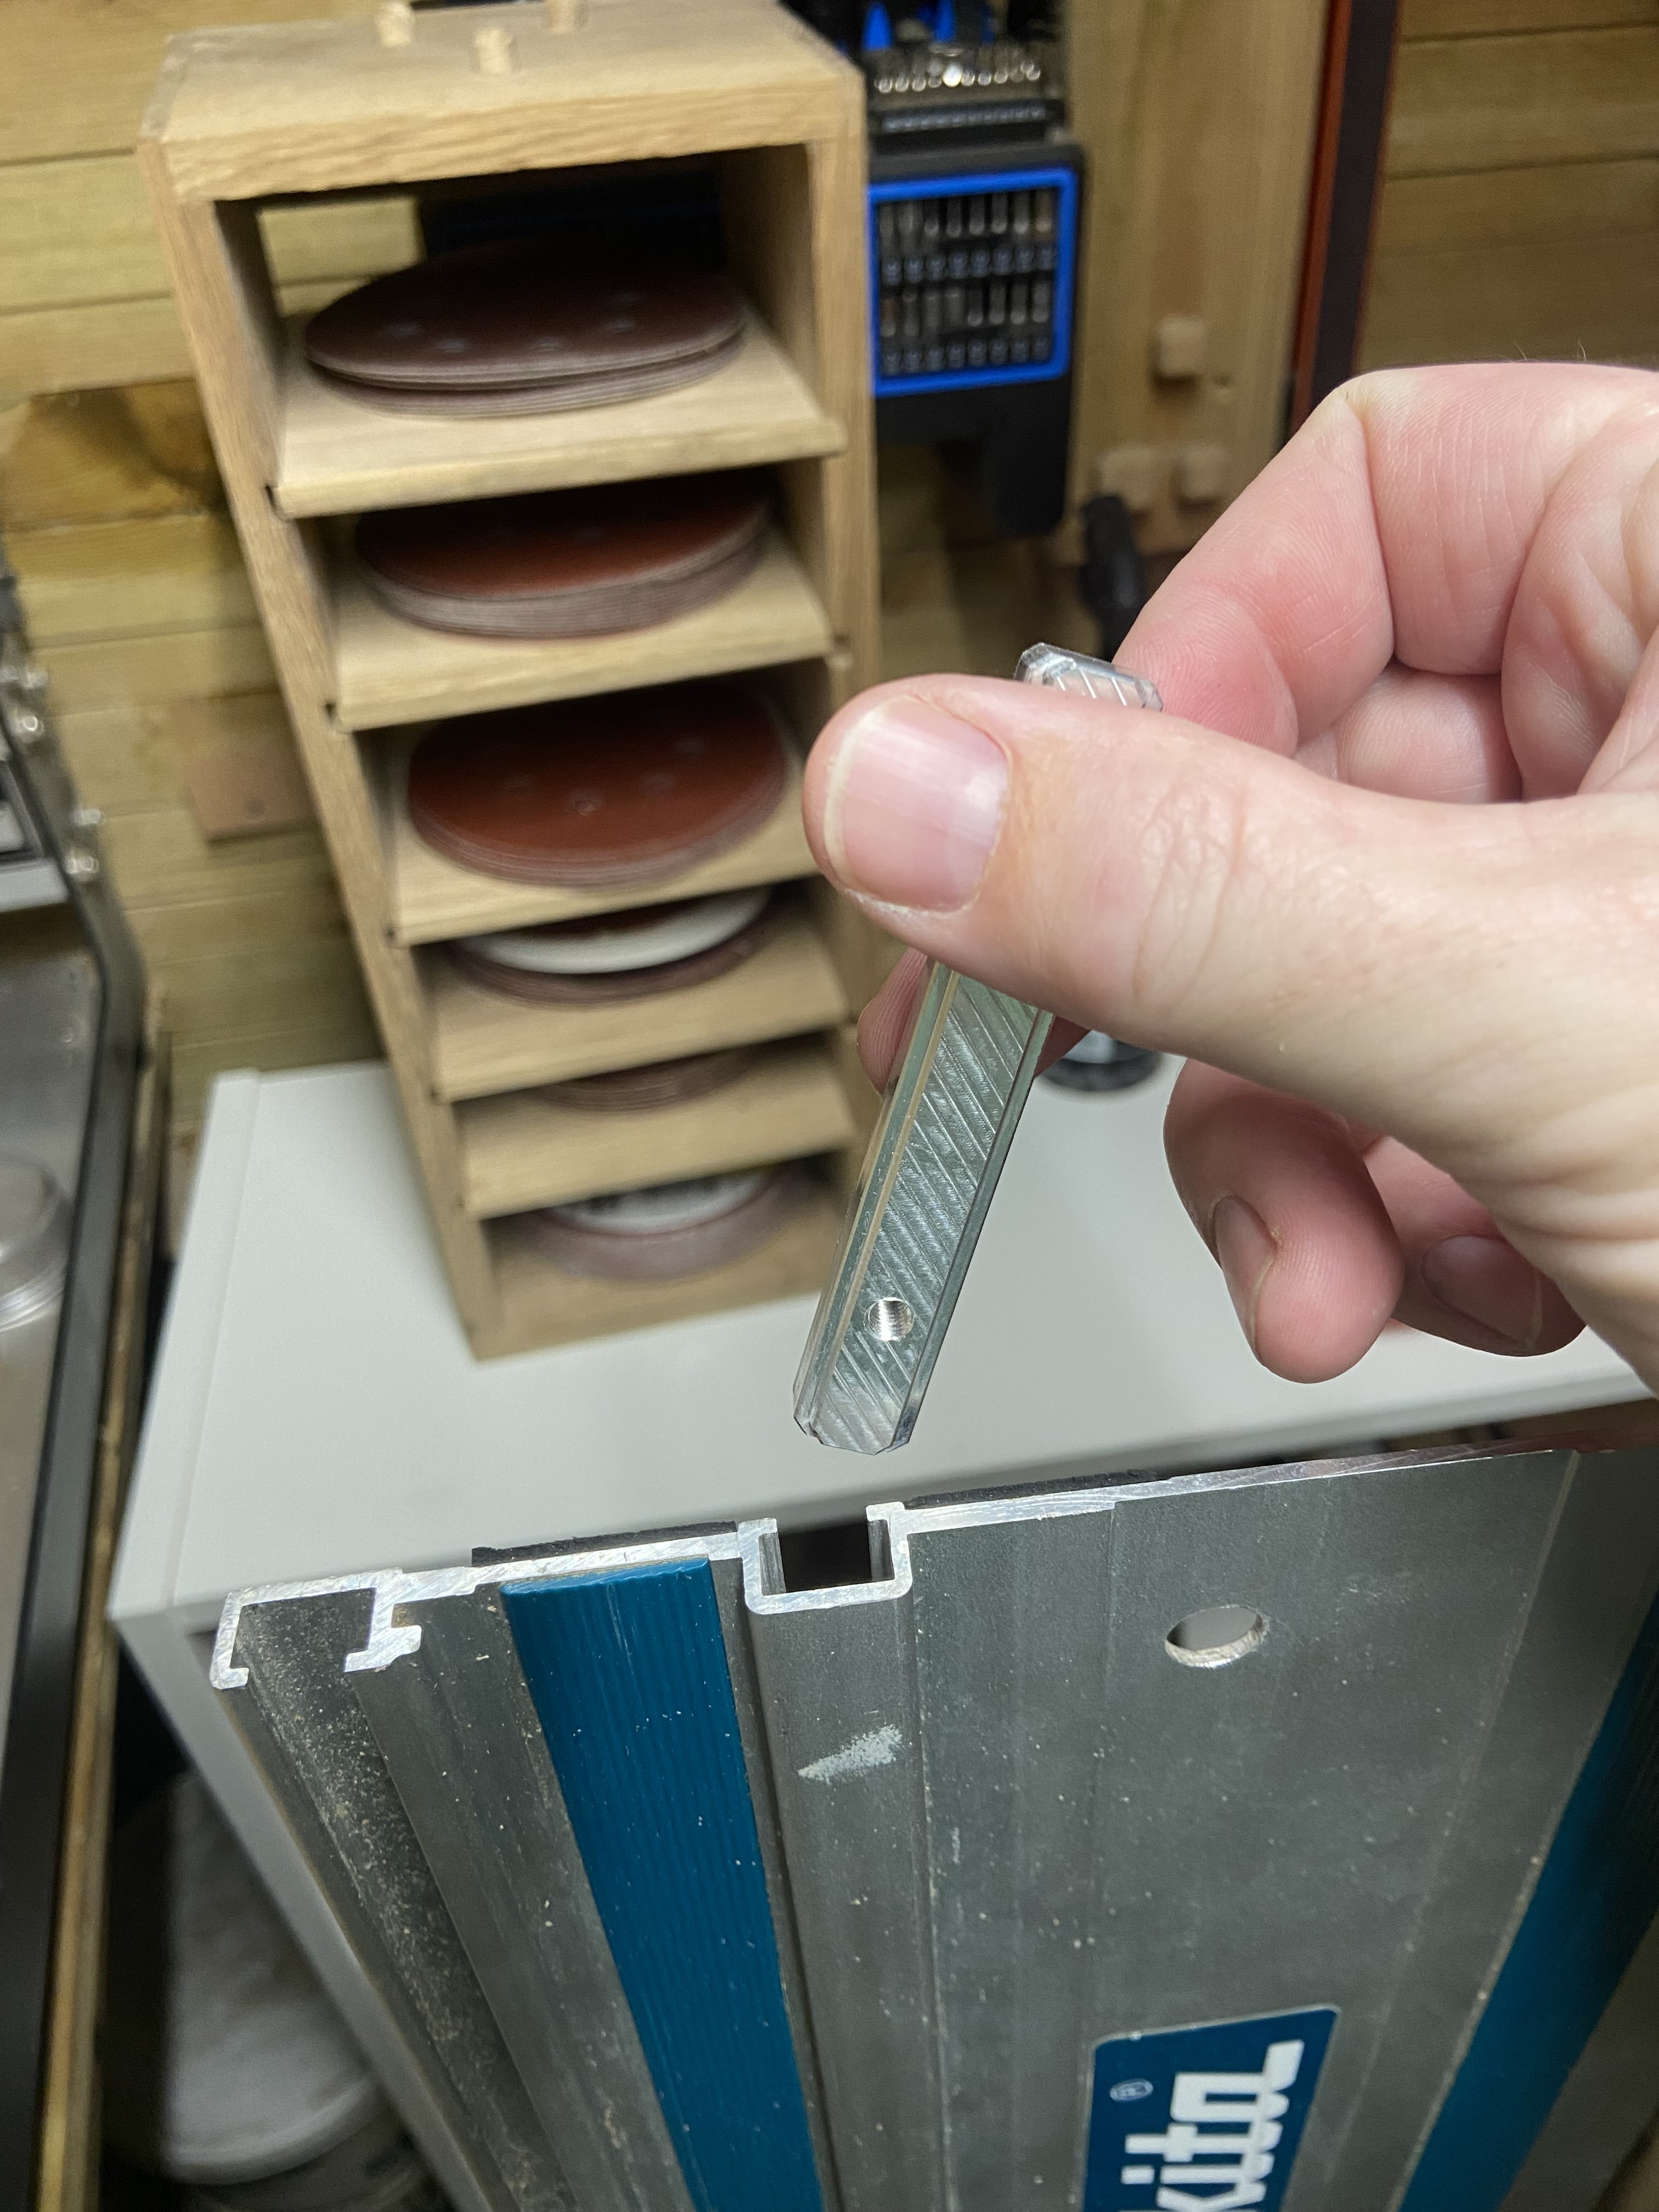
I bought this file from Etsy for my little work table.
After having it printed, it required some additional hardware that I figured I could make myself in aluminium.
Modelled in fusion 360, cut with a 6mm single flute and 90 degree v bit for chamfers.
Cut on my Shapeoko 3 xl.
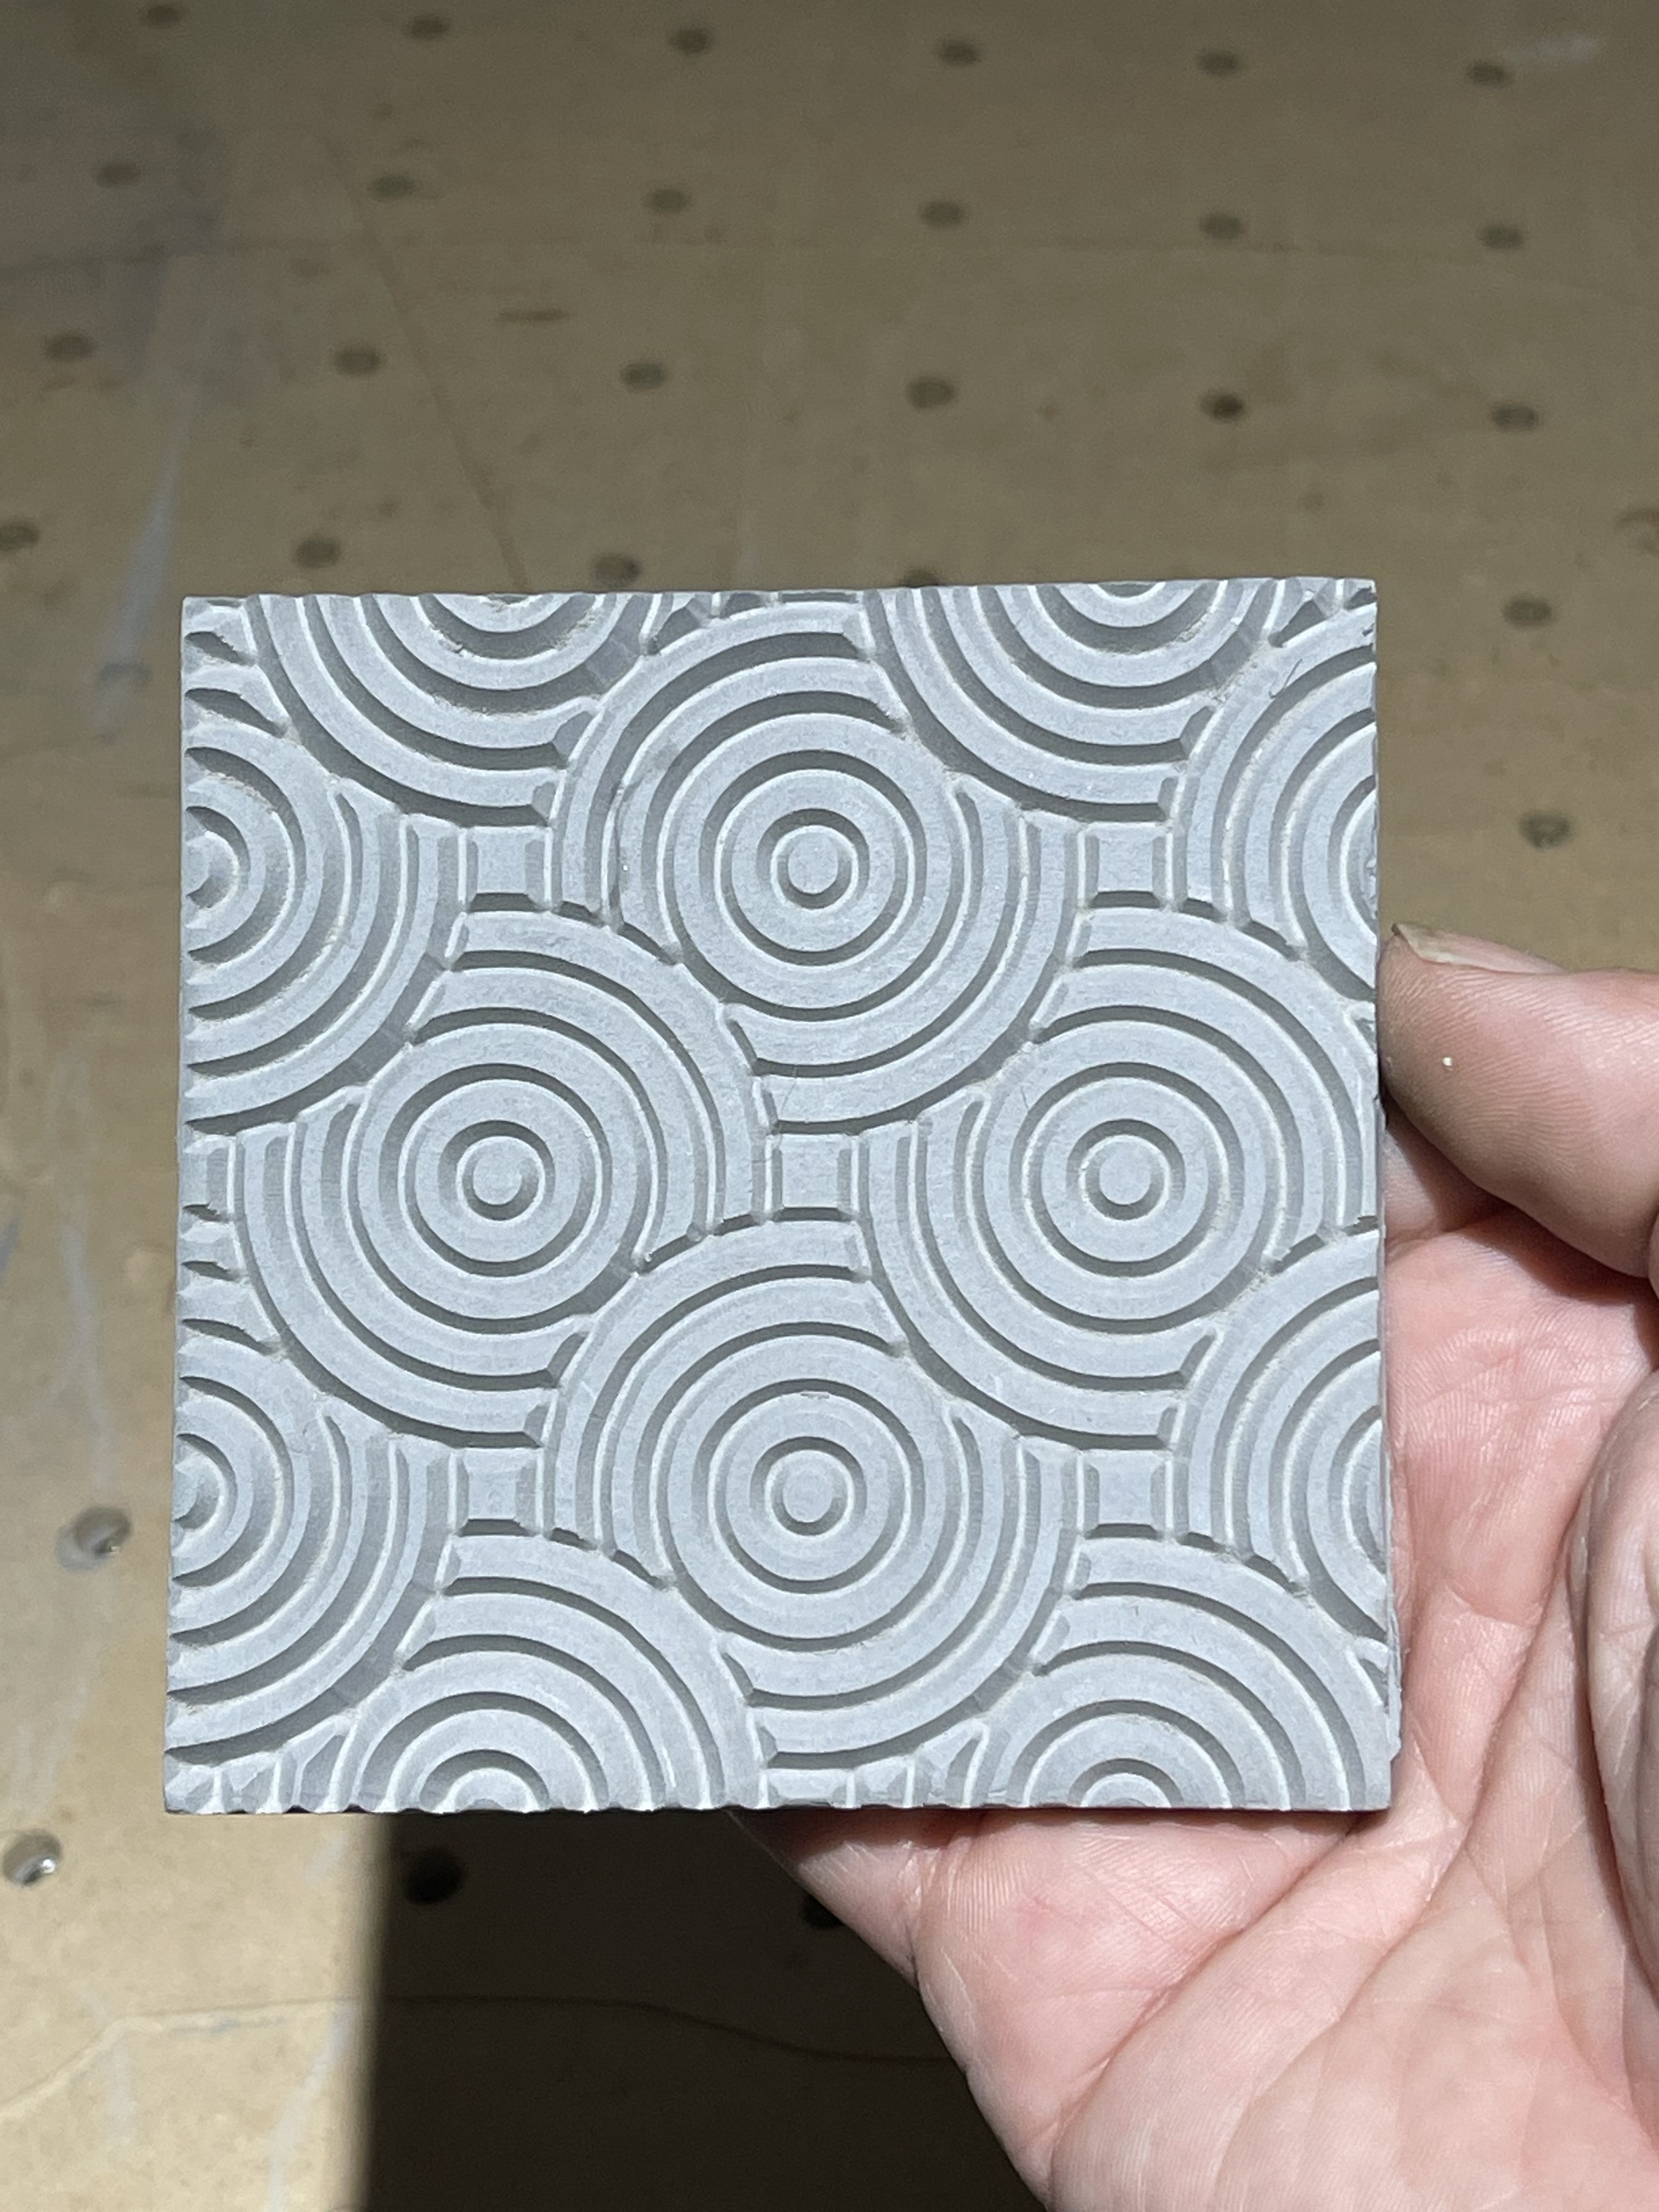
I used an amana rc-1148 60 degree v bit. For glaze I only have a rust color right now.
Still in the steps of learning how to use a kiln. Got a paragon firefly at a garage sale. Its a small volume 8x8x4 but good for learning. Last week was testing that it could heat up and hold the temp
Good luck but you will be able to watch your light meter spin off the wall when the kiln is running. People cannot help but crack the lid open to see progress. Dont do that and trust the process for both cooking your clay and the cool down times. The upside with winter coming it will heat up your workshop.
There are microwave kilns now available, and are very cheap. They will apparently go up to cone 6. I just acquired a ceramic printer, and have been thinking about how to make it work with the CNC- and this is a great example. You could do a whole wall of Escher tiles…how hard was the clay when you did the cutting?
EDIT: personal e-mail address removed out of privacy considerations — please use PMs for personal communications.
Finally got to use my shapeoko this weekend! First I surfaced the spoil boards. I was all geared up to tram, but the spoil boards were perfectly smooth so I got to skip that step!
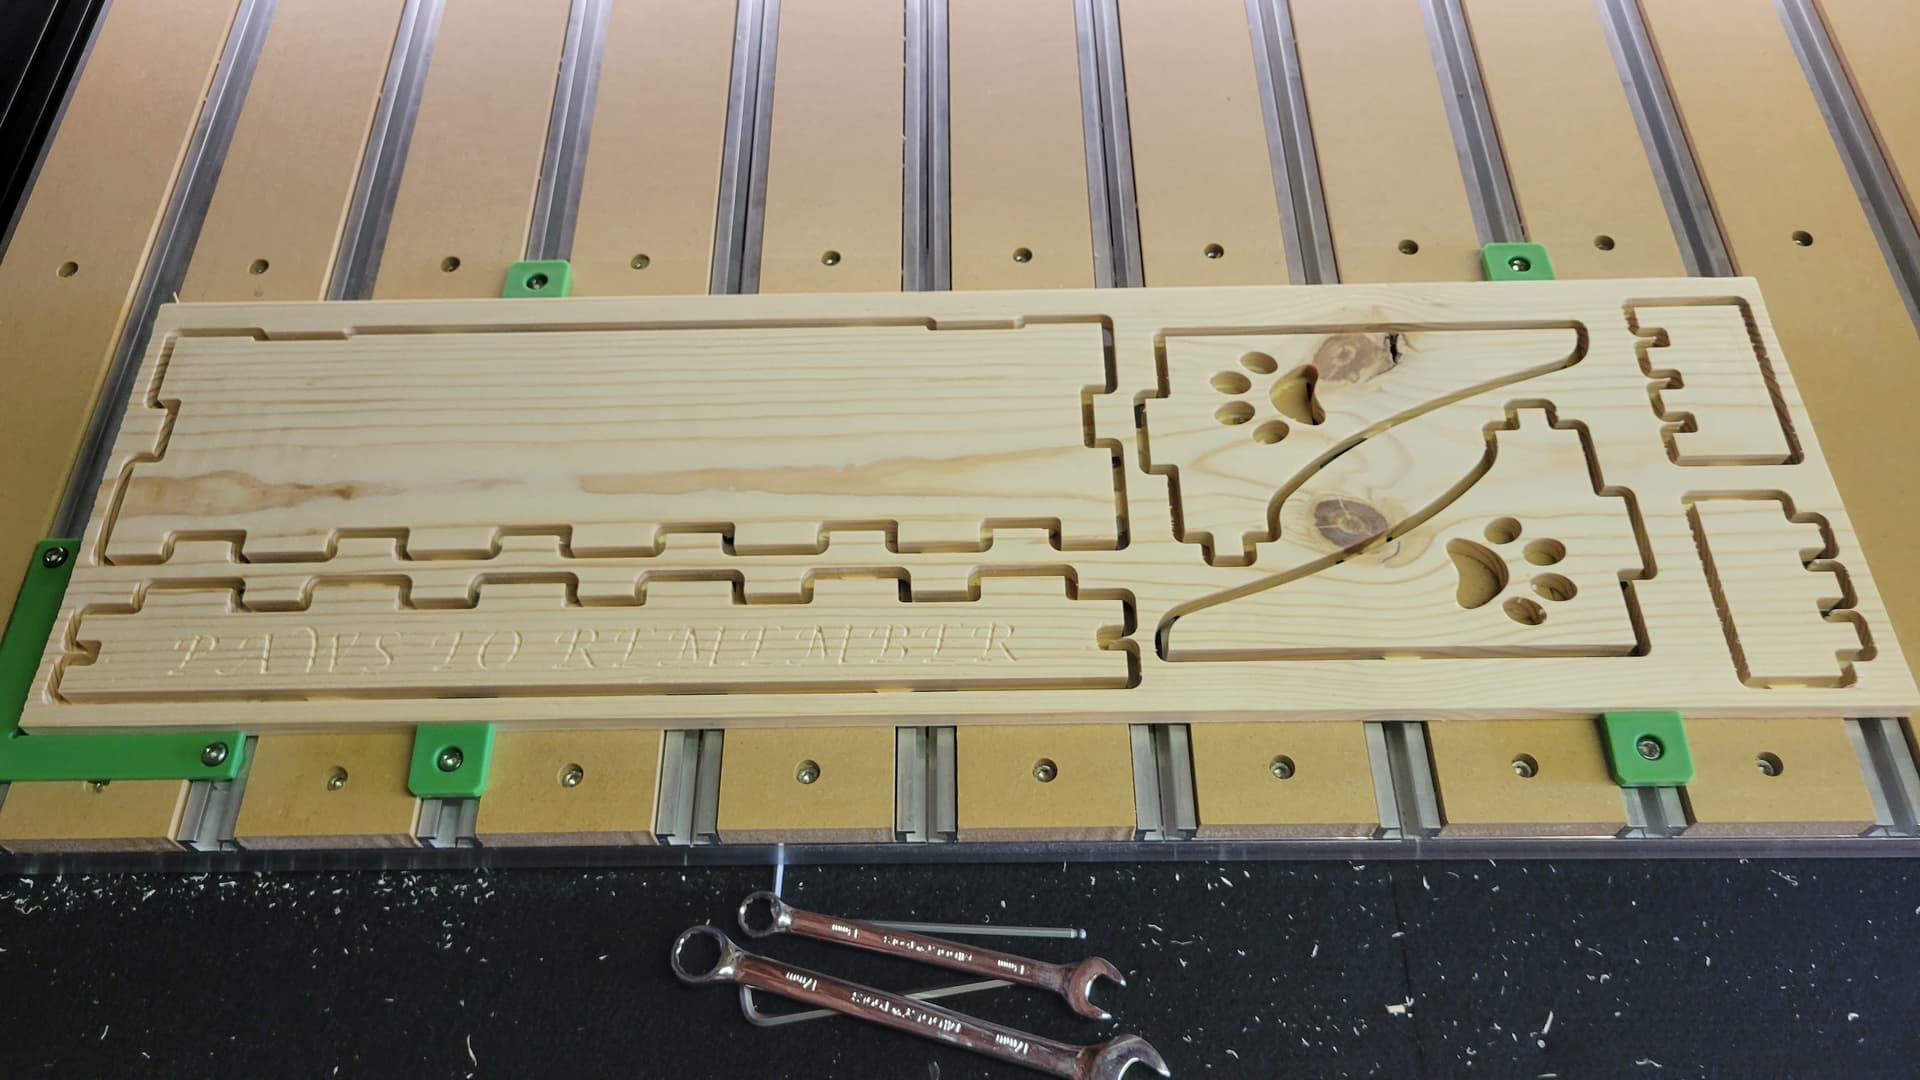
First project was a tiny shelf for a memorial of my doggy.
Simple contour with a vcarve. Text was barely visible. So with the stock still in place I went into CC, changed the font to bold, disabled all other tool paths and ran the program again. Still a little hard to read, so I think I’ll paint the text after I sand and stain.
There is a reason they call a dog man’s best friend. They are always glad to see you and never complain. I have a picture of my cousin’s husband with their dog at the vet that had to be put down. I want to do a diamond drag on acrylic and send it to them. I have tried the cutrocket tool but have not been successful so far. I will try another program to generate the picture to carve.
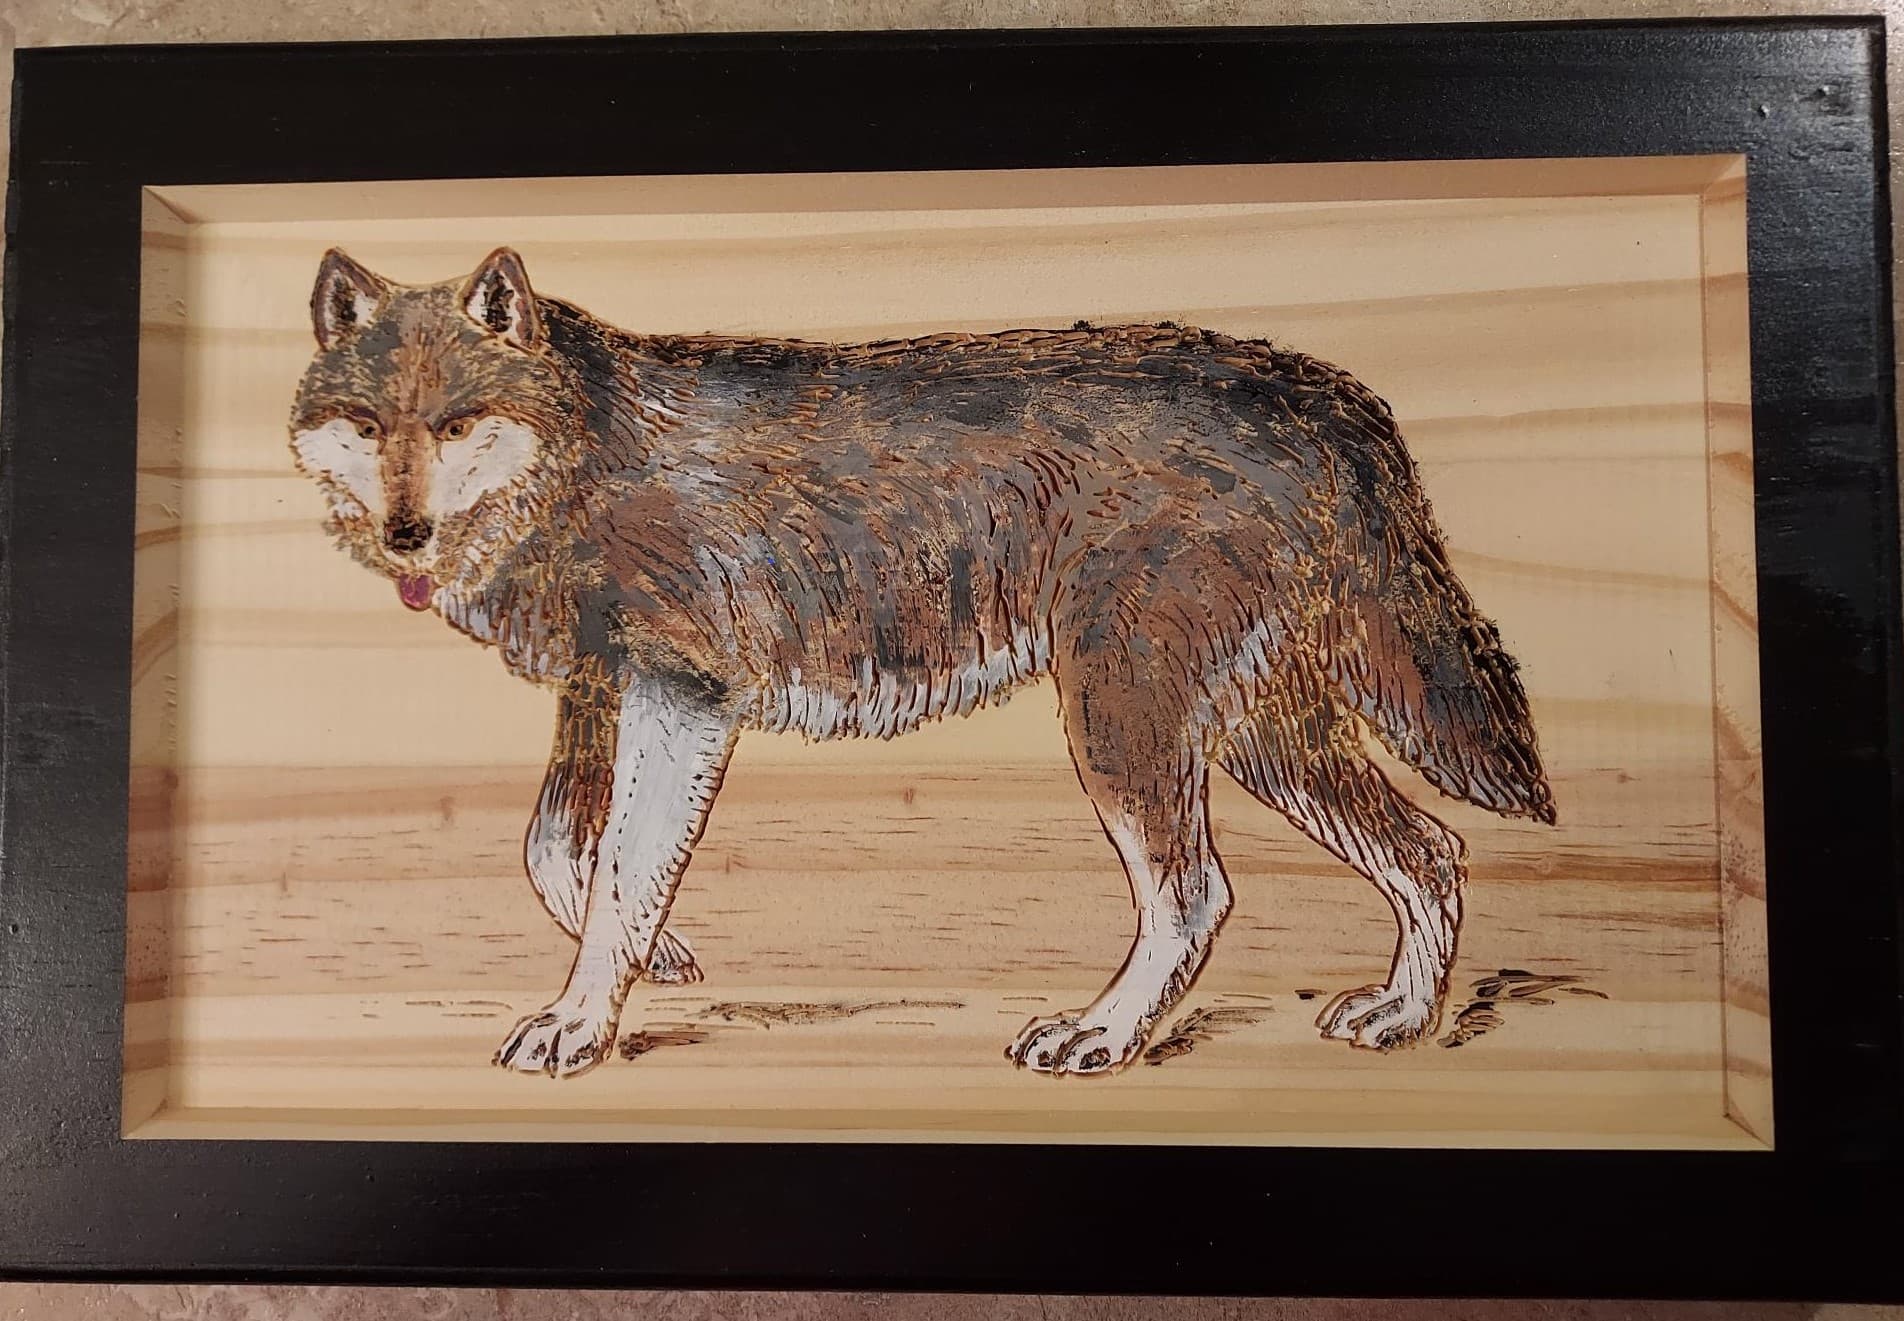
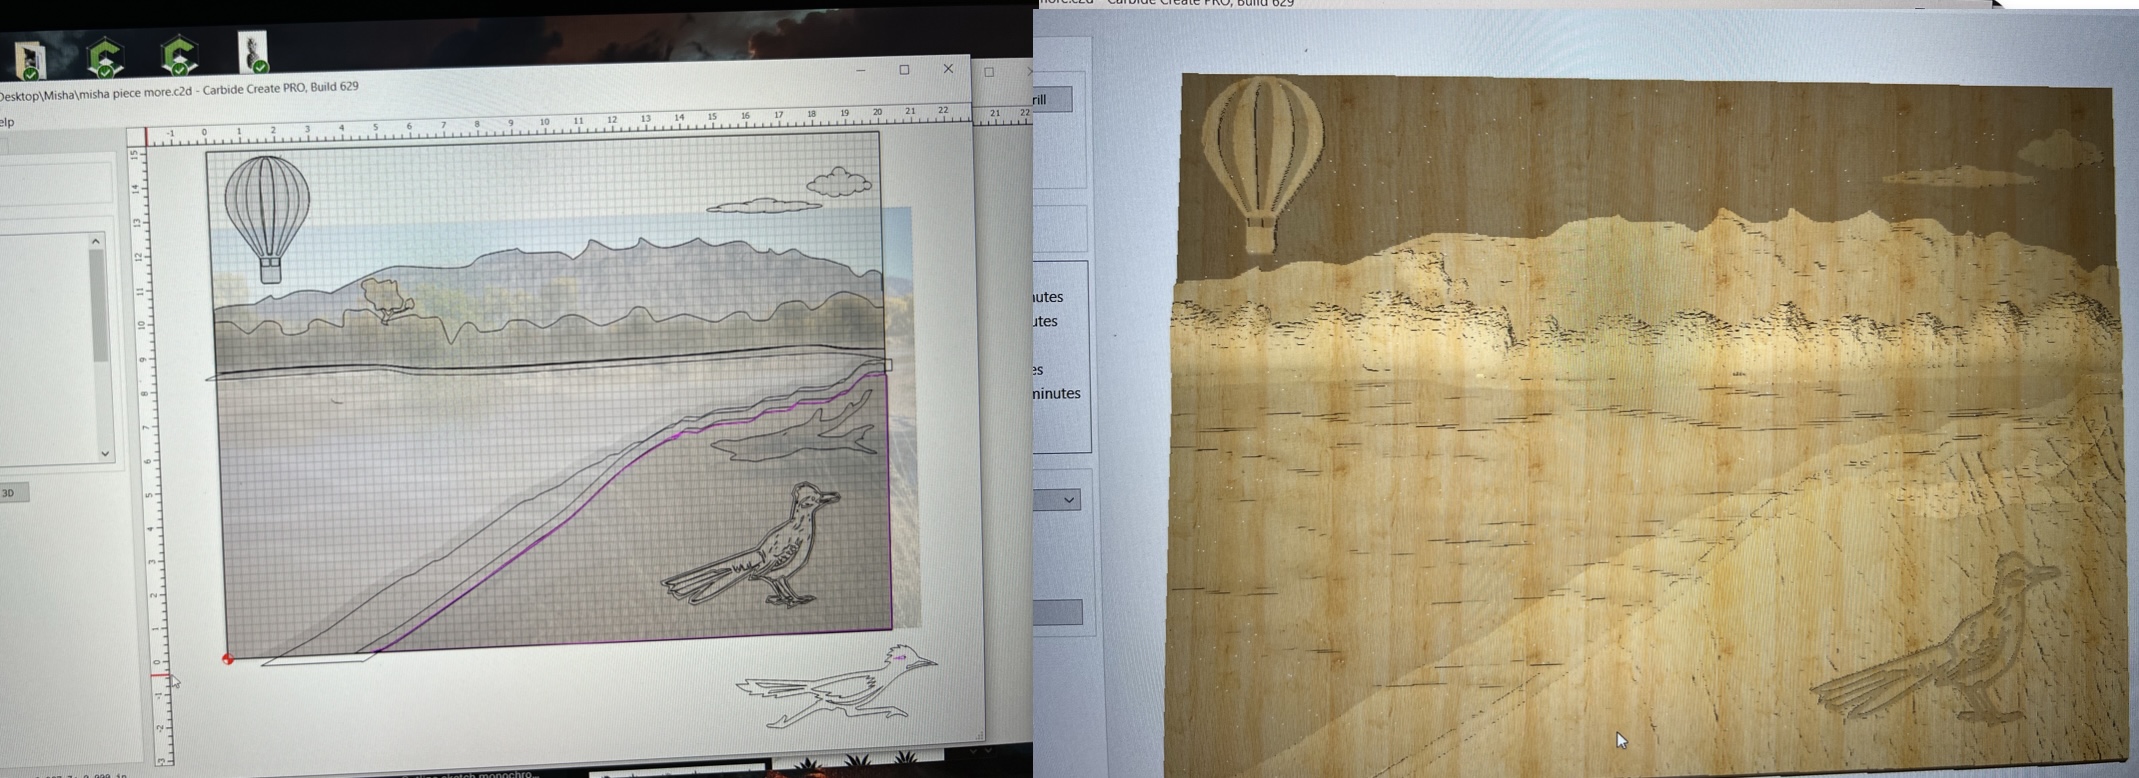
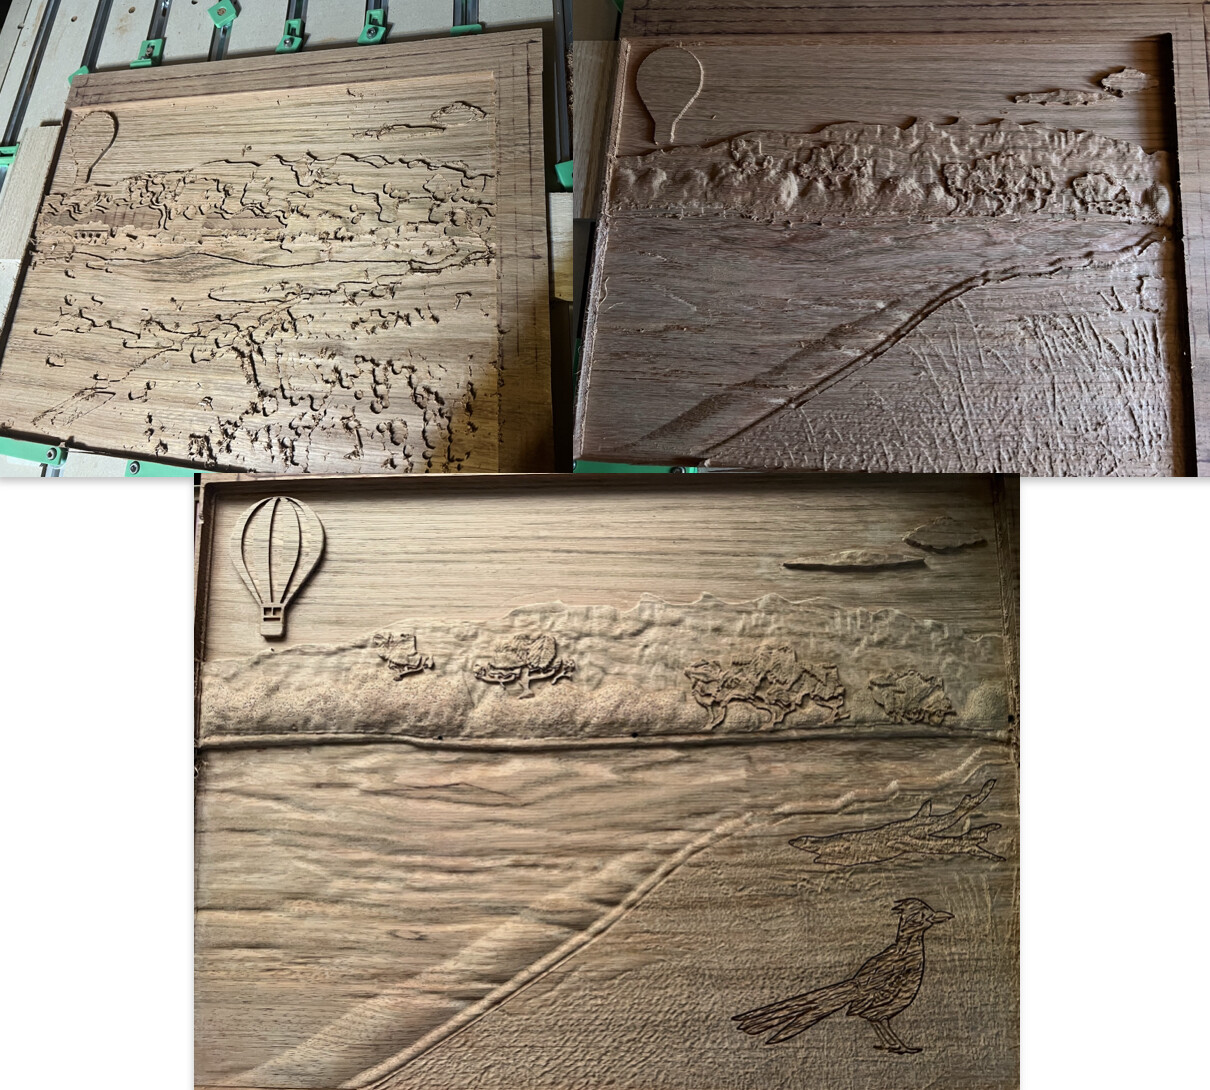
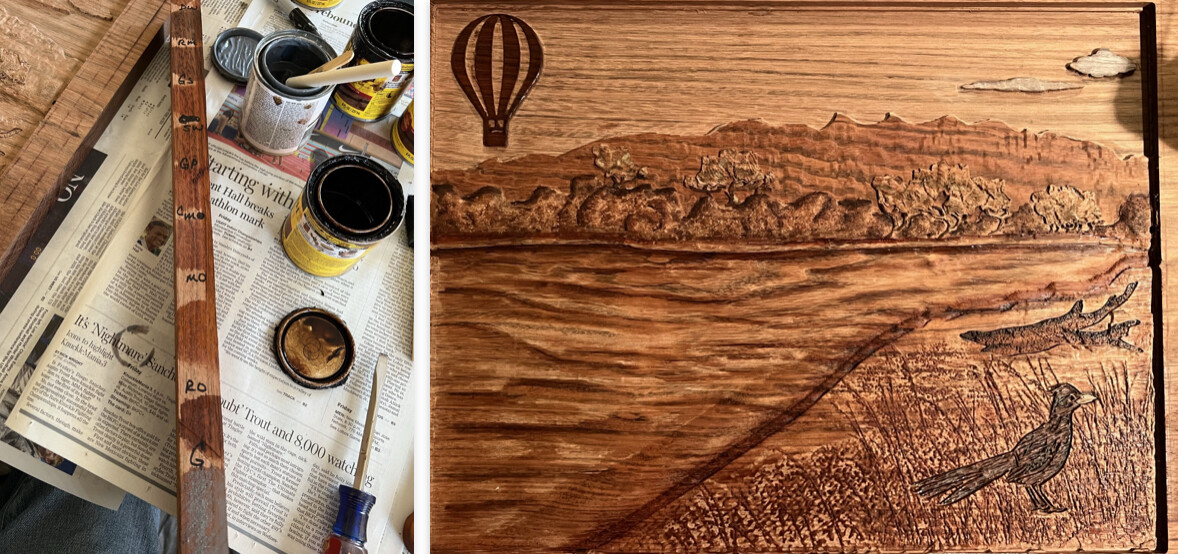
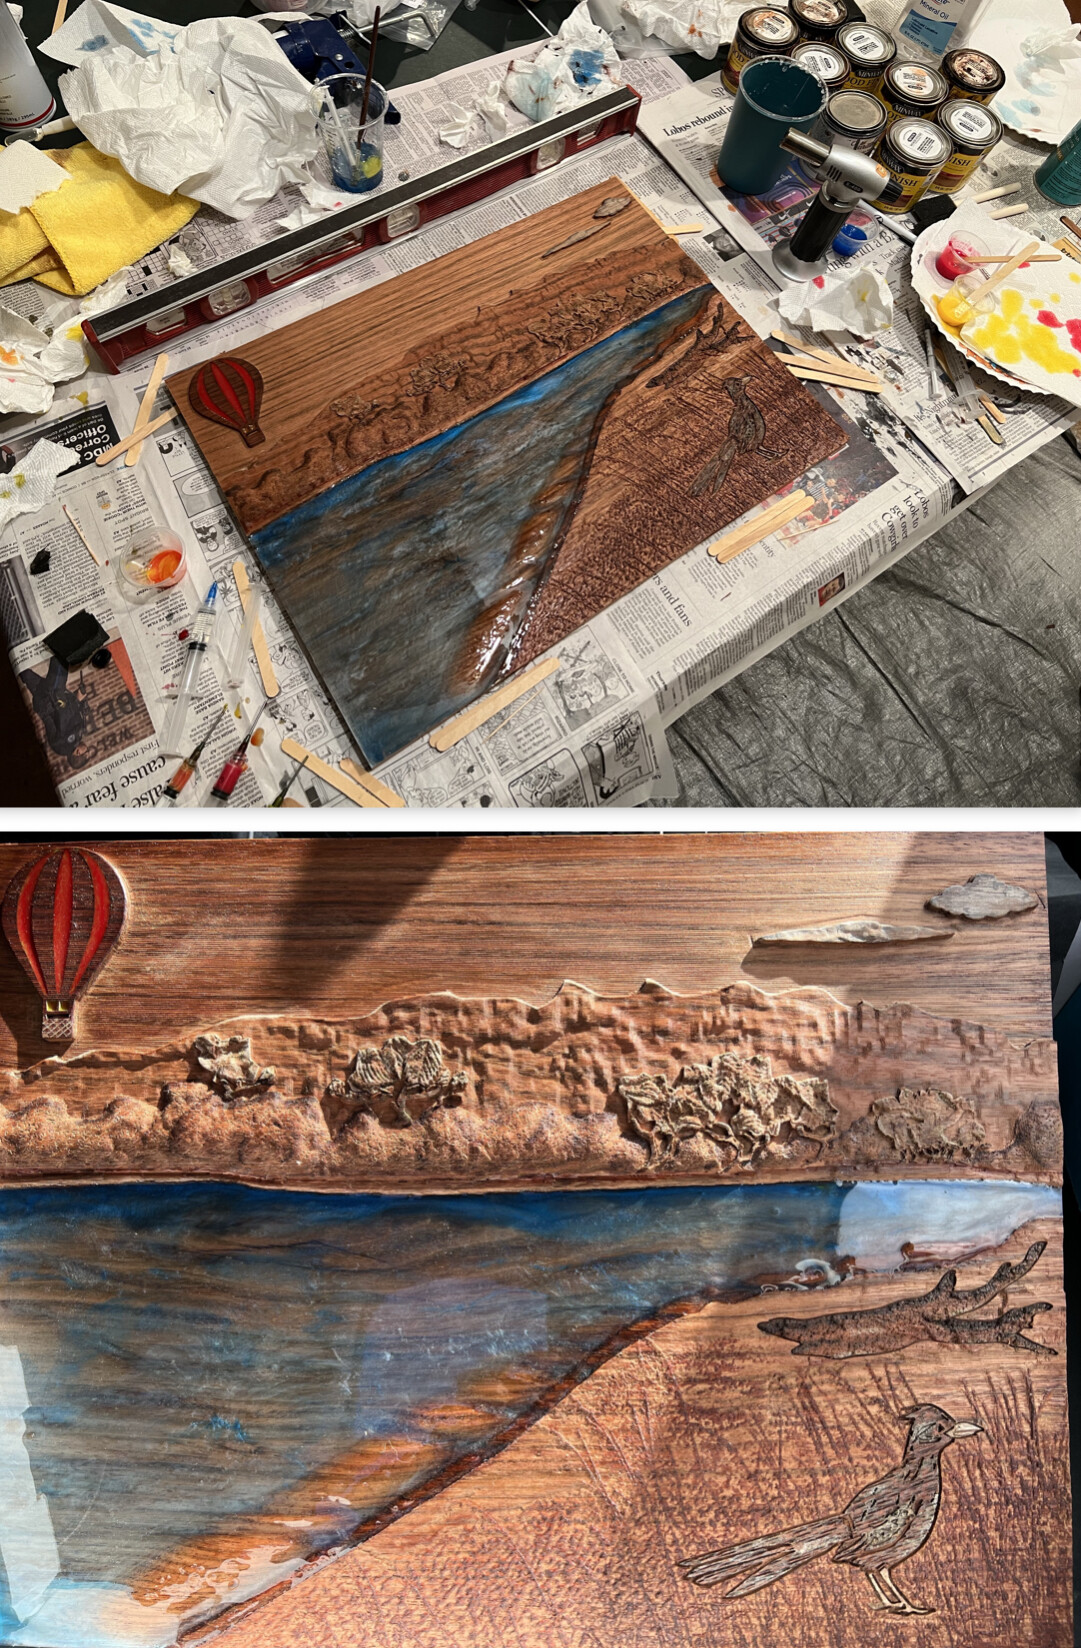
This one I made for a colleague who commissioned it. It was many different sections of 3D modeling and adding texturing in CC Pro, after drawing out each section over a photo in the background. Then added in clouds, balloon, log, and roadrunner.
Rough with 1/4”, then finishing with 1/8” on river and 1/16” on mountains and bushes, with 1/32” on trees and reeds. Then log and roadrunner with 1/32” normal cut with texturing.
Stained to differentiate different sections and sealed with polyurethane. Tried something new on the trees, roadrunner, mountain edges, and clouds. Chlorine. It actually worked to make the darker Brazilian Cherry/Jatoba lighter in spots.
Then added epoxy for the balloon and river. Some color but not colorful. Kept it translucent to see the rolling texture of wood below the surface with more blue toward the bank.