
I did this simple project and it is made from a single sheet of plywood. I will add some stain in there and poly as well. Just a simple electrical panel cover cut to look like an assembled door. Seems when I cut plywood, no matter what I do, I always cut into the glue area between layers. I top surfaced this piece on both sides to make it even across both surfaces and then made my cuts. Was interesting using the measure option in the program to make sure the endmill wouldn’t hit the sides of the slats.
18 Likes
That’s pretty cool. I like the areas that cut through to the glue and other layers, it gives it a weathered/rustic look.
2 Likes
Plywood is made up of thin layers laid down at 90 degree angles. The individual plys are not always straight but after glue is applied and the panel is pressed together it is dimensionaly stable. However when you cut into it those uneven layers get exposed. When selecting a plywood sheet look at the edges and if you see crooked lines you can bet that the inner cores are also crooked.
A little paint will cover up those ugly black splotches. Depending on what you are trying to achieve some of the opaque outdoor stains work well and last as long as paint. In the end all finishes fail outside and will need to be renewed. Hopefully every 5-7 years and not sooner.
1 Like
That’s a really unique look. I think it works well, if it’s matching a similar weathered motif. I wonder if we’ll ever get an option for the pocketing toolpath to move with the grain, instead of circular.
1 Like
I think that is amazing, and what I bought the machine for. someday I will be able to do the 3d carvings like this, but not today
1 Like
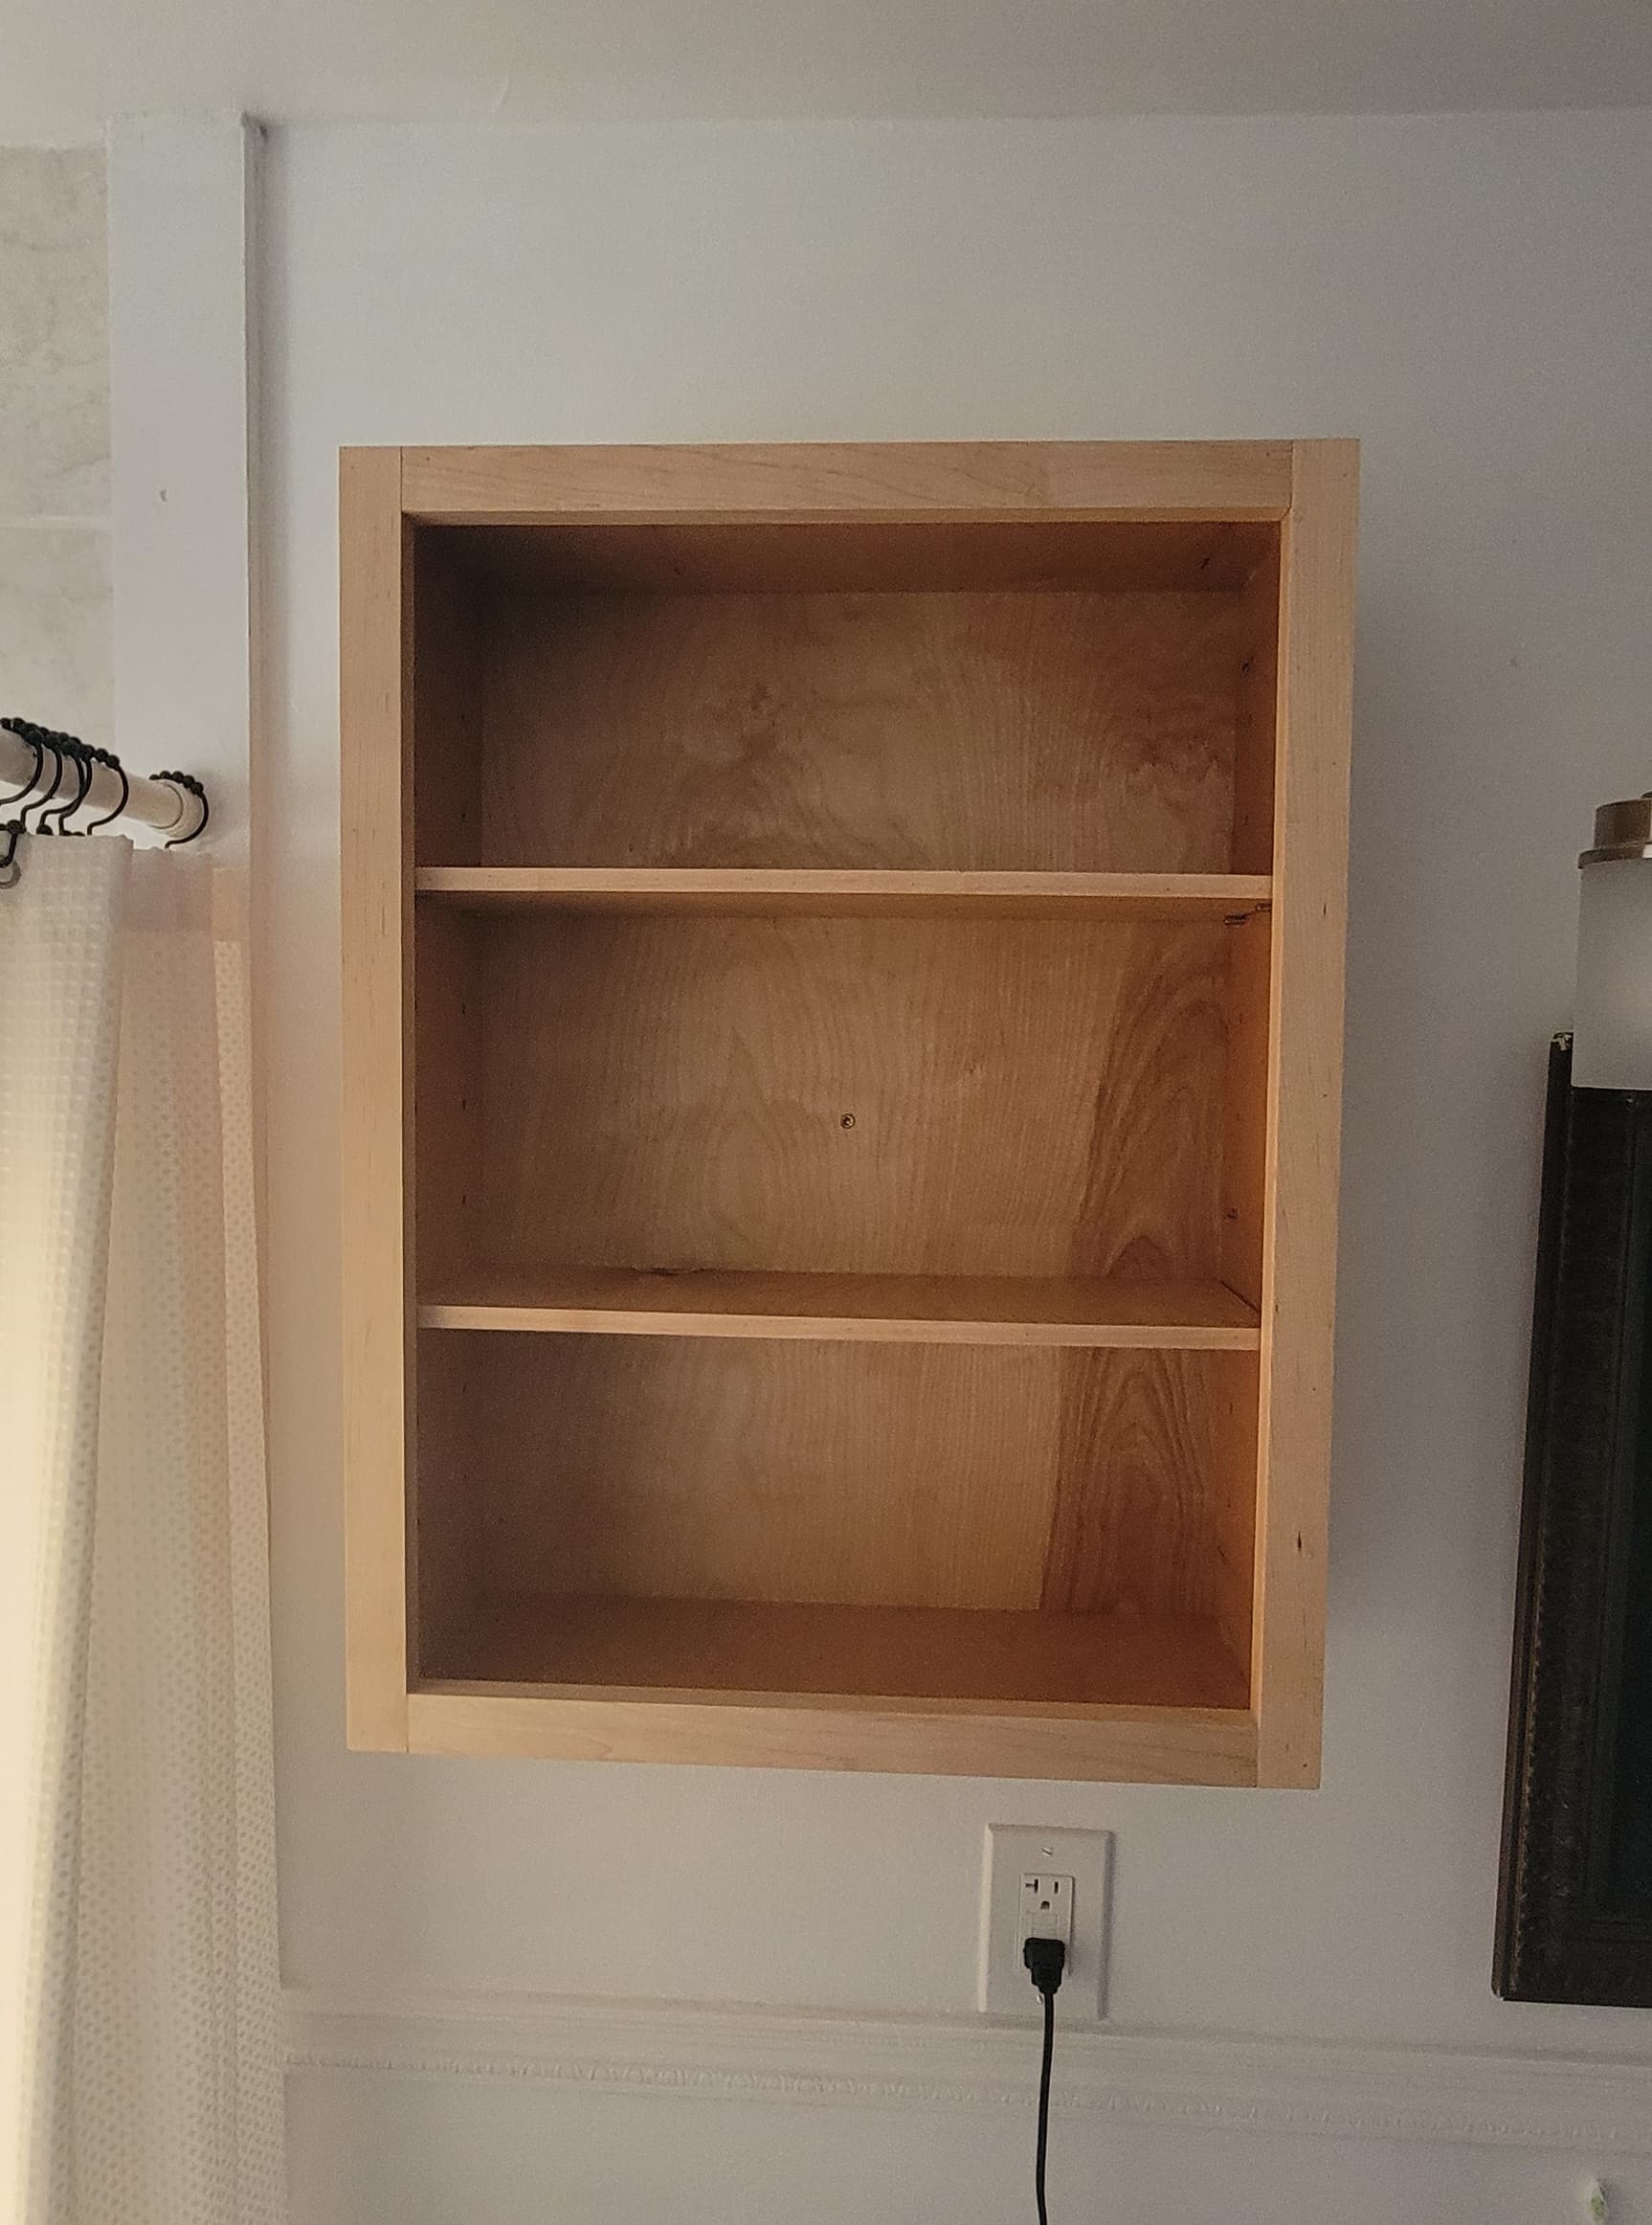
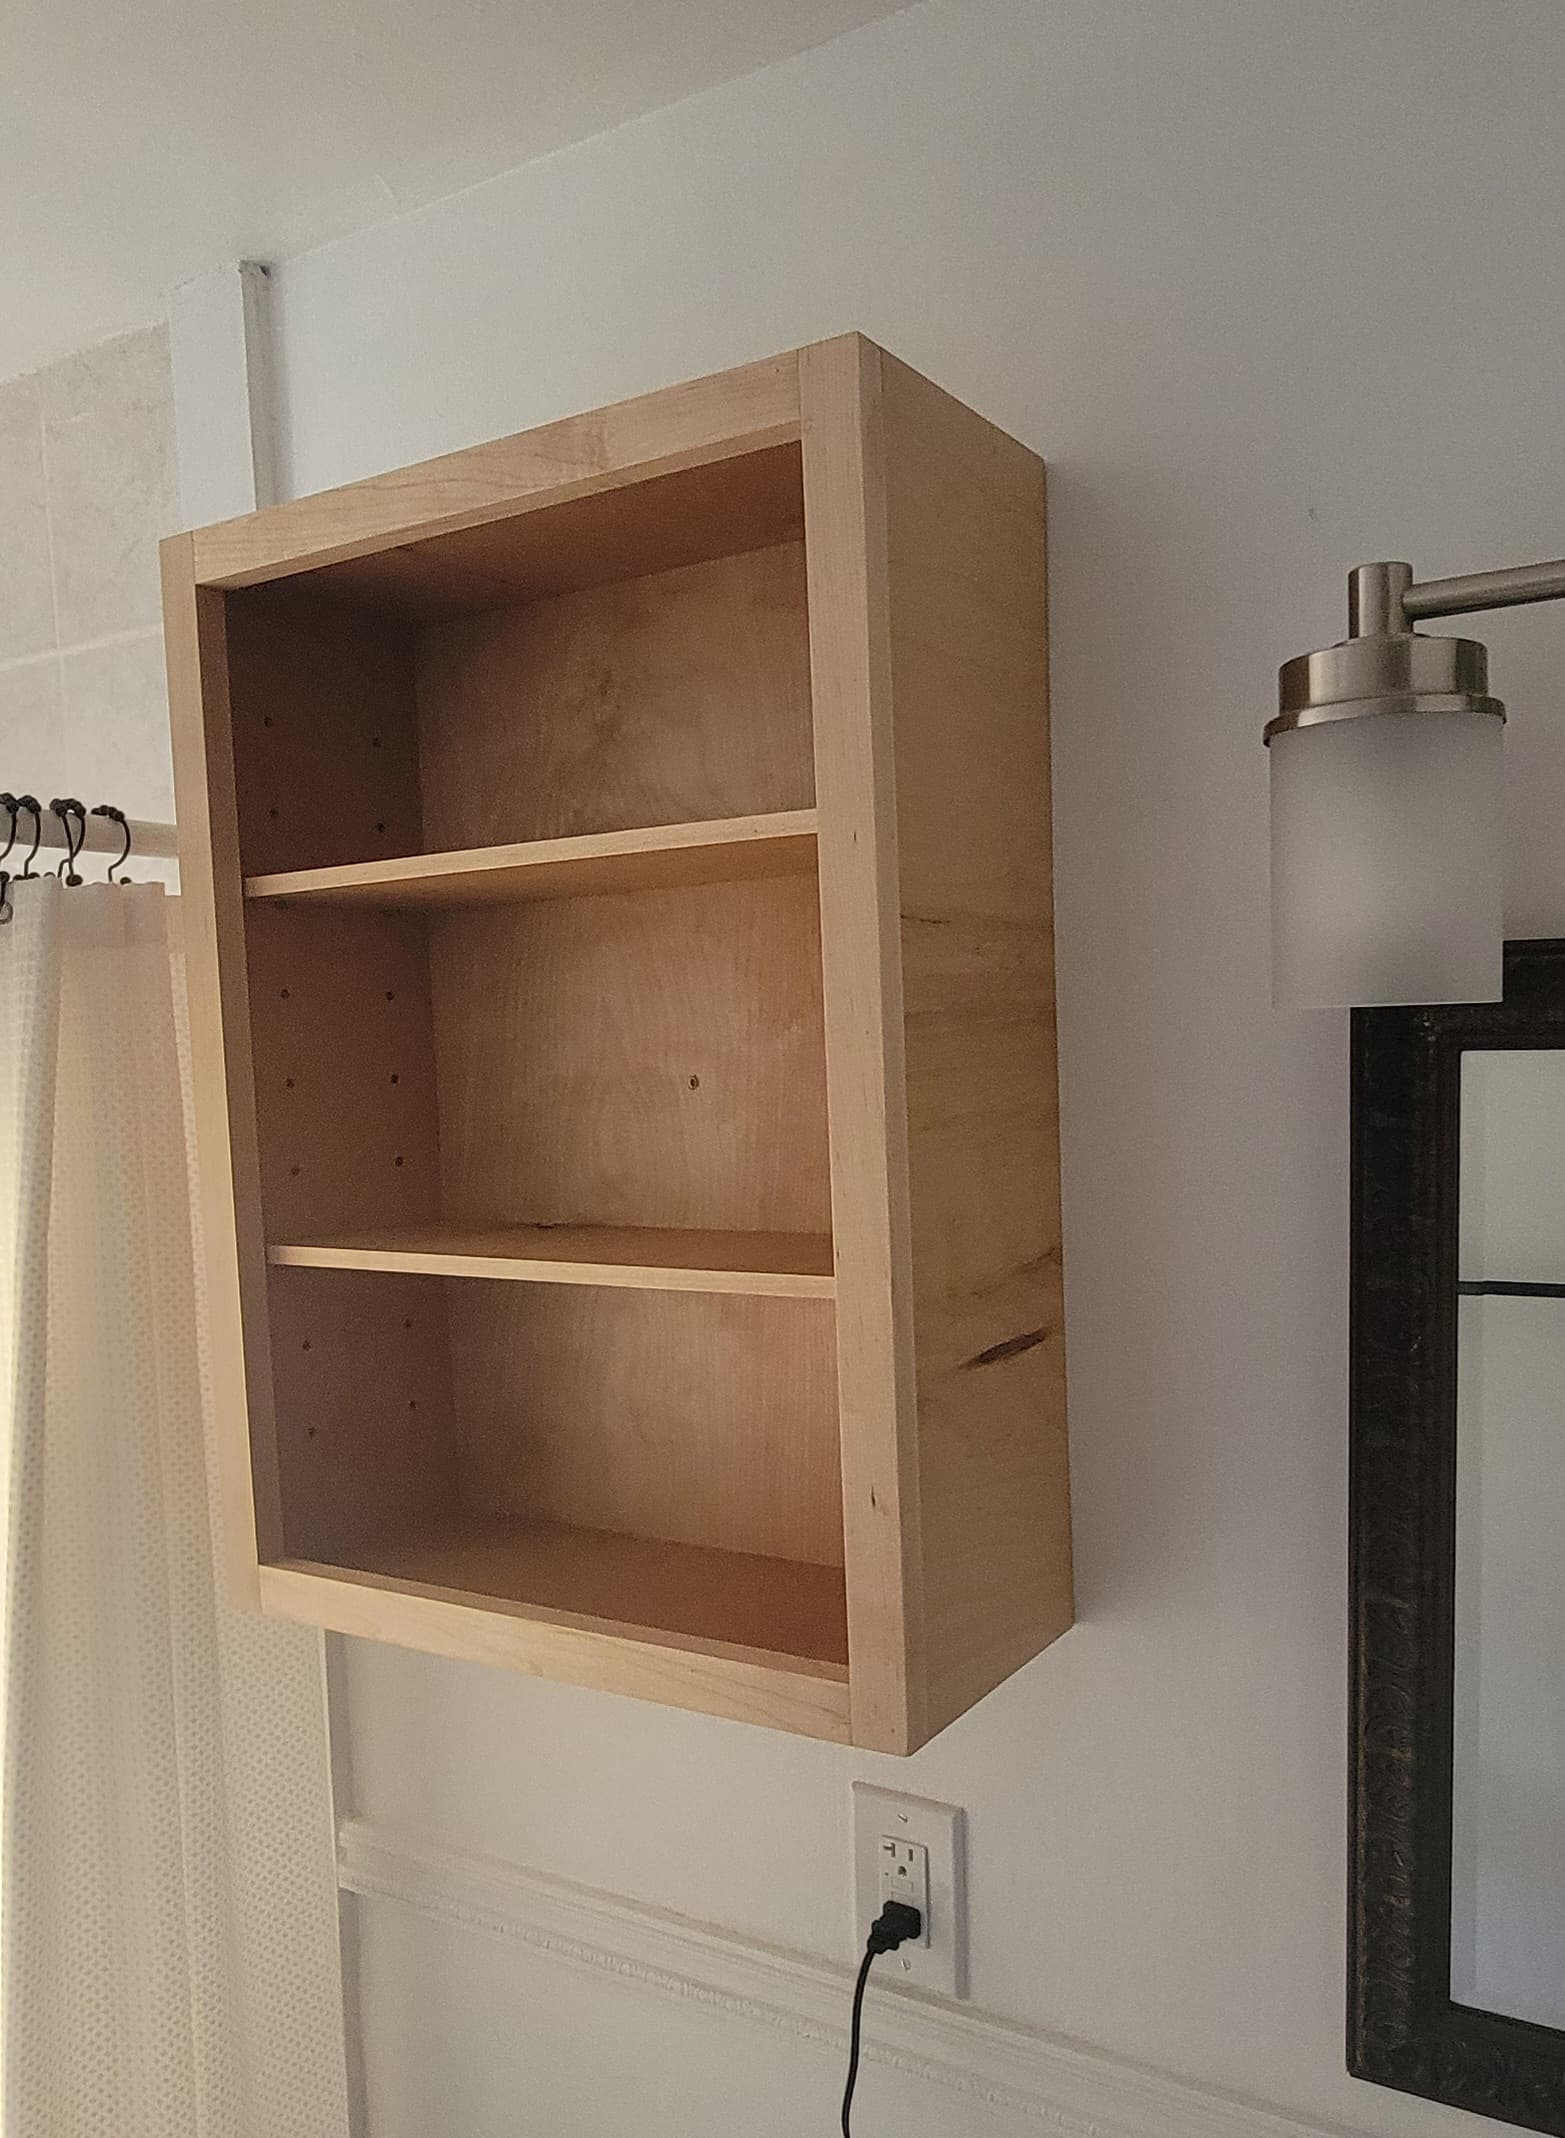
Basic one day build: open bathroom cabinet/shelf. Face frame was cut on table saw because I had to use mostly scraps. But the case and shelf peg holes cut on SP5.
21 Likes
You are not the first and likely not the last to do that.
9 Likes
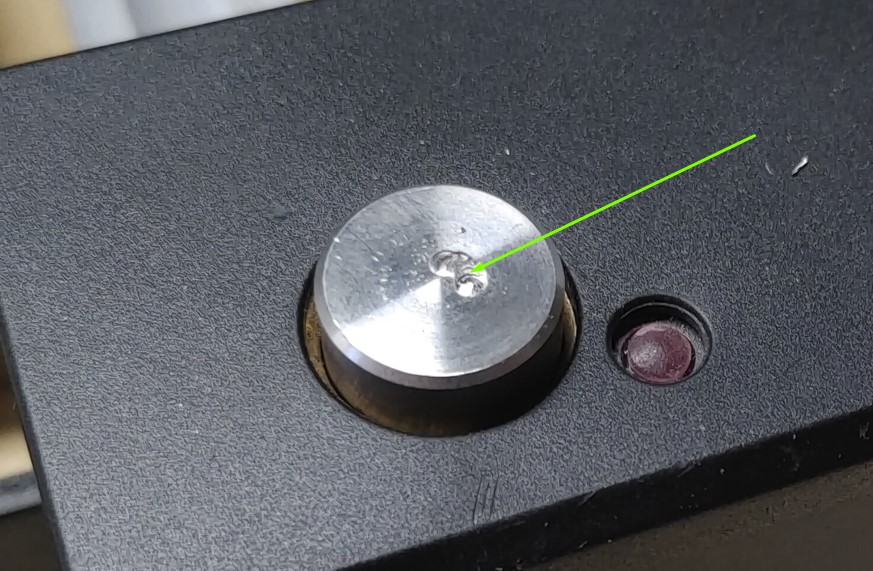
This is what I ended up doing after I took the cap off surfacing.
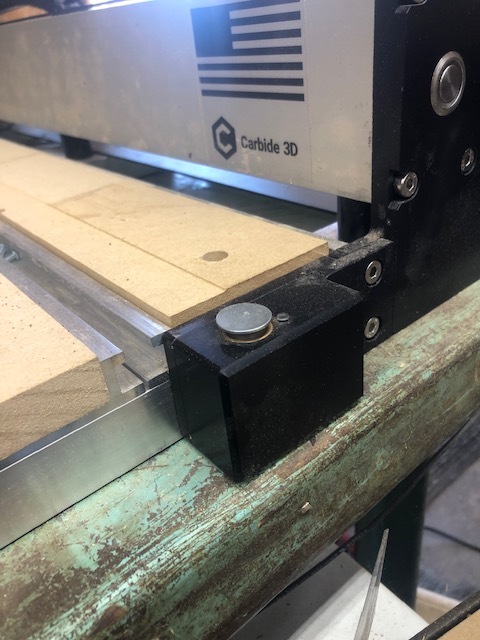
Glued a magnet to the top
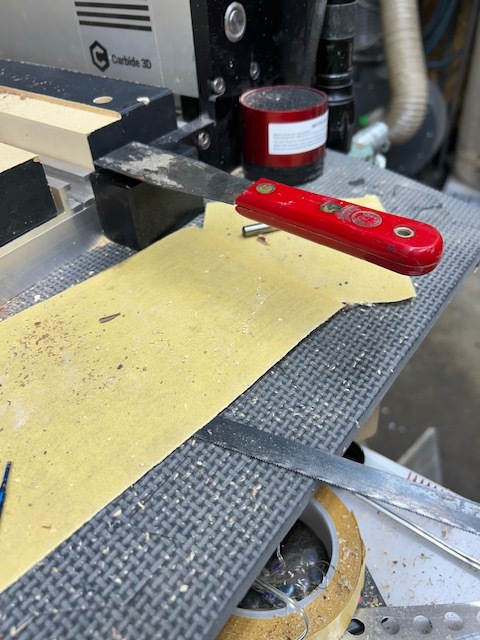
Place my putty Knife on top for my surfacing bit.
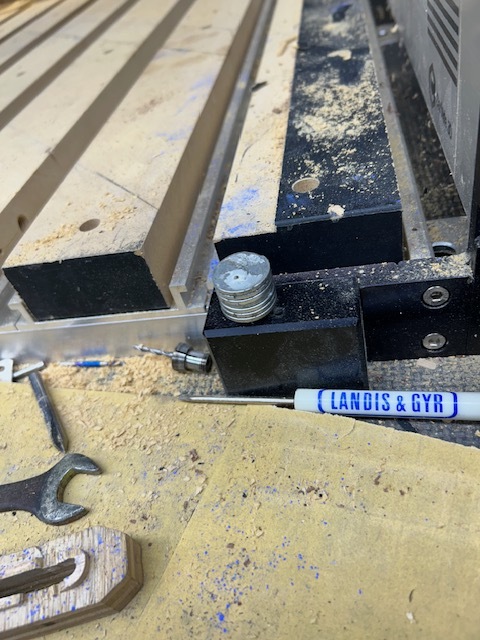
Put extra magnets on when the spoil board gets in the way of the dust shoe.
9 Likes
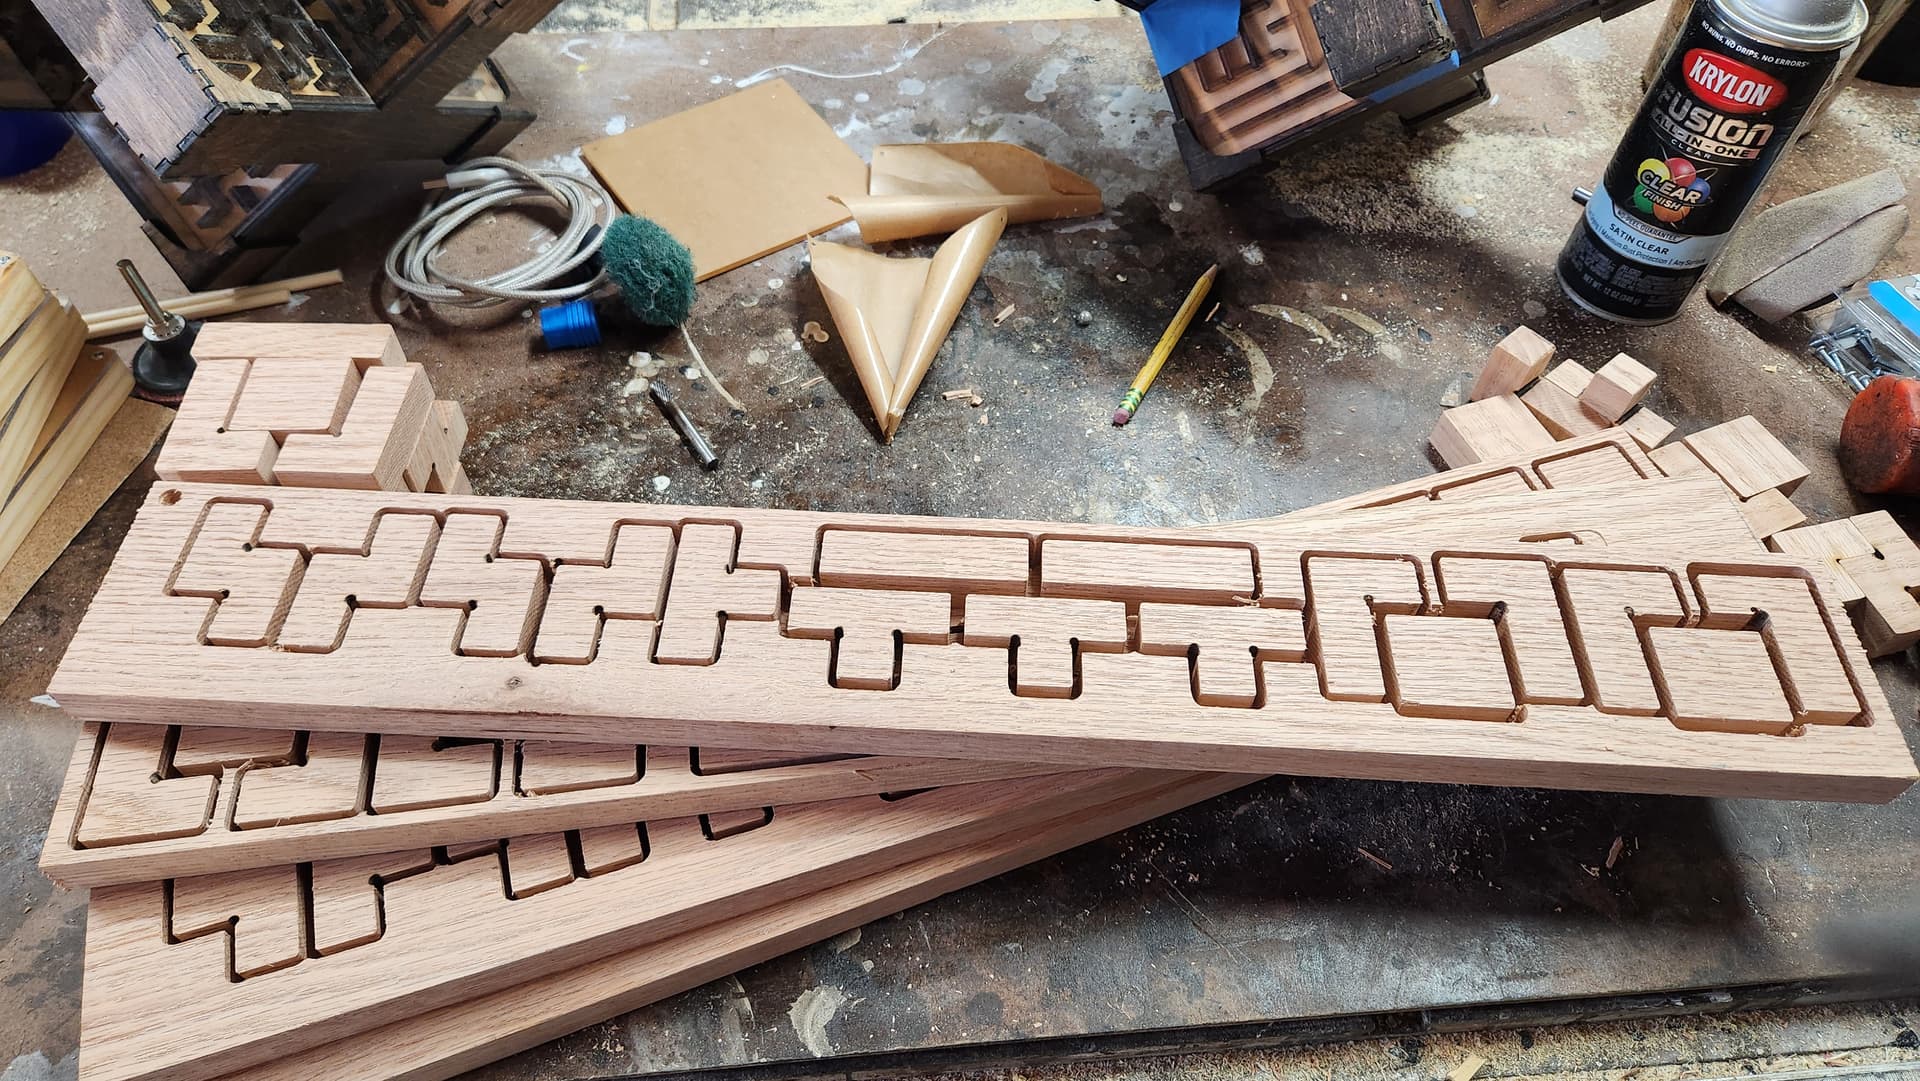
Tried my hand at a Topo map. Might try with different wood. Any recommendations for best wood to use for Topo map?
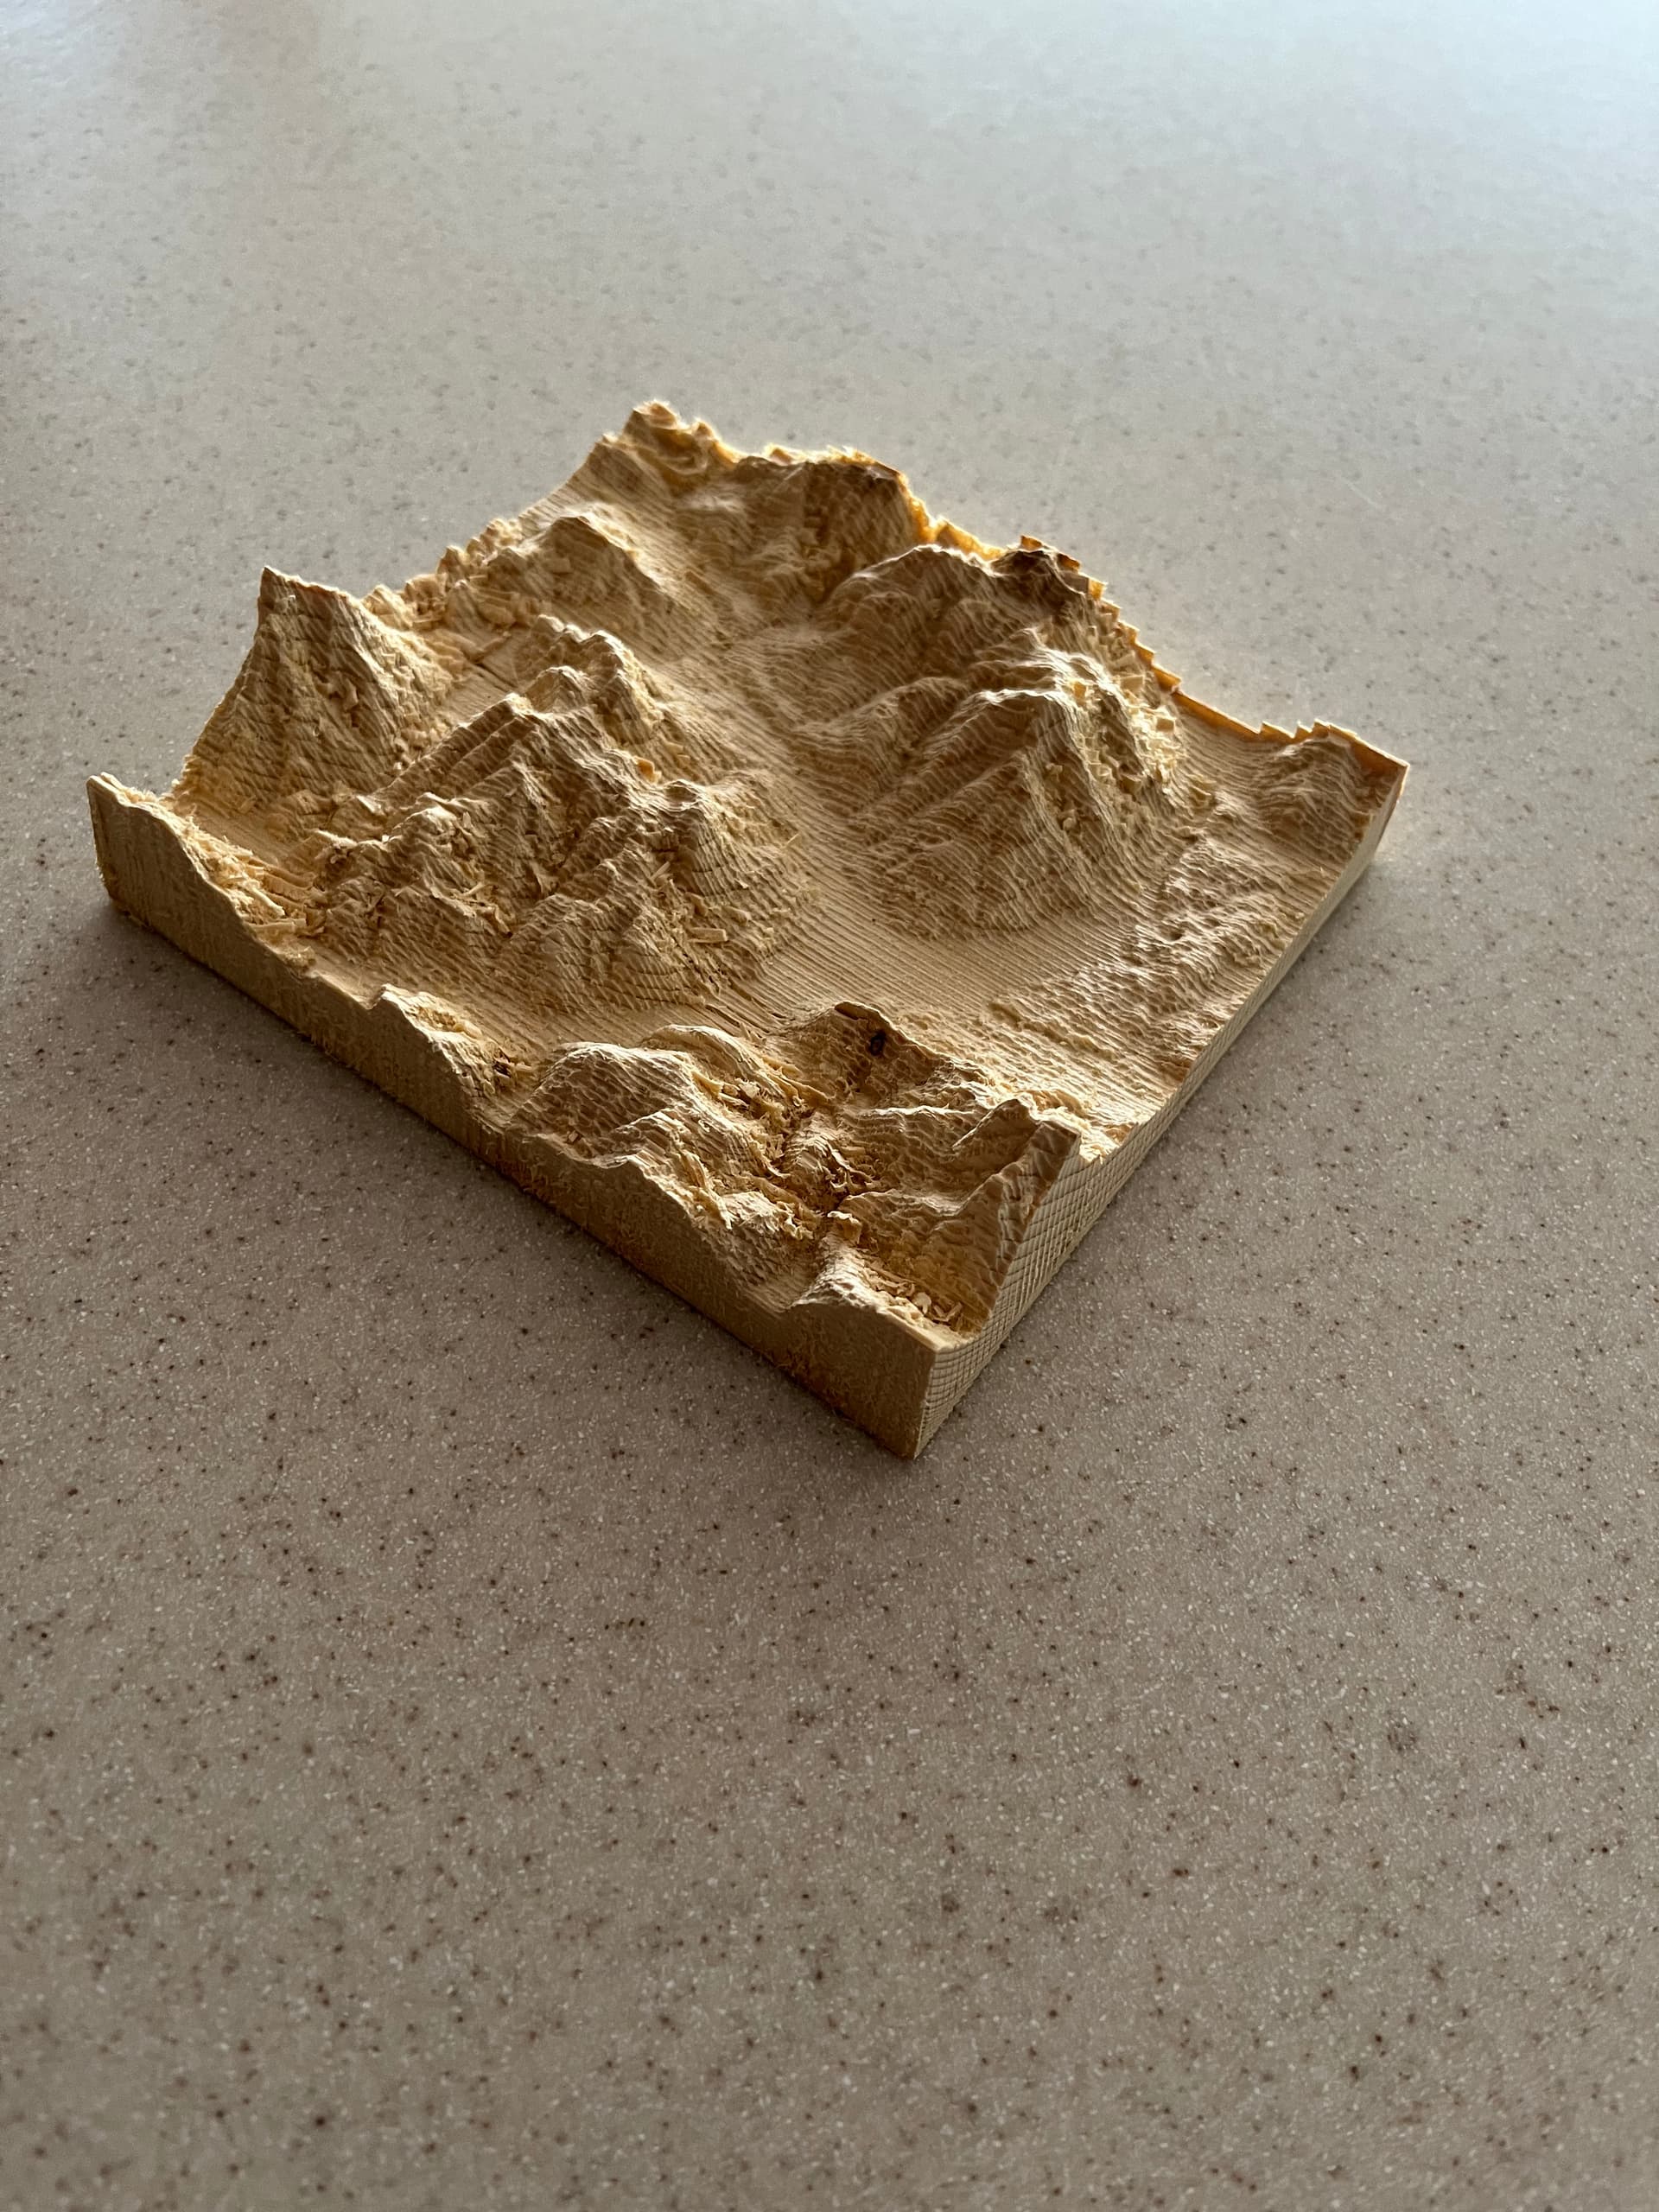
19 Likes
Looks promising.
I’m guessing the hardest hardwood you can afford? Maple, Ash, hickory?
2 Likes
If you can find “good” plywood, especially with 7 or more layers. The different layers in the material can result in isolines aka contour lines.
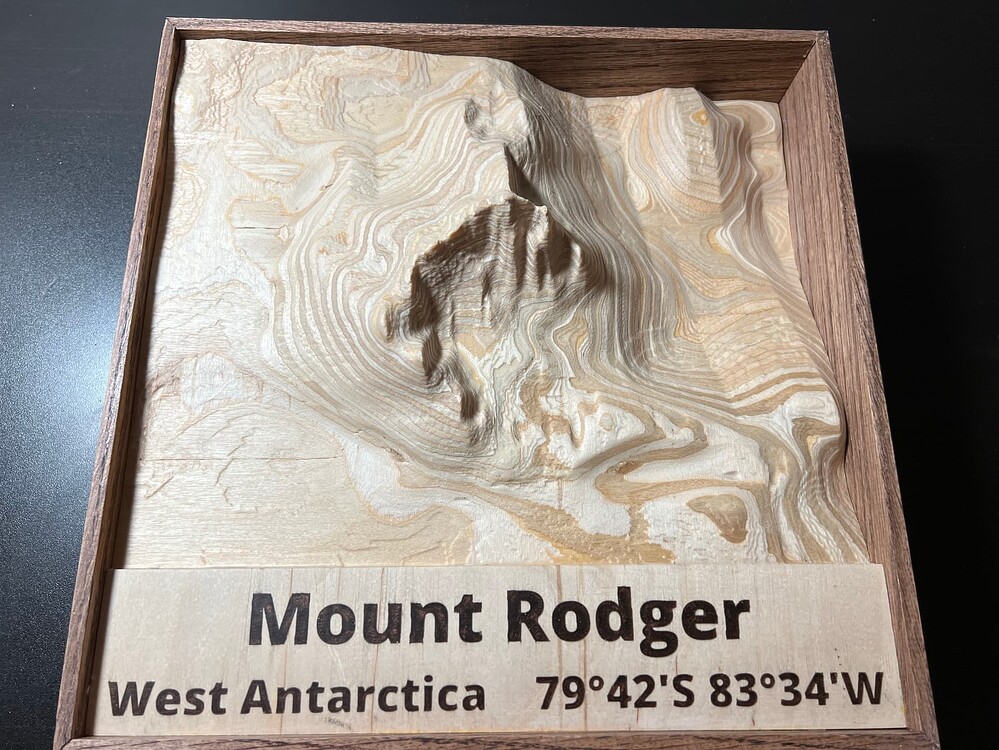
(more photos)
22 Likes
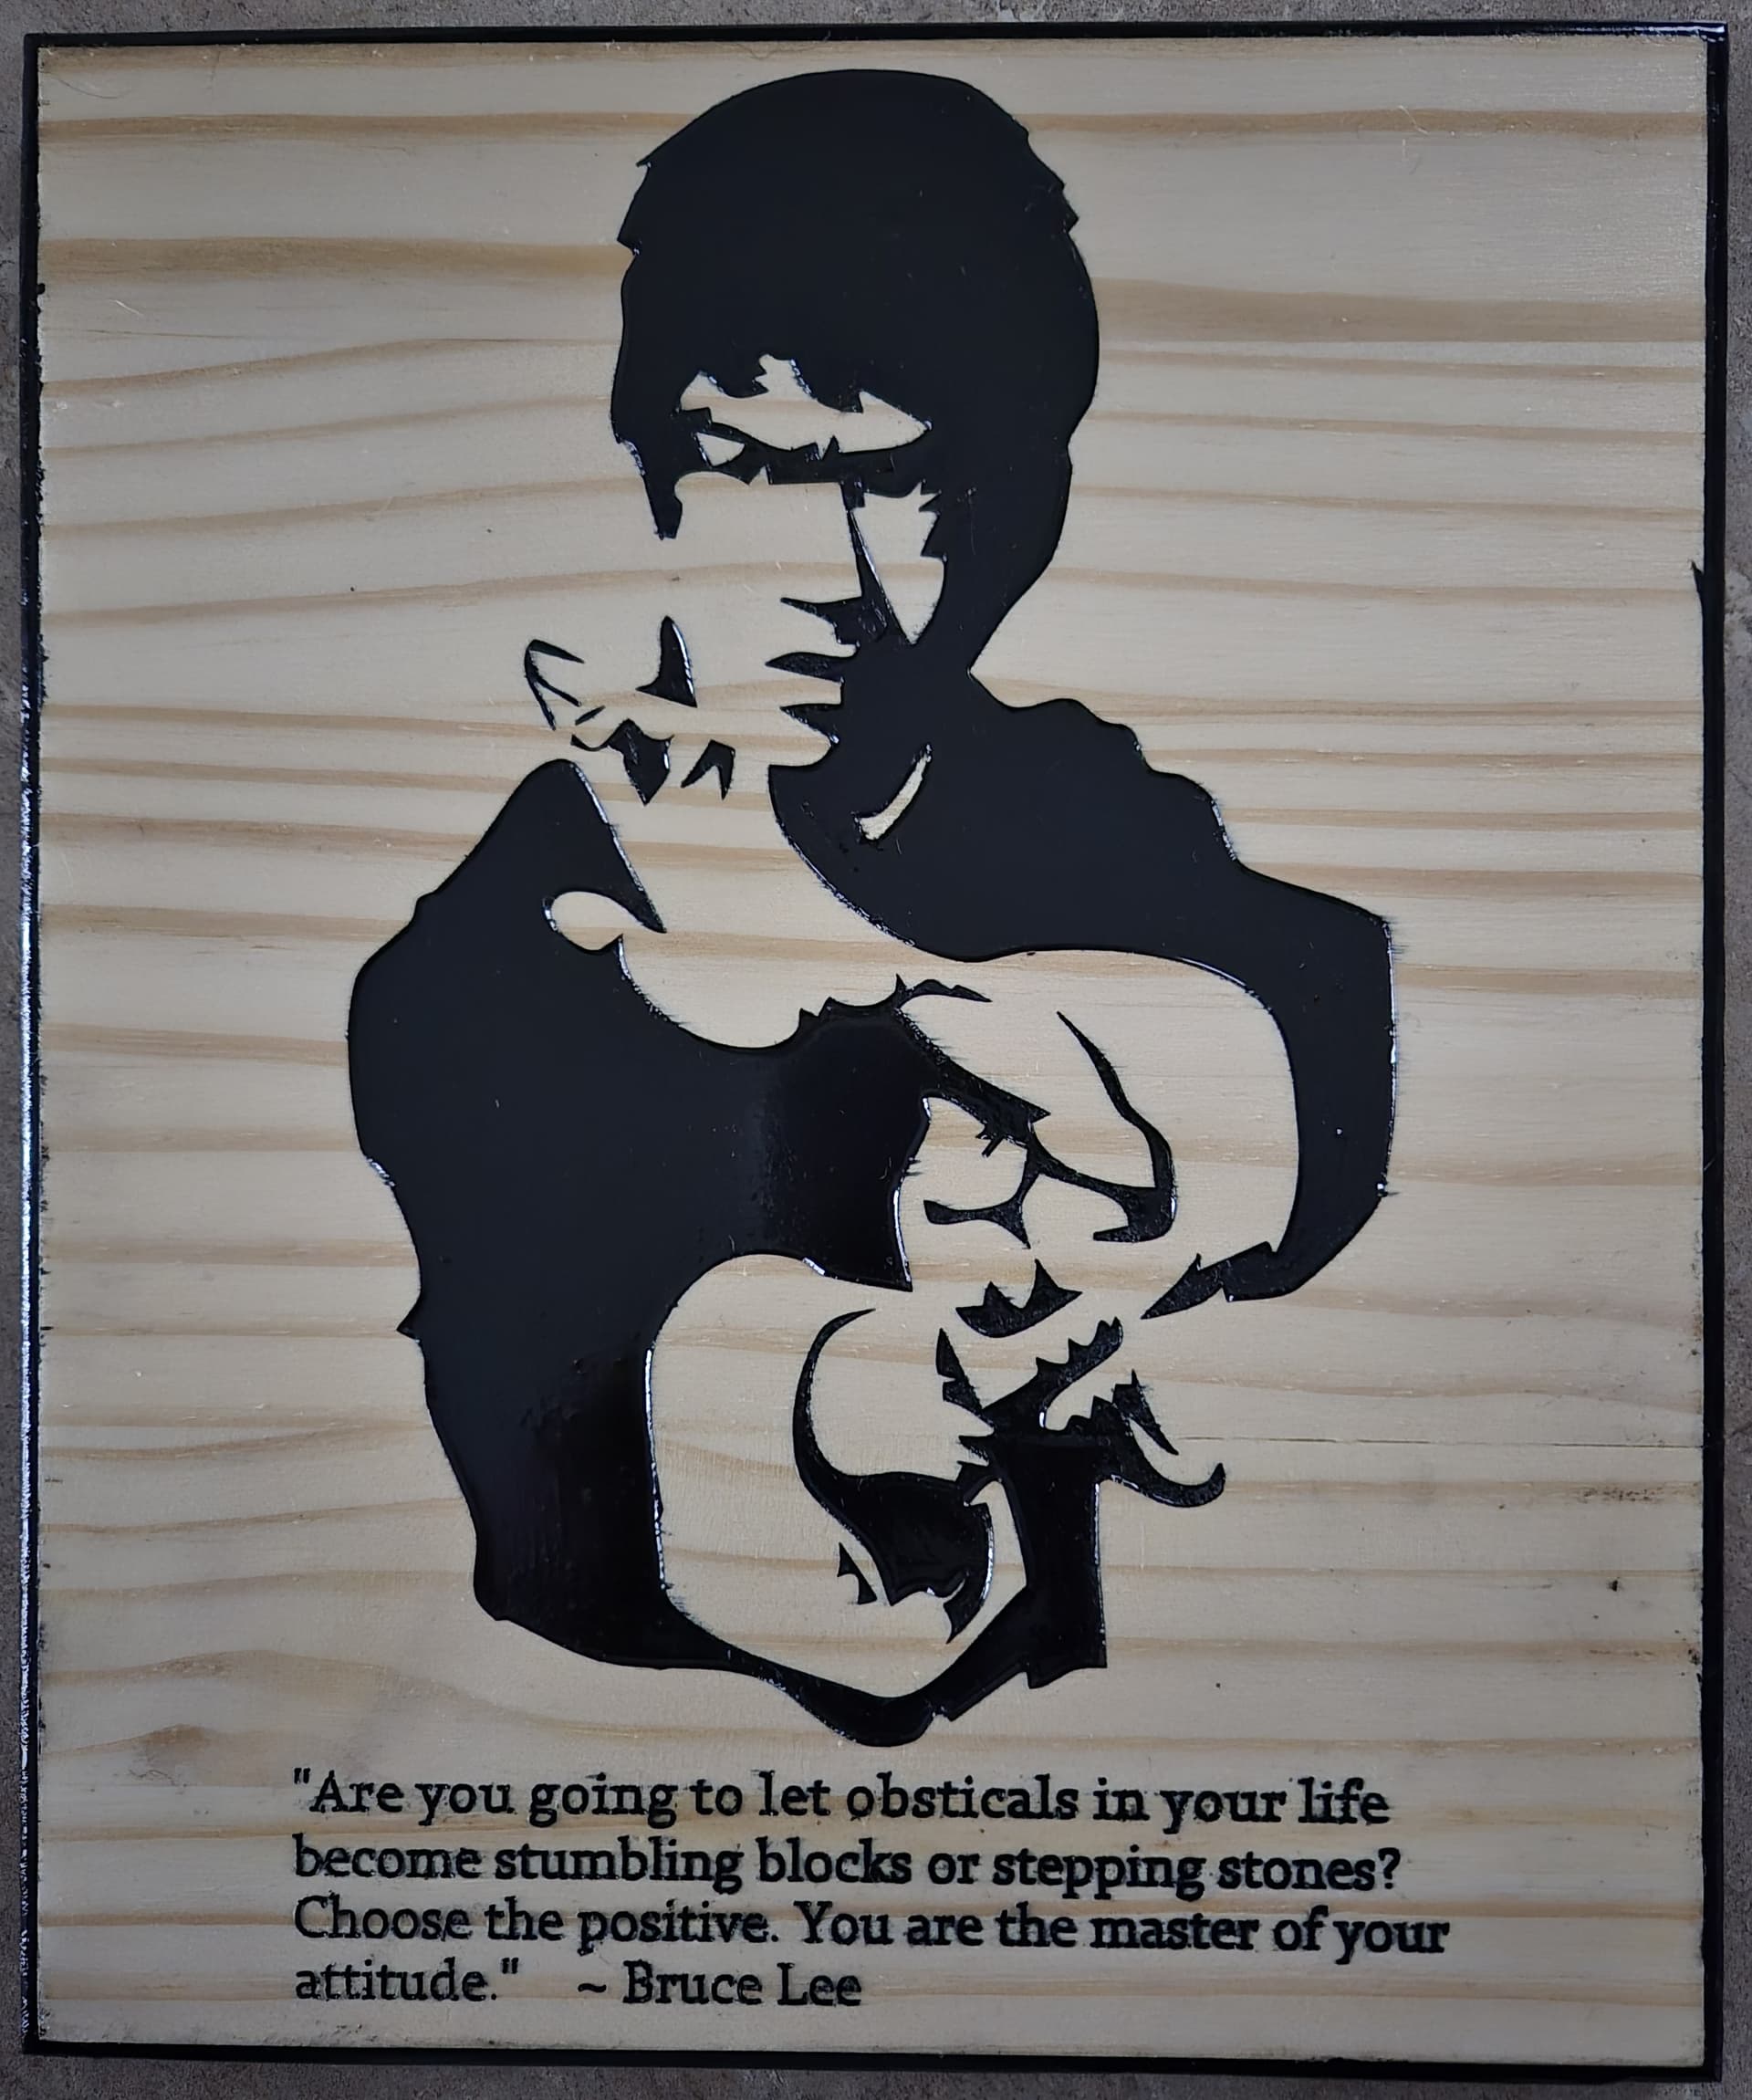
Nice plaque. Paint? Epoxy inlay?
What was the obstacle that prevented you from using spellcheck? ![]()
5 Likes
That’s the Englineese spelling ![]()
2 Likes
Maple is a favorite of mine
Thank you very much. I think it looks decent for a first attempt. Still waiting for my epoxy to arrive, another first.
That is really slick. Very realistic look.
Excellent attempt. I haven’t tried any 3D stuff yet.